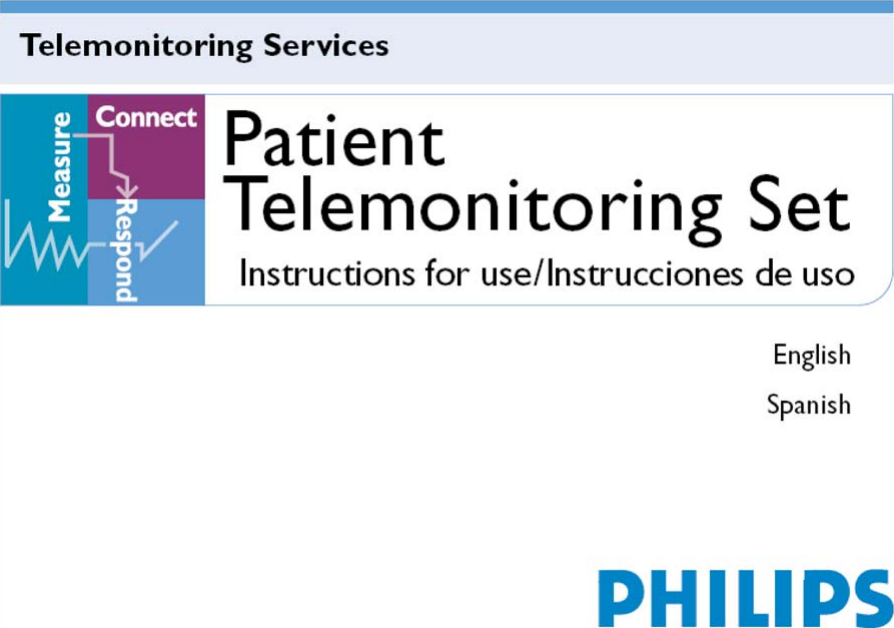
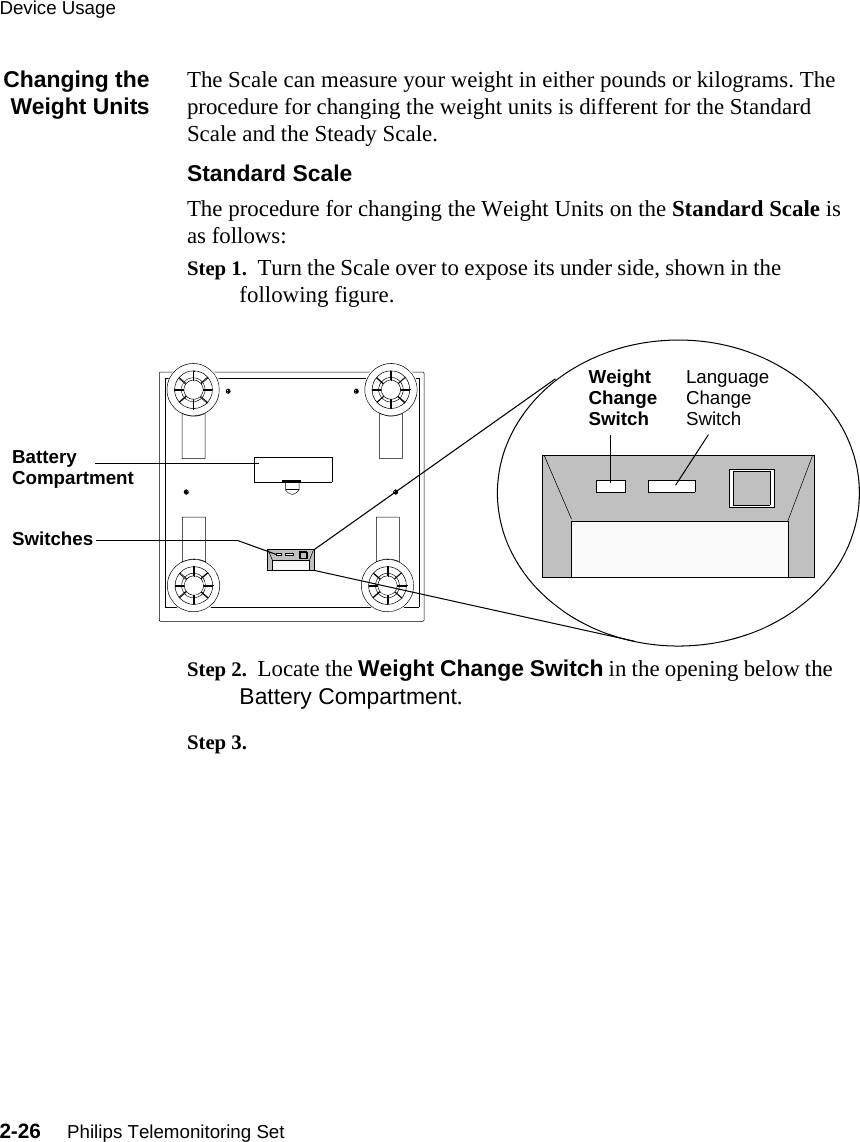
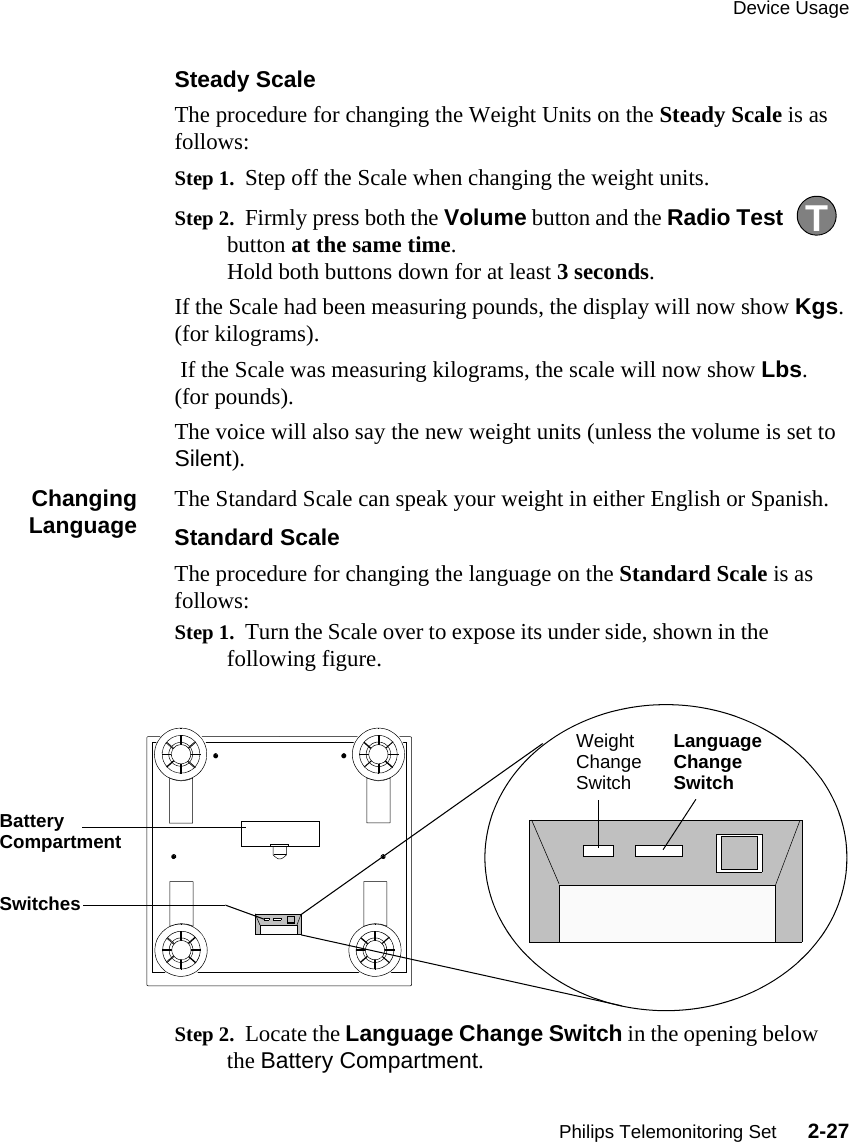
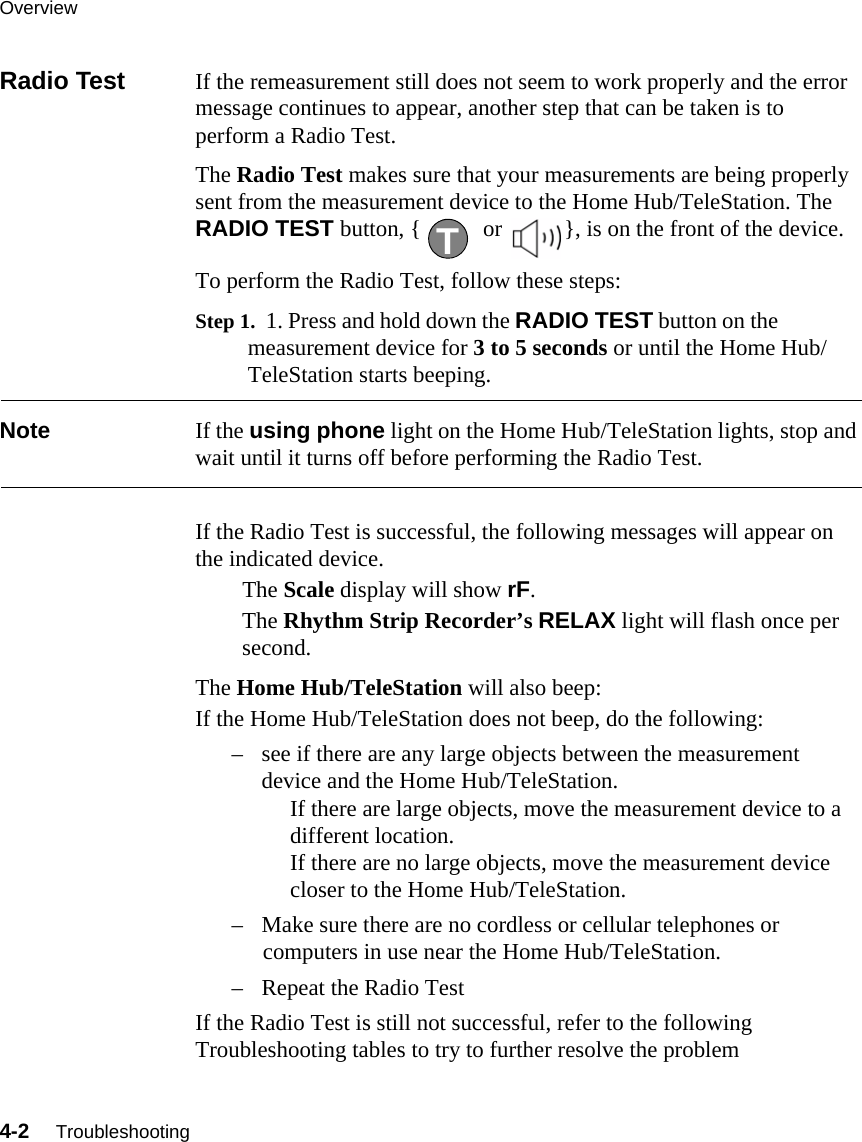
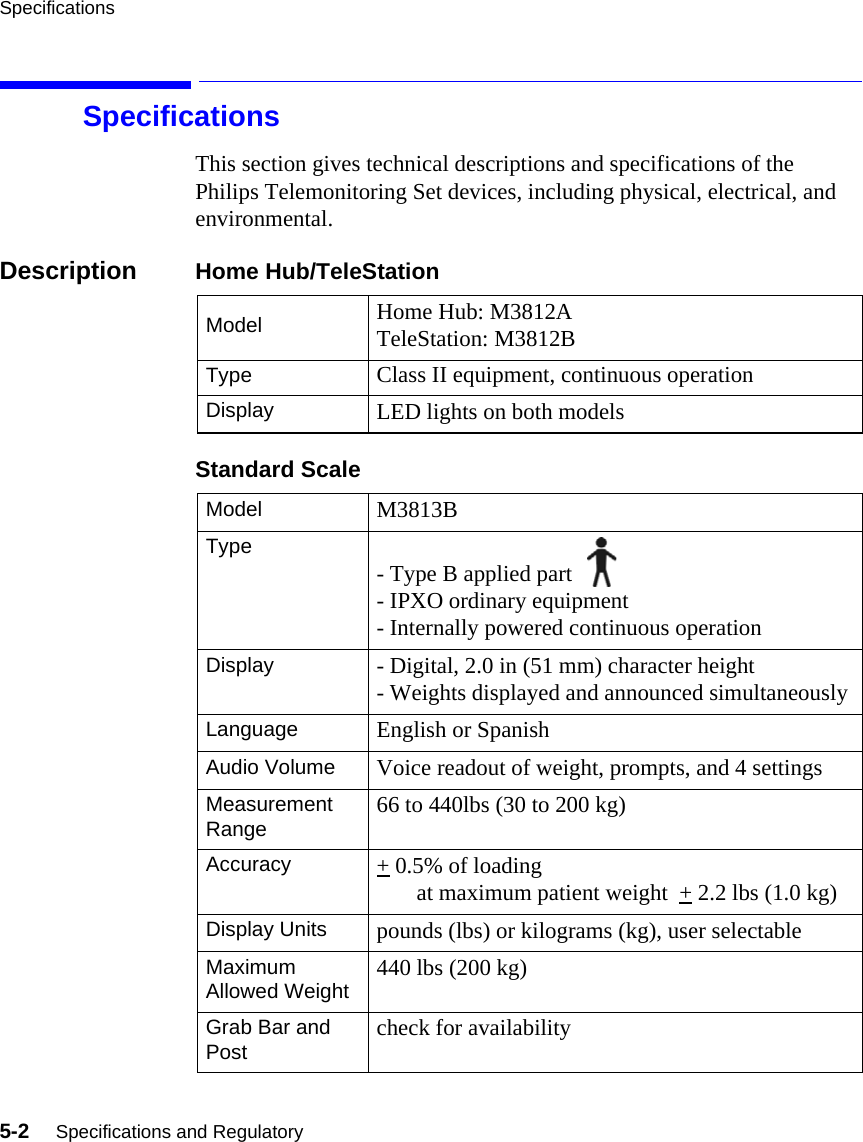
Philips Medical Systems North America M3813B Telemedicine Home Scale User Manual M3810 90096
Philips Medical Systems North America Co. Telemedicine Home Scale M3810 90096
UserManual.wiki
>
Philips Medical Systems North America
>
M3813B User Manual
users manual
Navigation menu
Upload a User Manual
Namespaces
Wiki Guide
HTML
PDF
Info
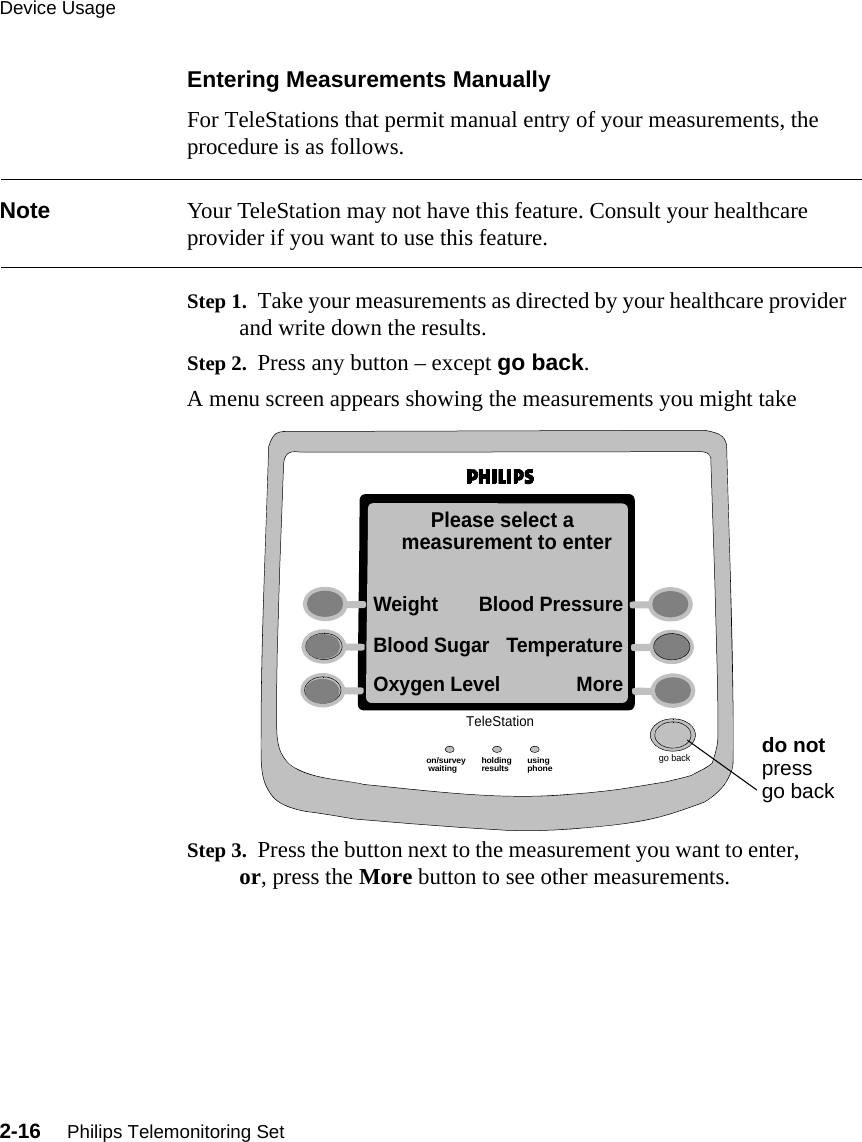
Views
User Manual
Discussion / Help
Navigation