Philips PC Software Windows Vista Readme File Spc530nc 00 Ptr Aen
PC Software Windows 7 Readme File spc530nc_00_s7r_aen SPC530NC/00 | Philips
PC Software Windows XP Readme File spc530nc_00_ppr_fra SPC530NC/00 | Philips
PC Software Windows Vista Readme File spc530nc_00_ptr_fra SPC530NC/00 | Philips
PC Software Windows 7 Readme File spc530nc_00_s7r_fra SPC530NC/00 | Philips
PC Software Windows XP Readme File spc530nc_00_ppr_jpn SPC530NC/00 | Philips
User Manual: Philips PC Software Windows Vista Readme File SPC530NC/00 | Philips
Open the PDF directly: View PDF ![]() .
.
Page Count: 6
Read Me file for Philips CamSuite 2.0
Purpose:
Use the new application software, Philips CamSuite 2.0, to enjoy the webcam features. Philips CamSuite
2.0 provides a quick access to the most used features and settings.
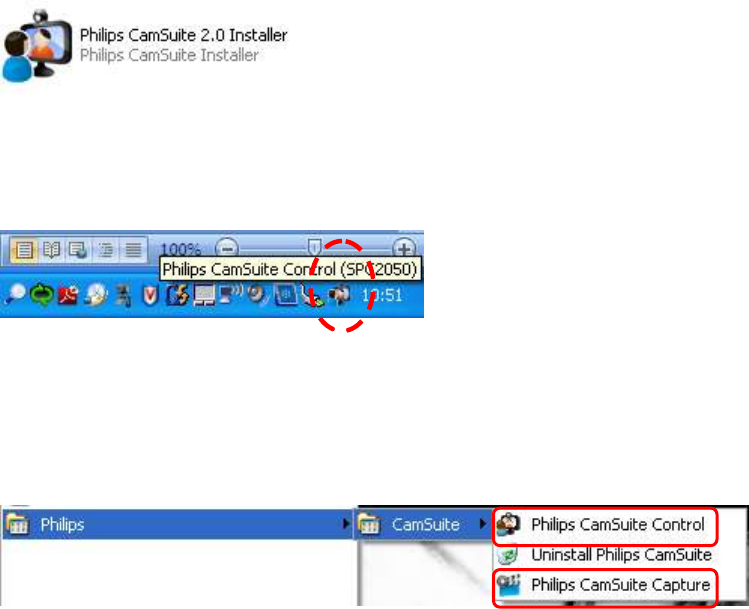
1. Download and Installation
Step 1: Click on the link (file name) to download the file. Click Run and it will install the application for
you!
Your application is now ready to be used! An icon will appear on the lower right corner of the screen
after the installation is finished, and you have connected your webcam, display model number is only as
example.
Step 2: In the Program files, go to Philips > CamSuite to see the Philips CamSuite Control and Capture
programs
2. Using your Philips CamSuite 2.0 application
Step 1: Launch the Philips CamSuite Control to easily access the different settings, features and controls
of your webcam.
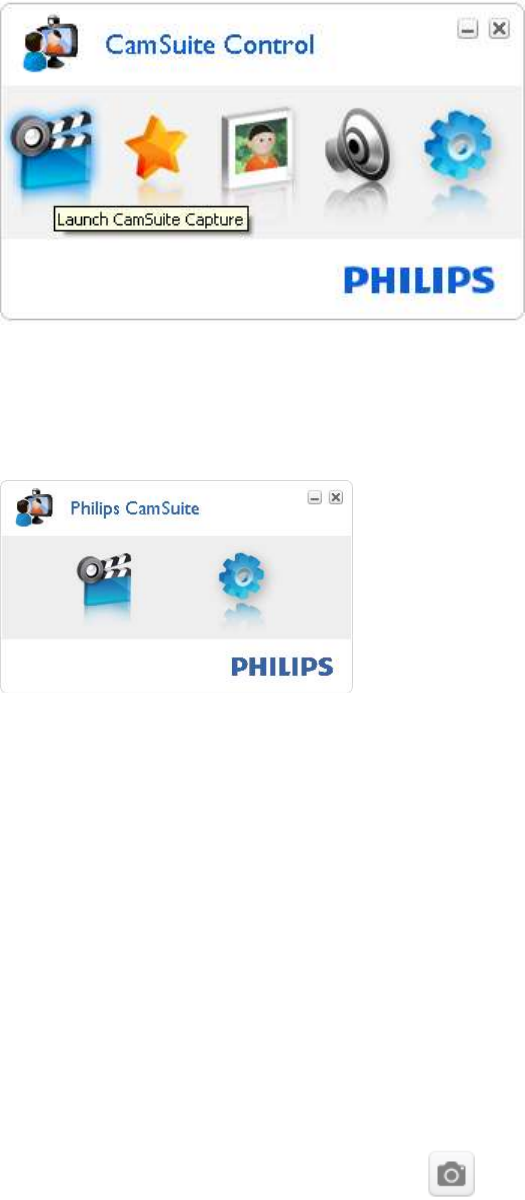
*Note that some interface icons may not be shown as above, as it depends on the features of your
webcam. Please install the webcam driver to enjoy the features.
If the webcam driver is not installed, the interface window will be as shown:
Step 2: Launch the Philips CamSuite Capture to start capturing your photos and recording videos!
You can also
Send the photos and videos by email
Adjust settings for photo, video, mute, and multimedia folders
Know the software version of Philips CamSuite
Tip
If you are already using the webcam in another application, you will not be able to see any image in the
viewer of Philips CamSuite Capture.
Take and view a photo
1 Aim the camera in a proper angle.
2 In the Philips CamSuite Capture window, click .
» A photo is taken and stored in the photo gallery (also in the selected photo folder on the PC/notebook).
• To view a photo in the photo gallery, double-click it.
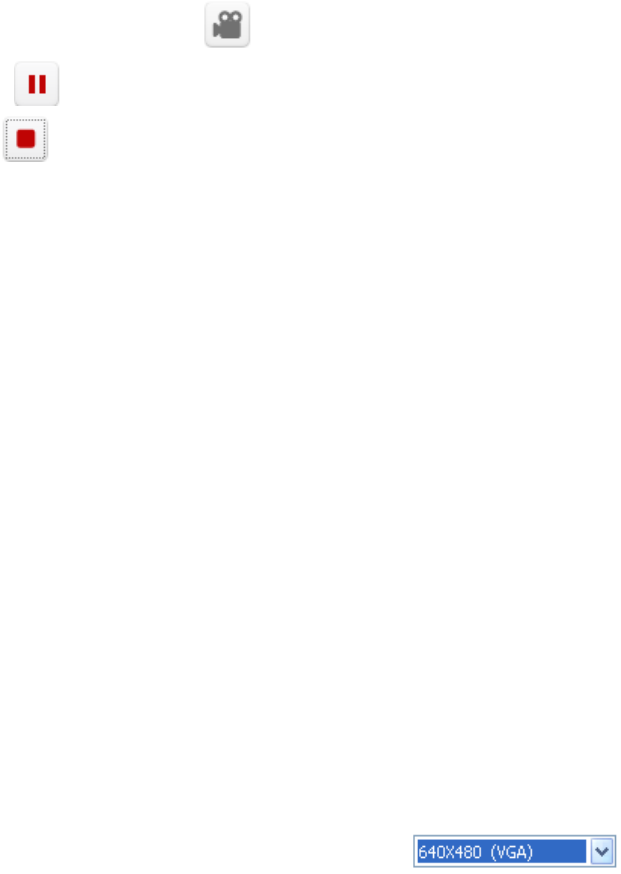
Record and play a video
Note
• I f you select any resolution higher than 640 x 480 (VGA), the recording icon is disabled.
You can select a lower resolution to enable recording.
1 Aim the camera as needed.
2 In the Philips CamSuite Capture window, click to start recording.
• To pause recording, click .
3 To stop recording, click .
» A video is recorded and stored in the video gallery (also in the selected in the video folder on the
PC/notebook).
• To play a video in the video gallery, double-click it.
Tip
• Before you play a video, ensure that you have a multimedia player installed on the PC/notebook.
Image resolution
You can set different image resolutions for photos/videos taken via the webcam:
• 160 x 120 (SQVGA)
• 176 x 144 (QCIF)
• 320 x 240 (E-mail size)
• 352 x 288 (CIF)
• 640 x 480 (VGA)
• 1280 x 1024 (1.3 MP, for photo only)
• ….
Note
• For video recording, the maximum resolution is up to 640 x 480 (VGA).
The resolution settings may vary—can even be higher, depends on your webcam properties.
1 In the Philips CamSuite Capture window, click the drop-down arrow.
» The provided resolution options are listed.
2 Select a preferred resolution option.
• To apply another resolution setting, repeat Step 1 and Step 2.
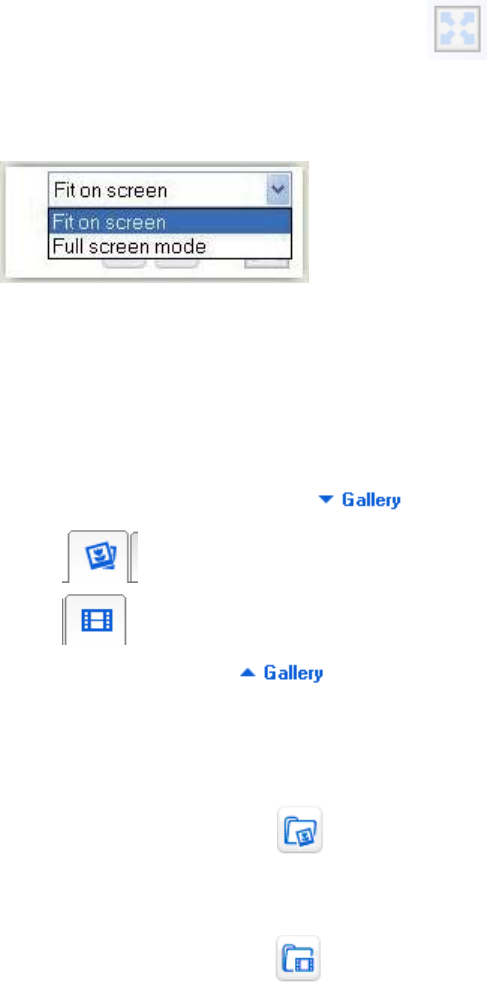
Screen mode
Via Philips CamSuite Capture, you can view a photo or play a video in different modes:
• Normal screen mode
• Full screen mode
• Fit on screen
1 In the Philips CamSuite Capture window, click to switch between modes, from
[Normal screen mode] to [Full screen mode] / [Fit on screen] or from
[Full screen mode] / [Fit on screen] to [Normal screen mode] .
» You can select [ Fit on screen] or [ Full screen mode] in the drop down list.
Gallery
Photos and videos taken via the webcam are stored in the photo or video gallery and in the selected
photo or video folder (multimedia folders).
To access the gallery:
1 In Philips CamSuite Capture, click to show gallery.
2 Click to show the photo gallery.
• Click to show the video gallery.
• To hide the gallery, click.
Open the photo/video folder
In the photo gallery:
1 Select a photo and then click to open the photo folder.
In the video gallery:
1 Select a video and then click to open the video folder.
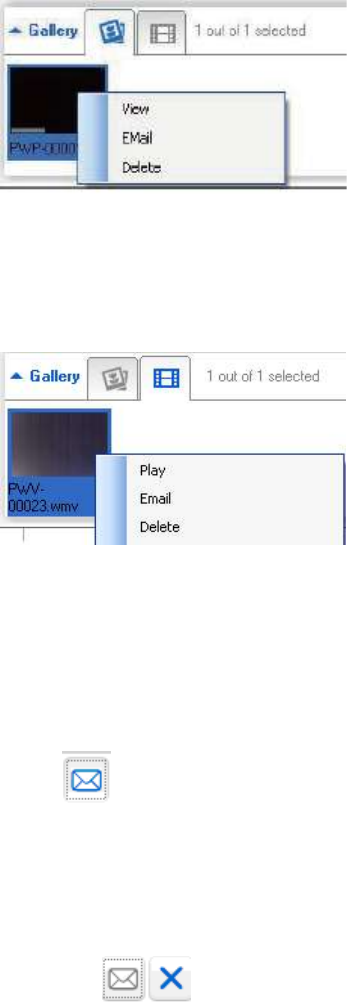
Photo/Video menu
To display the photo/video menu via rightclick on the mouse :
1 In the photo/video gallery, select a photo/video.
2 Right-click the mouse.
» The photo/video menu is displayed.
3 Select an option to continue.
Options on the photo menu:
• *View+: To view the selected photo(s)
• *Email+: To send the selected photo(s) via email
• *Delete+: To delete the selected photo(s)
Options on the video menu :
• *Play+: To play the selected video(s)
• *Email+: To send the selected video(s) via email
• *Delete+: To delete the selected video(s)
Send photo(s)/video(s) via email
1 In the photo/video gallery, select photo(s)/video(s) that you want to send via email.
2 Click .
» An email message is displayed with the selected photo(s)/video(s) attached.
3 Send the email.
Delete photo(s)/video(s) from the gallery
1 In the photo/video gallery, select photo(s)/video(s) that you want to delete.
2 Click “X” .
3 In the pop-up window, click [Yes].

» The selected photo(s)/video(s) are deleted from the gallery.
To cancel the deletion, click [ No] in the pop-up window.
