Pioneer T103 Digital wireless speaker system transmitter User Manual XV HTD640
Pioneer Corporation Digital wireless speaker system transmitter XV HTD640
UserManual.wiki
>
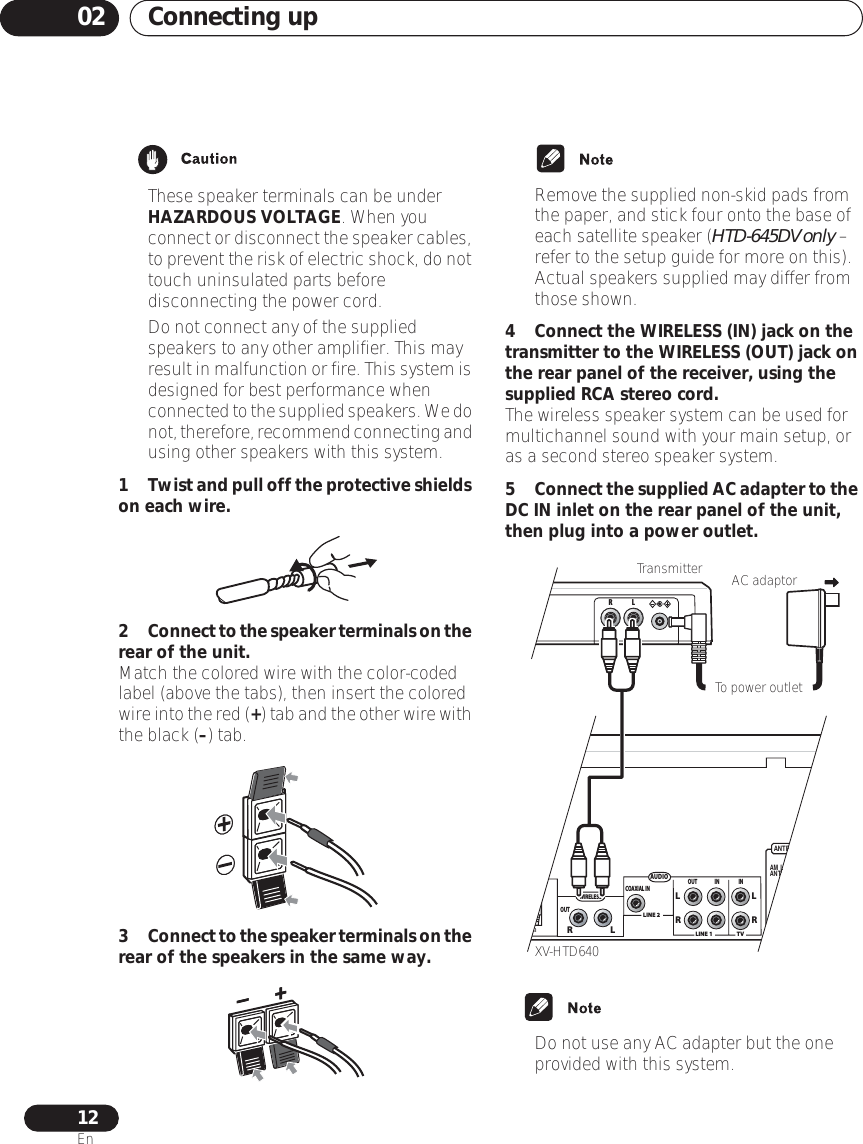
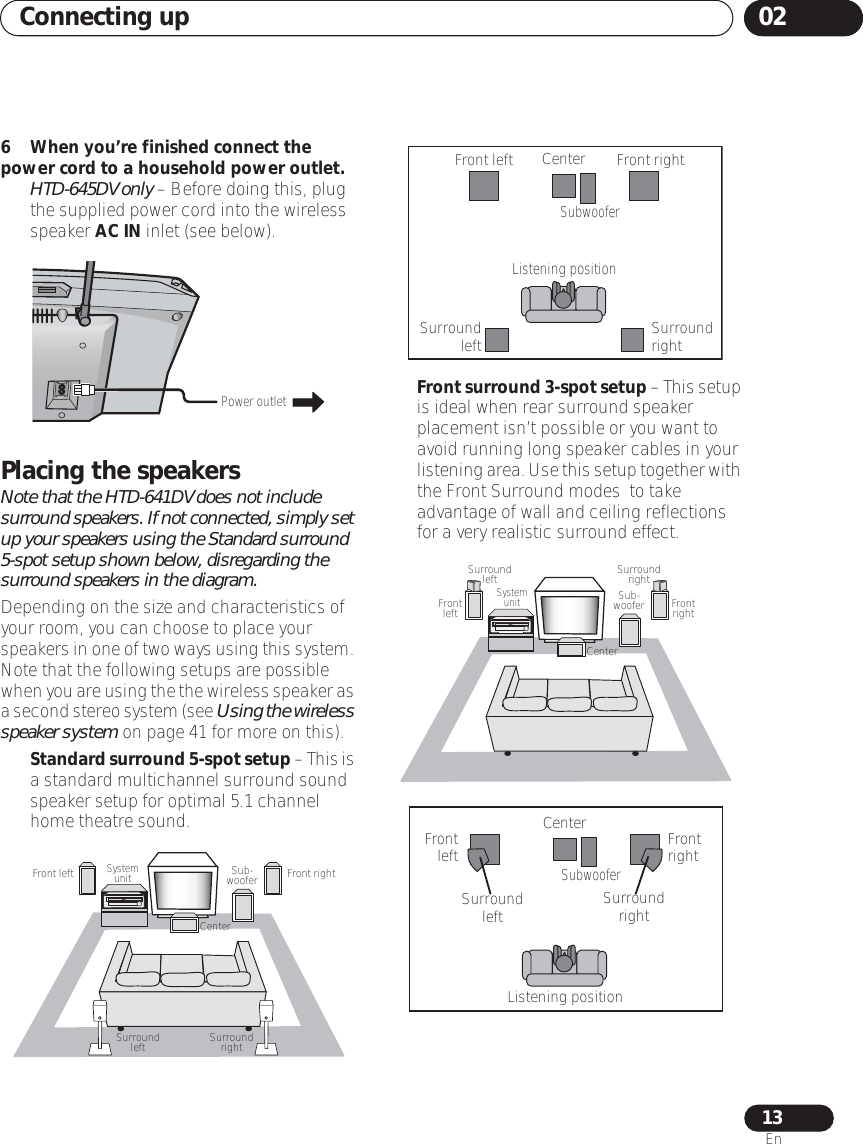
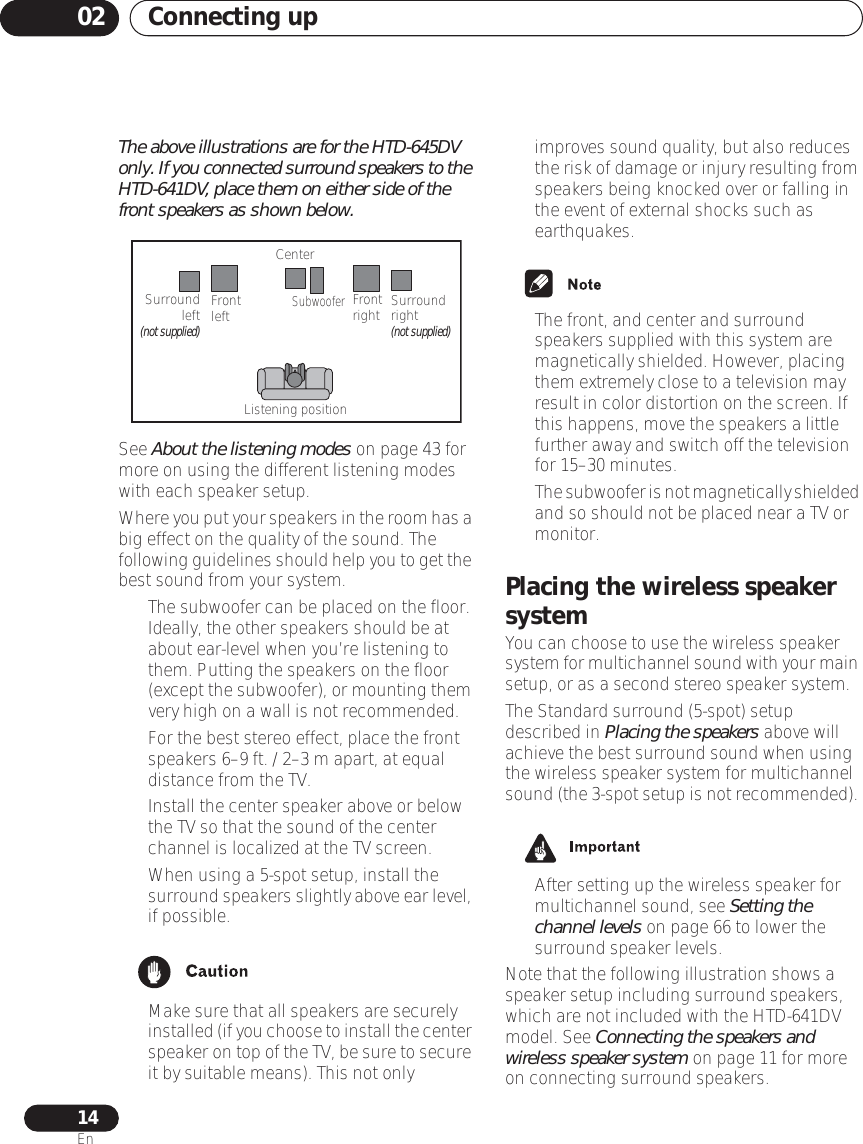
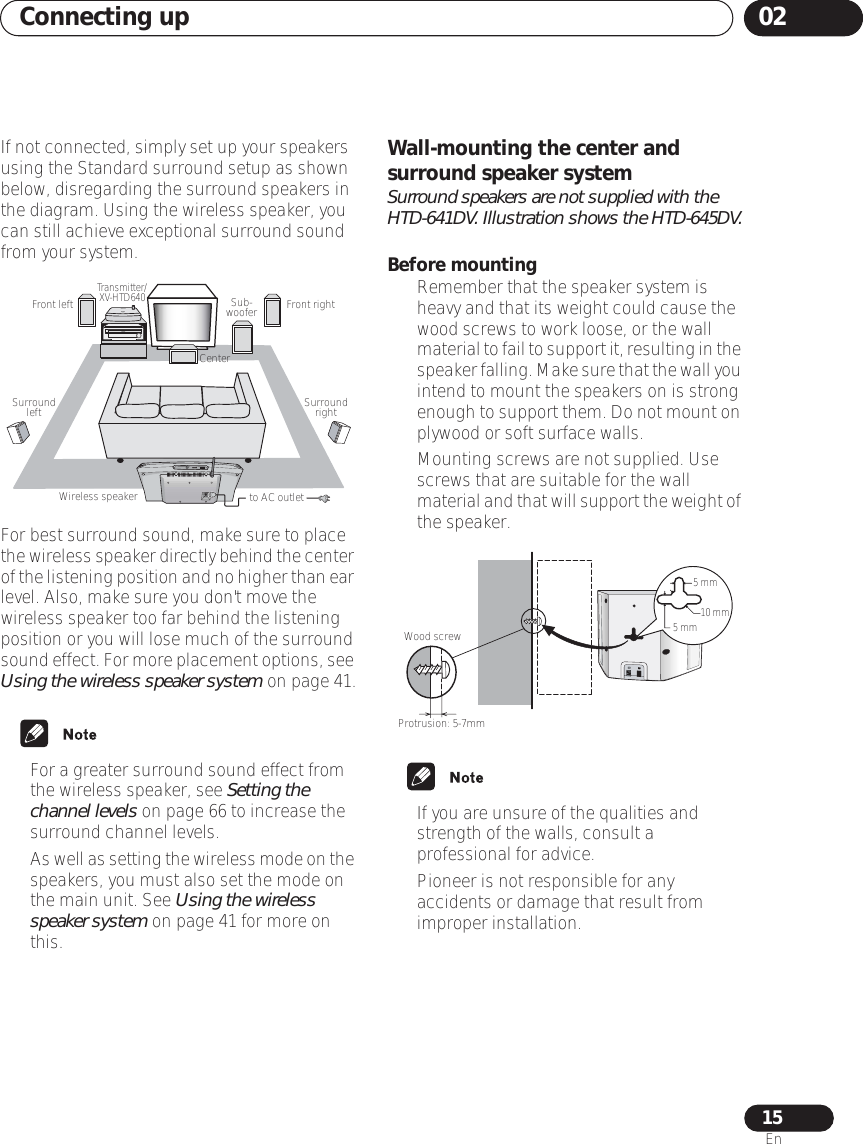
Pioneer
>
T103 User Manual
Users manual
Navigation menu
Upload a User Manual
Namespaces
Wiki Guide
HTML
PDF
Info
Views
User Manual
Discussion / Help
Navigation

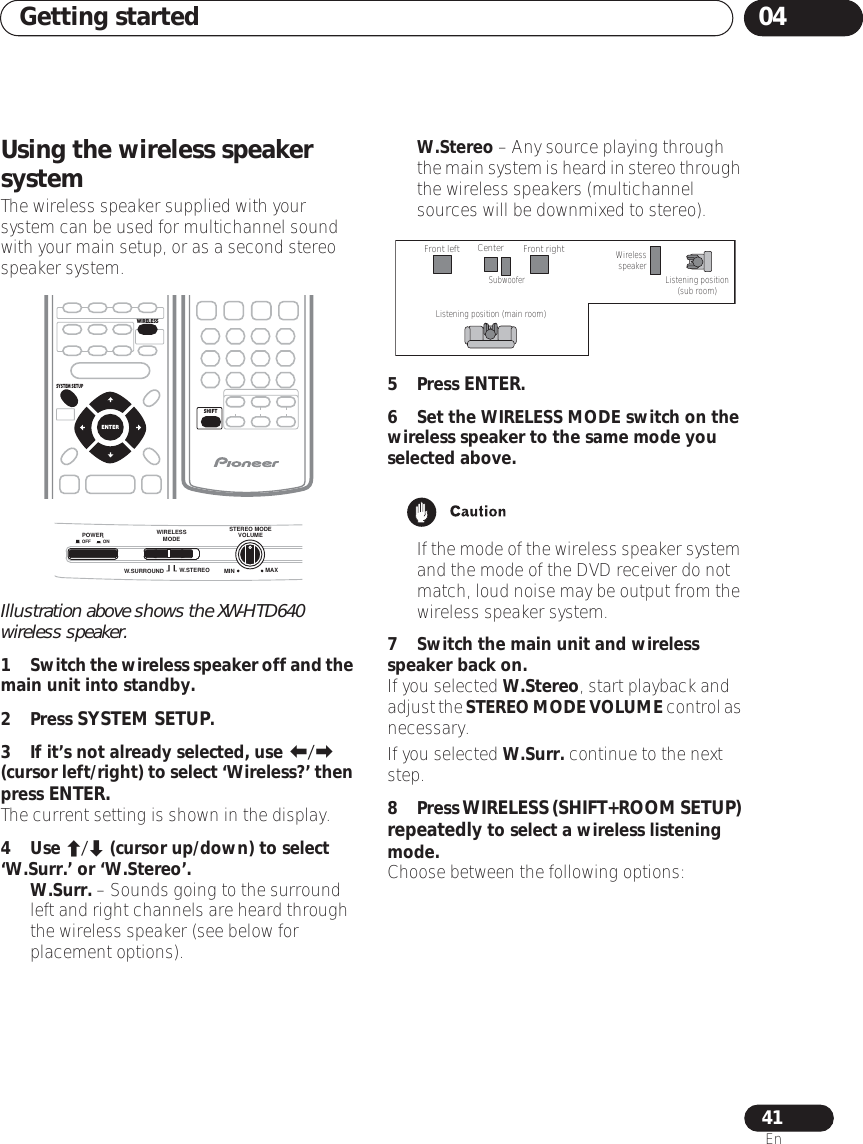
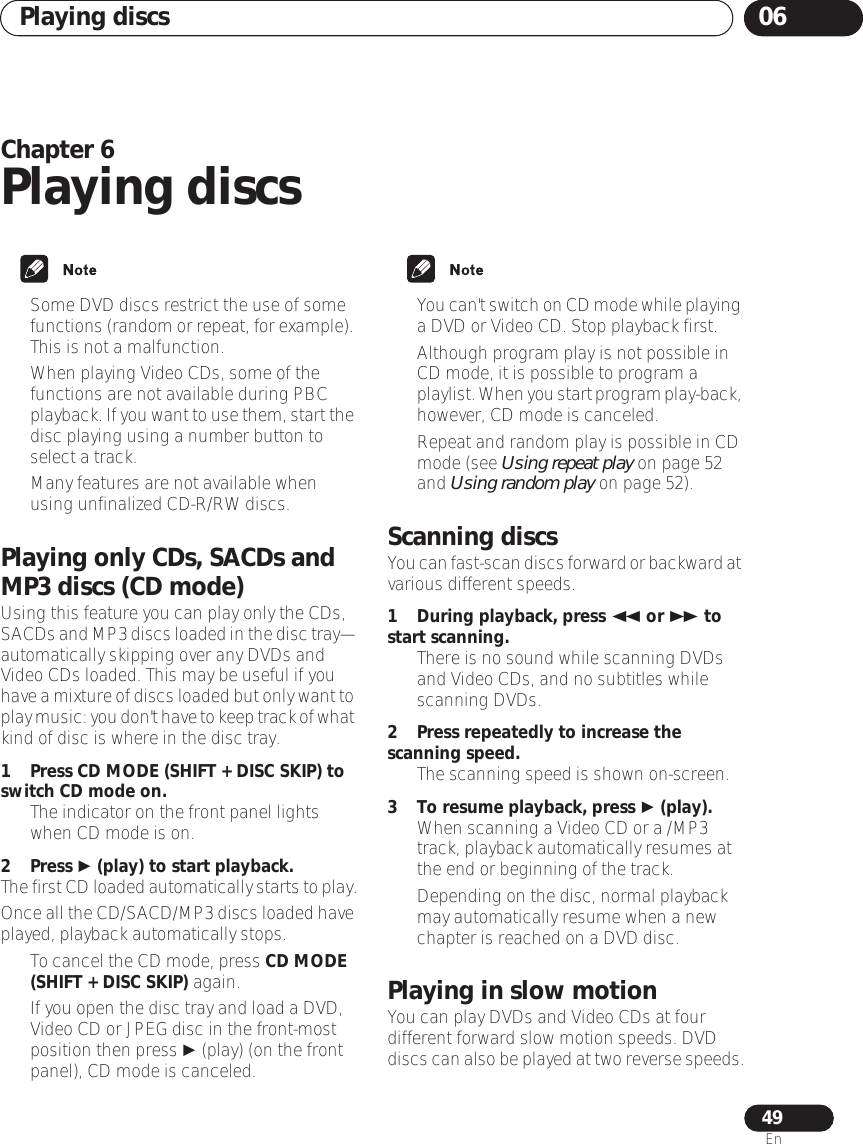
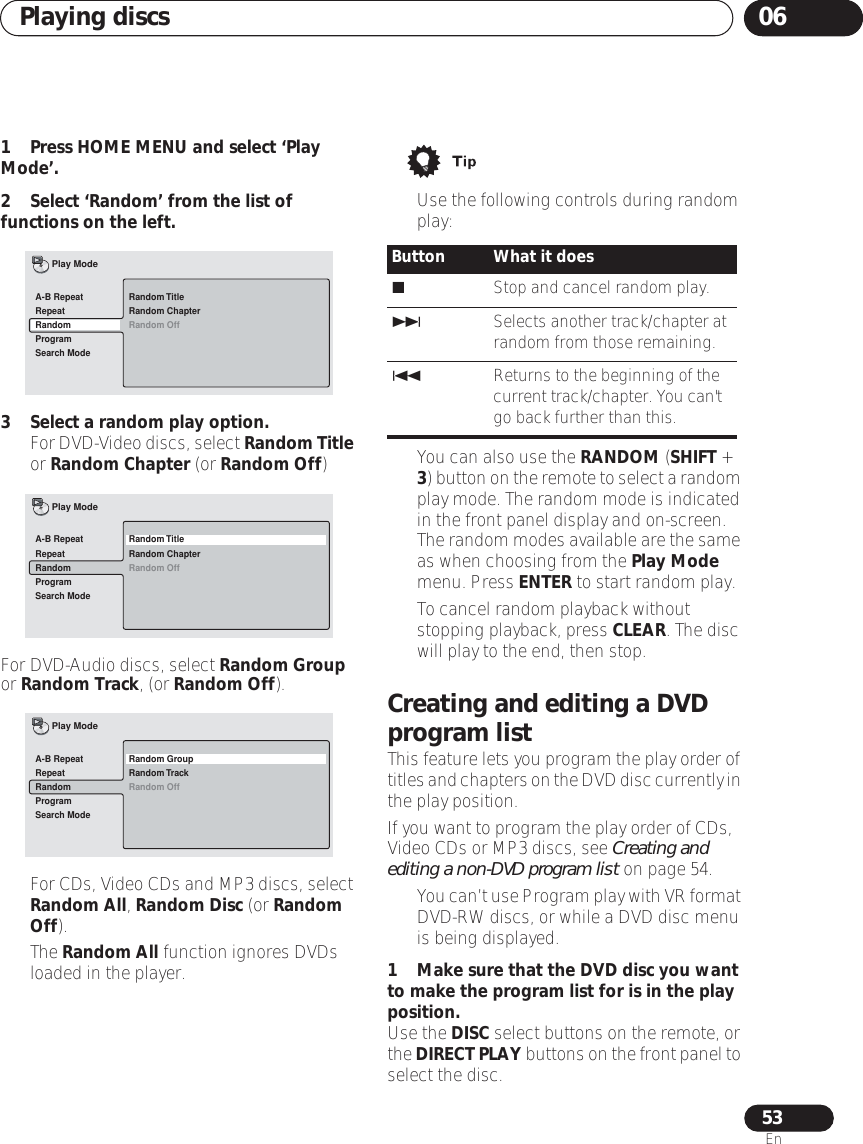
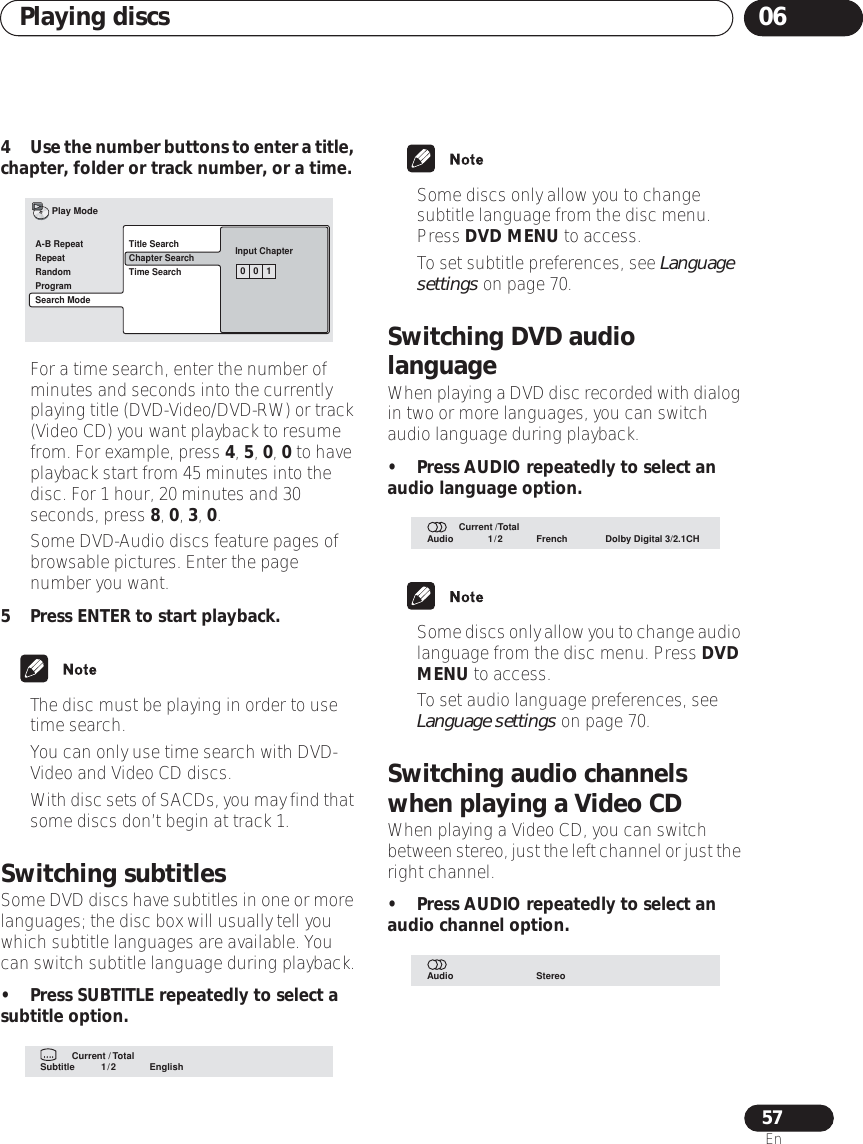
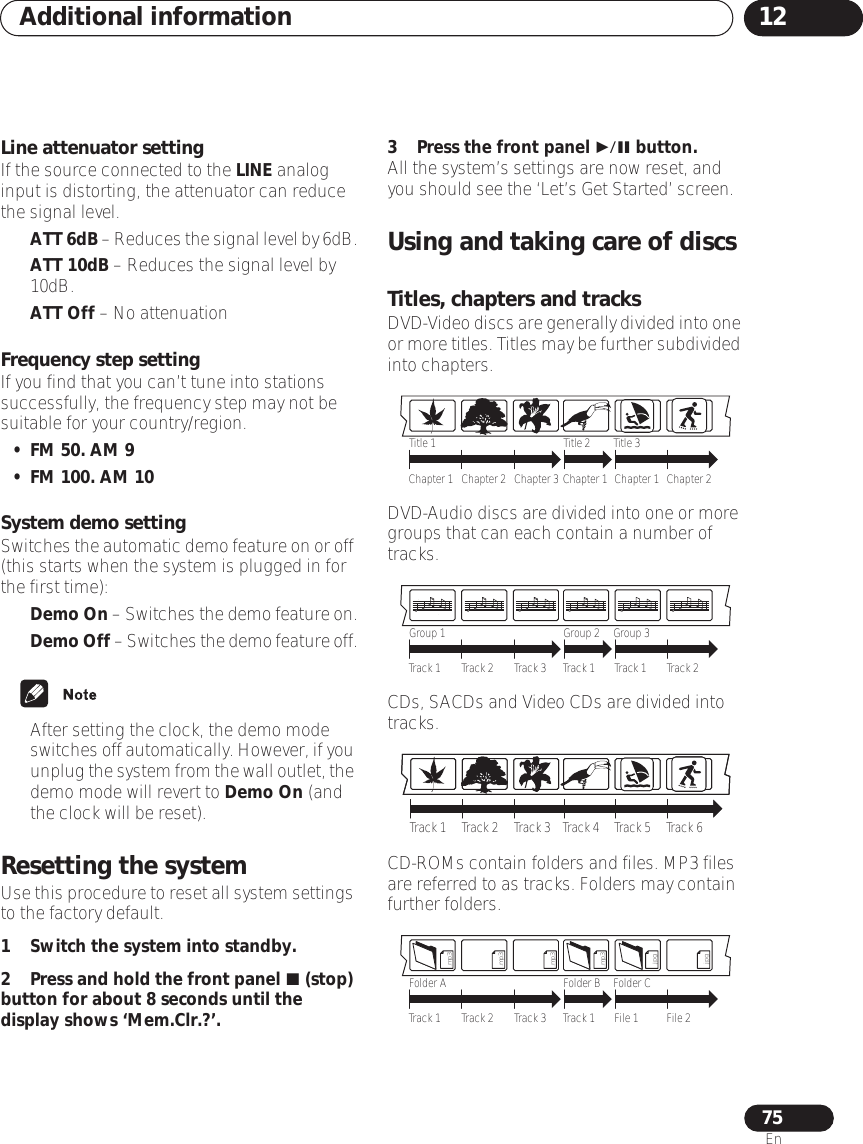
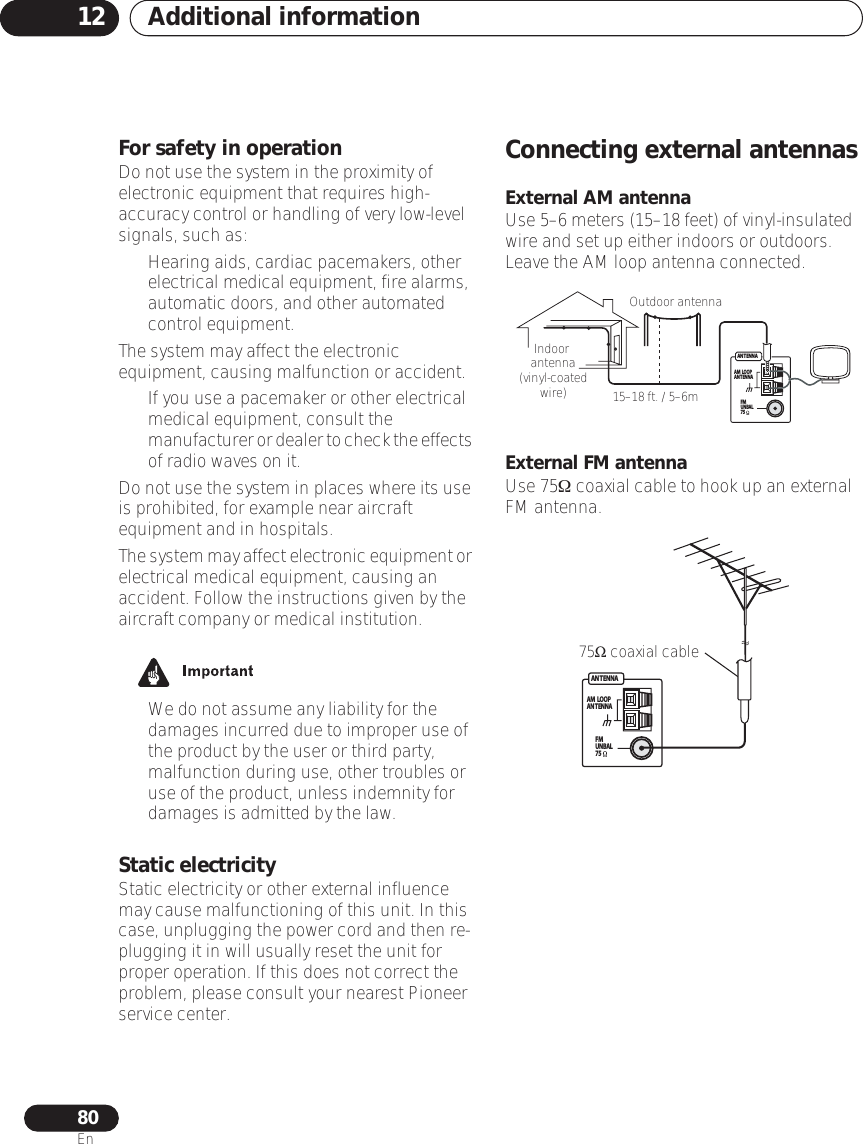
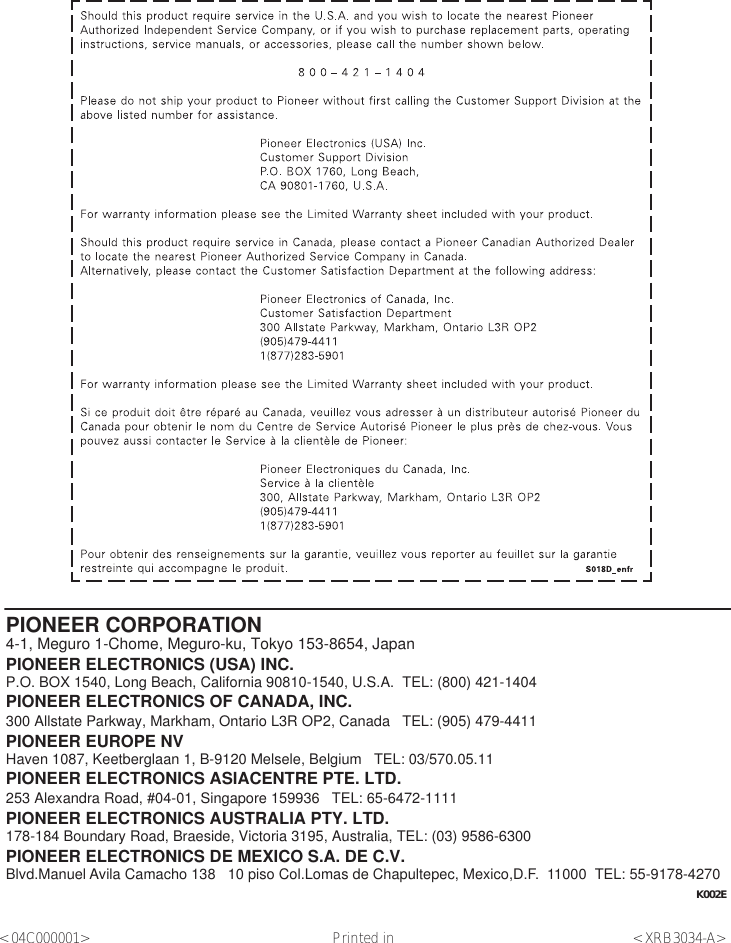
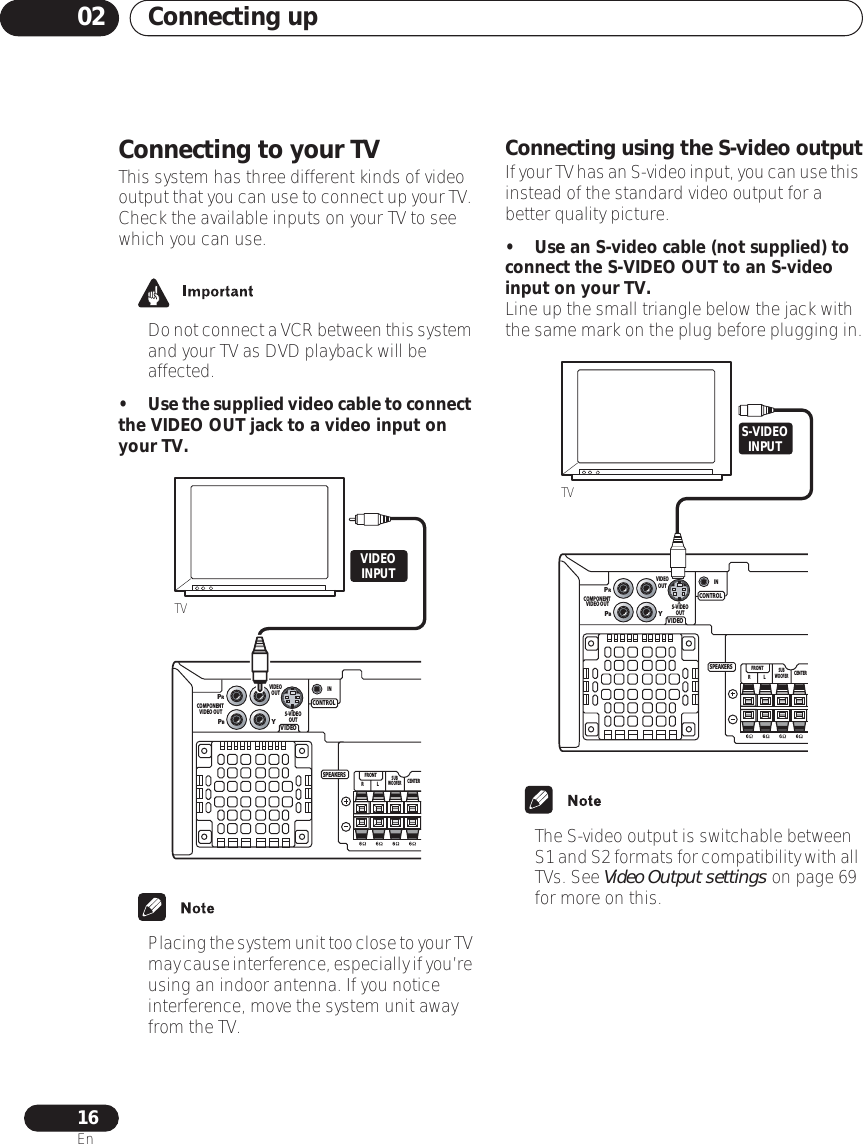
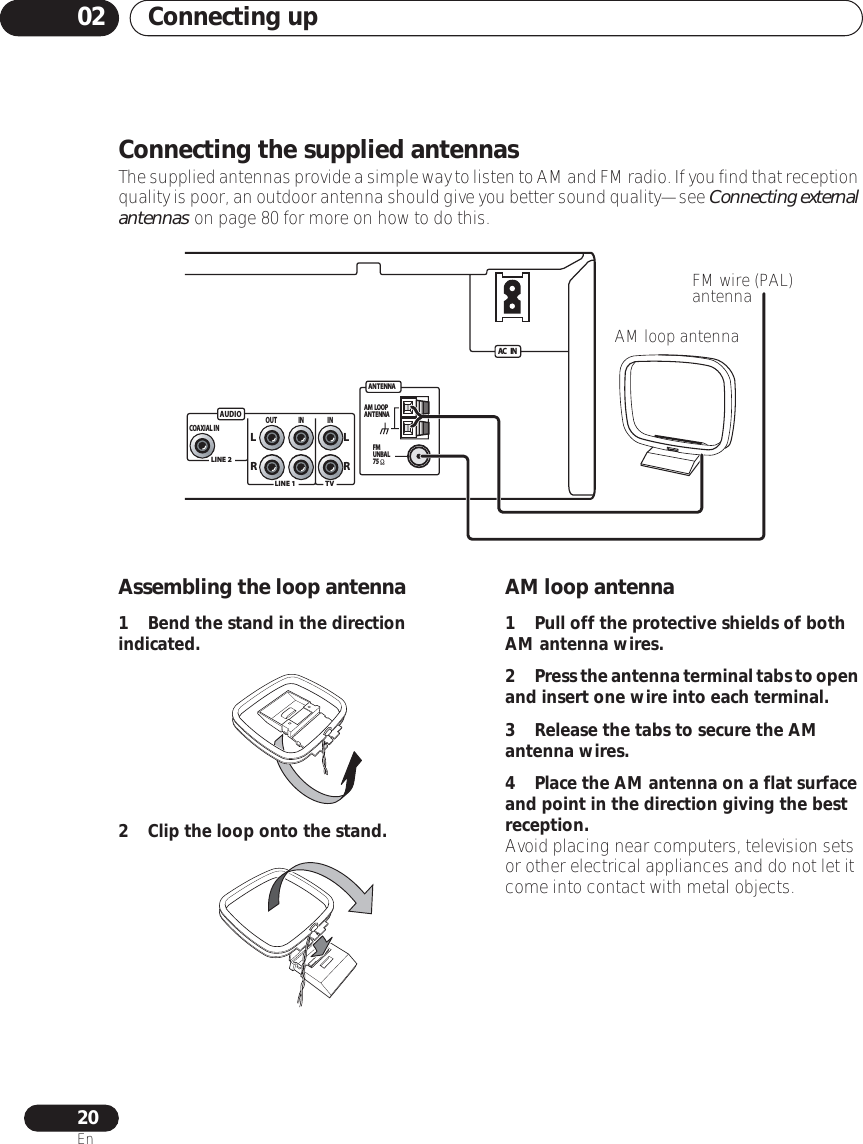
![The exclamation point within an equilateral triangle is intended to alert the user to the presence of important operating and maintenance (servicing) instructions in the literature accompanying the appliance. The lightning flash with arrowhead, within an equilateral triangle, is intended to alert the user to the presence of uninsulated "dangerous voltage" within the product's enclosure that may be of sufficient magnitude to constitute a risk of electric shock to persons.CAUTION:TO PREVENT THE RISK OF ELECTRIC SHOCK, DO NOT REMOVE COVER (OR BACK). NO USER-SERVICEABLE PARTS INSIDE. REFER SERVICING TO QUALIFIED SERVICE PERSONNEL.CAUTIONRISK OF ELECTRIC SHOCKDO NOT OPEND1-4-2-3_EnWARNING – TO PREVENT FIRE OR SHOCK HAZARD, DO NOT EXPOSE THIS APPLIANCE TO RAIN OR MOISTURE. D1-4-2-1_EnIMPORTANT NOTICE – THE SERIAL NUMBER FOR THIS EQUIPMENT IS LOCATED IN THE REAR. PLEASE WRITE THIS SERIAL NUMBER ON YOUR ENCLOSED WARRANTY CARD AND KEEP IN A SECURE AREA. THIS IS FOR YOUR SECURITY. D1-4-2-6-1_EnNOTE: This equipment has been tested and found to comply with the limits for a Class B digital device, pursuant to Part 15 of the FCC Rules. These limits are designed to provide reasonable protection against harmful interference in a residential installation. This equipment generates, uses, and can radiate radio frequency energy and, if not installed and used in accordance with the instructions, may cause harmful interference to radio communications. However, there is no guarantee that interference will not occur in a particular installation. If this equipment does cause harmful interference to radio or television reception, which can be determined by turning the equipment off and on, the user is encouraged to try to correct the interference by one or more of the following measures:– Reorient or relocate the receiving antenna.– Increase the separation between the equipment and receiver.– Connect the equipment into an outlet on a circuit different from that to which the receiver is connected.– Consult the dealer or an experienced radio/TV technician for help. D8-10-1-2_EnFor U.S. and Australia ModelC67-7-3_EnCAUTION – PREVENT ELECTRIC SHOCK DO NOT USE THIS (POLARIZED) PLUG WITH AN EXTENSION CORD. RECEPTACLE OR OTHER OUTLET UNLESS THE BLADES CAN BE FULLY INSERTED TO PREVENT BLADE EXPOSURE.ATTENTION –POUR PREVENIR LES CHOCS ELECTRIQUES NE PAS UTILISER CETTE FICHE POLARISEE AVEC UN PROLONGATEUR UNE PRISE DE COURANT OU UNE AUTRE SORTIE DE COURANT, SAUF SI LES LAMES PEUVENT ETRE INSEREES A FOND SANS EN LAISSER AUCUNE PARTIE A DECOUVVERT.D2-4-4-1_EFEnergy-saving designThis system is designed to use 0.5W ofelectricity when power is switched tostandby.[Excluding XW-HTD630/640][For Canadian model only] [Pour le modèle Canadien]](https://usermanual.wiki/Pioneer/T103/User-Guide-425397-Page-2.png)
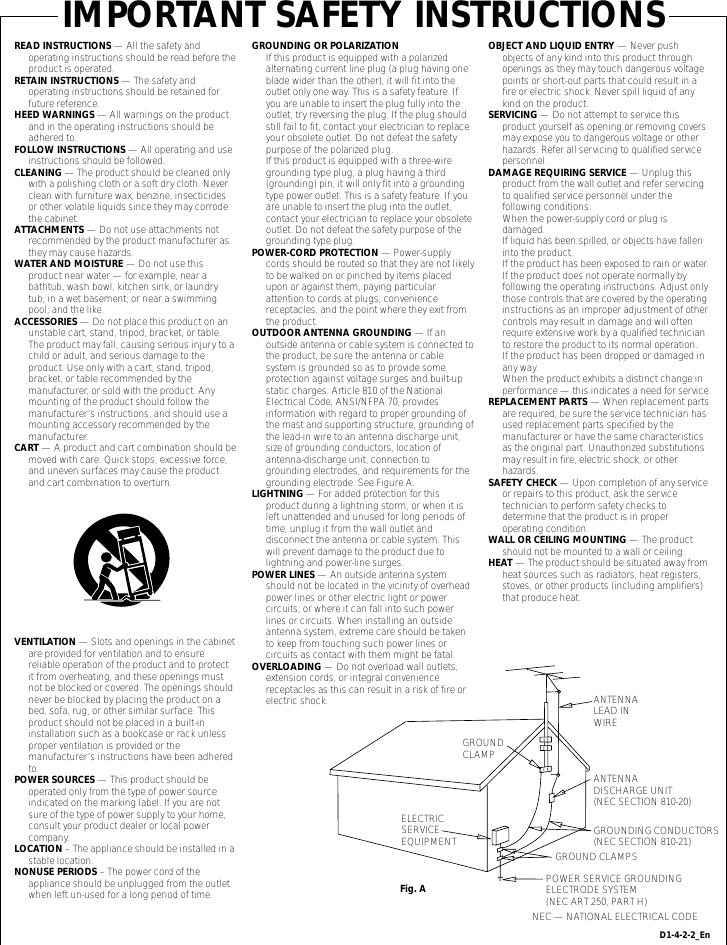
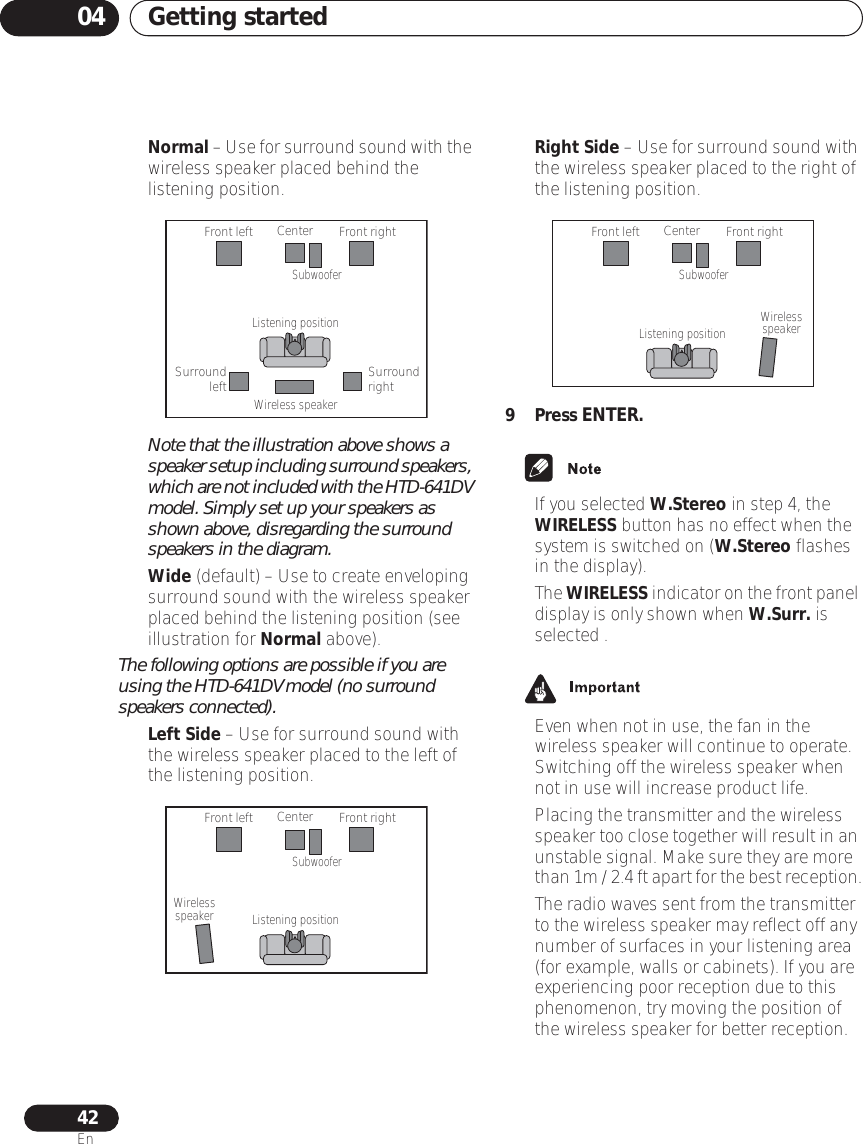
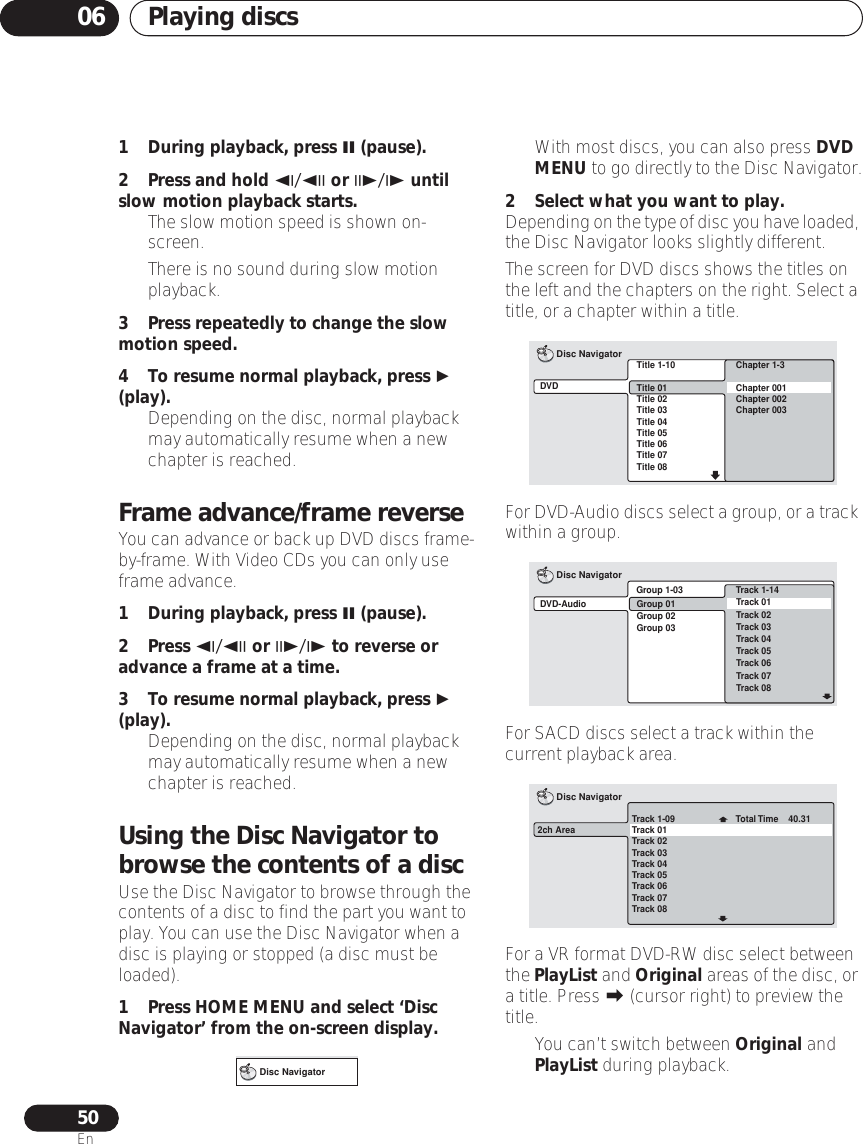
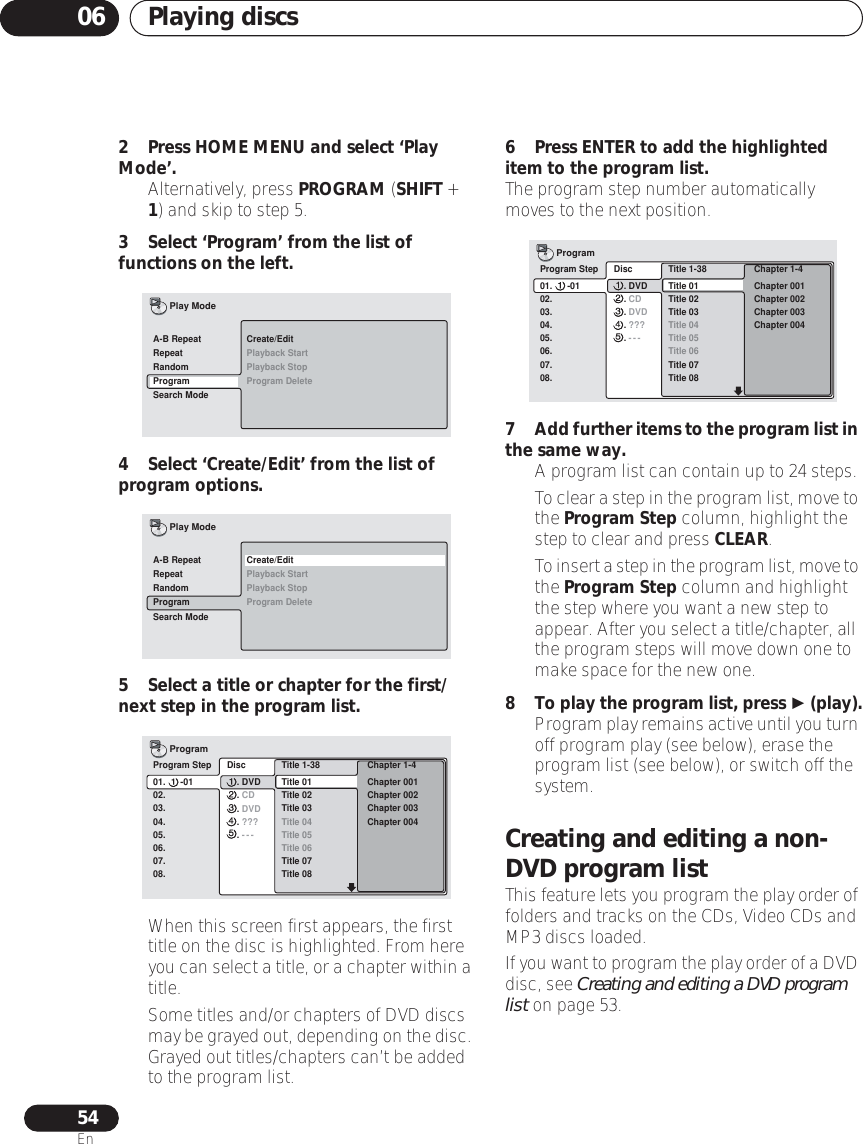
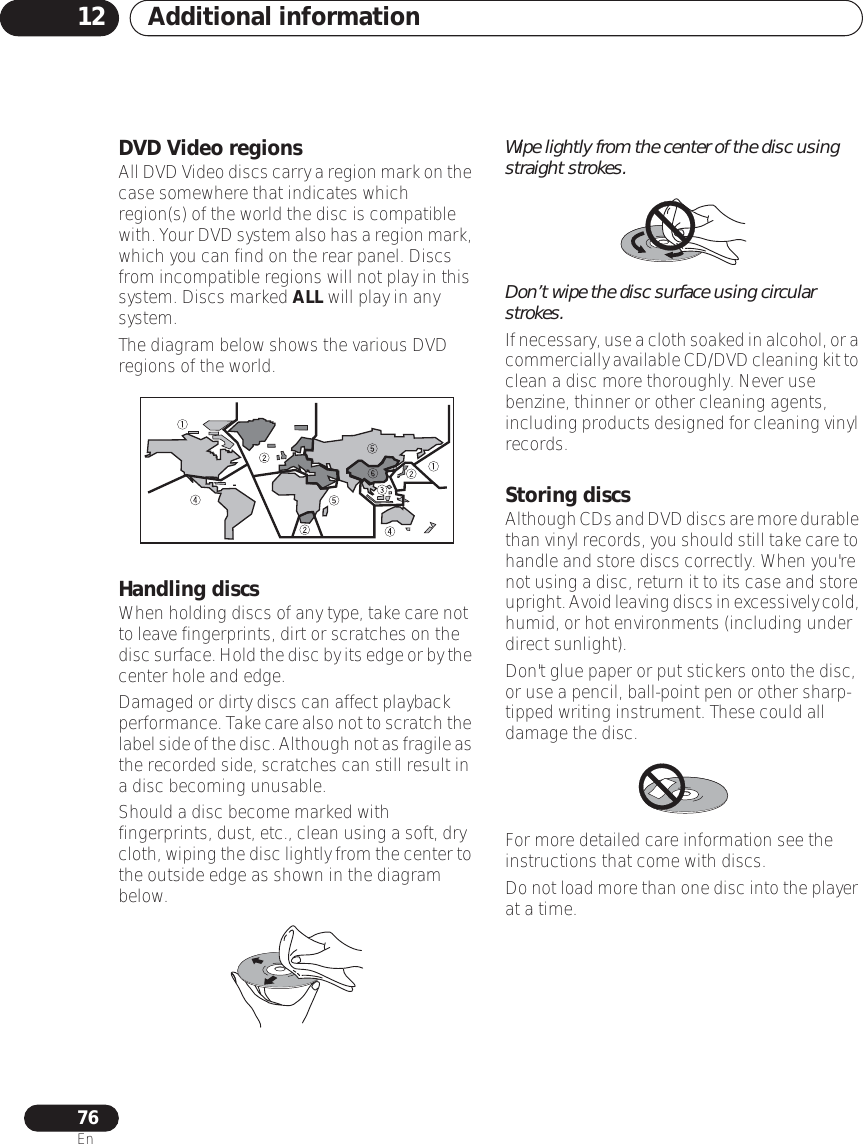
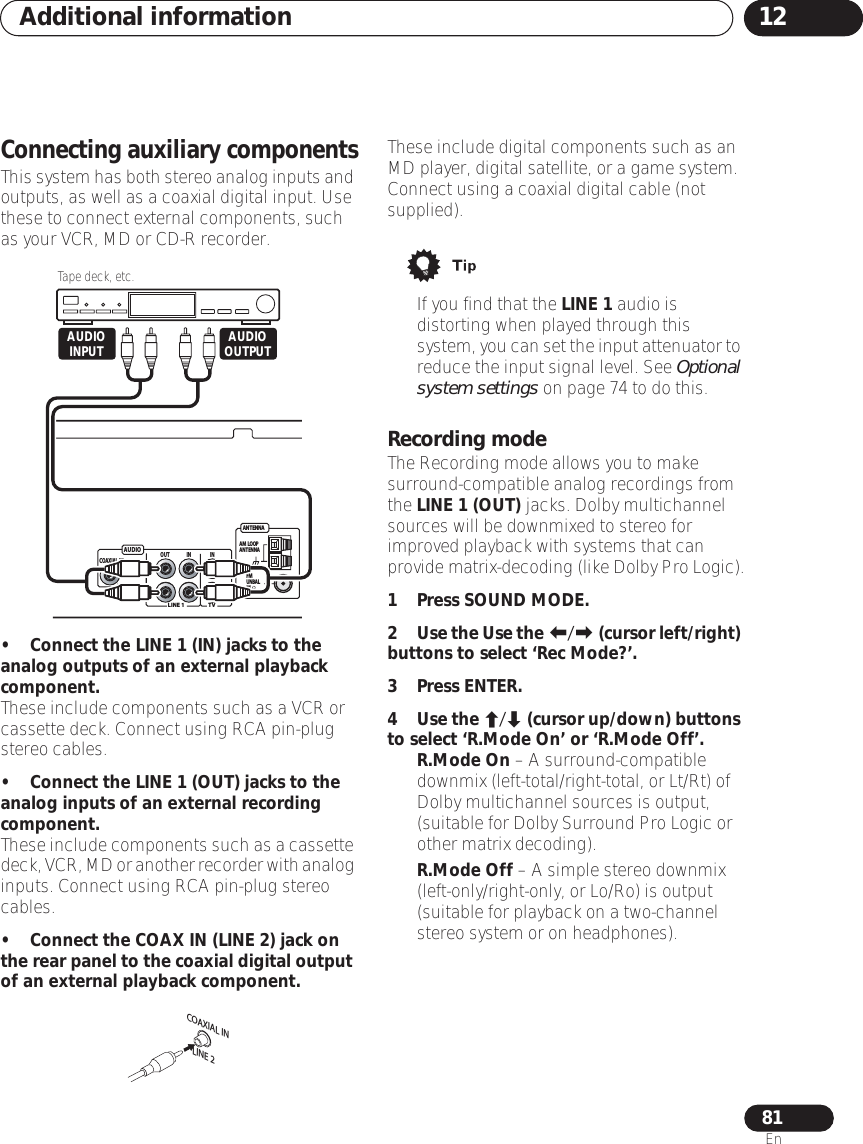
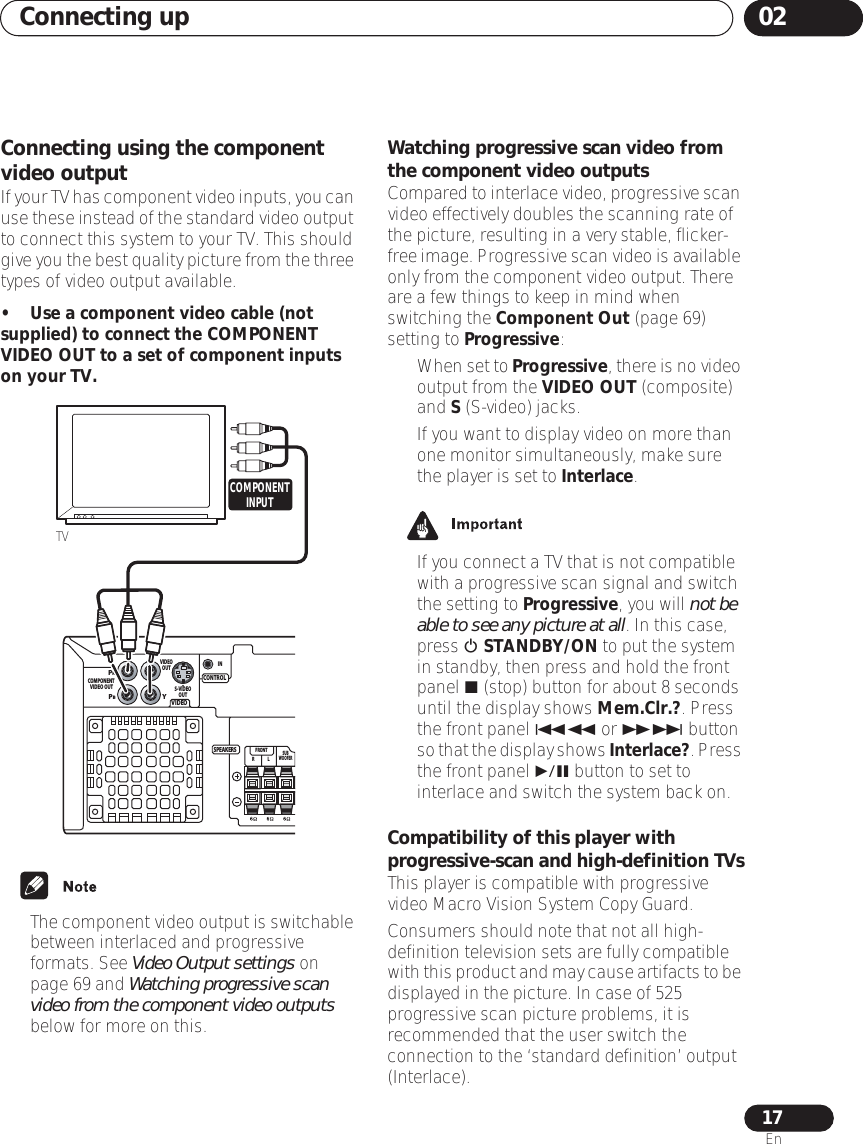
![This product is for general household purposes.Any failure due to use for other than householdpurposes (such as long-term use for businesspurposes in a restaurant or use in a car or ship)and which requires repair will be charged foreven during the warranty period. K041_EnThis product incorporates copyright protectiontechnology that is protected by method claimsof certain U.S. patents and other intellectualproperty rights owned by MacrovisionCorporation and other rights owners. Use ofthis copyright protection technology must beauthorized by Macrovision Corporation, and isintended for home and other limited viewinguses only unless otherwise authorized byMacrovision Corporation. Reverse engineeringor disassembly is prohibited.This Class B digital apparatus complies with Canadian ICES-003.Cet appareil numérique de la Classe B est conforme à la norme NMB-003 du Canada. D8-10-1-3_EFInformation to UserAlteration or modifications carried out without appropriate authorization may invalidate the user’s right to operate the equipment. D8-10-2_EnCAUTION : USE OF CONTROLS OR ADJUSTMENTS OR PERFORMANCE OF PROCEDURES OTHER THAN THOSE SPECIFIED HEREIN MAY RESULT IN HAZARDOUS RADIATION EXPOSURE.CAUTION : THE USE OF OPTICAL INSTRUMENTS WITH THIS PRODUCT WILL INCREASE EYE HAZARD. D6-8-2-1_En[For XW-HTD630 and XW-HTD640 only][For U.S. model]Changes or modifications not expresslyapproved by the manufacturer (partyresponsible) for Compliance could not voidthe user’s authority to operate the equipment.[For Canadian model]Operation is subject to the following twoconditions: (1) this device may not causeinterference, and (2) this device must acceptany interference, including interference thatmay cause undesired operation of the device.[Pour le modèle Canadien]L’utilisation de l’appareil est soumise aux deuxconditions suivantes: (1) il ne provoque pas debrouillage, et (2) il peut supporter tous lesbrouillages, y compris ceux qui sont en mesurede provoquer une anomalie de fonc-tionnementde l’appareil.[For Canadian model]To prevent radio interference to the licensed ser-vice, this device is intended to be operated in-doors and away from windows to provide maxi-mum shielding. Equipment (or its transmit an-tenna) that is installed outdoors is subject to li-censing.[Pour le modèle Canadien]Pour éviter le brouillage radioélectrique desémetteurs ayant une licence, cet appareil doitêtre utilisé à l’intérieur des habitations et loindes fenêtres de manière à assurer la protec-tionmaximale. Un équipement (ou son antenned’émission) lorsqu’il est installé à l’extérieur nepeut être utilisé qu’après obten-tion d’une licence.WARNING: Handling the cord on this product or cords associated with accessories sold with the product will expose you to lead, a chemical known to the State of California and other governmental entities to cause cancer and birth defects or other reproductive harm.D36-P4_EnWash hands after handling[Excluding XW-HTD630/640] [For Canadian model only] [Pour le modèle Canadien]](https://usermanual.wiki/Pioneer/T103/User-Guide-425397-Page-4.png)
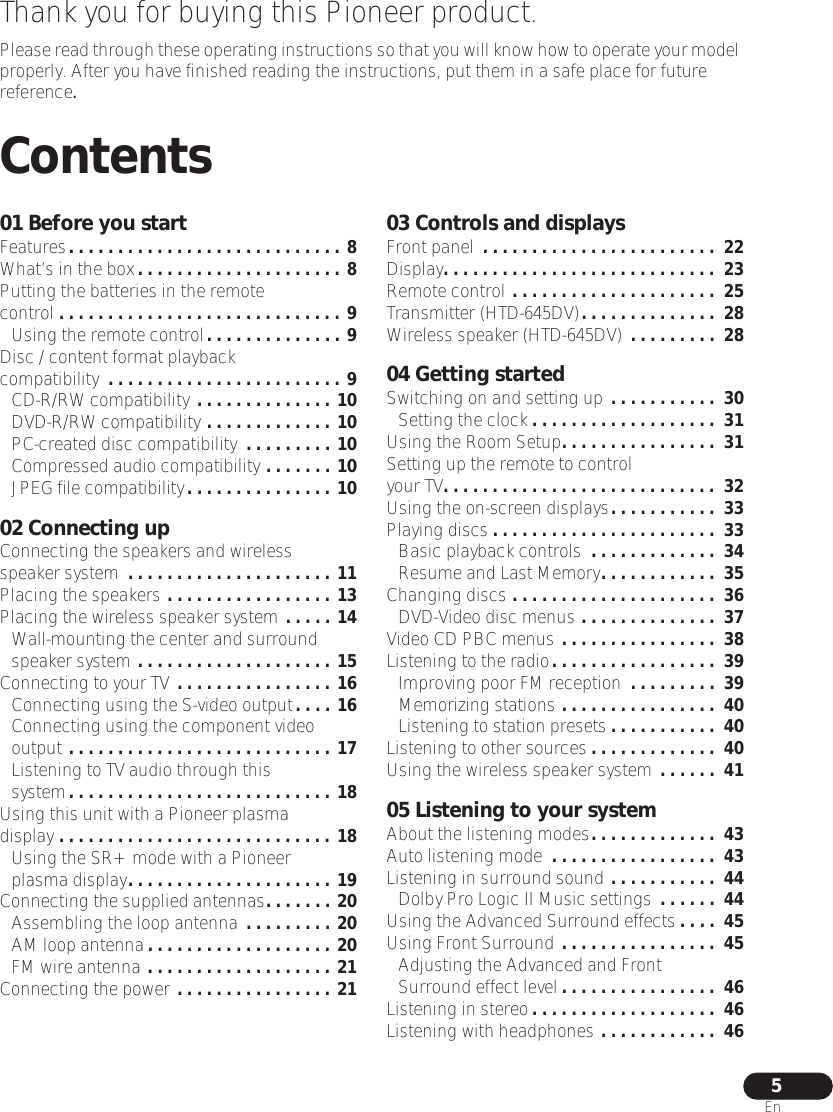

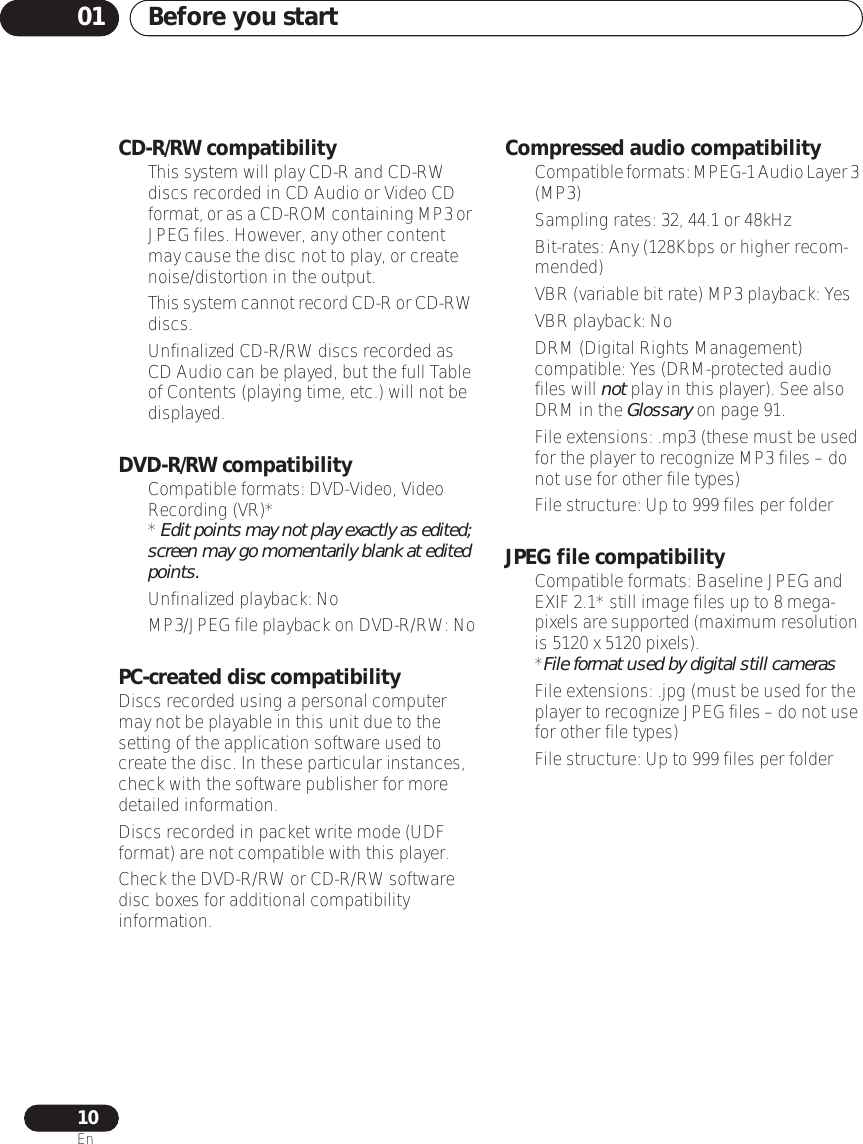
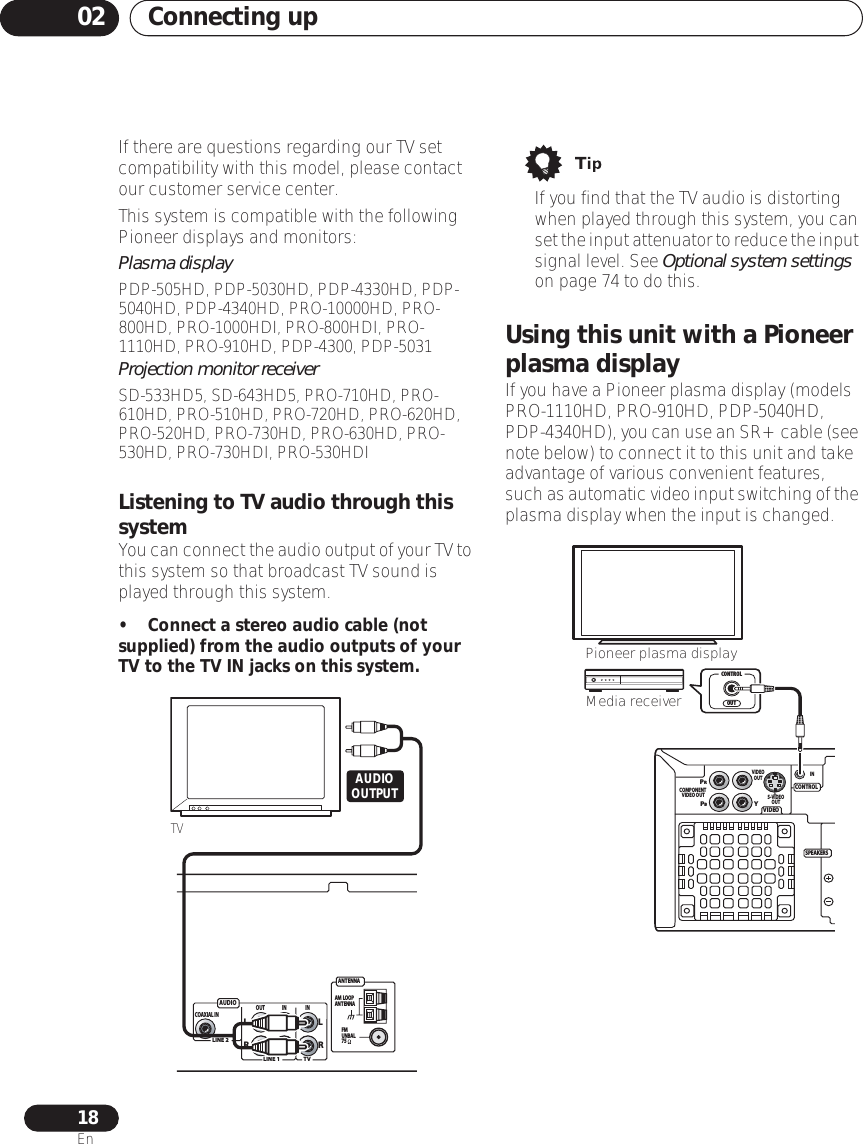

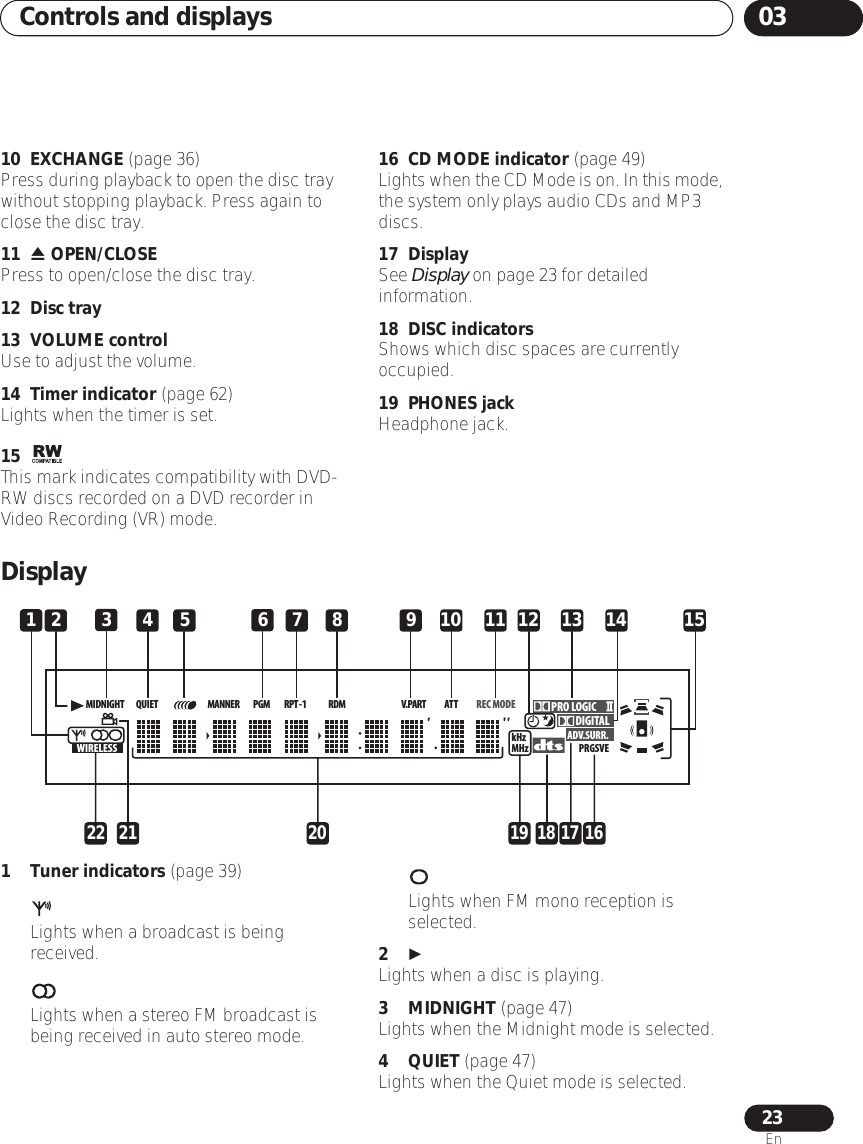

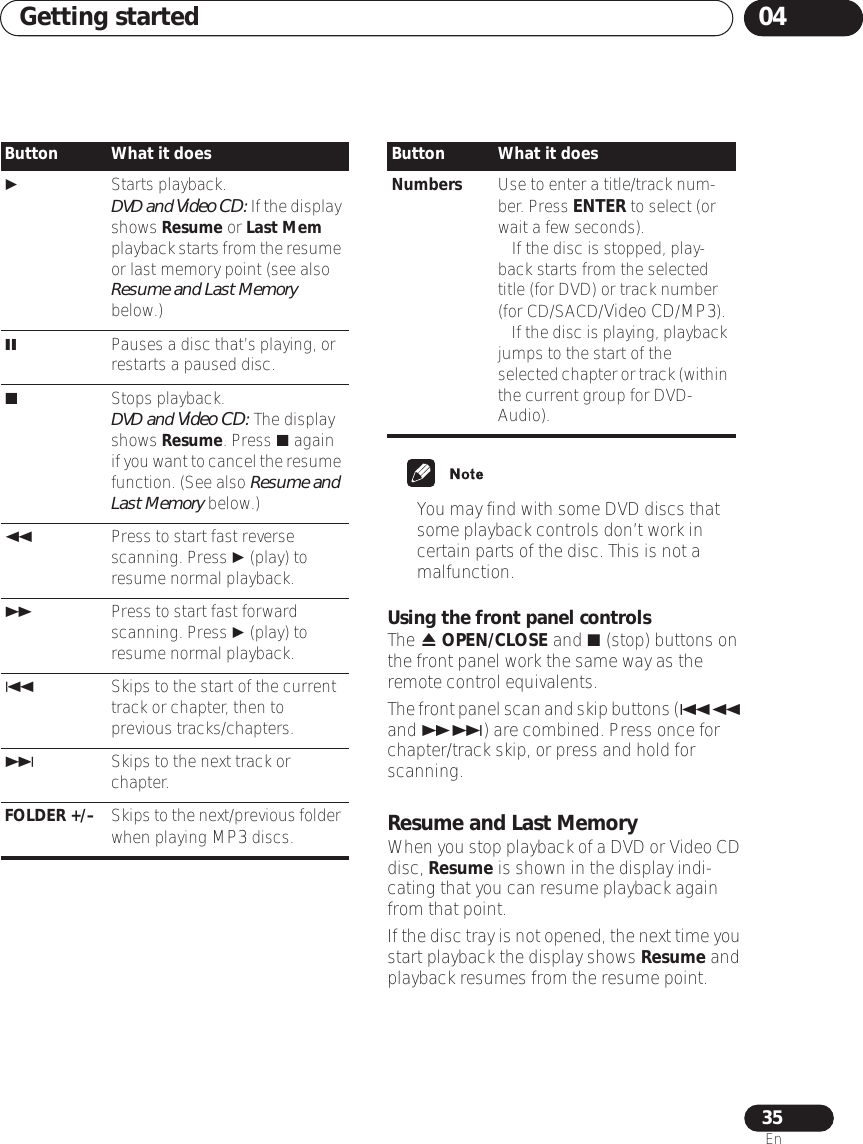
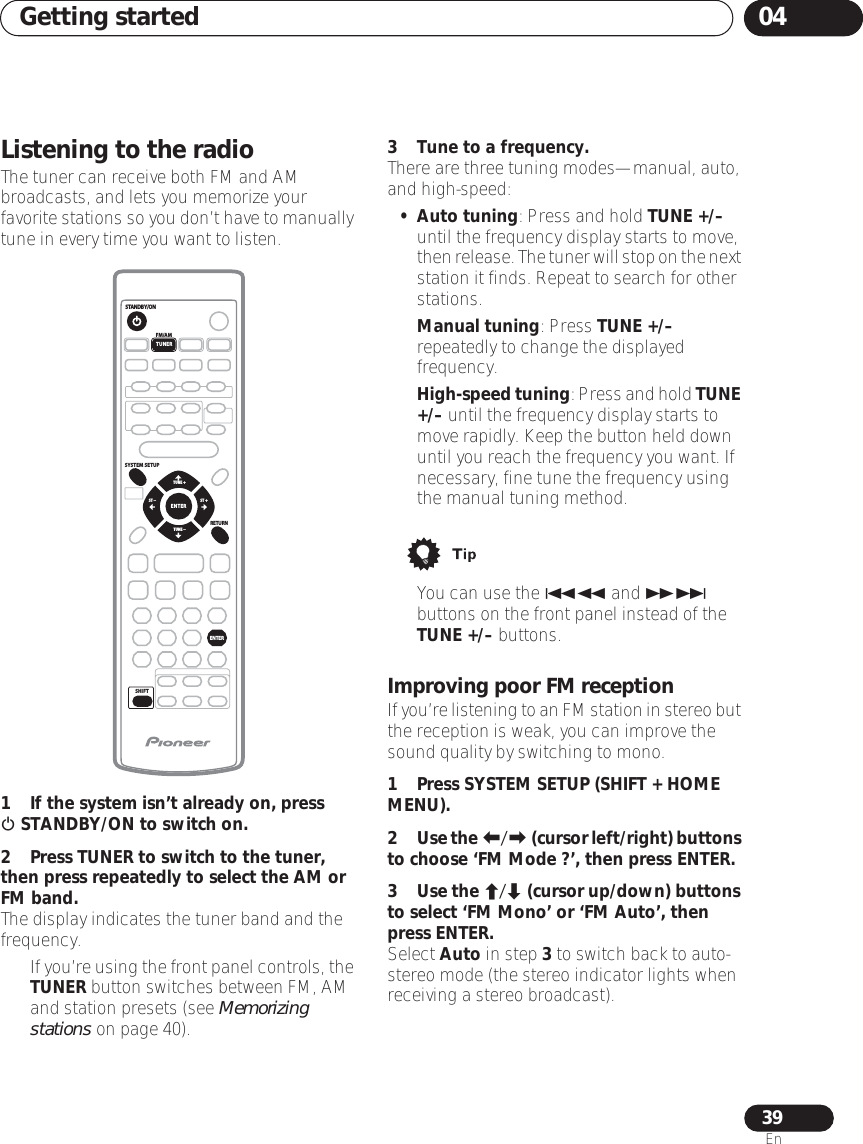
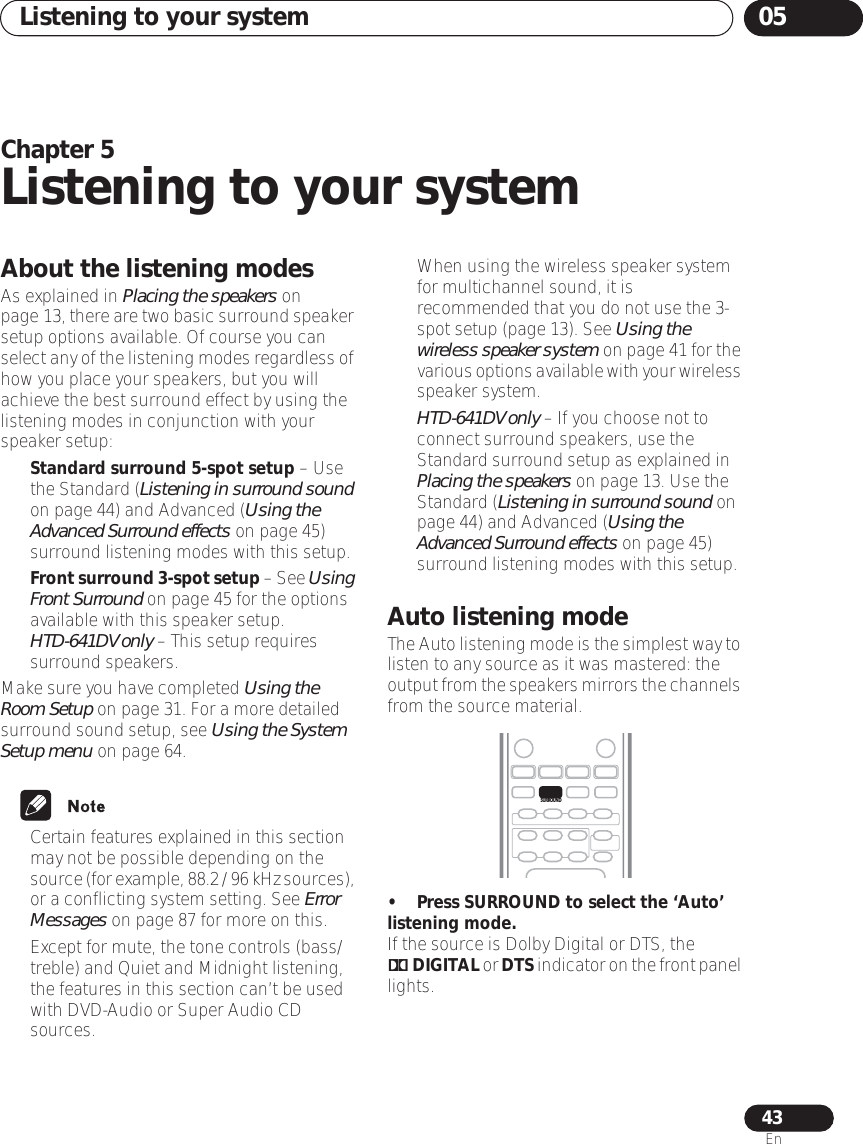
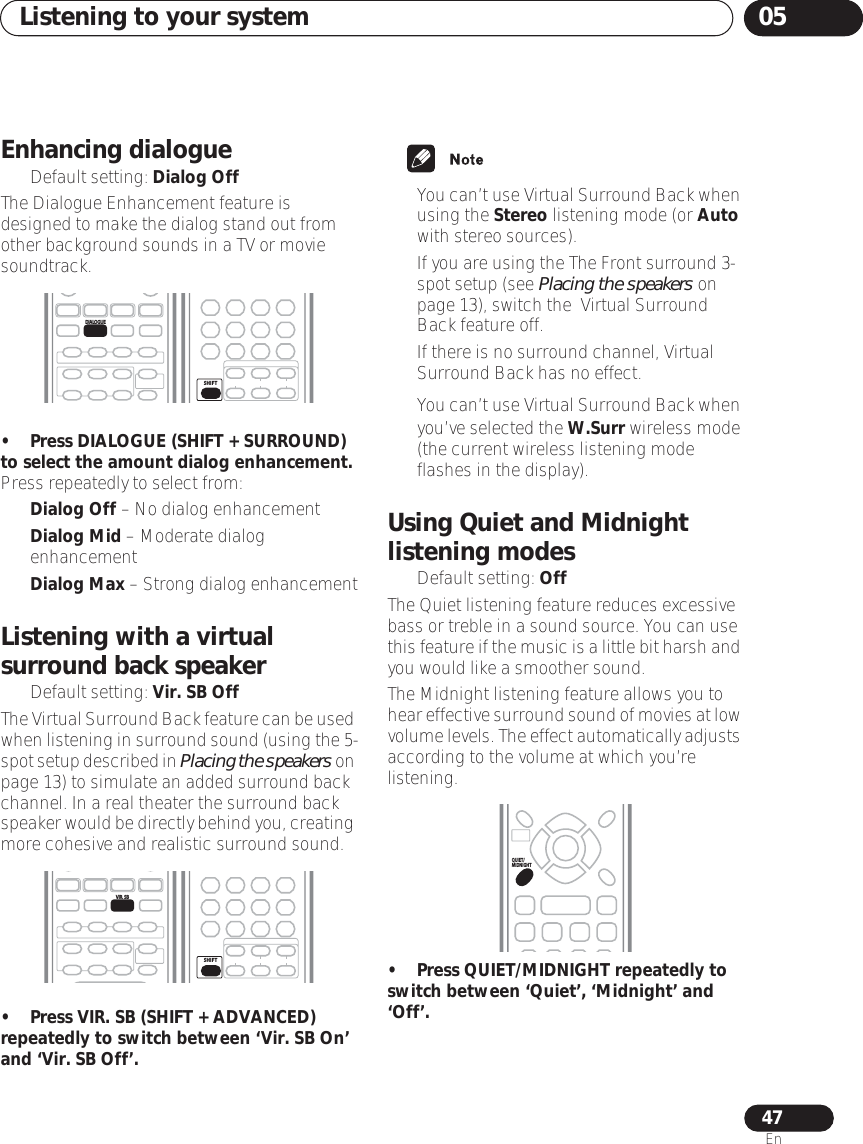
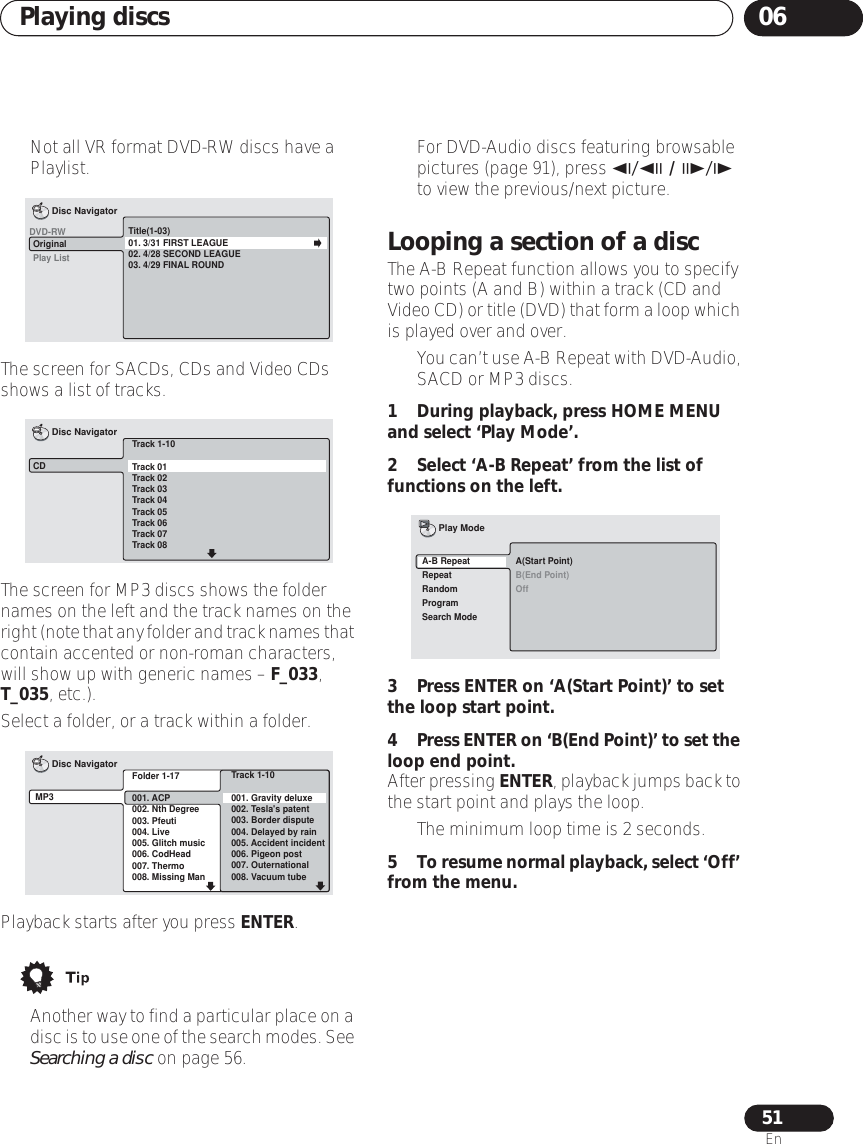
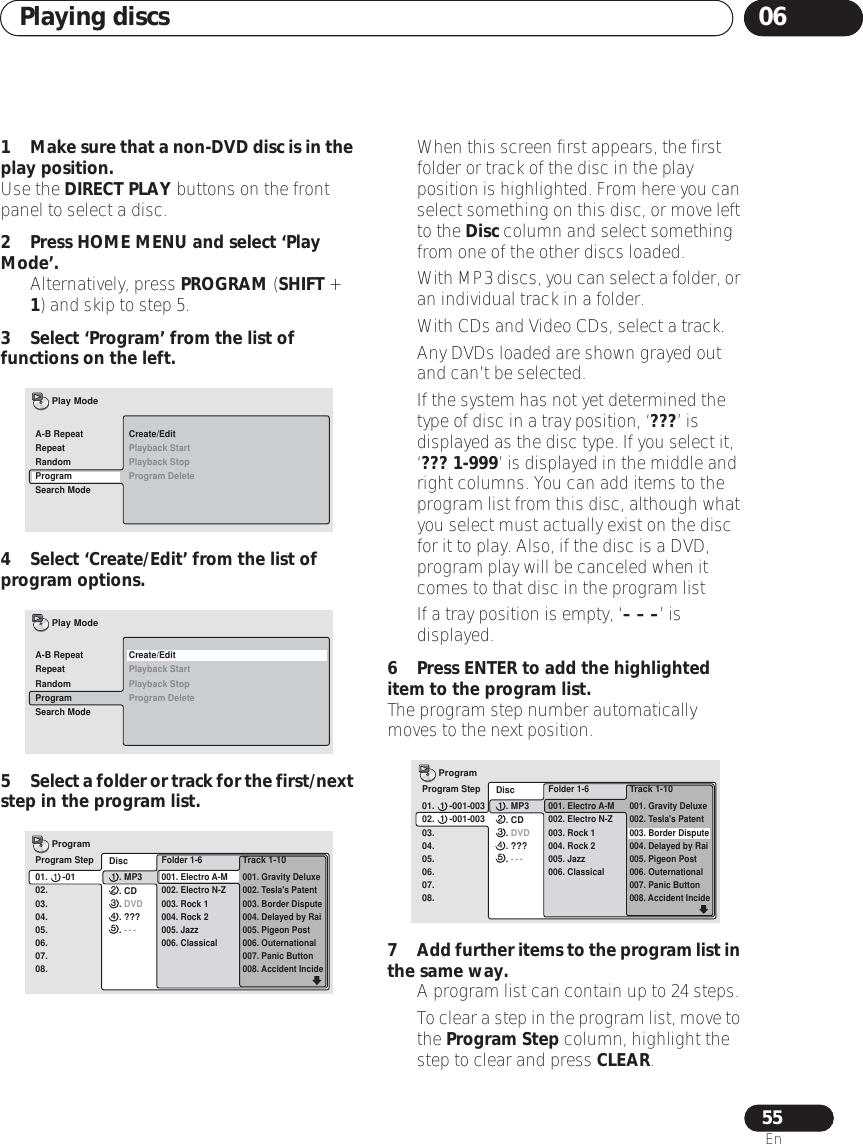
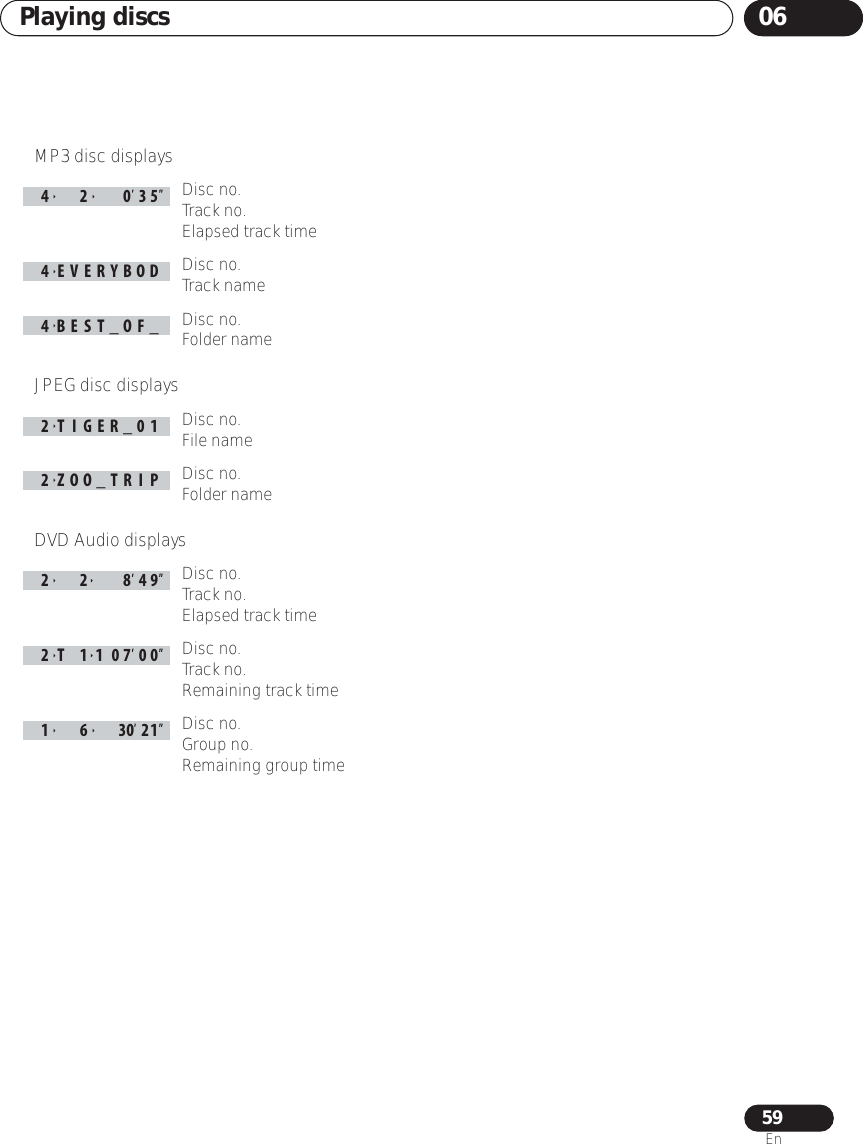
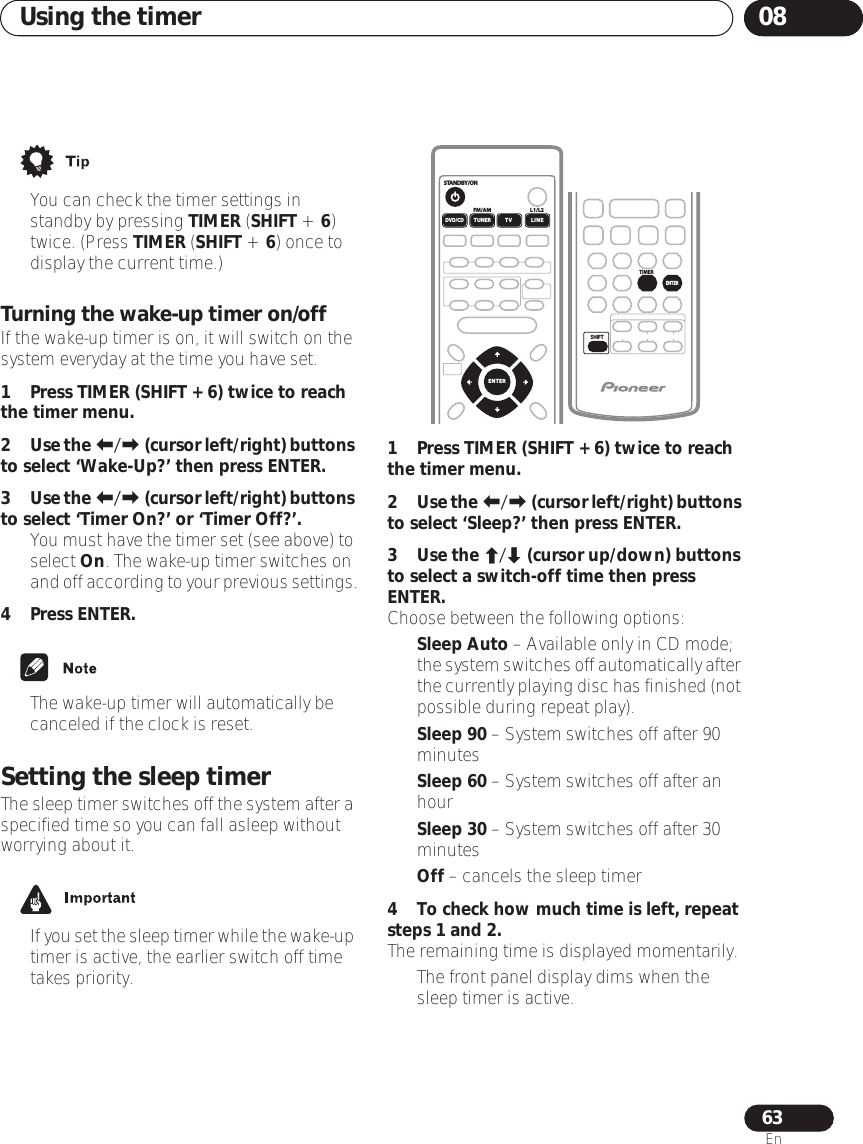
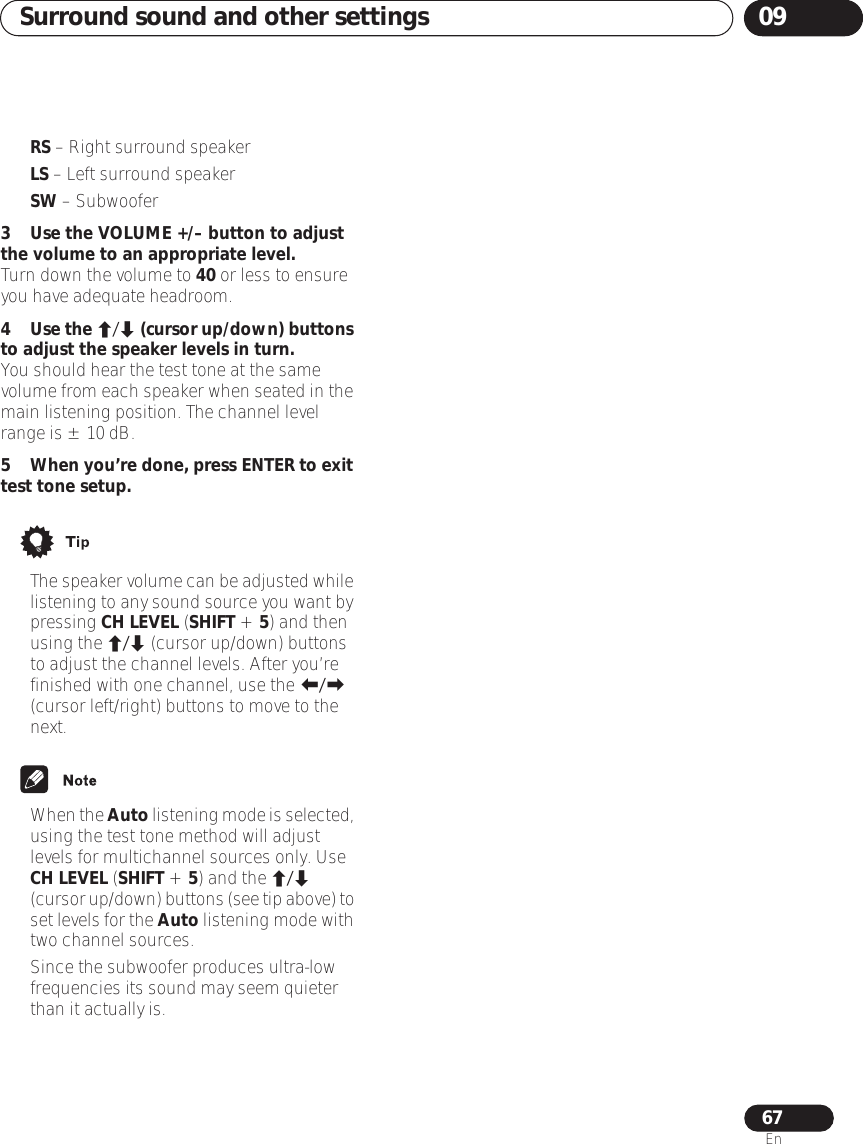
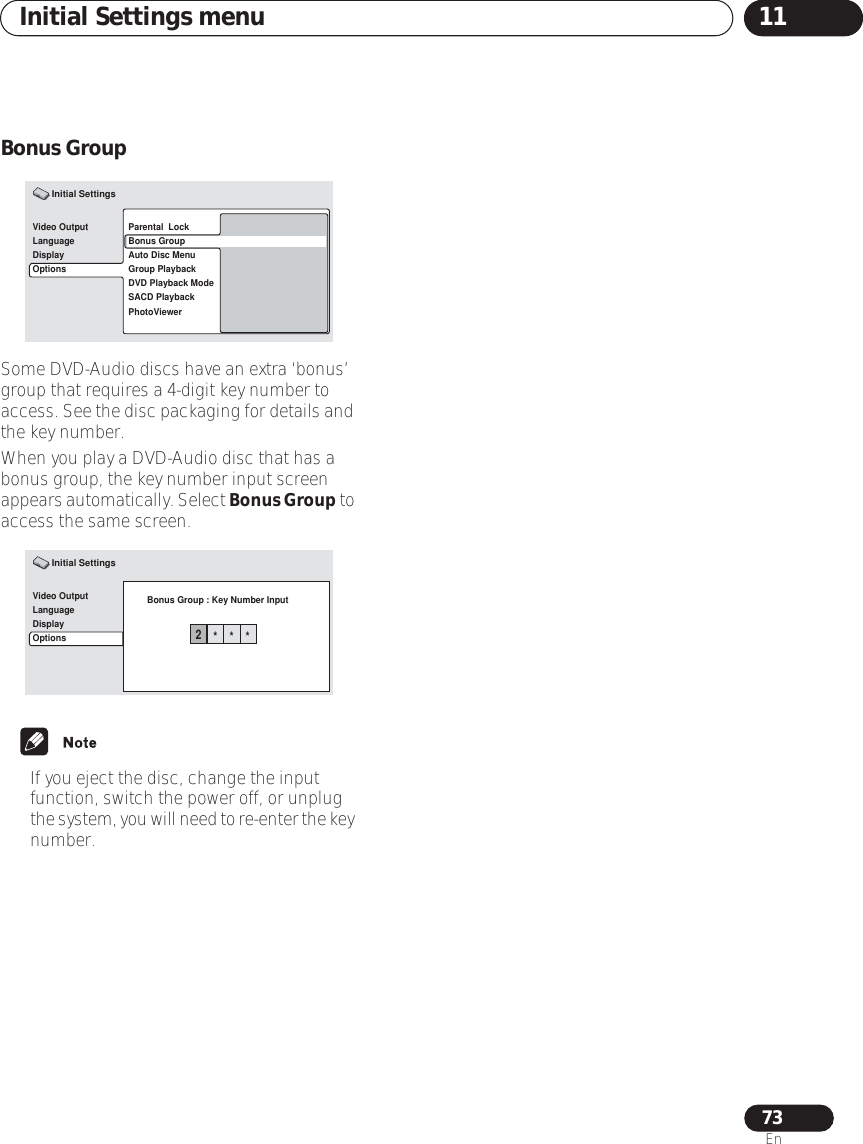
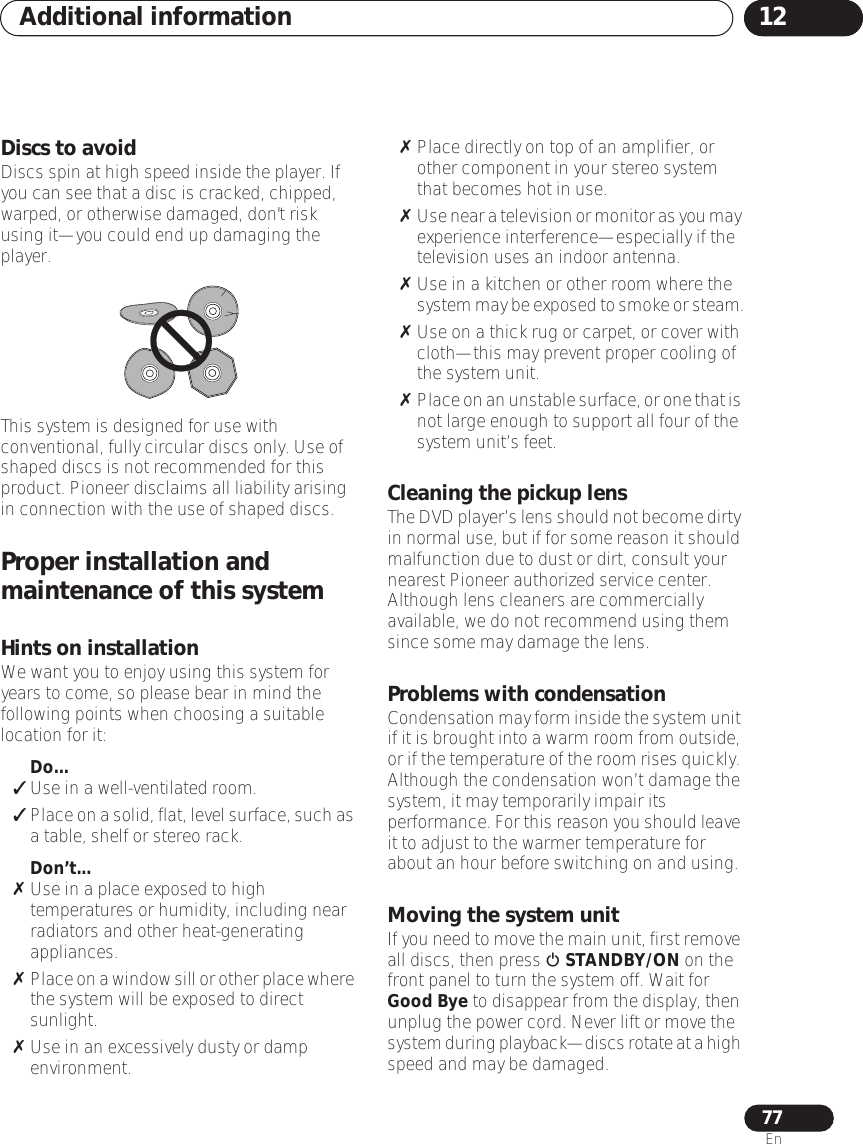
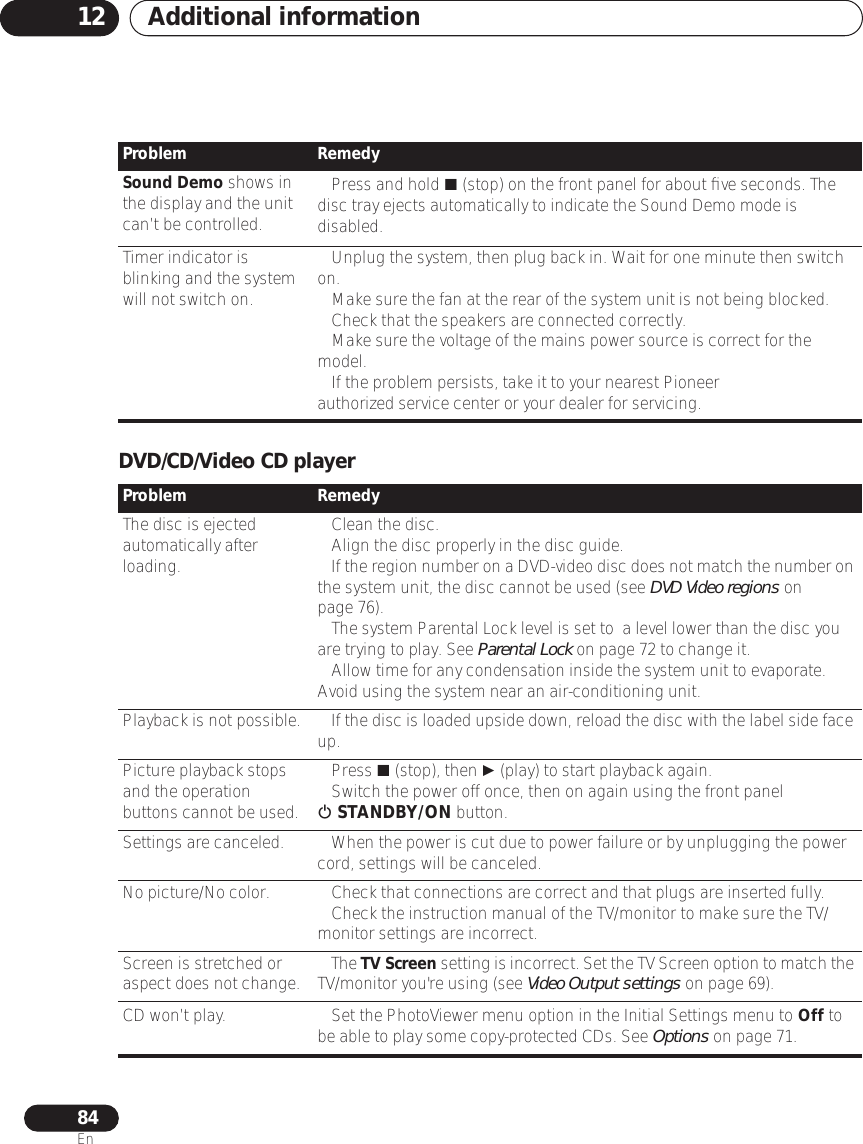
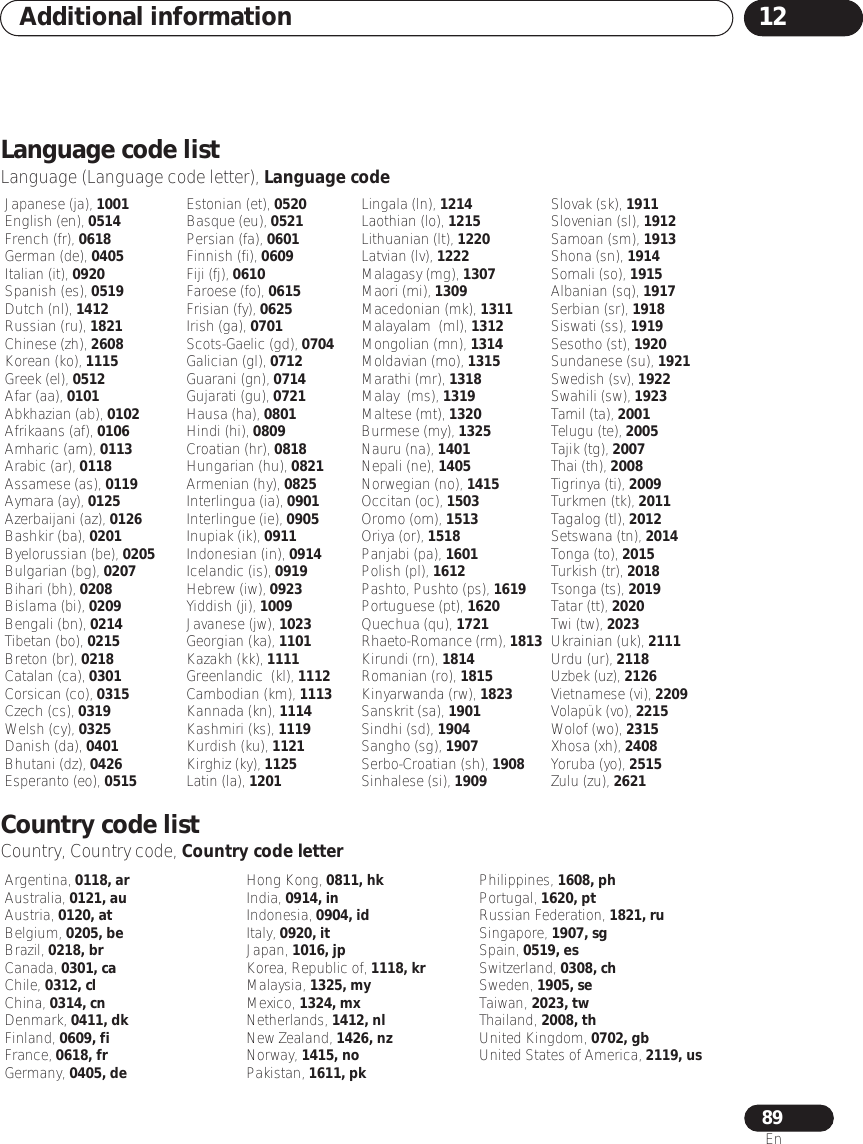
![Getting started0430EnChapter 4Getting startedSwitching on and setting upAfter making sure everything is connected up properly, you’re ready to switch on. The first thing to do is to tell the system what kind of TV you’re using, standard or widescreen.After that you can set up the surround sound for your room, and set the clock so that you can use the timer features.1 Press STANDBY/ON (on the remote or on the front panel) to switch the system on.Also make sure that your TV is switched on and that the video input is set to this system. You should see the welcome screen displayed. 2 Press ENTER to move on to the next screen.3Use the / (cursor left/right) buttons to select either ‘Wide screen’ or ‘Standard size screen’ according to the kind of TV you have, then press ENTER.See also Screen sizes and disc formats on page 88 if you’re not sure which one to choose.ENTERSTANDBY/ONSYSTEM SETUPSHIFTROOMSETUPENTERTIMERWelcome to Pioneer DVD!Thank you for purchasing this Pioneer DVD player.Before using, please take a little timeto setup your DVD playerPut the batteries into the remote controlNext, press the [ENTER] button on the remote controland start the Let's Get Started MenuNextLet's Get Started MenuWhat kind of TV do you have?Use the / cursor buttonsto choose, then press ENTERWide screen (16:9) Standard size screen (4:3)](https://usermanual.wiki/Pioneer/T103/User-Guide-425397-Page-30.png)
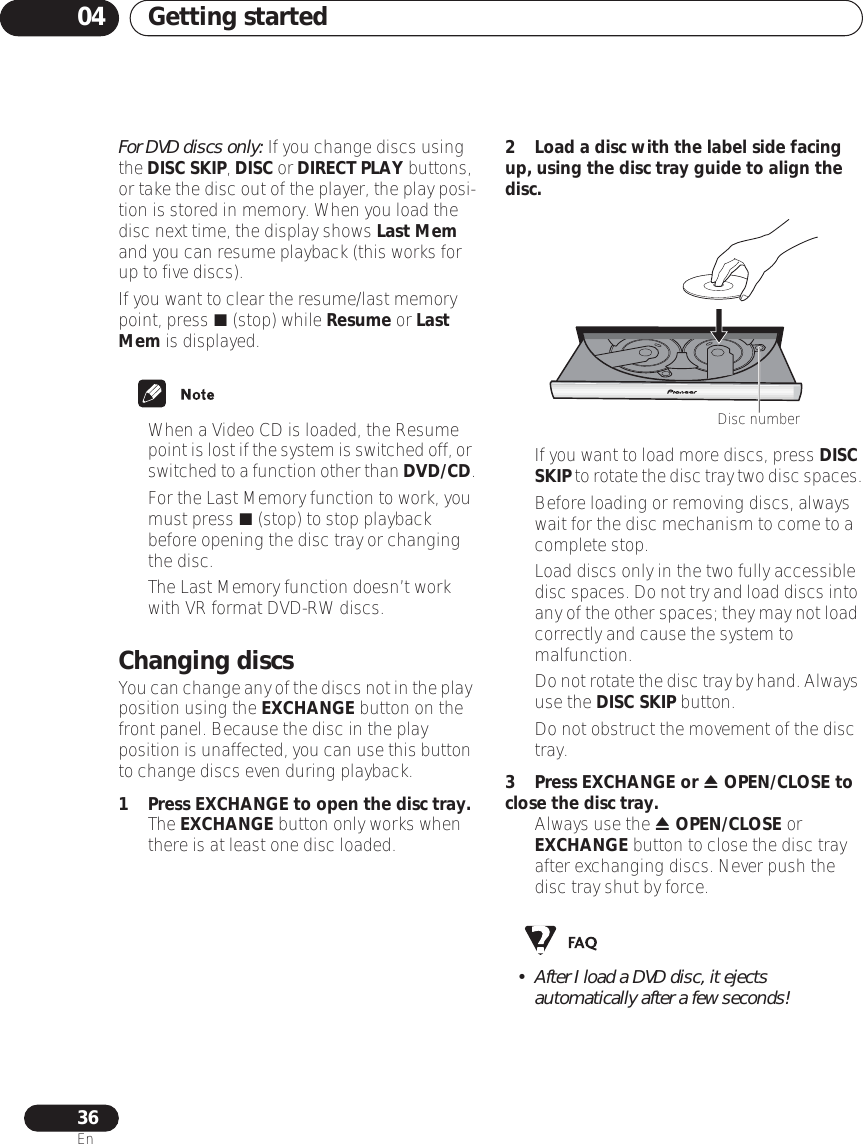
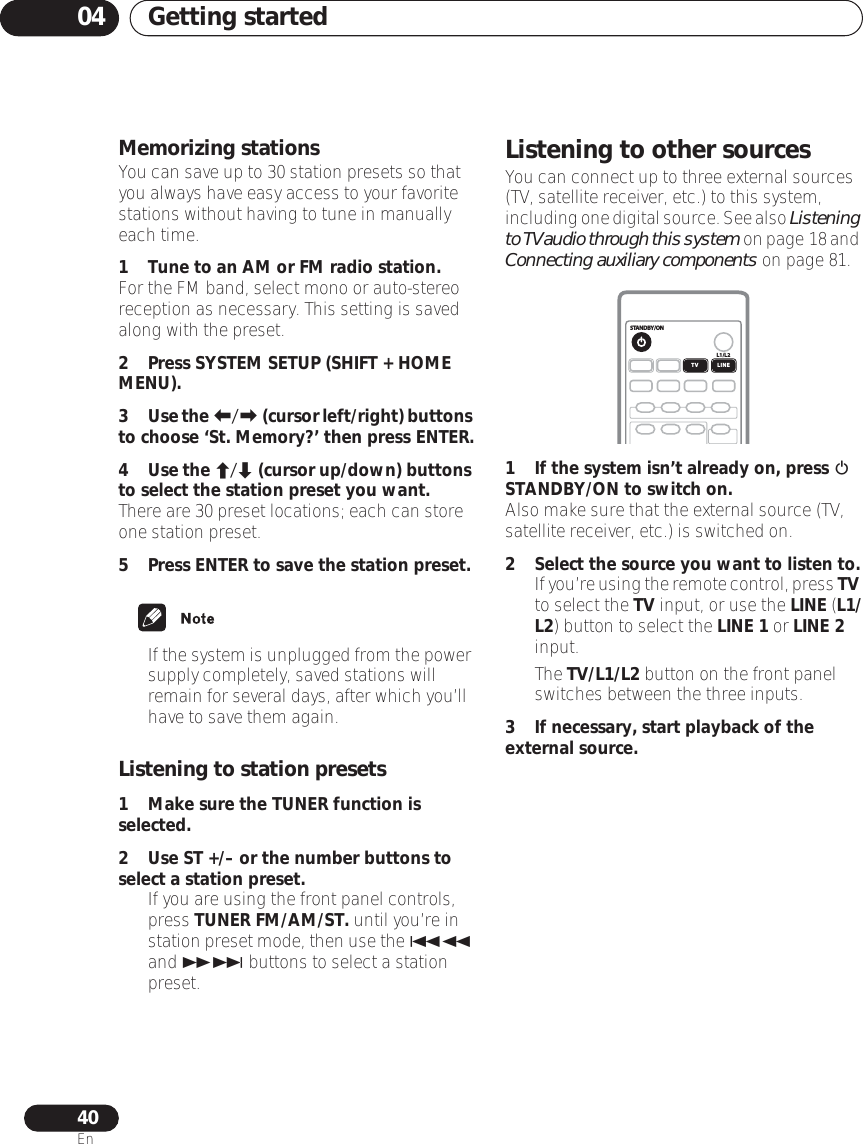
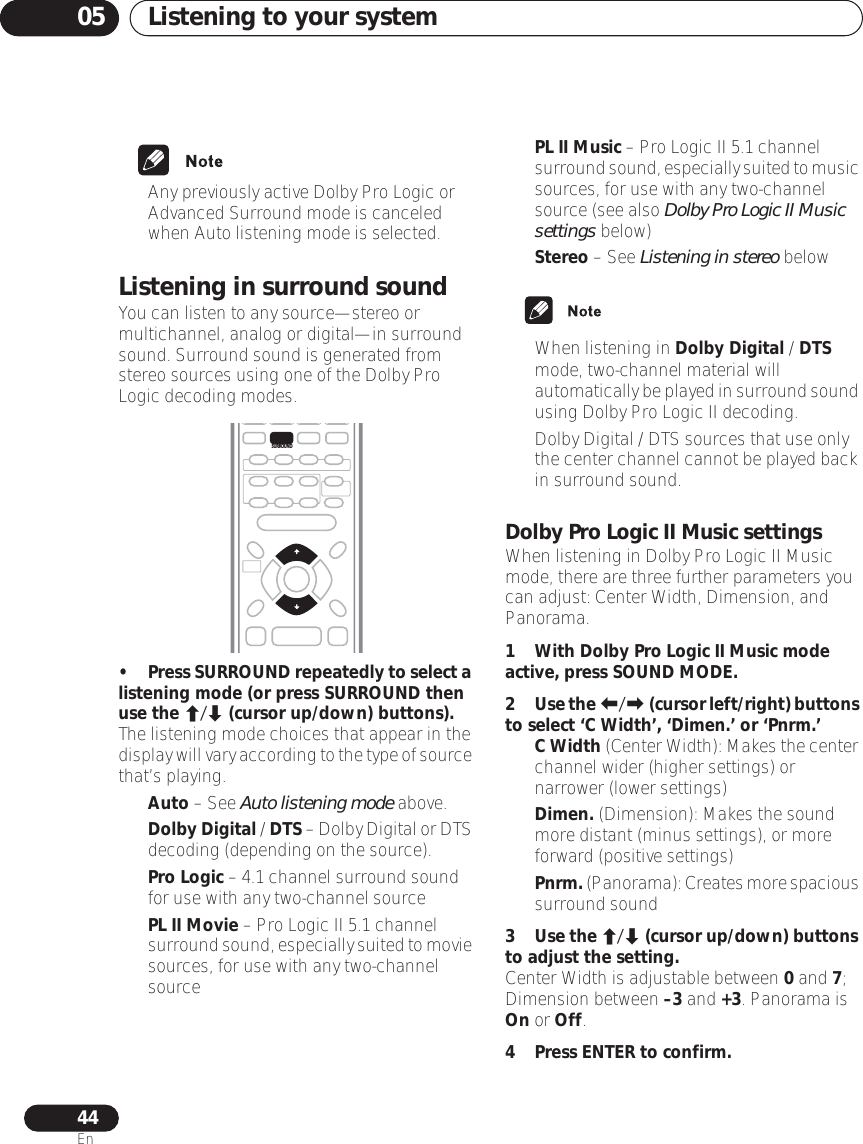
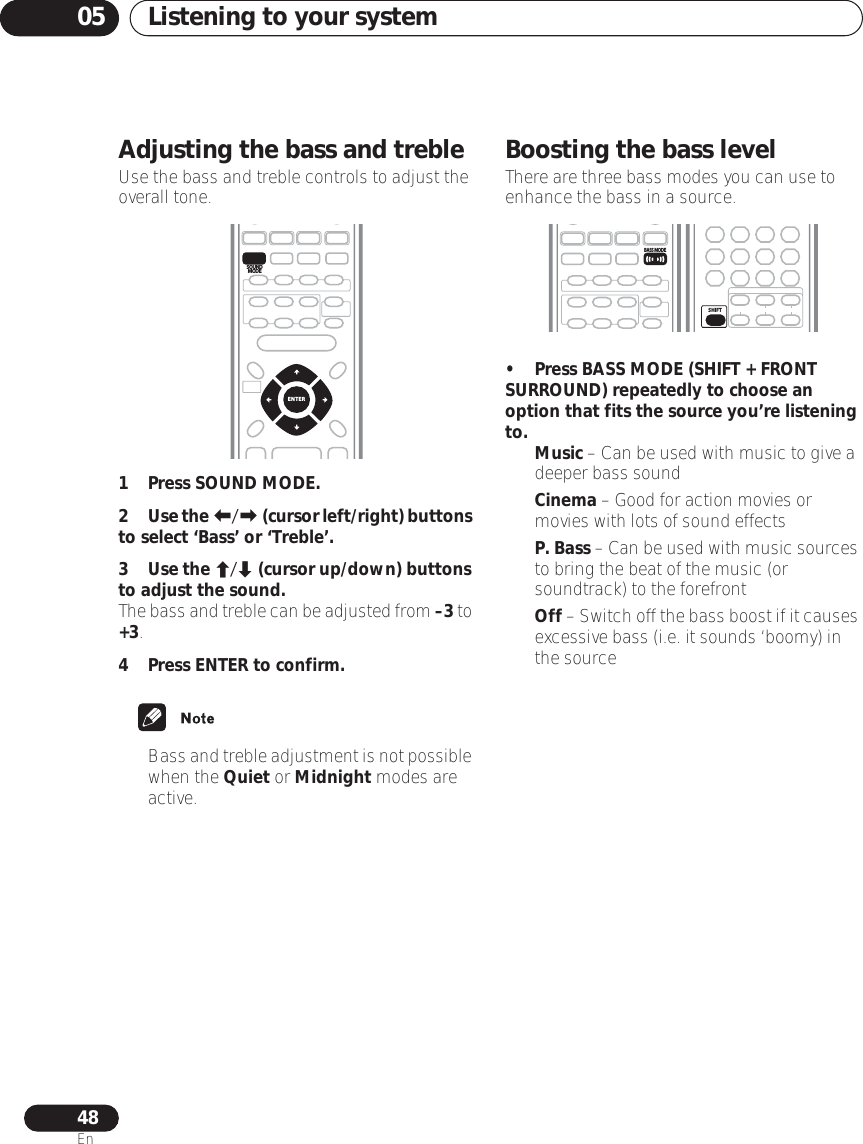
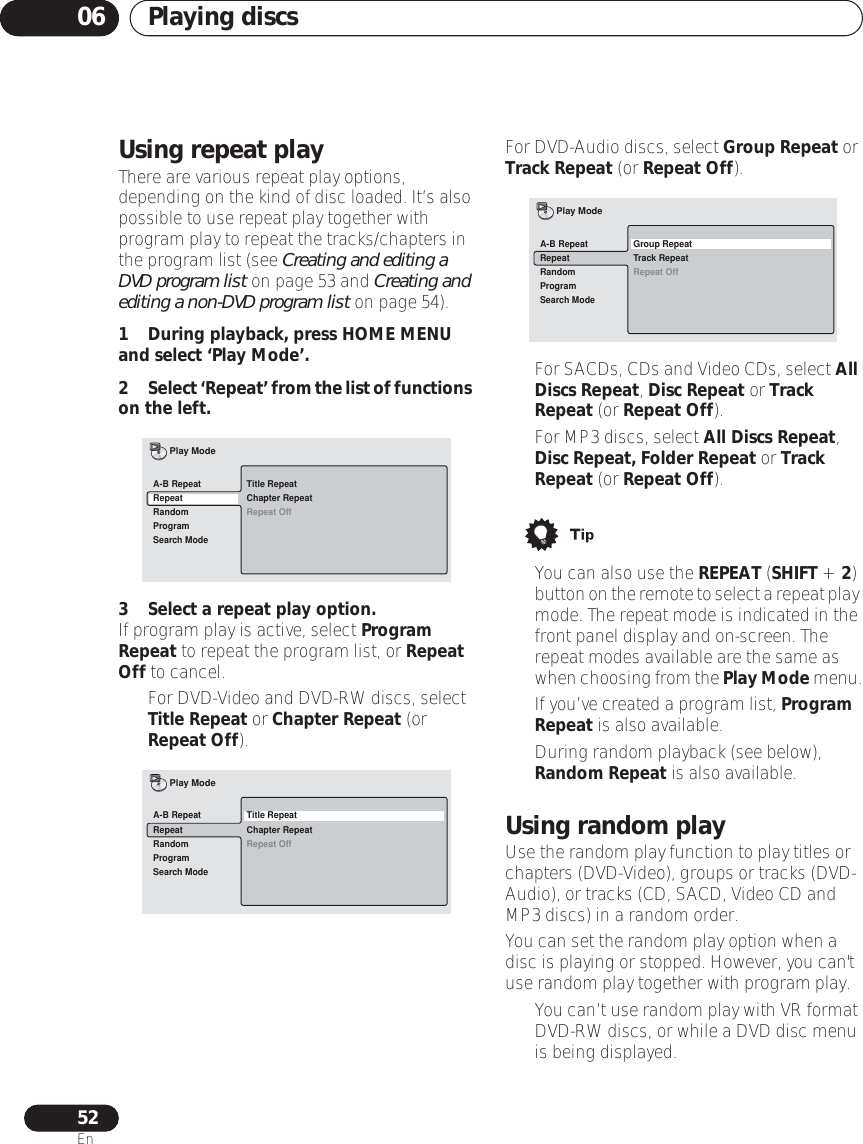
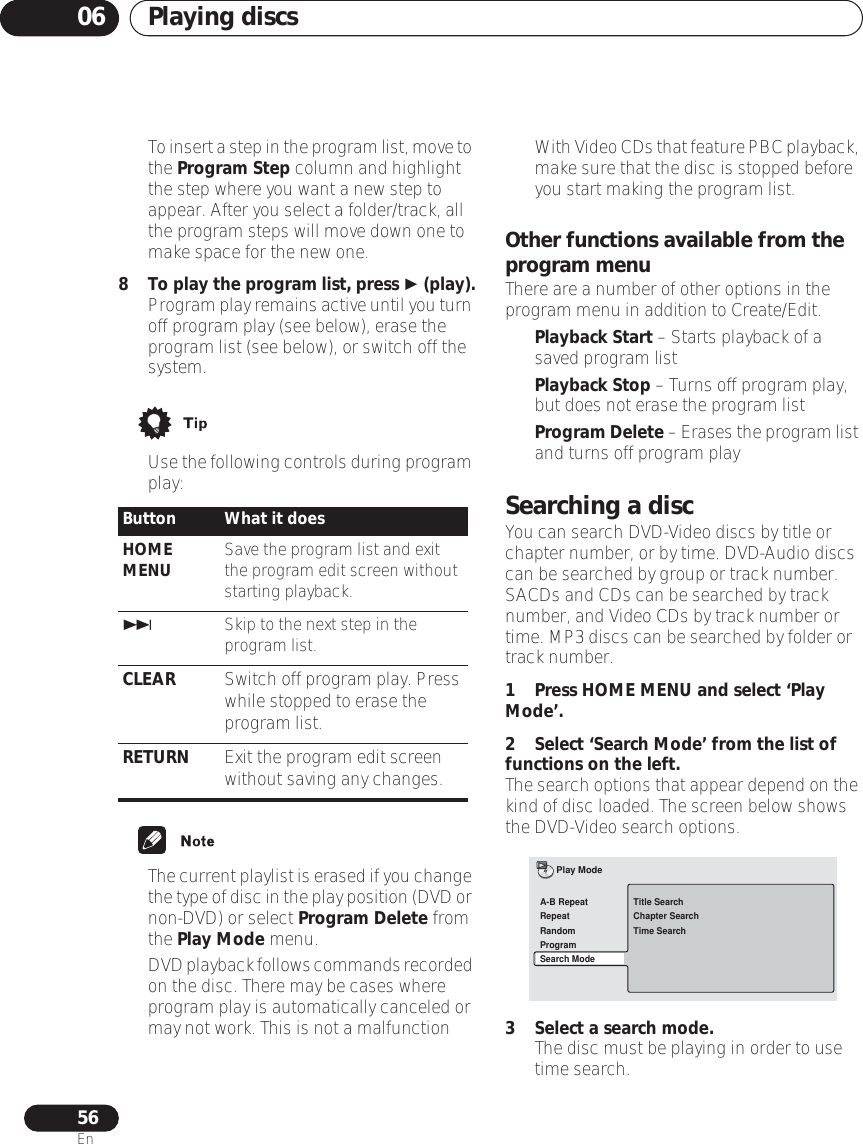
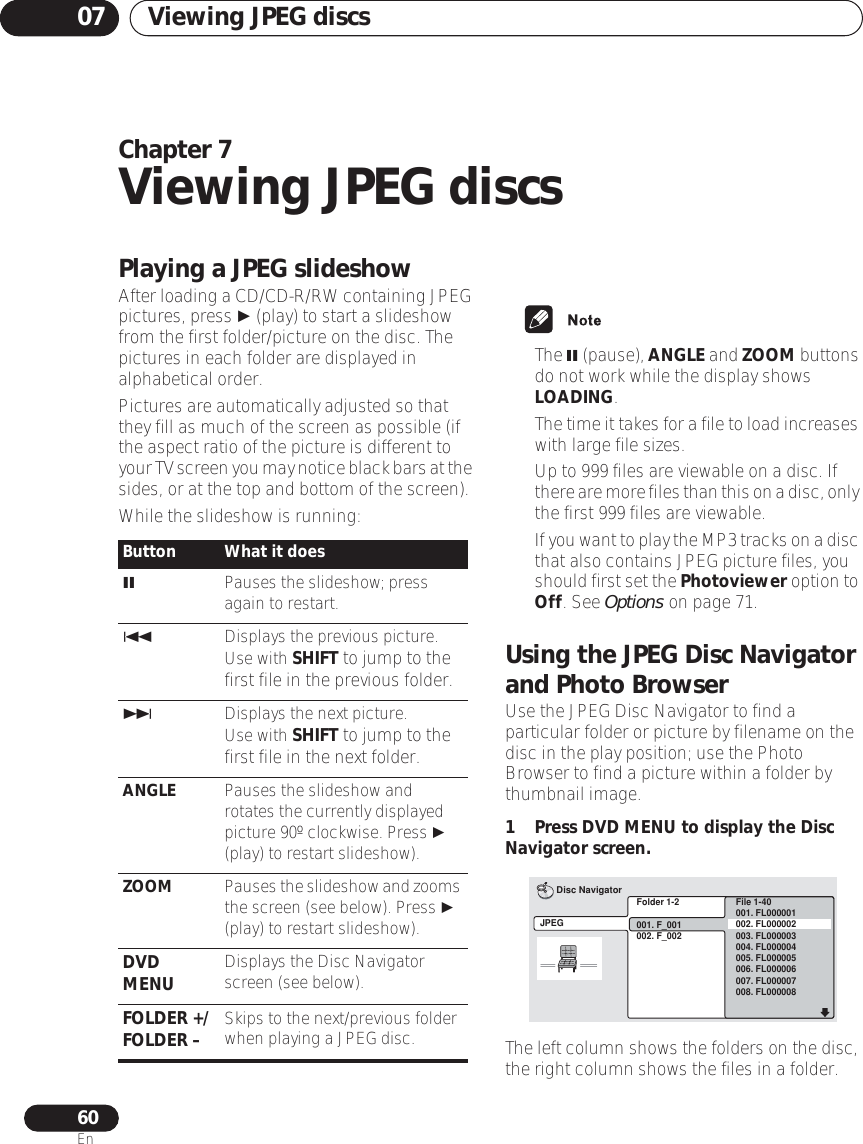
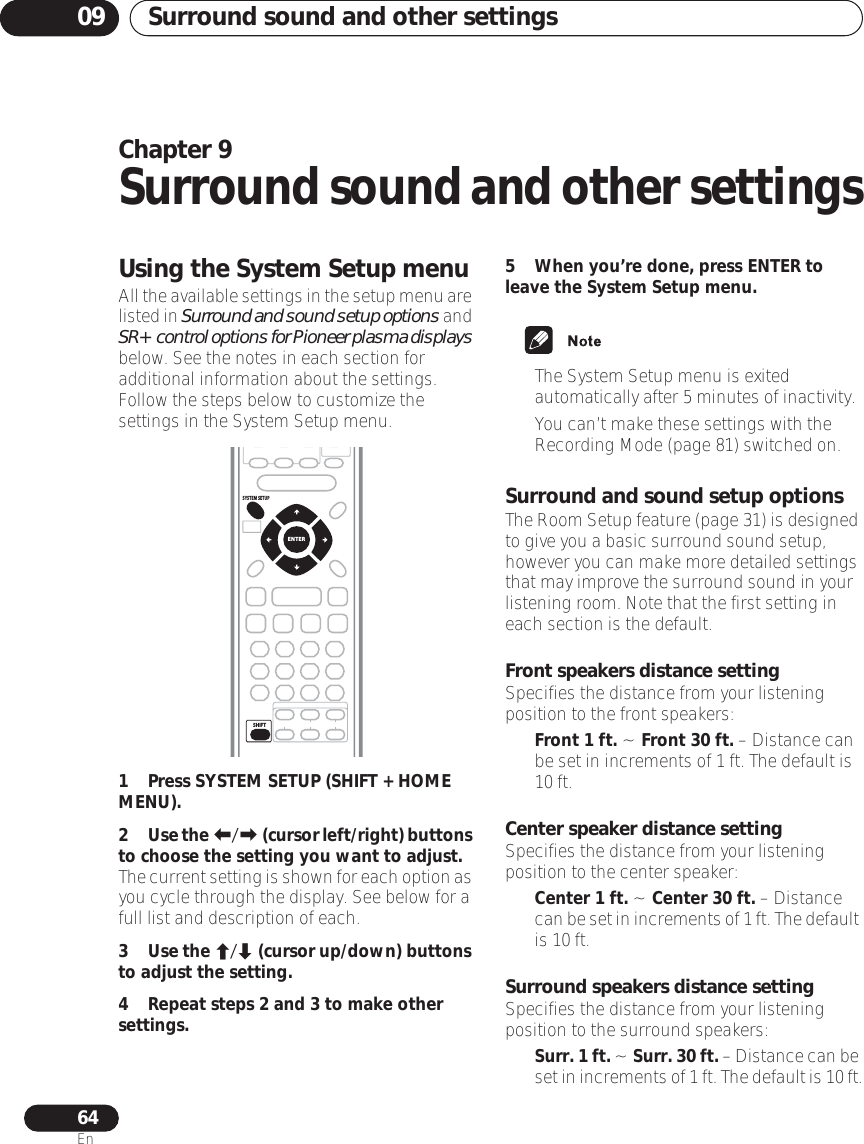
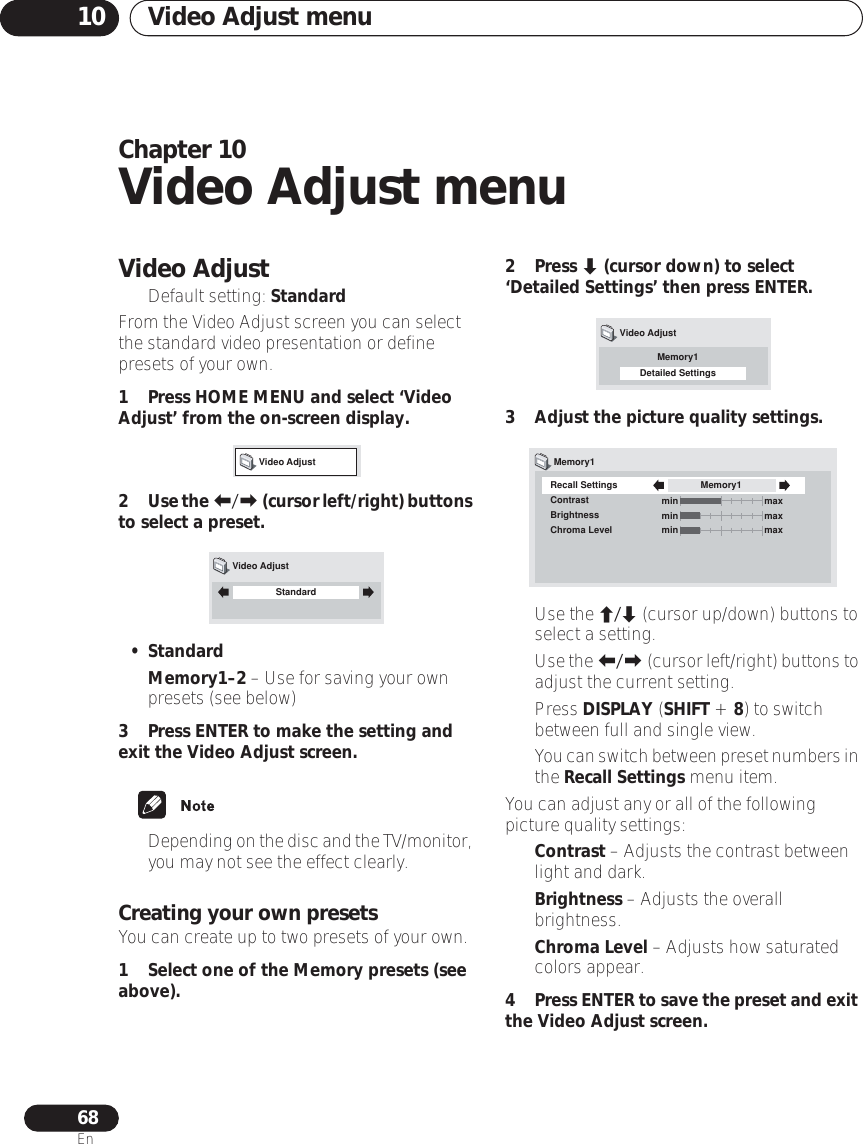
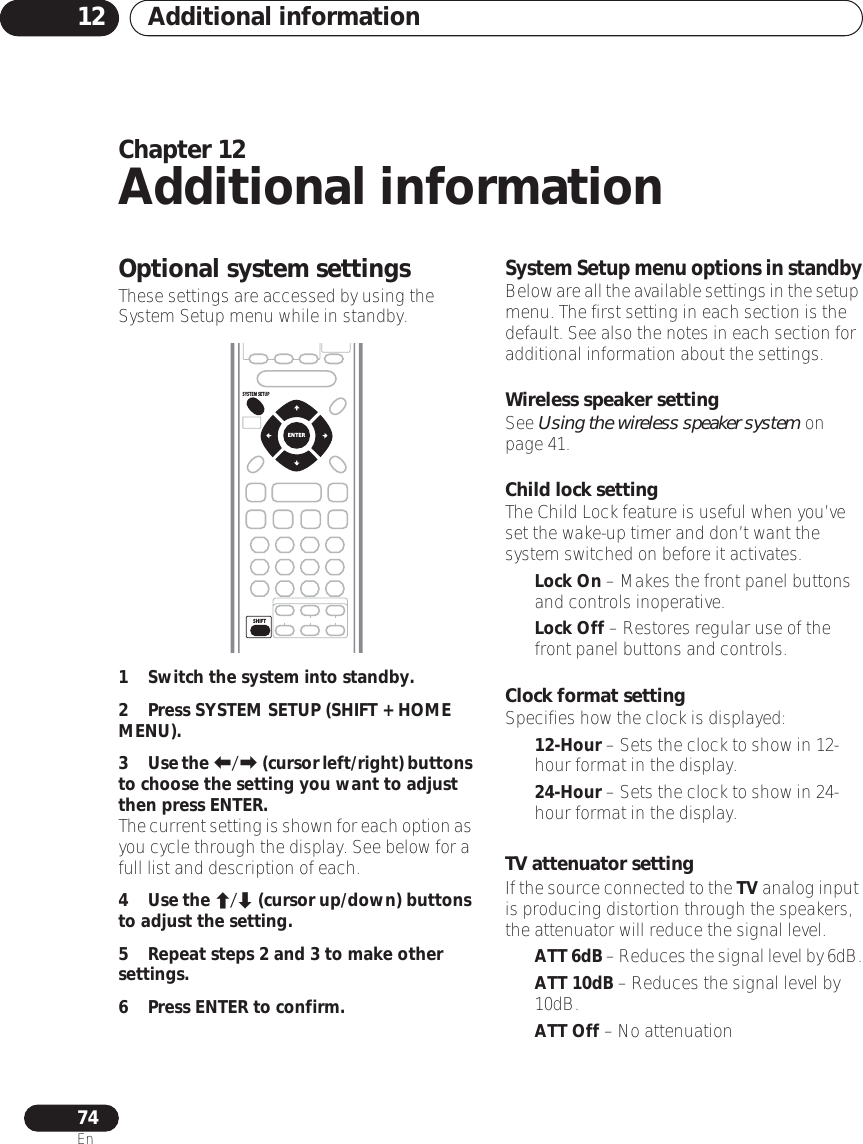
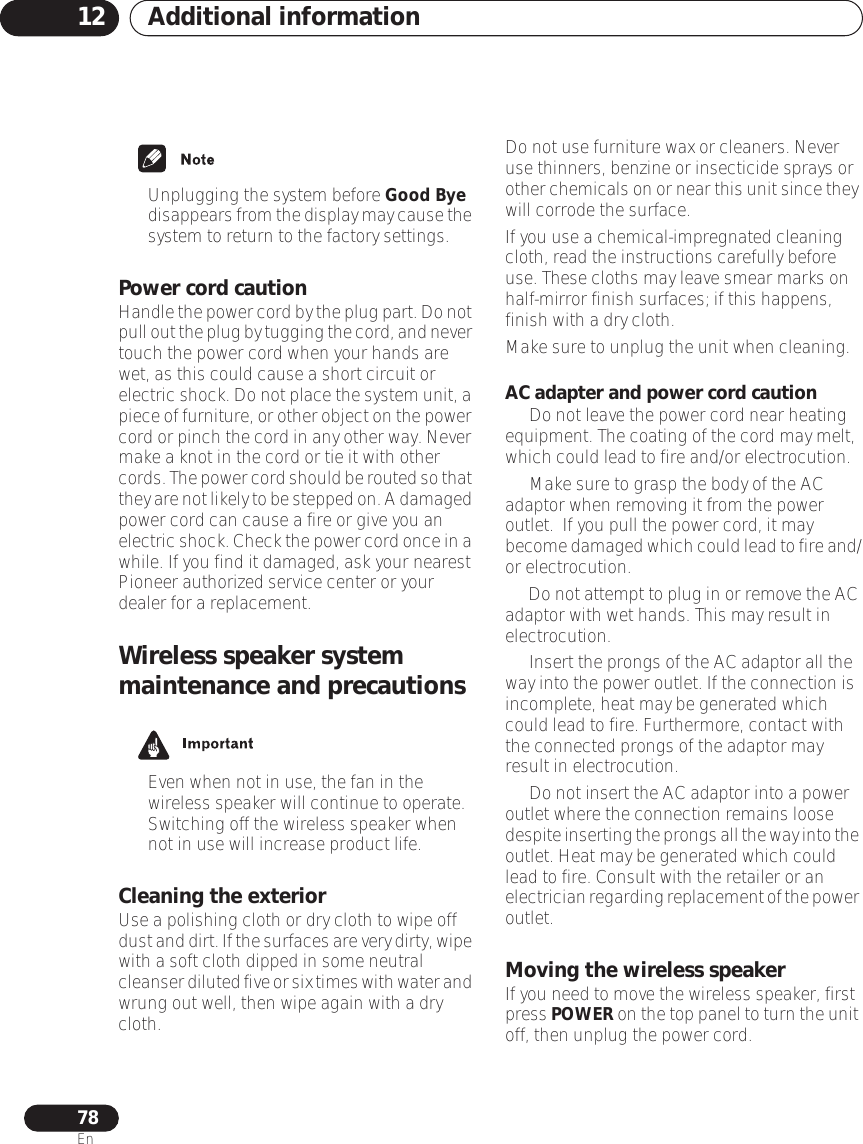
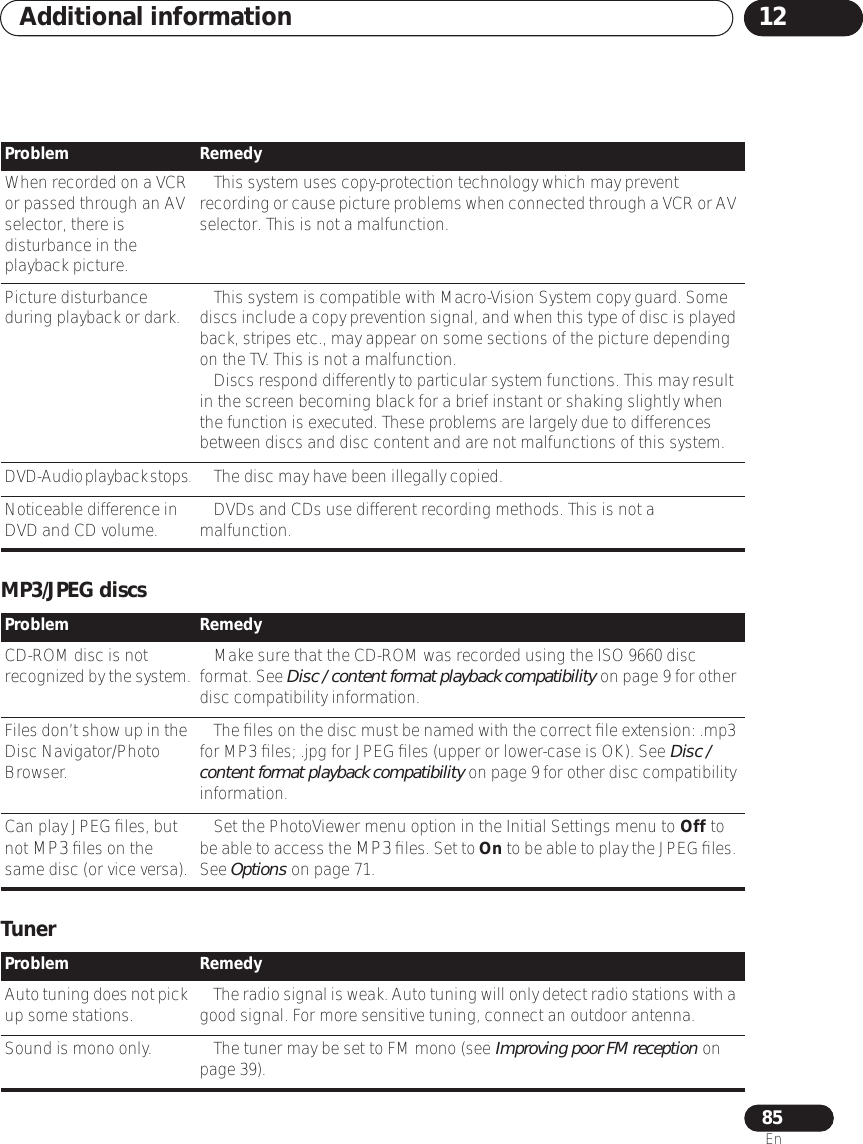
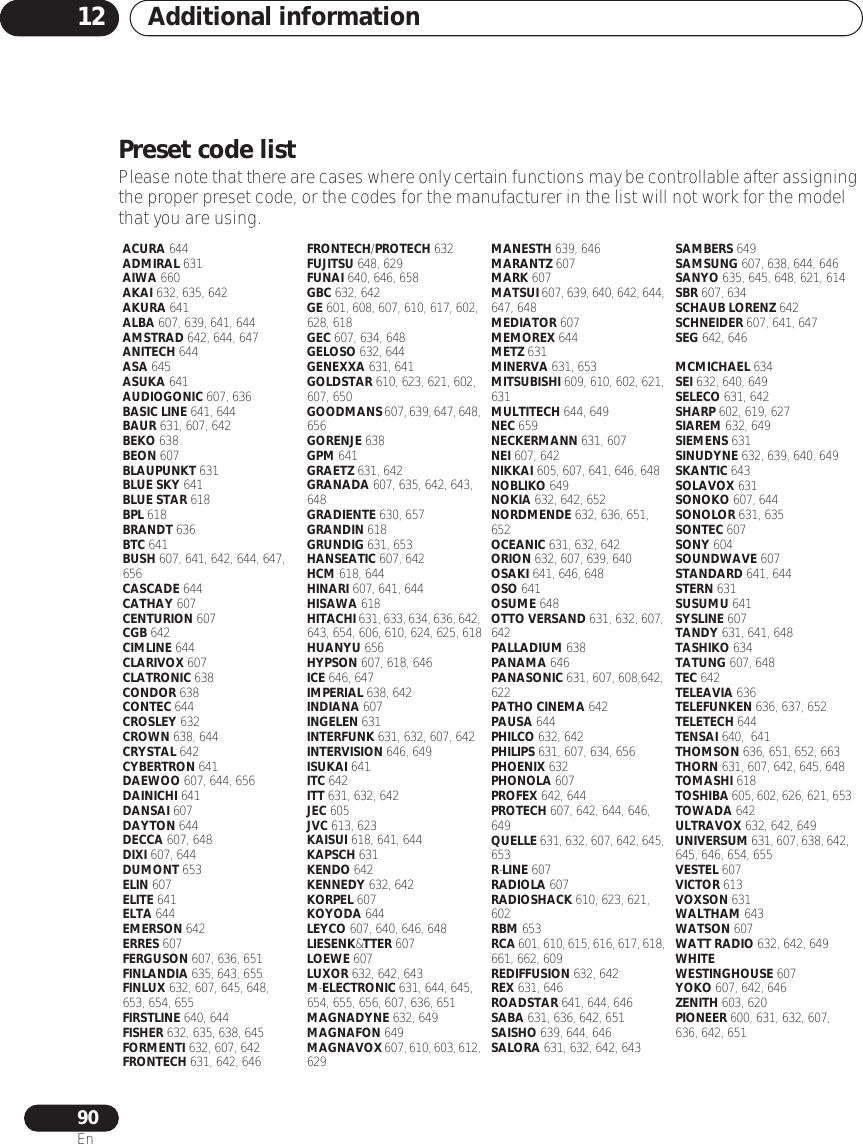
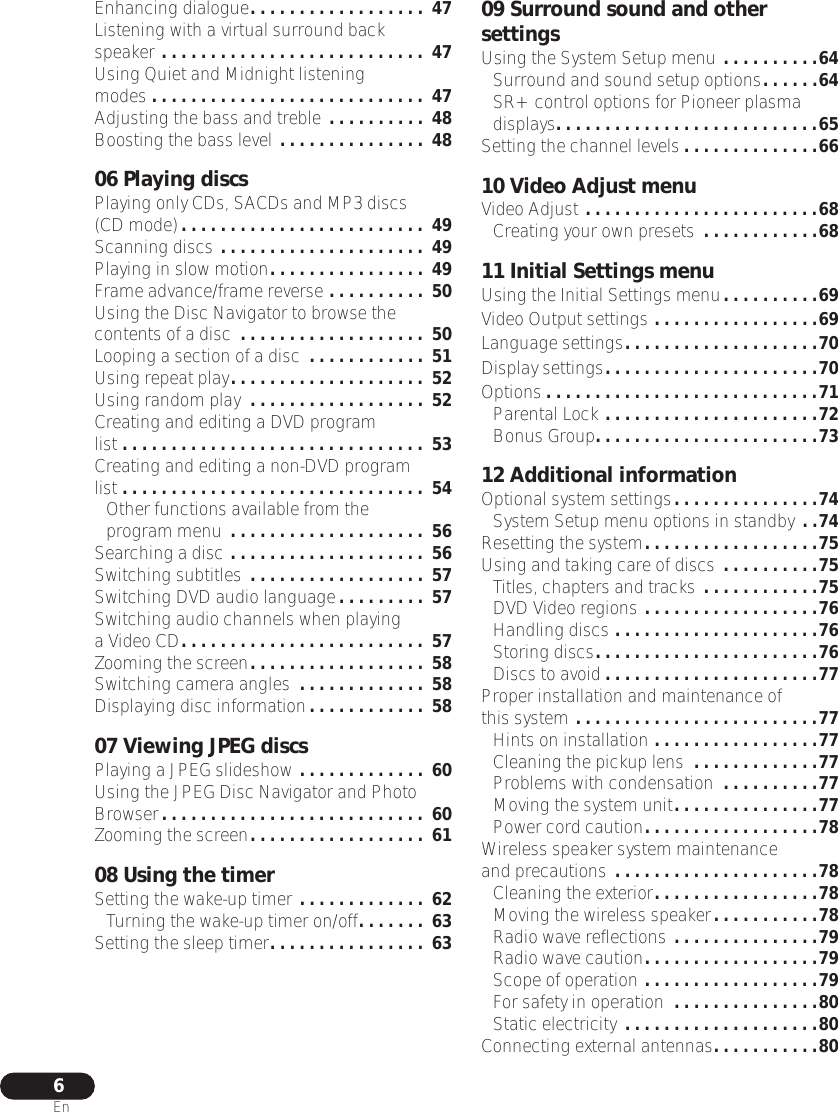
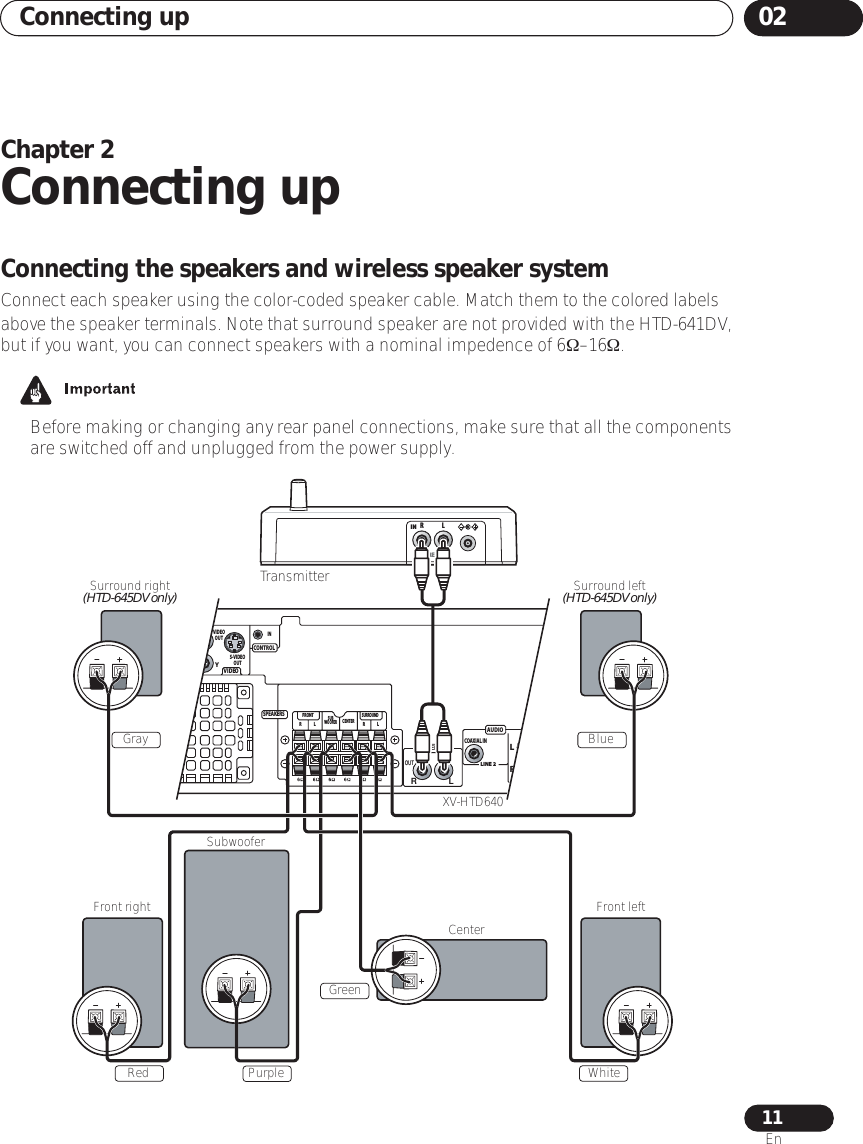
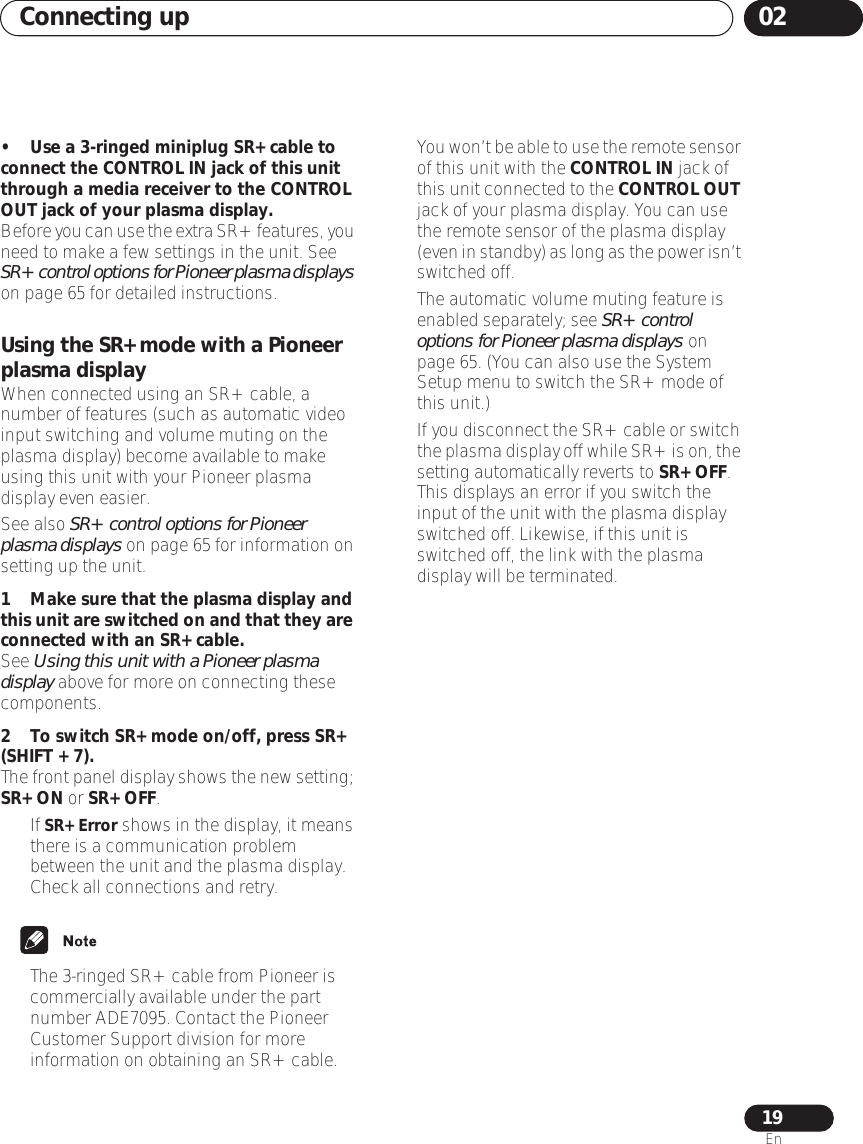
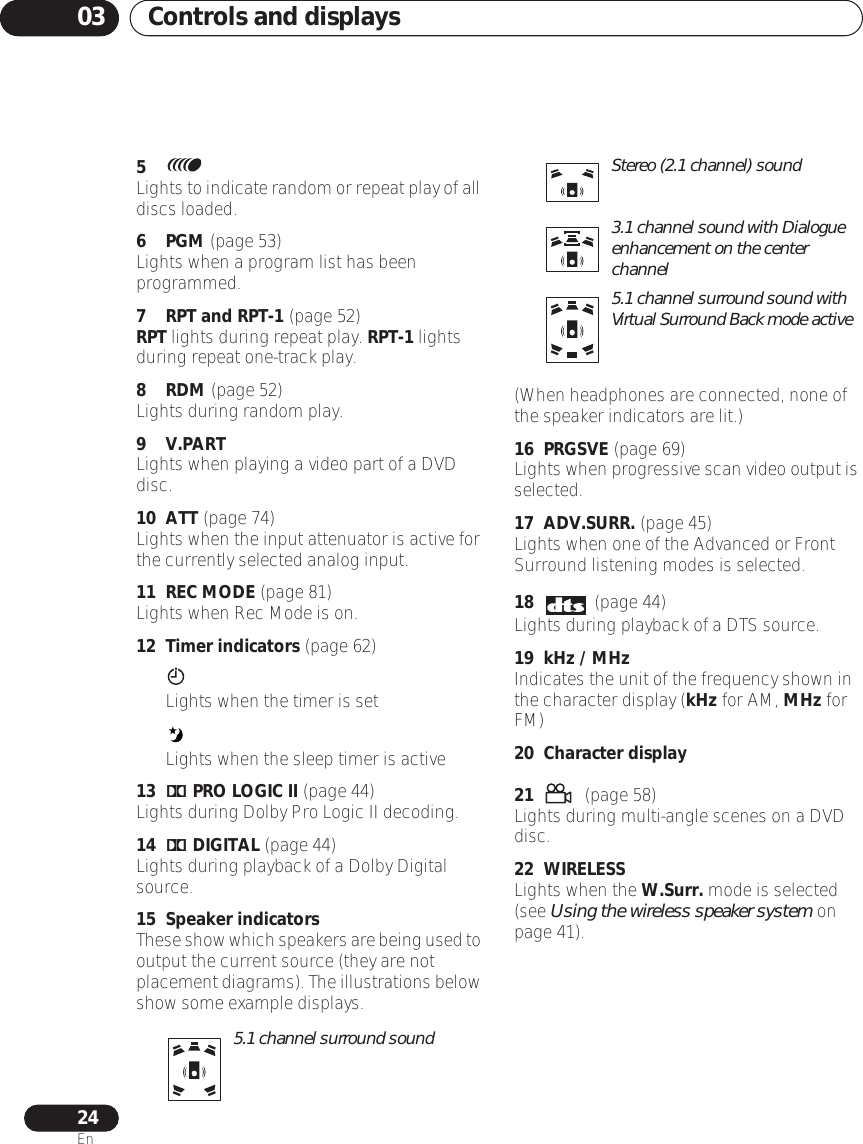
![Getting started 0431En4 Press ENTER again to finish setting up.• Use the (cursor right) button to select Back then press ENTER if you want to go back and change the setting you just made.• You can also use the OPEN/CLOSE button on the front panel or the function buttons (DVD/CD, TUNER, etc.) to switch the system on from standby.• The system switches on, but there is nothing displayed on my TV.Make sure that the TV is set to the correct video input (not a TV channel). For example, if you connected this system to the VIDEO 1 input on your TV, switch your TV to VIDEO 1.Setting the clockSetting the clock allows you to use the timer features.1Press TIMER (SHIFT + 6).• If you are adjusting the clock, rather then setting it for the first time, press TIMER (SHIFT + 6) again.2 If ‘Clock ADJ?’ isn’t already shown in the display, press or (cursor left or right) until you see it.3Press ENTER.4Use the / (cursor up/down) buttons to set the hour.5Press ENTER.6Use the / (cursor up/down) buttons to set the minute.7 Press ENTER to confirm.The display flashes to indicate the clock is set.• Press TIMER (SHIFT + 6) anytime to display the clock.• If you unplug the system from the wall outlet, or there is a power outage, you will need to set the clock again.Using the Room SetupAfter you have set up your speakers to your liking (see Placing the speakers on page 13), make sure you calibrate your system for surround sound. This is a quick and easy way to get good surround sound for your room.For more detailed surround sound setup, see Surround sound and other settings on page 64. 1 If the system isn’t already on, press STANDBY/ON to switch it on.2Press ROOM SETUP.•If you have previously set up the room type and seating position, the display will show the current room settings. See note below if you see Room Set? in the display. Let's Get Started MenuSetup completeIf you're finished setting up,choose [Complete],to start again choose [Back]Complete Back](https://usermanual.wiki/Pioneer/T103/User-Guide-425397-Page-31.png)