Pirelli Broand Solutions 151060001 GSM / Wi-Fi Dual Mode Phone User Manual DP L10 Eng
Pirelli Broadband Solutions SpA GSM / Wi-Fi Dual Mode Phone DP L10 Eng
UserManual.wiki
>
Pirelli Broand Solutions
>
151060001 User Manual
>
Users Manual
Contents
1.
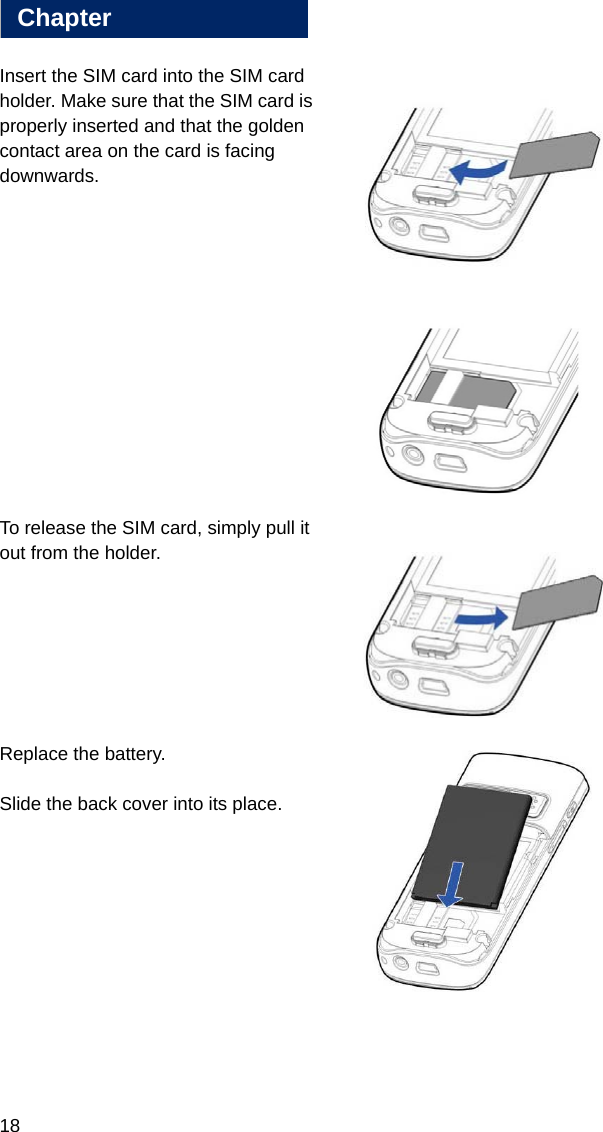
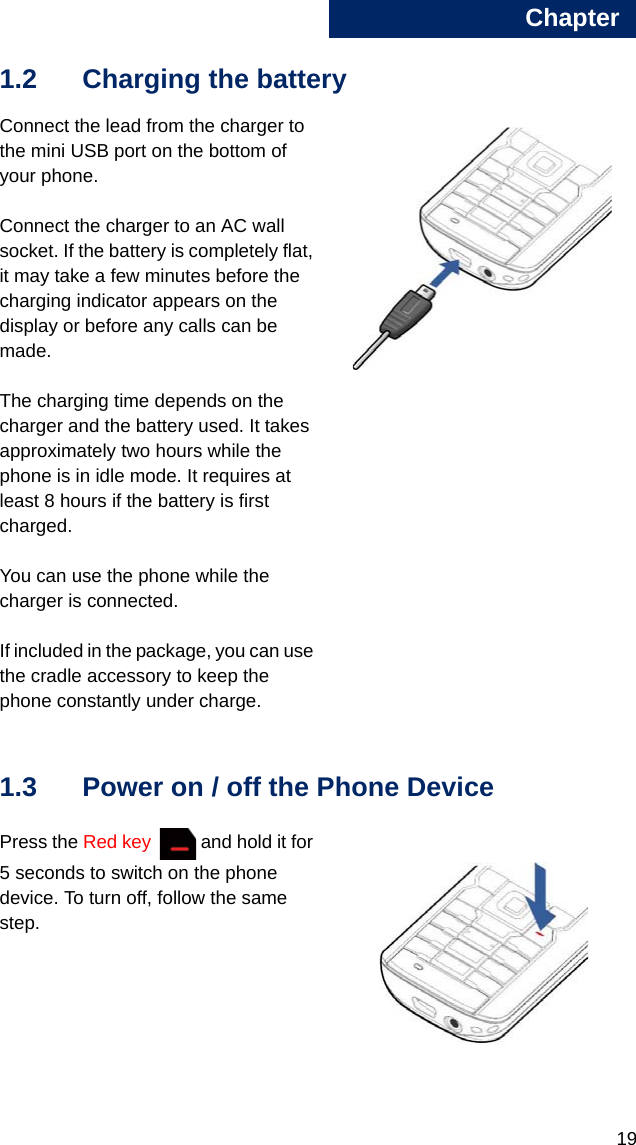
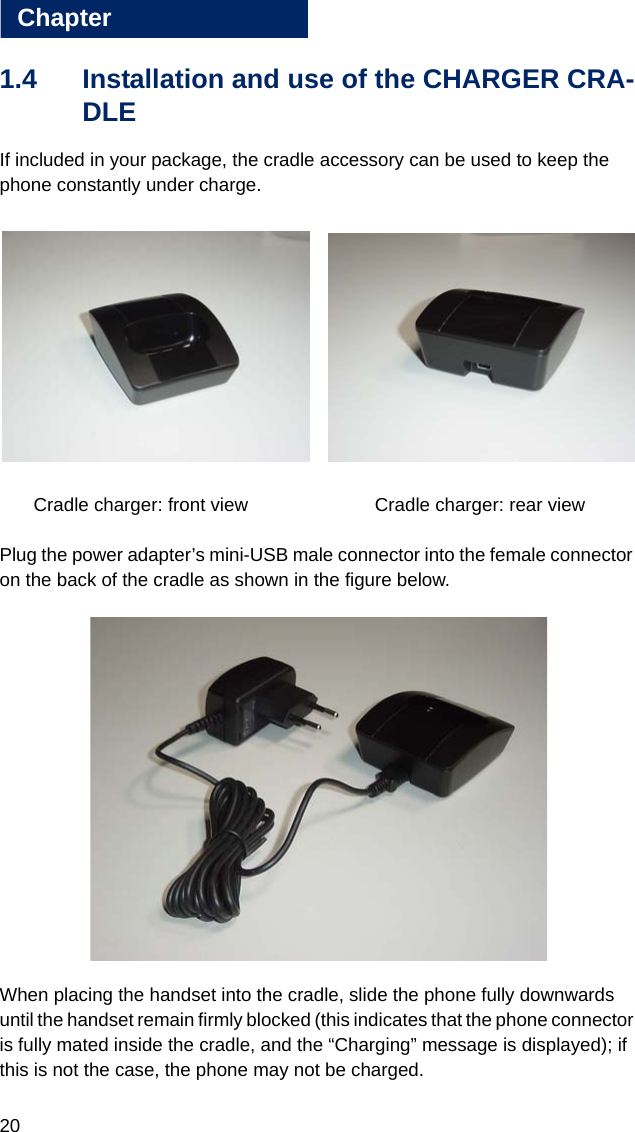
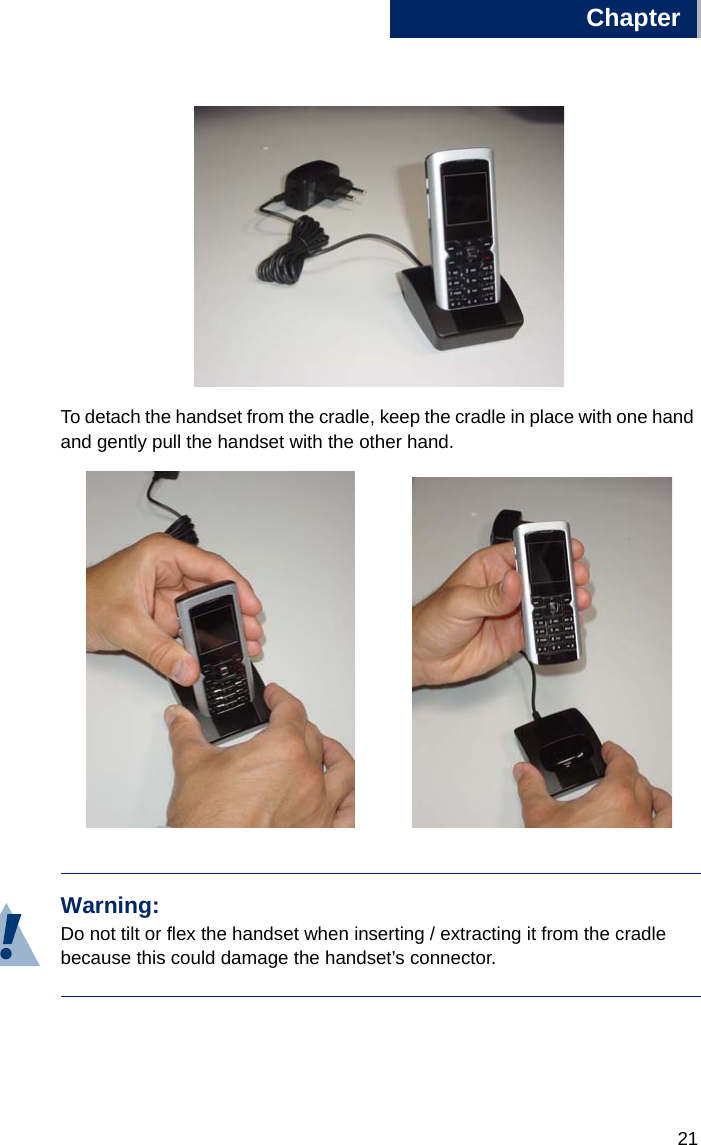
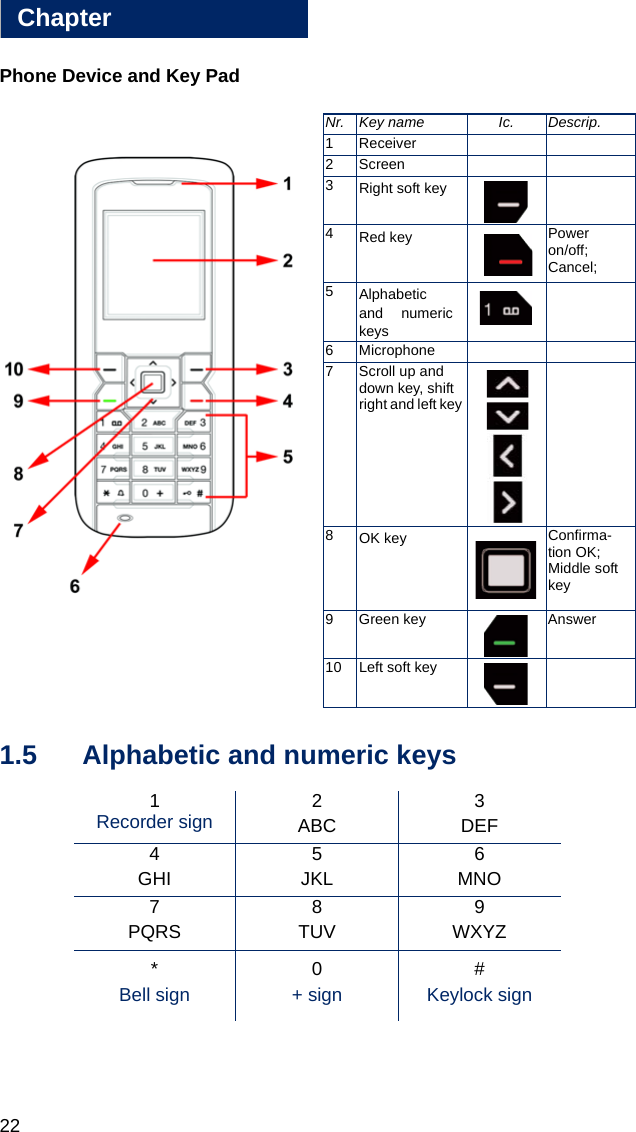
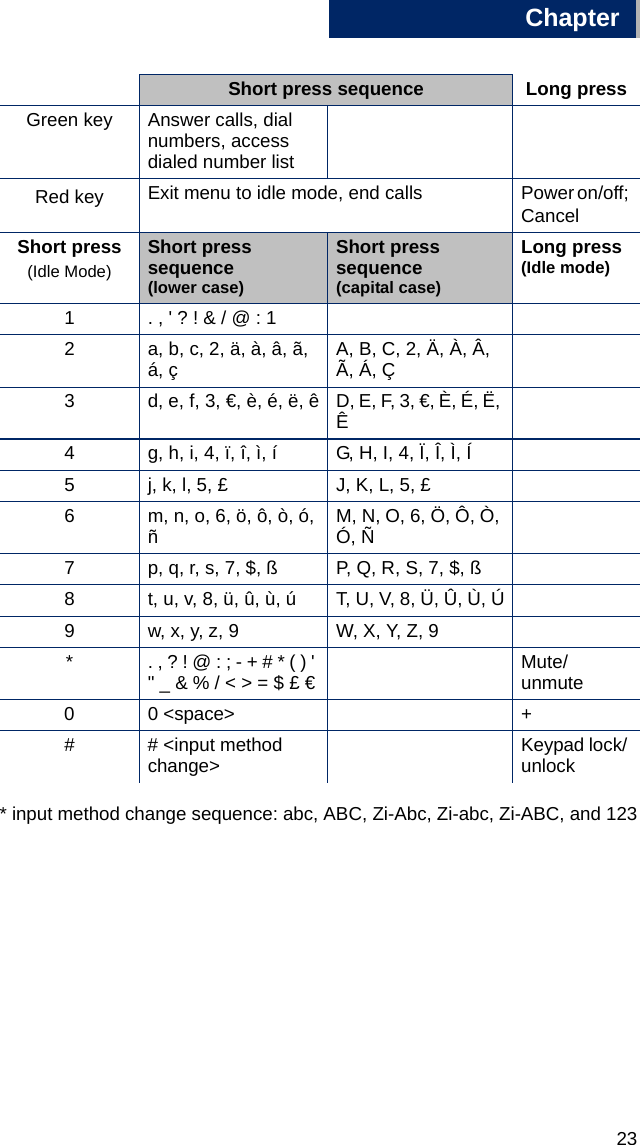
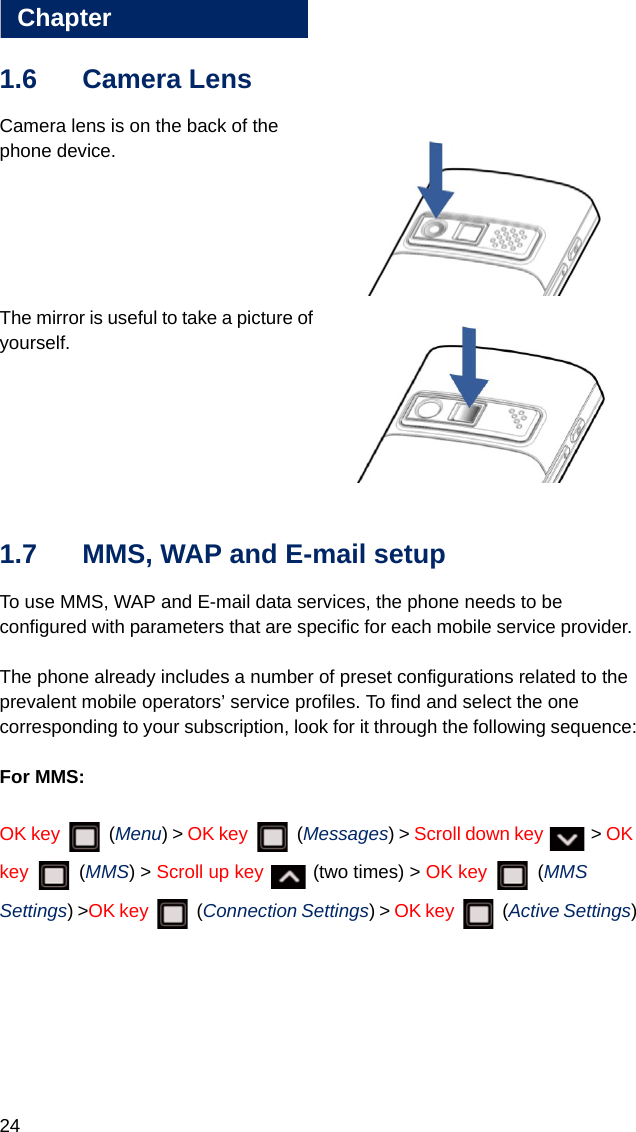
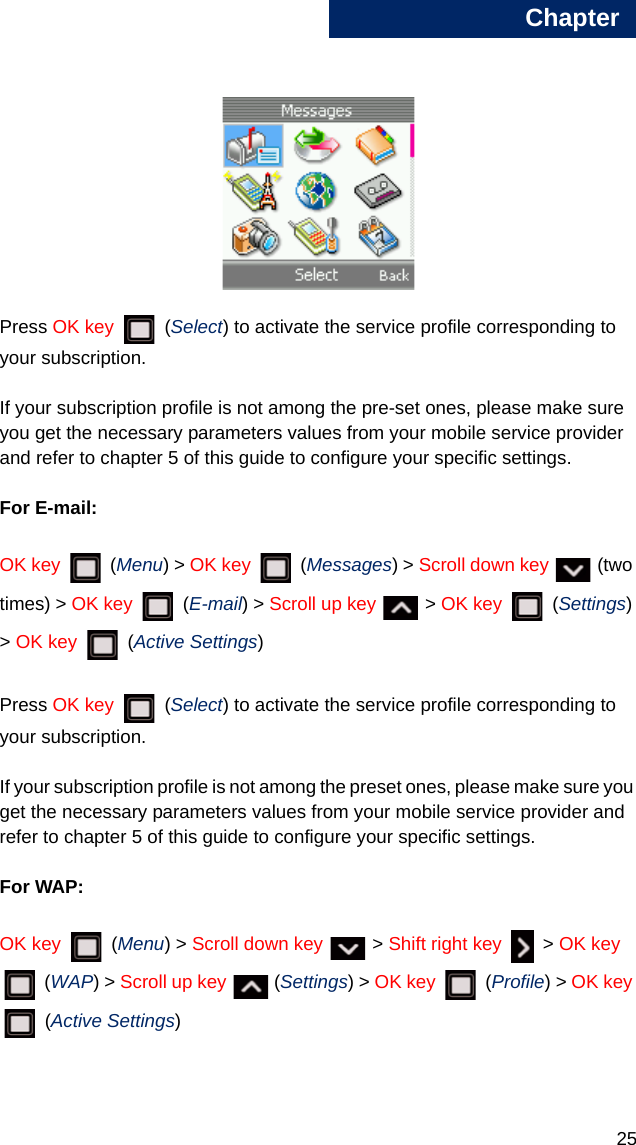
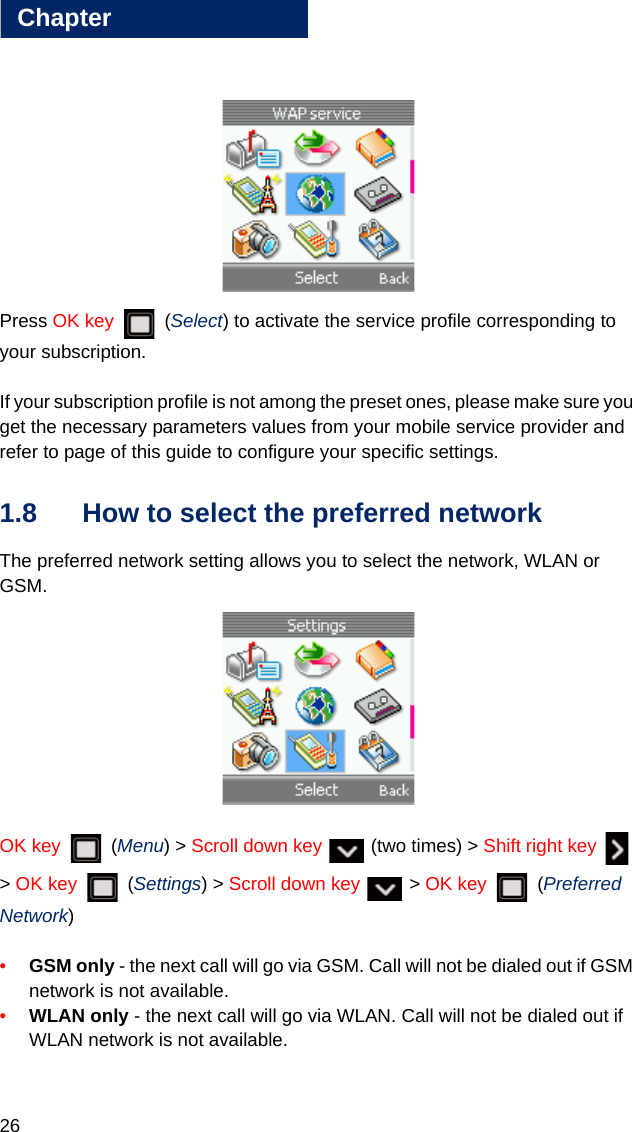
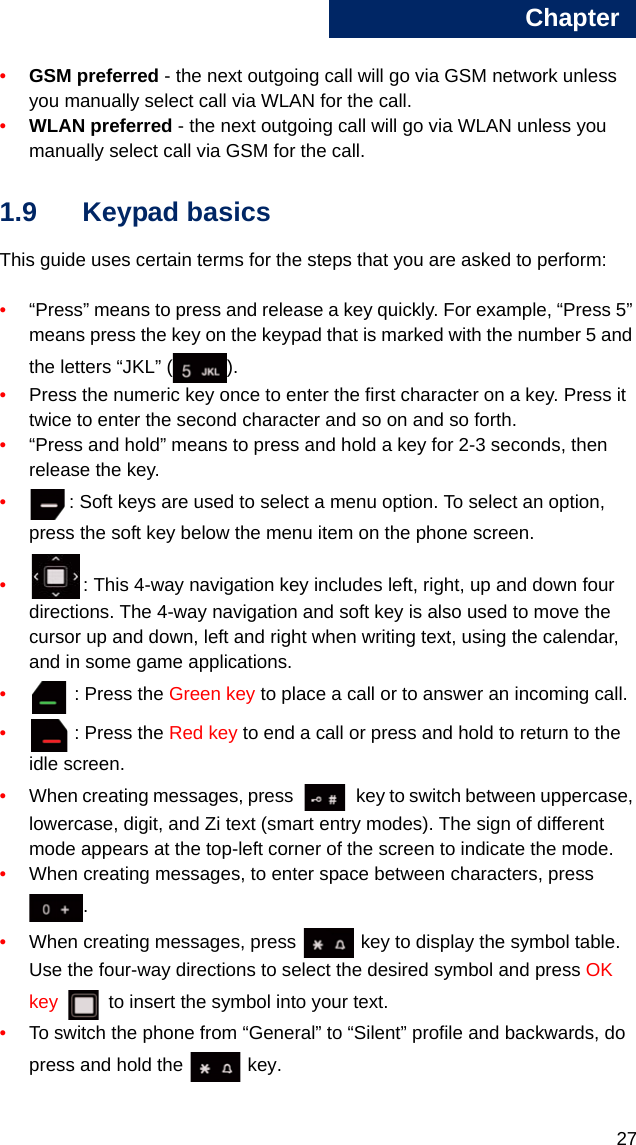
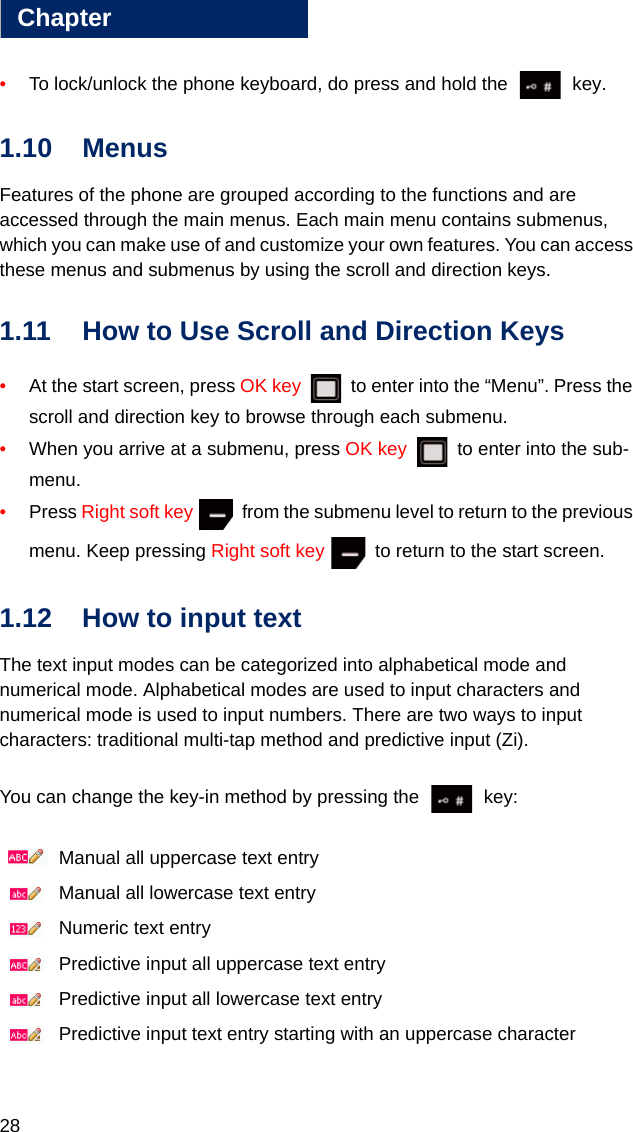
User Manual
2.
Users Manual
Users Manual
Navigation menu
Upload a User Manual
Namespaces
Wiki Guide
HTML
PDF
Info
Views
User Manual
Discussion / Help
Navigation