Planex Communications GW-USSUPER300 802.11n USB Wireless Adapter User Manual GW USSuper 300 Manual 0218
Planex Communications inc. 802.11n USB Wireless Adapter GW USSuper 300 Manual 0218
User Manual
1
User Guide of GW-USSuper300
Installing the software of USB Adapter ................................................2
Configuring your wireless network (with Wireless Utility) ......5
Configuring your wireless network (with Microsoft Zero
Configuration Tool)..........................................................................................11
Wi-Fi Protect Setup (WPS)..........................................................................13
Pin Input Config (PIN)...........................................................................14
Push Button (PBC) ...................................................................................18
TX Power................................................................................................................20
Radio Off.................................................................................................................21
Disable Adapter..................................................................................................23
Mode Selection ...................................................................................................24
Access Point Mode............................................................................................25
Uninstalling the software.............................................................................27
Wireless Zero Configuration Troubleshooting.................................29
Federal Communication Commission Interference Statement ....................................34
2
Installing the software of USB Adapter
1. Select the setup file to install. The setup program will detect user’s
language automatically.
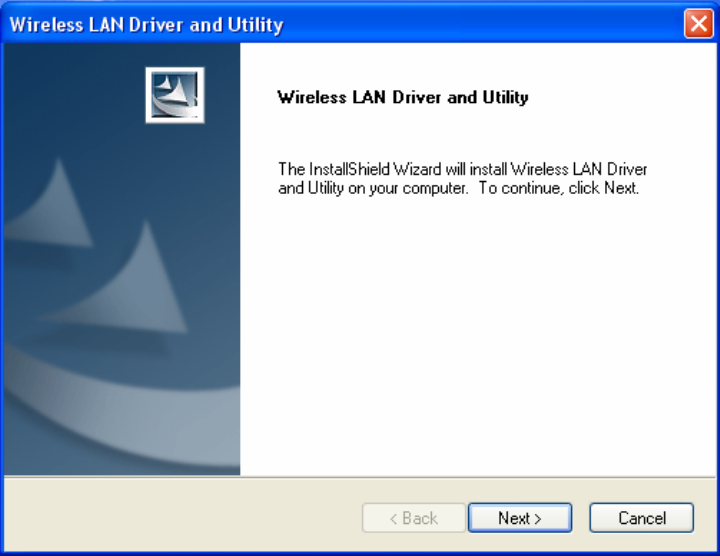
2. The setup program will install the driver and utility to computer. Please
click the “Next” button to continue.
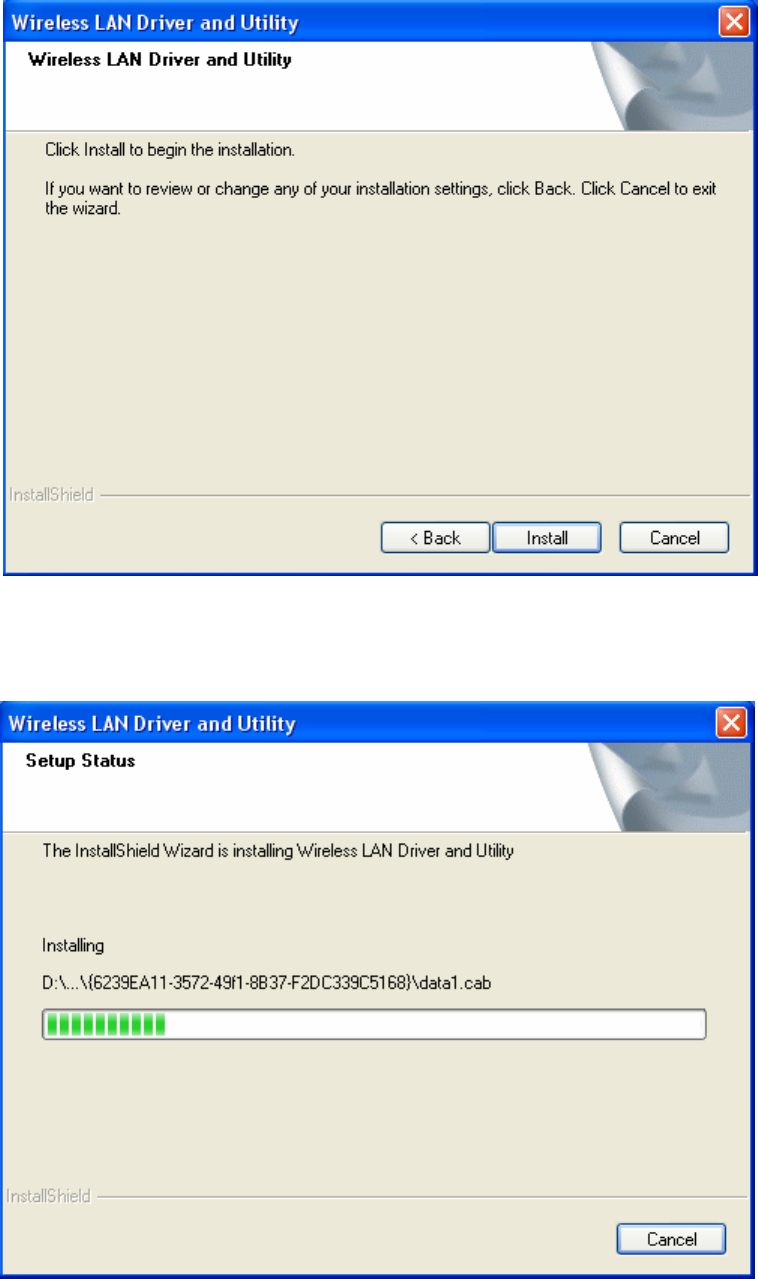
3. The setup program is ready to begin installation. Please click the “Install”
button.
3
4. The software installation should begin. This may take a few minutes.
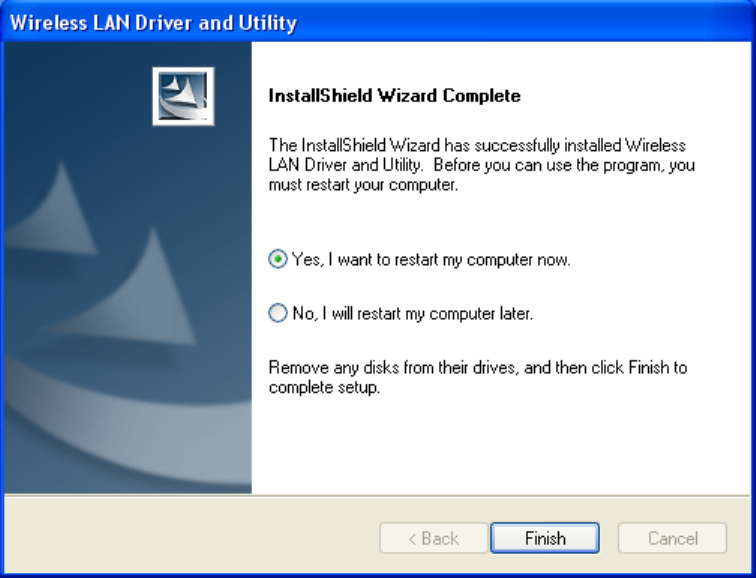
5. Once the installation success, click “Yes” to restart your system
(recommended). Otherwise, click “No” to restart your system later.
4
6. Once the installation complete, you may now configure your wireless
network.
5
Configuring your wireless network (with Wireless Utility)
1. Windows XP users, if you chose “Microsoft Zero Configuration Tool”
during the software installation please skip to page 11.
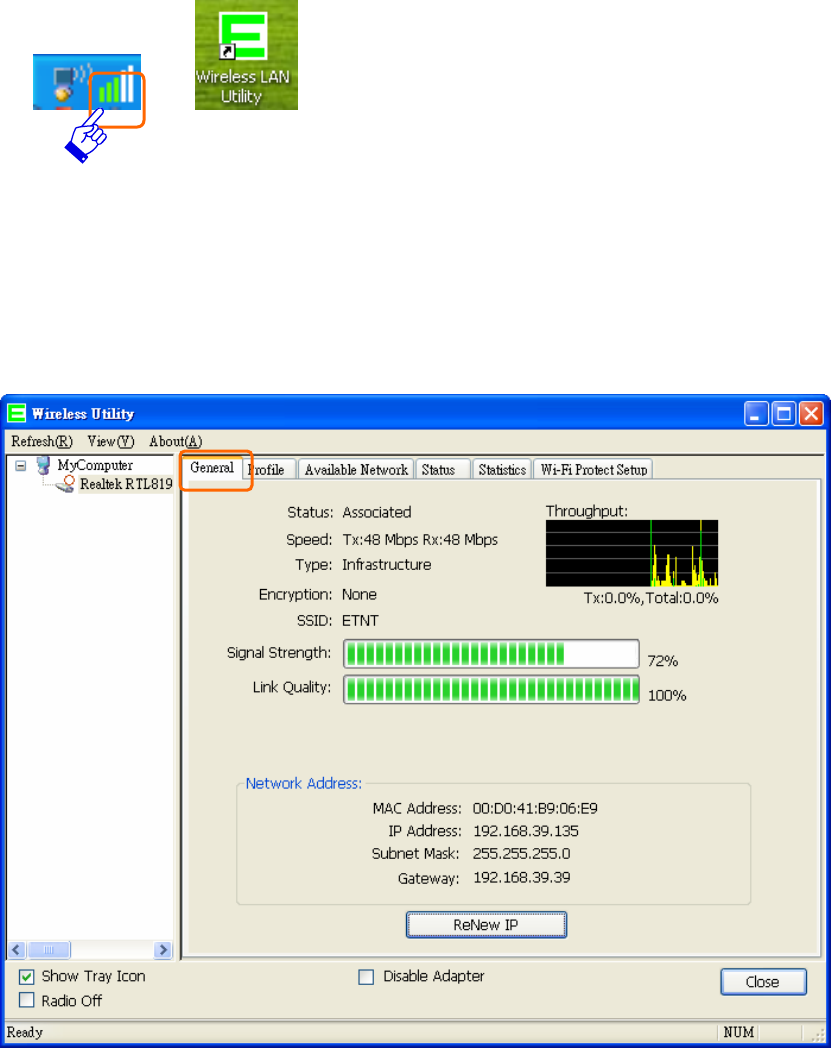
2. Double click on the computer with wireless signal icon in your taskbar or
the shortcut icon on the desktop.
3. It should pop up the Wireless Utility window. And then utility shows the
connecting wireless network that connected automatically or was the
default network in profile.

6
4. Click the “Available Network” tab to the wireless network surveying page.
Click the “Refresh” button to scan the area for wireless network(s). Once
the scan completed, select the desired wireless network from the list and
double click it or click the “Add to Profile” button.
7
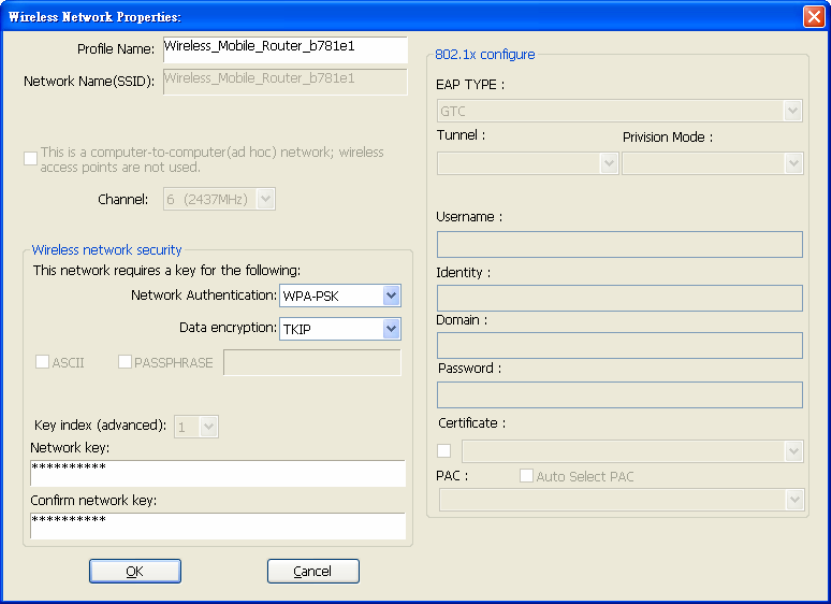
5. It should pop up the wireless Network Properties window. If you do not
have any wireless security (WEP, WPA, WPA2, and etc.) set on your
wireless network, simply click the “OK” button and skip to step7. If you
do have wireless securities on your wireless network, configure the
security setting in “Wireless network security” column.
8
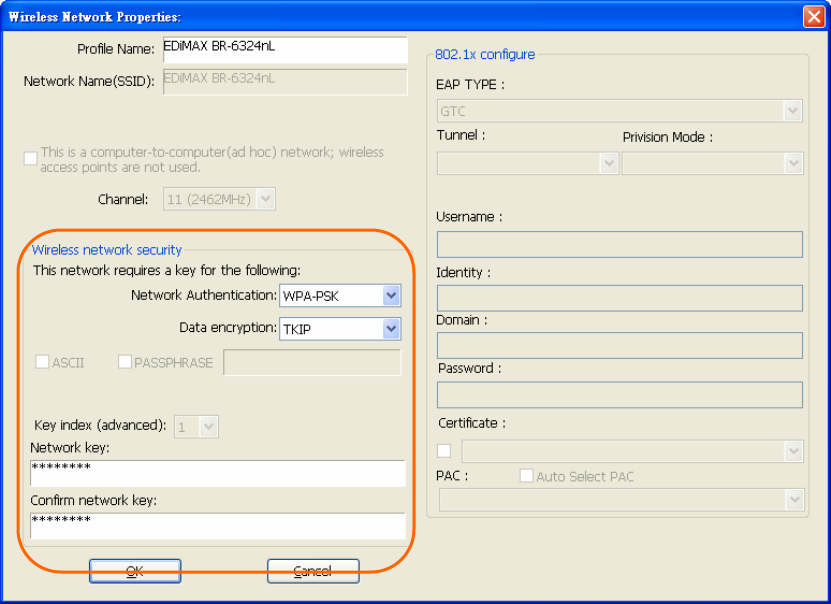
6. Set your wireless securities settings, when it completed, click the “OK”
button. Select the Network Authentication and Data encryption to set the
encryption type.
- If you have WEP, typically you select the format and enter your WEP key
below the Data encryption.
- If you have WPA-PSK or WPA2-PSK, typically you only enter your key in
the “Network Key” and type again to confirm it.
- If you have 802.1x configure, typically you only configure your setting
in 802.1x configure column.
9
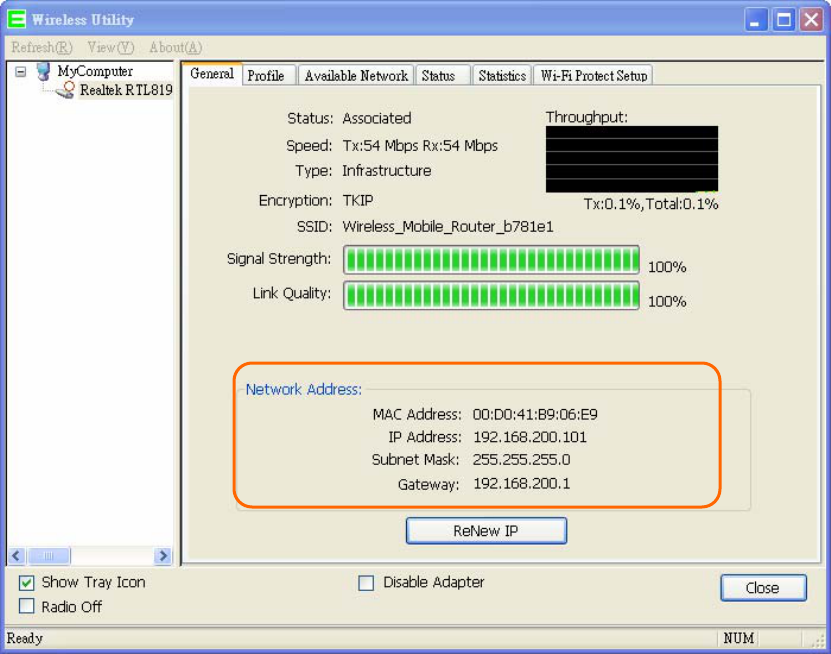
7. After connected to wireless network, utility will back to “General” page
and show the wireless network status. Once the wireless network
connected successfully, the Network Address will show the WL307n has
gotten the IP address from DHCP.
10
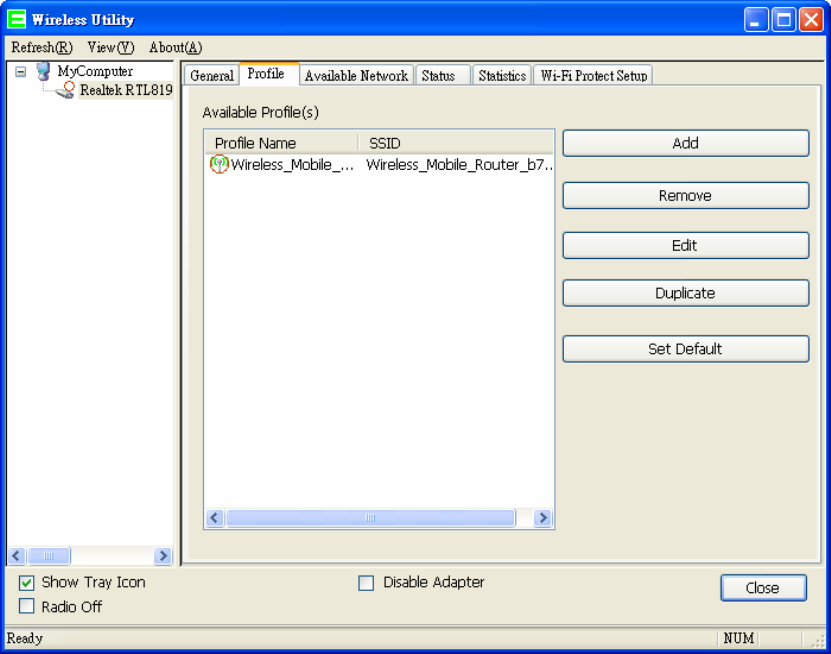
8. Click the “Profile” tab to check the profile page. The wireless network
configuration has added in Available Profile(s). It could remove, edit,
duplicate and set default the profiles in this page.
Notice:
If you want to configure WLAN dongle as Ad-Hoc mode, please add a profile
and check “This is a computer-to-computer (ad hoc) network; wireless
access points are not used.”
11
Configuring your wireless network (with Microsoft Zero
Configuration Tool)
Warning: Due to security reasons, we strongly recommend updating
Windows XP to service pack 2 and above, if you have not done so.
If you do not wish to update, please follow the following steps to
change the configuration tool between wireless utility and
Microsoft Zero configuration tool.
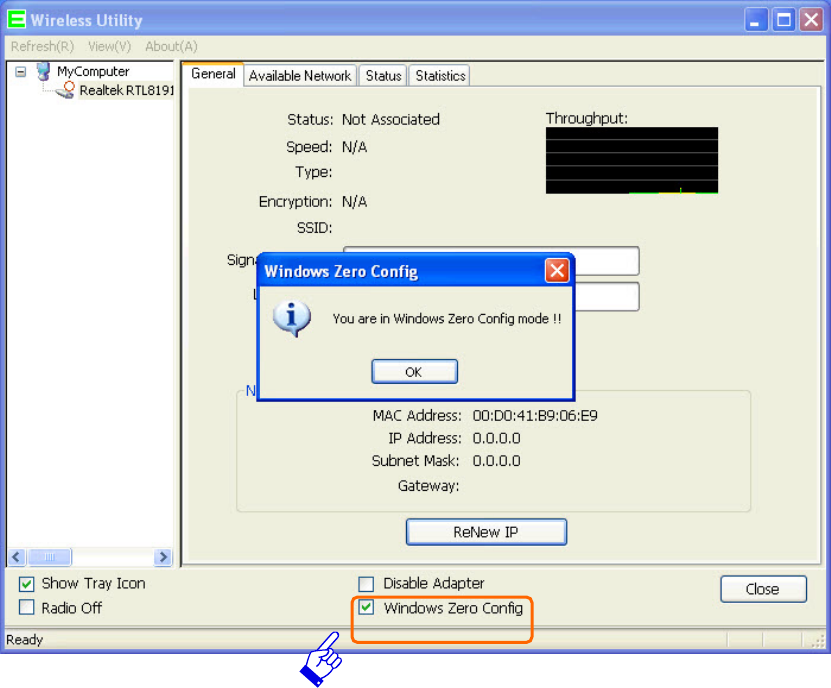
1. Please open the wireless utility. And then enable the “Windows Zero
Config” as configuration utility. After enabling the “Windows Zero Config”
will pop out a message box, click the “ok” button to continue.
12
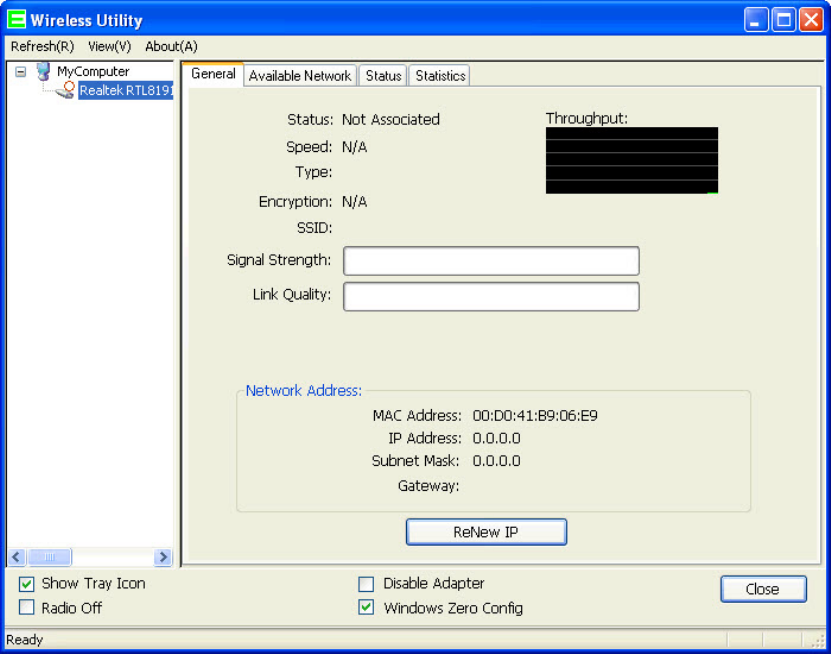
2. Once using Microsoft Zero Configuration Tool to configure wireless
network, Wireless Utility will be can not configure.
13
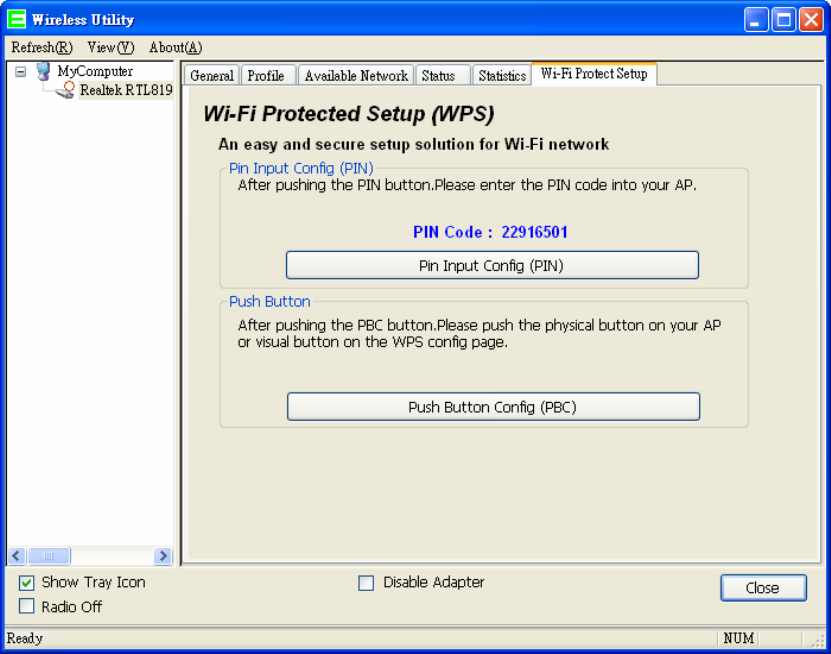
Wi-Fi Protect Setup (WPS)
WPS is an easy and secure setup solution for Wi-Fi network. Please click the
Wi-Fi Protect Setup tab. WL307n has two methods, PIN (Pin Input Config)
and PBC (Push Button Config), to setup the network.
14
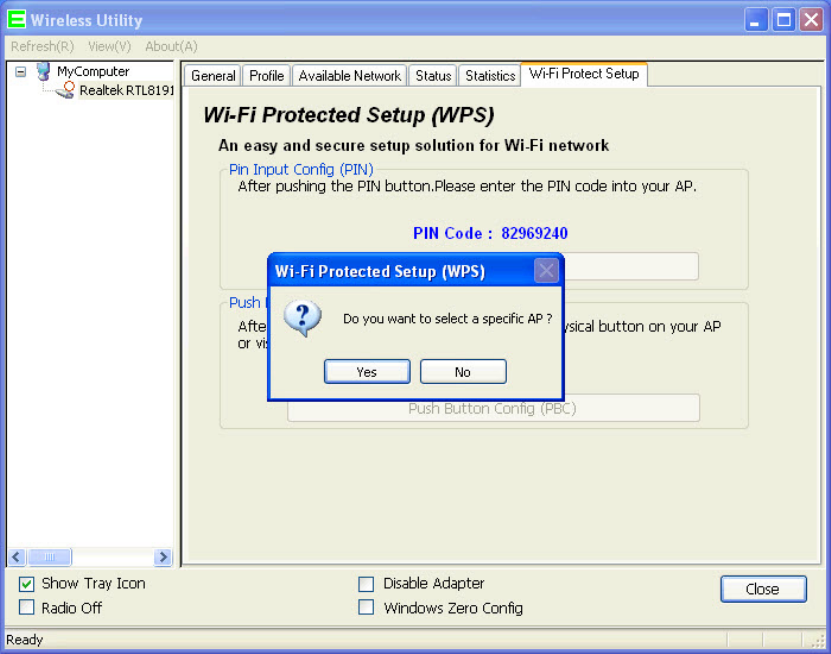
Pin Input Config (PIN)
1. Click on the “Pin Input Config (PIN)” button, and then it should pop up a
message box. If you want to connect to a specific AP, please click the
“Yes” button. Or please click the “No” button to continue and skip to
step3.
Note: Every time you click the tab to change the page, the PIN code will
be changed.
15
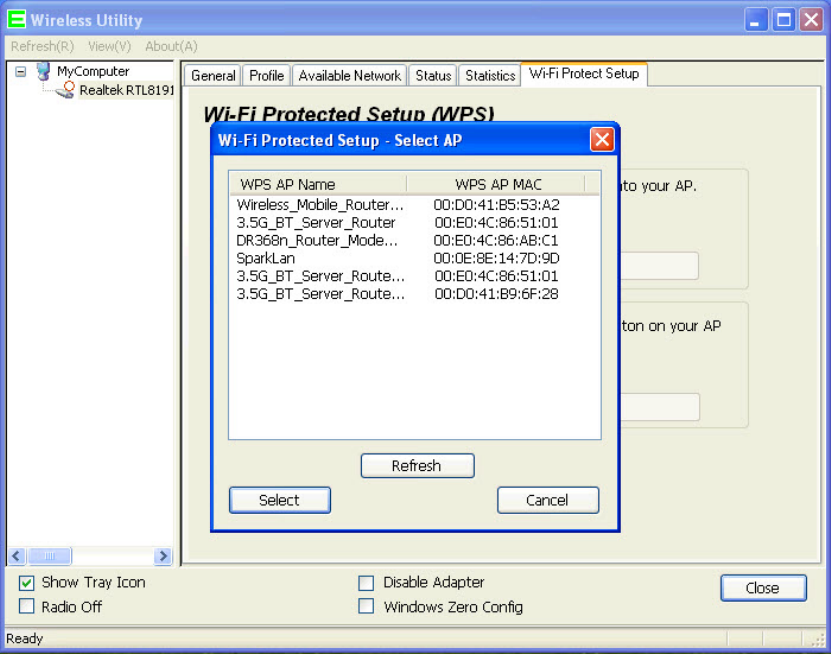
2. Select the specific AP which you want to connect. If you can not find the
WPS AP in this page, please click the “Refresh” button. And then click the
“Select” button.
16
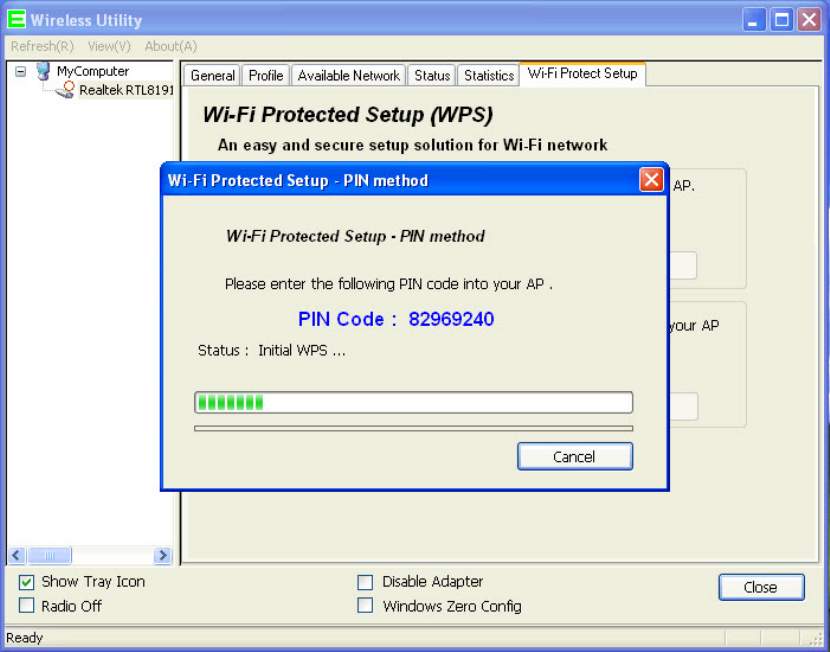
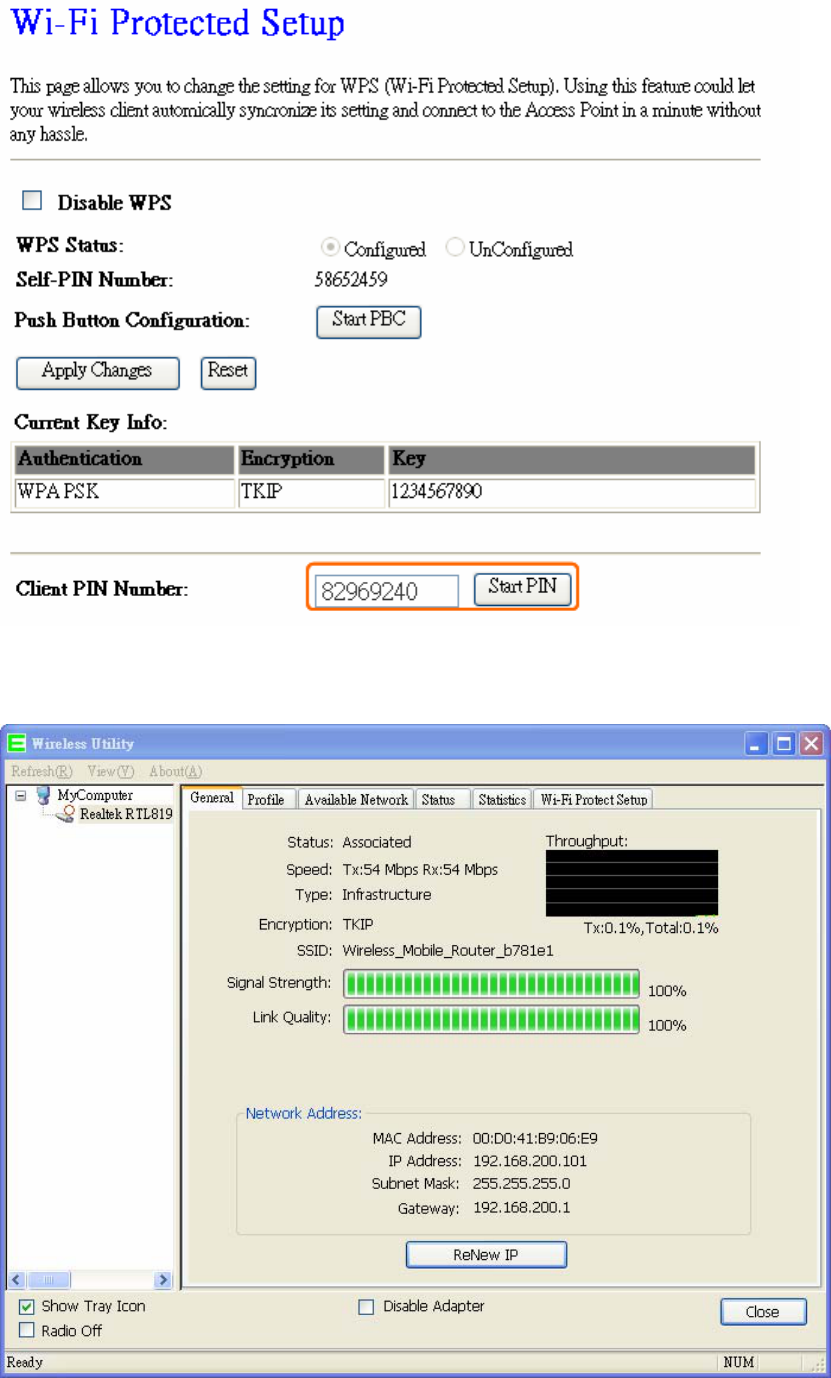
3. WL307n is waiting for the AP to establish the connection. And then enter
the PIN code into the AP that you want to connect. For example, the AP
uses BR360n to be the connecting device. Enter the PIN code into client
pin number and then clicks the “Start PIN” button.
Note: The PIN function in AP should be started before the WPS setup in
WL307n times out.
17
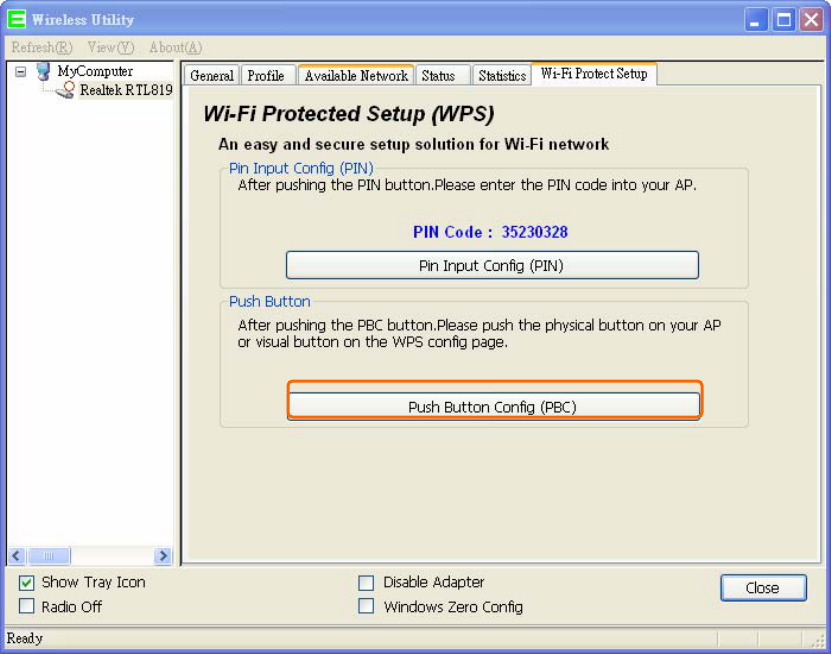
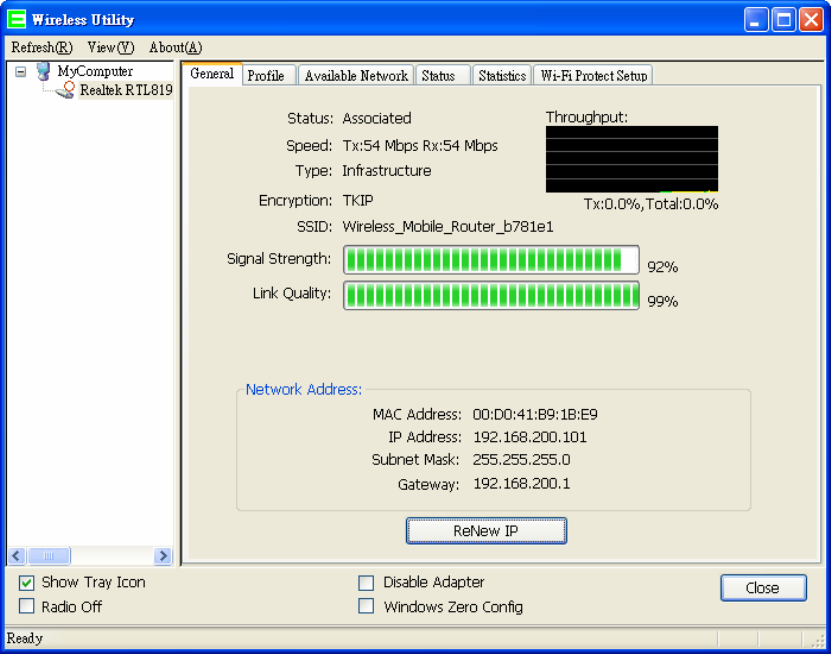
4. Once the WPS connected successfully, wireless utility will show the
connection status.
18
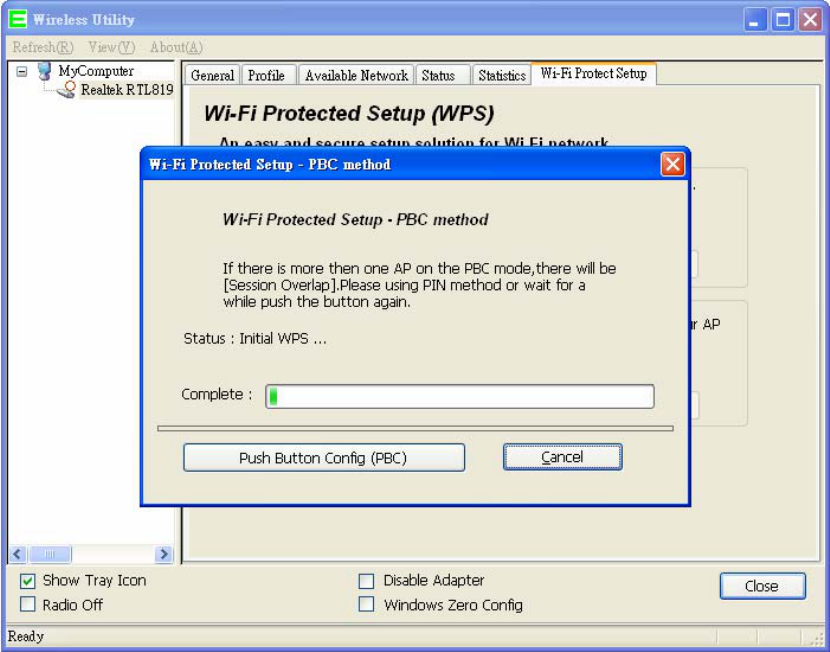
Push Button (PBC)
1. Click on the “Push Button Config (PBC)” button.
Note: The PBC button can click the visual button on the page or push the
physical button on AP.
19
2. WL307n is waiting for the other AP to start the PBC function. The other AP
starts the PBC function should be before WL307n WPS times out.
3. Once WPS connected successfully, Wireless Utility will show the
connection status.
20
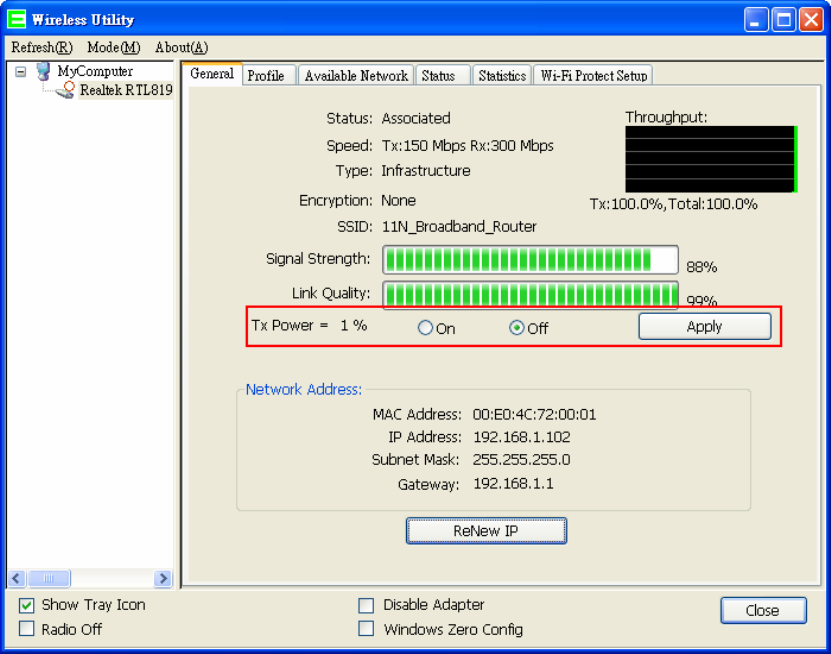
TX Power
Users can turnon or off the TX power option, the default is “off”.
21
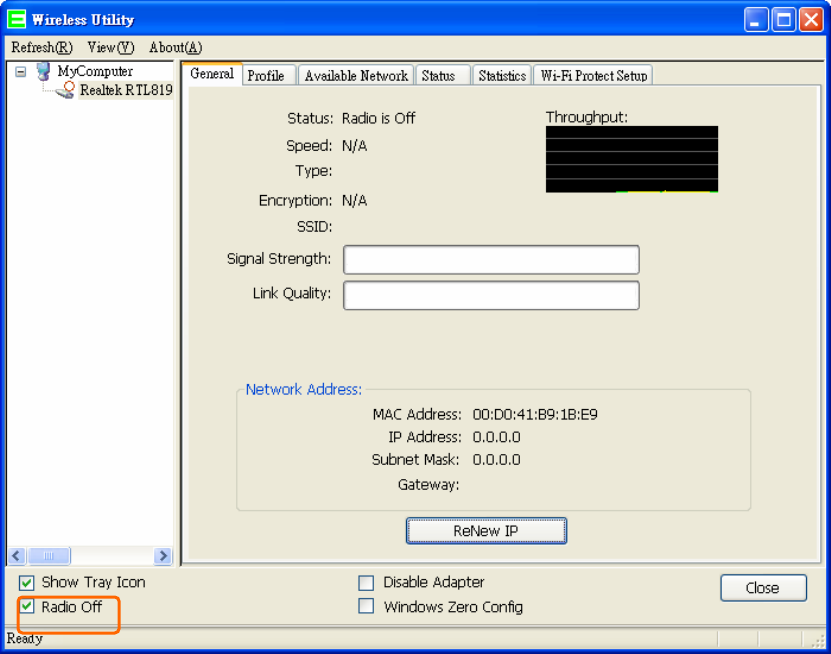
Radio Off
Enable the Radio Off will turn off the radio function. It means WL307n will
turn off the wireless function. The wireless network connection will be
disconnected.
22
23
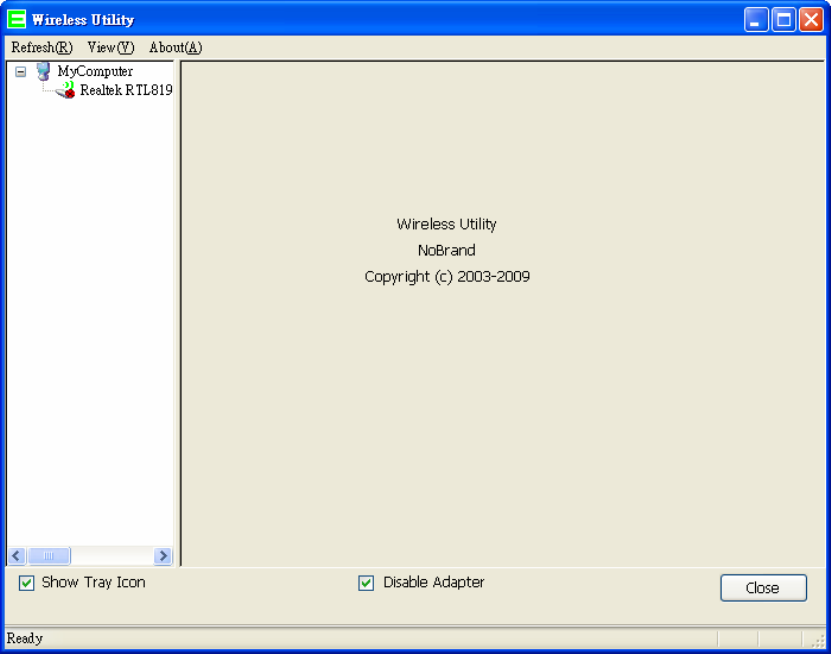
Disable Adapter
Disable the WL307n adapter will turn off the USB adapter function. It means
all functions of WL307n will be turn off.
24
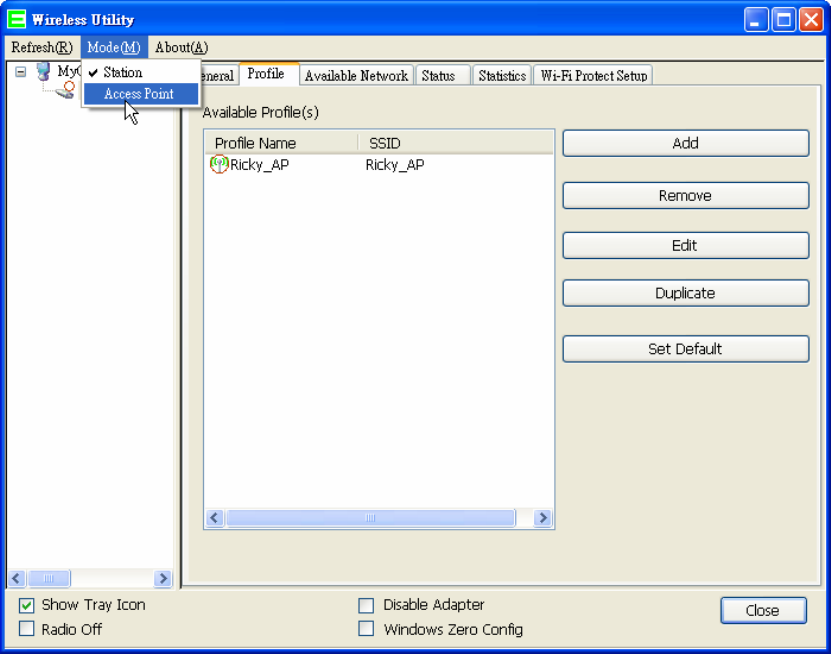
Mode Selection
Users can switch between Station and Access Point modes.
Selection Access Point Mode.

25
Changing to AP mode.
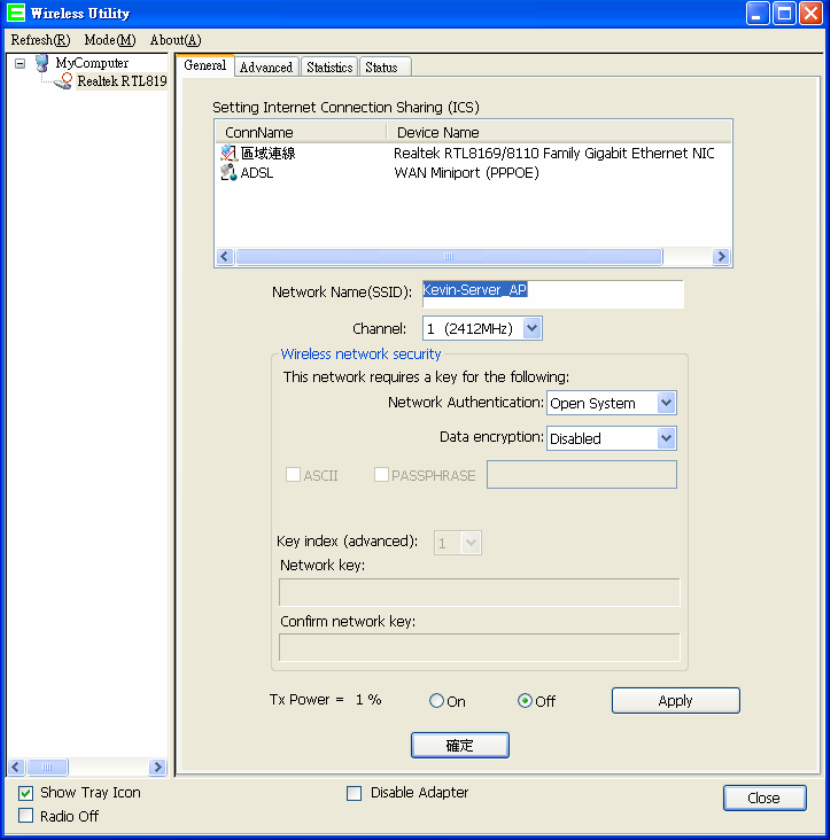
Access Point Mode
Access Point Mode can share your network to others. In ICS panel users can
select which network to be shared.
26
1. Network Name
Give a SSID to shared network.
2. Channel
Select a channel for shared network.
3. Network Authentication
Select authentication type for shared network.
4. Data encryption
Select to enable/disable data encryption.
5. Network Key
Setup network key for shared network.
6. Tx Power
Select to turn on or off the Tx power, the default is “off”.
27
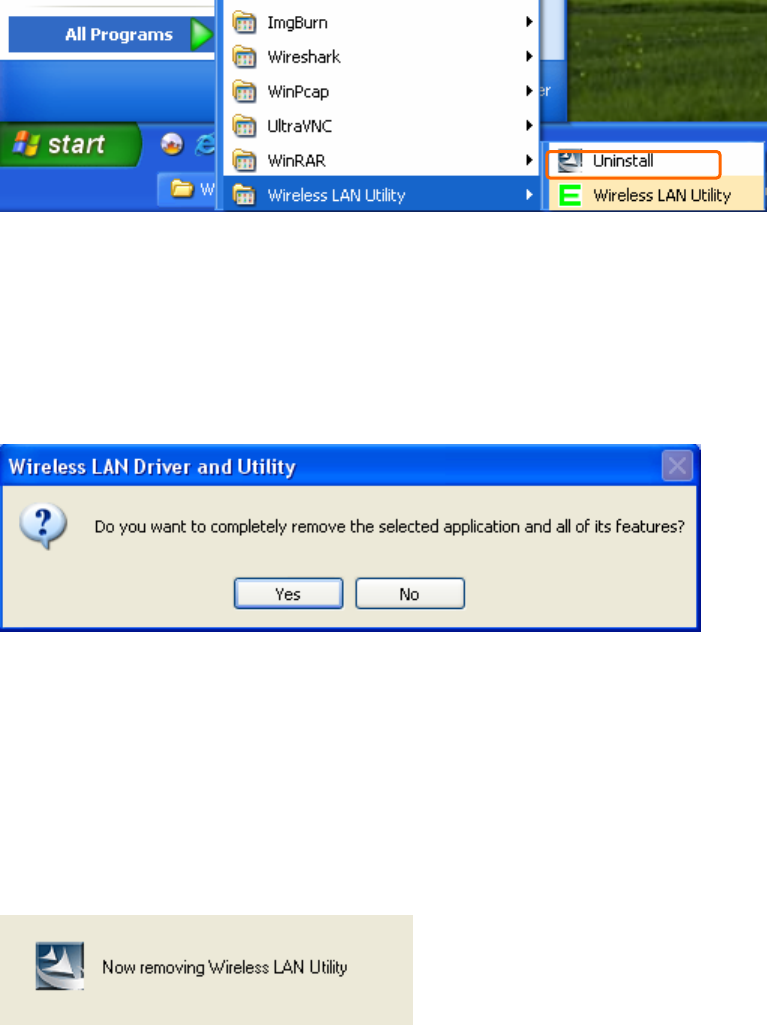
Uninstalling the software
1. Click on your start menu. Next go to “Programs” or “All Programs”.
Next go to the folder “Wireless”. Next select “Uninstall”.
2. The uninstall window should pop up. Click on “Yes” button.
3. The uninstall process should begin and may take a few minutes. Once
completed, click “Finish” to close the uninstall window.
28
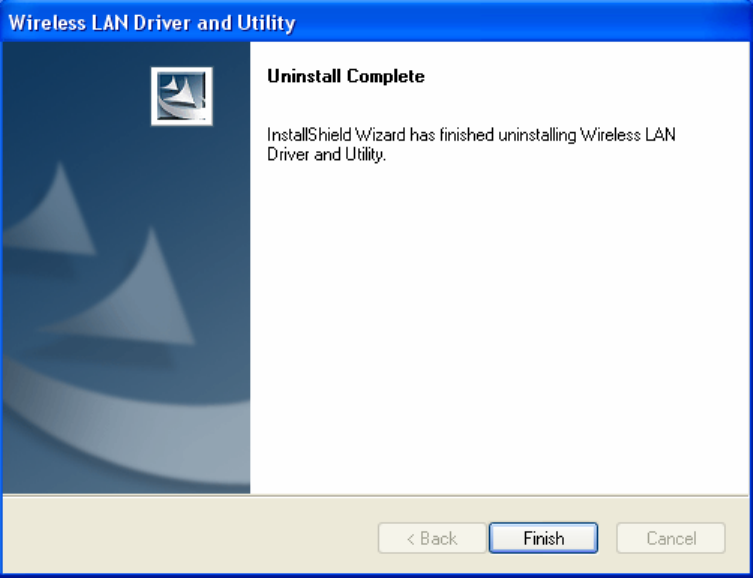
4. Once it’s complete, click the “Finish” button to exit the uninstall program.
29
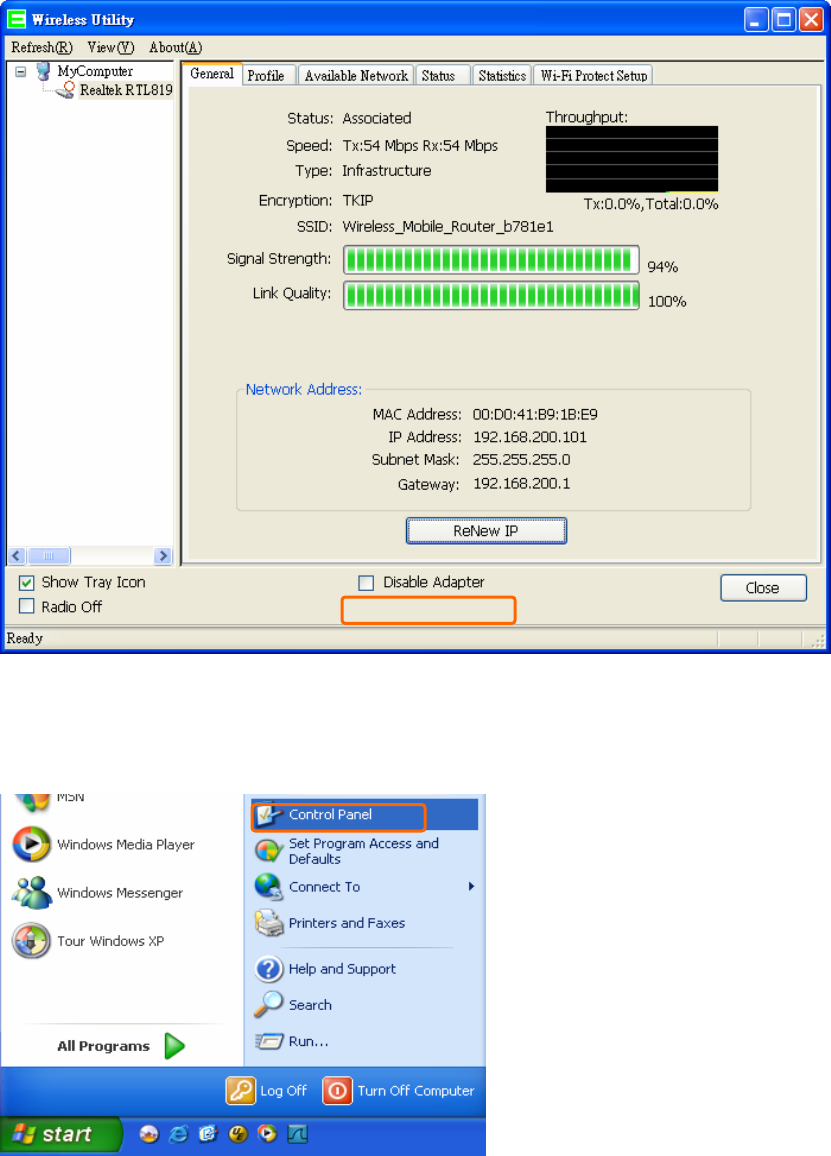
Wireless Zero Configuration Troubleshooting
If you are Windows XP user and you can not see the check option of
“Windows Zero Config”, such as following figure, please do the following
steps.
1. Click on your start menu and then click the “control panel” into control
panel. Next click the “Administrative Tools”.
30
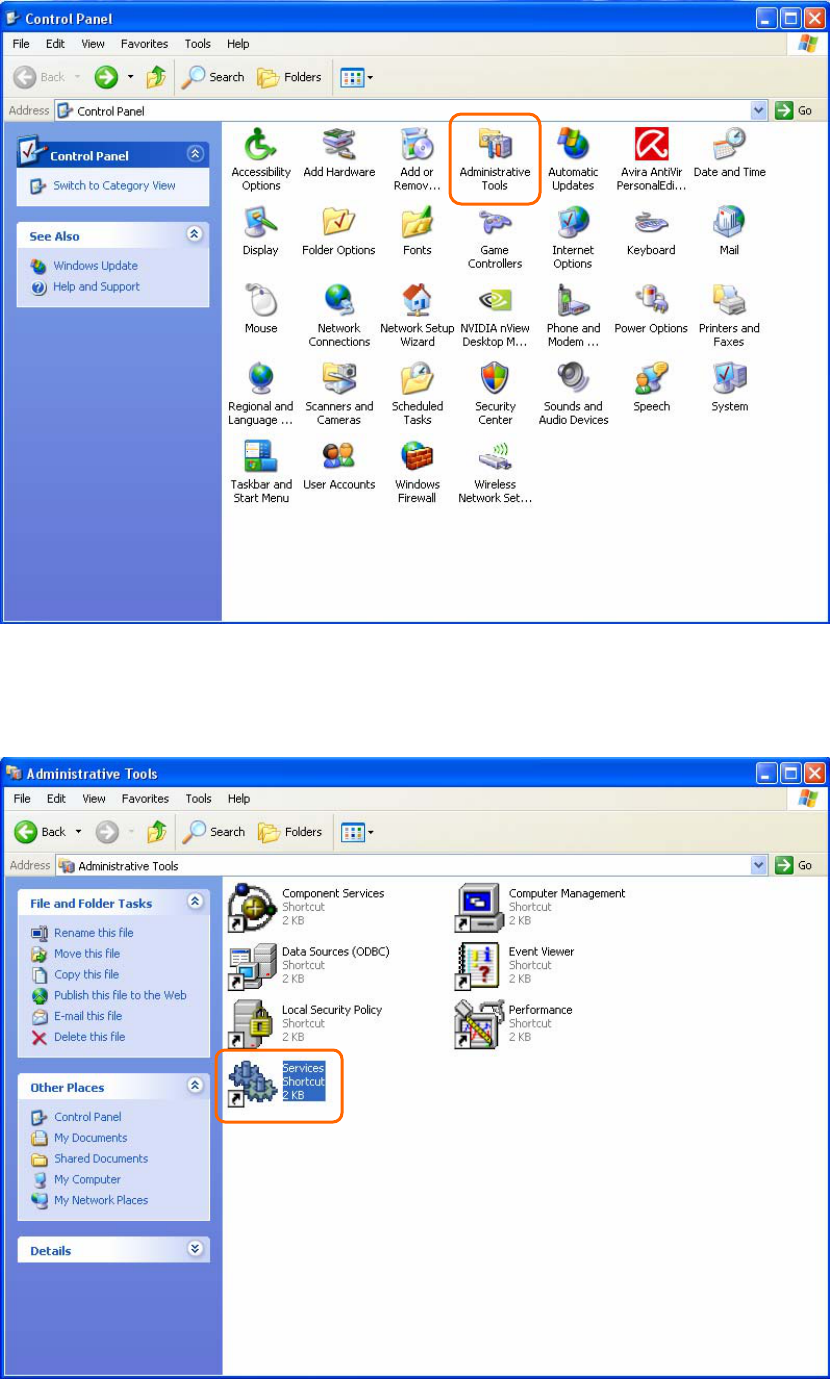
2. Click on the “Services” item.
31
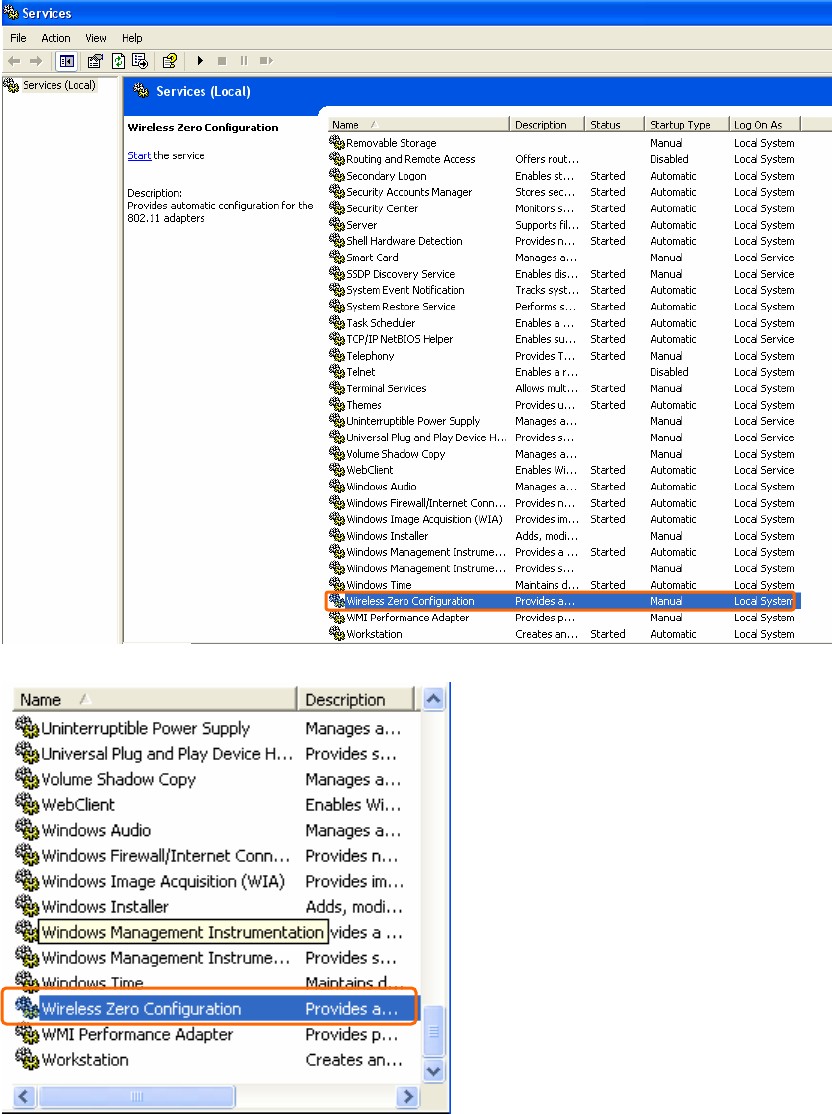
3. It will pop up the Services window. Select the “Wireless Zero
Configuration” or “Wireless Configuration” item and double click it.
32
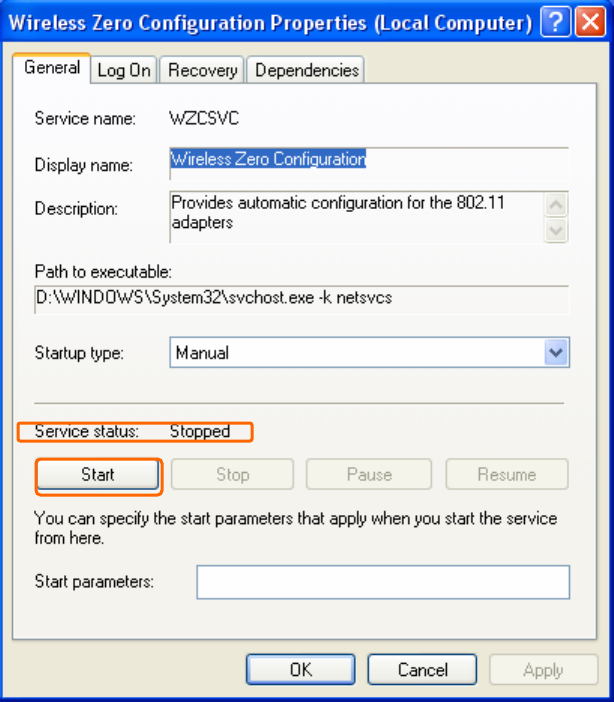
4. It will pop up the Wireless Zero Configuration Properties window. The
“Service status” should be in “Stopped” state now. Click the “Start”
button to enable the Wireless Zero Configuration function.
33
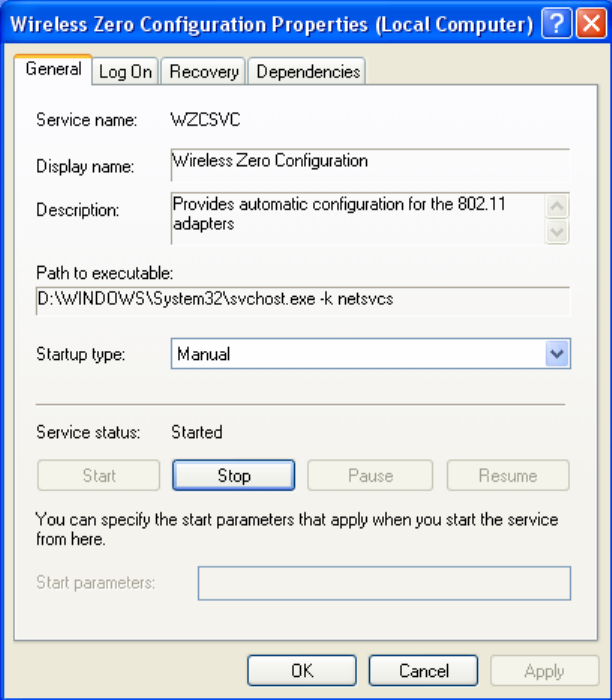
5. Once the setting completes, the “Service status” become to “Started”.
Click the “OK” button to finish it and the WL307n Wireless Utility can see
the check option of “Windows Zero Config”.
34
Federal Communication Commission Interference Statement
This equipment has been tested and found to comply with the limits for a Class B
digital device, pursuant to Part 15 of the FCC Rules. These limits are designed to
provide reasonable protection against harmful interference in a residential installation.
This equipment generates, uses and can radiate radio frequency energy and, if not
installed and used in accordance with the instructions, may cause harmful interference
to radio communications. However, there is no guarantee that interference will not
occur in a particular installation. If this equipment does cause harmful interference to
radio or television reception, which can be determined by turning the equipment off
and on, the user is encouraged to try to correct the interference by one of the
following measures:
. Reorient or relocate the receiving antenna.
. Increase the separation between the equipment and receiver.
. Connect the equipment into an outlet on a circuit different from that to which the
receiver is connected.
. Consult the dealer or an experienced radio/TV technician for help.
FCC Caution: To assure continued compliance, any changes or modifications not
expressly approved by the party responsible for compliance could void the user's
authority to operate this equipment. (Example - use only shielded interface cables
when connecting to computer or peripheral devices).
FCC Radiation Exposure Statement
This equipment complies with FCC RF radiation exposure limits set forth for an
uncontrolled environment. This equipment should be installed and operated with a
minimum distance of 20 centimeters between the radiator and your body.
This transmitter must not be co-located or operating in conjunction with any other
antenna or transmitter.
The antennas used for this transmitter must be installed to provide a separation
distance of at least 20 cm from all persons and must not be co-located or operating in
conjunction with any other antenna or transmitter.
This device complies with Part 15 of the FCC Rules. Operation is subject to the
following two conditions:
(1) This device may not cause harmful interference, and (2) This device must accept
any interference received, including interference that may cause undesired operation.