Plantronics M1100 Mono Bluetooth Headset User Manual 83988 31 SAVORM1100 072110 lo
Plantronics Inc Mono Bluetooth Headset 83988 31 SAVORM1100 072110 lo
manual
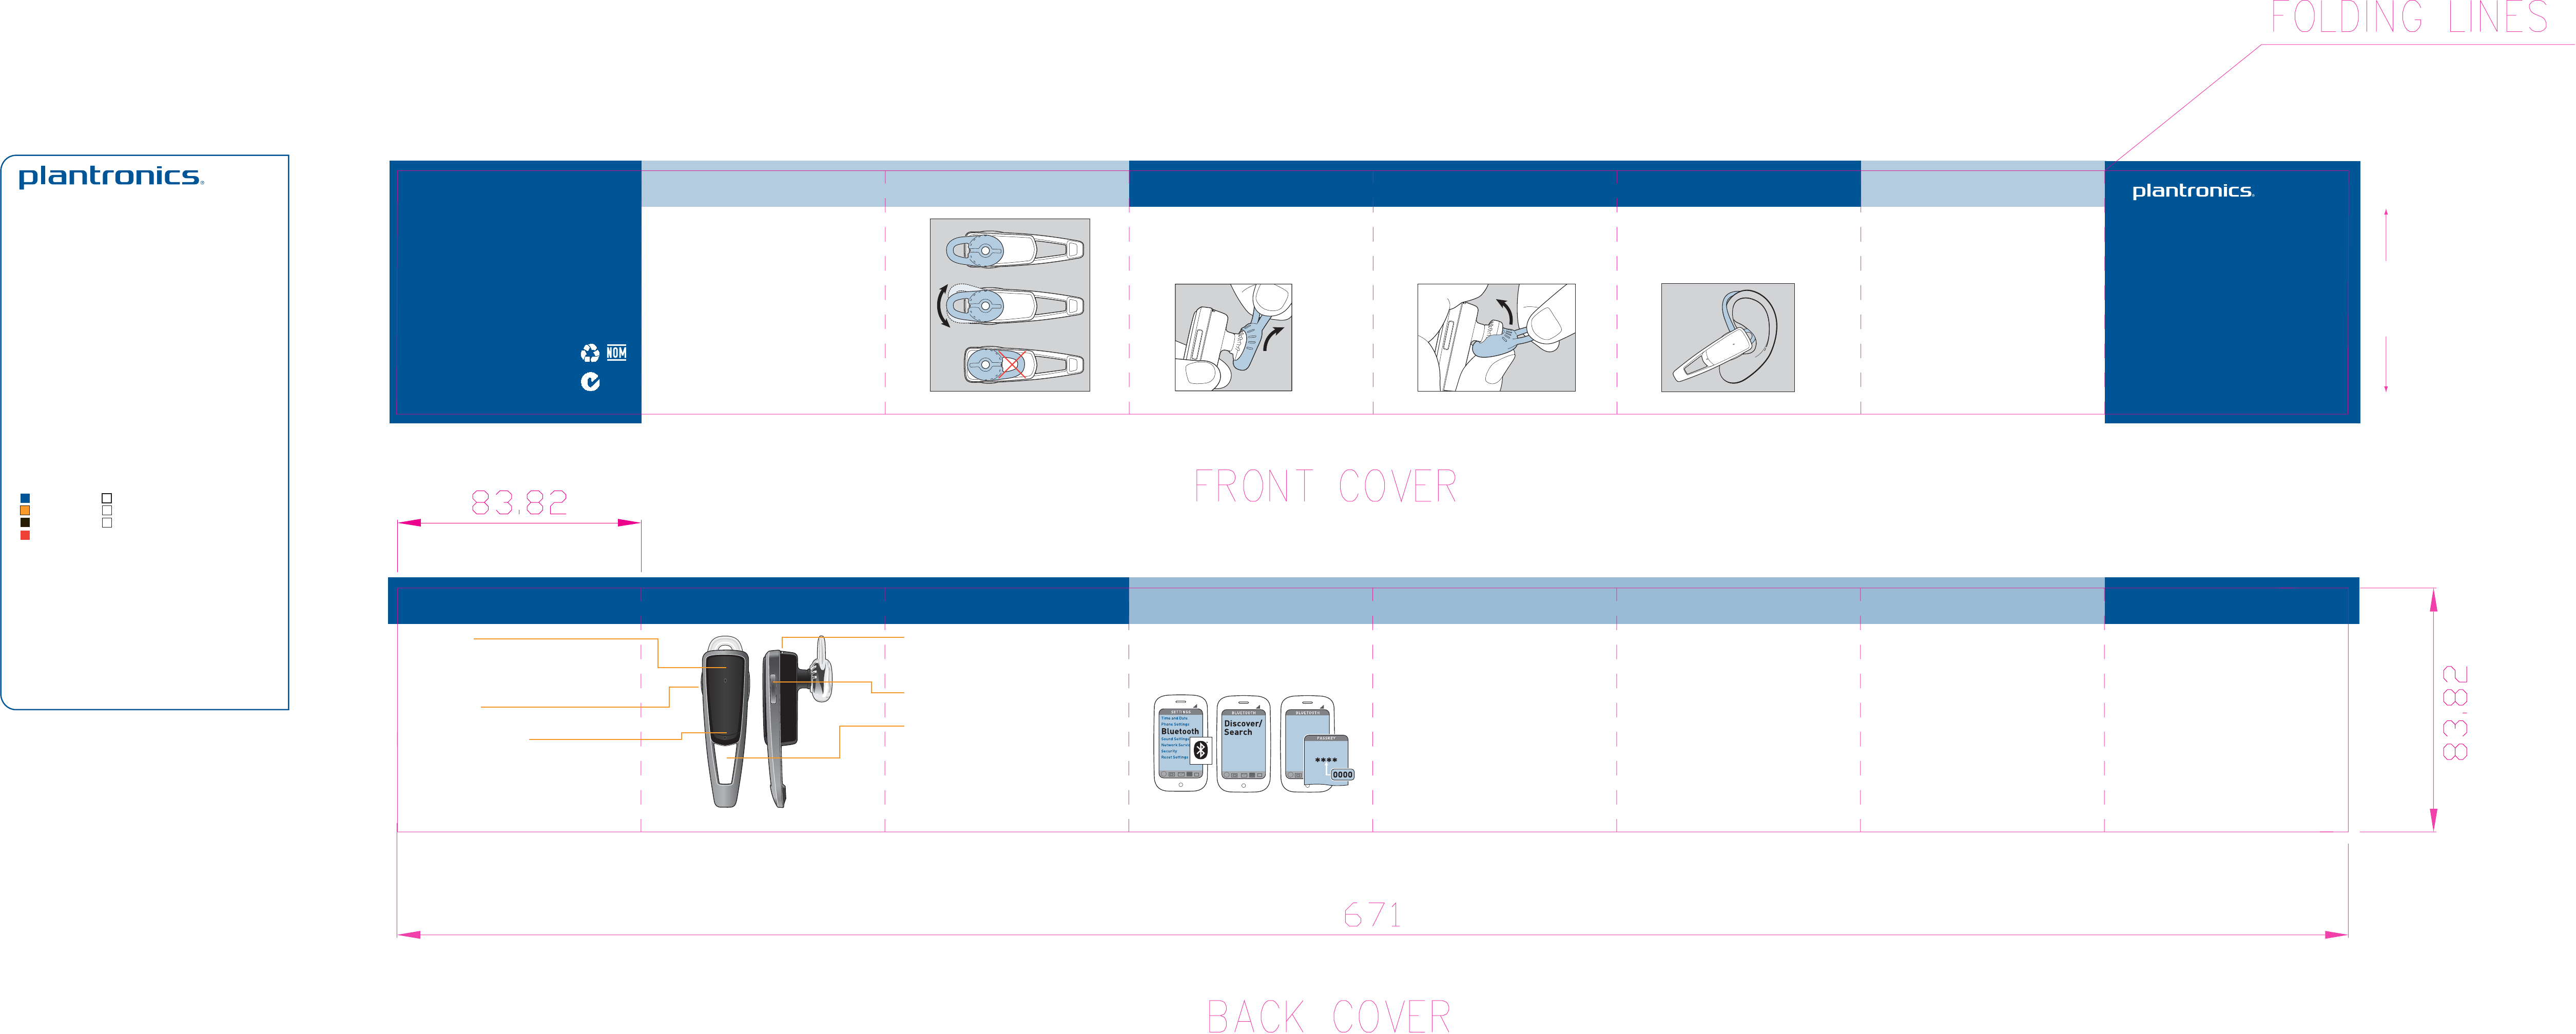
PLT_M1100
MIX AND MATCH FOR BEST FIT
FIND YOUR GROOVE TIPS
The loop of the gel eartip tucks into the back
curve of your ear for a stable fit.
Try on the headset. The eartip is positioned
to suit most people, but you may want to
rotate it to best fit your left or right ear.
The gel eartip and speaker click into matching
grooves so the eartip doesn’t move out of
place during use.
The loop on the gel eartip should point away
from the headset. (Do not rotate the eartip
too far.)
If the gel eartip feels loose or tight in your
ear, then change it. To replace the medium
gel eartip for small or large, pull the loop of
the gel eartip to remove it. (Don’t pull on the
speaker base and stem.)
Using your thumb, tuck the bottom of the
eartip over the speaker and pull the loop of
the eartip over the speaker. (Don’t push the
speaker through the gel eartip.)
For best voice pickup, always check that the
headset points towards the corner of your
mouth.
VIDEO TUTORIAL:
www.plantronics.com/M1100fit
Listen to the Voice:
This headset whispers various status
alerts when you power on/off, run low on
talk time or lose/reconnect the Bluetooth
connection to your phone.
Stay Near Your Phone:
Bluetooth has a working “range” of up to
33 feet between the phone and headset
before audio degrades and the connection
is lost.
Know How to Reconnect:
Your headset tries to reconnect a lost
connection. If it can't, then tap the Call
button once or manually reconnect via the
phone's Bluetooth device menu.
© 2010 Plantronics, Inc. All Rights Reserved. Bluetooth is
a registered trademark of Bluetooth SIG, Inc. and any use
by Plantronics is under license. All other trademarks are
the property of their respective owners.
Patents US 5,712,453; Patents Pending
83987-31 (07.10) AM83988-31
GET
STARTED
Savor M1100™
Bluetooth® Headset
TAKE A GOOD LOOK CONNECT TO YOUR PHONE
CALL BUTTON
• Take a call or end it (1 tap)
• Redial (2 taps)
• Reconnect lost connection (1 tap)
• Activate pairing after initial set up (press until LED flashes
blue/red)
• Transfer call to/from headset (1-second press during call)
POWER SWITCH
• On (slide to reveal black)
• Off (slide to reveal red)
VOICE RECOGNITION BUTTON
• Voice Recognition (VR) commands (Tap VR button, say a
command within 10 seconds. See Tips for commands list.)
• Initiate phone’s voice-dialing
(2-taps then tone heard)
MICRO USB CHARGING PORT
• With AC charger:
20 minutes (1 hour talk time)
Less than 2 hours (full charge)
• Best performance when fully charged
VOLUME/MUTE BUTTON
• Lo-Med-Hi-Max (1 tap per level change)
• Mute: on/off (1-second press)
LED
• Charging (Solid red. No light when fully charged)
• Low battery (2 red flashes, 2 tones and voice alert)
• Critically low (3 red flashes, 3 tones and voice alert)
• Multipoint (on=2 blue flashes, and off=1 blue flash)
“Pairing” connects your headset to your
phone. "Multipoint" technology lets you use
this headset with two phones. (Read online
user guide for details.)
1. READY
Activate the Bluetooth feature on your
phone, then use the phone's settings to
add/search/discover new Bluetooth devices.
iPhone: Settings > General > Bluetooth > On
(starts the search for devices)
BlackBerry® smartphone: Settings/options >
Bluetooth: On > Search for devices
VIDEO TUTORIAL FOR USA:
www.plantronics.com/pairing
2. SET
First Time:
With headset turned off, activate Bluetooth
pairing mode by sliding Power switch on. The
LED flashes blue/red to indicate pairing mode.
Pairing New Phone/Reconnecting Original:
Turn on the headset then press and hold the
Call button until the LED flashes blue/red.
3. CONNECT
Select “PLT_M1100” from the list of Bluetooth
devices shown on your phone.
If phone asks for a passcode, enter four
zeros (0000). You may see **** on screen.
Some phones also ask to confirm headset
connection after pairing.
Headset LED will stop flashing blue/red once
your phone and headset are successfully
paired/connected.
Know How to Control the Headset:
You can give your headset a command, and it
will whisper the answer or do what you say.
First tap the VR Button then say:
• What Can I Say?
• Pairing
• Am I Connected?
• Check Battery
• Redial
• Cancel
• Call Information (USA only; dials Bing 411™)
• Call Vocalyst™ (USA only)
• Answer (no need to tap VR first)
• Ignore (no need to tap VR first)
TIPS
NEED MORE HELP?
24-hour support in USA:
1-866-363-BLUE (2583)
Online user guide:
www.plantronics.com/documentation
FAQs:
www.plantronics.com/M1100faq
1-year limited warranty details:
www.plantronics.com/warranty
READY SET CONNECT
Z109
N10687
For Right Ear
For Left Ear
Optional
earloop shown
Area covered
by band
Project: GSG, ACCORDION, PSD, M1100, EN
Date: 07/21/10
Component: Accordion User Guide
File Name: 83988-31_SAVORM1100_072110.
Art Master Number: 83988-31
Part Number: 83987-31
Scale: 1:1
Resolution: 300dpi
Placed Links: N/A
Fonts: Gesta Light, Regular, Medium, Bold
Software: CS3
Printing Method: Offset Lithography
Inks and Finishes:
PMS 294C Overall UV Matte Varnish
PMS 151
PMS Black C
PMS 032C
Notes:
Original Designer: Malika Henderson
E-mail: malikaann@mac.com
Phone: 1 415 847 6083
Revisions: Juliette Rys/Blanca Castaneda
E-mail: juliette@rysartdesign.com
Phone: 1-831-684-2001
X
Federal Communications Commission (FCC) Statement
15.21
You are cautioned that changes or modifications not expressly approved by the part responsible for
compliance could void the user’s authority to operate the equipment.
15.105(b)
This equipment has been tested and found to comply with the limits for a Class B digital device,
pursuant to part 15 of the FCC rules. These limits are designed to provide reasonable protection
against harmful interference in a residential installation. This equipment generates, uses and can
radiate radio frequency energy and, if not installed and used in accordance with the instructions,
may cause harmful interference to radio communications. However, there is no guarantee that
interference will not occur in a particular installation. If this equipment does cause harmful
interference to radio or television reception, which can be determined by turning the equipment off
and on, the user is encouraged to try to correct the interference by one or more of the following
measures:
-Reorient or relocate the receiving antenna.
-Increase the separation between the equipment and receiver.
-Connect the equipment into an outlet on a circuit different from that to which the receiver is
connected.
-Consult the dealer or an experienced radio/TV technician for help.
This device complies with Part 15 of the FCC Rules.Operation is subject to the following two
conditions:
1) this device may not cause harmful interference and
2) this device must accept any interference received, including interference that may cause
undesired operation of the device.
FCC RF Radiation Exposure Statement:
This equipment complies with FCC radiation exposure limits set forth for an uncontrolled
environment. End users must follow the specific operating instructions for satisfying RF exposure
compliance. This transmitter must not be co-located or operating in conjunction with any other
antenna or transmitter.
Industry Canada (IC) Statement
15.21
You are cautioned that changes or modifications not expressly approved by the
part responsible for compliance could void the user’s authority to operate the
equipment.
15.105(b)
This equipment has been tested and found to comply with the limits for a Class
B digital device, pursuant to part 15 of the IC rules. These limits are designed to
provide reasonable protection against harmful interference in a residential
installation. This equipment generates, uses and can radiate radio frequency
energy and, if not installed and used in accordance with the instructions, may
cause harmful interference to radio communications. However, there is no
guarantee that interference will not occur in a particular installation. If this
equipment does cause harmful interference to radio or television reception,
which can be determined by turning the equipment off and on, the user is
encouraged to try to correct the interference by one or more of the following
measures:
* Reorient or relocate the receiving antenna.
* Increase the separation between the equipment and receiver.
* Connect the equipment into an outlet on a circuit different from
that to which the receiver is connected.
* Consult the dealer or an experienced radio/TV technician for help.
Operation is subject to the following two conditions:
1) this device may not cause interference and
2) this device must accept any interference, including interference that may
cause undesired operation of the device.
IC RF Radiation Exposure Statement:
This equipment complies with IC radiation exposure limits set forth for an
uncontrolled environment. End users must follow the specific operating
instructions for satisfying RF exposure compliance. This transmitter must not be
co-located or operating in conjunction with any other antenna or transmitter.
「減少電磁波影響,請妥適使用」
根據 NCC 低功率電波輻射性電機管理辦法 規定:
第十二條:經型式認證合格之低功率射頻電機,非經許可,公司、商號或使用者均不得擅自
變更頻率、 加大功率或變更原設計之特性及功能。
第十四條:低功率射頻電機之使用不得影響飛航安全及干擾合法通信;經發現有干擾現象時,
應立即停用, 並改善至無干擾時方得繼續使用。前項合法通信,指依電信法規定
作業之無線電通信。
低功率射頻電機須忍受合法通信或工業、科學及醫療用電波輻射性電機設備之干擾。