Point Mobile PM80W Mobile Computer User Manual
POINTMOBILE CO., LTD. Mobile Computer
UserManual.wiki
>
Point Mobile
>
PM80W User Manual
User Manual
Navigation menu
Upload a User Manual
Namespaces
Wiki Guide
HTML
PDF
Info
Views
User Manual
Discussion / Help
Navigation

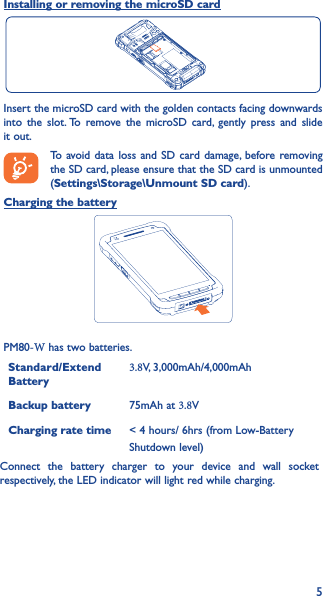
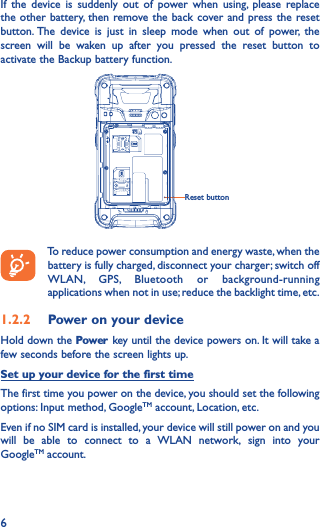
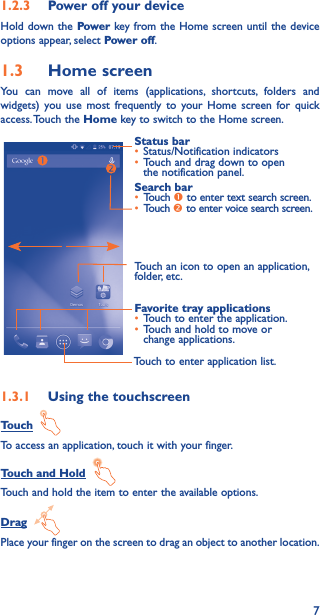
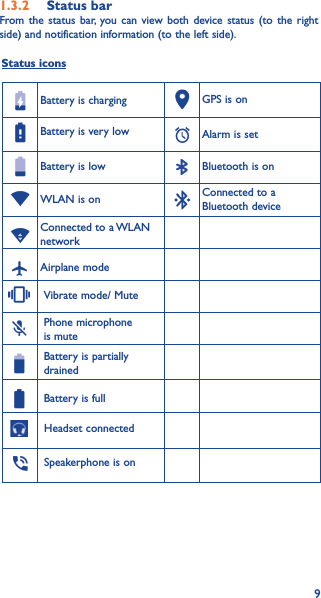

![2711 2D Barcode scanner2D Scanner is designed at the front end of device, which can interpret two-dimensional barcodes, which store data in two dimensions, rather than in just a series of black and white bars. Two-dimensional code scanning is used to obtain the content and information in QR Code image via the application of Smartphone Client.We can enable 2D barcode scanner in [Settings > Barcode Scanner]. If we turn the scanner on, we can see the scanner icon on the notification bar.After you enabled the scanner, touch the Demos on the Home Screen, then touch the , press the Scan Key on both sides of the device at same time, scan the barcode. You will see the scanned result.12 SAM Card ���������������SamCard is a fantasic visiting card reader with high recognition accuracy and speed.Other features: Anti-shake photo shooting.Auto-rotate card images.Shoot both vertically and horizontally.](https://usermanual.wiki/Point-Mobile/PM80W/User-Guide-2904949-Page-25.png)