Polycom PS8450 Polycom SpectraLink 8400 Wireless Telephone User Manual 59732
Polycom Inc. Polycom SpectraLink 8400 Wireless Telephone 59732
UserManual.wiki
>
Polycom
>
PS8450 User Manual
User Manual
Navigation menu
Upload a User Manual
Namespaces
Wiki Guide
HTML
PDF
Info
Views
User Manual
Discussion / Help
Navigation


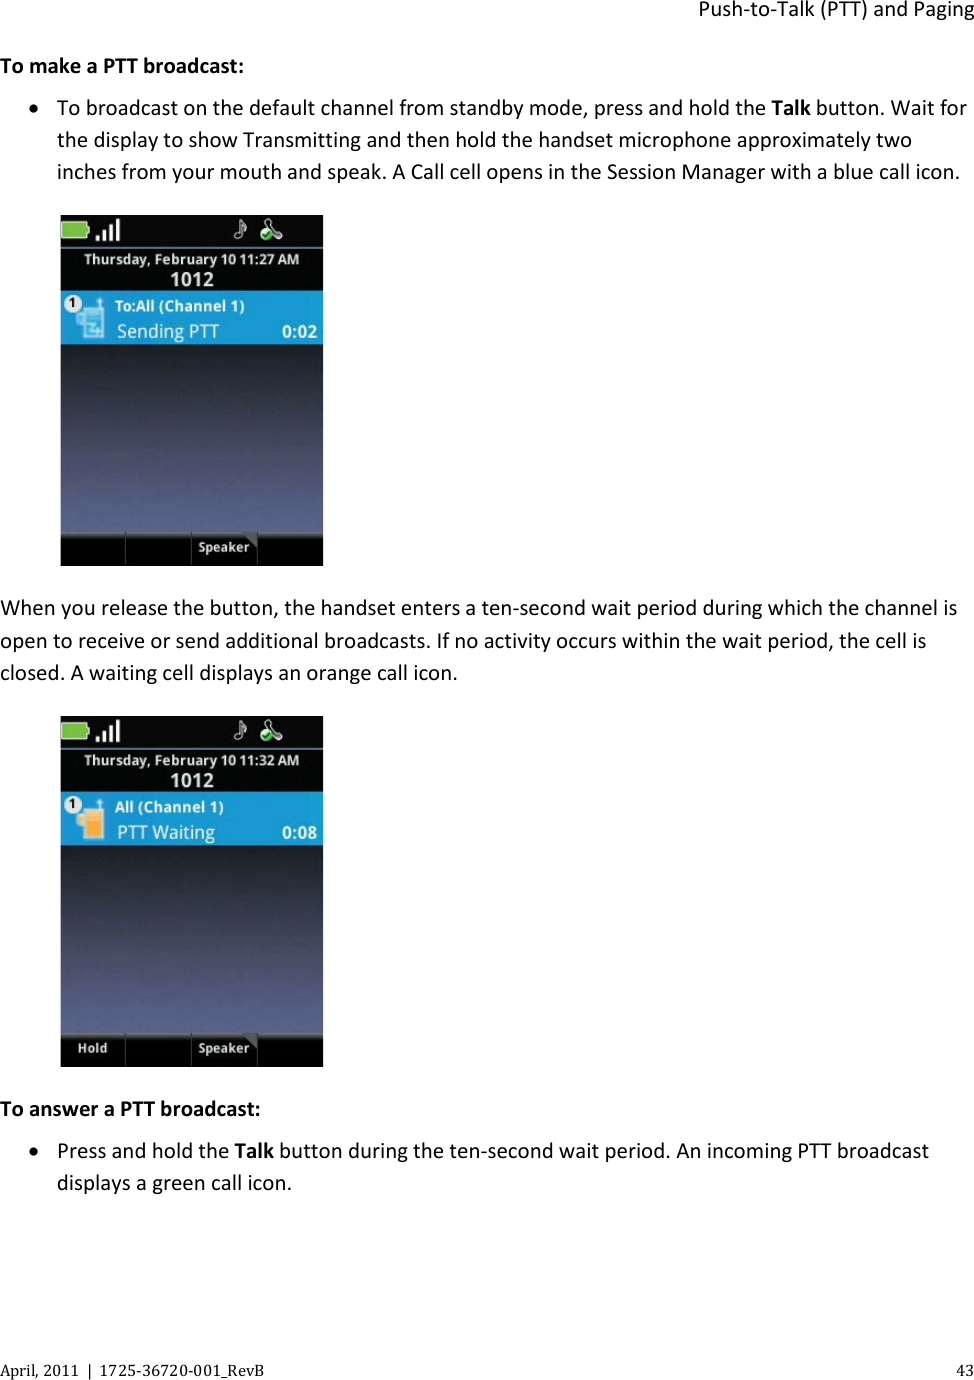
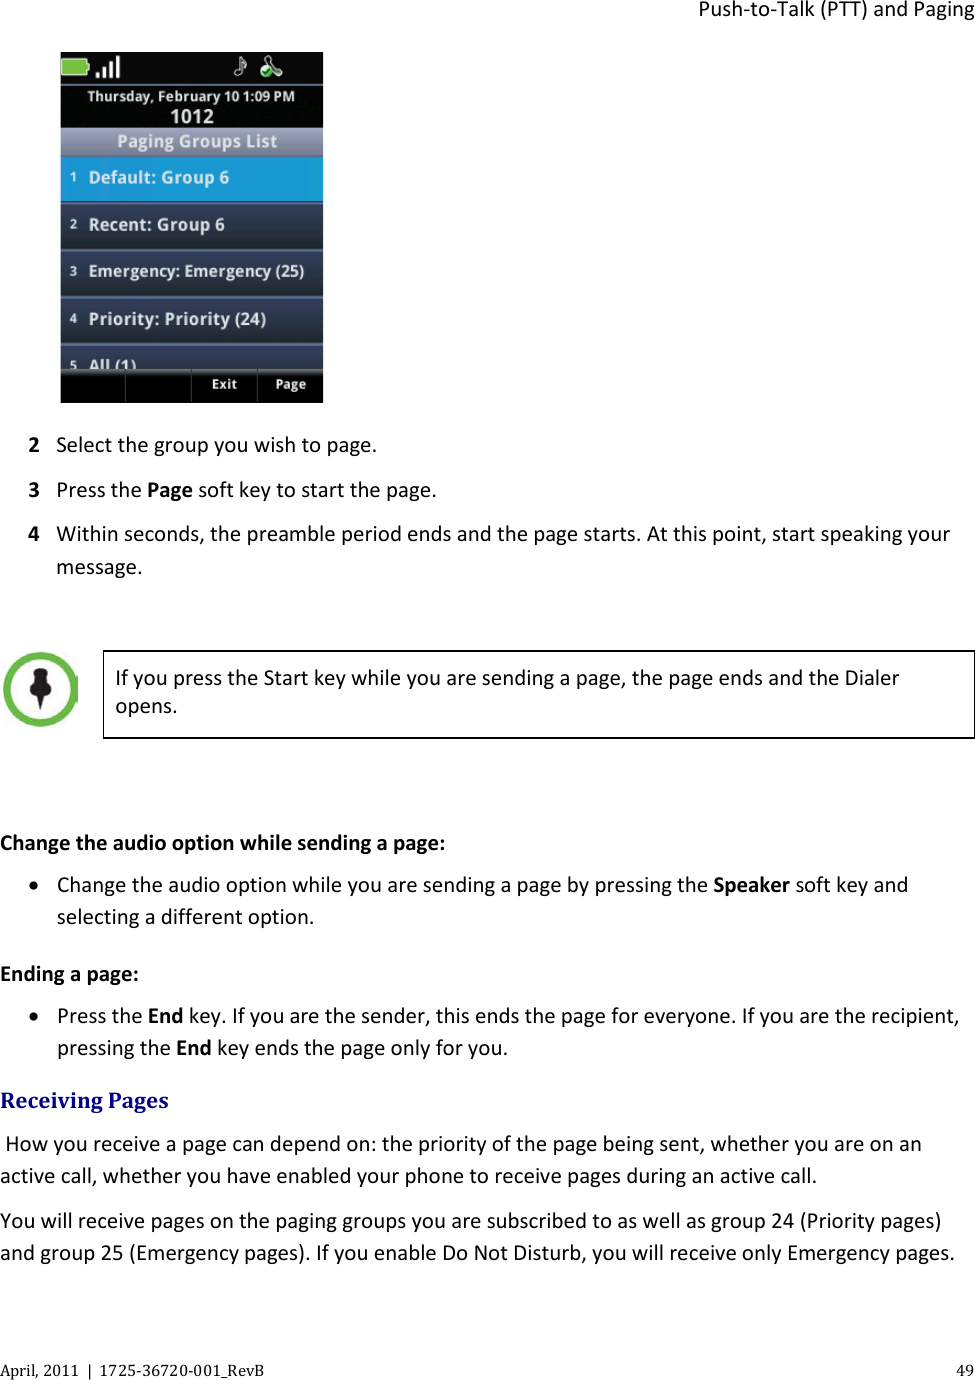
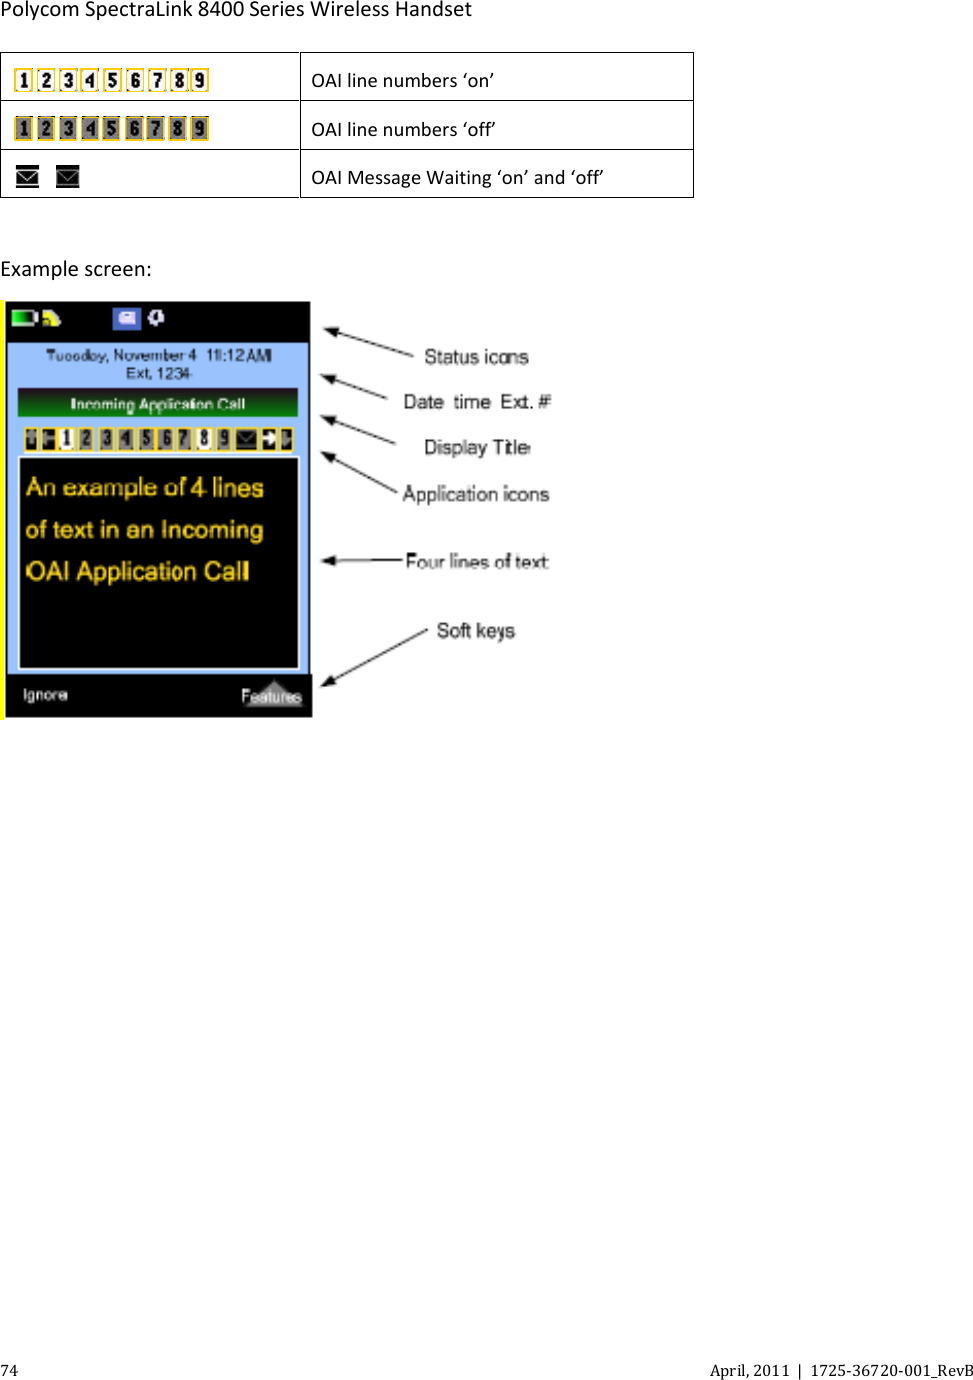
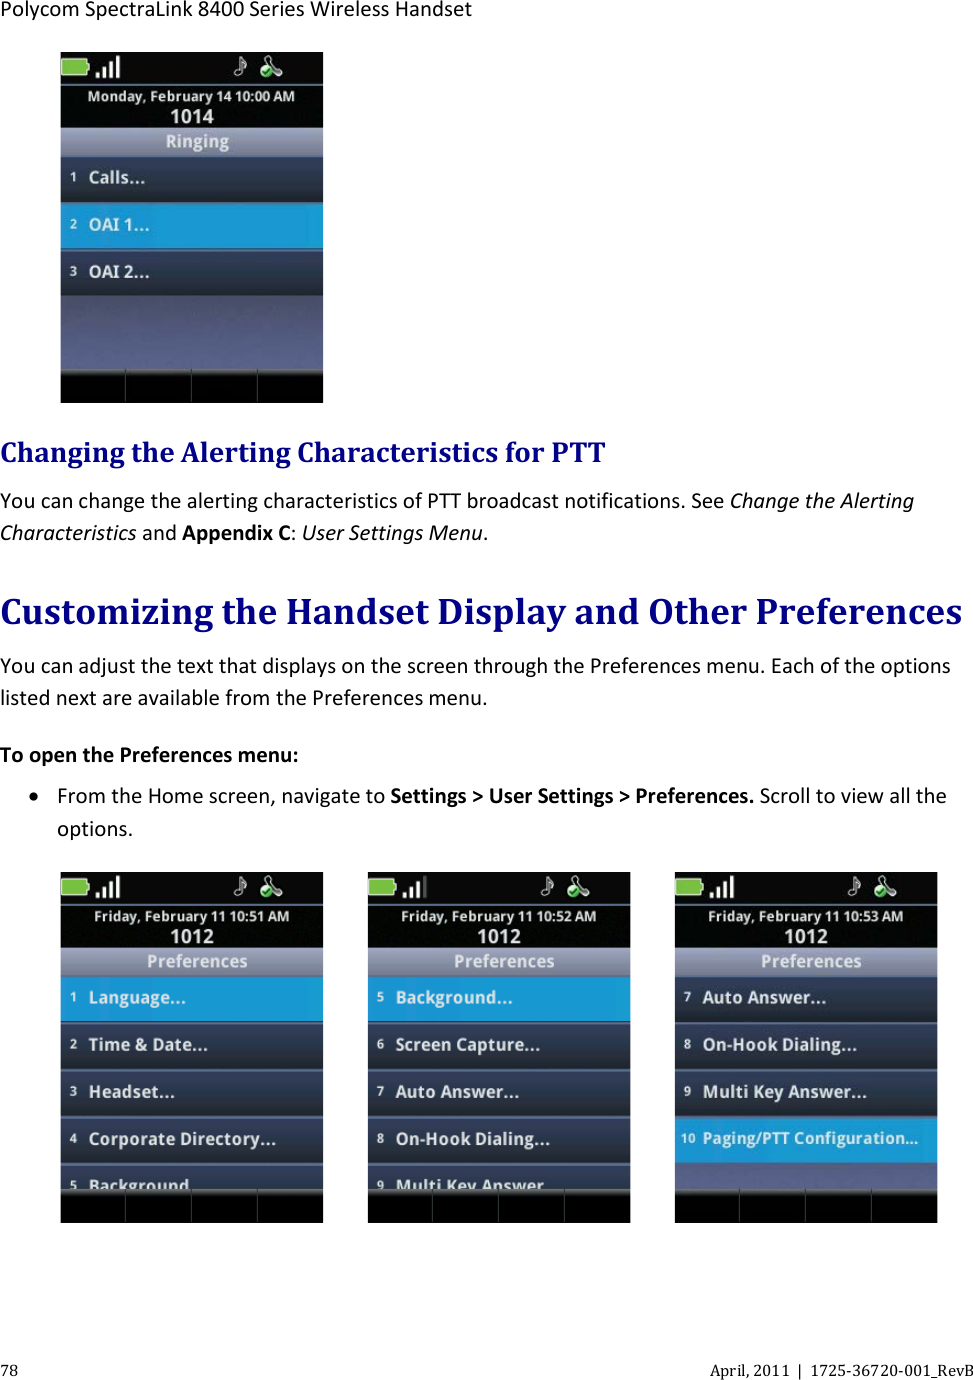
![Push-to-Talk (PTT) and Paging April, 2011 | 1725-36720-001_RevB 47 Setting PTT Alerts PTT alerting is set within each profile. Navigate to Settings > User Settings > Notification Profiles > [profile] > Alerting and scroll to the PTT alerting options. To customize PTT alerts, see Customizing a Profile. You may set different or identical PTT options for starting and ending transmissions with the PTT Start Transmission and PTT End Transmission options. You may customize tone, alert, and vibration for each mode. To set alert tone volume: • Select Tone Volume and use the soft keys to adjust the slider. To set alert tone pattern: • Select Tone Pattern and select the alert tone from the list of options. To enable vibration: To enhance the alerting of a PTT broadcast, you may enable PTT vibrate. When you enable PTT vibrate, the handset will vibrate three times whenever a PTT broadcast is received, whether the handset is in standby or in a call. If in a call, the phone will issue the chirp alert. The vibration does not replace any PTT tone pattern already set. Select Vibrate and select the vibrate option from the list. To set the handset for PTT vibrate only, enable the vibrate option and set the alert tone pattern to Silent Ring. Paging Contacts The Paging feature allows the handset to make a telephone call to a specified group of contacts as defined by the system administrator who can make several different groups available for paging. By default, subscriptions to groups 1, 24, and 25 are enabled. Contact your system administrator for information.](https://usermanual.wiki/Polycom/PS8450/User-Guide-1469525-Page-57.png)


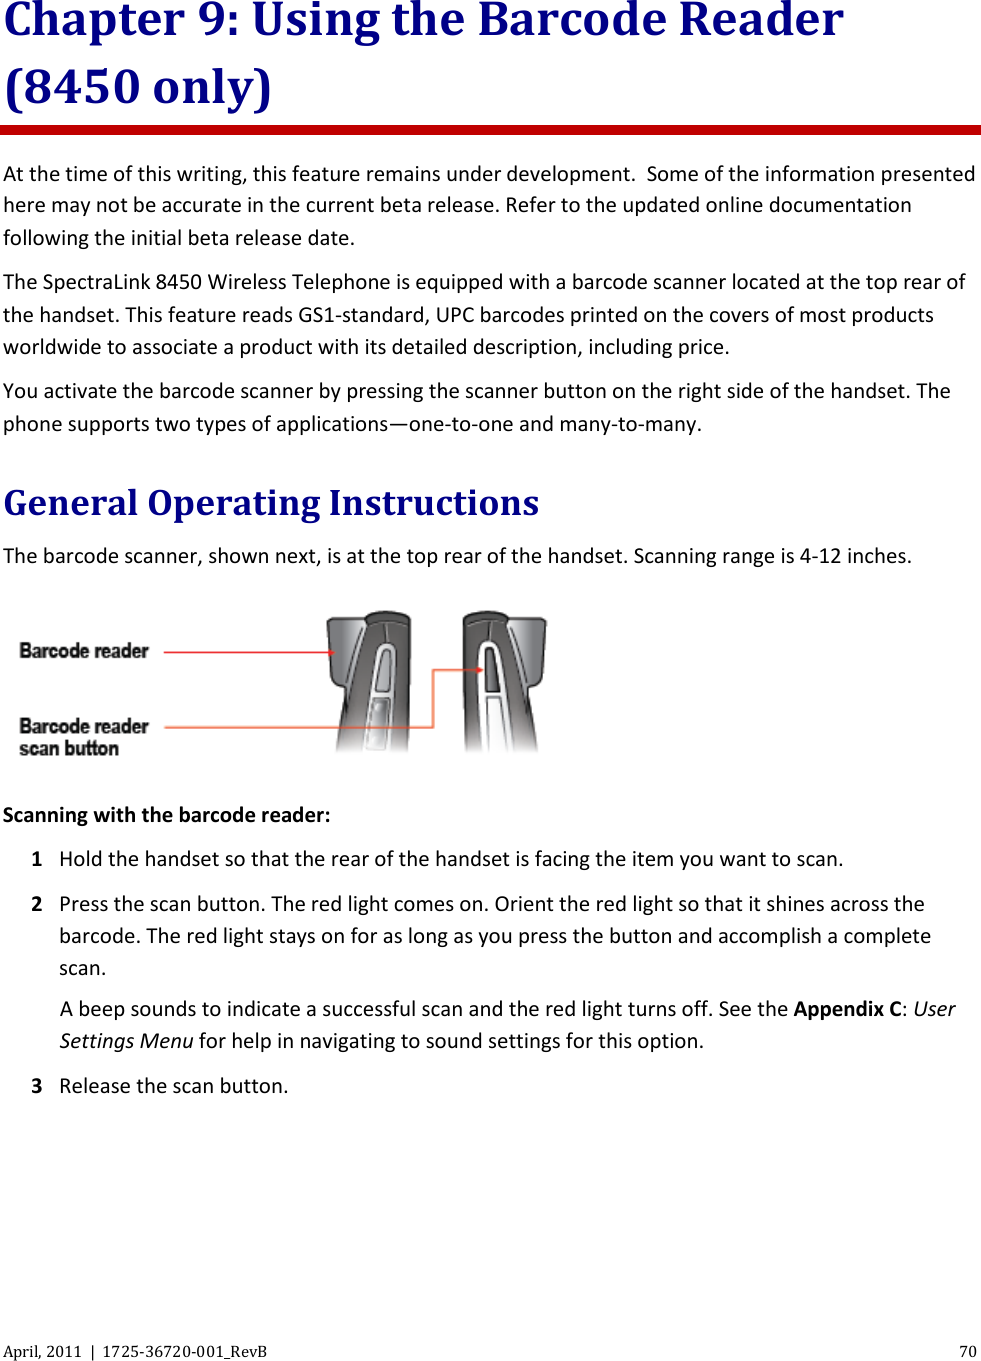
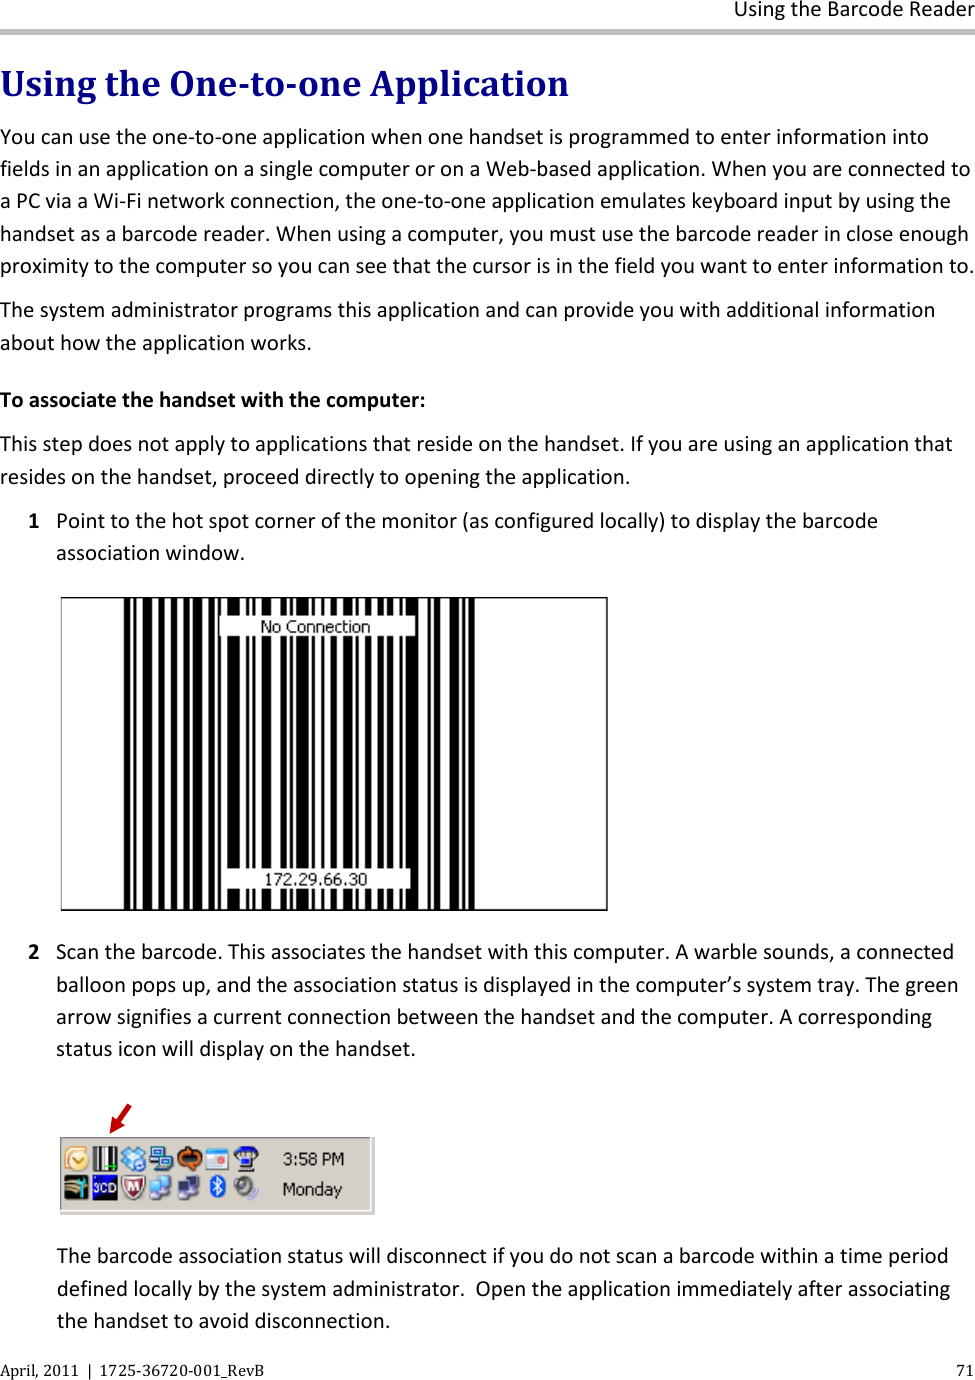
![Polycom SpectraLink 8400 Series Wireless Handset 72 April, 2011 | 1725-36720-001_RevB To open the application: • The application may reside on the handset or on a PC. 1 If the application resides on the handset, navigate to Applications > [application name]. If the application resides on a PC, open the application as directed by your system administrator. Ensure that the cursor is in the correct entry field. Use the computer keyboard to move it as needed. 2 Point to the barcode you want to scan and press the scan button as described above. View the data entered to verify it is correct. The cursor may automatically tab to the next field if the system administrator has configured this option. In some cases, you may have to manually tab to the next field or move the cursor to the desired field. Consult with your system administrator for information about how to move the cursor to the next field if this is not immediately obvious. Using the Many-to-Many Application The many-to-many application enables you to use any handset in a group to enter information into many computers. The system administrator programs this application and can provide you with additional information about how it works in your facility. As with any barcode reader, the handset provides keyboard entry function; the barcode scan button scans into fields on your computer that are controlled by the application. Follow the steps outlined in the previous section to associate the handset with the computer and open the application. You can connect only one computer at a time. If you try to connect to another computer while connected to the first one, you will disconnect the first computer. If a new handset tries to connect to a computer while you are still connected, it will disconnect you and connect the new handset. Open the application on the computer and follow the procedure as directed by the system administrator.](https://usermanual.wiki/Polycom/PS8450/User-Guide-1469525-Page-82.png)


![Polycom SpectraLink 8400 Series Wireless Handset 90 April, 2011 | 1725-36720-001_RevB o Do not use cleaning products containing quaternary ammonium compounds,1 such as CaviWipes™, CaviWipes™ XL, Cavicide® or Sani-Wipes®, Sani-Cloth, Super Sani-Cloth® and Sani-Cloth® Plus. Quaternary ammonium compounds have been laboratory tested and proven to damage the handset plastics. o Do not use furniture polishes, waxes, or plasticizer-based cleaners (ArmorAll®, etc.) o Do not use lanolin, aloe, glycerin, or other skin care products o Do not apply any solvent such as acetone, mineral spirits, etc. • Should the headset connector become dirty, you may experience a scratchy or intermittent signal. To clean the connector, dip the non-padded end of either a wooden or paper handled cotton swab in isopropyl alcohol. Gently insert in the connector and twist, repeating several times. If available, blow compressed air into the connector to clear debris. • Keep the headset jack covered when not in use. • Using a carrying case may help protect the surfaces and help prevent liquids (rain, etc.) from entering into the interior of the handset. This product is not waterproof, and exposing the unit to liquids may result in permanent damage to the unit. • If your wireless telephone interior gets wet, do not try to accelerate drying with the use of an oven or a dryer as this will damage the wireless telephone and void the warranty. Instead, do the following: 1 Immediately power off the wireless telephone. 2 Remove Battery Pack from wireless telephone. 3 Shake excess liquid from the wireless telephone. 4 Place the wireless telephone and Battery Pack in an area that is at room temperature and has good airflow. 5 Let the wireless telephone and Battery Pack dry for 72 hours before reconnecting the Battery Pack and/or powering on the wireless telephone. If the wireless telephone does not work after following the steps listed above, contact your dealer for servicing information. 1 Quaternary ammonium compounds are also known as C12-18-alkyl [(ethylphenyl) methyl] dimethyl, chlorides and Benzyl-C12-18-alkyldimethyl ammonium chlorides. Review the Materials Safety Data Sheet for your specific product to verify the chemical composition.](https://usermanual.wiki/Polycom/PS8450/User-Guide-1469525-Page-100.png)