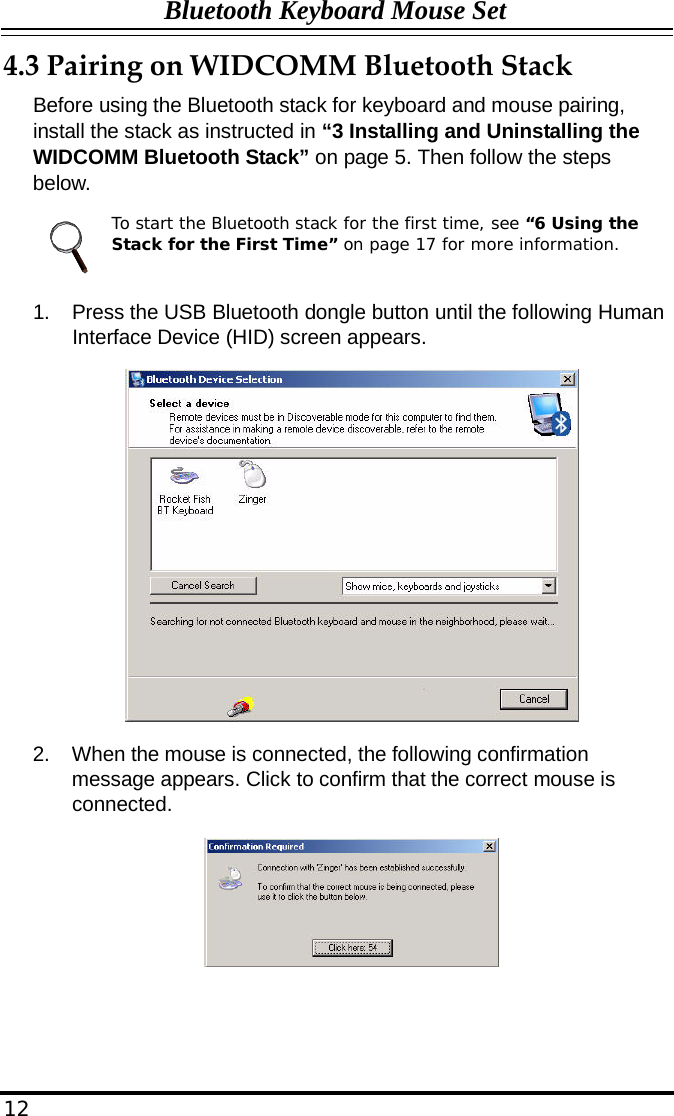
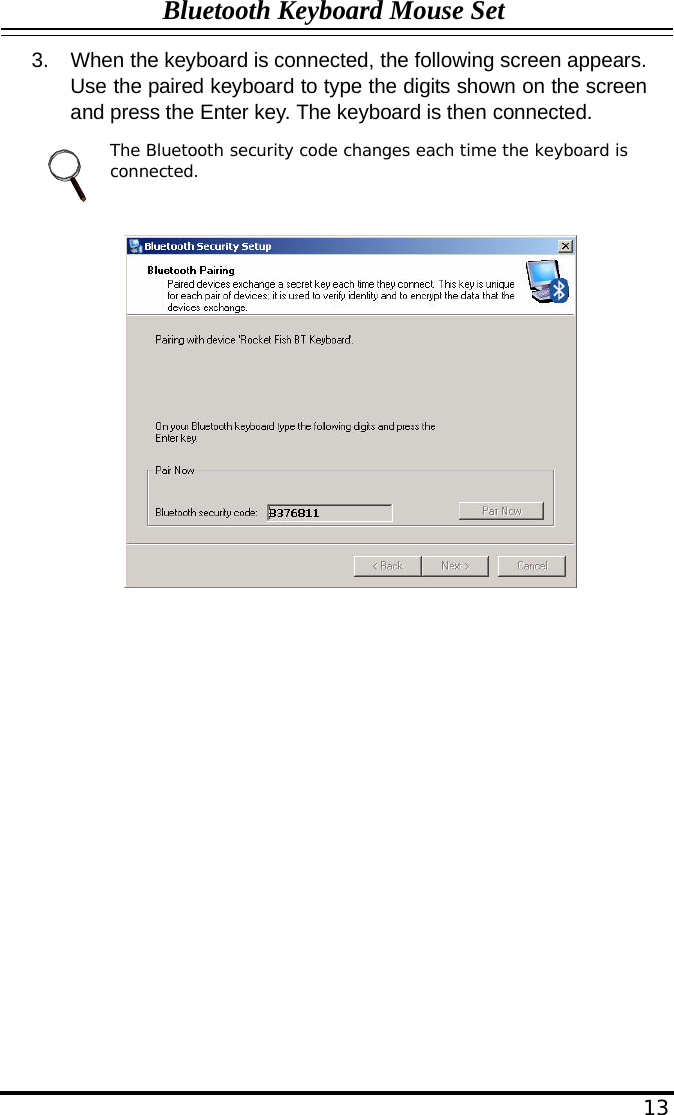
Primax Electronics K303B3 Bluetooth Desktop Wireless Keyboard User Manual BT Keyboard Mouse UM
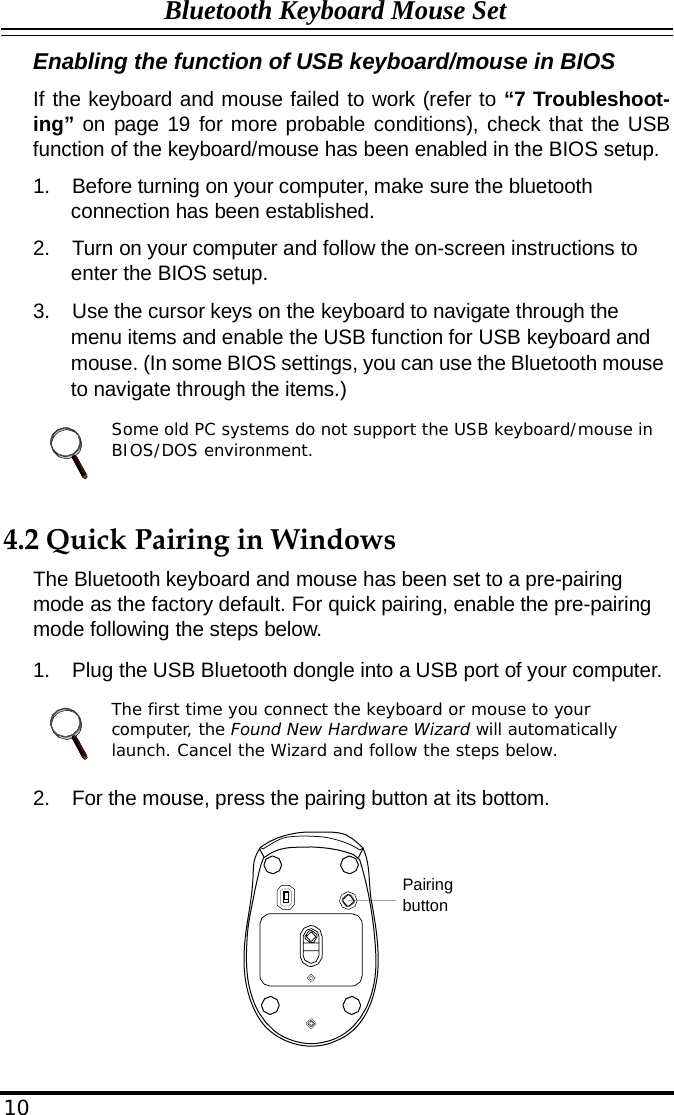
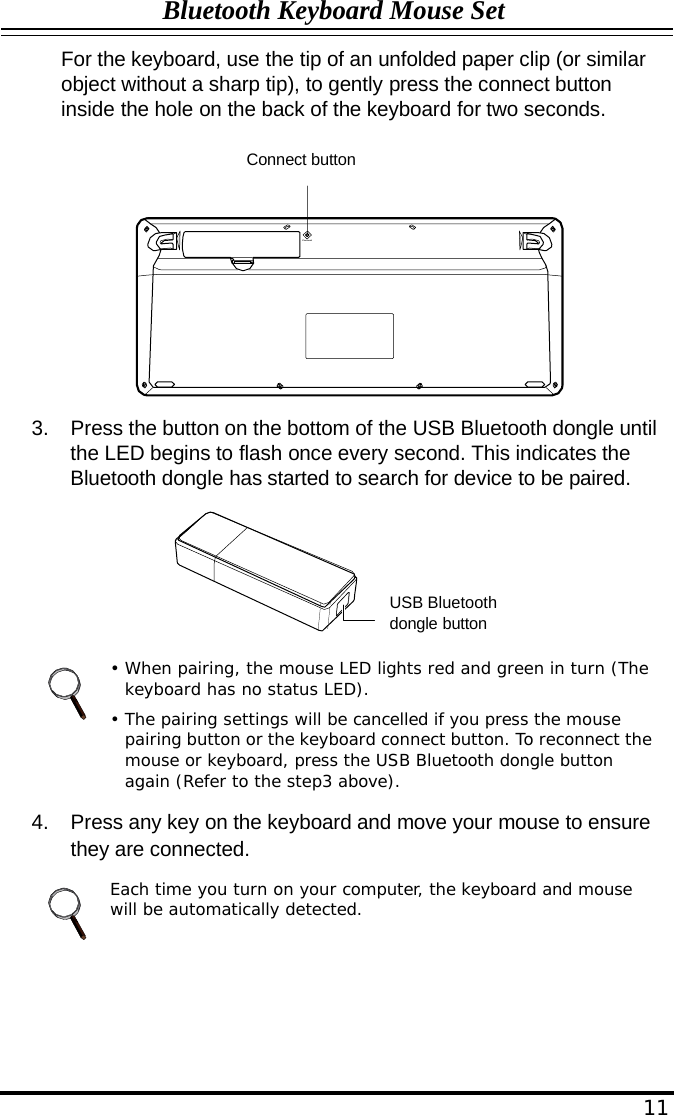
Primax Electronics Ltd Bluetooth Desktop Wireless Keyboard BT Keyboard Mouse UM
UserManual.wiki
>
Primax Electronics
>
K303B3 User Manual
Manual
Navigation menu
Upload a User Manual
Namespaces
Wiki Guide
HTML
PDF
Info
Views
User Manual
Discussion / Help
Navigation
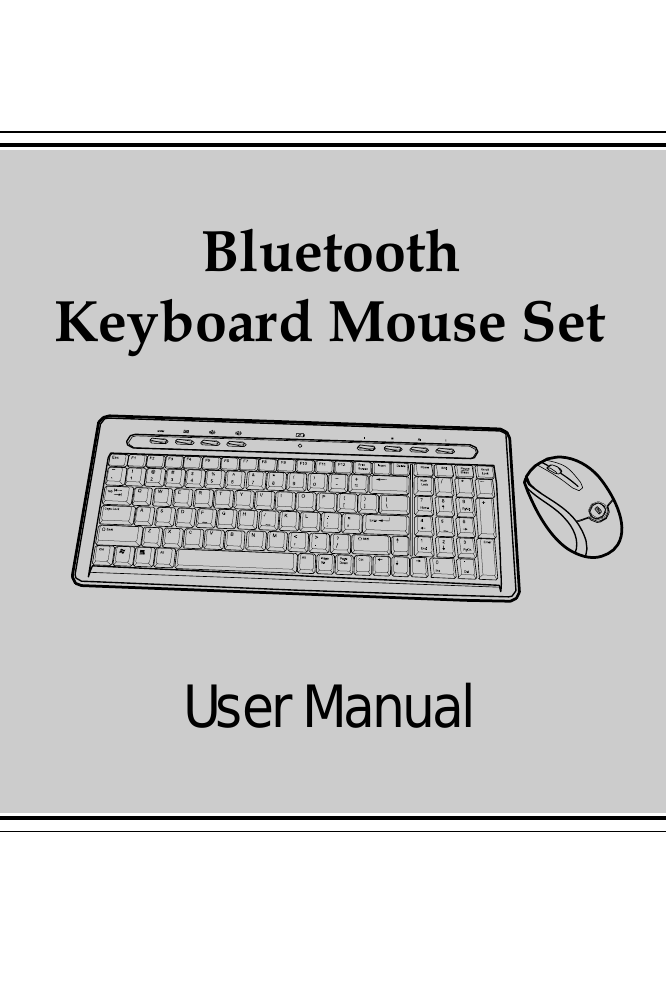
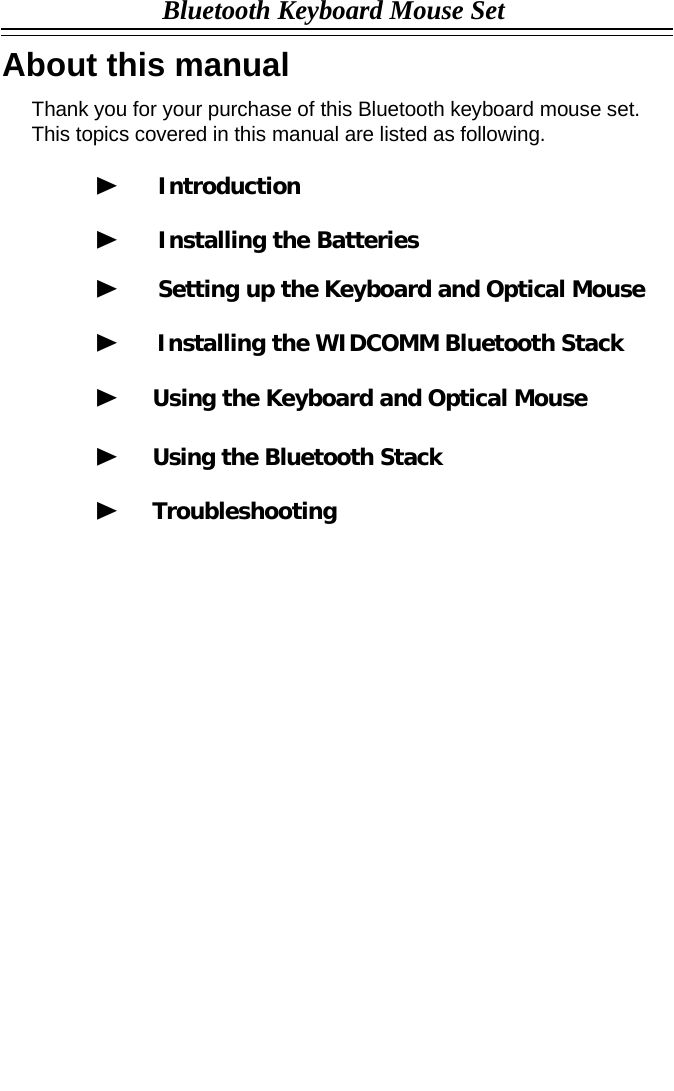

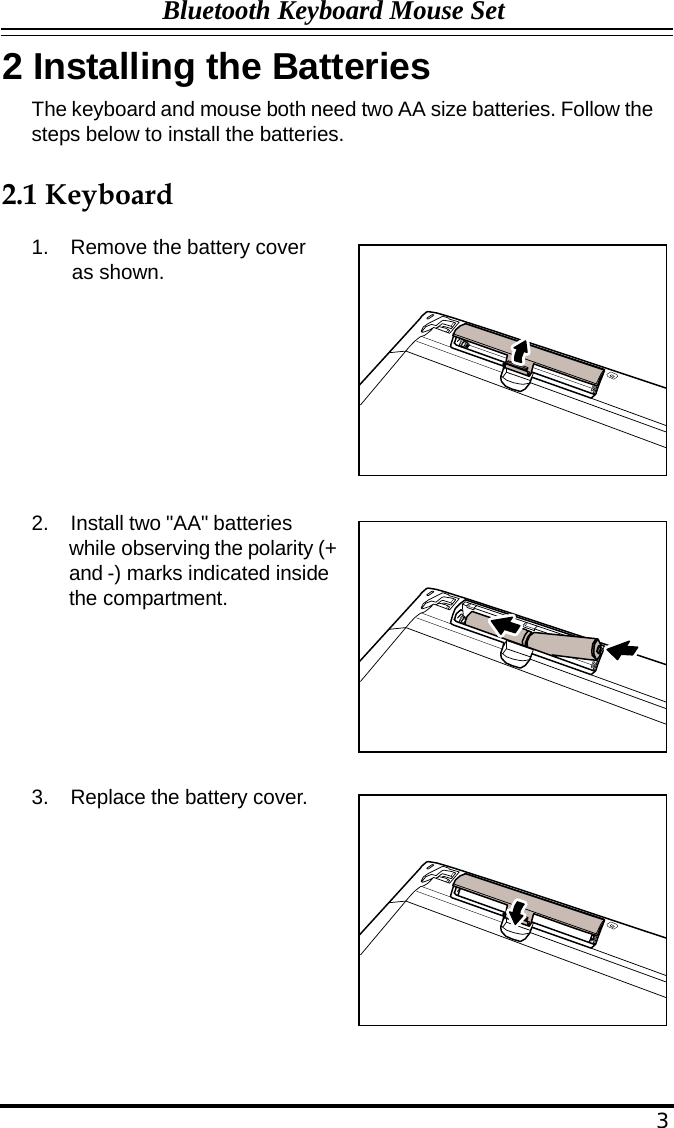
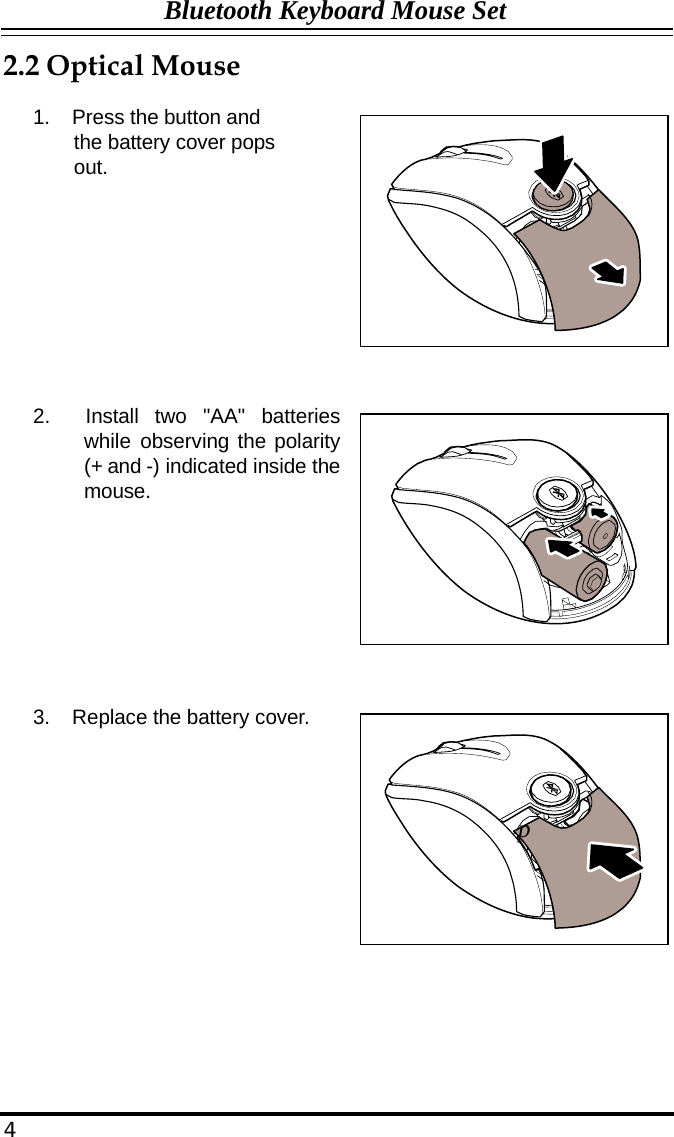
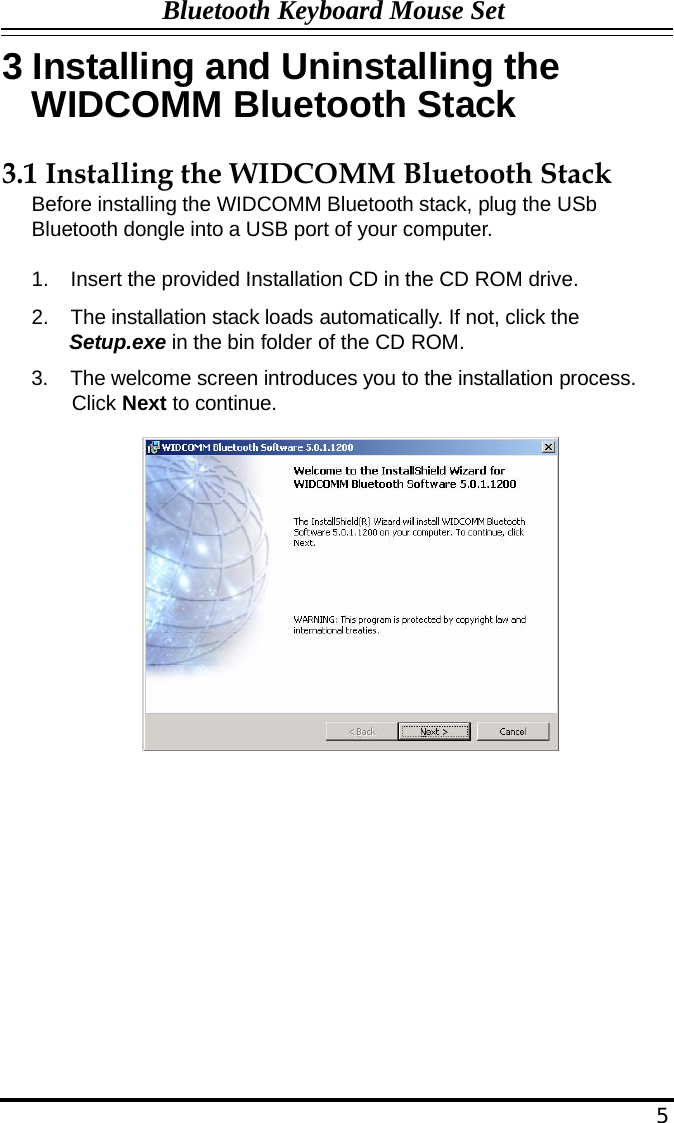
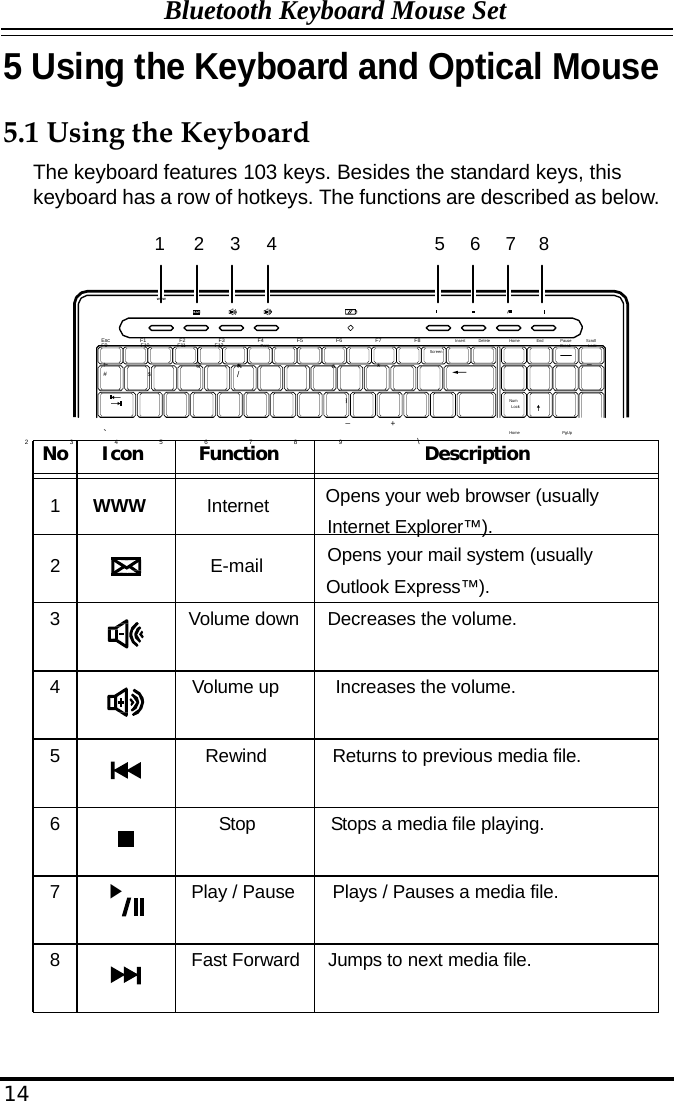
![Bluetooth Keyboard Mouse Set 1 Introduction 1.1 Package List Before you start using the set, check the following contents in your package. If anything is missing, contact your retailer. WWW Esc F1 F2 F3 F4 F5 F6 F7 F8 F9 F10 F11 F12 Print Insert Delete Home End Pause Scroll )( _ Screen + Break / Lock _ !~ @ # $ ^% & * *Num Lock ` Tab 1 2 3 4 5 6 7 8 9 0 - = Q W E R T Y U I O P { } | 8 +7 9 ][ \ Home PgUp Caps Lock A S D F G H J K L : ; " ' Enter 54 6 Shift Z X C V B N M < > ? Shift 21 3 Enter Ctrl Alt , . Alt / Page Page Ctrl End 0 PgDn . Up Down Ins Del Keyboard Batteries for the keyboard and mouse Optical Mouse USB Bluetooth dongle User’s Manual 1](https://usermanual.wiki/Primax-Electronics/K303B3/User-Guide-691676-Page-4.png)