Primax Electronics M24702 Mouse User Manual 9847264
Primax Electronics Ltd Mouse 9847264
user manual

HP Wireless Optical Ergo
Mouse
User’s Manual
©
Copyri
g
ht 2004 Hewlett-Packard Development Company, L.P.
The information contained herein is subject to change without notice
The only warranties for HP products and services are set forth in the
express warranty statements accompanying such products and
services. Nothing herein should be construed as constituting an
additional warranty. HP shall not be liable for technical or editorial
errors or omissions contained herein.
Part Number P2357AA #ABA
07/2004: 07/22

FCC STATEMENT
This device complies with part 15 of FCC Rules. Operation is subject to the following two conditions: (1) this device may not cause harmful interference, and (2) this device must
accept any interference received, including interference that may cause undesired operation.
This equipment has been tested and found to comply with the limits for a Class B digital device, pursuant to part 15 of FCC Rules. These limits are designed to provide reasonable
protection against harmful interference when the equipment is operated in a residential installation. This equipment generates, uses, and can radiate radio frequency energy and, if
not installed and used in accordance with the instruction guide, may cause harmful interference to radio communications. However, there is no guarantee that interference will not
occur in a particular installation. If this equipment does cause harmful interference to radio or television reception, which can be determined by turning the equipment off and on,
the user is encouraged to try to correct the interference by one or more of the following measures:
• Reorient or relocate the receiving antenna.
• Increase the separation between the equipment and the receiver.
• Connect the equipment into an outlet on a circuit different from that to which the receiver is connected.
• Consult a service representative for help.
Properly shielded and grounded cables and connectors must be used in order to comply with FCC emission limits. Hewlett-Packard is not responsible for any radio or television
interference caused by using other than recommended cables and connectors or by unauthorized changes or modifications to this equipment. Unauthorized changes or
modifications could void the user’s authority to operate the equipment.
For regulatory compliance information only, contact:
Hardware Quality Eng. Manager
Hewlett-Packard Company - CPC
10500 Ridgeview Court
Cupertino, CA95014
Telephone: 1(408) 343-5000
Tested To Comply With FCC Standards
FOR HOME OR OFFICE USE
This Class B digital apparatus complies with Canadian ICES-003. Cet appareil numérique de classe B est conforme à la norme NMB-003 du Canada.

Contents
Welcome 4
Installation 5
Configuration 7
Troubleshooting 8
Welcome
Congratulations on purchasing the HP Wireless Optical Ergo Mouse. This guide will
provide you with the necessary steps for installing and maintaining your mouse.
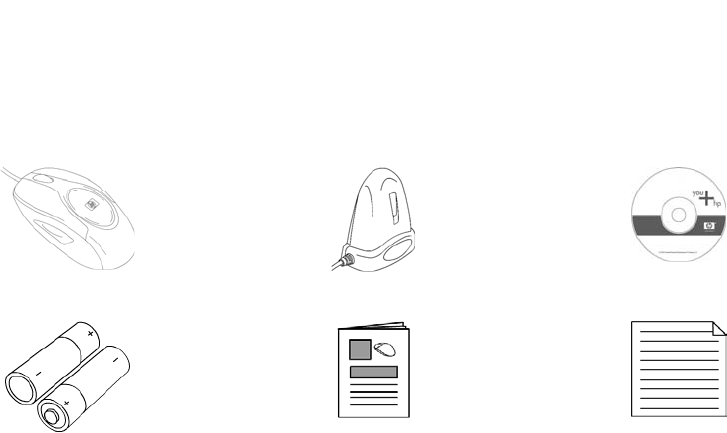
Package Contents
HP Optical 4-Button USB
Mouse
USB Receiver CD with Driver/Software
2 AA Batteries User’s Manual Warranty Card
System Requirements
• Available USB Port
• CD-ROM Drive
- 3 -
Compatible with Microsoft® Windows® 98SE/Me/2000/XP
Installation
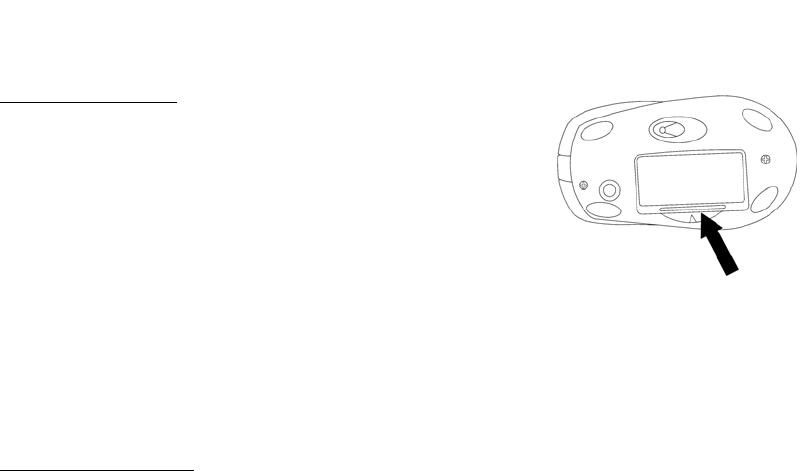
Battery Installation
STEP 1 - Locate the 2 AA sized 1.5 Volt batteries
that came with your HP Wireless Optical Ergo
Mouse.
STEP 2 - Remove the battery compartment
cover located on the bottom of your mouse by
pressing the tab forward.
STEP 3 - Install the two batteries into the compartment, paying attention to proper
polarities.
STEP 4 - Close the battery compartment cover.
Software Installation
Insert the CD into your CD-ROM drive. If the setup program does not appear, click
Start, then click Run. Type <drive letter>:\setup. Click OK. (For example, if the disk
is in drive D, enter D:\Setup.) Follow the onscreen instructions.
- 4 -
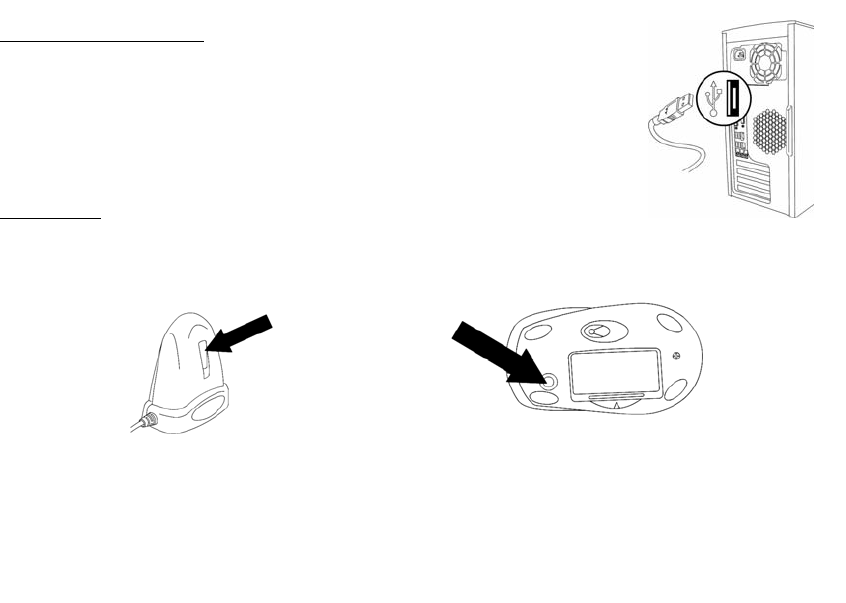
STEP 1 – Push the button on the
receiver once. The LED on the
receiver is continuously on.
Hardware Installation
STEP 1 - Power on your system.
STEP 2 - Connect the USB receiver to any available USB
port or hub connected to your computer.
User Setup
By default your mouse works immediately. If the receiver and mouse are not
synchronized, perform the following procedure
STEP 2 – Push the button located on the
bottom of the mouse, and then place the
mouse on the desk. The LED on the
receiver will now be off once your mouse is
synchronized. When the mouse is in use,
the LED on the receiver will blink.
- 5 -
- 6 -
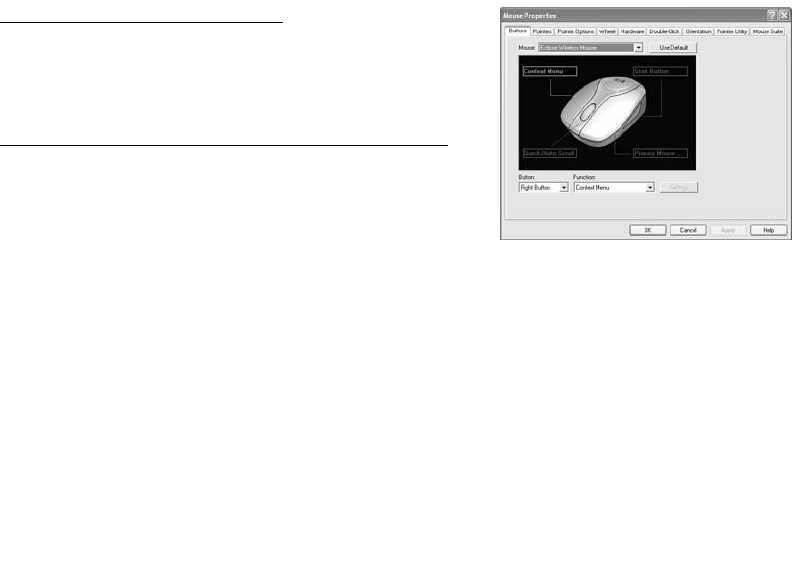
Configuration
You can configure the buttons of this mouse to perform selected functions.
Windows XP – Category View
Click Start, select Settings / Control Panel /
Printers and Other Hardware / Mouse, to
customize your mouse settings.
Windows 98SE, Me, 2000 and XP – Classic View
Click Start, select Settings / Control Panel /
Mouse, to customize your mouse settings.
You can also click the mouse icon located in
your system tray to customize your mouse
settings.
When the software is installed, you will see the screen above when viewing your
mouse settings.
- 7 -

Troubleshooting
• If you have Windows 95 or Windows NT, these operating systems do not
support this device.
• The Universal Serial Bus Controller and USB root hub may not be properly
installed on your system. Contact your computer manufacturer for details.
Technical Support
For technical assistance call 1-866-314-7239 or visit www.microinv.com/hp
Technical Support hours of operation: Monday - Friday 8:30am to 10:00pm E.S.T.
- 8 -