Primax Electronics MMORFF3UO Nano Laptop Optical Mouse User Manual RF NANOMSE2 10 0577 QSG V1 eps
Primax Electronics Ltd Nano Laptop Optical Mouse RF NANOMSE2 10 0577 QSG V1 eps
UserMan_EMJMMORFF3UO
Nano Laptop Optical Mouse
Souris optique Nano pour
ordinateur portatif
Ratón óptico Nano para laptop
RF-NANOMSE2 / RF-NANO11 /
RF-NANO12 / RF-NANO13
QUICK SETUP GUIDE / GUIDE D’INSTALLATION
RAPIDE / GUÍA DE INSTALACIÓN RÁPIDA
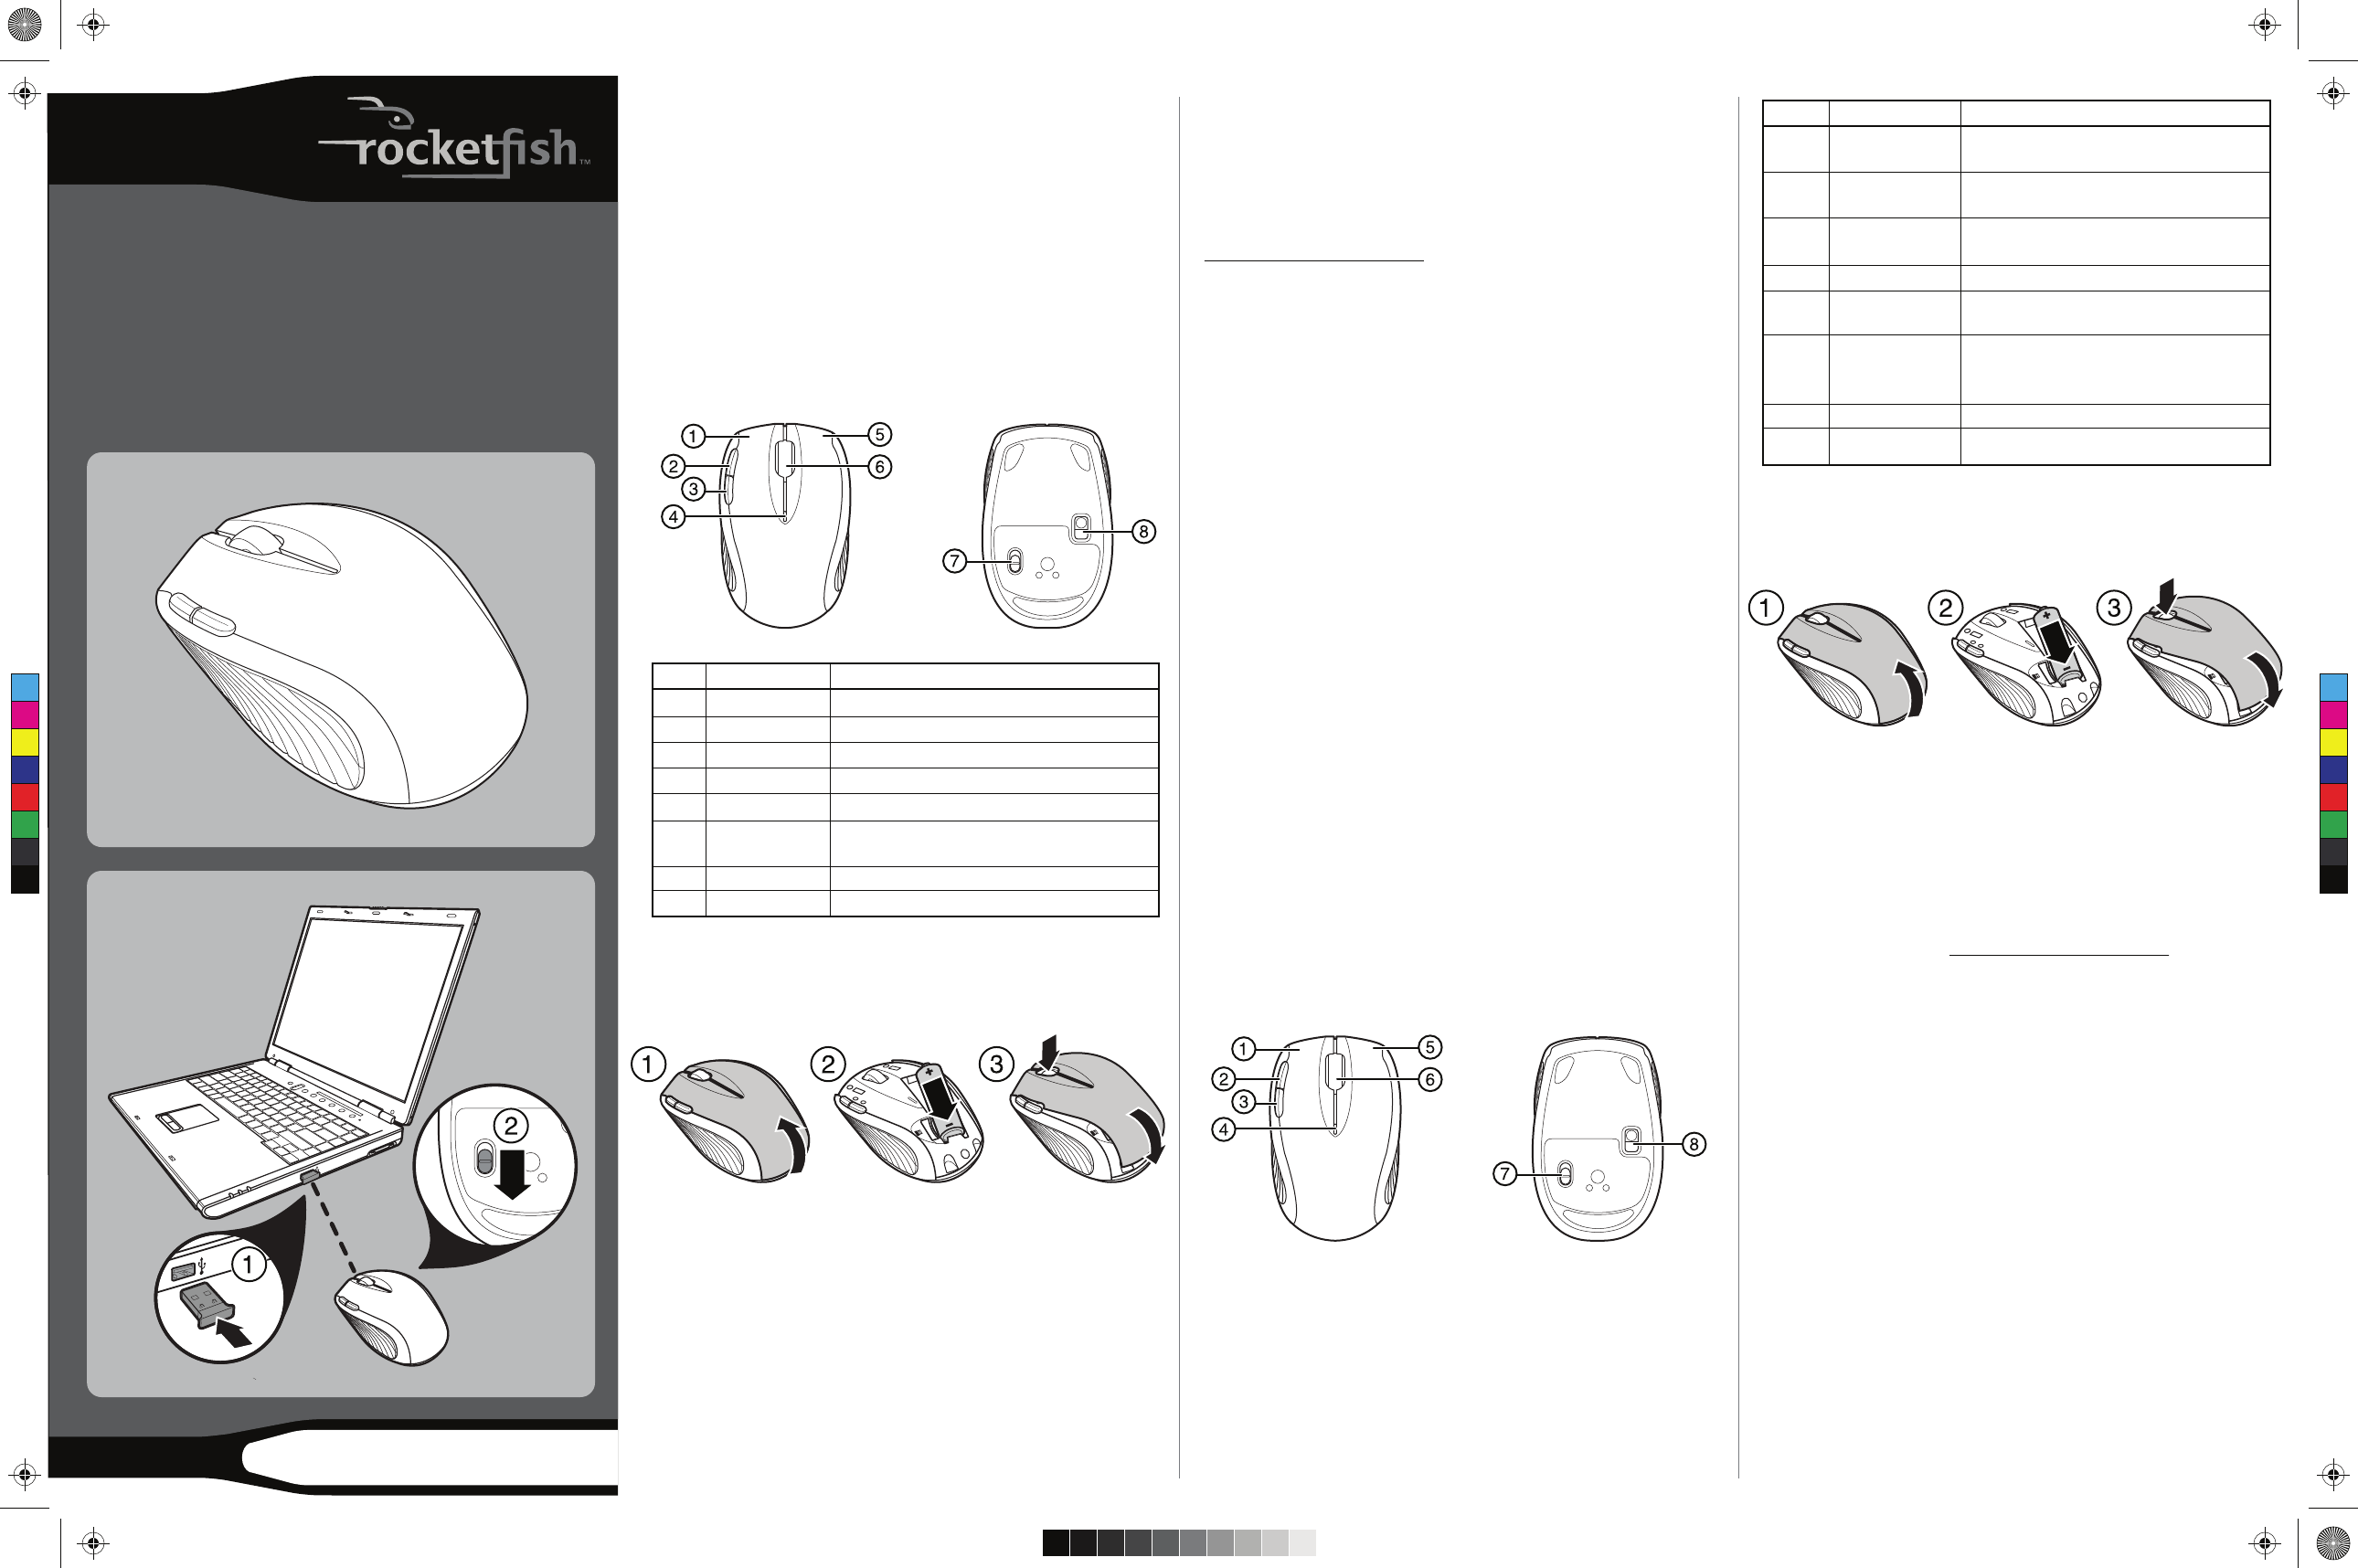
Package contents
• Wireless mouse
• Nano adapter
• AA battery
• Quick Setup Guide
PC requirements
• At least one USB port
• Operating system: Windows® XP with Service Pack 1 or higher,
Windows Vista®, Windows® 7
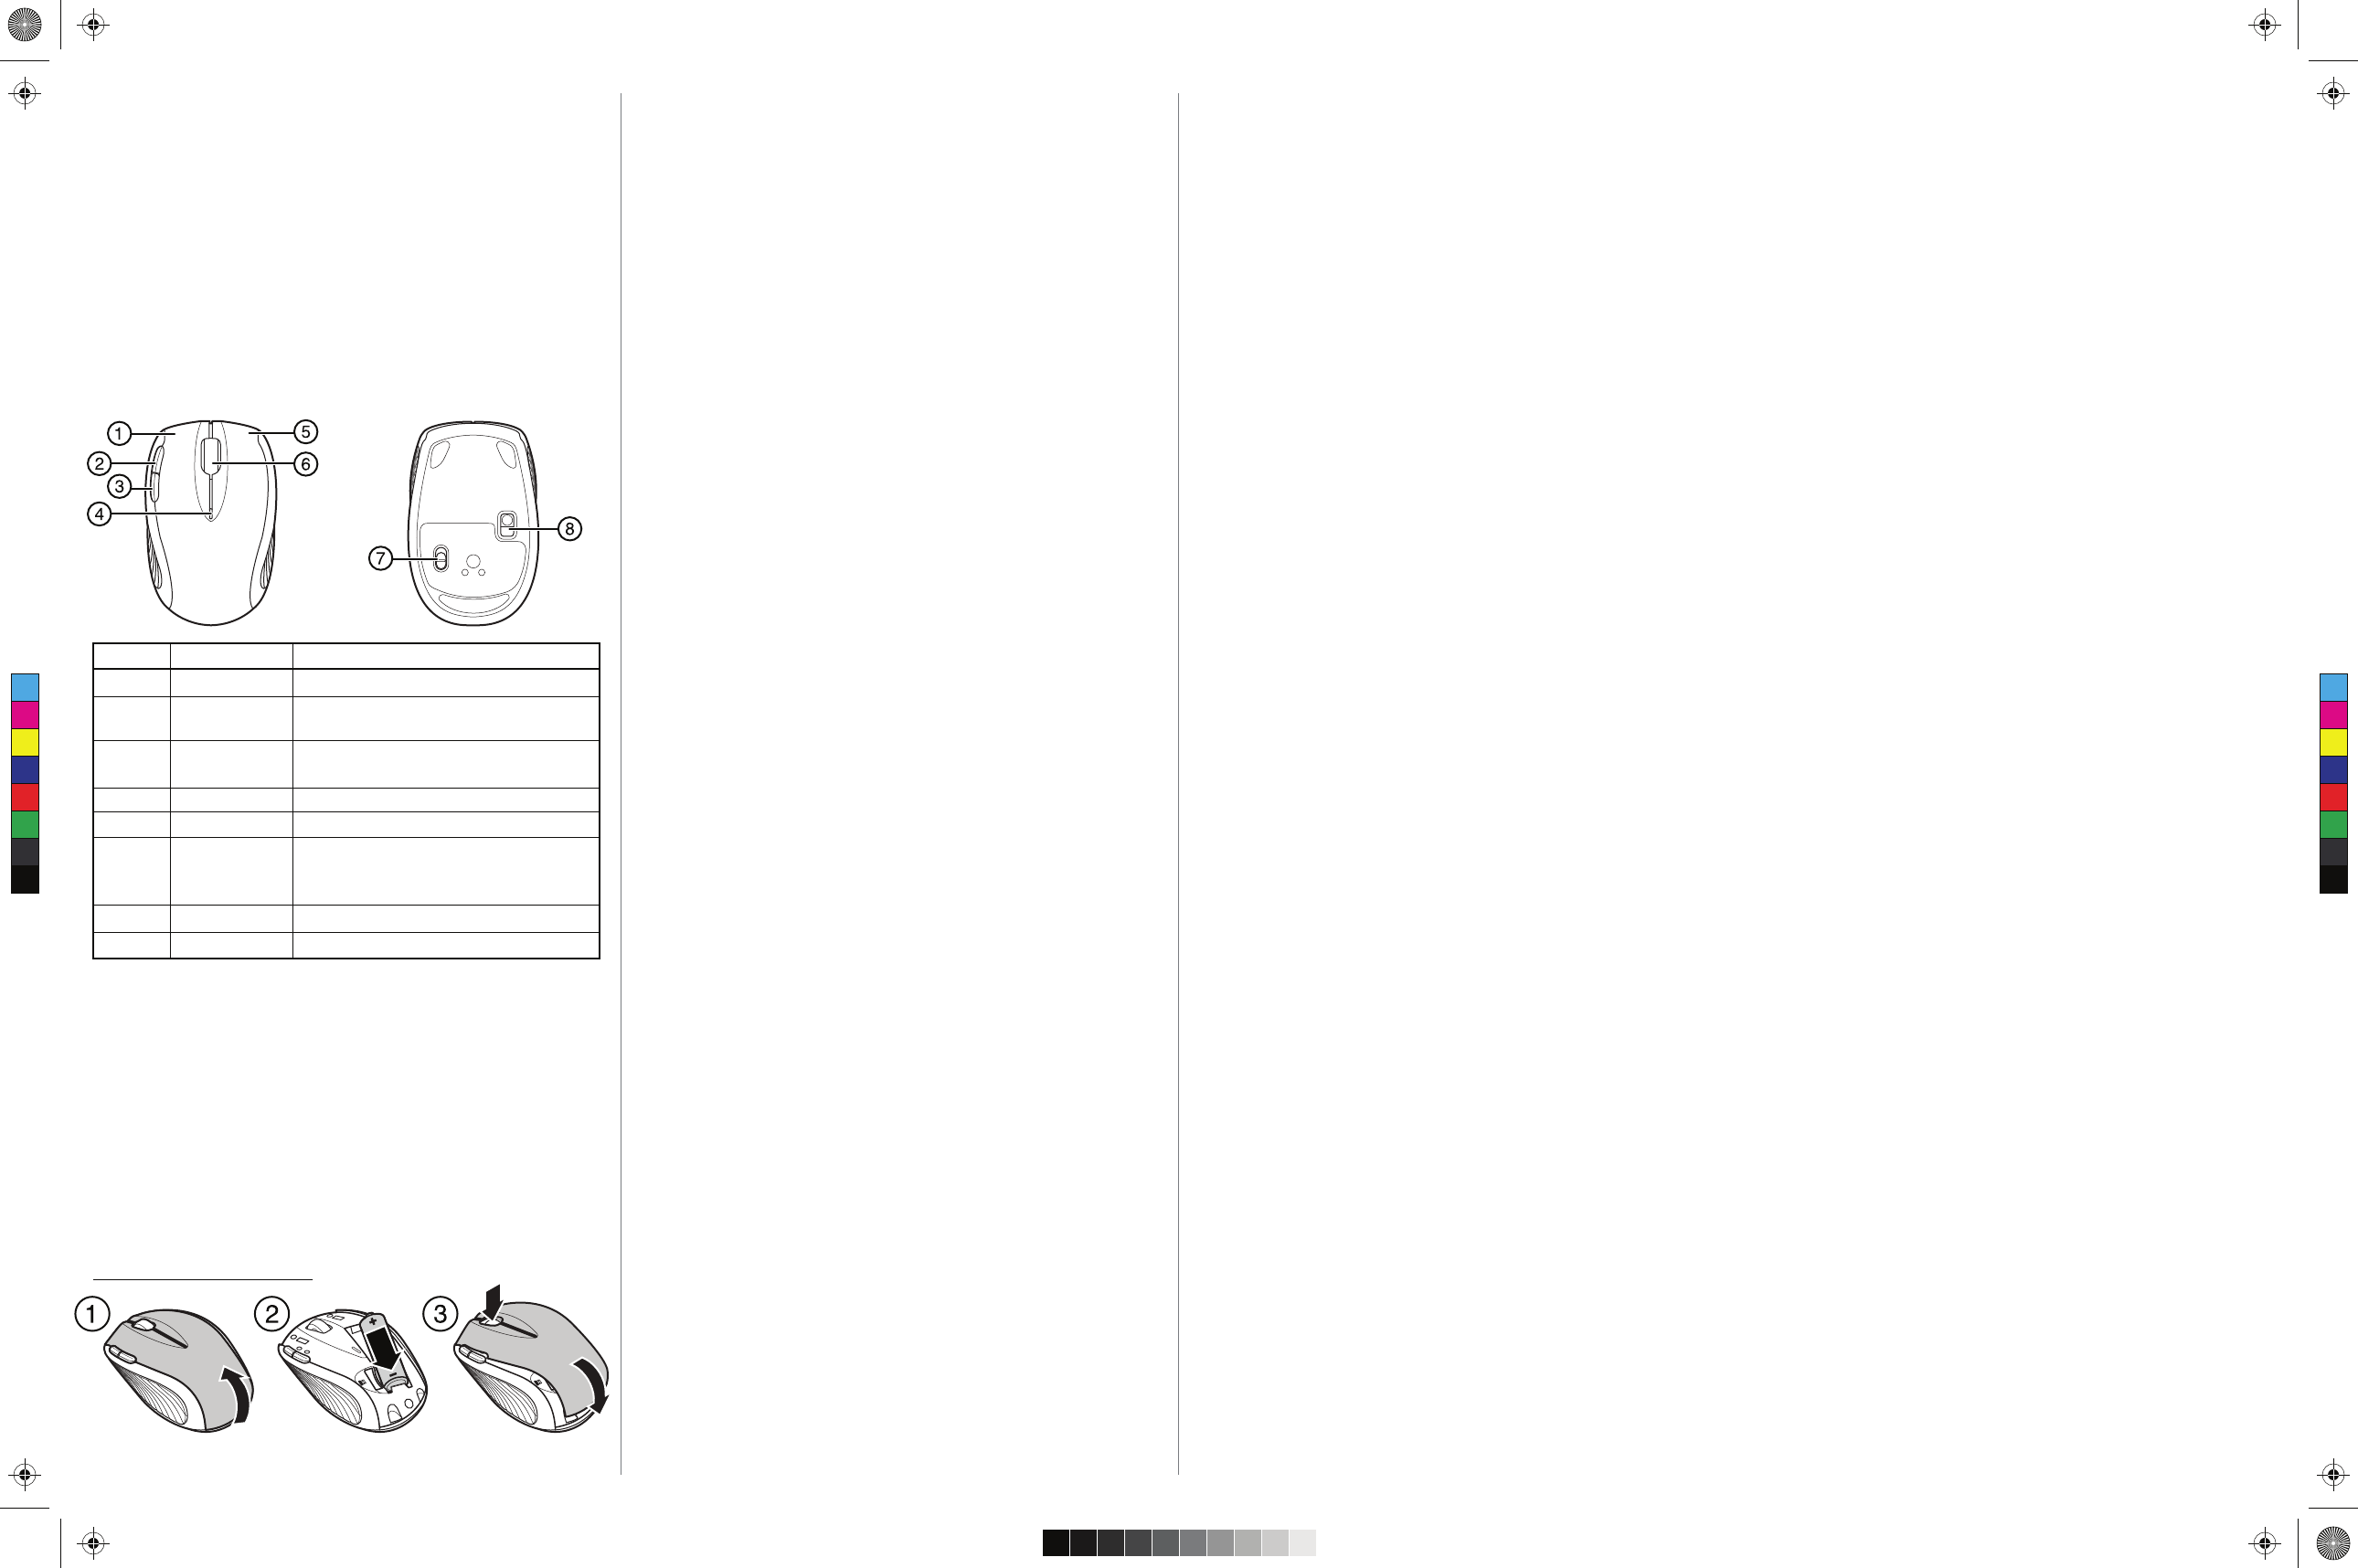
Features
Top Bottom
Installing the battery
1 Lift the battery cover.
2 Insert the battery.
3 Replace the battery cover.
Setting up the optical mouse
1 Plug the USB dongle into the USB port.
2 Slide the power switch down to turn the mouse on.
The computer automatically detects the new hardware.
Note: Mouse button functions can be changed using the
Rocketsh Nano Laptop Optical Mouse program, available at
www.rocketshproducts.com.
Conguring the optical mouse
Double-click the mouse icon on the system tray to open the
Rocketsh Nano Laptop Optical Mouse program and congure
your mouse.
Note: Refer to your User Guide for more details on conguring the
optical mouse.
FCC statement
This device complies with FCC rules and Industry Canada RSS#210.
Operation is subject to the following two conditions: (1) This
device may not cause harmful interference. (2) This device must
accept any interference received, including interference that may
cause undesired operation.
© 2010 BBY Solutions, Inc., All Rights Reserved
Distributed by Best Buy Purchasing, LLC
7601 Penn Avenue South, Richfield, MN USA 55423-3645
Contenu de l’emballage
• Souris sans l
• Adaptateur Nano
• Pile AA
• Guide d’installation rapide
Conguration PC requise
• Au moins un port USB disponible
• Système d’exploitation : WindowsMD XP avec Service Pack 1 ou
supérieur, Windows VistaMD ou WindowsMD 7
Caractéristiques
Dessus Dessous
1
2
ITEM DESCRIPTION FUNCTION
1 Left button Press to perform left button actions
2 Forward button Press to go to the next page in a Web browser.
3 Back button Press to go to the previous page in a Web browser
4 LED indicator Lights red when the battery is low.
5 Right button Press to perform right button actions.
6 Scroll wheel Roll to move the screen up or down or tilt to move the
screen left or right
7 Power button Slide to turn the mouse on or o
8 Sensor 1200 dpi optical sensor
Installation de la pile
1 Soulever le couvercle du compartiment de la pile.
2 Insérer la pile.
3 Remettre le couvercle du compartiment de la pile.
Installation de la souris optique
1 Brancher la clé électronique USB sur le port USB.
2 Mettre le bouton marche-arrêt de la souris en position on
(marche).
L’ordinateur détecte automatiquement le nouveau matériel.
Remarque : Les fonctions des boutons de la souris peuvent être
modiées en utilisant l’application de la souris optique Nano pour
ordinateur portatif (Nano Laptop Optical Mouse) de Rocketsh, qui
est disponible sur le site www.rocketshproducts.com.
Conguration de la souris optique
Double-cliquer sur l’icône de la souris dans la barre d’état système
pour exécuter l’application de la souris optique Nano pour
ordinateur portatif (Nano Laptop Optique Mouse) de Rocketsh et
congurer la souris.
Remarque : Voir le Guide de l’utilisateur pour plus d’informations
sur la façon de congurer la souris optique.
Déclaration de la FCC :
Ce produit est en conformité avec la réglementation de la FCC et le
CNR - 210 d’Industrie Canada. Son fonctionnement est soumis aux
deux conditions suivantes : (1) Ce produit ne doit pas émettre
d’interférences préjudiciables. (2) Ce produit doit accepter toutes
les interférences reçues, y compris celles pouvant provoquer un
fonctionnement indésirable.
© 2010 BBY Solutions, Inc., tous droits réservés
Distribué par Best Buy Purchasing, LLC
7601 Penn Avenue South, Richfield, MN 55423-3645 É.-U.
ÉLÉMENT DESCRIPTION FONCTION
1 Bouton gauche Permet d’eectuer les opérations du bouton gauche
de la souris.
2 Bouton suivant Permet d'aller à la page suivante dans un navigateur
We b.
3 Bouton précédent Permet d'aller à la page précédente dans un
navigateur Web.
4 Témoin DEL S’allume en rouge quand la pile est faible.
5 Bouton droit Permet d’eectuer les opérations du bouton droit
de la souris.
6 Molette de Permet de déplacer l’image de l’écran vers le haut ou
délement le bas; l’incliner pour déplacer l’image de l’écran vers
la gauche ou la droite.
7 Bouton marche-arrêt Le faire glisser pour éteindre ou allumer la souris.
8 Capteur Capteur optique de 1200 ppp
C
M
Y
CM
MY
CY
CMY
K
RF-NANOMSE2_10-0577_QSG_V1.eps 1 5/27/2010 4:07:56 PMRF-NANOMSE2_10-0577_QSG_V1.eps 1 5/27/2010 4:07:56 PM
10-0577
Contenido del paquete
• Ratón inalámbrico
• Adaptador Nano
• Pila AA
• Guía de instalación rápida
Requisitos para PC
• Por lo menos un puerto USB disponible
• Sistema operativo: Windows® XP con Service Pack 1 o más
reciente, Windows Vista®, Windows® 7
Características
Vista superior Vista inferior
Instalación de la pila
1 Cierre la cubierta de las pila.
2 Inserte la pila.
3 Vuelva a colocar la cubierta de la pila.
Conguración del ratón óptico
1 Conecte el adaptador USB en el puerto USB.
2 Deslice el interruptor de encendido del ratón a la posición on.
Su computadora detectará automáticamente el nuevo equipo.
Nota: las funciones del ratón pueden cambiarse usando la
aplicación del ratón óptico nano para laptop (Nano Laptop Optical
Mouse) de Rocketsh que se puede conseguir en
www.rocketshproducts.com.
ELEMENTO DESCRIPCIÓN FUNCIÓN
1 Botón primario Permite realizar acciones de botón izquierdo.
2 Botón adelante Permite ir a la siguiente página en un navegador de
We b.
3 Botón atrás Permite ir a la página anterior en un navegador de
We b.
4 Indicador LED Se ilumina de color rojo cuando la pila está baja.
5 Botón secundario Permite realizar acciones de botón derecho.
6 Rueda de Use la rueda para desplazar la pantalla hacia arriba o
desplazamiento abajo; use la inclinación para desplazar la pantalla
hacia la izquierda o la derecha.
7 Botón de encendido Deslícelo para encender o apagar el ratón.
8 Sensor Sensor óptico de 1200 ppp
Conguración del ratón óptico
Haga doble clic en el icono de la bandeja del sistema para ejecutar
la aplicación del ratón óptico nano para laptop (Nano Laptop
Optical Mouse) de Rocketsh y congurar su ratón.
Nota: reérase a su Guía del usuario para más detalles sobre cómo
congurar el ratón óptico.
Declaración de la FCC
Este dispositivo se adhiere a la reglamentación de la FCC y a la
RSS#210 de Industry Canada, su operación está sujeta a las dos
condiciones siguientes: (1) Este dispositivo no puede causar
interferencia dañina. (2) Este dispositivo debe aceptar cualquier
interferencia recibida, incluyendo interferencias que puedan
causar una operación no deseada.
© 2010 BBY Solutions, Inc., todos los derechos reservados
Distribuido por Best Buy Purchasing, LLC
7601 Penn Avenue South, Richfield, MN 55423-3645 E.U.A.
C
M
Y
CM
MY
CY
CMY
K
RF-NANOMSE2_10-0577_QSG_V1.eps 2 5/27/2010 4:08:01 PMRF-NANOMSE2_10-0577_QSG_V1.eps 2 5/27/2010 4:08:01 PM
Federal Communication Commission Interference
Statement
This equipment has been tested and found to comply with
the limits for a Class B digital device, pursuant to Part 15 of
the FCC Rules. These limits are designed to provide
reasonable protection against harmful interference in a
residential installation. This equipment generates, uses and
can radiate radio frequency energy and, if not installed and
used in accordance with the instructions, may cause harmful
interference to radio communications. However, there is no
guarantee that interference will not occur in a particular
installation. If this equipment does cause harmful
interference to radio or television reception, which can be
determined by turning the equipment off and on, the user is
encouraged to try to correct the interference by one of the
following measures:
- Reorient or relocate the receiving antenna.
- Increase the separation between the equipment and
receiver.
- Connect the equipment into an outlet on a circuit different
from that to which the receiver is
connected.
- Consult the dealer or an experienced radio/TV technician
for help.
FCC Caution: Any changes or modifications not expressly
approved by the party responsible for compliance could void
the user's authority to operate this equipment.