Psion 8525G2 Vehicle Mount Computer User Manual netpad Win CE Quick Start Guide
Psion Inc Vehicle Mount Computer netpad Win CE Quick Start Guide
UserManual.wiki
>
Psion
>
8525G2 User Manual
USERS MANUAL
Navigation menu
Upload a User Manual
Namespaces
Wiki Guide
HTML
PDF
Info
Views
User Manual
Discussion / Help
Navigation

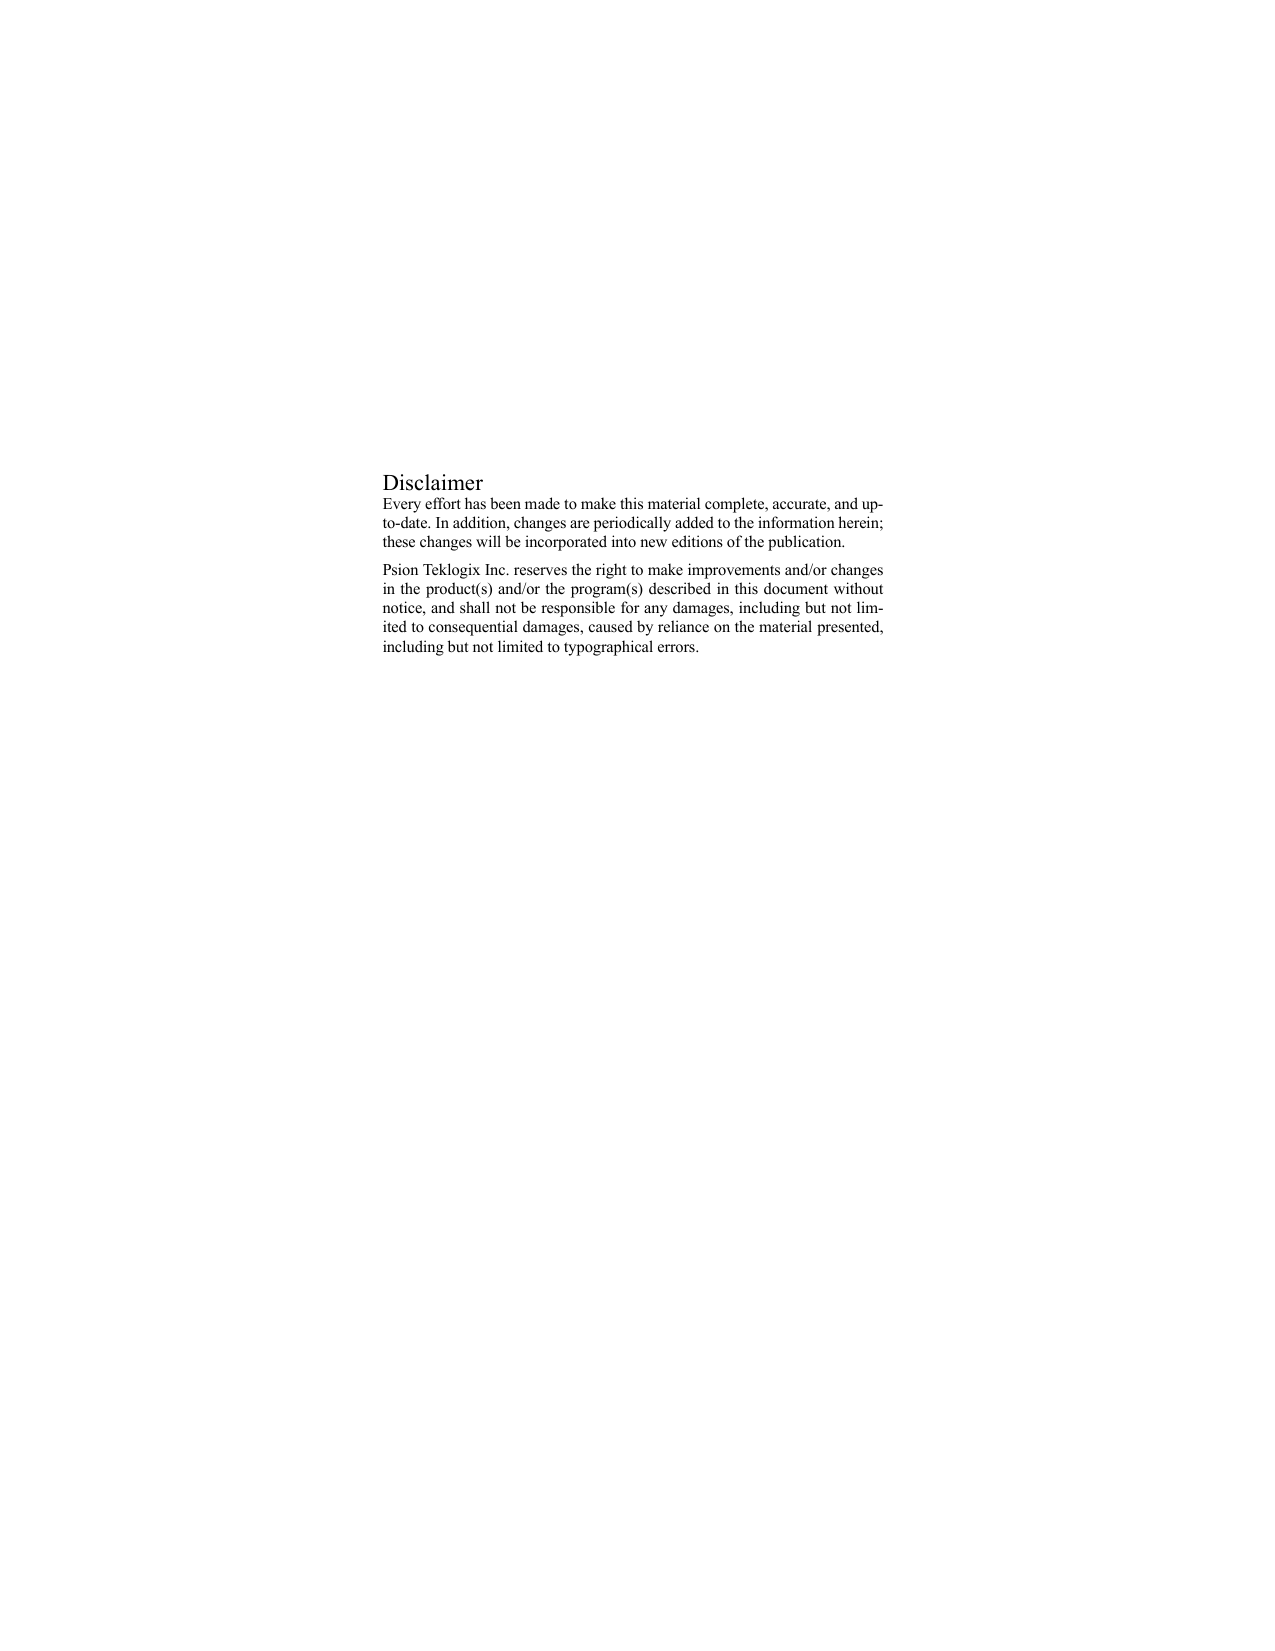


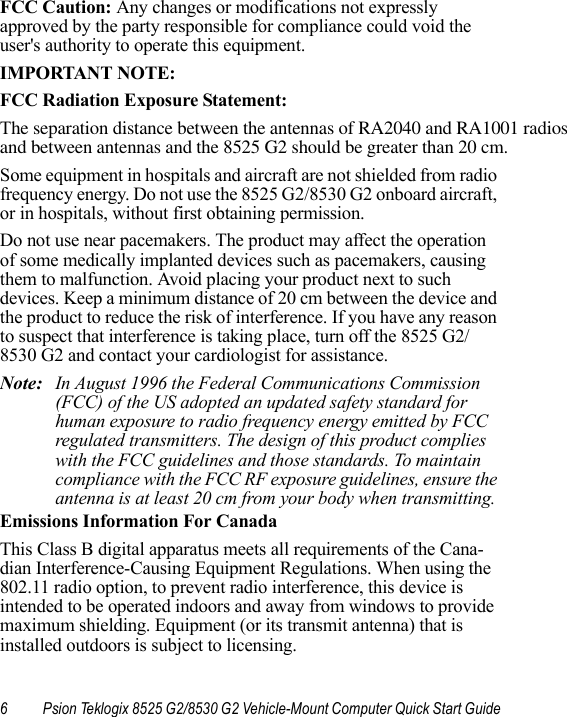

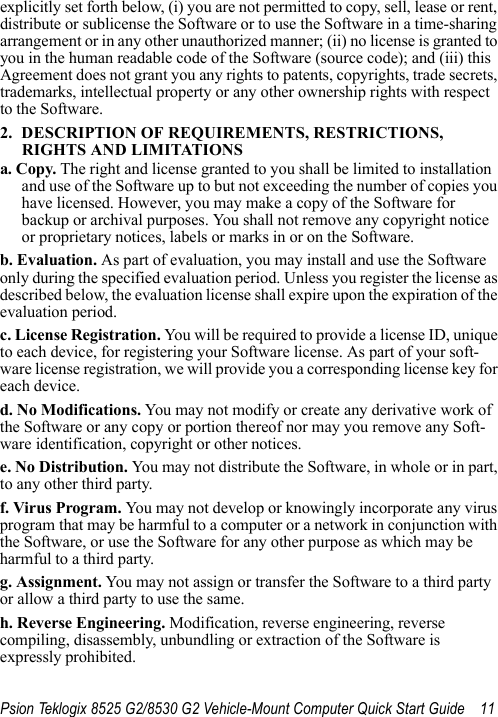


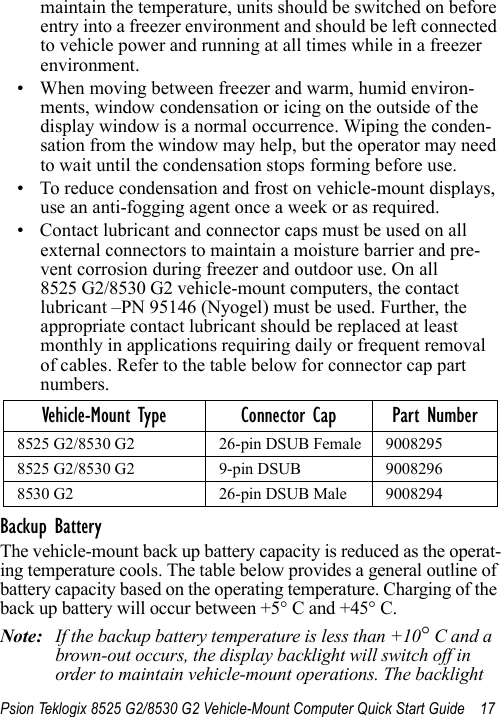
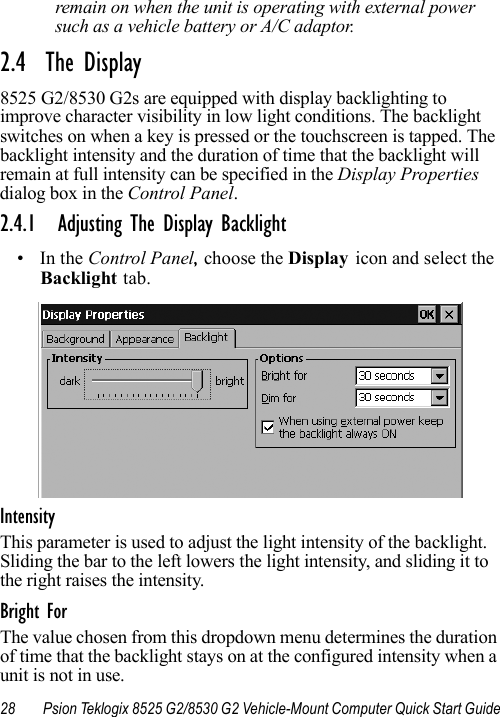
![18 Psion Teklogix 8525 G2/8530 G2 Vehicle-Mount Computer Quick Start Guidewill switch back on when external power is restored or the battery temperature is above +10° C.Warning: Do not install the 8525 G2/8530 G2 in such a way that the power cable is bent 90 degrees as this may damage the power cable and power cable strain relief. • To prevent condensation when a vehicle-mount is moved from a freezer to a warmer environment, it is recommended that the computer power be left on for at least five minutes.• When not in use, vehicle-mount freezer units should be stored in temperatures above 0° C (32° F). • To prevent keyboard keys from freezing up, the keyboard should be mounted off the horizontal plane. This allows water to run off the keyboard and prevents it from pooling on the keypad, freezing and finally physically jamming the keys. Mounting the keyboard off the horizontal plane also prevents water from dripping onto the keypad area. 1.3 Switching The Unit OnSwitching The 8525 G2 On And Off• Press the [ENTER/ON] key. Note: If the 8525 G2/8530 G2 is in suspend state, pressing [ENTER/ON] key ‘wakes’ the unit from this state. The screen in which you were working before the computer entered suspend state is displayed.Temperature Backup Battery Capacity-30° C (-22° F) 35% -20° C (-4° F) 45% -10° C (14° F) 60% 0° C (32° F) close to 80%](https://usermanual.wiki/Psion/8525G2/User-Guide-665197-Page-24.png)
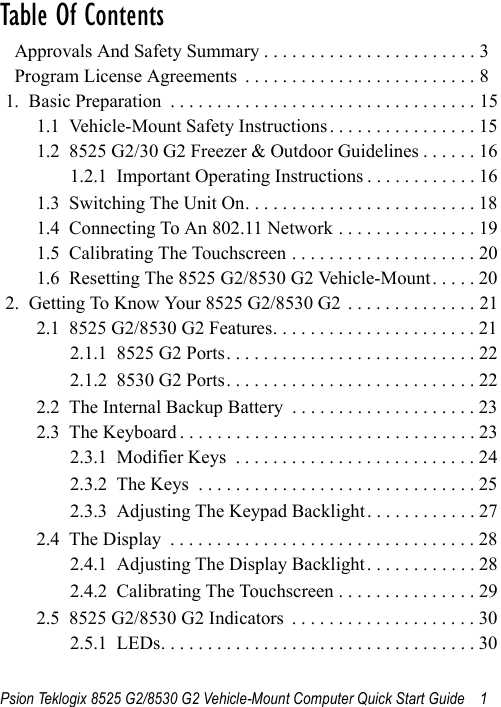
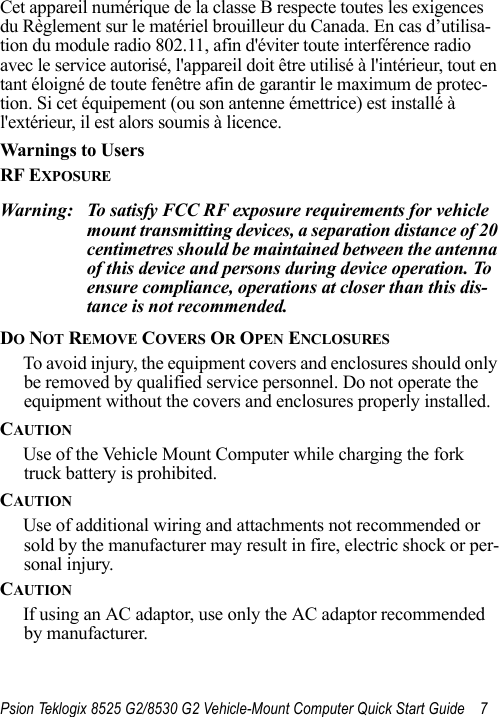
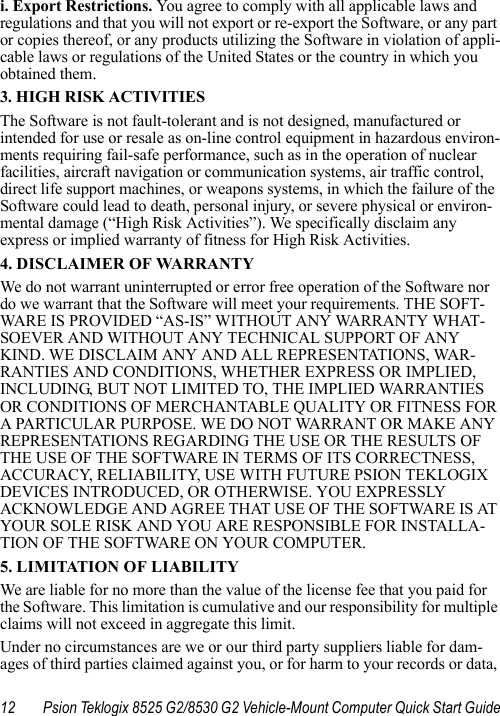
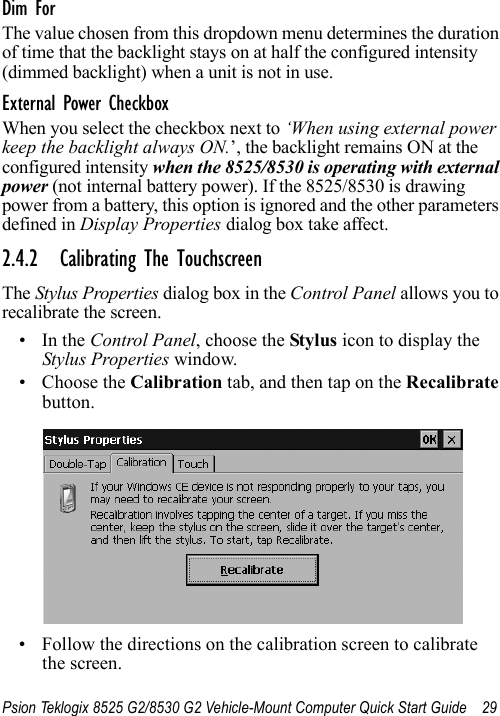
![Psion Teklogix 8525 G2/8530 G2 Vehicle-Mount Computer Quick Start Guide 19To switch off the 8525 G2:• Press the [BLUE] key, and then press the [ENTER/ON] key.Turning off the 8525 G2/8530 G2 does not result in a complete reboot; rather, the unit enters a power-saving, “suspend” state. When the 8525 G2/8530 G2 is turned on from suspend state, operation resumes within a few seconds.Important: If the word ‘BLUE’ is displayed in uppercase in the taskbar at the bottom of the screen, this key is locked ‘on’ – the 8525 G2/8530 G2 will not switch off. Press the [BLUE] key again to unlock it; then press [BLUE] [ENTER/ON] to switch the 8525 G3 off.If, however, you’ve disabled the ‘Blue Key’ in the ‘One Shot’ dialog box, the 8525 G2/8530 G2 can be turned off even when the [BLUE] key is locked ‘on’. Refer to ‘Keyboard One Shot Modes’ in the ‘8525 G2/8530 G2 Vehicle-Mount Computer User Manual’.Switching The 8530 G2 On And Off• Press the [ON/OFF] switch on right side of the 8530 G2 to turn the unit on and off, orPress the [ENTER/ON] key to turn the 8530 G2 on, and press [BLUE] [ENTER/ON] to turn the unit off.Note: Pressing the 8530 G2 ON/OFF switch or using the [BLUE][ENTER/ON] key combination does not result in a complete reboot. The unit enters a ‘suspend’ state until it is switched on.1.4 Connecting To An 802.11 NetworkIn most cases, the 8525 G2/8530 G2 must be configured before it can connect to an 802.11 wireless network. The 8525 G2/8530 G2 Vehicle-Mount Computer User Manual (PN 8000083) describes this](https://usermanual.wiki/Psion/8525G2/User-Guide-665197-Page-25.png)
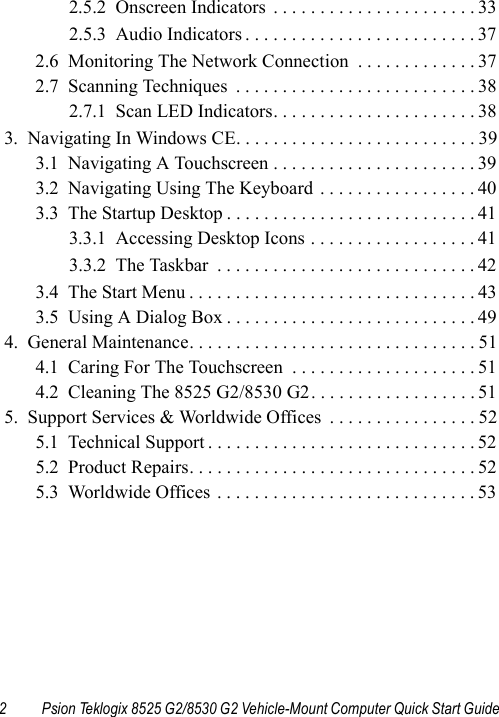
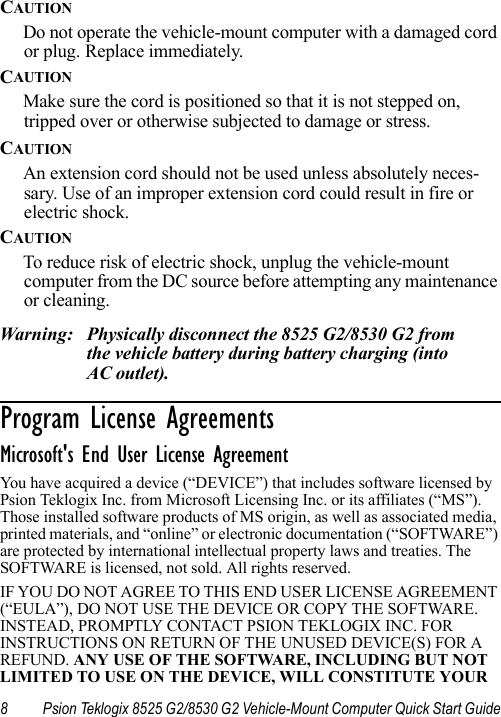
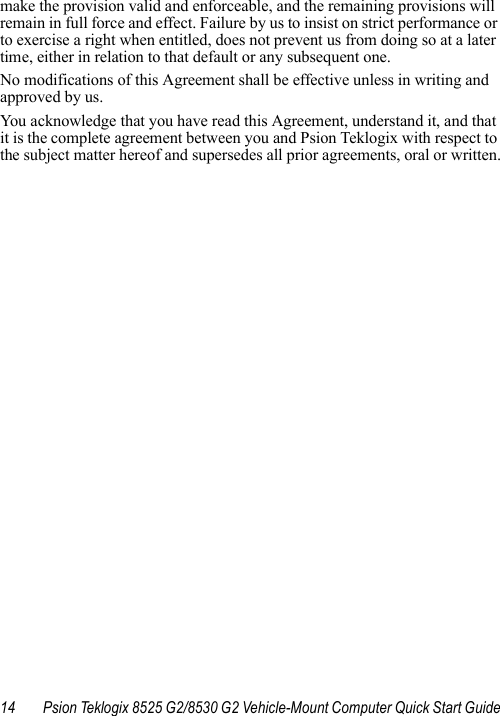
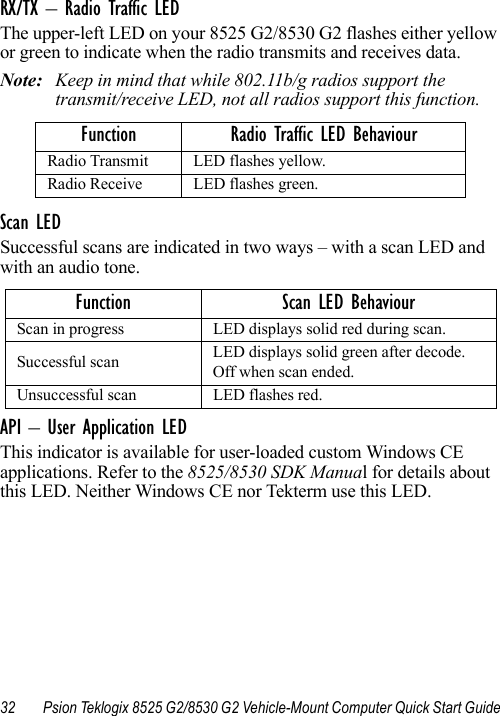
![20 Psion Teklogix 8525 G2/8530 G2 Vehicle-Mount Computer Quick Start Guideconfiguration process. Refer to “Configuring An IEEE 802.11 Radio” in Chapter 2: Basic Checkout for details. Once the 8525 G2/8530 G2 is properly configured, it automatically connects to your wireless network within a few moments of switching on. A radio icon in the taskbar indicates a successful network connection along with the quality of the radio reception.1.5 Calibrating The TouchscreenBefore using your 8525 G2/8530 G2, you will need to calibrate the touchscreen. Refer to “Calibrating The Touchscreen” on page 20for details. 1.6 Resetting The 8525 G2/8530 G2 Vehicle-MountImportant: Because Psion Teklogix cannot guarantee what has been saved (registry) after a reset, this should be con-sidered as a last resort.To reset the 8525 G2/8530 G2:• Press and hold down the [BLUE] key and the [ENTER/ON] key simultaneously for a minimum of six seconds.A reset results in a complete reboot of the unit. All RAM memory contents are lost. While it is most likely that the contents of the flash memory and memory card will be preserved, Psion Teklogix cannot guarantee this.Note: On the 8530 G2, pressing and holding down the ‘on/off’ switch on the right side of the unit for 10 or more seconds resets the unit.](https://usermanual.wiki/Psion/8525G2/User-Guide-665197-Page-26.png)
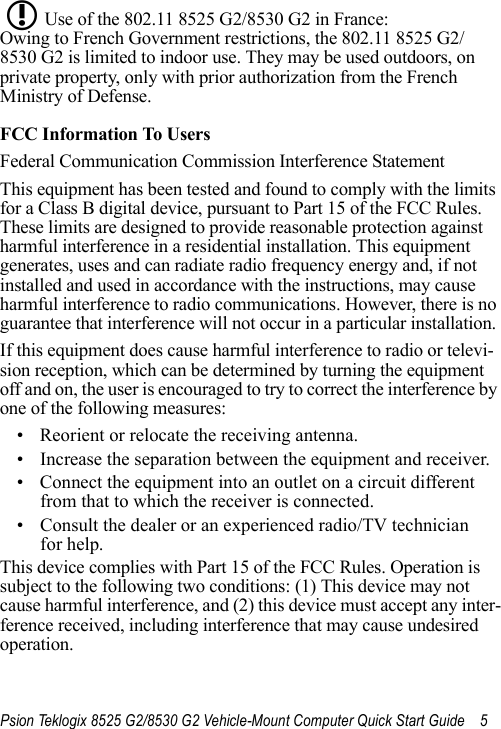
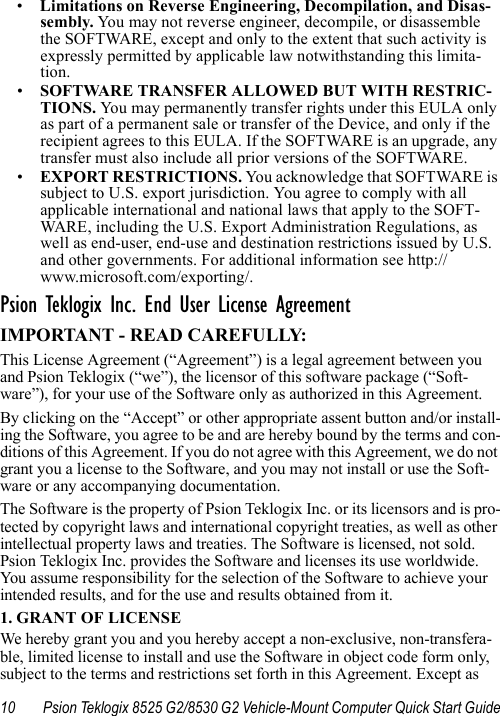
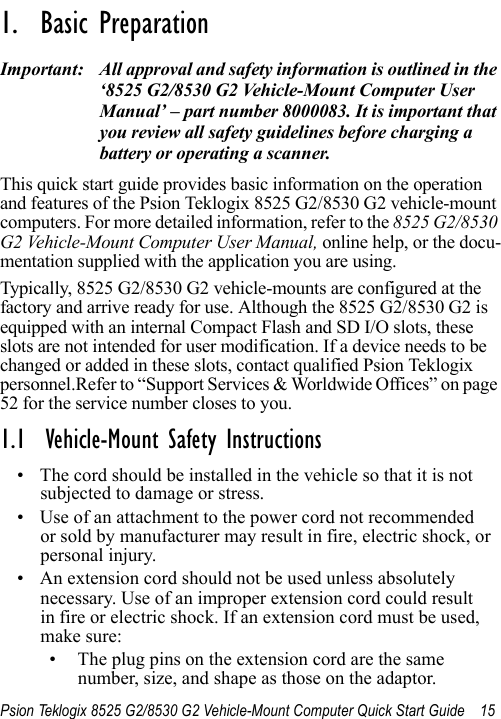
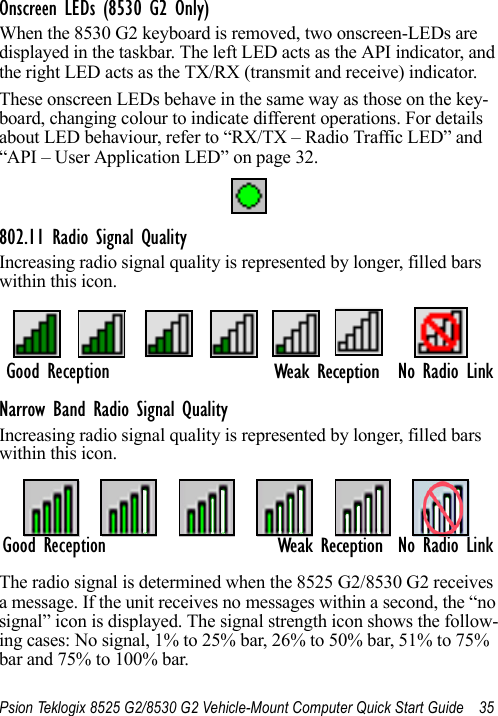
![24 Psion Teklogix 8525 G2/8530 G2 Vehicle-Mount Computer Quick Start Guide2.3.1 Modifier KeysThe [SHIFT], [CTRL], [ALT], [BLUE] ad [ORANGE] keys are modifier keys. Pressing a modifier key changes the function of the next key pressed. For example, on a QWERTY keyboard, a square bracket is printed in orange print above the [4] key. Pressing the [ORANGE] key followed by the [4] key displays a square bracket rather than the number 4. The [SHIFT], [CTRL] and [ALT] keys operate much like a desktop keyboard except that they are not chorded (two keys held down simultaneously). The modifier key must be pressed first followed by the key whose function you want modified.Activating Modifier KeysWhen a modifier key is pressed once, it is displayed in lowercase let-ters in the taskbar at the bottom of the 8525 G2/8530 G2 screen. For example, if the [CTRL] key is pressed, ctrl key is displayed at the bot-tom of the unit screen. Once another key is pressed, the modifier key becomes inactive and disappears from the taskbar.Locking Modifier KeysWhen a modifier key is ‘locked’ on, it is displayed in uppercase let-ters in the taskbar. For example, pressing the [BLUE] key twice locks it on – it is displayed as BLUE KEY in the taskbar at the bottom of the computer screen.The locked modifier key will remain active until it is pressed a third time to unlock or turn it off. Once a modifier key is unlocked, the uppercase representation at the bottom of the screen is no longer displayed.Note: The locking function of any modifier key can be disabled so that pressing it once will lock the key ‘on’. If you disable the ‘One Shot’ function (accessible through the Control Panel ‘Keyboard’ icon) of a modifier key, pressing the key once will lock it ‘on’. Pressing the same key a second time will unlock or turn it ‘off’.](https://usermanual.wiki/Psion/8525G2/User-Guide-665197-Page-29.png)
![Psion Teklogix 8525 G2/8530 G2 Vehicle-Mount Computer Quick Start Guide 252.3.2 The KeysThe [BLUE] And [ORANGE] KeysThe [BLUE] and [ORANGE] modifier keys provide access to addi-tional symbols and keys. These additional symbols and keys are col-our coded in blue and orange print above the keyboard keys.• Press the [BLUE] key to access functions or characters dis-played in blue print on the keyboard. Press the [ORANGE] key to access functions or characters displayed in orange print on the keyboard.The [SHIFT/CAPS] KeyThe [SHIFT/CAPS] key is used to display uppercase alpha charac-ters. Pressing [BLUE][SHIFT] turns the [CAPS] key on so that all alpha characters are printed in uppercase until the [BLUE][SHIFT] sequence is pressed again.The Arrow KeysThe Arrow keys move the cursor around the screen in the direction of the arrow – up, down, left and right. The cursor is the flashing box or underline character that indicates where the next character you type will appear.The [INS] KeyThe [INS] key inserts a character at the cursor position.The [DEL] KeyThe [DEL] key erases the character at the cursor position.The [BKSP] KeyThe [BKSP] key (sometimes referred to as destructive backspace) moves the cursor one character to the left, erasing the incorrectly entered key stroke.](https://usermanual.wiki/Psion/8525G2/User-Guide-665197-Page-30.png)
![26 Psion Teklogix 8525 G2/8530 G2 Vehicle-Mount Computer Quick Start GuideThe [CTRL] And [ALT] KeyThe [CTRL] and [ALT] keys modify the function of the next key pressed and are application dependent. The [TAB] KeyTypically, the [TAB] key moves the cursor to the next field to the right or downward.The [ESC] KeyGenerally, this key is used as a keyboard shortcut to close the current menu, dialog box or activity and return to the previous one.The [SPACE] KeyPressing this key inserts a blank space between characters. In a Win-dows dialog box, pressing the [SPACE] key enables or disables a checkbox.The [HOME] KeyThe [HOME] key moves the cursor to the top of the form or page. The [END] KeyThe [END] key moves the cursor to the bottom of the form or page. The [PgUp] And [PgDn] KeysThe [PgUp] key displays the previous screen of information. The [PgDn] key displays the next screen of information. Function Keys And Macro KeysIn addition to alphanumeric keys that are directly accessible on the keyboard (no key combination is required) and the keys described in this chapter, the 8525 G2/8530 G2 keyboard is also equipped with thirty function keys and twelve macro keys.Function keys [F1] through [F30] and Macro keys [M1] to [M12] can be used with the CE operating system or another application. All function keys and macro keys can be custom defined for each](https://usermanual.wiki/Psion/8525G2/User-Guide-665197-Page-31.png)


![Psion Teklogix 8525 G2/8530 G2 Vehicle-Mount Computer Quick Start Guide 332.5.2 Onscreen IndicatorsThe taskbar at the bottom of the screen displays a variety of system status indicators.The taskbar changes dynamically, and only those icons that are applicable are displayed. For example, if a radio is not installed in your unit, the radio signal icon is not displayed in the taskbar.Windows Start ButtonThe Windows Start button in the taskbar displays the Start Menu.Modifier Key IndicatorsNote: The behaviour of the modifier keys is defined in the ‘One Shot’ dialog box accessible by choosing the Keyboard Icon from the Control Panel.[SHIFT], [CTRL], [ALT], [BLUE] and [ORANGE] are modifier keys that have onscreen indicators to show when a key is active or locked. If when you press a modifier key, it is displayed in the task-bar in lowercase characters, this indicates that the key will remain active only until the next key is pressed. If you press a modifier key, and it is displayed in uppercase letters in the taskbar, this indicates](https://usermanual.wiki/Psion/8525G2/User-Guide-665197-Page-38.png)

![Psion Teklogix 8525 G2/8530 G2 Vehicle-Mount Computer Quick Start Guide 372.5.3 Audio IndicatorsNote: Care must be taken when routing cabling to the external port as audio volume can be adversely affected if these cables block the beeper.The 8525 G2/8530 G2 beeper provides a variety of sounds and can be configured to emit a sound when a key is pressed, a keyboard character is rejected, scan input is accepted or rejected or an opera-tor’s entry does not match in a match field. The Volume & Properties icon in the Control Panel allow you to define beeper behaviour. Refer to ‘Volume And Sound Properties’ in the 8525 G2/8530 G2 Vehicle-Mount Computer User Manual, PN 8000083, for details.Adjusting The Beeper Volume ManuallyThe volume keys – and – are represented in blue print above the [C] and [V] characters on a QWERTY keyboard.The increase volume key is labelled with a plus sign and the decrease volume key is labelled with a minus sign .To adjust the beeper volume:• Lock the [BLUE] key ‘on’.• Press the increase volume key or the decrease volume key until the volume meets your needs.• Press the [BLUE] key again to ‘unlock’ it.2.6 Monitoring The Network ConnectionIf your vehicle-mount is equipped with a wireless-LAN radio, it will typically associate with the nearest access point. The radio signal quality meter in the taskbar indicates the relative strength of the communication link.](https://usermanual.wiki/Psion/8525G2/User-Guide-665197-Page-42.png)
![40 Psion Teklogix 8525 G2/8530 G2 Vehicle-Mount Computer Quick Start GuideNote: To prevent damage to the touchscreen, use only the stylus (pen) supplied with your unit.To open a file, launch an applet or open a folder:• Double-tap on the appropriate icon.To navigate through a dialog box – for example, display the informa-tion in a tab, choose a radio button, check a checkbox and so on:• Tap the stylus on a tab, radio button, checkbox and so on.3.2 Navigating Using The KeyboardNote: Refer to “The Keyboard” on page 23 for more detail about the keyboard keys.If your unit is not equipped with a touchscreen or the touchscreen has been disabled, you can choose icons and navigate dialog boxes, display the desktop, and so on using the keyboard. Keep in mind that unlike a desktop computer, vehicle-mounts do not support key chording (pressing two keys at the same time). You must press one key followed by the next in sequence.Operation Key or Key CombinationSwitch between applications [ALT] [TAB]Open the task manager screen [ALT] [ESC]Move the cursor Arrow keysOpen file, folder or icon [ENTER]Exit & Save [ENTER]Close/Exit & Do Not Save [ESC]Navigate Dialog Boxes[TAB]To move cursor up: [SHIFT][TAB]To display the next ‘tab’ in a dialog box: [CTRL][TAB]](https://usermanual.wiki/Psion/8525G2/User-Guide-665197-Page-45.png)
![Psion Teklogix 8525 G2/8530 G2 Vehicle-Mount Computer Quick Start Guide 413.3 The Startup DesktopWhen the 8525 G2/8530 G2 boots up, the startup desktop is dis-played. Any applications stored in the Startup folder will start up immediately. The Startup folder is located in \Windows\Startup and \Flash Disk\Startup.3.3.1 Accessing Desktop Icons• Use the arrow keys to highlight the icon, and press [ENTER] to launch the highlighted icon.Note: If the arrow keys do not highlight the desktop icons, the desk-top may not be selected. Press [BLUE] 0 (zero) to display the Start Menu, and choose Desktop. Now the desktop will be “in focus” and the arrow keys will highlight the icons.If you’re using a touchscreen:• Tap an icon to select it, double-tap on it to open a dialog box or, in the case of an application icon, launch an application.Select Radio Button/Press Button [SPACE]Go to Start Menu [BLUE][0]](https://usermanual.wiki/Psion/8525G2/User-Guide-665197-Page-46.png)
![42 Psion Teklogix 8525 G2/8530 G2 Vehicle-Mount Computer Quick Start Guide3.3.2 The Taskbar The 8525 G2/8530 G2 has a taskbar at the bottom of the screen. It displays icons through which you can view the internal battery capacity, the radio signal quality of your unit, and so on. If the vehi-cle-mount is attached to a peripheral device, an associated icon is displayed. In addition, the taskbar displays the application(s) cur-rently running on your unit and the security level assigned to your 8525 G2/8530 G2.The taskbar also displays active modifier keys – [SHIFT], [ALT], [CTRL], [BLUE] and [ORANGE]. Keys that have been locked ‘on’ are displayed in uppercase letters. Using The TaskbarIf you’re using a keyboard:• Press [BLUE] [0] to display the Start Menu.• Press the [DOWN] arrow key to highlight the Shortcut menu. Press the [RIGHT] arrow key to display the sub-menu. Type [Y] to choose System Tray from the sub-menu. • Press the [LEFT] and [RIGHT] arrow keys to highlight the icon in the taskbar about which you’d like more information.A tooltip is displayed as each taskbar icon is highlighted. The tooltip provides the status of each icon.• Press [ENTER] to display the associated dialog box.](https://usermanual.wiki/Psion/8525G2/User-Guide-665197-Page-47.png)
![Psion Teklogix 8525 G2/8530 G2 Vehicle-Mount Computer Quick Start Guide 43If you’re using touchscreen:• Tap and hold the stylus on an icon to display the icon's tooltip. Double-tap the icon to open the Control Panel dialog box associated with the icon.3.4 The Start MenuThe Start Menu lists operations you can access and work with. It is available from the startup desktop or from within any application.To display the menu:• Press [BLUE] [0] (zero). • Use the arrow keys to highlight a menu item, and press [ENTER], or If the menu item has an underlined character:• Type the underlined alpha character—for example, to display Security, type the letter s.If you’re using a touchscreen:• Tap on the Start button in the taskbar. Tap on the item in the menu with which you want to work.](https://usermanual.wiki/Psion/8525G2/User-Guide-665197-Page-48.png)
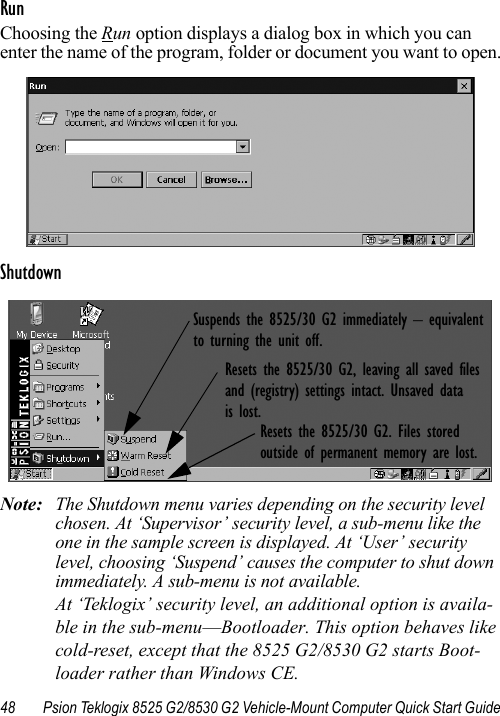
![44 Psion Teklogix 8525 G2/8530 G2 Vehicle-Mount Computer Quick Start GuideThe DesktopChoosing Desktop from the Start Menu displays the 8525 G2/8530 G2 desktop. Security SettingsTo assign a security level:• Choose Security from the Start Menu.• Choose a security level from the dialog box. To allow access to all the Start Menu and taskbar options, choose the Supervi-sor security level. • Type the appropriate password in the Password: textbox, and press [ENTER].To change the password:Note: Keep in mind that this is the same password as that assigned through the Password Control Panel applet.• Choose a security level, and enter the existing password in the Password field.• Choose the [Set Password] button.In the Password Properties dialog box:• Type the new password in the Password: textbox, and retype the new password in the Confirm Password: textbox.](https://usermanual.wiki/Psion/8525G2/User-Guide-665197-Page-49.png)
![46 Psion Teklogix 8525 G2/8530 G2 Vehicle-Mount Computer Quick Start GuideWhen System Tray is chosen, the taskbar icons become accessible. To display the dialog box attached to an icon:• Use the [LEFT] and [RIGHT] arrow keys to highlight an icon—for example, the security icon.• Press [ENTER] to display the security level dialog box.If you’re using a touchscreen, you don’t need to use System Tray option. You have direct access to the icons in the taskbar.• Tap and hold the stylus on a taskbar icon to display a tooltip – a brief description of the status of the icon. To display the dialog box associated with an icon:• Double-tap on the icon with which you want to work.Cycle TasksWhen Cycle Tasks is selected (and the Task Manager is not open), you can cycle through active applications. • Press [BLUE] [0] (zero) [T] [C] to cycle to the next active task, orPress [ALT][TAB].The Task ManagerThe Task Manager option allows you to switch to another task or to end an active task. To display the task manager window:• Press [BLUE] [0] (zero) [T] [T], or](https://usermanual.wiki/Psion/8525G2/User-Guide-665197-Page-51.png)
![Psion Teklogix 8525 G2/8530 G2 Vehicle-Mount Computer Quick Start Guide 47Press [ALT][ESC].SettingsThe Settings menu provides access to the Control Panel applets, lets you configure your radio (Network and Dial-up Connections) and customize the Taskbar and Start Menu.](https://usermanual.wiki/Psion/8525G2/User-Guide-665197-Page-52.png)
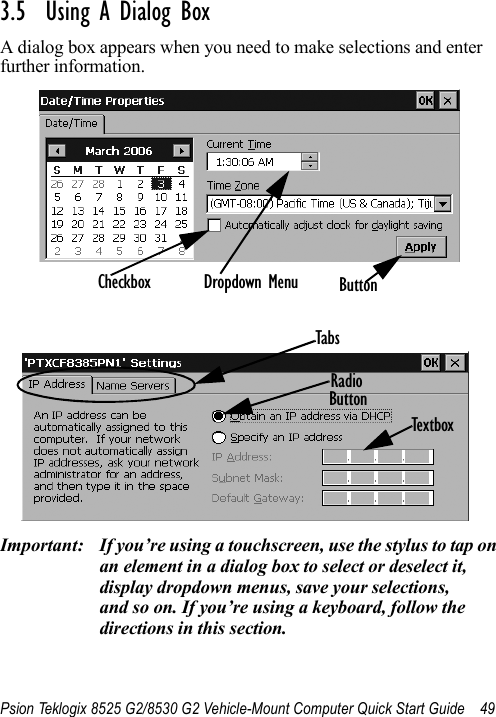
![50 Psion Teklogix 8525 G2/8530 G2 Vehicle-Mount Computer Quick Start GuideDialog boxes contain one or more of the following elements:Tab: A tab separates different elements of a dialog box. Press the [TAB] key until a tab in the dialog box is highlighted. To display adjoining tabs, press the [RIGHT] or [LEFT] arrow key. To display the information in the next tab from anywhere in the win-dow, press [CTRL] [TAB].Textbox: A textbox requires that you type information. Press the [TAB] key to highlight the textbox and then type the appropriate information.Dropdown: This type of menu is identified by up and down arrows next to the dropdown menu to indicate that additional options are available. Press the [TAB] key to highlight the menu, and use the arrow keys on your keyboard to cycle through the options. Checkbox: This box allows you to select or deselect an option. To select or deselect a checkbox, press the [TAB] key to highlight the checkbox, and press the [SPACE] key to select or deselect it.Radio buttons: These buttons allow you to choose from a number of options. For example, in the sample screen under section 3.5 on page 49, you can choose to ‘Obtain an IP address via DHCP’ or ‘Specify an IP address’. Press the [TAB] key to highlight a radio button option, and then select a radio button by pressing the arrow keys to highlight the appropriate option.Buttons: This type of button allows you to ‘Save’, ‘Delete’ and so on the options you’ve chosen in a dialog box. Use the [TAB] key to highlight the button you want to use. Press the [ENTER] key to activate it.Saving Your Choices: Once you’ve made all your changes, press the [ENTER] key to save your changes and exit the window.Note: A dialog box item that is displayed in grey text indicates that it is not currently available.](https://usermanual.wiki/Psion/8525G2/User-Guide-665197-Page-55.png)