Psion CFBAG02 7535 HANDHELD COMPUTER WITH USI RADIO User Manual 8000007 Book
Psion Inc 7535 HANDHELD COMPUTER WITH USI RADIO 8000007 Book
UserManual.wiki
>
Psion
>
CFBAG02 User Manual
>
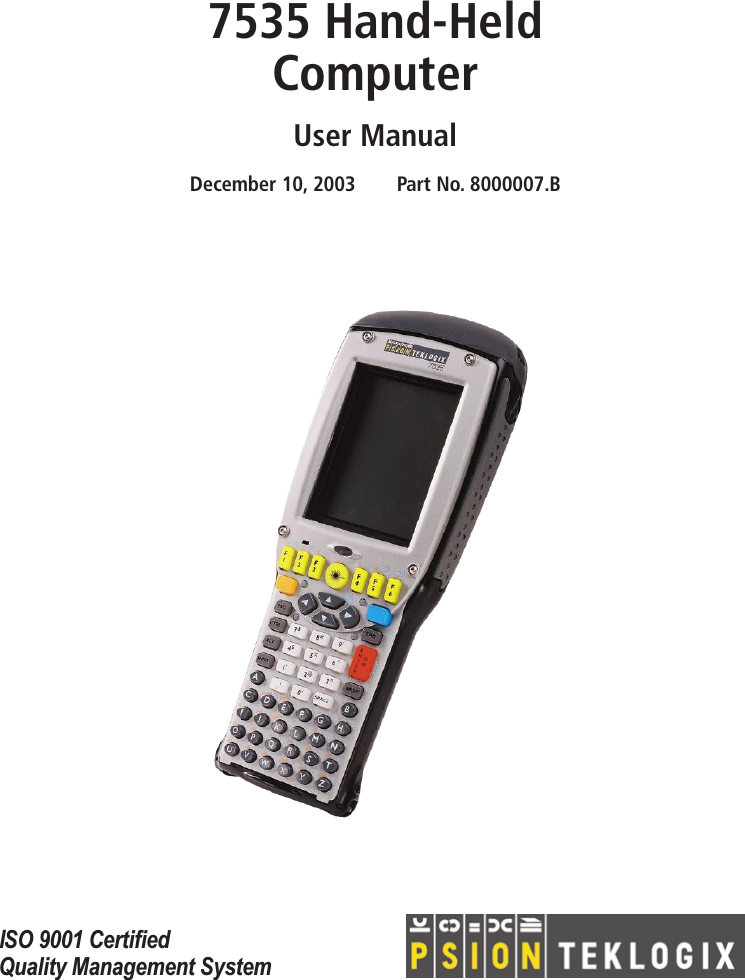
USERS MANUAL 1
Contents
1.
BROCHURE
2.
USERS MANUAL 1
3.
USERS MANUAL 2
USERS MANUAL 1
Navigation menu
Upload a User Manual
Namespaces
Wiki Guide
HTML
PDF
Info
Views
User Manual
Discussion / Help
Navigation