Psion GSMA Netpad User Manual netpad EPOC
Psion Inc Netpad netpad EPOC
UserManual.wiki
>
Psion
>
GSMA User Manual
>
Exhibit 8 User Manual Part 2
Contents
1.
Exhibit 8 User Manual Part 1
2.
Exhibit 8 User Manual Part 2
Exhibit 8 User Manual Part 2
Navigation menu
Upload a User Manual
Namespaces
Wiki Guide
HTML
PDF
Info
Views
User Manual
Discussion / Help
Navigation
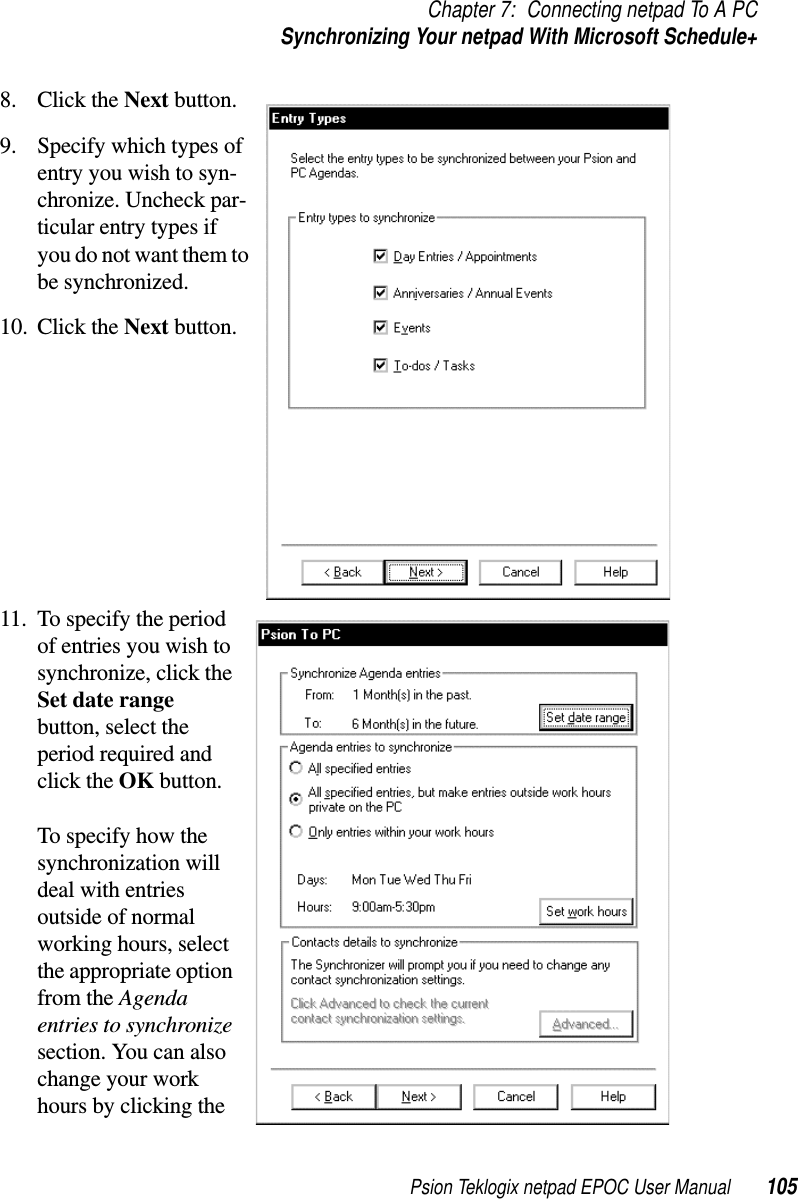
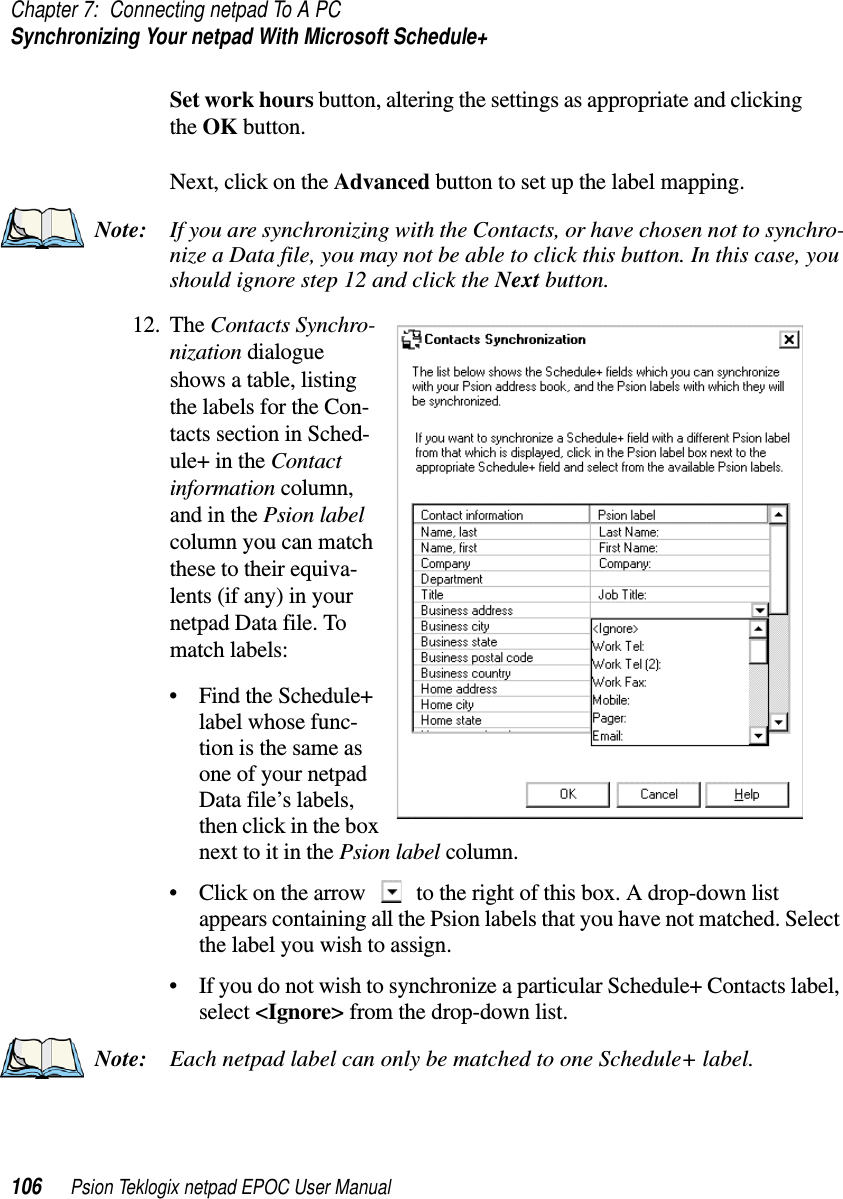
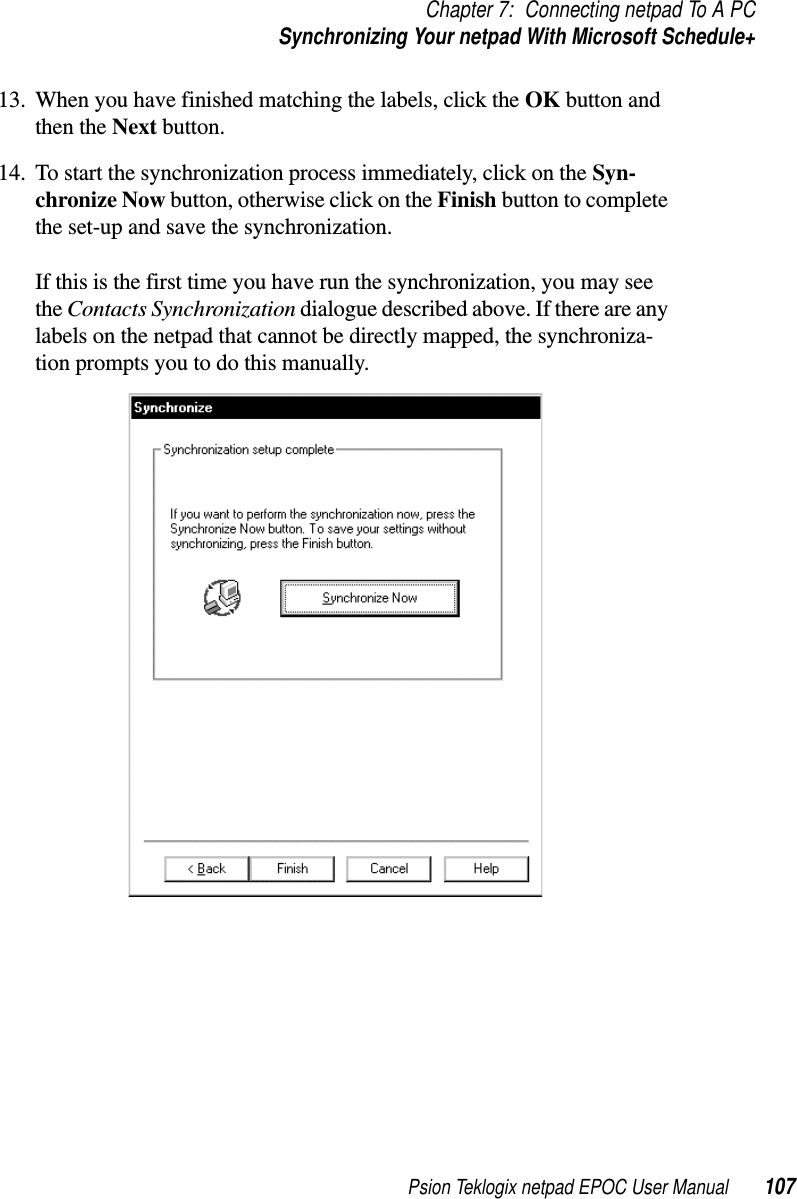
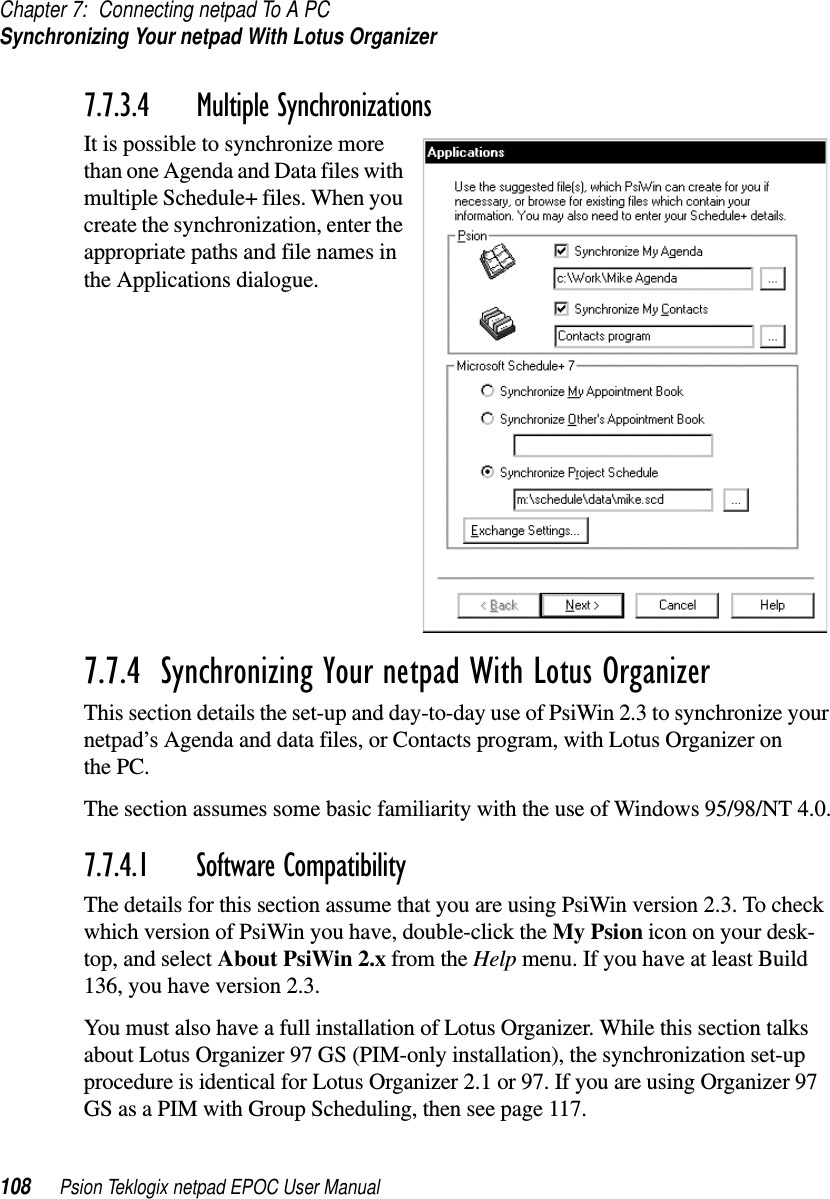
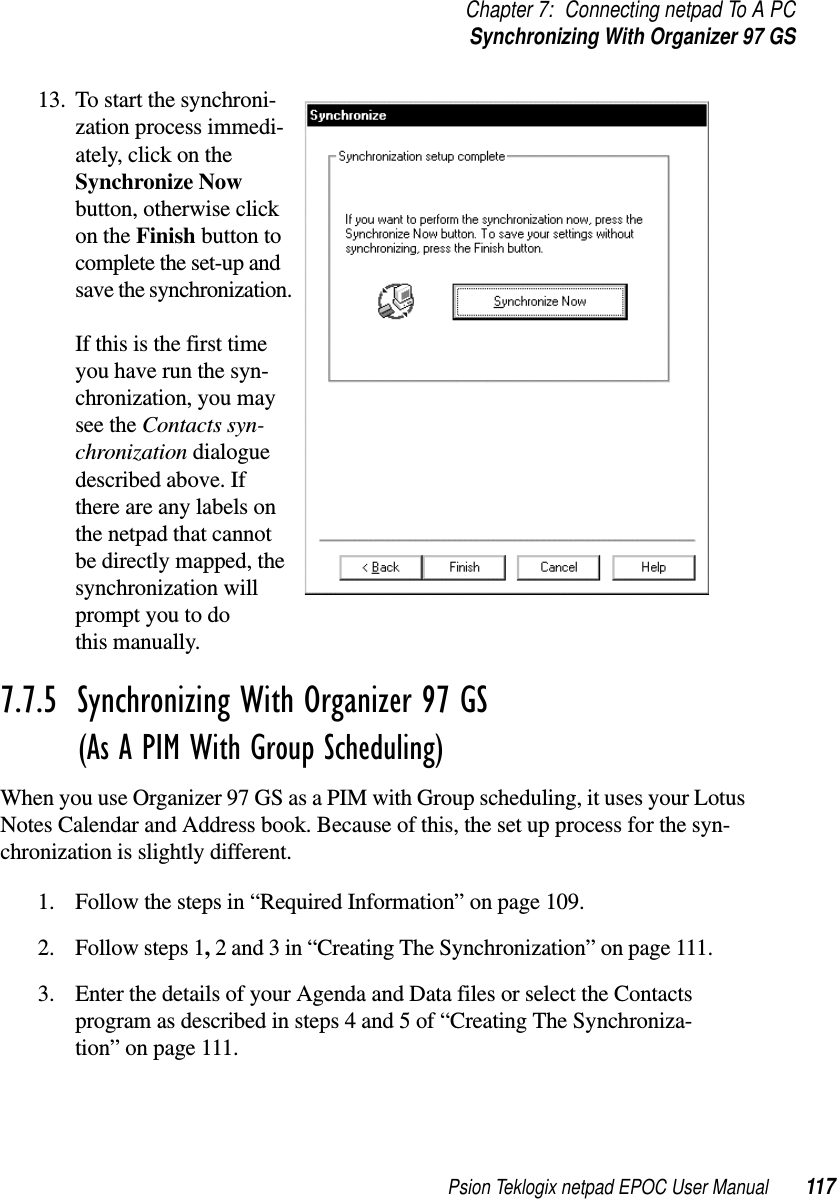
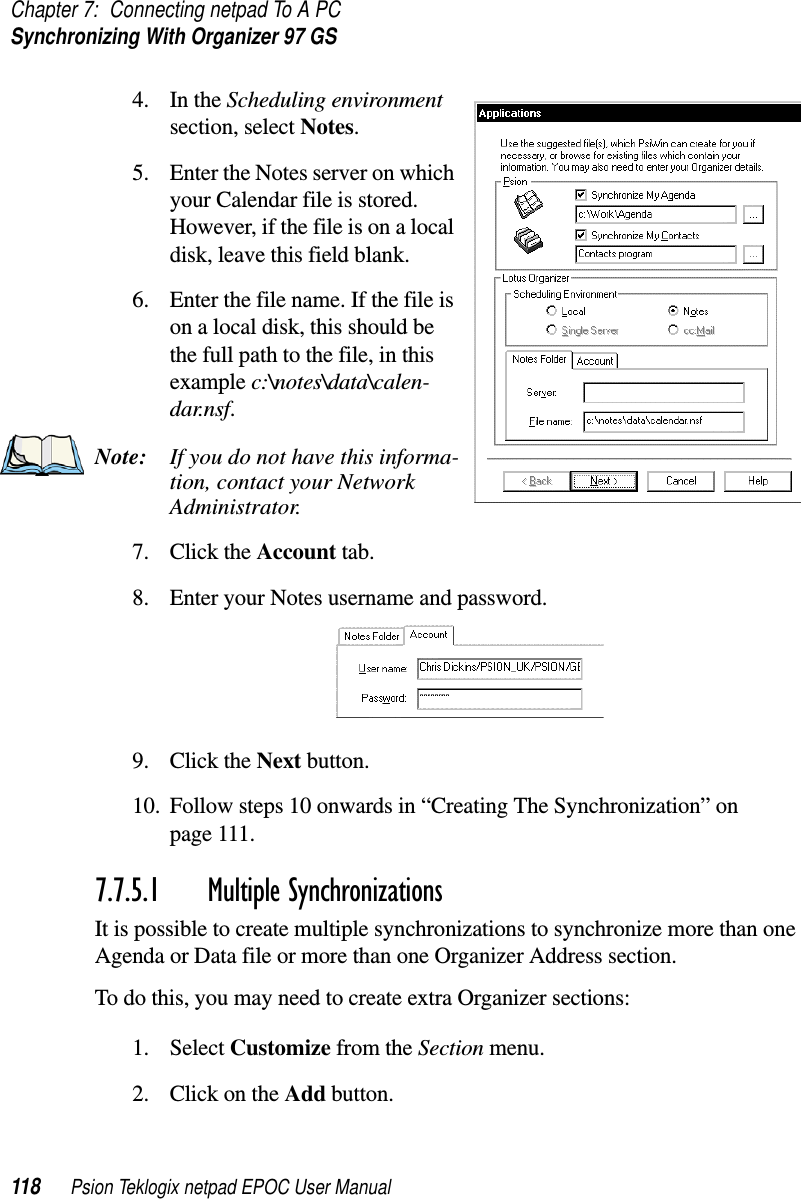
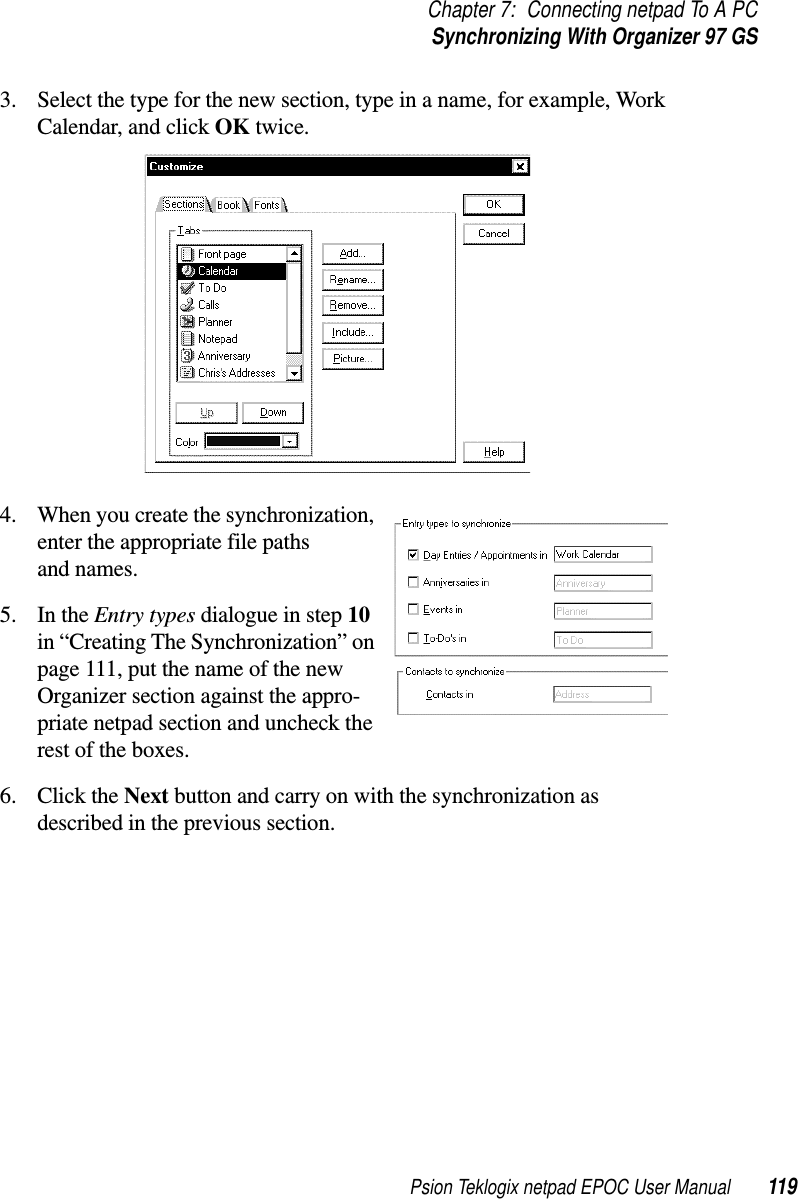
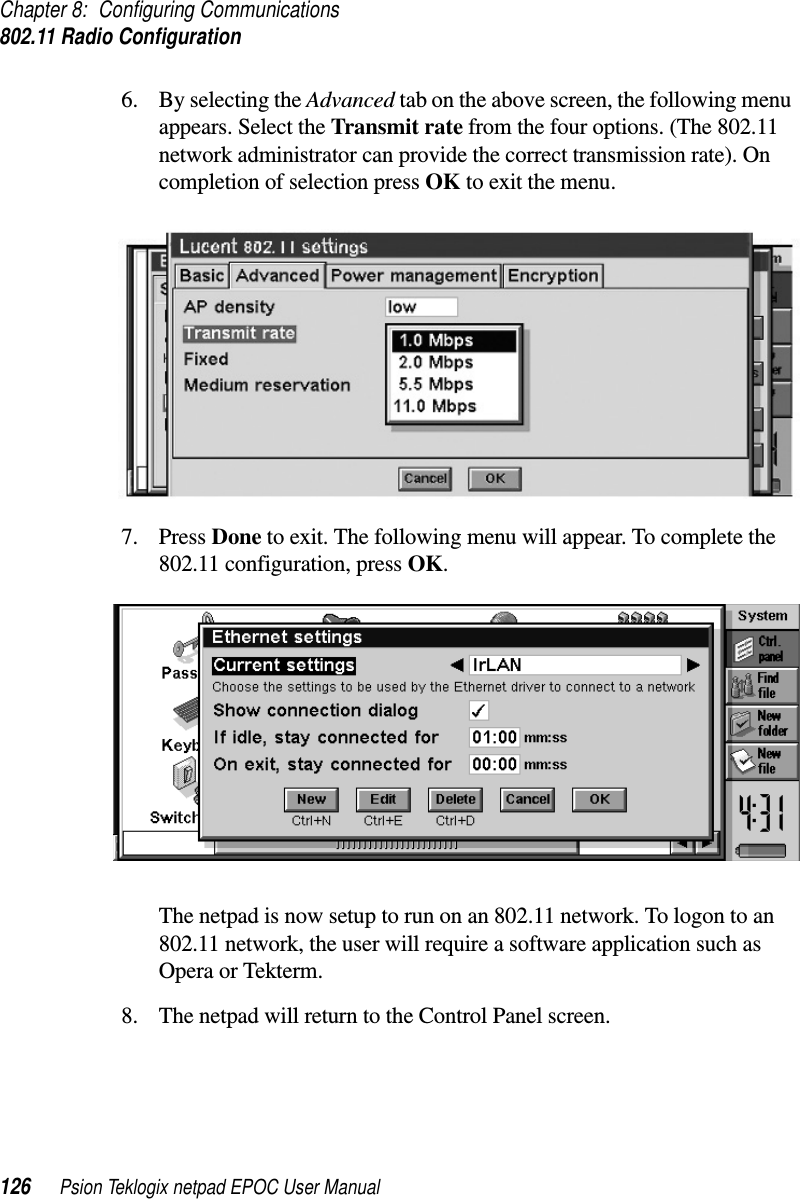
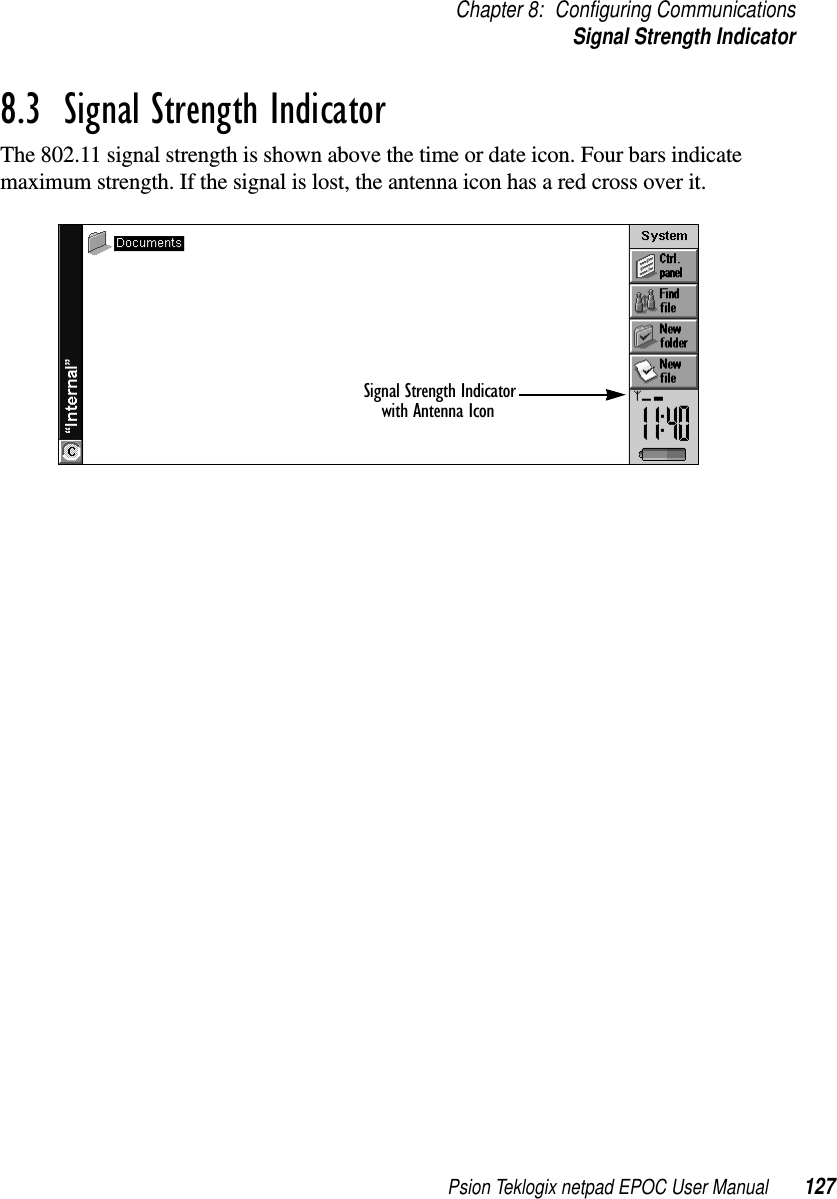
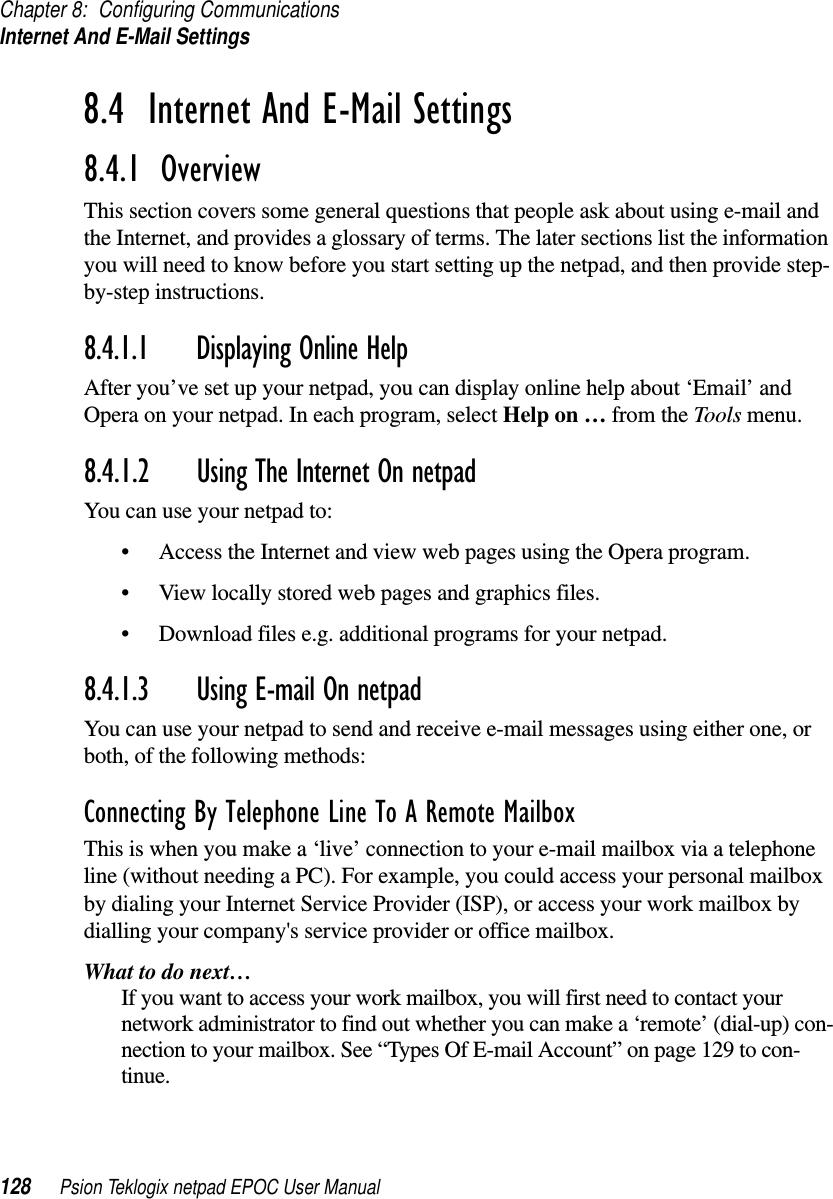


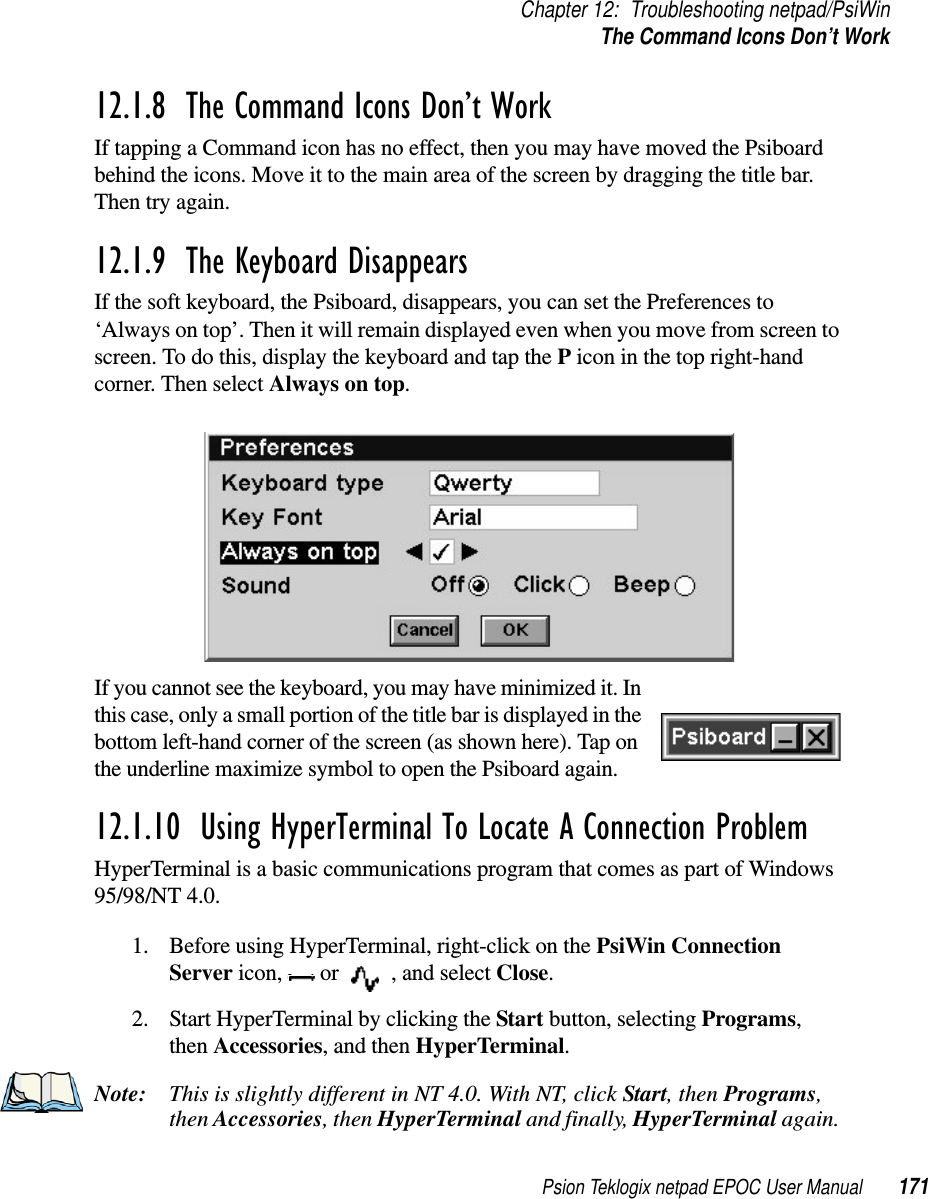
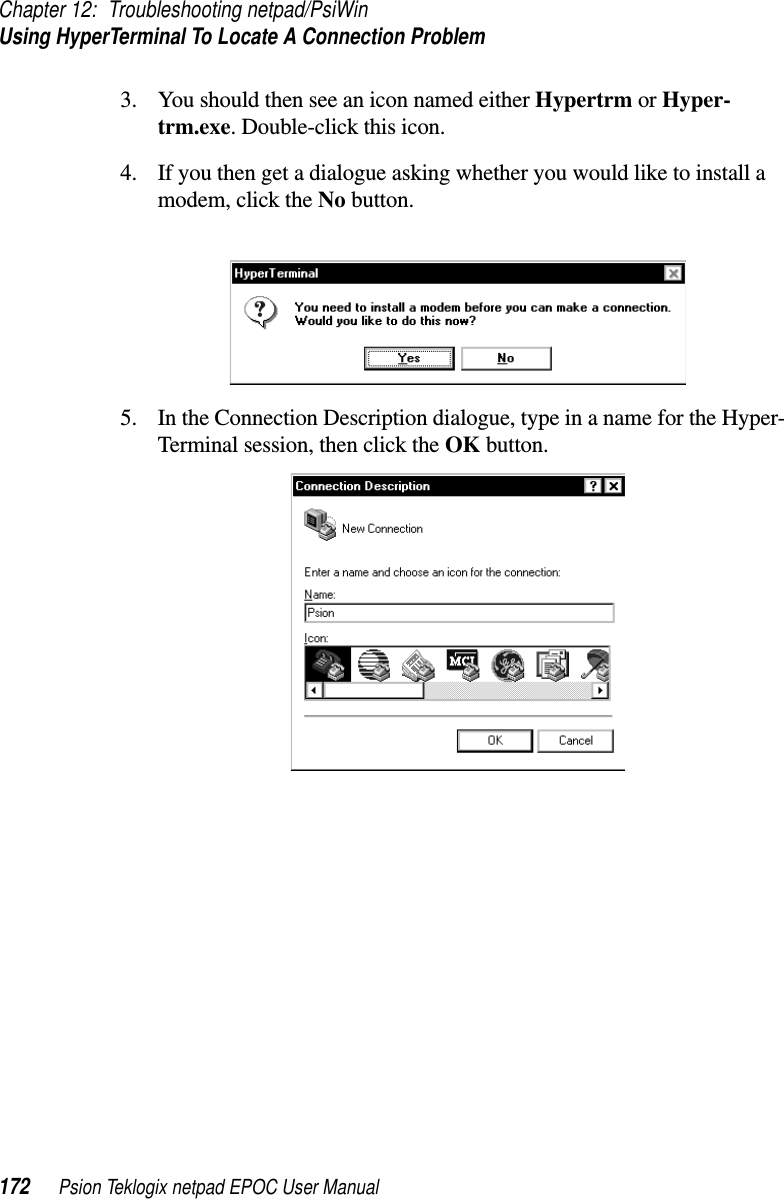
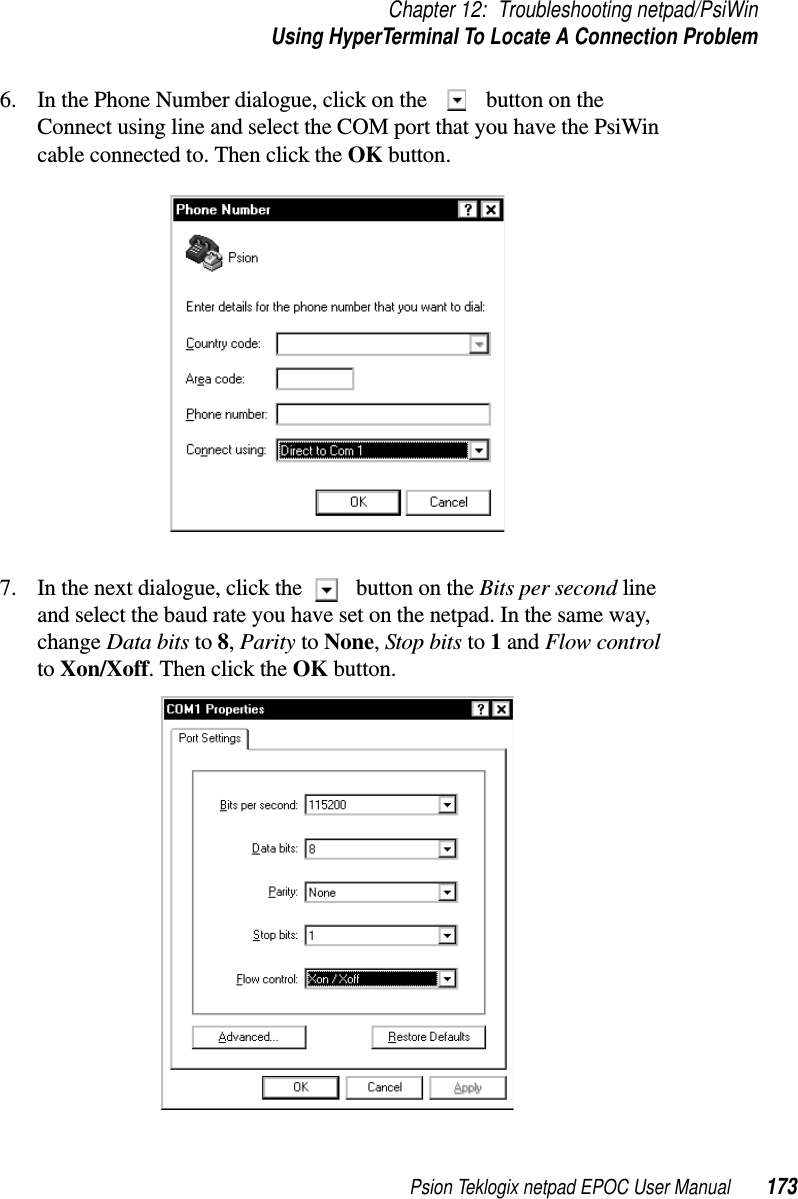
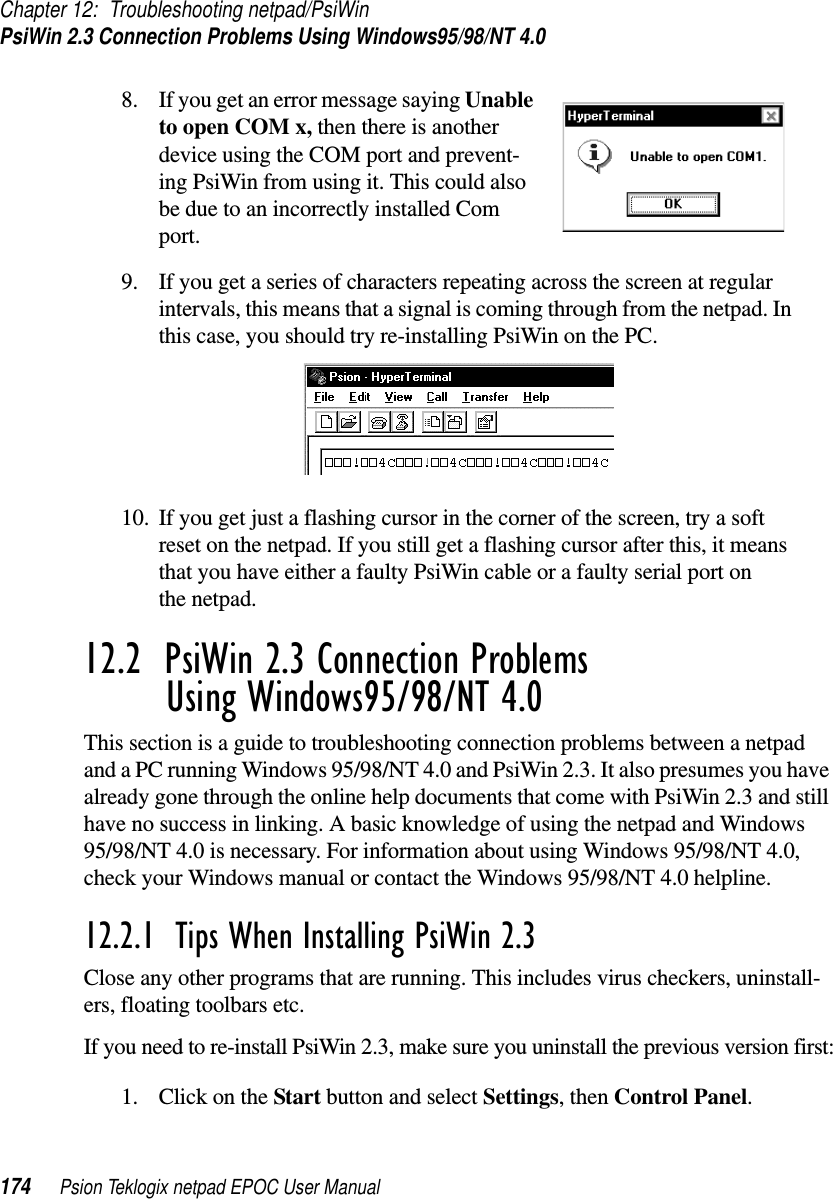
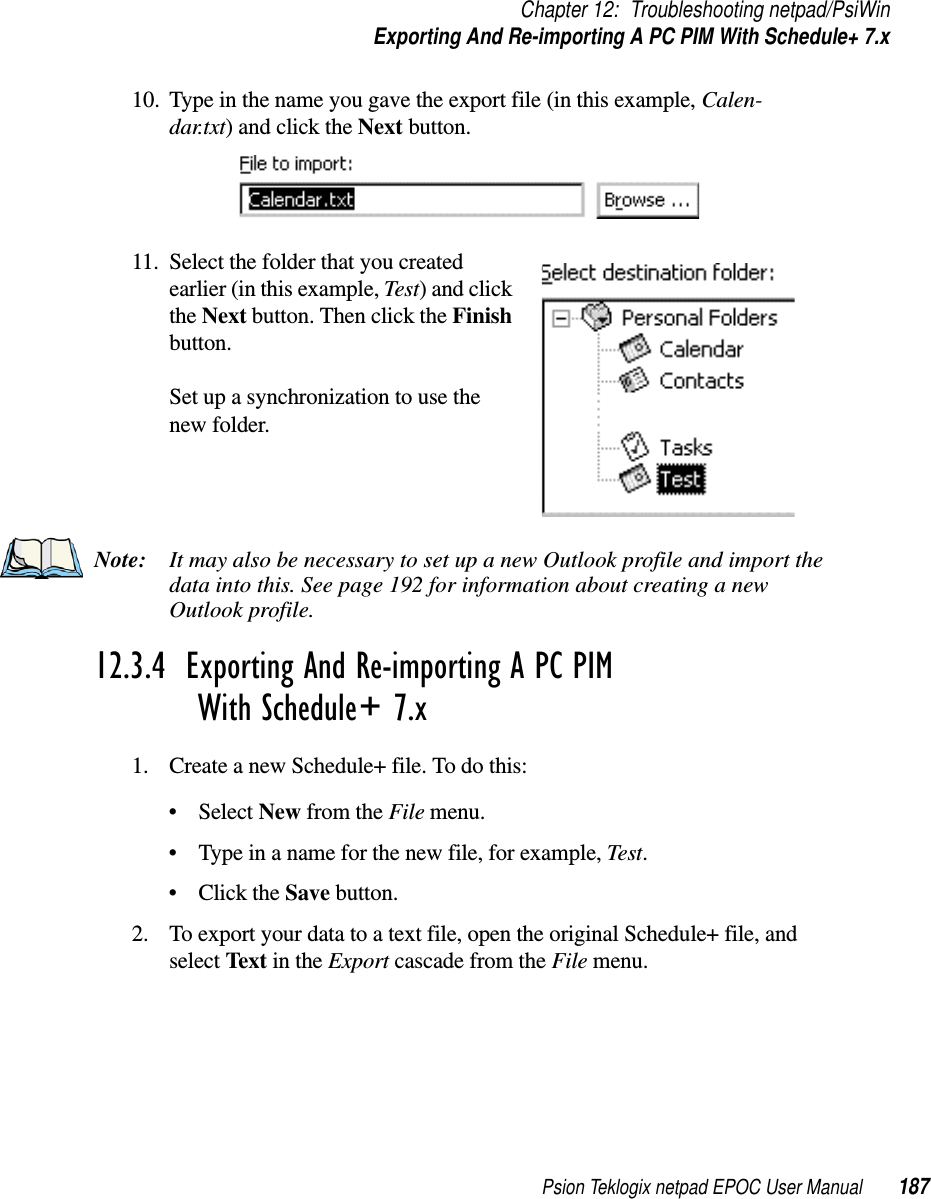
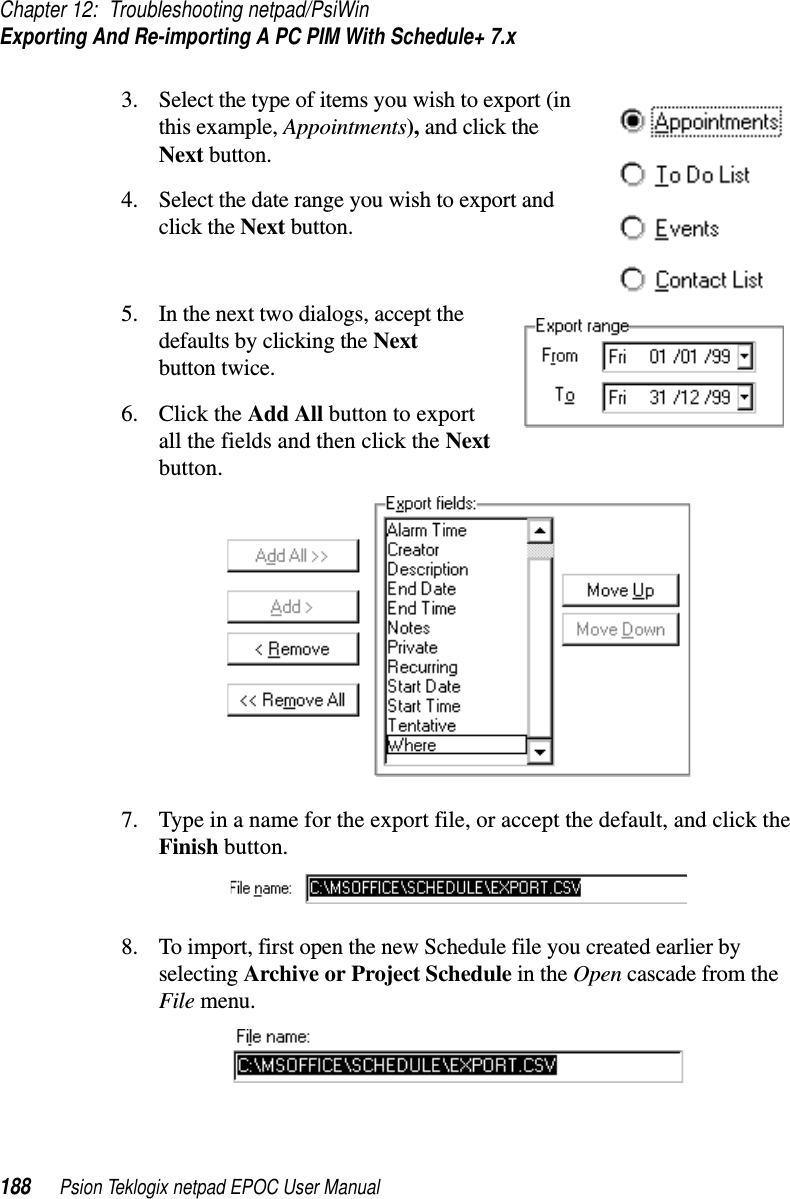

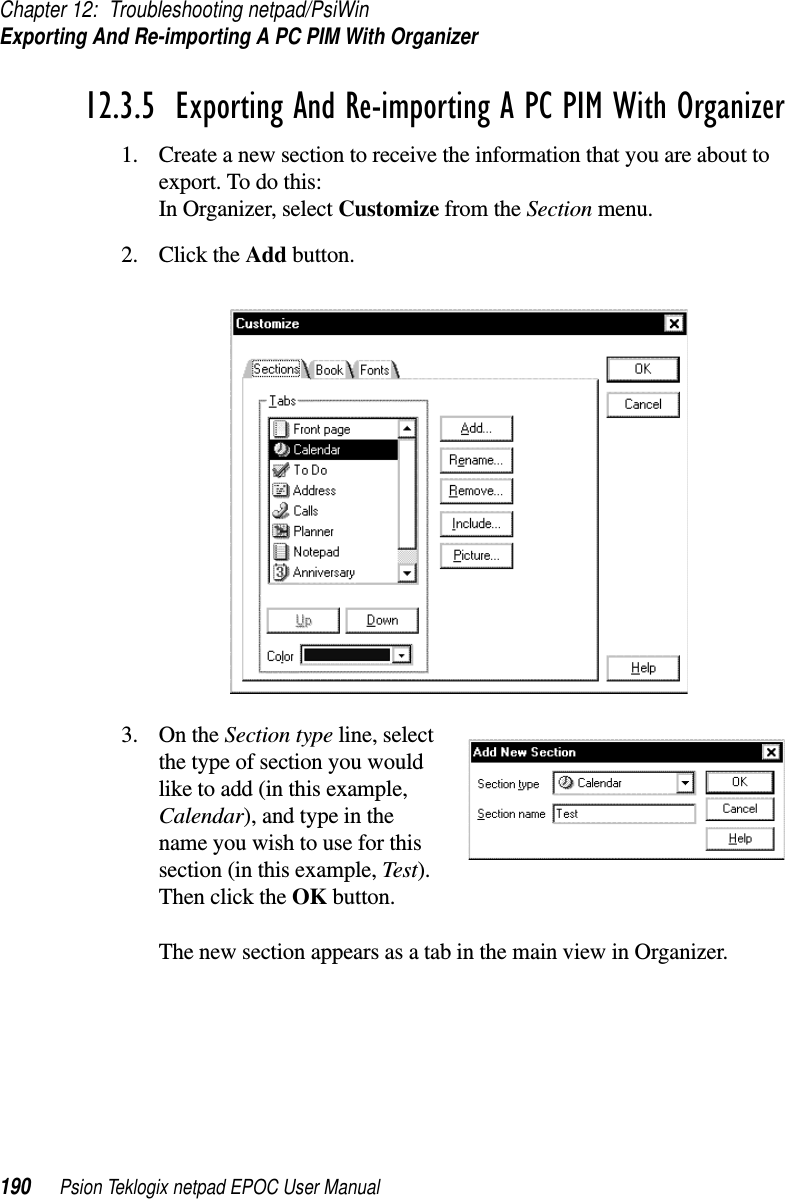
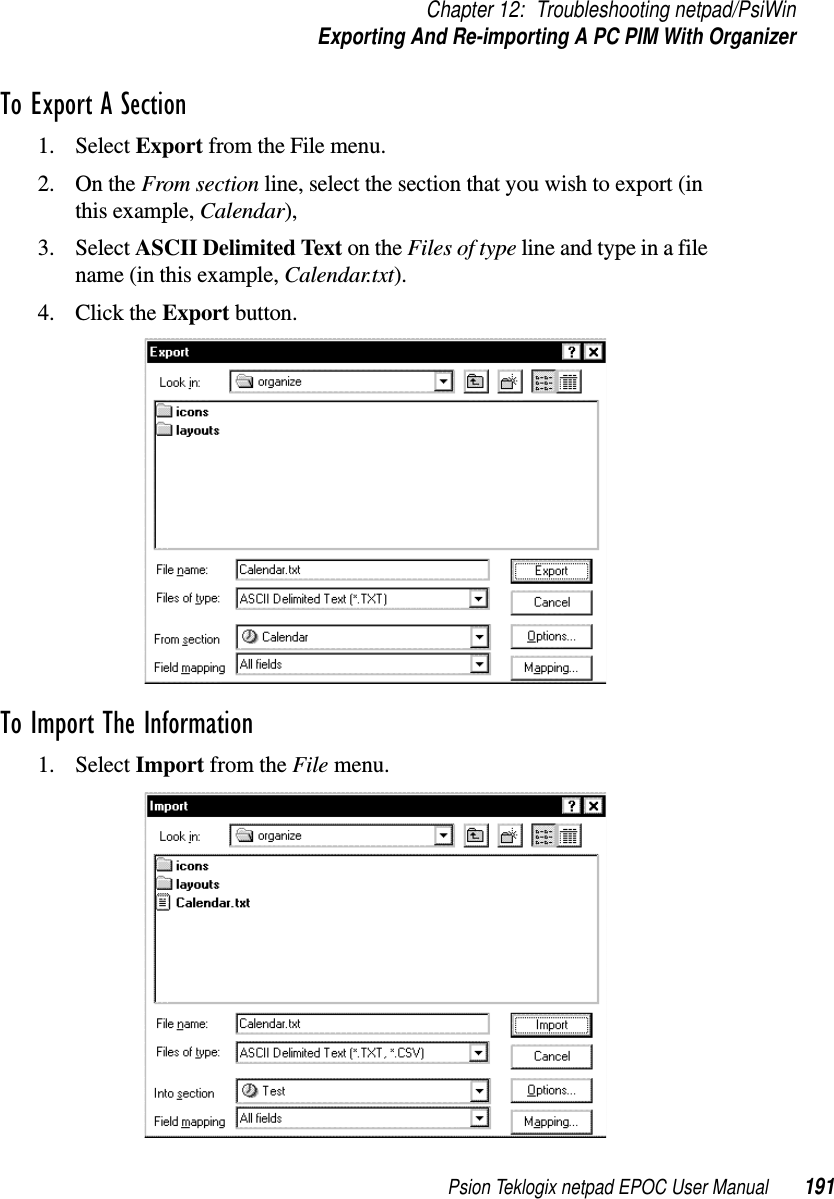
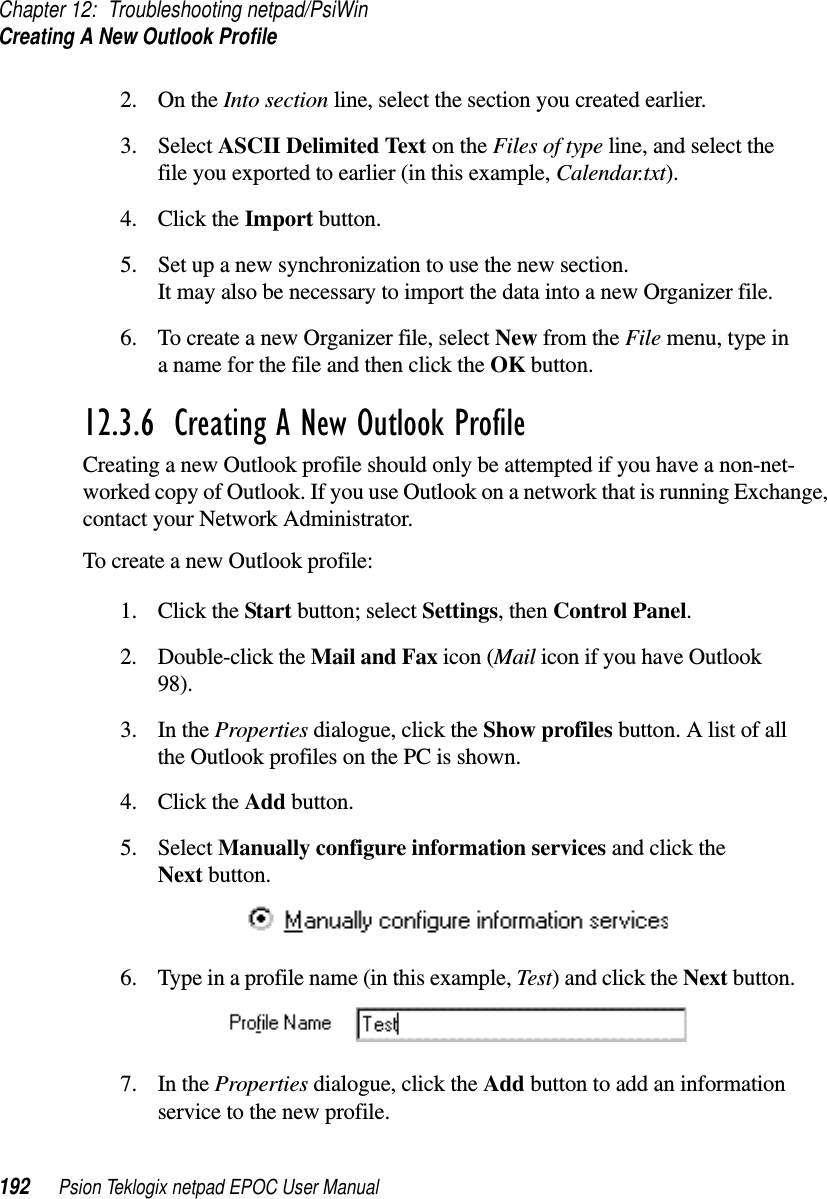
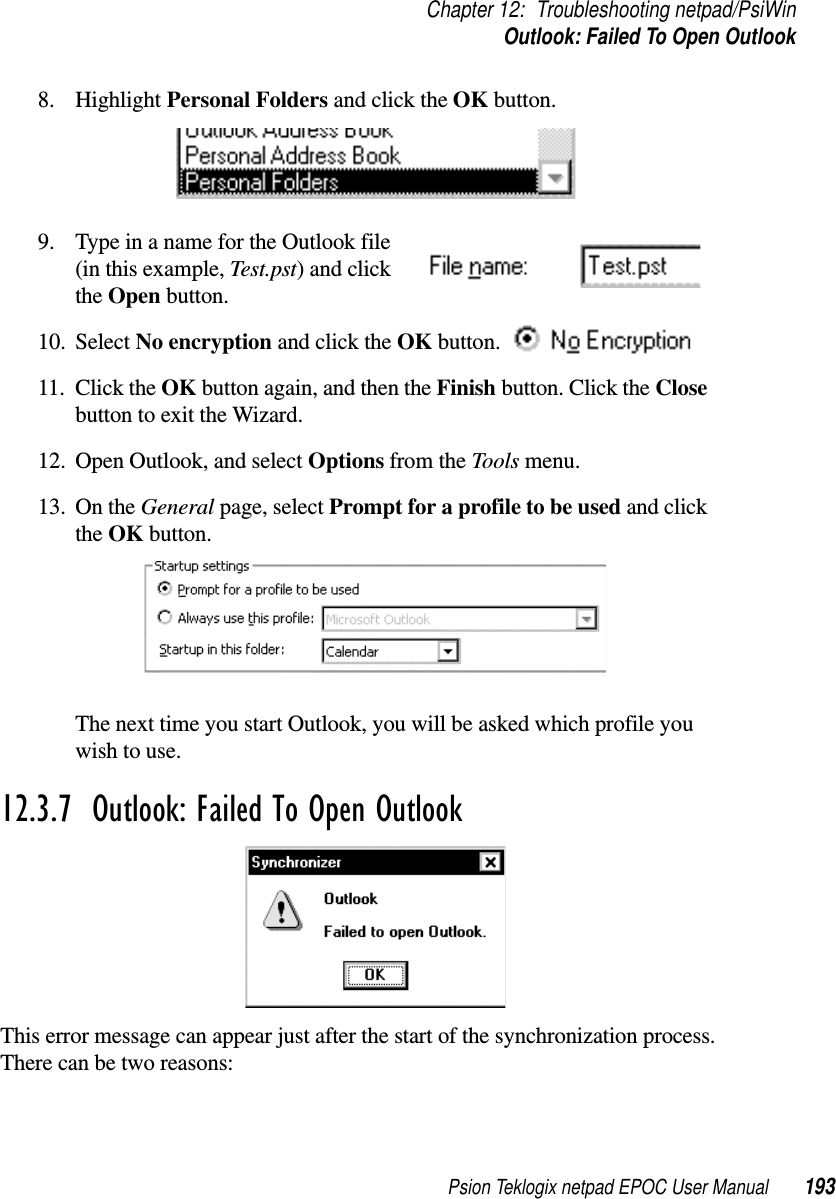
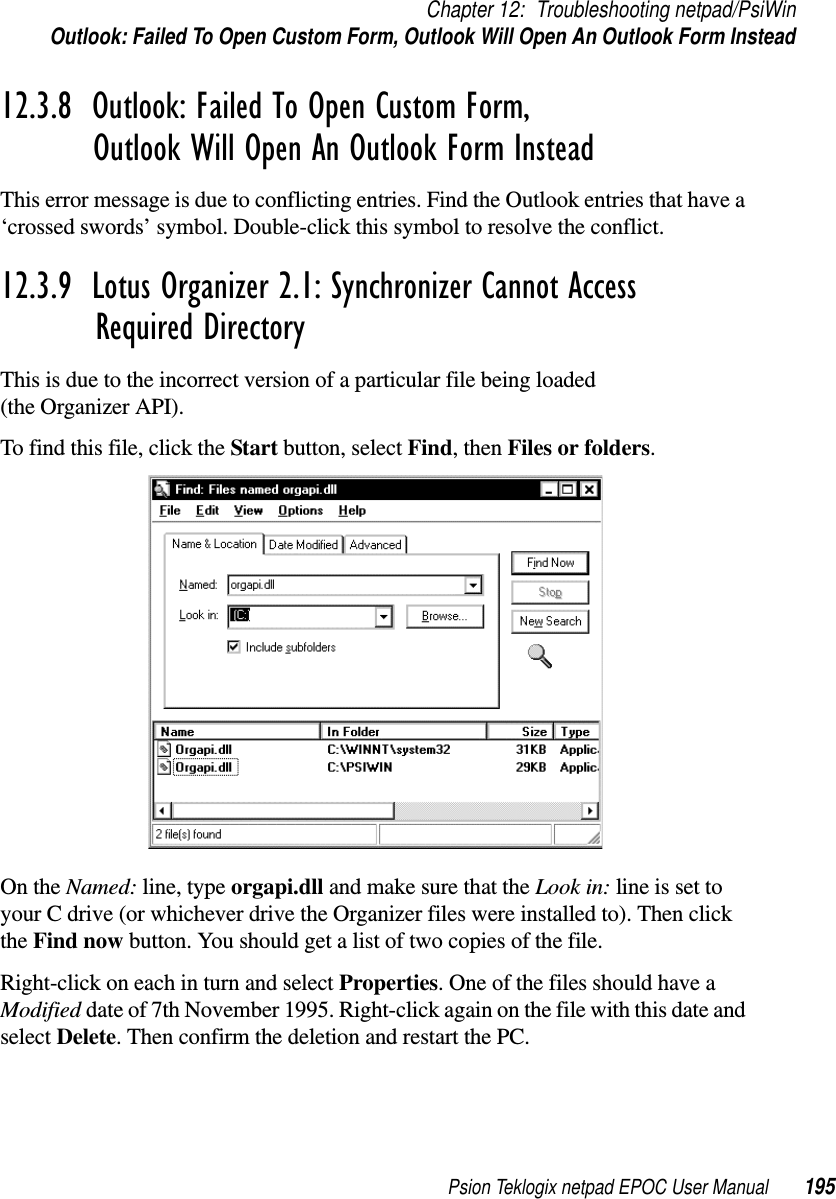
![Chapter 12: Troubleshooting netpad/PsiWinOutlook: Failed To Open Outlook194 Psion Teklogix netpad EPOC User ManualYour Outlook Profile Has Been Incorrectly EnteredTo check this, first make sure you have your profile name: in Outlook, selectOptions from the Tools menu.On the General page, if Always use this profile is selected, your profile name will bein the textbox next to it. If Prompt for a profile to be used is selected, your profilename is the one you select when you start up Outlook.See “Synchronizing Your netpad With Microsoft Outlook” on page 91 to make surethat this information has been entered correctly in the synchronization properties.The Path To The Outlook Folder(s) Being Synchronized Is IncorrectTo check the path to the folder, make sure you can see the Folder view in Outlook.(To show it, select Folder view from the View menu.)In the example shown here, if you were trying to synchronize the Example folder,thepathwouldbe:Program Files\Contacts\ExampleIf you have a top level folder that looks likeMailbox – [Chris Dickins] orOutlook Today – [Chris Dickins]then the path would be:Chris Dickins\Contacts\ExampleSee “Synchronizing Your netpad With MicrosoftOutlook” on page 91 to ensure that this informationhas been entered correctly in the synchronizationproperties.](https://usermanual.wiki/Psion/GSMA.Exhibit-8-User-Manual-Part-2/User-Guide-277815-Page-96.png)