Q See 1643 Qt428 Firmwareupdate 3.1.83 (Flash) User Manual Firmware Update
2015-04-22
User Manual: Q-See 1643-Qt428 Firmwareupdate 3.1.83 (Flash)
Open the PDF directly: View PDF ![]() .
.
Page Count: 4
QT 428 DVR Firmware Update to 3.1.83 (Flash)
Firmware Upgrade Warnings for Product QT428 with DVR
CAUTION: Updating the firmware incorrectly or using an update on the wrong DVR can permanently damage the
chipset on the DVR and make it unusable. Please verify that this update is written for your model and follow the
instructions. Also, updates are written to either resolve performance issues or to add features to the DVR. Since
any update could fail and cause problems, if you are not experiencing the issue the update was written to resolve, or
you do not need the feature that is added by the update, please do not run the update.
Purpose of update: Resolves system freeze on start up.
Disclaimer: You can update the firmware remotely on this DVR only if the firmware is 3.1.91 or
newer, and your DVR must be setup for local remote access.
Note: Format your flash drive as FAT32 by right clicking on the drive in My Computer, selecting
the Format option, then selecting FAT32. You can also use a third party utility such as:
http://www.ridgecrop.demon.co.uk/index.htm?guiformat.htm
1. Download the firmware that corresponds to your DVR model:
QT428 firmware (flash) update 3.1.83
Download from: http://qsee.custhelp.com/app/answers/detail/a_id/1099
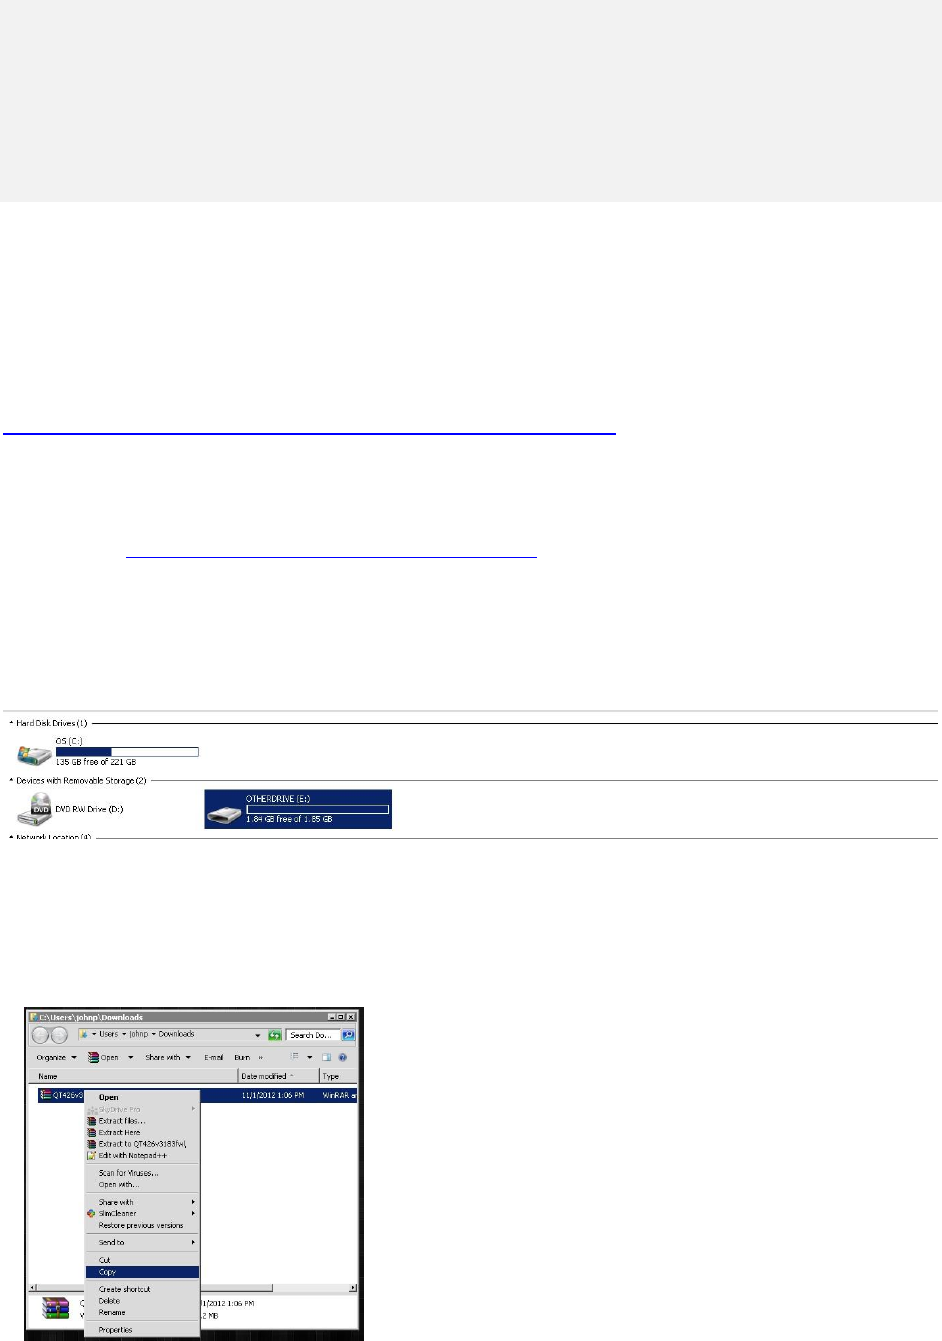
2. Locate the file that you just downloaded. Right-click and select “Copy”
3. Locate your thumb drive via My Computer
4. Right Click, and paste the file into your thumb drive.
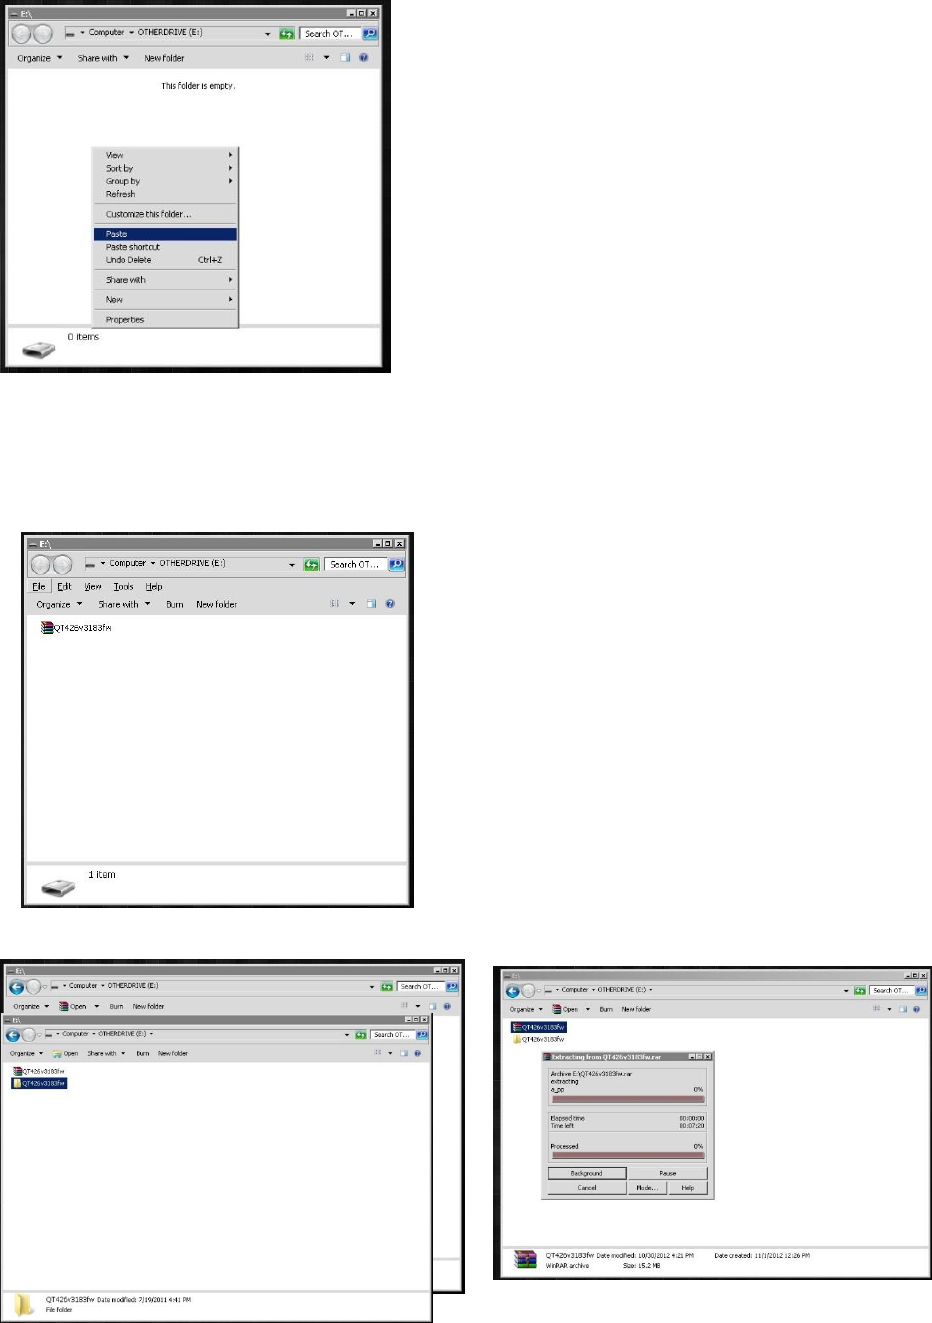
5. Your thumb drive should now look similar to this:
6. Right-click on the file that you just pasted, and select “Extract Here”
7. Once complete, your thumb drive should look like the picture below:
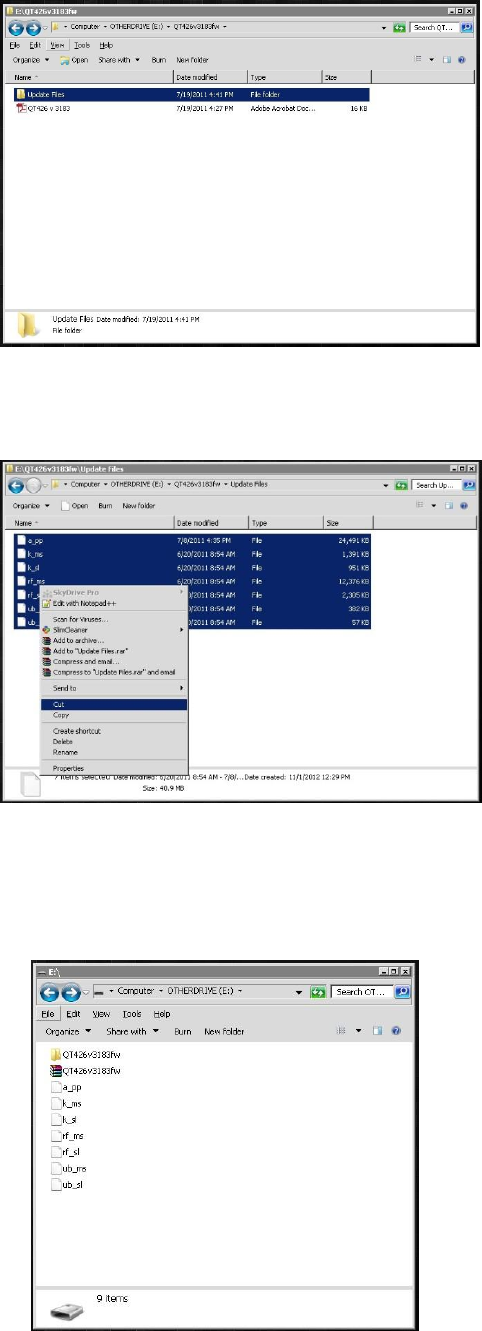
8. Right click on the folder that was created and open the folder labeled, “Update Files”
9. Inside this folder will be several update files. Select all of the files. Right-Click and select, “Cut.”
10. Go back to the root of your thumb drive, right click and paste the files.
Your thumb drive should now look similar to this screenshot:
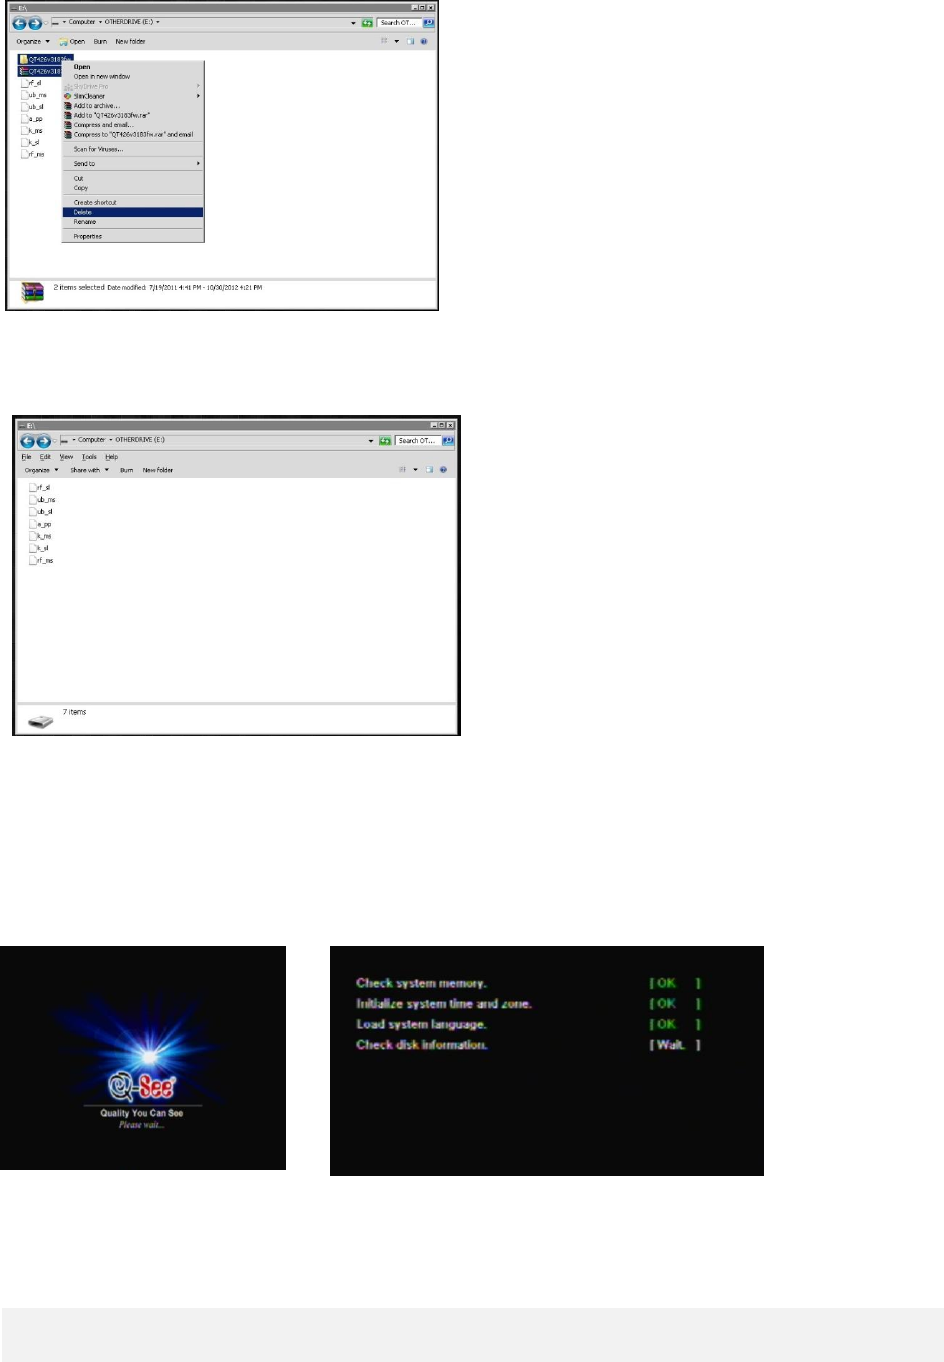
11. Delete the Rar file and the folder.
12. Your thumb drive should now look like this screenshot:
13. Remove the thumb drive from your computer, unplug the power on your DVR. Plug the thumb drive
into the back of the DVR. Reconnect the power cable and let the system boot up.
14. A menu will pop up followed by a series of Tests.
15. Once complete the system will reboot and the update will be complete. Please allow about 25
minutes.
16. Login to the system and check the firmware version in the system information, check if the update
succeeded, if so the new firmware version is shown as 3.1.83.
