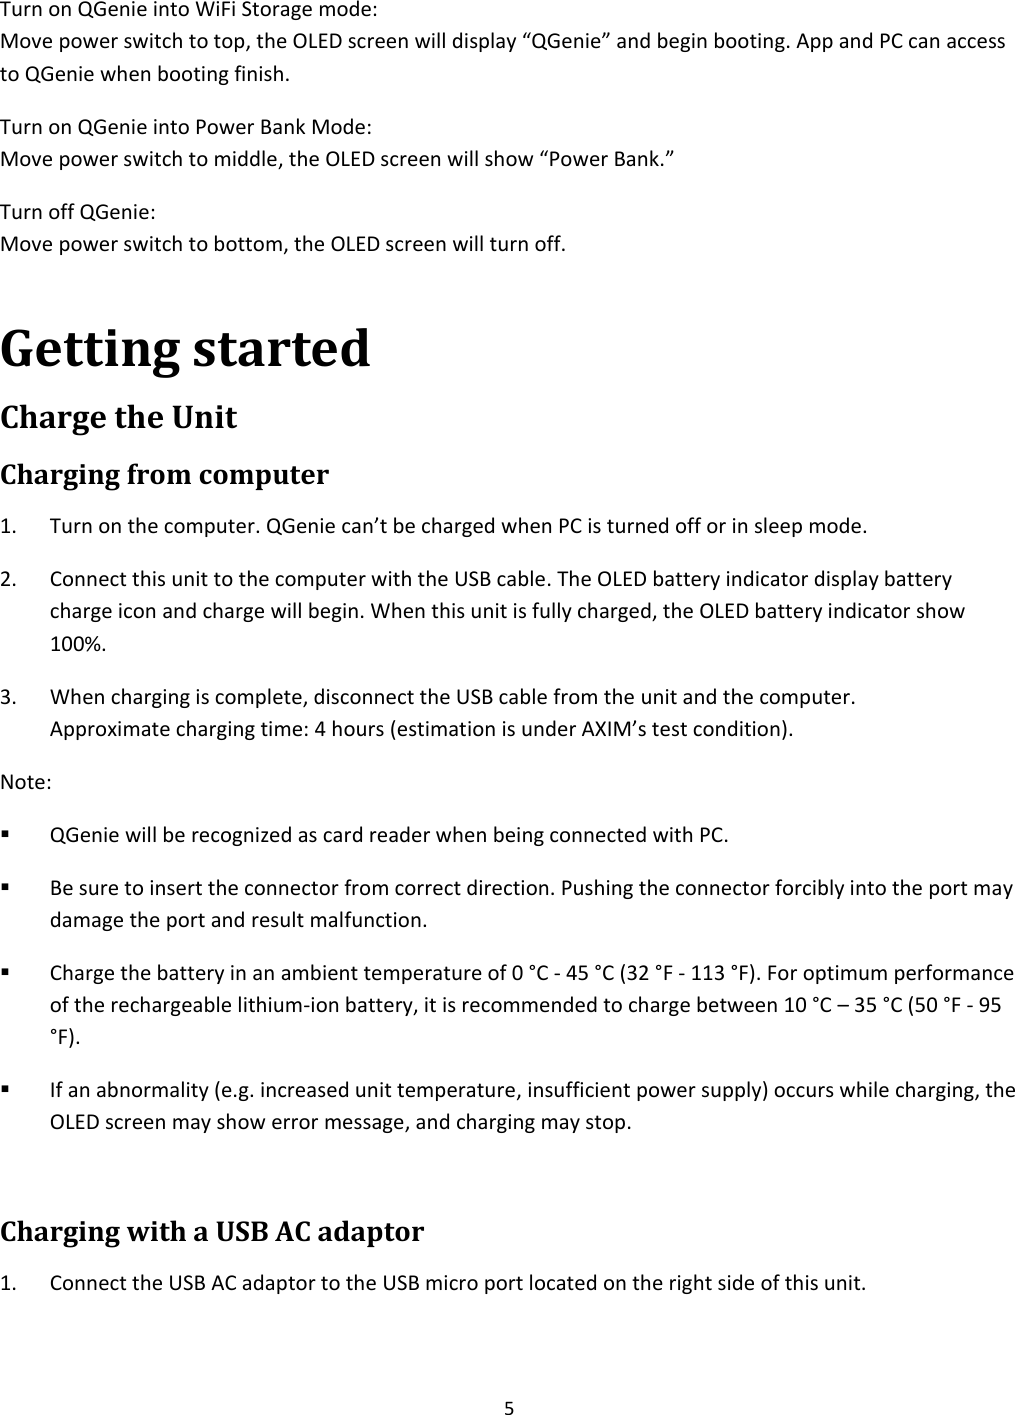
QNAP Systems QG-103N QGenie User Manual
QNAP Systems, Inc. QGenie
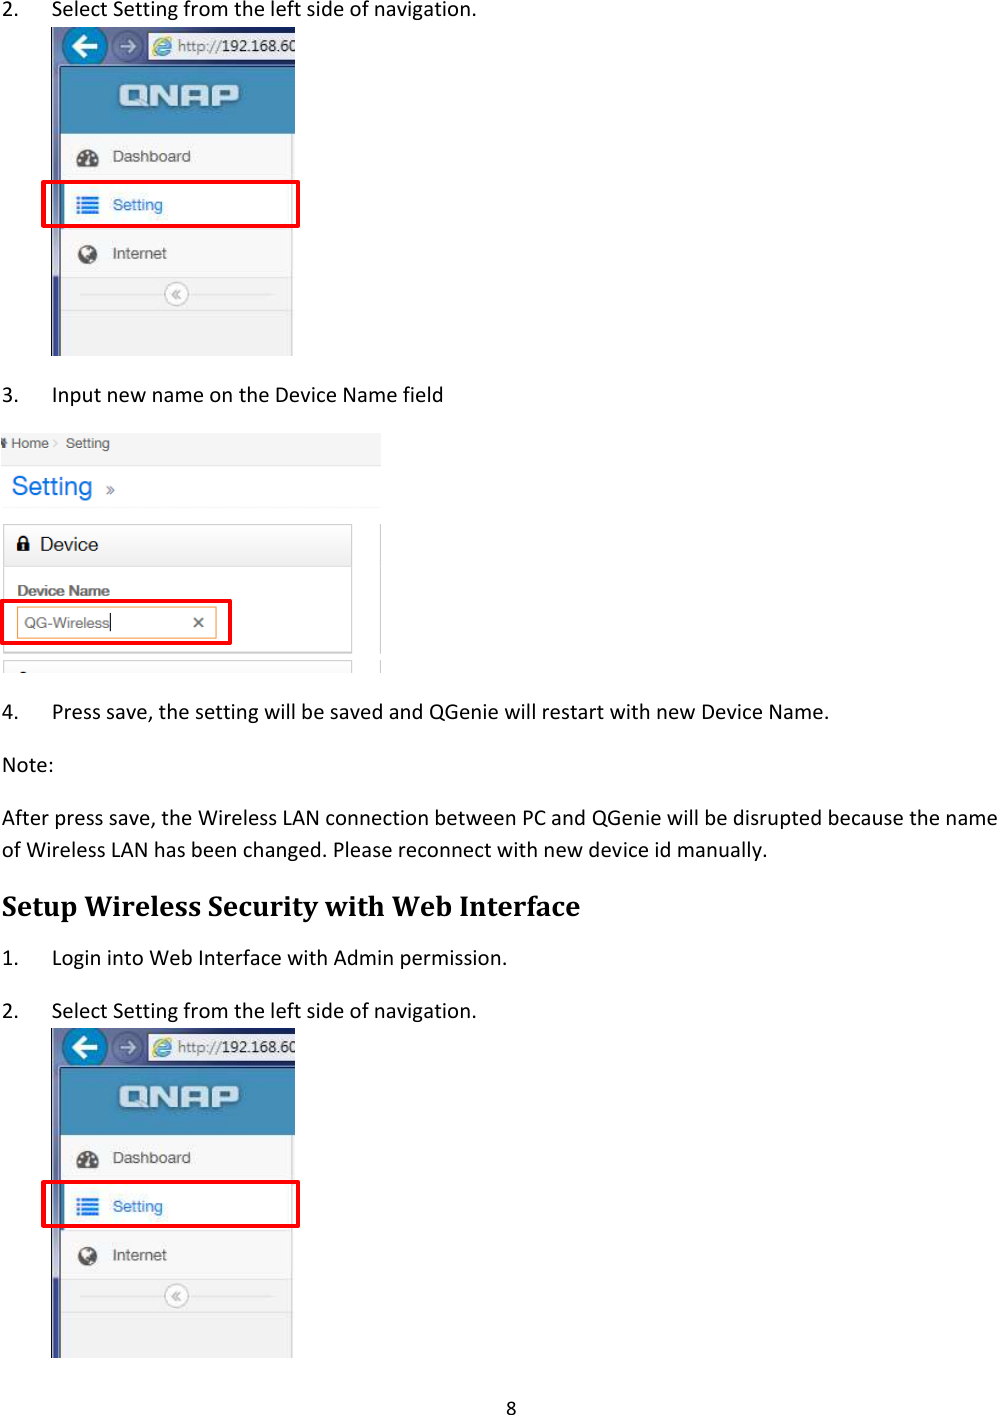
UserManual.wiki
>
QNAP Systems
>
QG 103N User Manual
User Manual
Navigation menu
Upload a User Manual
Namespaces
Wiki Guide
HTML
PDF
Info
Views
User Manual
Discussion / Help
Navigation
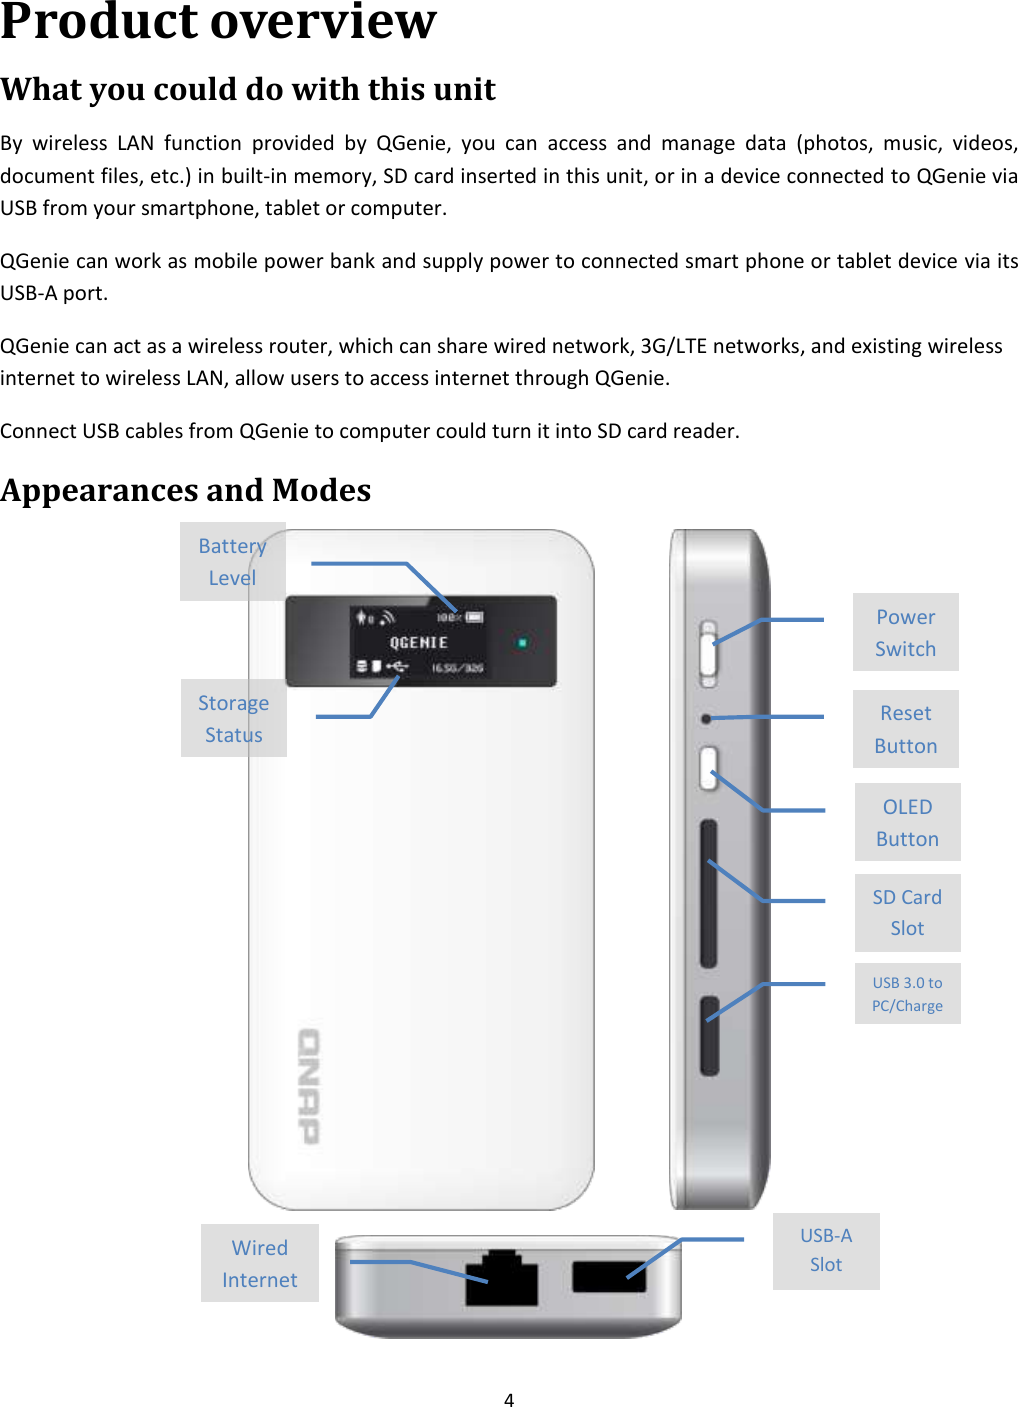

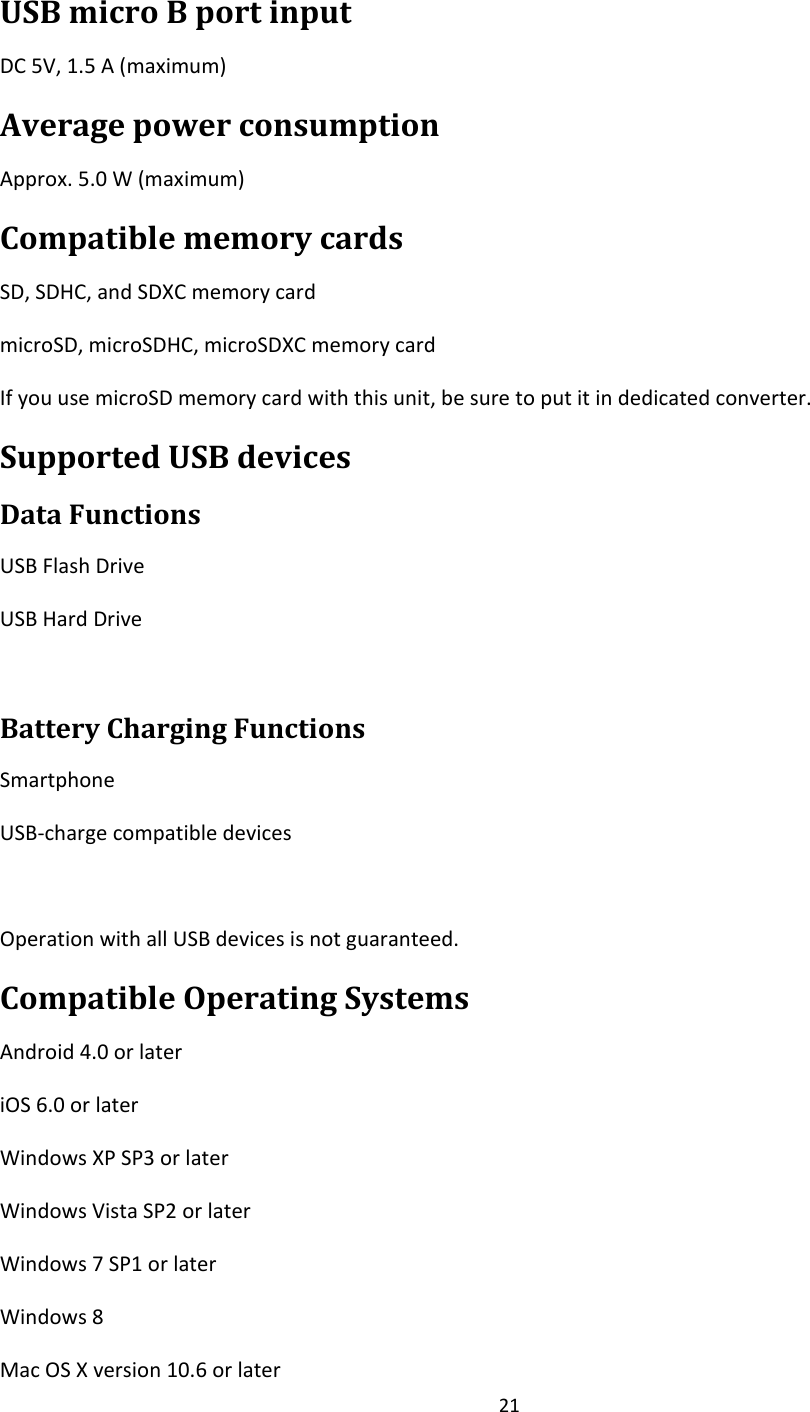
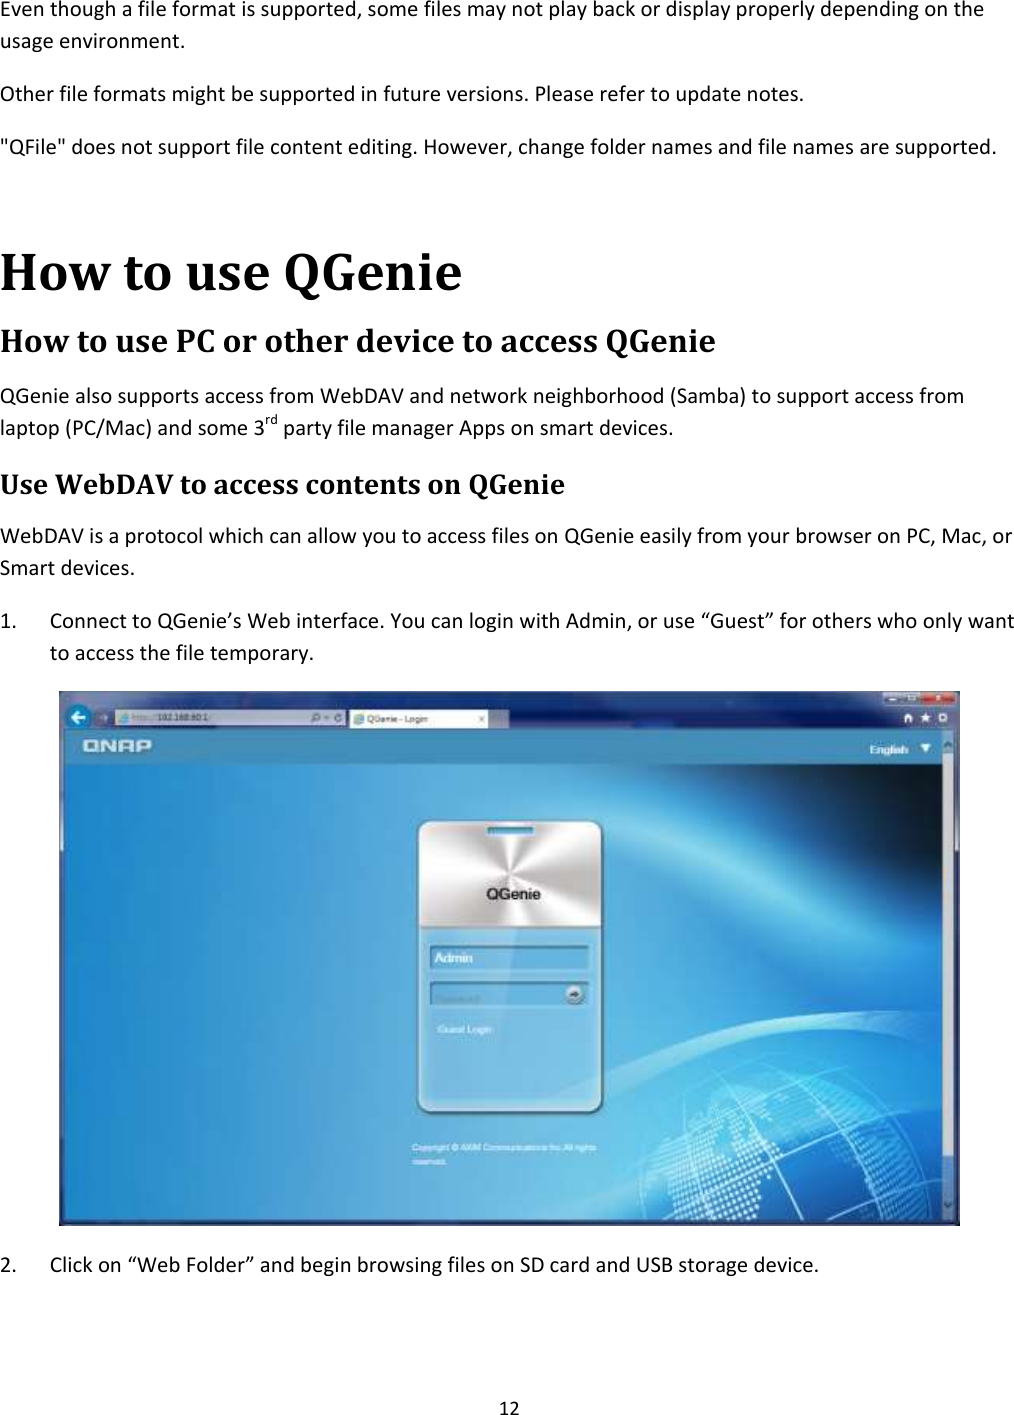
![7 The wireless LAN and file sharing functions are available in WiFi sharing mode while supplying power to another device. Setup with Web Browser QGenie also provides Web interface for users to setup basic functions. So you can use Web Browser from your PC or other devices to change its configuration. Login into Web Interface 1. Turn on QGenie, and use PC to connect to its Wireless network. By default, the name of QGenie is [QG-XXXXXX] , you can find the proper name from the sticker located on the back side of QGenie. 2. After Wireless LAN is connected, open your browser and type http://192.168.60.1/ and you will see welcome screen. 3. If you login with Guest, you don’t need password, but you can only view current status of QGenie. Include remaining power, storage space, and internet connection status. And you can access to the data in attached SD card and USB storage device from your browser. 4. IF you want to change the settings of QGenie, you must login with Admin. The default password is “admin”, but you can change it later. Setup Device ID with Web Interface 1. Login into Web Interface with Admin permission.](https://usermanual.wiki/QNAP-Systems/QG-103N/User-Guide-2298185-Page-8.png)
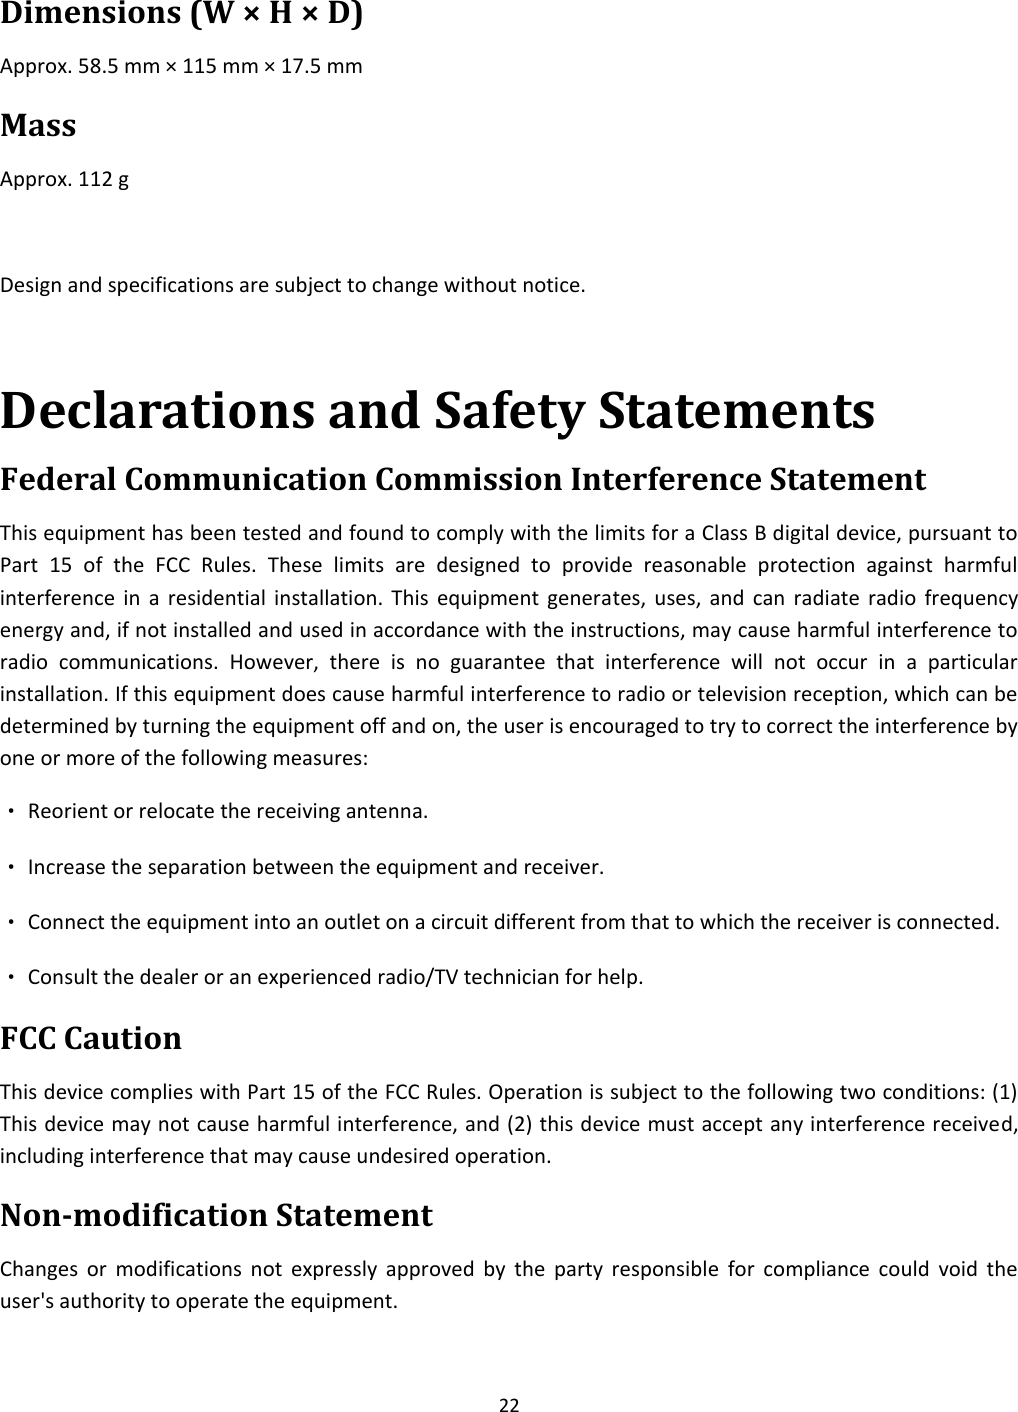
![9 3. Select Security Type in Wireless Security. QGenie supports WEP, WPA, and WPA2 standard to protect your Wireless LAN from being accessed with unauthorized unit. And it is recommended to use WPA2 for best security. 4. After input passwords, press “Save” to apply new security settings. Note: After press save, the Wireless LAN connection between PC and QGenie will be disrupted because the security setting of Wireless LAN has been changed. Please reconnect with new password manually. For WPA/WPA2, the valid password length is 8 ~ 63 characters. WEP can only accept password which is 5 or 13 characters. Setup QGenie’s Internet connection by Web Interface By default, when connect to QGenie, the Internet connection will be disrupted because QGenie does not connect itself to Internet yet. QGenie supports 3 methods to connect to Internet: 1. Wired Internet You can plug Ethernet cable to QGenie, and use its network. 2. Wireless Internet You can use QGenie to connect to existing wireless internet; QGenie can act like a repeater. 3. USB Internet You can plug iPhone, Android phone which supports tethering, or use 3G/4G USB dongle to the USB port on QGenie, and access the Internet from above devices. Setup Wired Internet 1. Login into Web Interface with admin permission. 2. Select [Internet] from the navigation panel](https://usermanual.wiki/QNAP-Systems/QG-103N/User-Guide-2298185-Page-10.png)
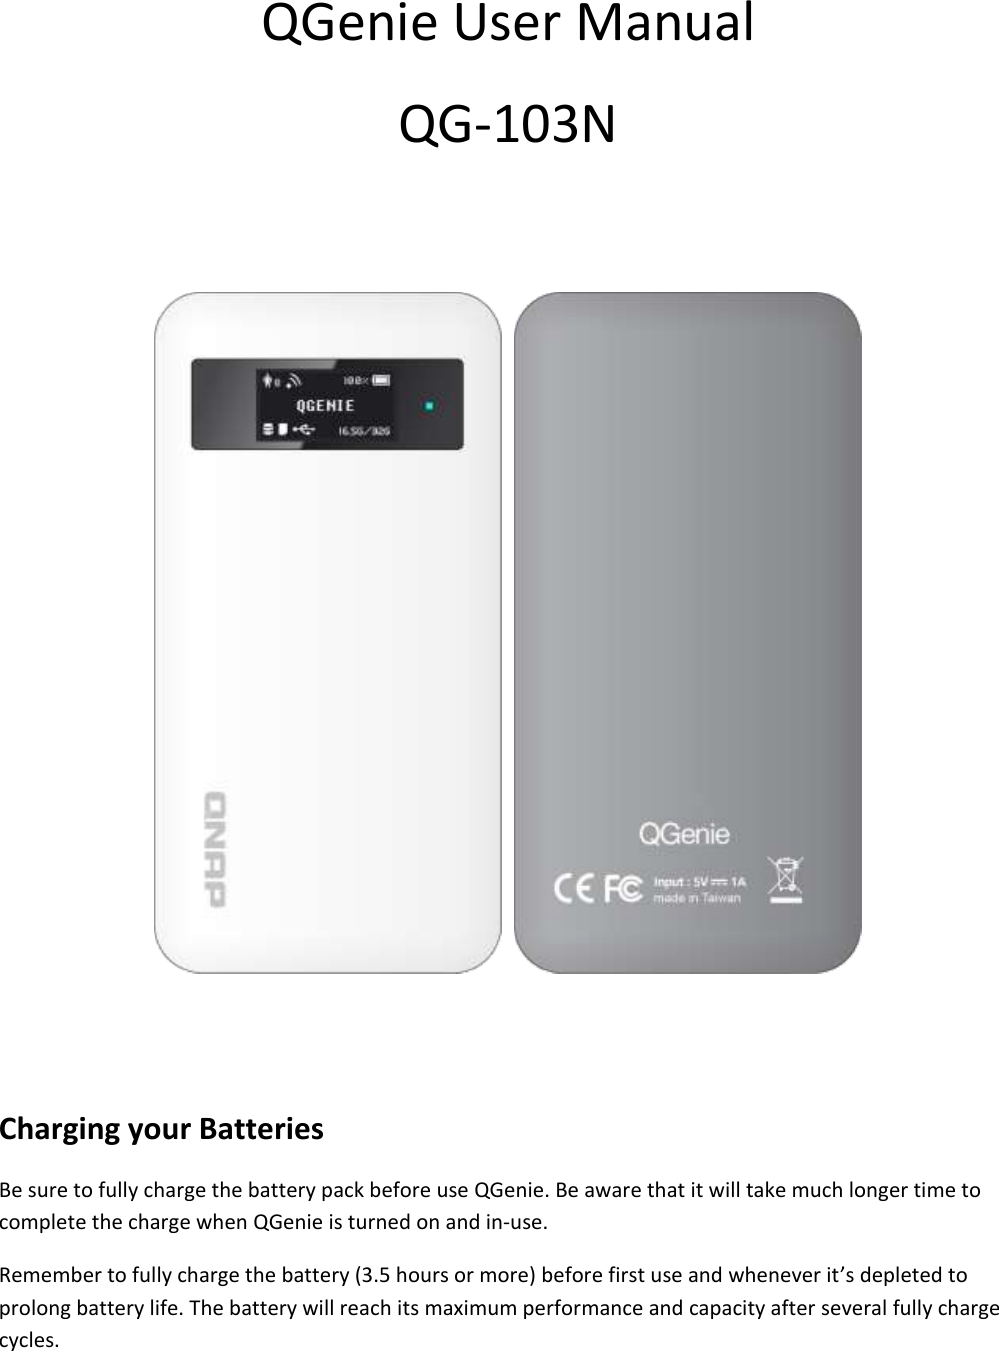
![10 3. Select proper type of your wired connection from [Wired Internet]. DHCP: The most common method, choose this if you connect the cable to home router. Static IP: Similar with DHCP, but it is required to input proper settings manually. PPPoE: If you plug QGenie directly to ADSL/VDSL modem, you have to input username and password to gain access to the Internet. If you can’t determine what kind of Internet you are using, please contact the administrator of your internet service provider for further information. 4. Press “Connect” to apply settings. By default, QGenie is set to Wired Connection – DHCP. Setup Wireless Internet 1. Login into Web Interface with admin permission. 2. Select [Internet] from the navigation panel 3. Press “Search” next to Wireless connection 4. Press connect next to the Wireless network you want to link with, if target network is password protected, QGenie will indicate you to input proper password of that wireless network. Settings will apply to QGenie after enter passwords. After settings are applied, QGenie will restart. Please reconnect to QGenie manually. Note: QGenie will remember last 6 successful Wireless Internet Connection. In this case you will not require to type password again, and QGenie will try to connect with them if you boot QGenie with Wireless Internet setting.](https://usermanual.wiki/QNAP-Systems/QG-103N/User-Guide-2298185-Page-11.png)
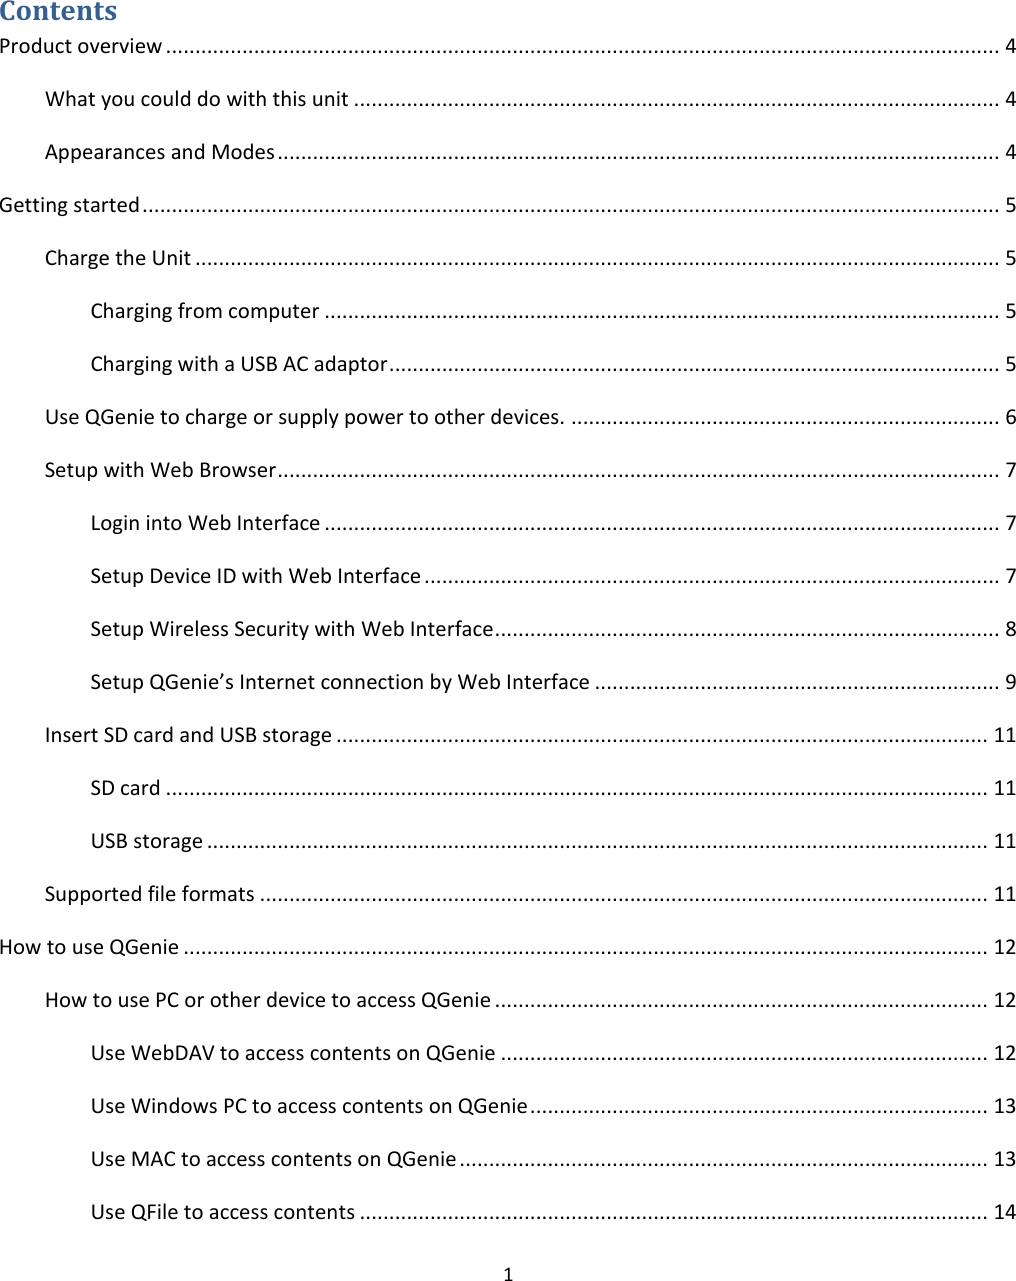
![11 Setup USB Internet 1. Login into Web Interface with admin permission. 2. Select [Internet] from the navigation panel 3. Select the type of USB device, and press connect. In general, USB Internet is plug-and-play. Which means QGenie will auto detect the type of USB device and set to proper value for Internet sharing when you plug the device on QGenie. However, if the auto detection fails, you can assign correct type here. Insert SD card and USB storage SD card Insert SD card with card’s front side facing up. After insert SD card, OLED screen’s storage indicator will show SD icon. You can begin to access the data after icon appears. USB storage Insert USB storage to the bottom side of USB port. After insert the USB storage, the OLED screen’s storage indicator will show USB icon. You can begin to access the data after icon appears. Note: Please make sure that you insert the device in right direction. Pushing the SD card or USB device forcibly into the slot or USB port may damage the device and result malfunction. Supported file formats - Images (JPG, GIF, PNG, TIFF, BMP) - Audios (MP3, AAC, M4A, AIF*, WAV, WMA*, OGG*, FLAC*) - Videos (WMV*, AVI*, MKV*, RMVB*, XVID*, MP4, MOV*, 3GP*, MPG*, M4V) - Text/PDF (TXT, RTF, PDF)* - Windows documents (DOC, DOCX, PPT, PPTX, XLS, XLSX) * - MAC document (KEY, NUMBERS, PAGES) * * May require 3rd party apps to open those formats. Note: Copyright-protected files cannot be played back or displayed.](https://usermanual.wiki/QNAP-Systems/QG-103N/User-Guide-2298185-Page-12.png)
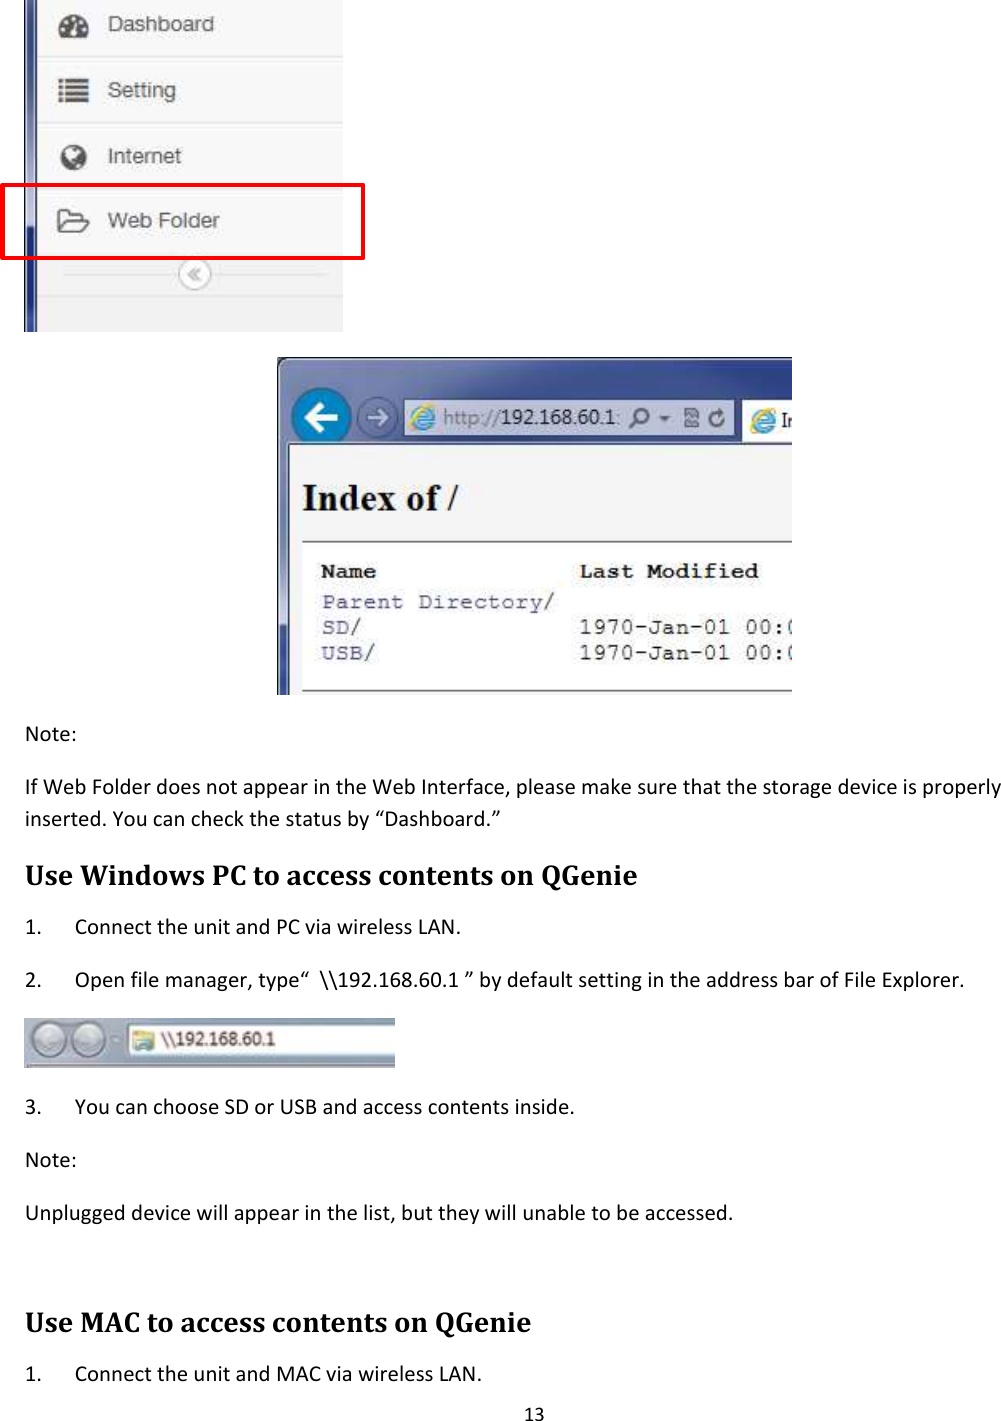
![14 2. [Go] →[Connect to Server] and enter “ SMB://192.168.60.1 ” by default. 3. You can choose SD or USB and access contents inside. Note: Unplugged device will appear in the list, but they will unable to be accessed. Use QFile to access contents QFile for Android and iOS could access QGenie as Mobile NAS devices. Simply connect your smart device to QGenie and launch QFile, you could browse contents with same operation. For details, please refer to QFile’s user guide. Precautions Precautions on use Do not drop it, put heavy object on top of it, hit it with a strong force, or put pressure on it. These can cause this product to fail and malfunction. Do not place it in places like the following. 1. Very hot places: Hit by direct sunlight, near a heater, etc., it can cause discolor, deform, or fail or QGenie. 2. On a car dashboard or in a car with its windows closed under a hot sun (especially in summer) 3. Very dusty place](https://usermanual.wiki/QNAP-Systems/QG-103N/User-Guide-2298185-Page-15.png)
![19 The Internet connection this unit is connected to may have a problem. Consult your network administrator. When your wireless router is set to hide its SSID, this unit cannot connect to the router. In this case, set the router not to show its SSID. Some public access wireless LANs require a login ID and password to be input via a web browser to access the wireless connection provided. Consult the service provider of the hotspot. When a smartphone or computer is connected to this unit, the smartphone or computer cannot connect to the Internet directly; to connect the smartphone or computer to the Internet via this unit, please refer to “Configure the Internet Connection” in this manual. Media and data playback Data cannot be played back or displayed. Check that the memory card, USB flash drive, etc., is connected to this unit correctly. When using "QFile," check whether the format of the file you want to play back or display is supported by this unit. Even though a file format is supported, some files may not play back or display depending on the device you use. Playback of files protected by copyright is not supported. The Camera Roll cannot be accessed (iOS device) Go to iOS’s [Settings] – [Privacy] – [Photos], and check whether access from "QFile" is permitted. In iOS 5 and older version, please check from [Settings] – [Location Services] instead.](https://usermanual.wiki/QNAP-Systems/QG-103N/User-Guide-2298185-Page-20.png)
![20 Specifications Operating temperature 0 °C to 45 °C (32 °F to 112 °F) (During normal operation) 0 °C to 45 °C (32 °F to 112 °F) (When charging the built-in battery) Charge time/Use time Charge time: Approx. 3.5 hours when connect to PC or using AC adaptors. The charge time depends on the PC configuration, USB AC adaptor you use, and the status of QGenie. Use time: Approx. 10 hours (continuous playback of MP3 at 128 Kbps) Approx. 6 hours (continuous playback of MP4 at 3 Mbps) Approx. 6 hours (continuous playback of MP4 at 12 Mbps) Wireless Standard IEEE 802.11b/g/n (2.4 GHz) Frequencies (channels) 2,412 MHz - 2,462 MHz [CH1-11] Interfaces USB 3.0 A port USB 3.0 micro B port Memory card slot (SDXC memory card) RJ-45 Ethernet cable USB A port output DC 5V, 1500 mA (maximum)](https://usermanual.wiki/QNAP-Systems/QG-103N/User-Guide-2298185-Page-21.png)