QOMO HiteVision QRF900-TR1 Wireless QClick User Manual of QRF900
QOMO HiteVision, LLC. Wireless QClick of QRF900
UserManual.wiki
>
QOMO HiteVision
>
QRF900-TR1 User Manual
>
User Manual
Contents
1.
User Manual
2.
user manual
User Manual
Navigation menu
Upload a User Manual
Namespaces
Wiki Guide
HTML
PDF
Info
Views
User Manual
Discussion / Help
Navigation

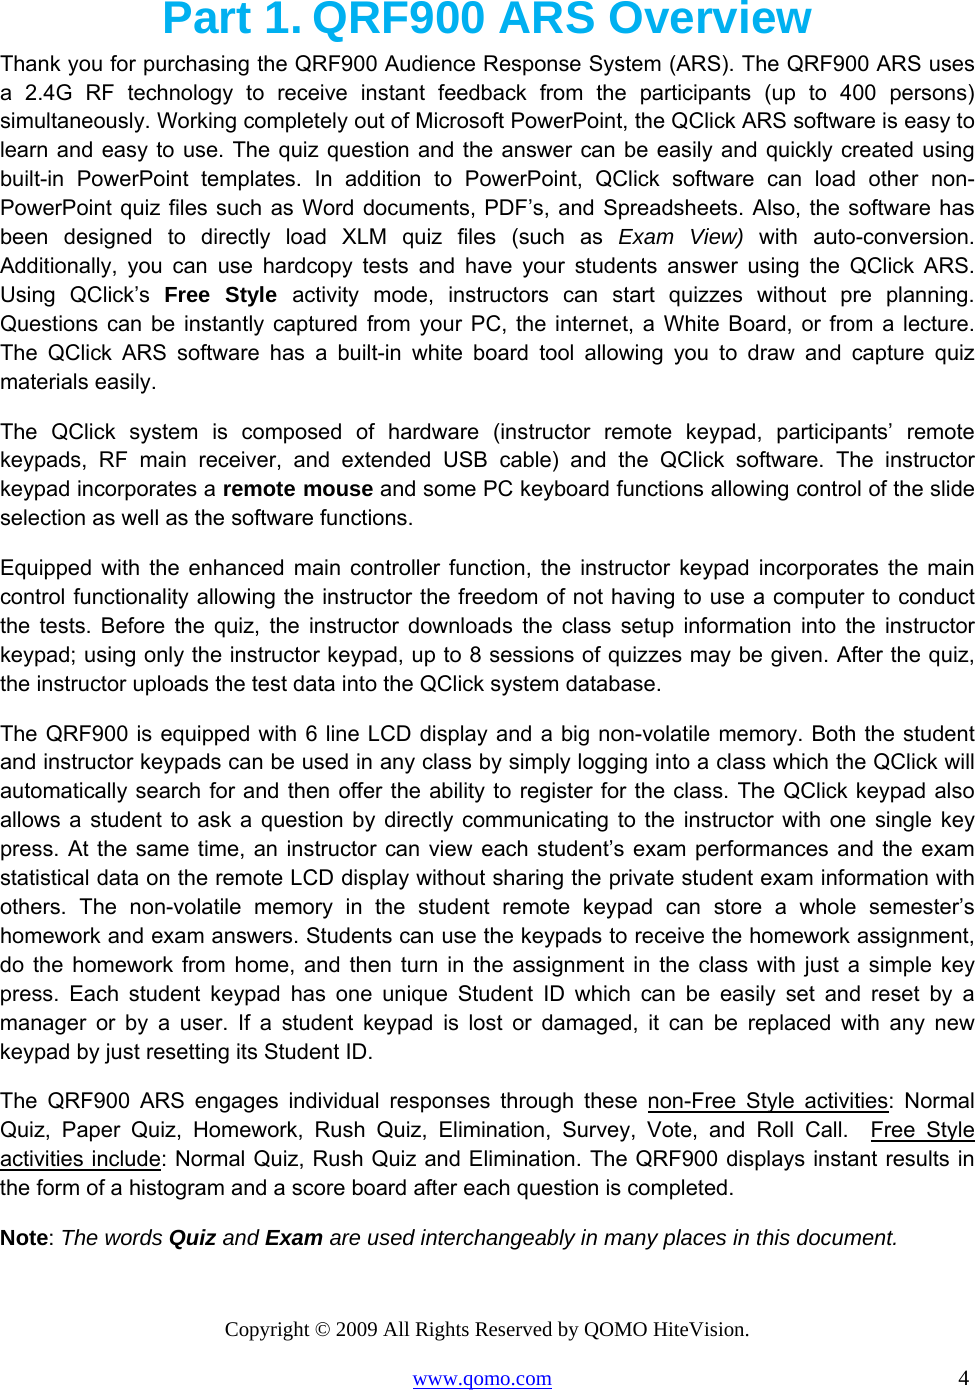
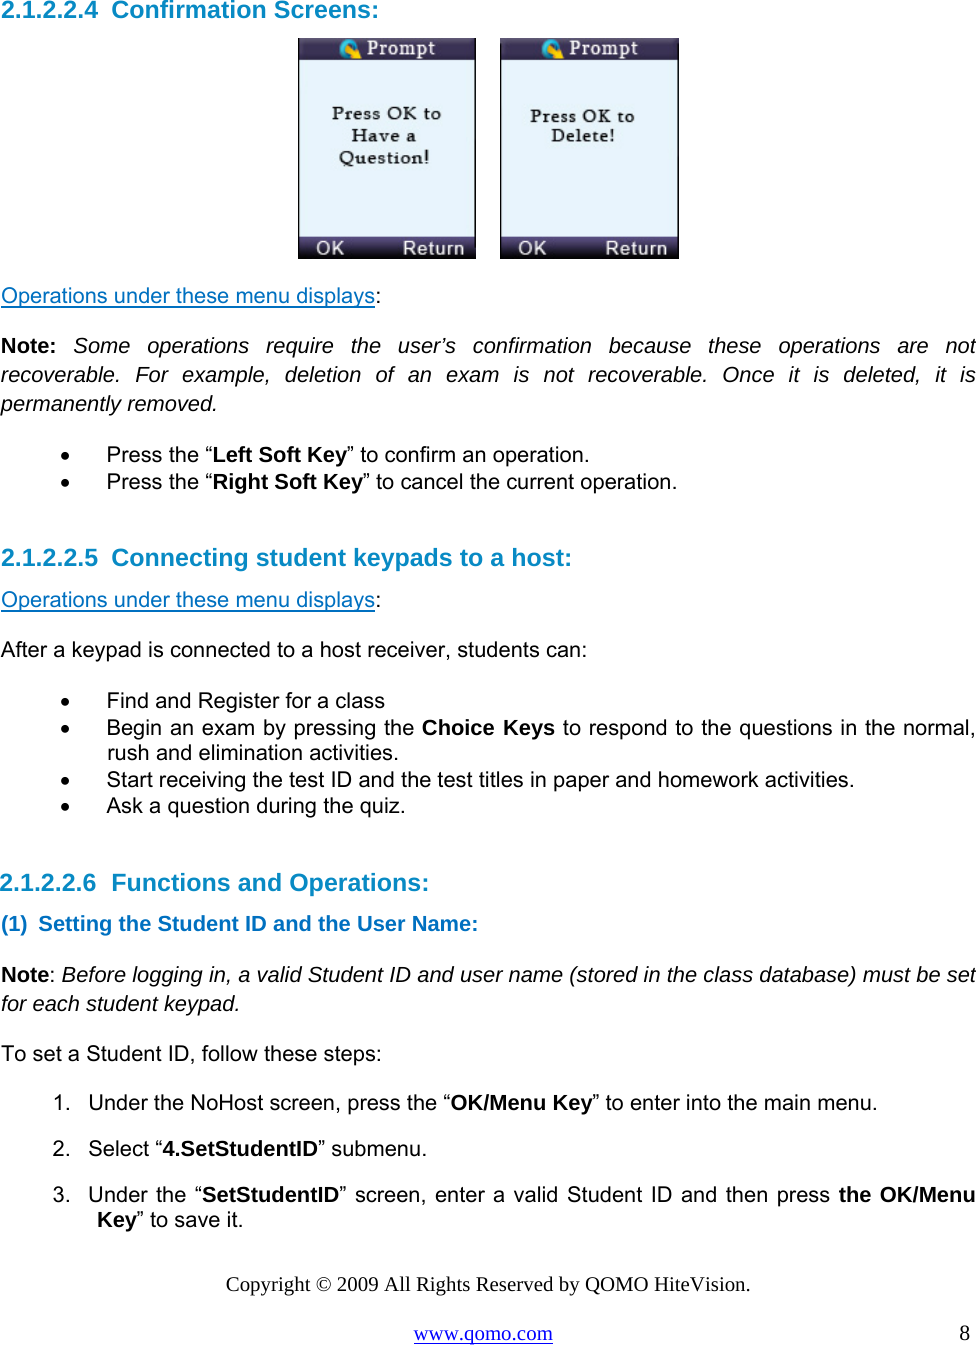

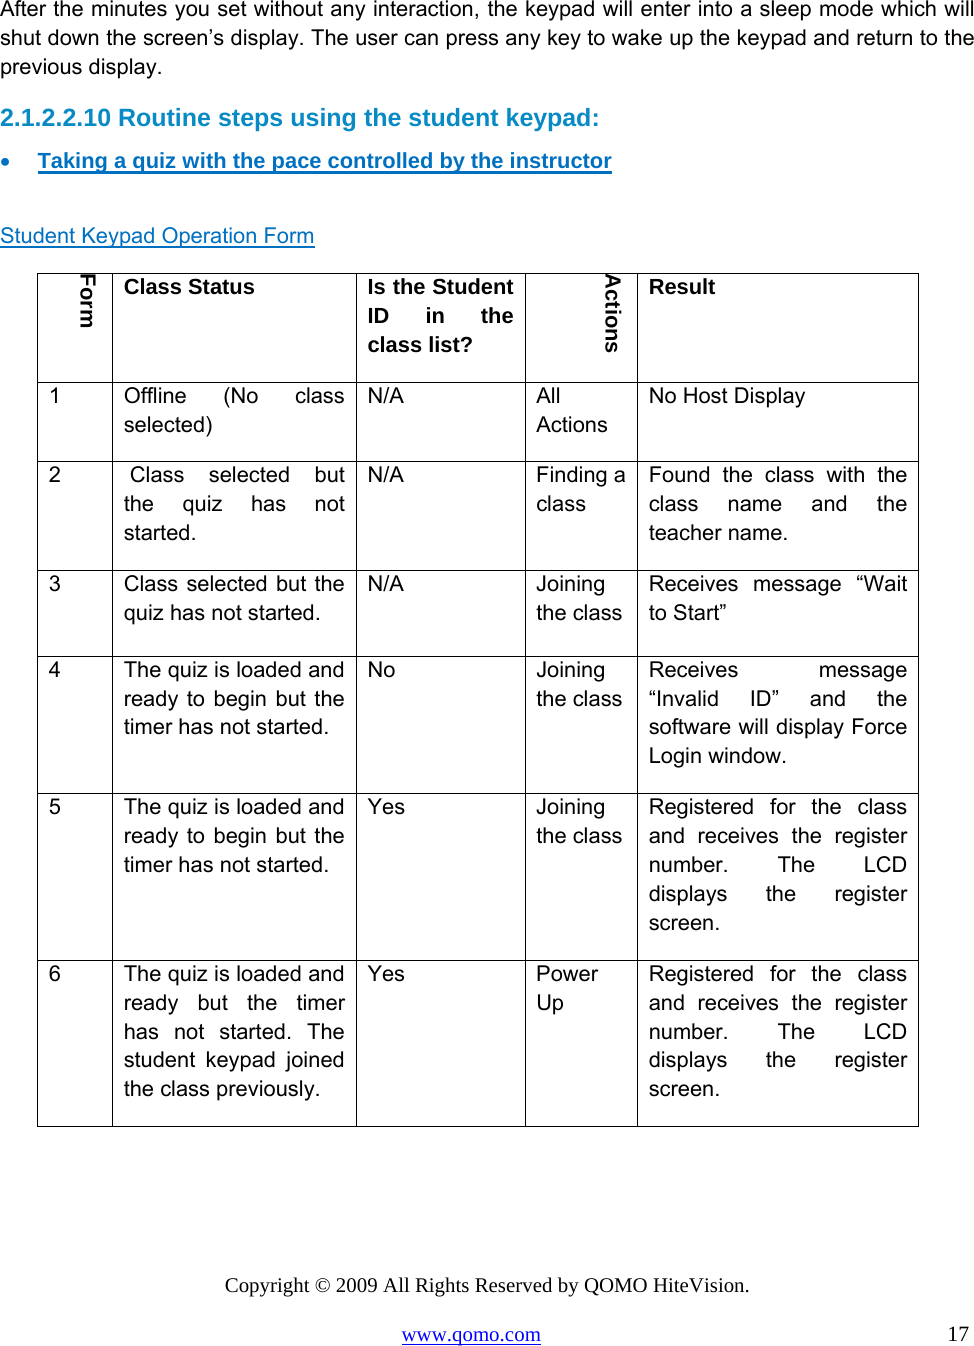

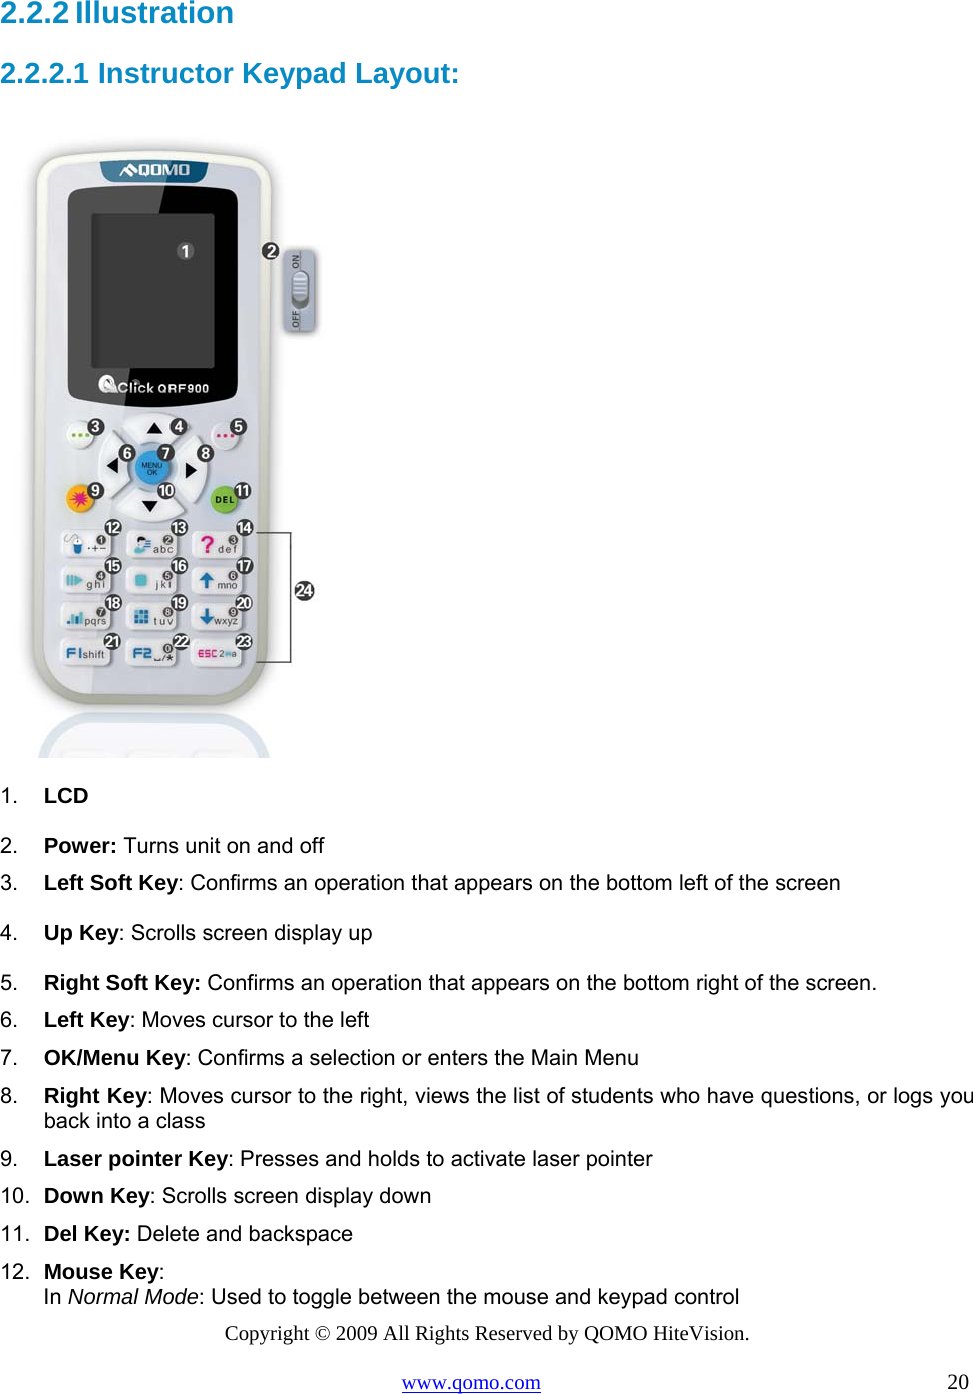
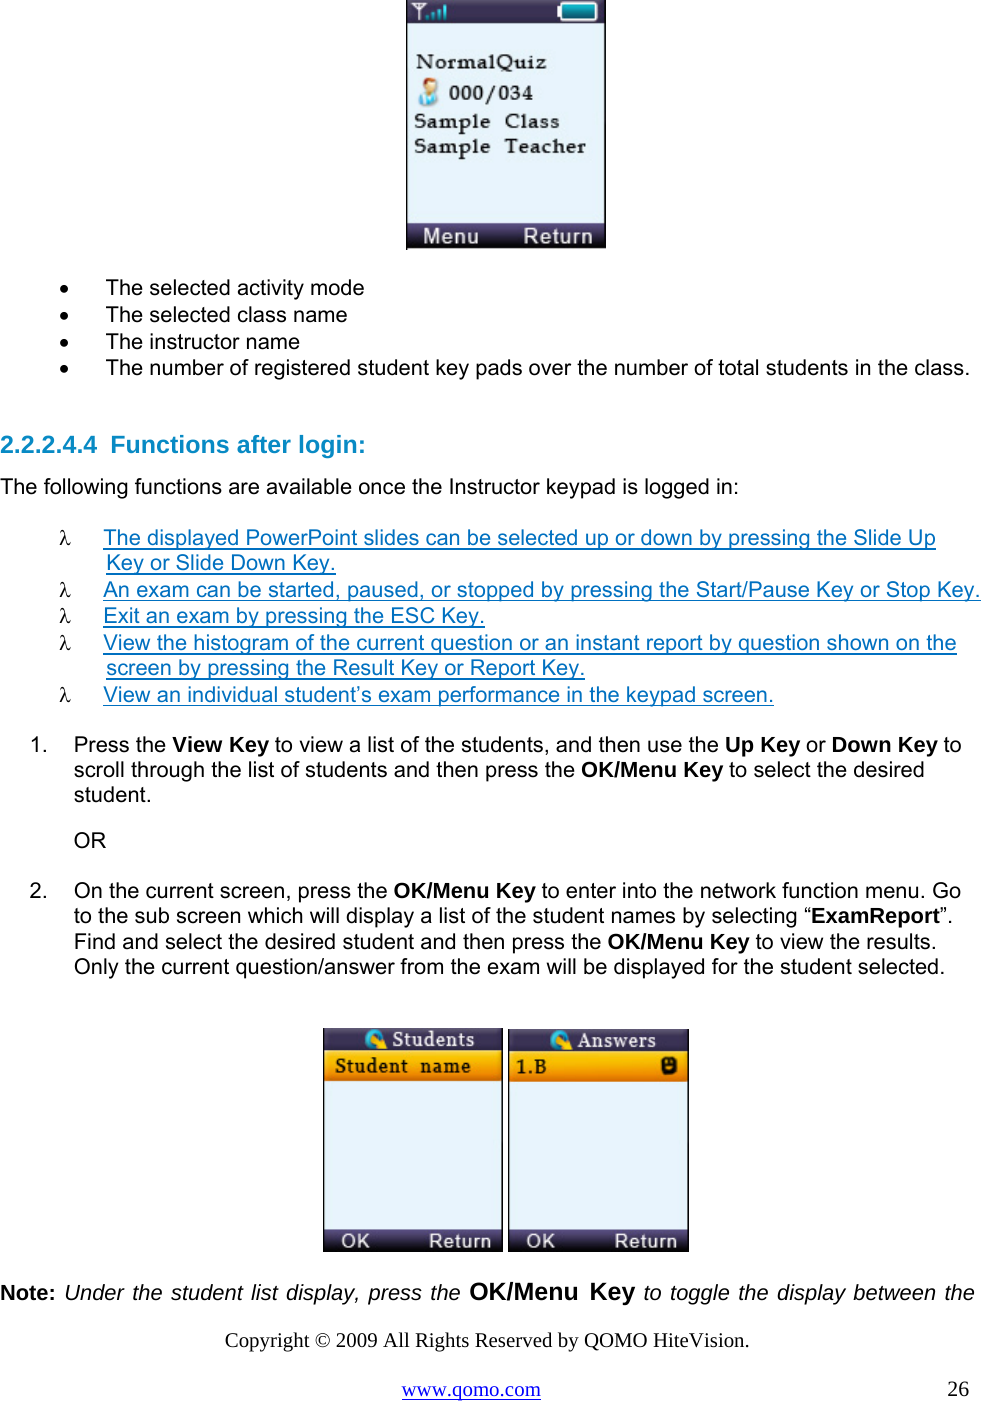
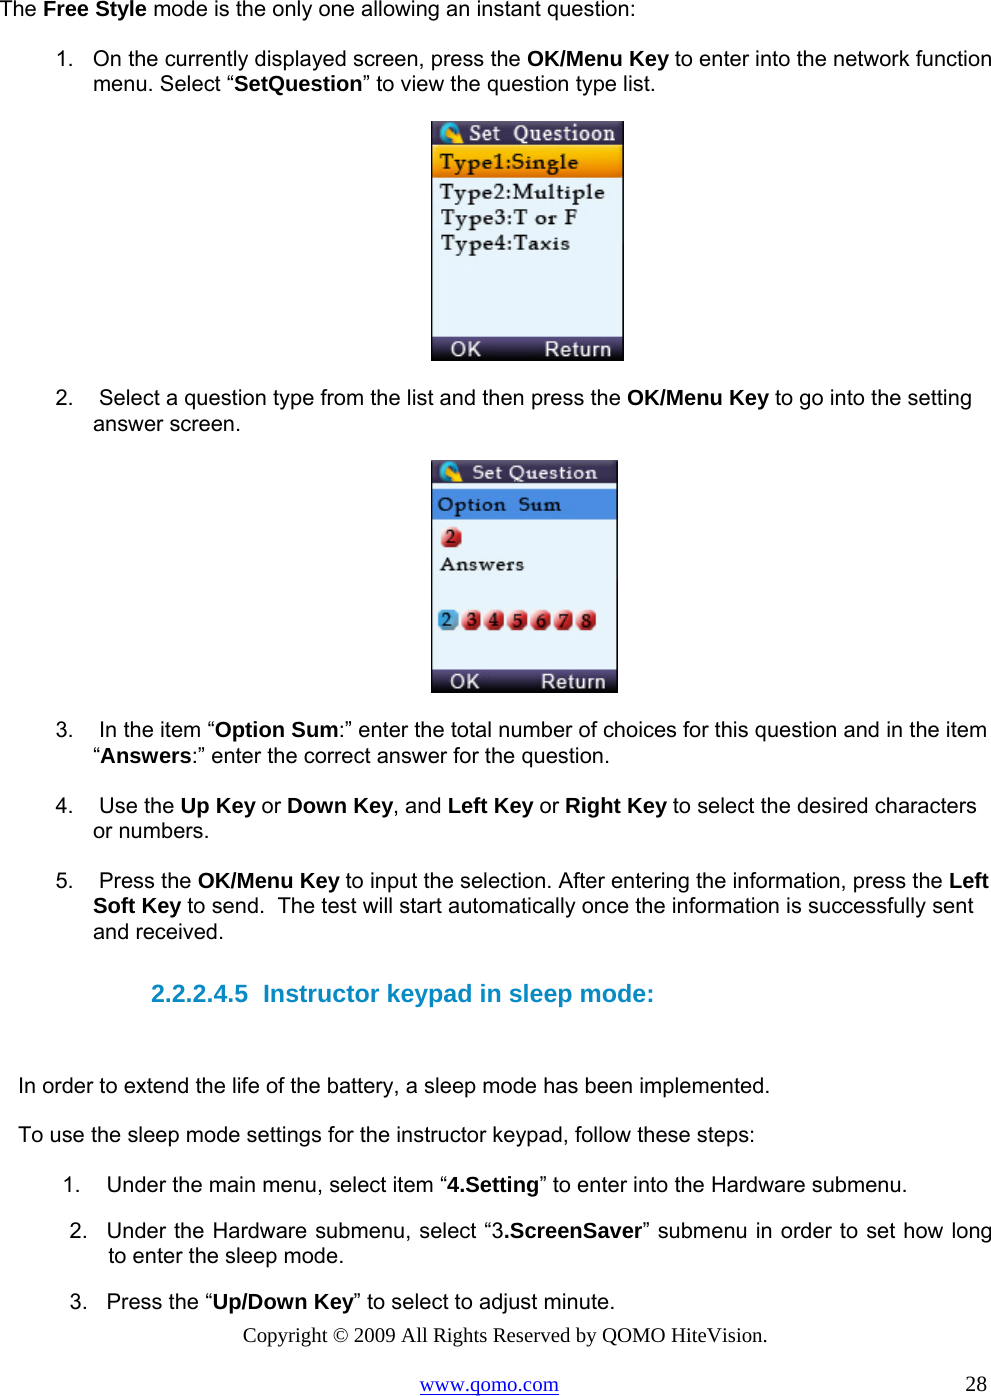

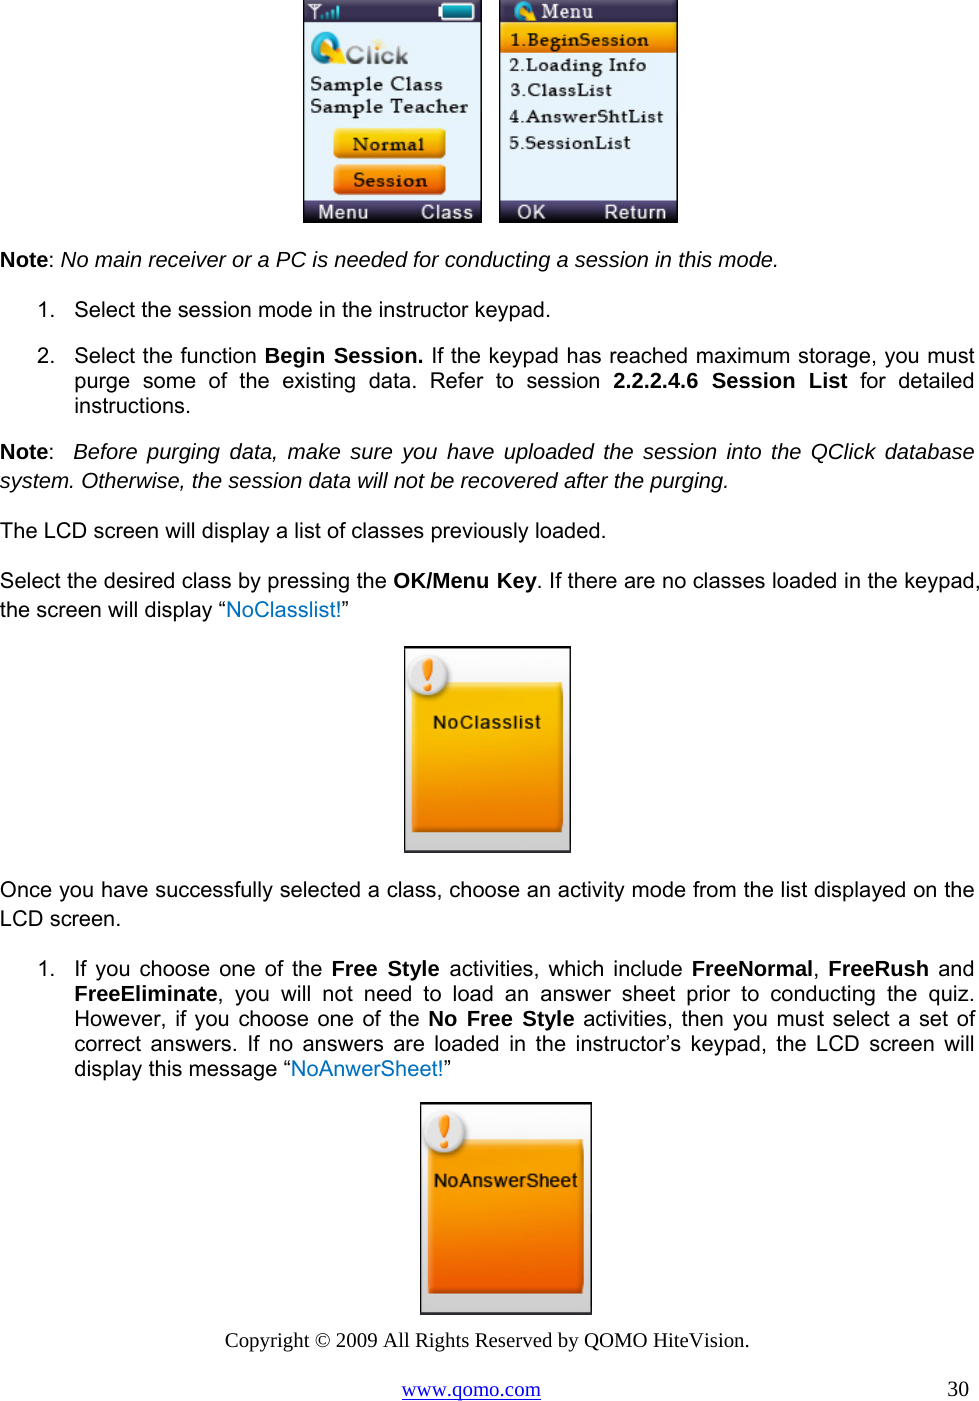

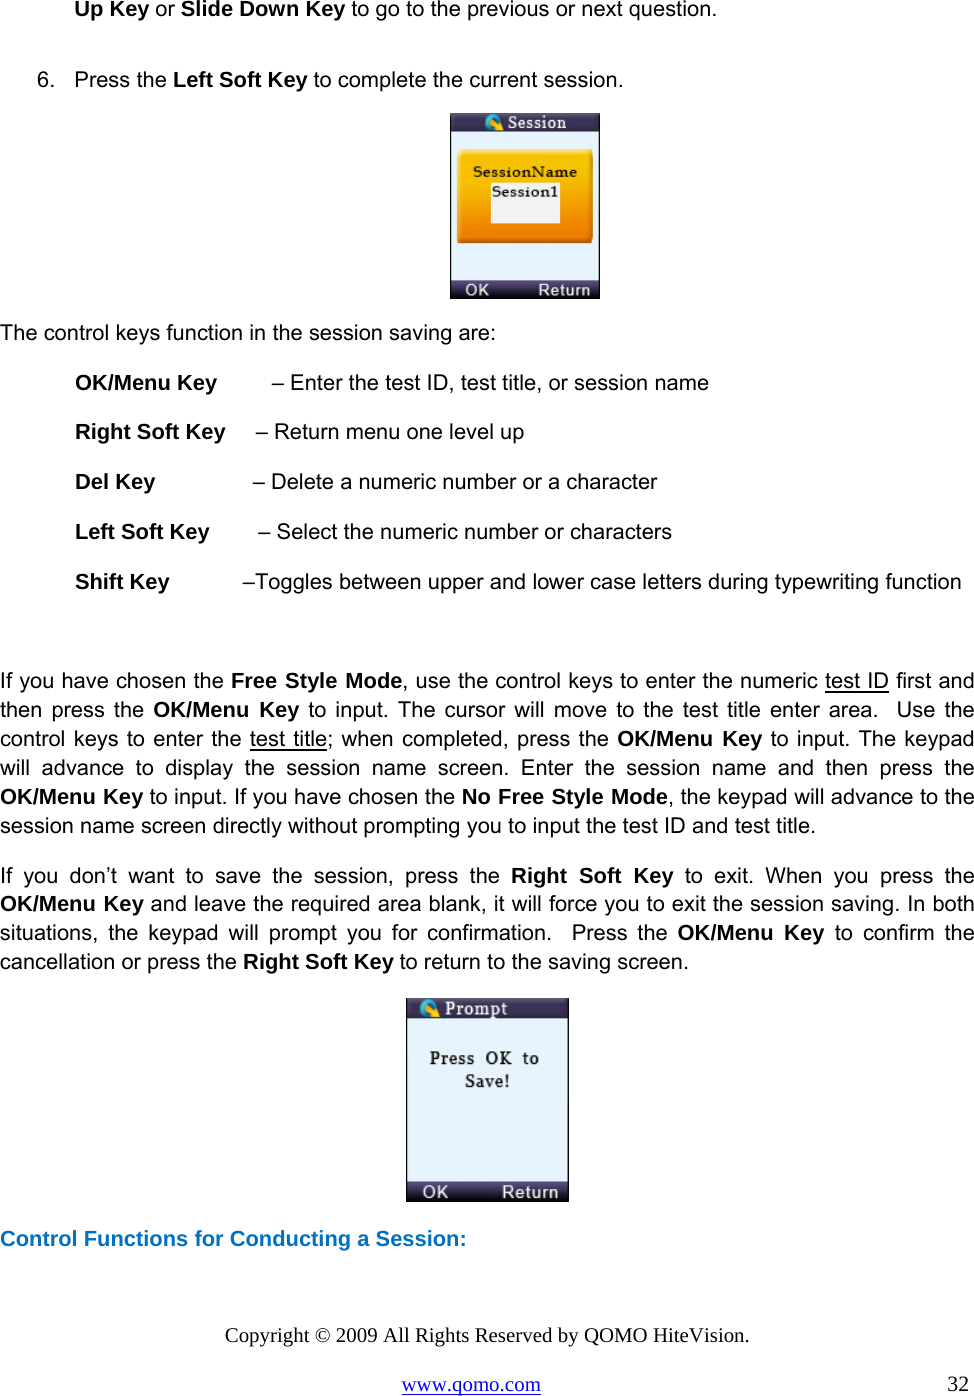
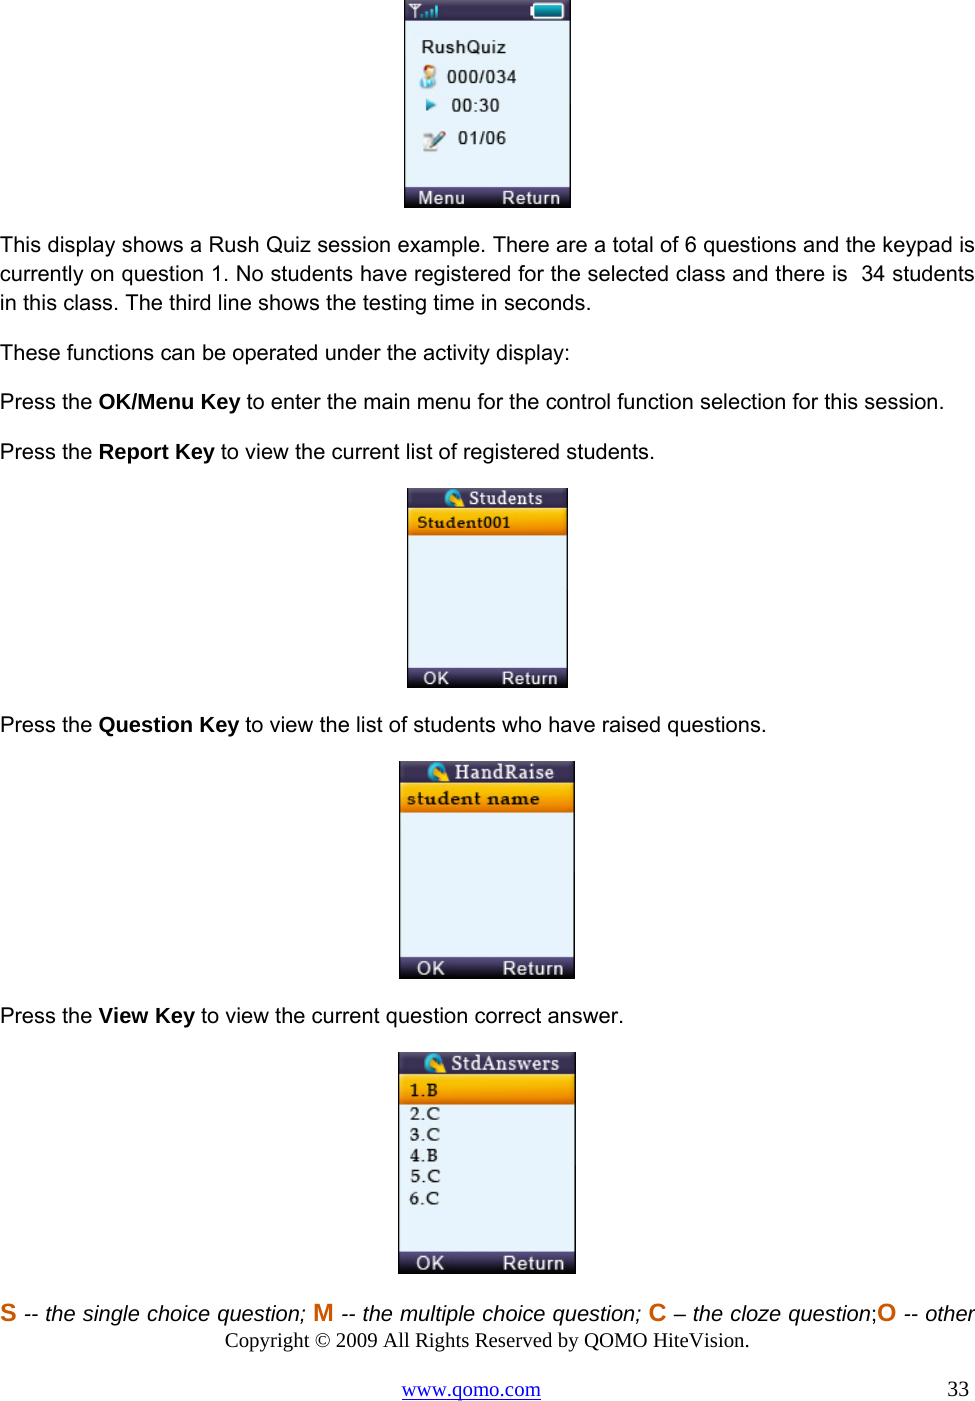
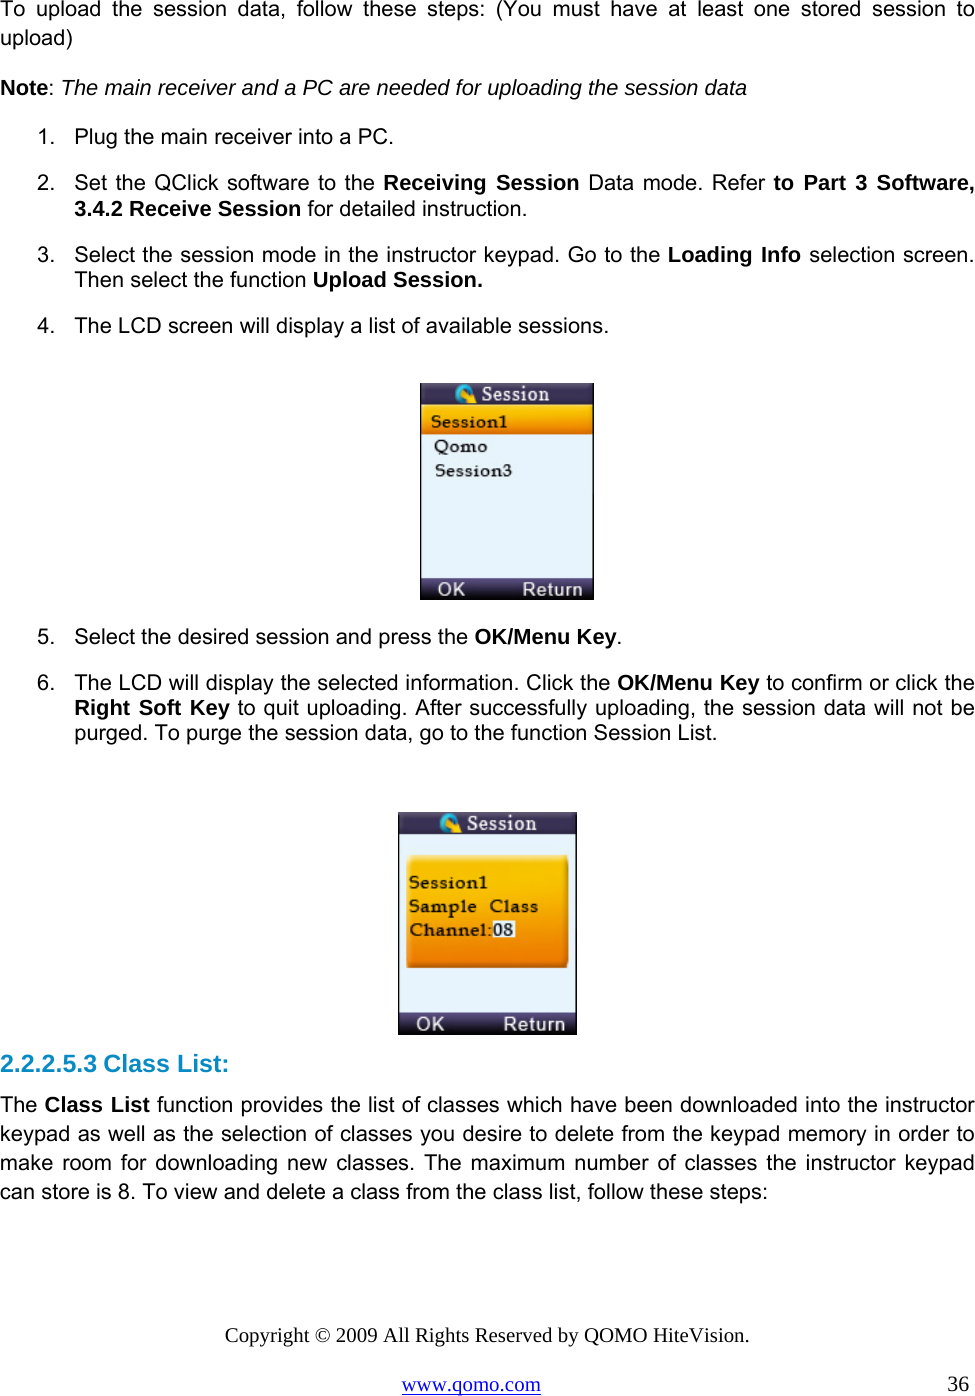
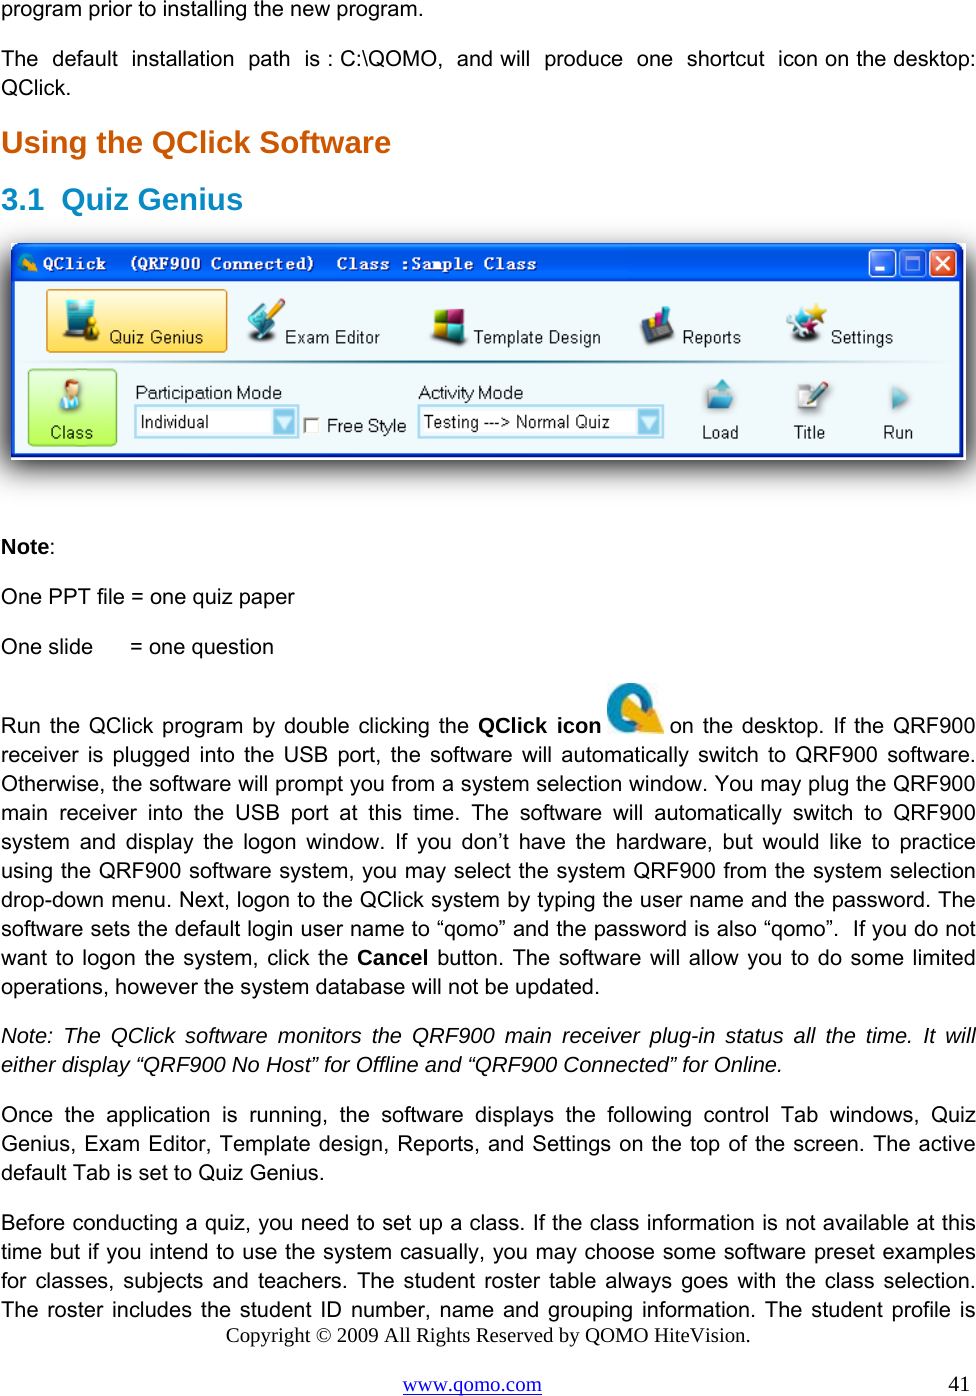
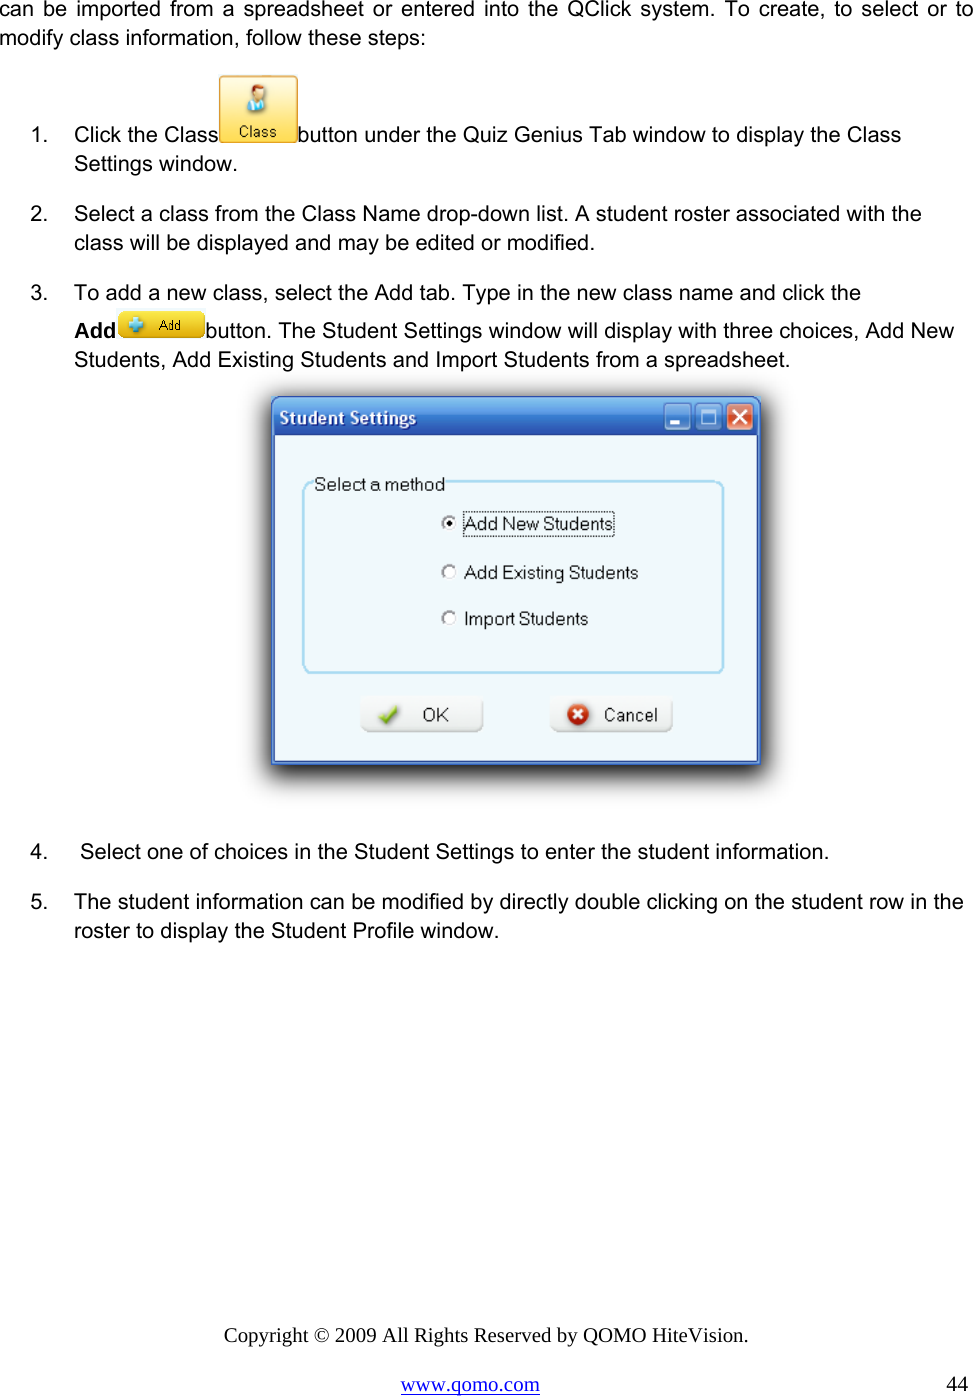
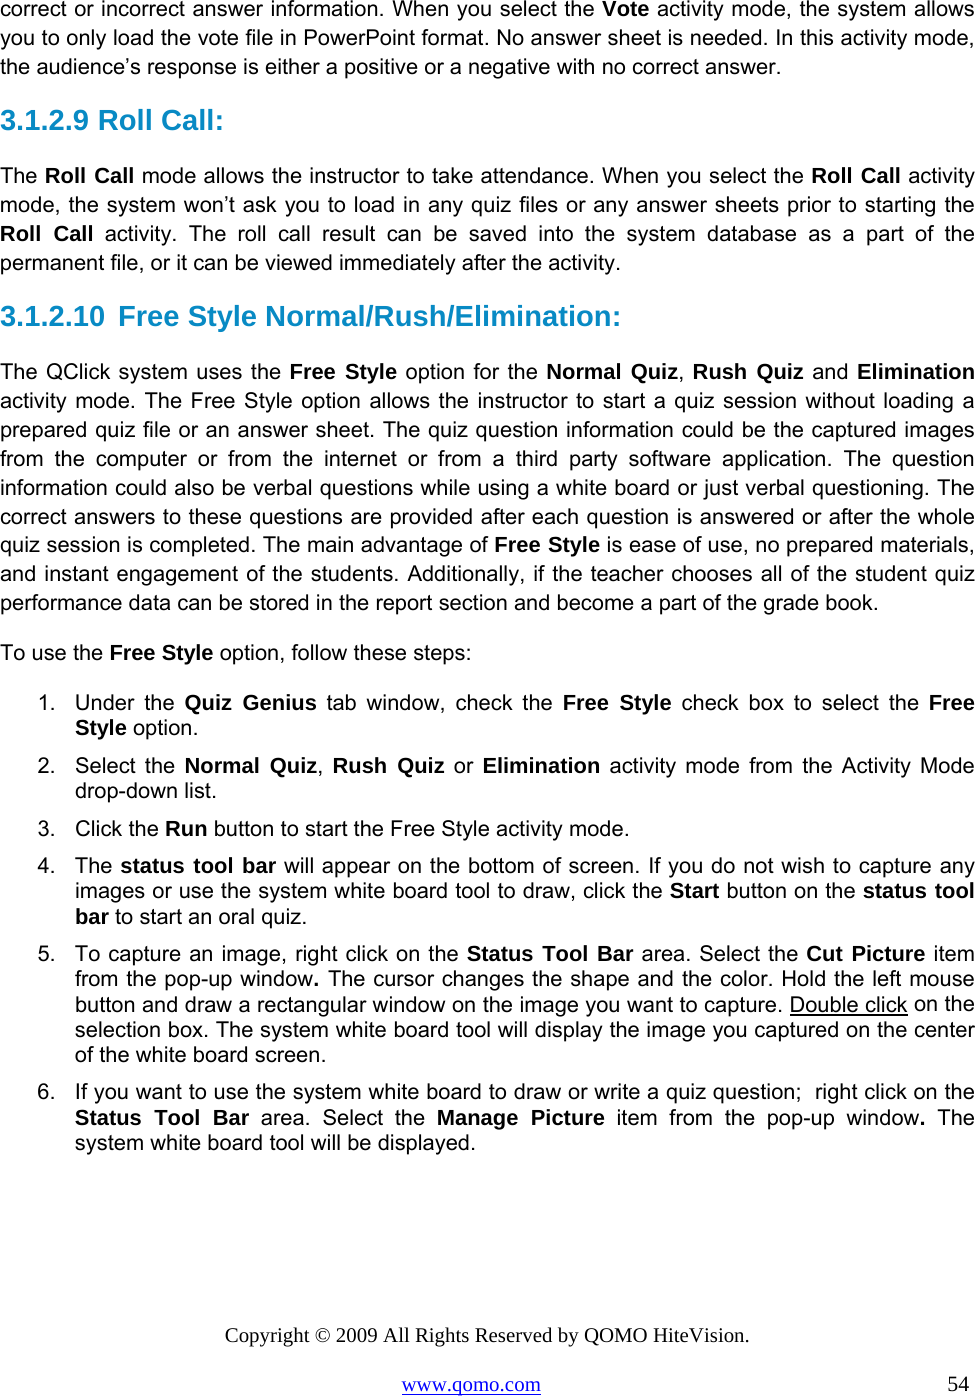
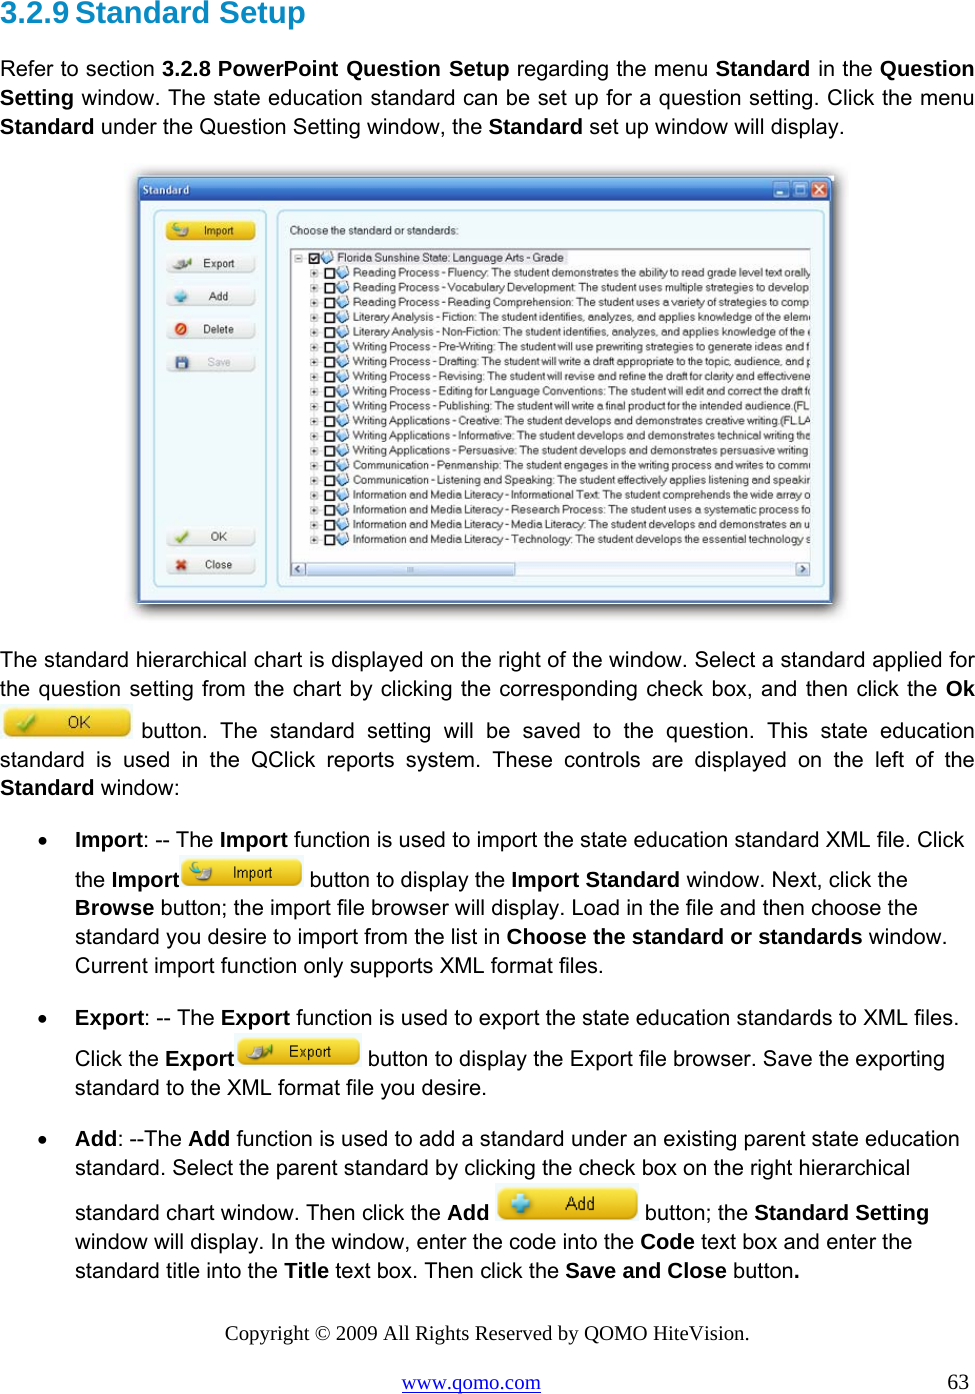
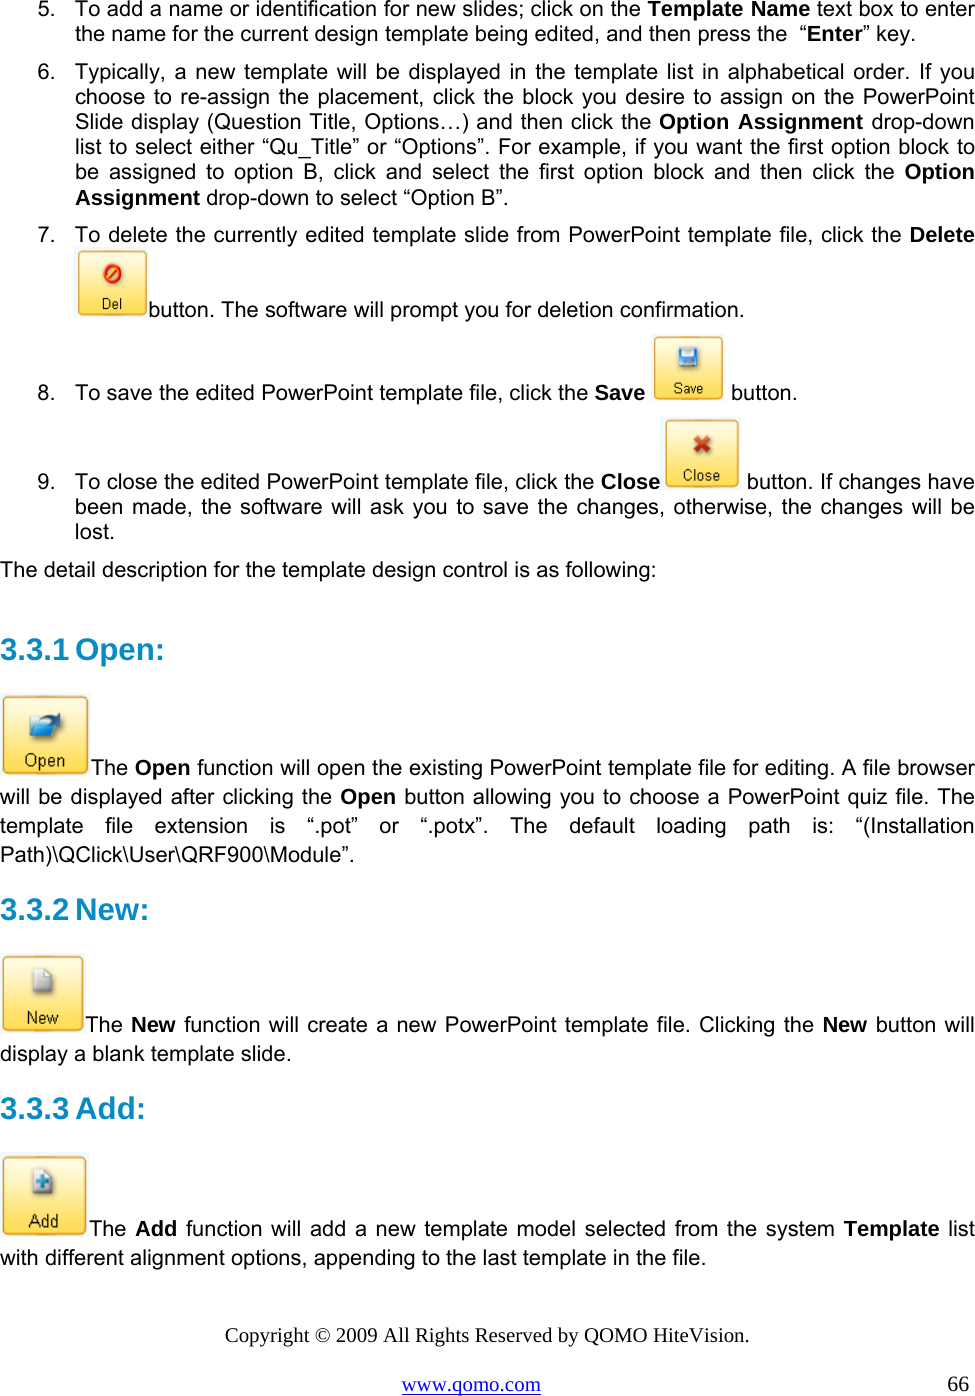
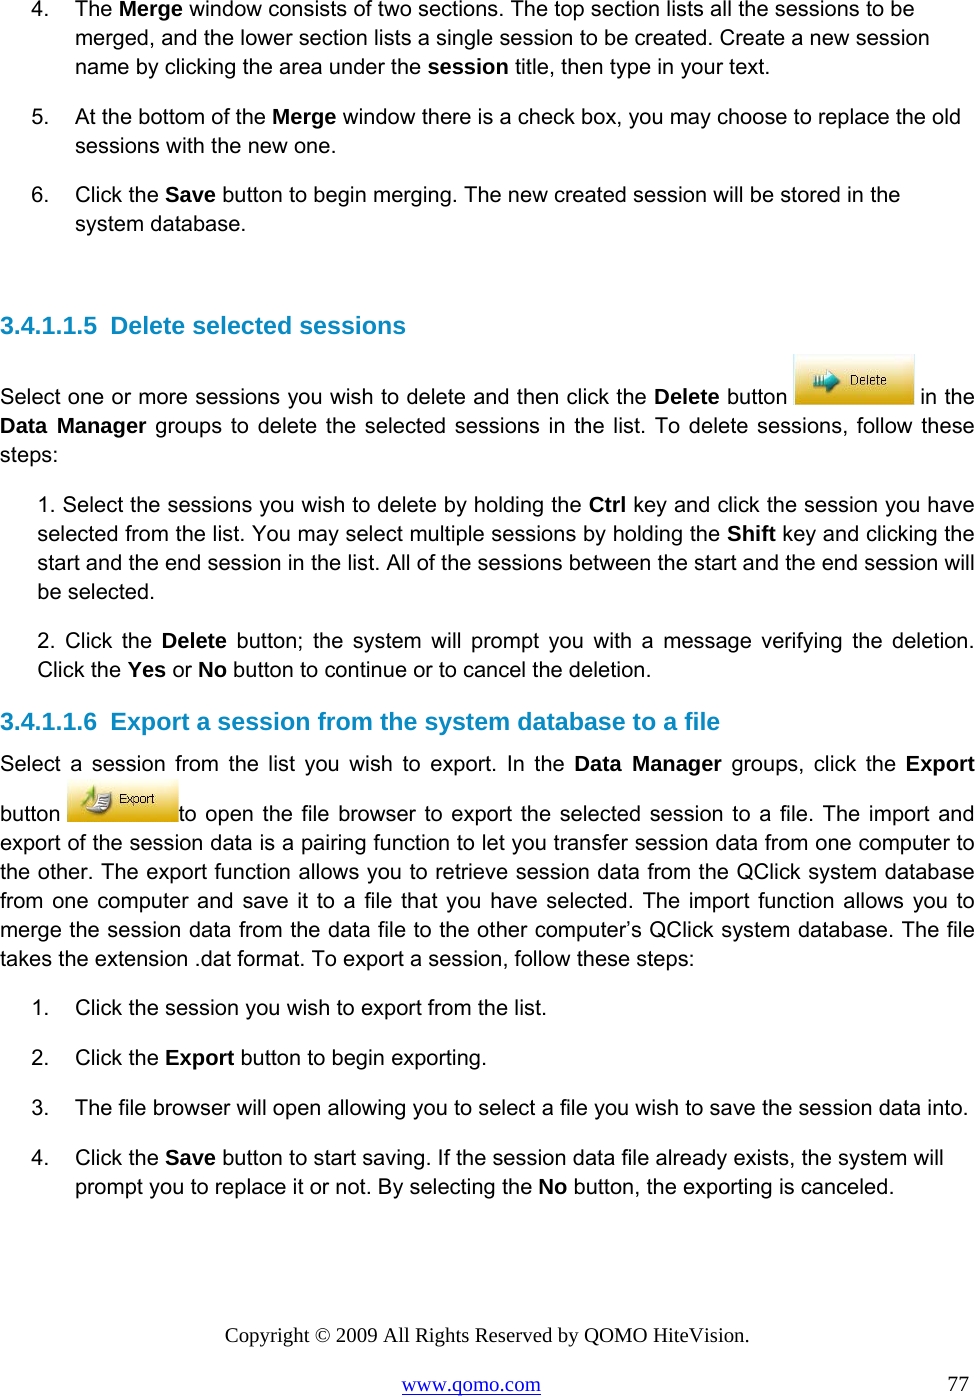
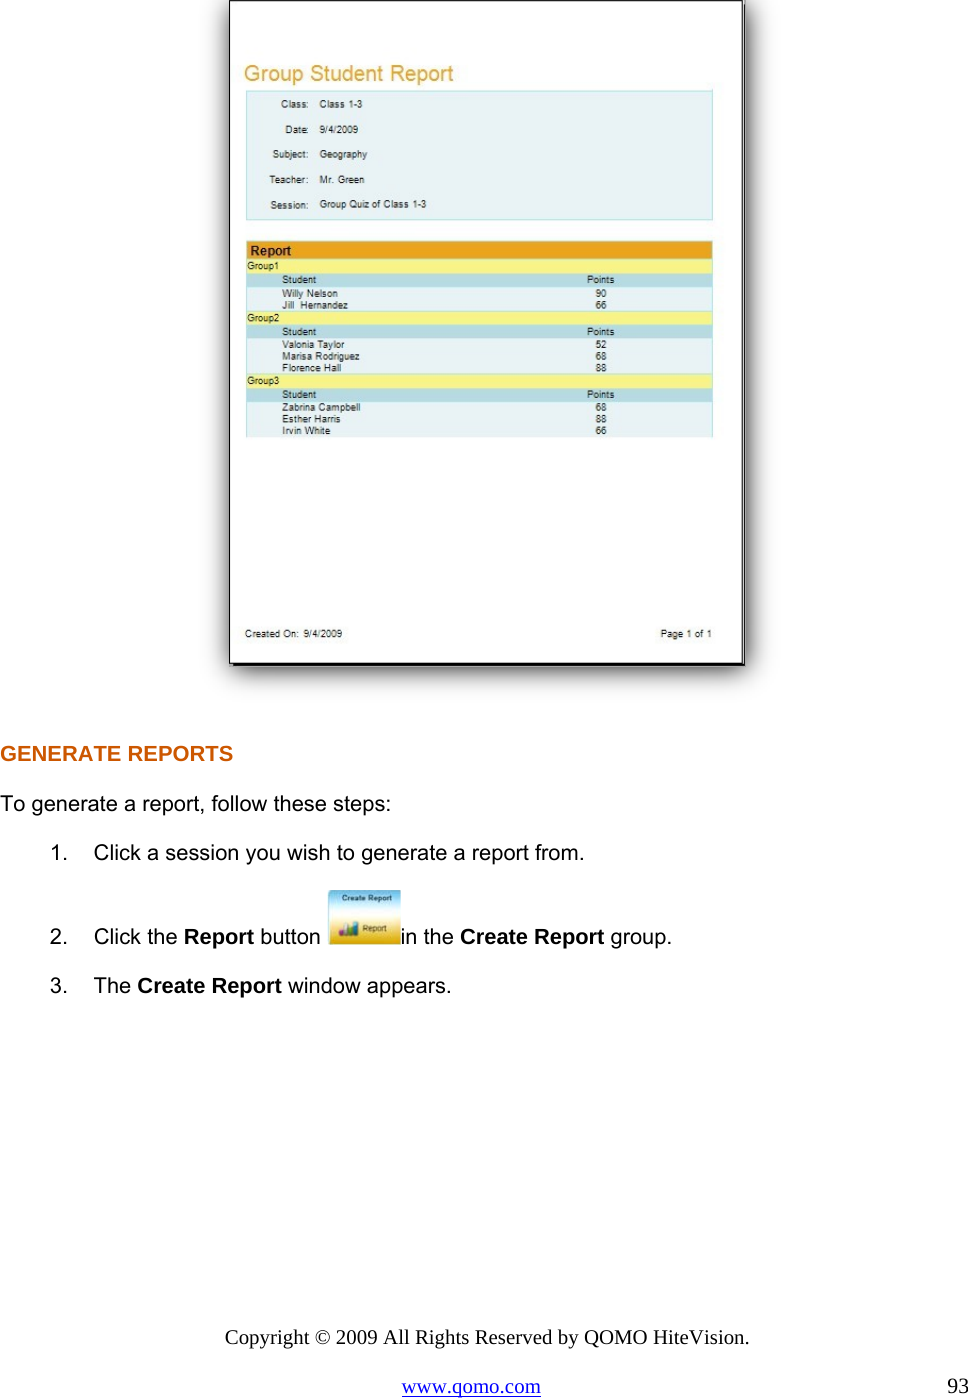
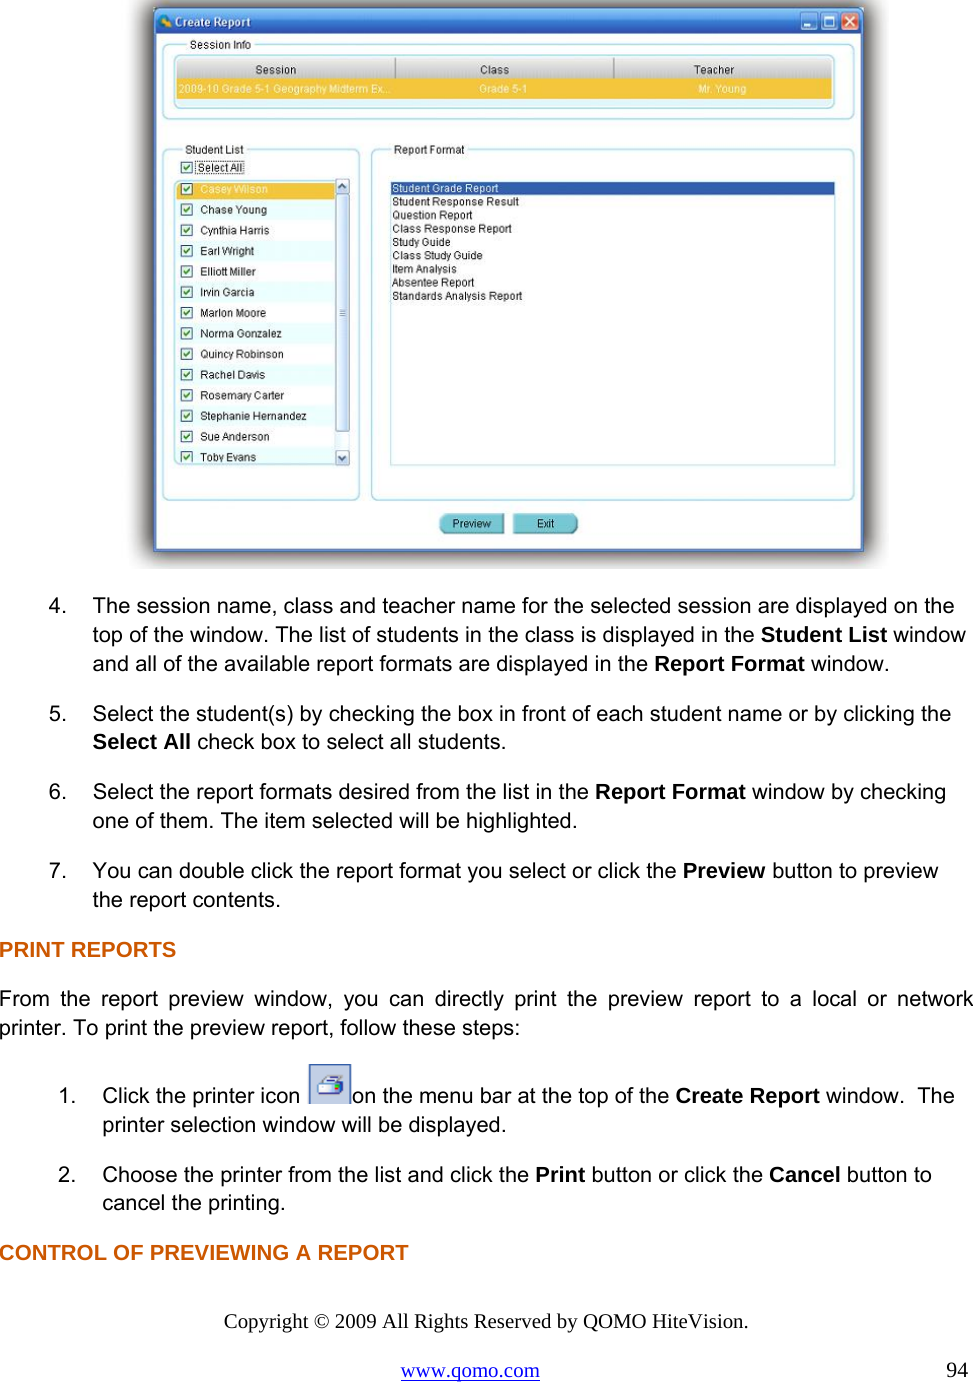
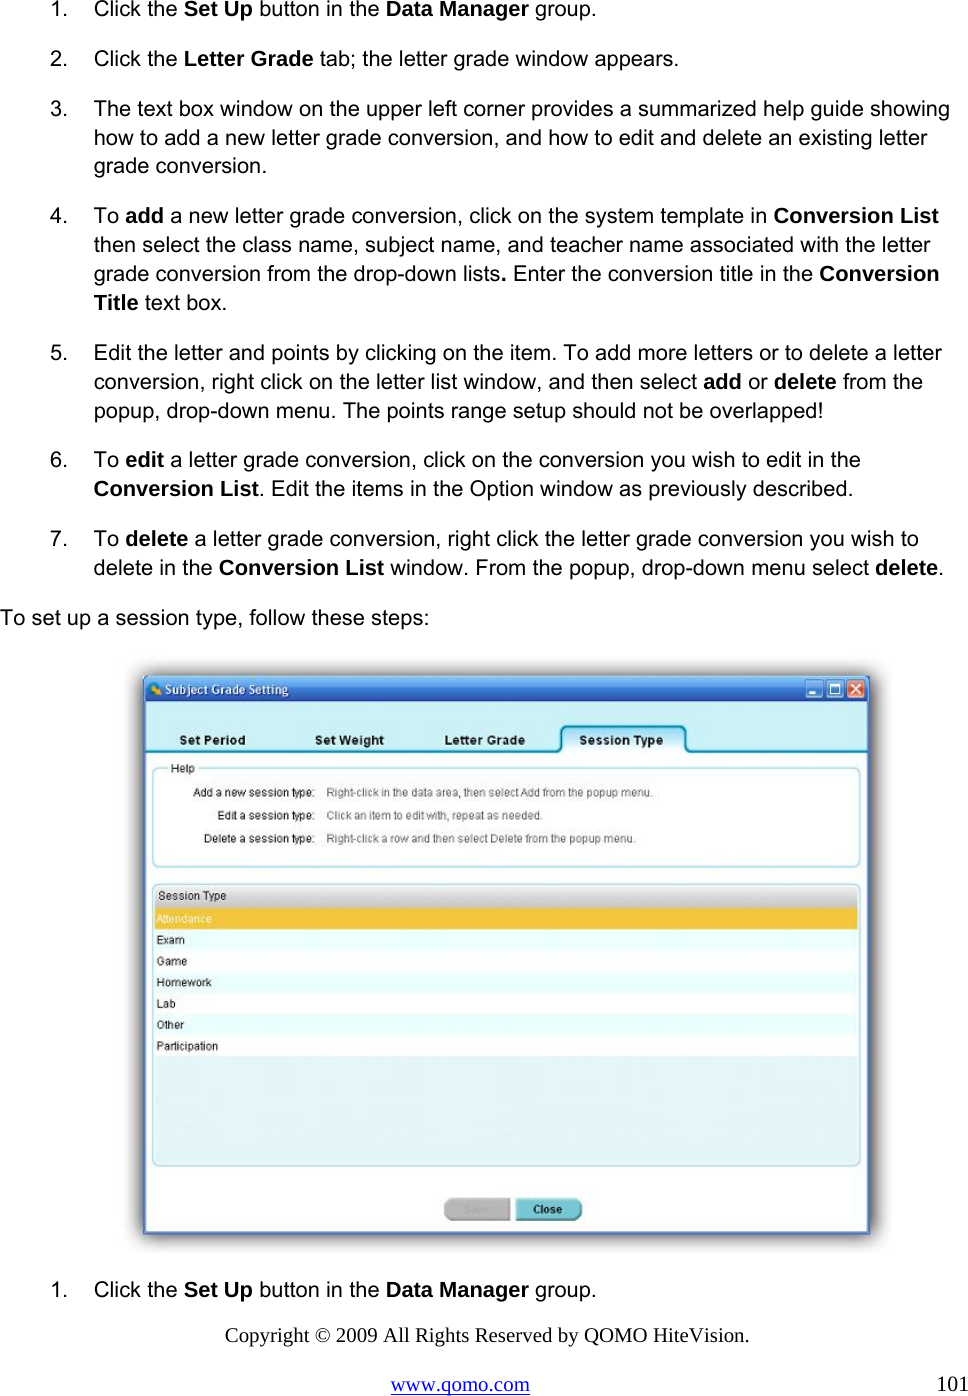
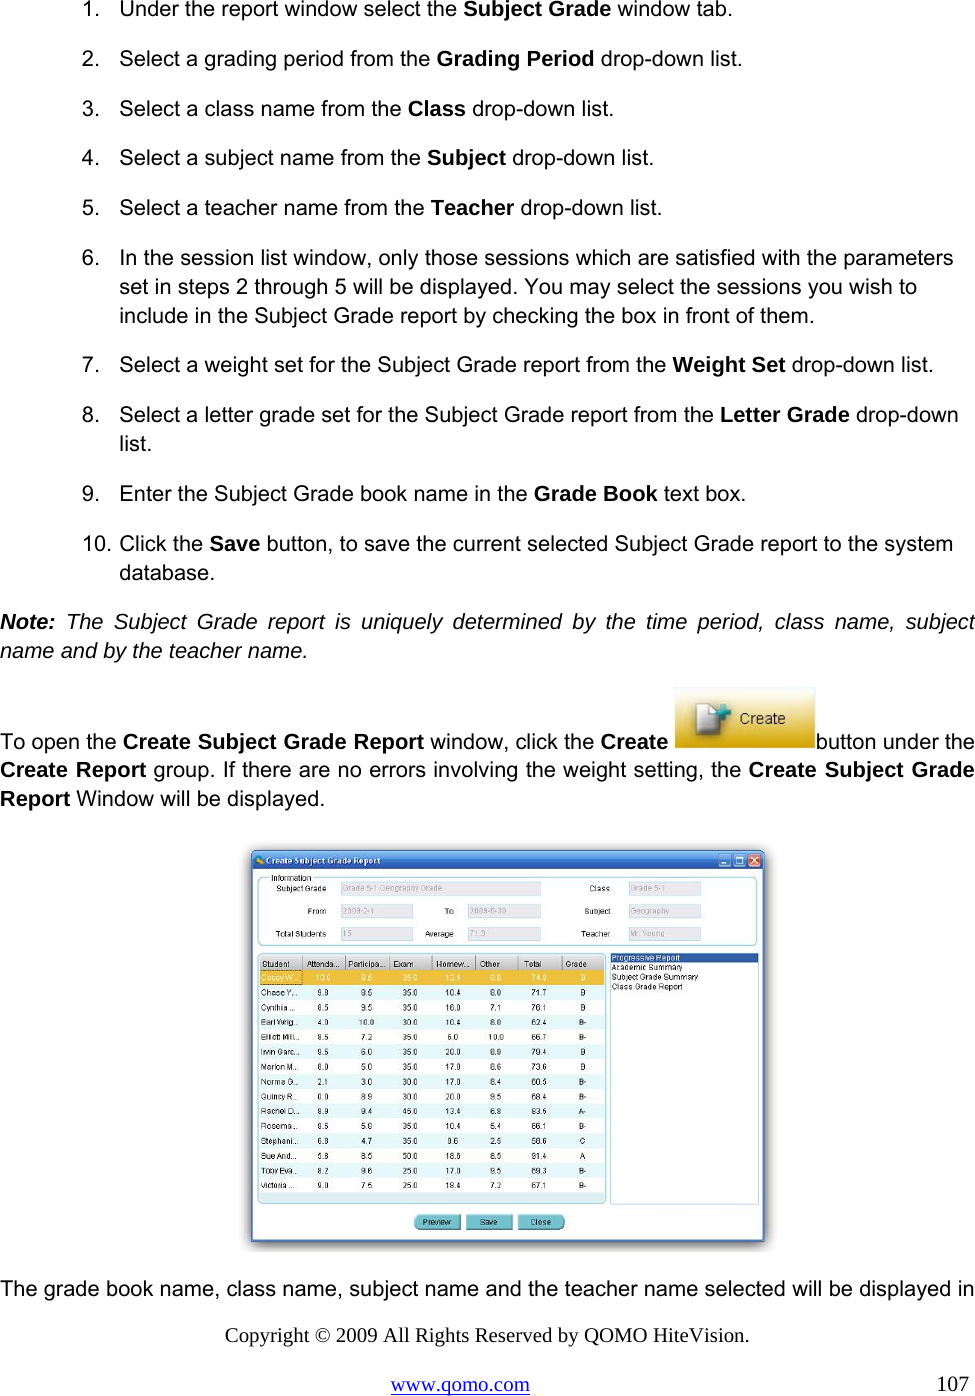
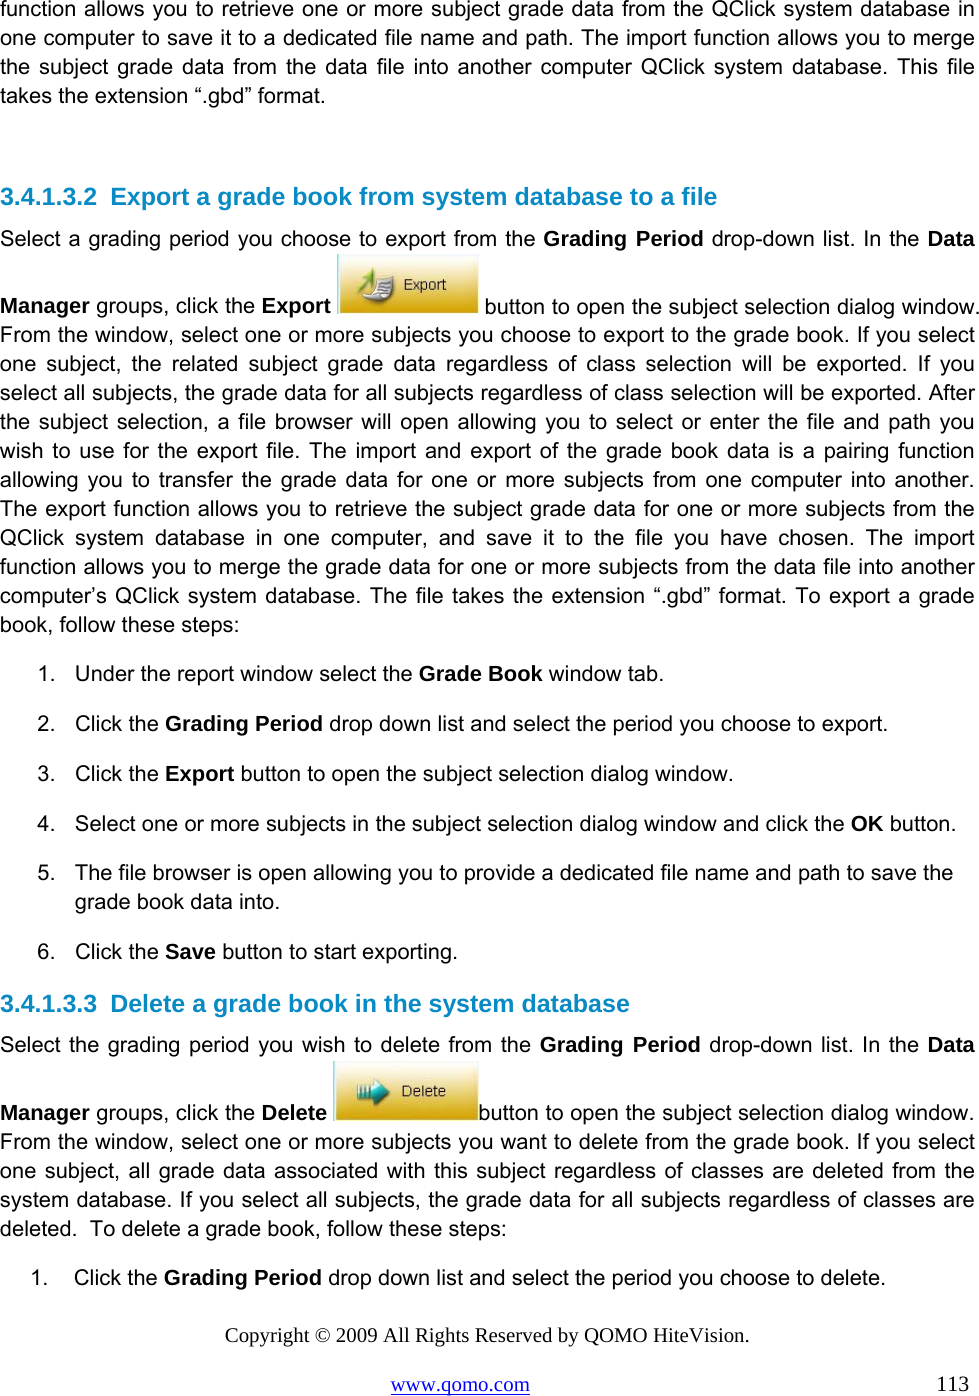
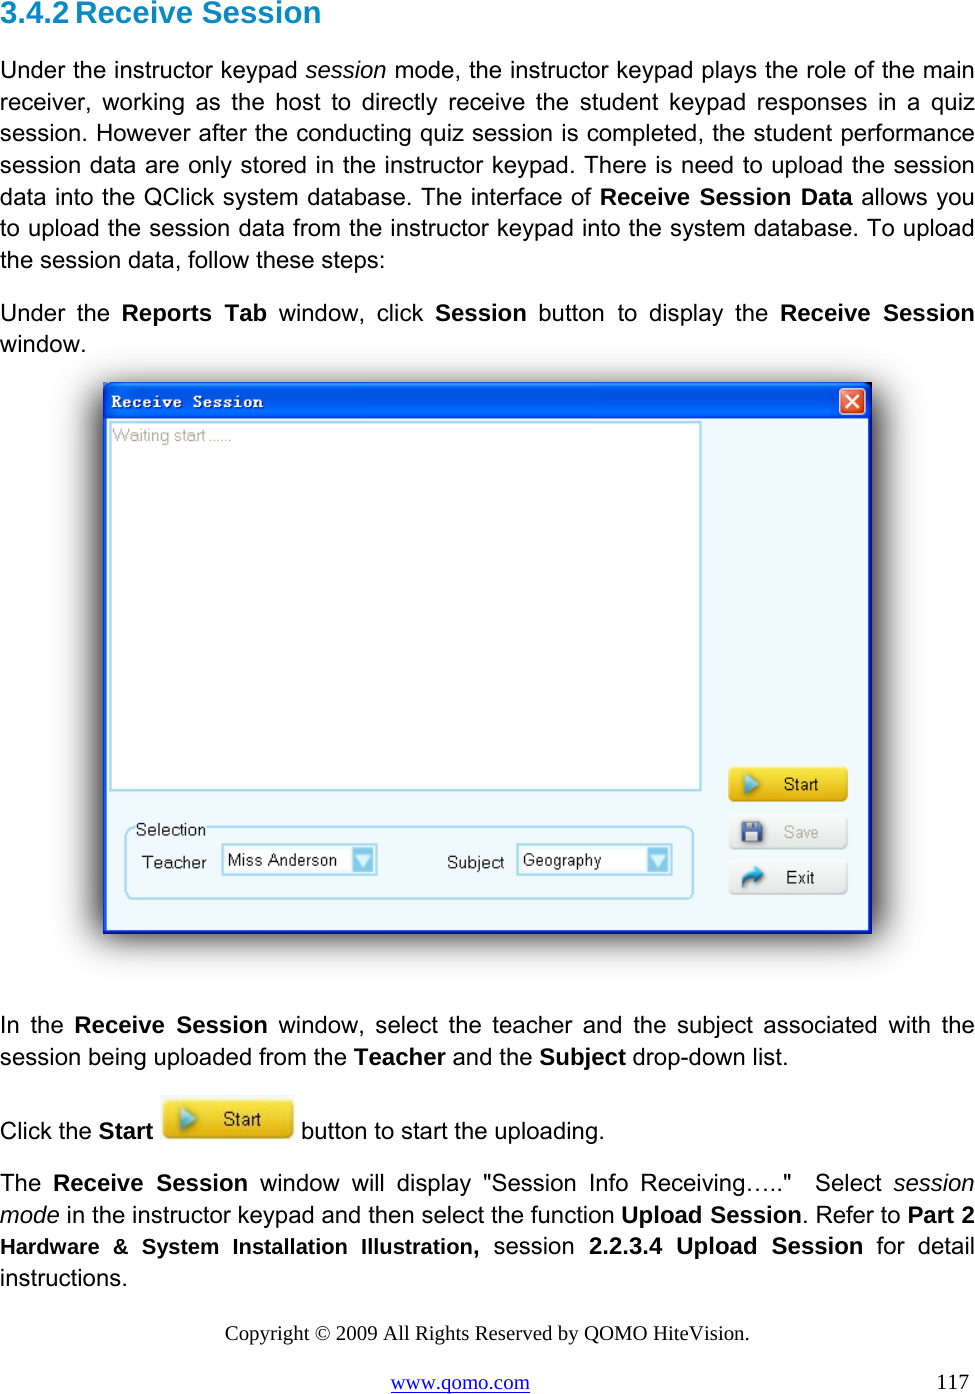
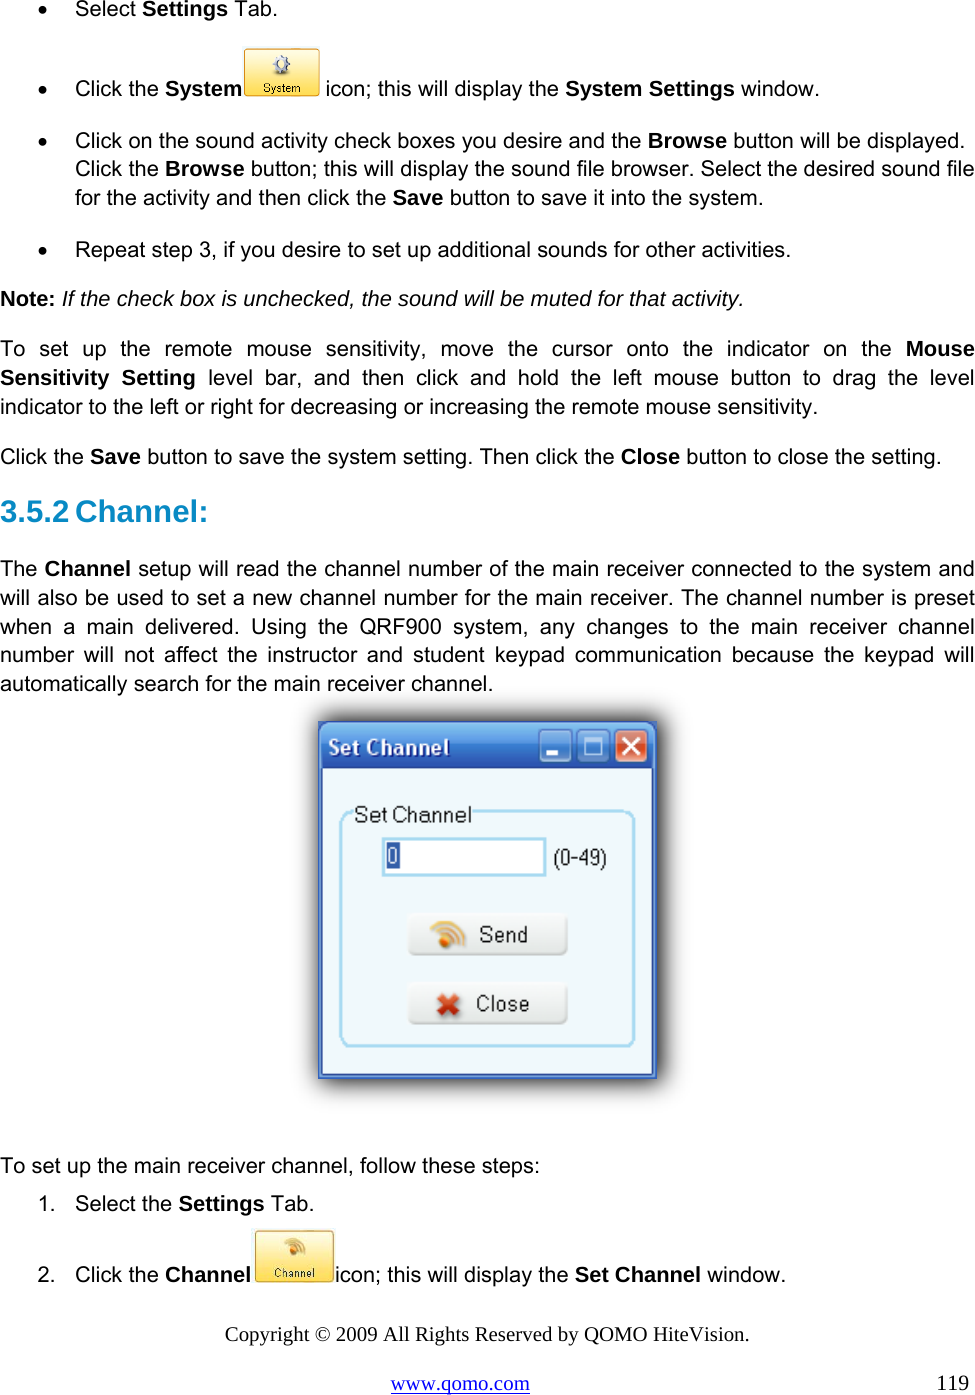
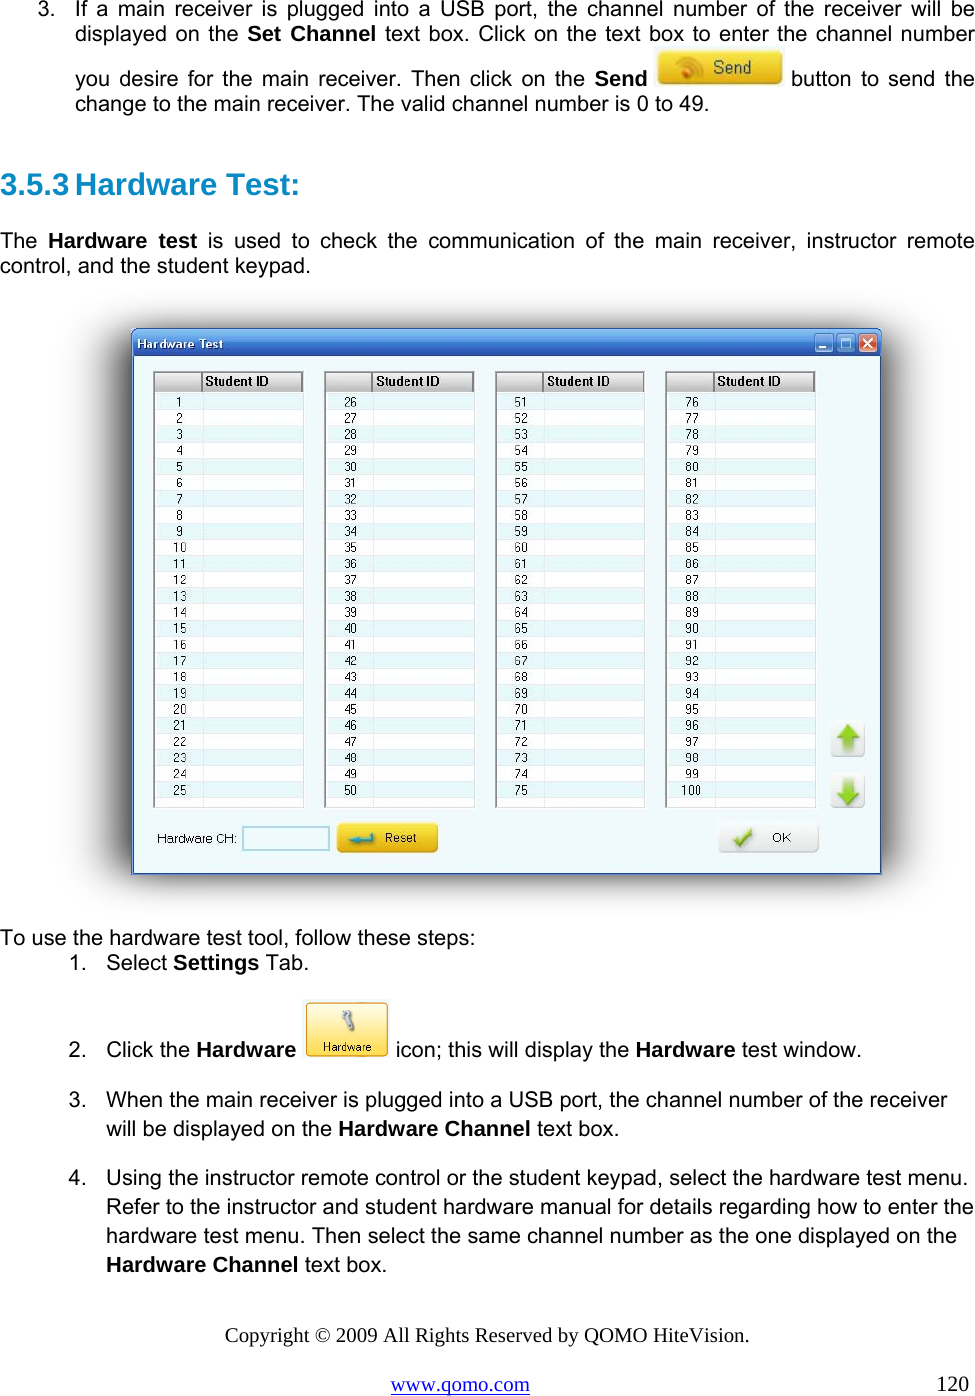
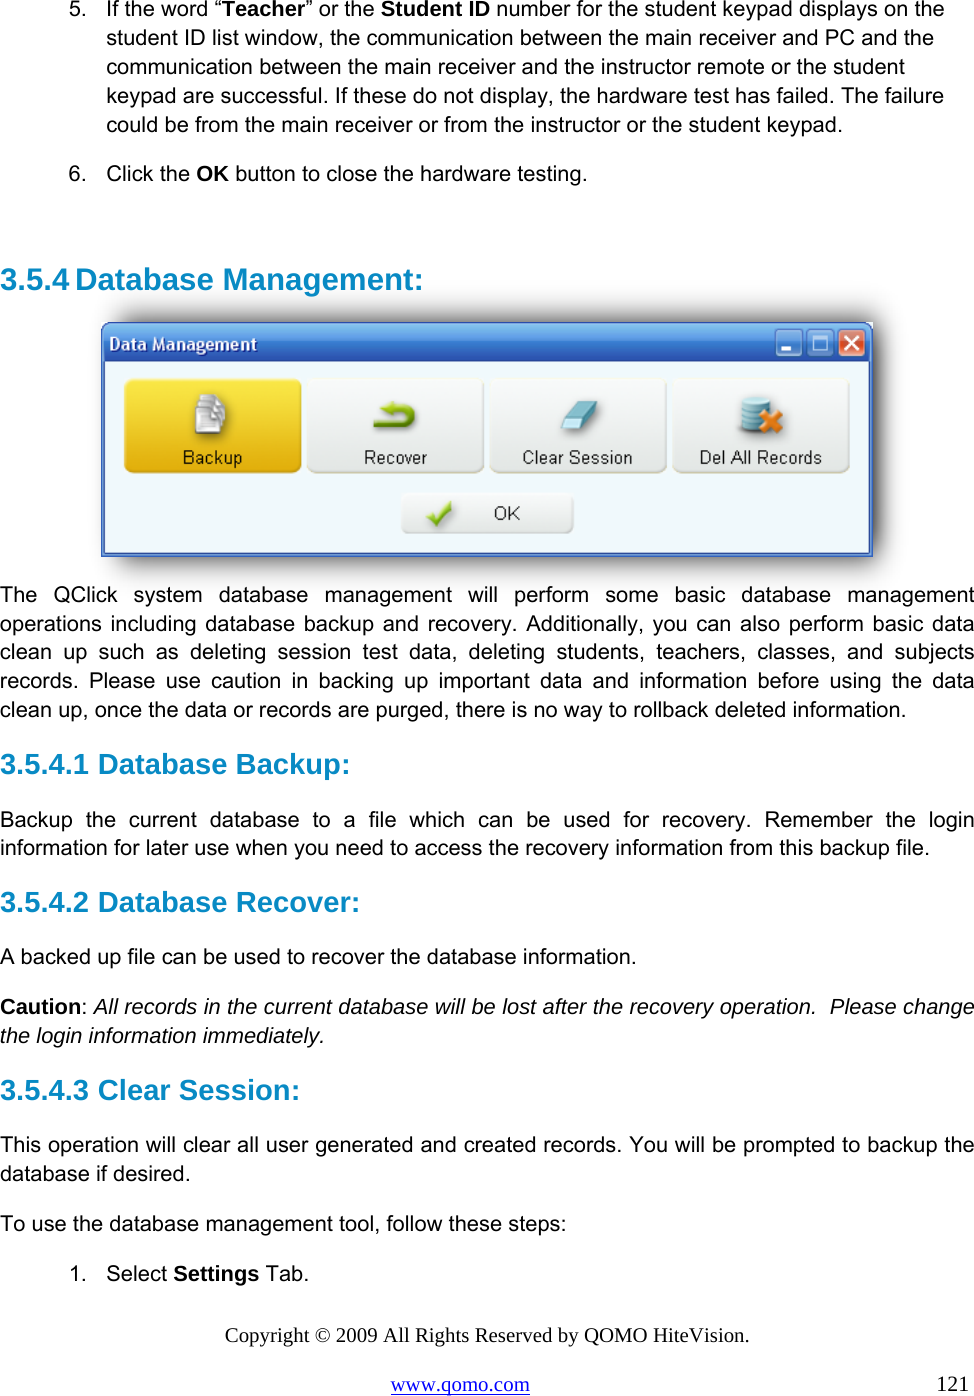
![Copyright © 2009 All Rights Reserved by QOMO HiteVision. www.qomo.com 38 2.2.2.5.5 Session List: The Session List function provides the list of sessions which have been conducted and stored in the instructor keypad and the selection of session’s data you desire to delete from the keypad memory in order to make room for storing new session data. The maximum number of sessions the instructor keypad can store is 8. If all storage is used, you will not be able to conduct a session using the session mode. To view and delete session data from the session list, follow these steps: Note: Before purging a session data, make sure that you have uploaded the session into the QClick database system; otherwise, the session data will not be recovered after purging. 1. Select the session mode in the instructor keypad, and then select the Session List function. 2. The sessions which have been stored in the keypad will be displayed on the LCD screen. Use the Up/Down Key to scroll through the selections. Press the OK/Menu Key to delete the selected session. Press the Right Soft Key to return to the session mode main menu. If you press the Del Key to delete the selection, the keypad will prompt you for confirmation. Press the OK/Menu Key to confirm the deletion or press the Right Soft Key to cancel the deletion. After the operation, the keypad will display the previous class list menu. 2.3 Main Receiver and USB Cable The main receiver is used to send and receive signals to and from the remote keypads and to exchange data with the host computer. The main receiver can be plugged into a computer’s USB port or connected to a computer through a USB cable. 2.3.1 Specifications Dimensions (L × W × H) 87mm ×24.55mm ×10mm Weight: 9 0z Operating Temperature: 0-104 degree F Operating Relative Humidity: 0-90% Transmitting and receiving distance: ~200 feet radial 2.3.2 Illustration[li rong1] 1- Antenna Terminal. 2- Power light (Signal light): Illuminates red when the main receiver is plugged into the USB port of a computer. The flashing red light indicates the main receiver is receiving and processing the data. 3- Antenna: picks up a weak signal to extend the RF transmitting distance. 4- Extension USB: extends the connection between the main receiver and the computer.](https://usermanual.wiki/QOMO-HiteVision/QRF900-TR1.User-Manual/User-Guide-1289281-Page-38.png)
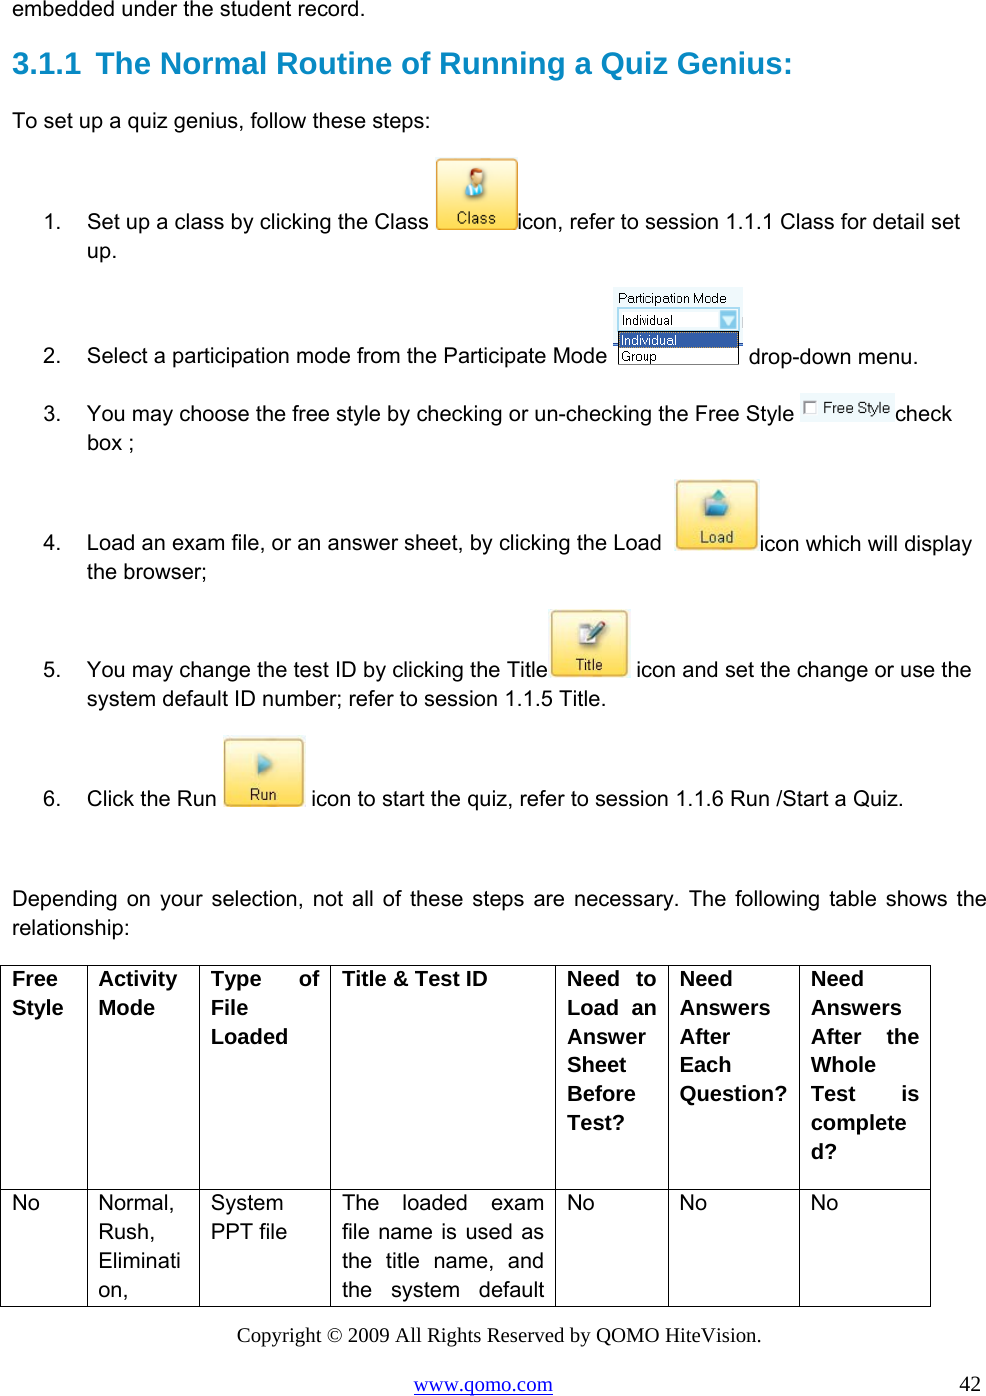
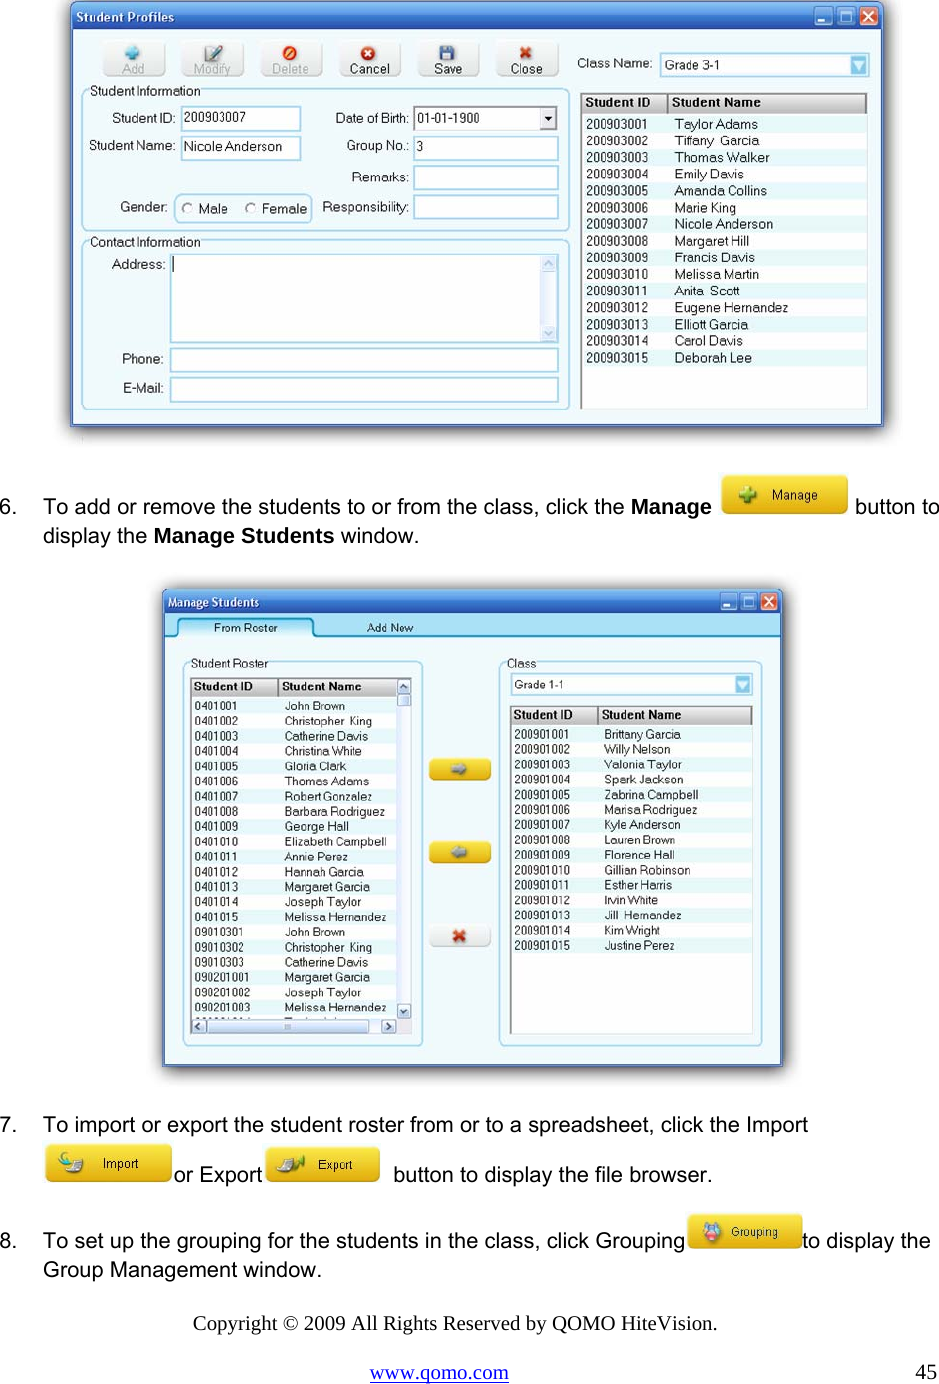
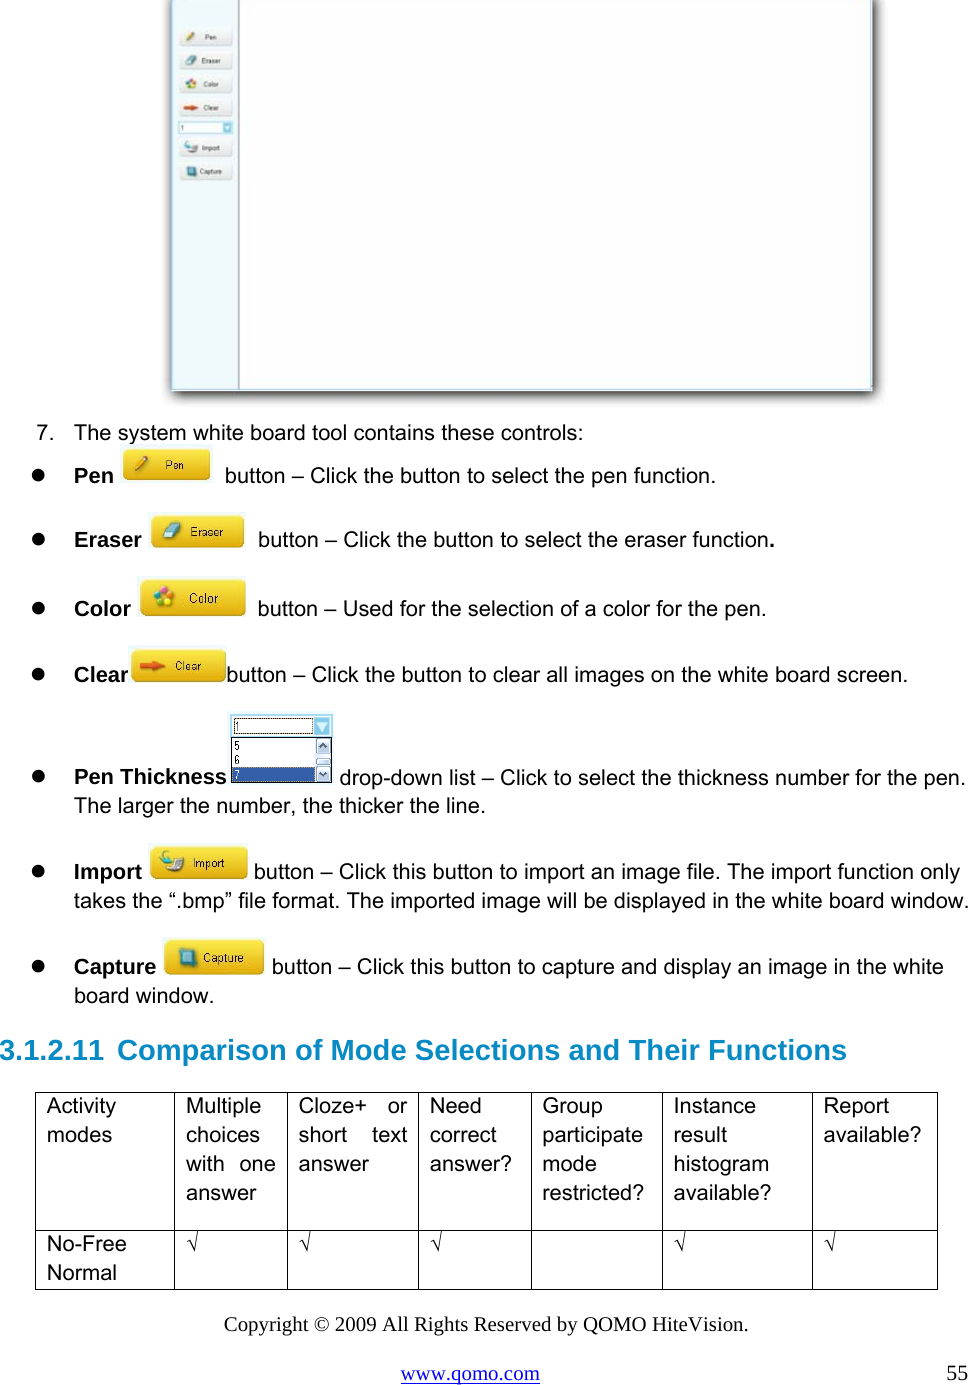
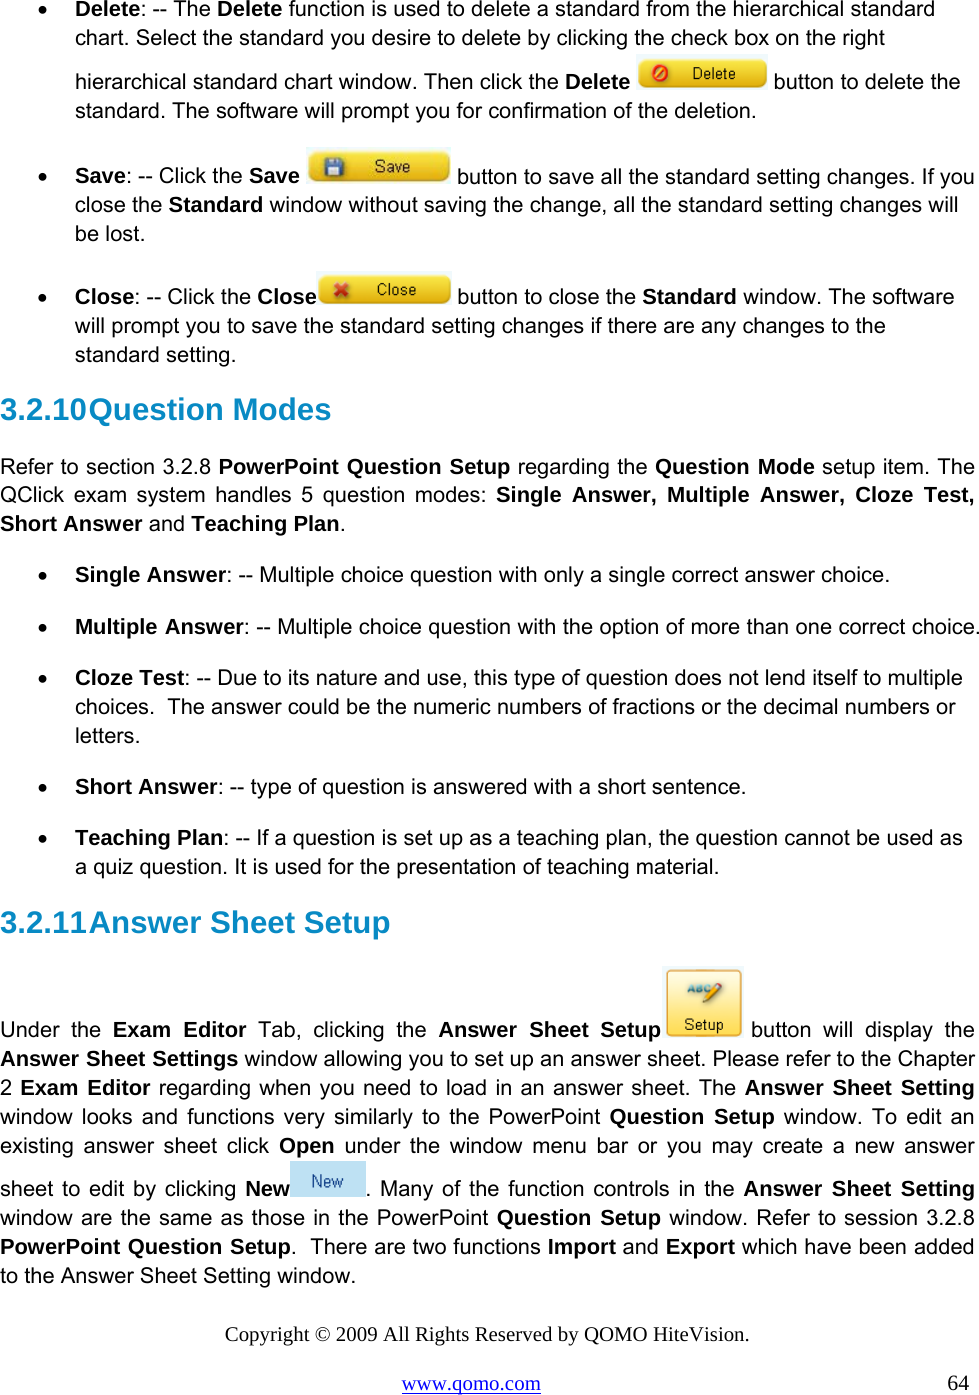
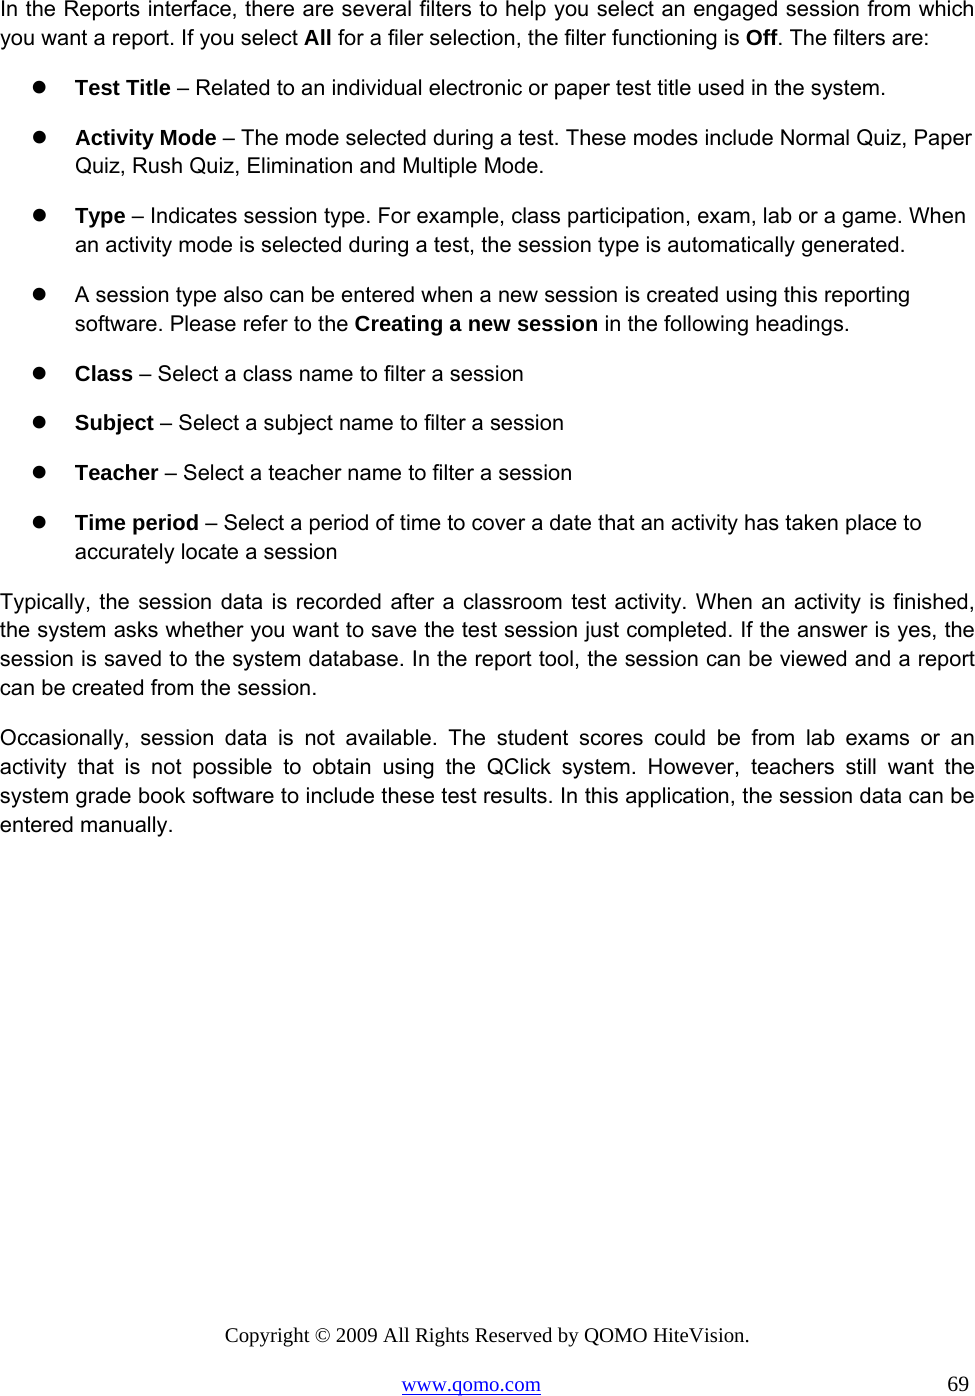
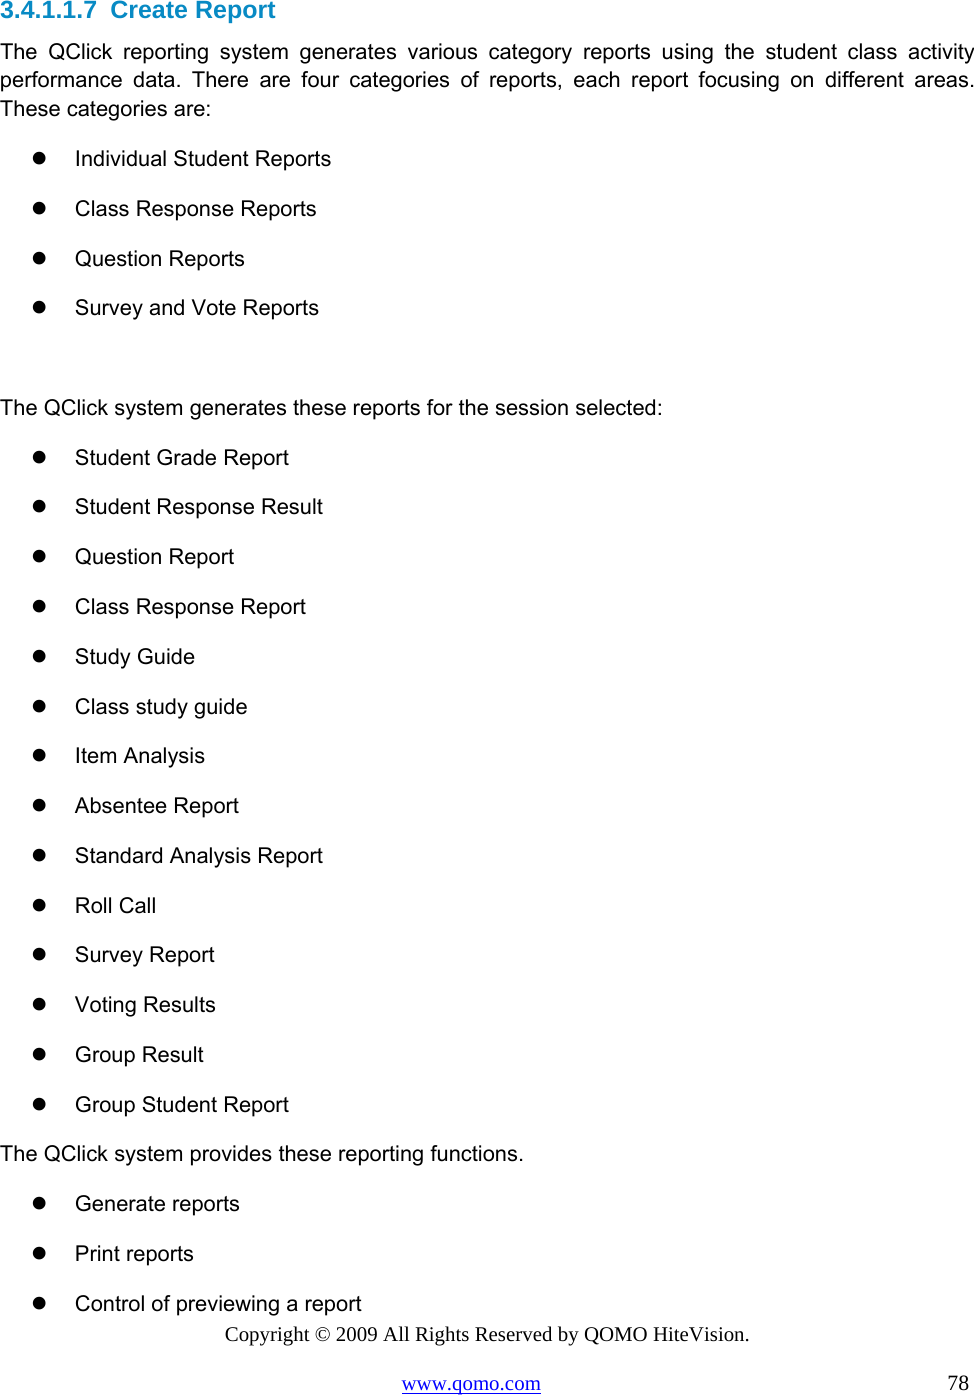
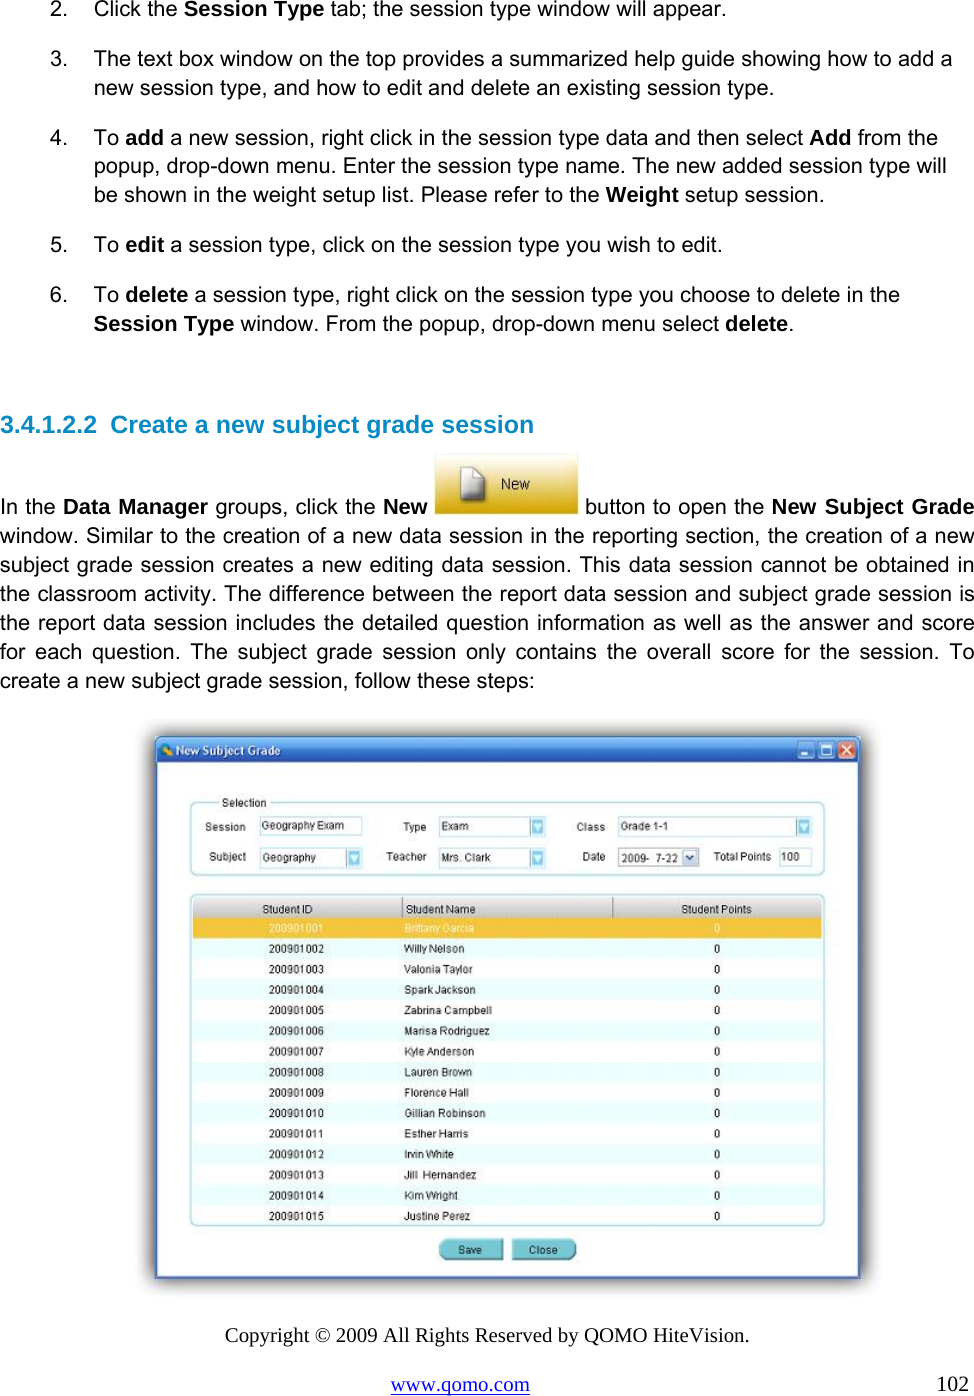
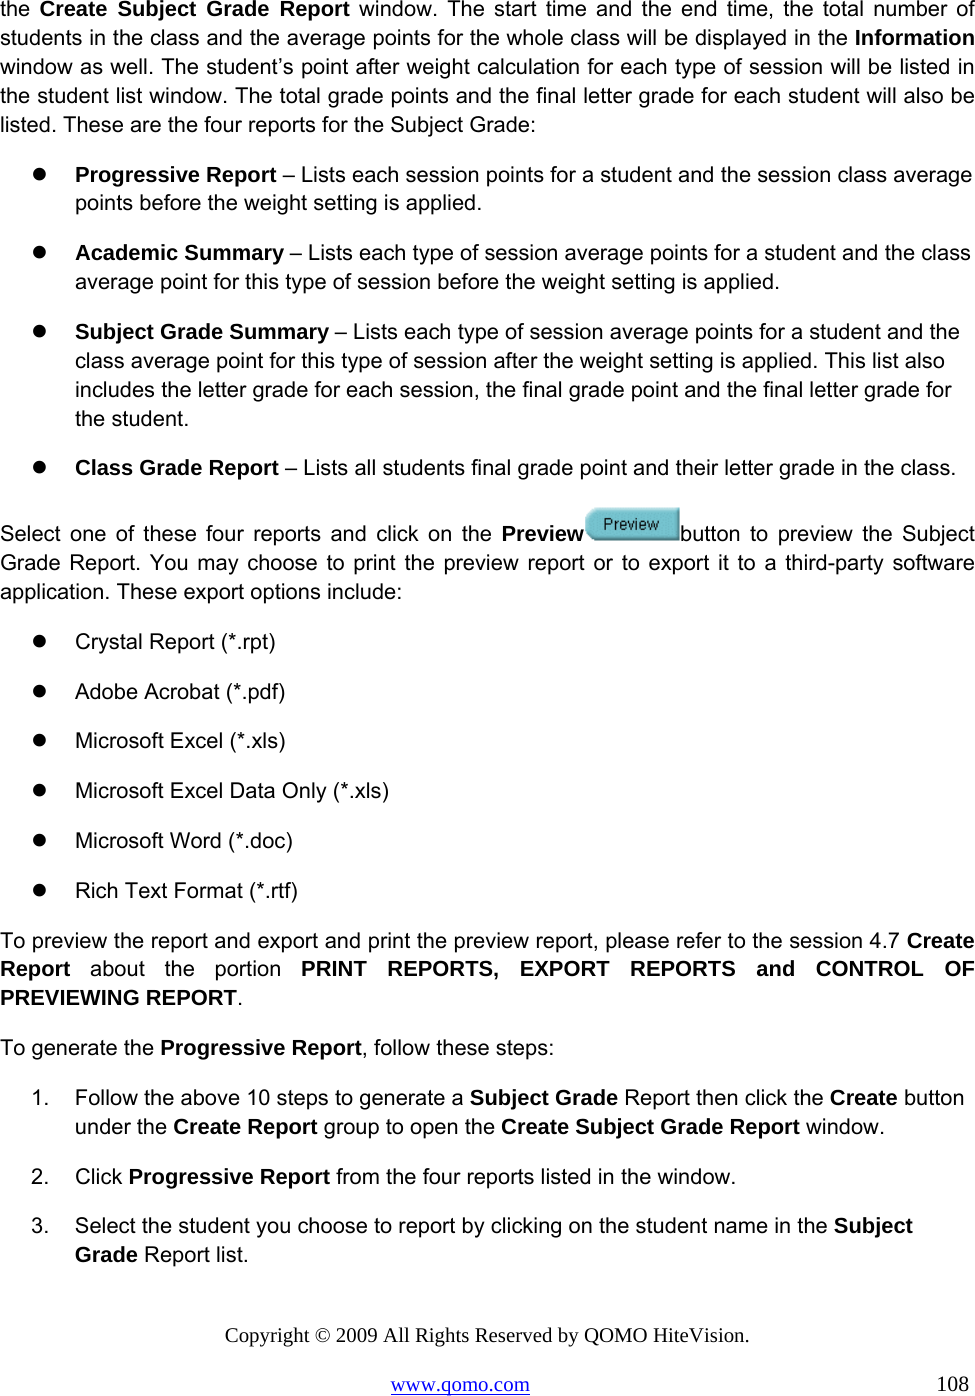
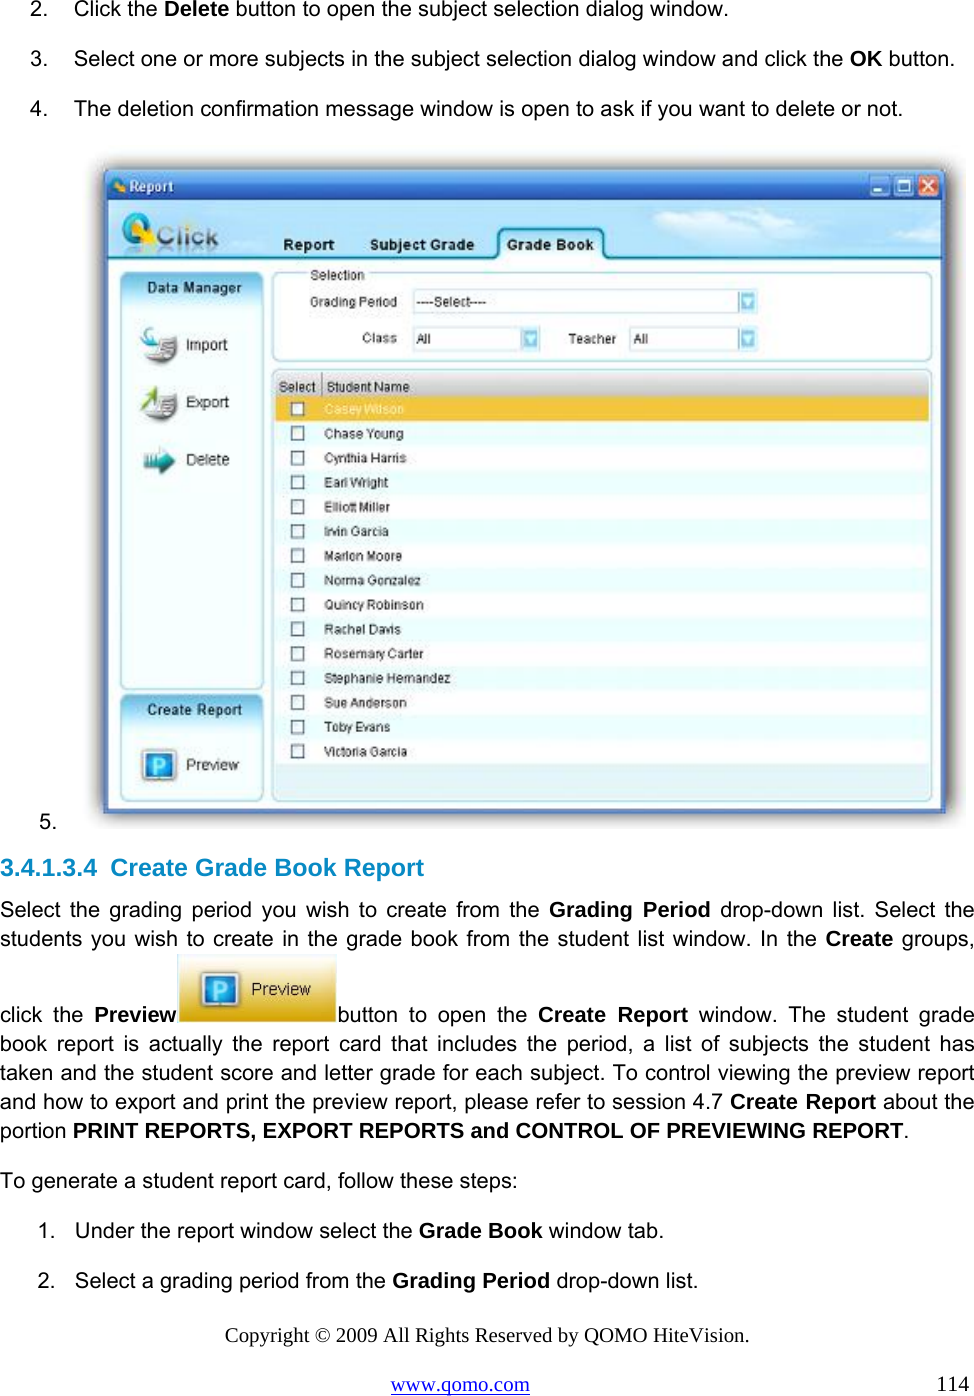
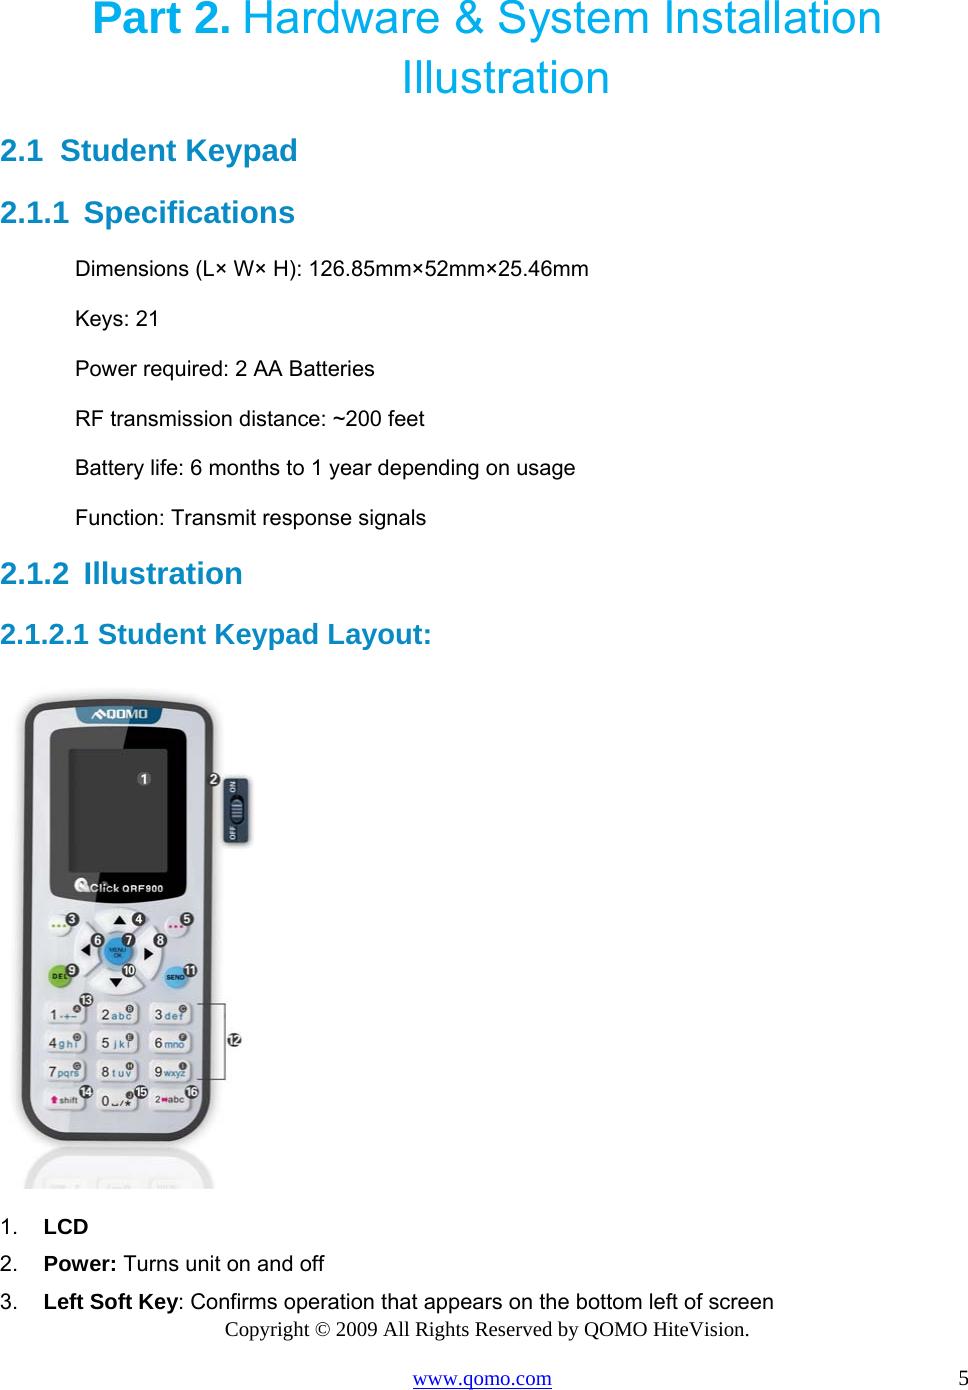
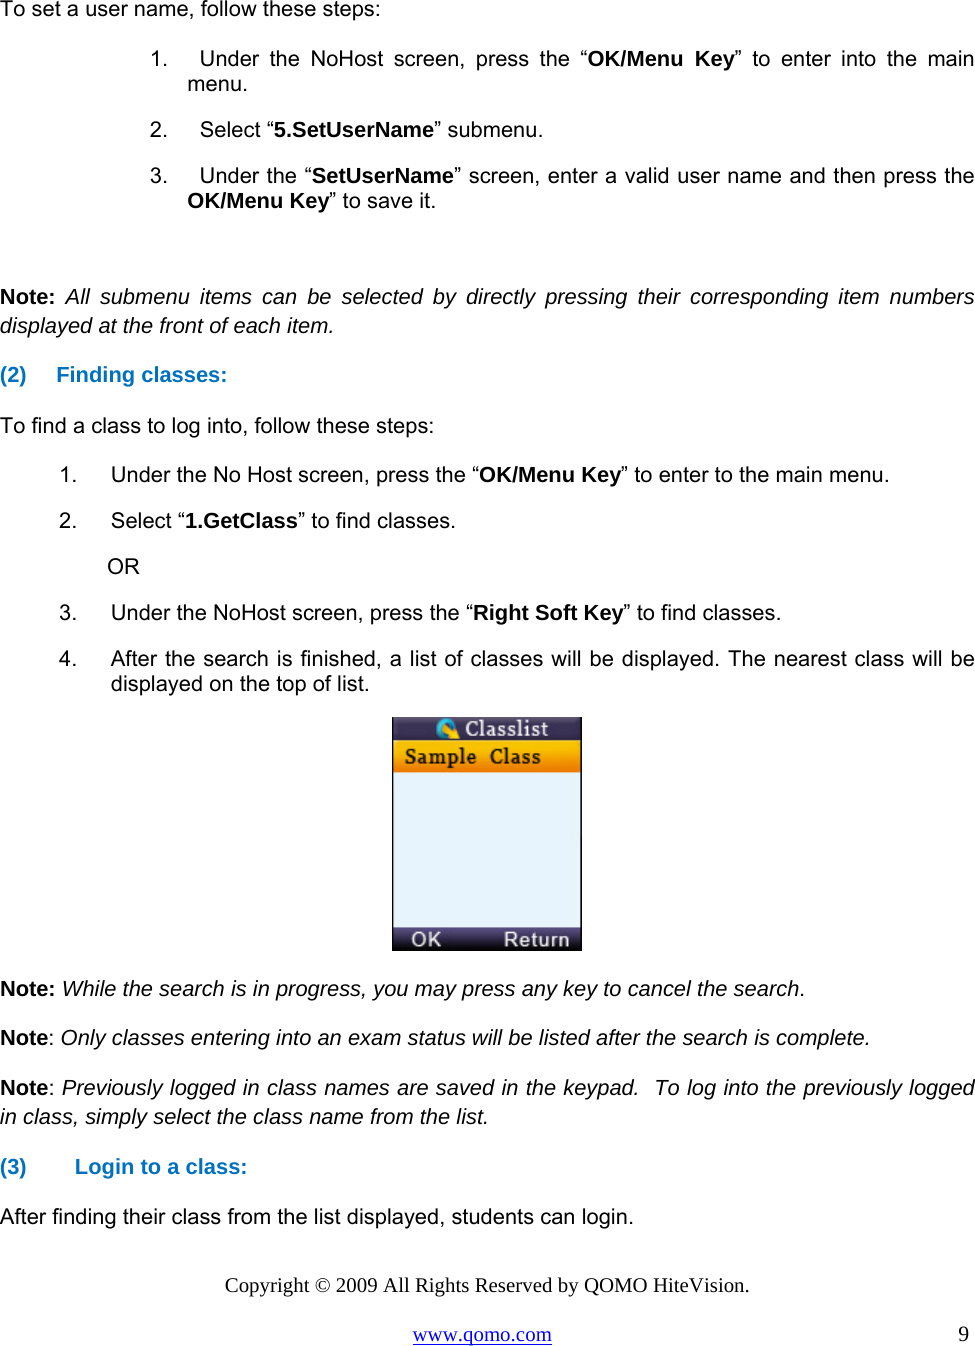
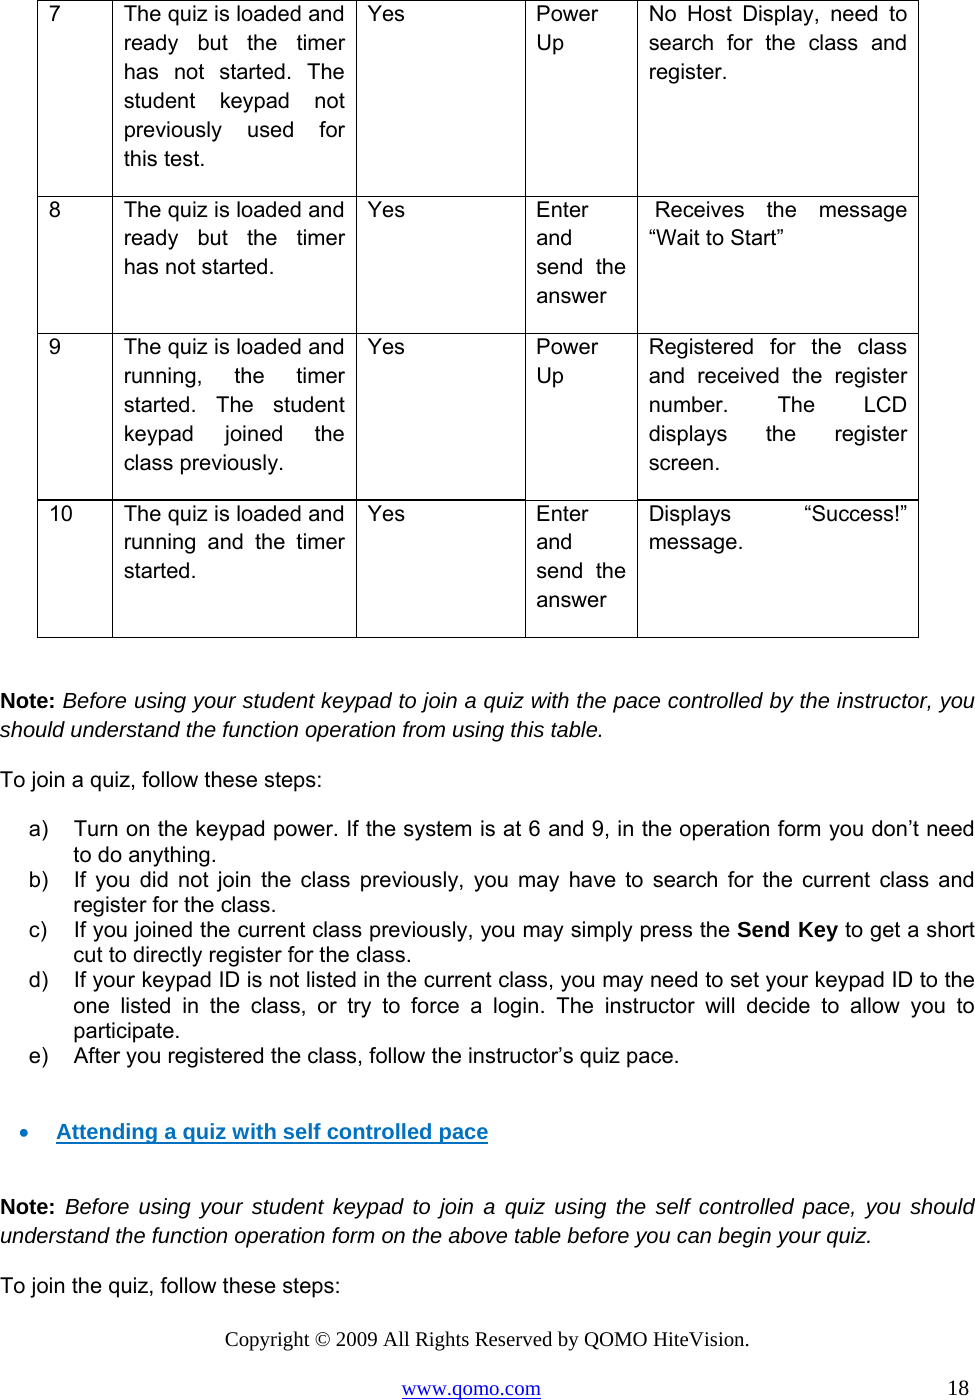
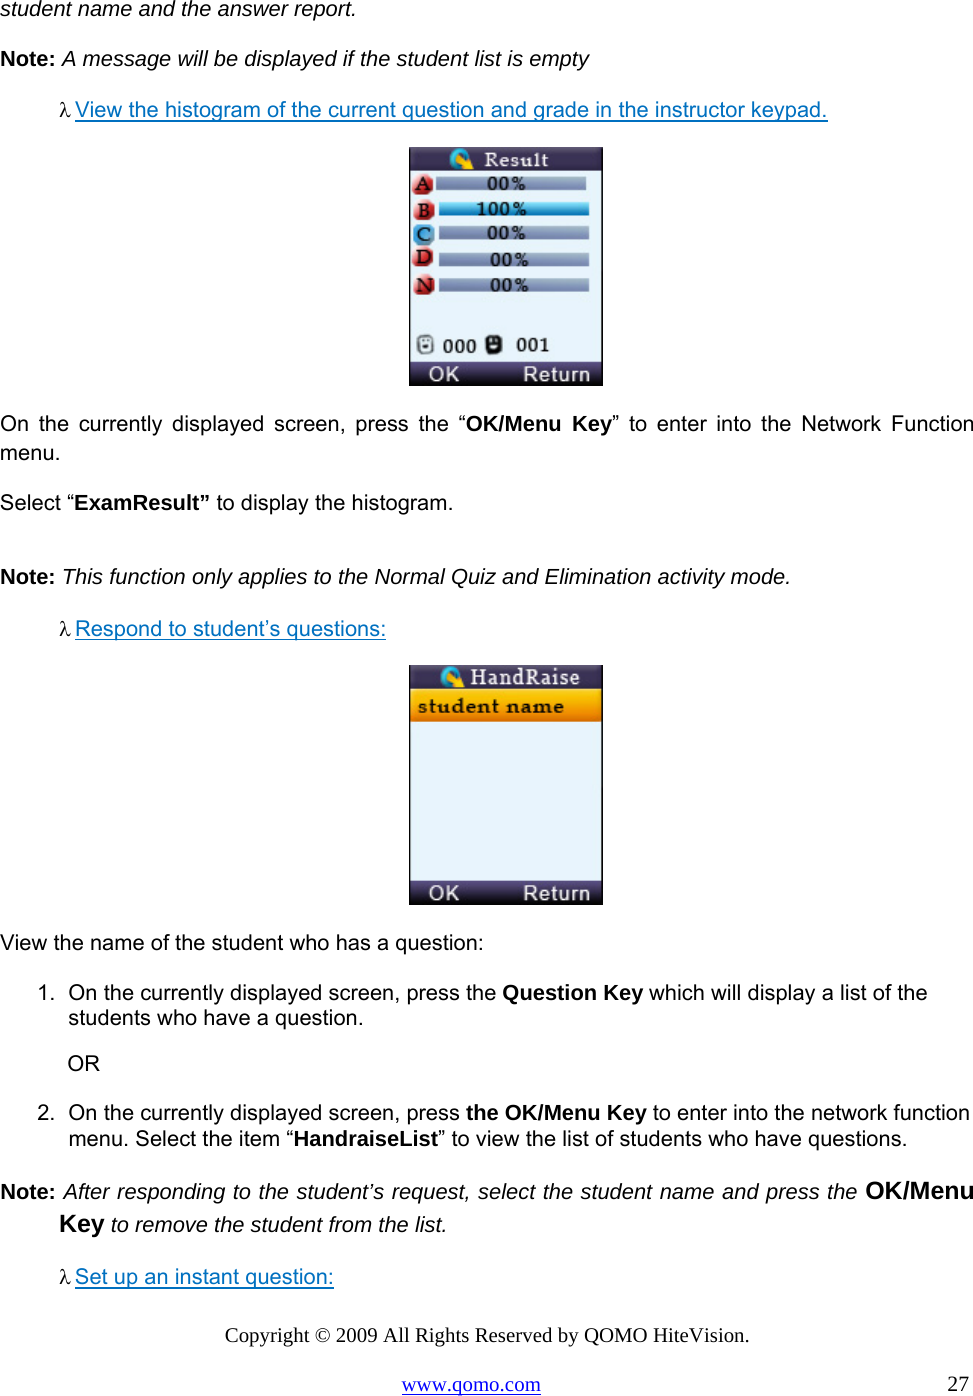
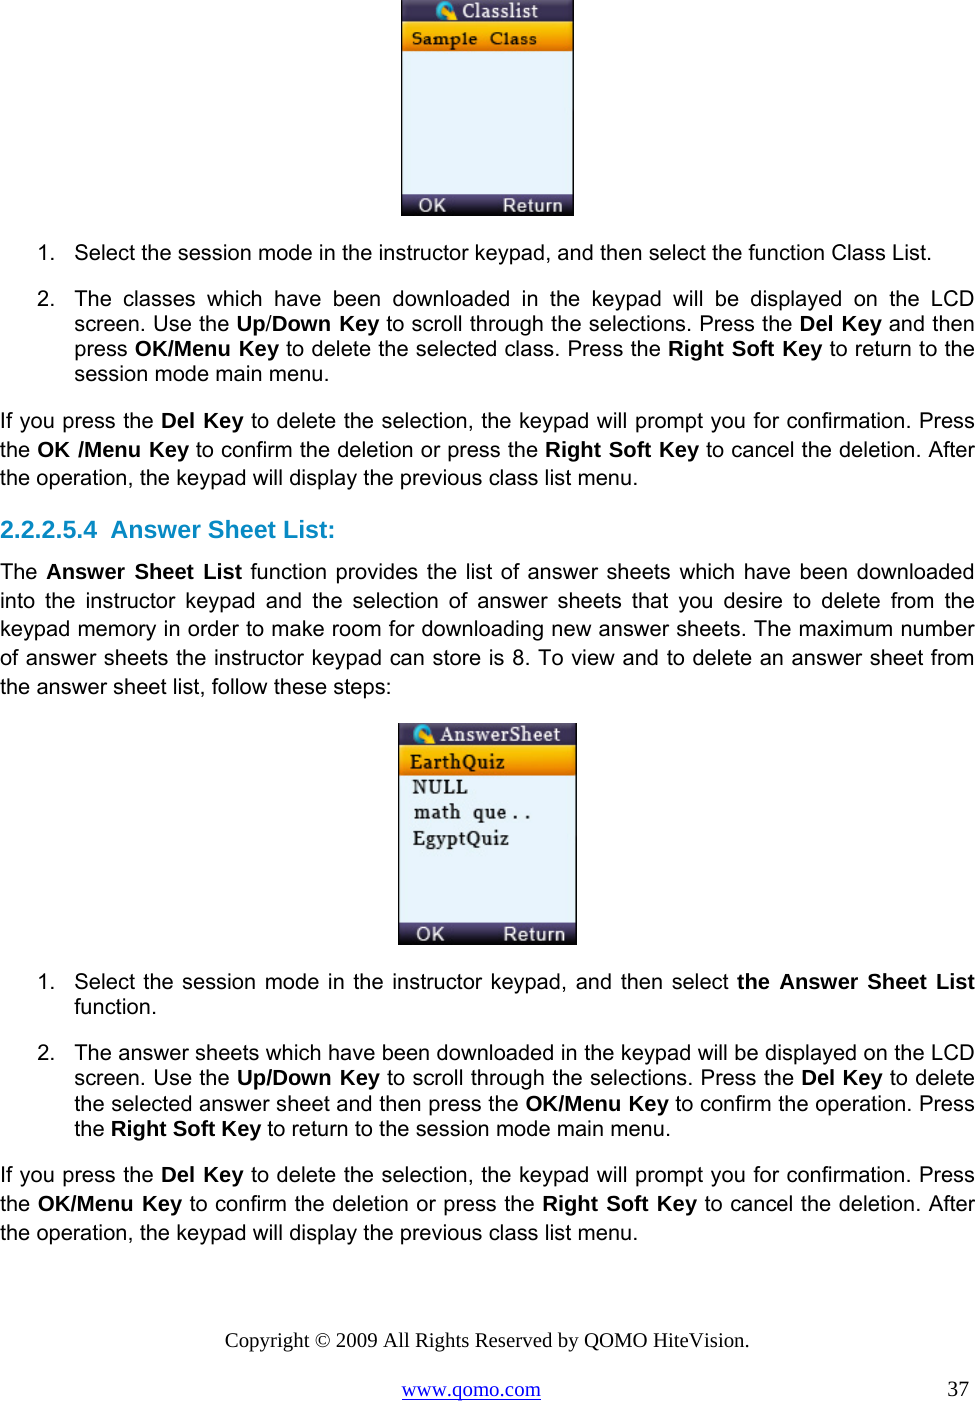
![Copyright © 2009 All Rights Reserved by QOMO HiteVision. www.qomo.com 39 2.4 Carrying Case[li rong2] Holds the student remotes, instructor remote, receiver, software disk, and cables](https://usermanual.wiki/QOMO-HiteVision/QRF900-TR1.User-Manual/User-Guide-1289281-Page-39.png)