Qisda R61B200 E-Book User Manual eReader User Guide R61B200
Qisda Corporation E-Book eReader User Guide R61B200
UserManual.wiki
>
Qisda
>
R61B200 User Manual
user manual
Navigation menu
Upload a User Manual
Namespaces
Wiki Guide
HTML
PDF
Info
Views
User Manual
Discussion / Help
Navigation


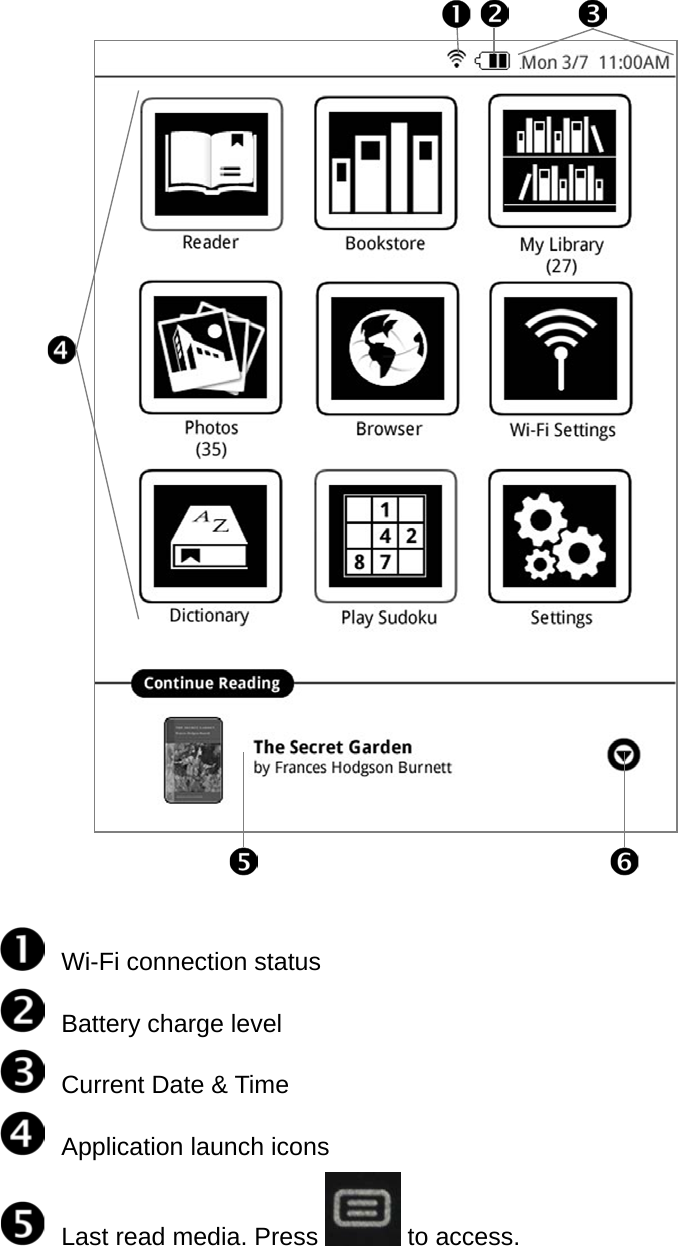


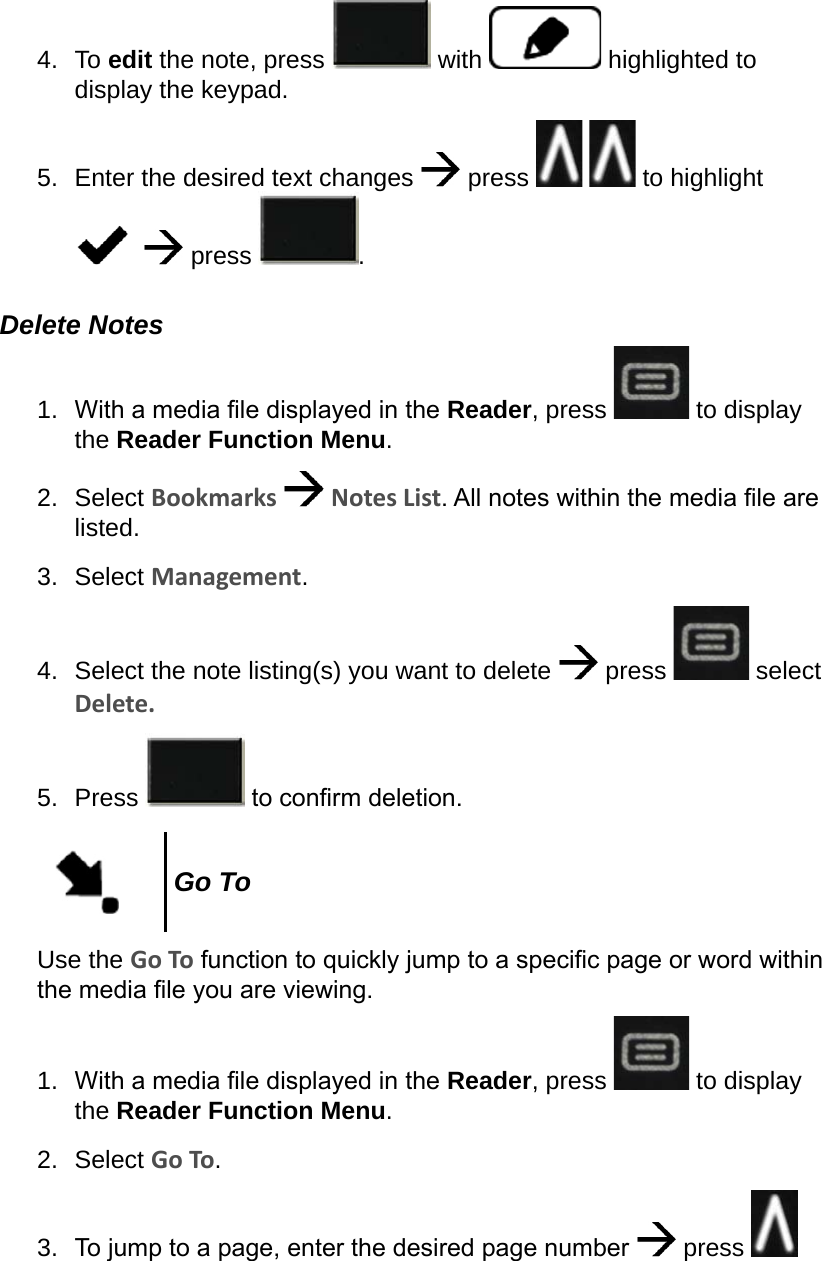

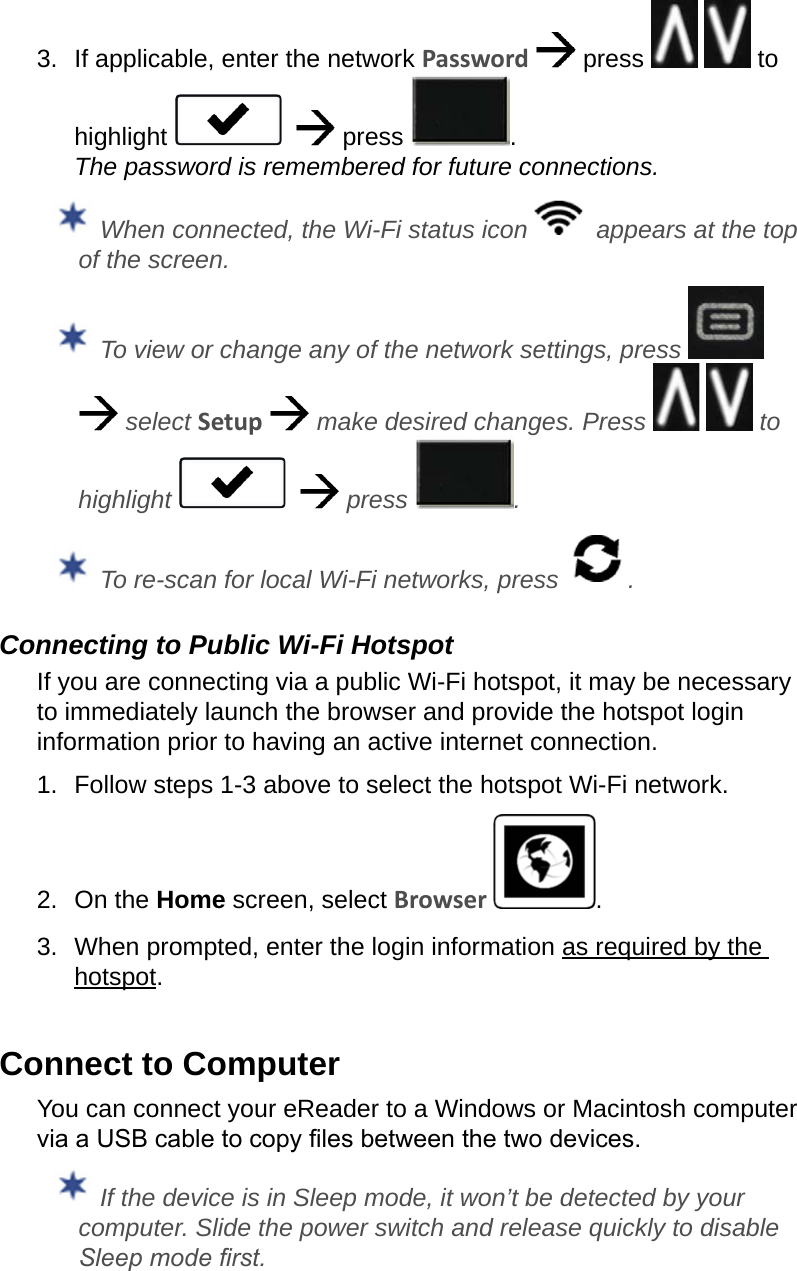
![3. If the denition is longer than the viewable area, press to view the remainder of the denition.4. To look up another word, press and repeat step 2.5. Press to return to the Home screen.PHOTOSThe following methods can be used to add photos to the device:• Import photo les from a SD card• Copy photo les from your computer via microUSB Photo le formats supported: JPEG and PNG Photo les must reside in a /Photos folder on your SD card. If you copy photo les from your computer into the internal memory, be sure to copy them into the /Photos folder.1. On the Home screen, select Photos .2. The Photo Gallery screen is displayed with photos sorted alphabetically by name in ascending order. To change the order to descending, press select View [DSC].3. If you prefer to display the photos by date added to the device, press select Photo Sengs select Date select to save.4. To view an individual photo in full-screen mode, simply select it.](https://usermanual.wiki/Qisda/R61B200/User-Guide-1459743-Page-47.png)