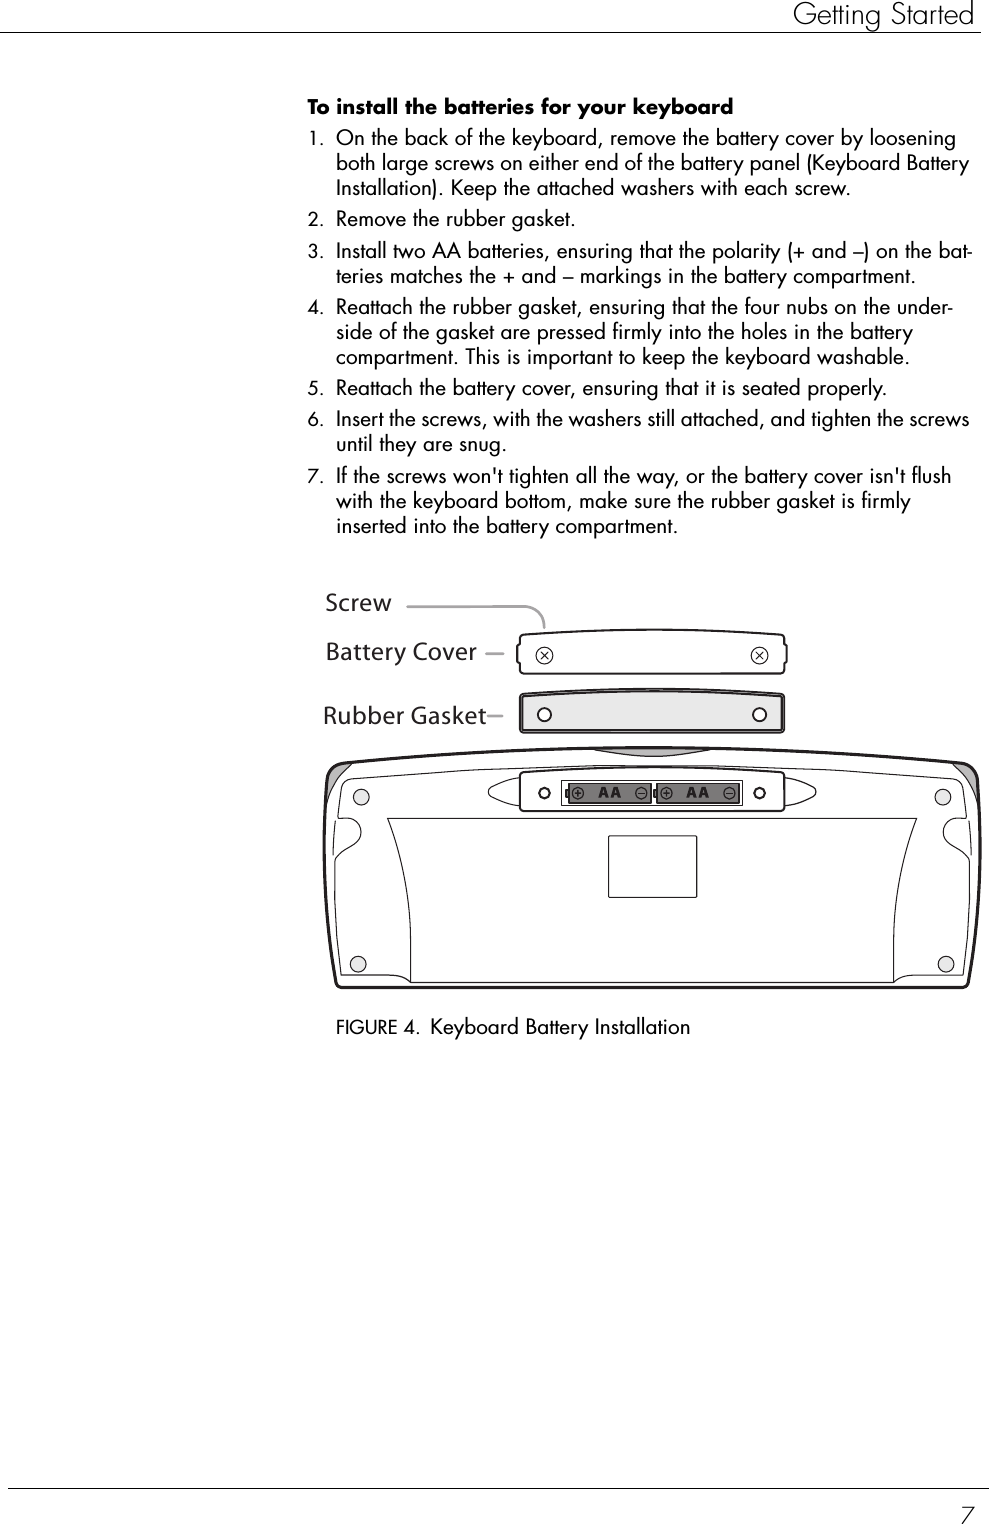
Quanta Computer HA2SANI Icebox Countertop User Manual IceboxBook
Quanta Computer Inc Icebox Countertop IceboxBook
UserManual.wiki
>
Quanta Computer
>
HA2SANI User Manual
Manual revised
Navigation menu
Upload a User Manual
Namespaces
Wiki Guide
HTML
PDF
Info
Views
User Manual
Discussion / Help
Navigation
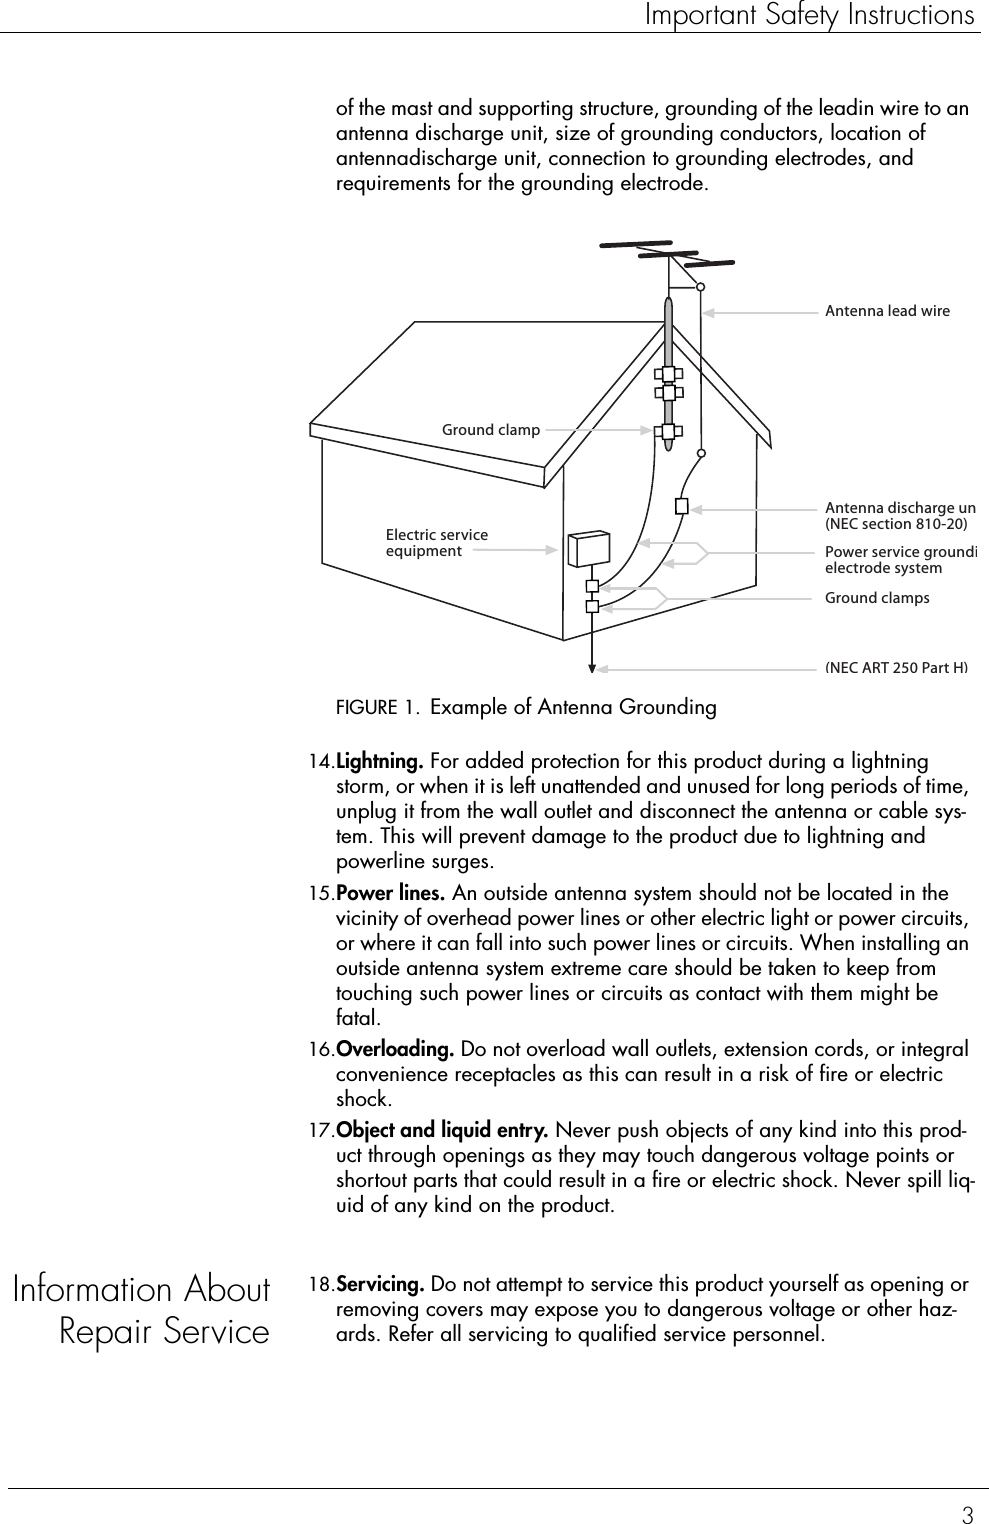
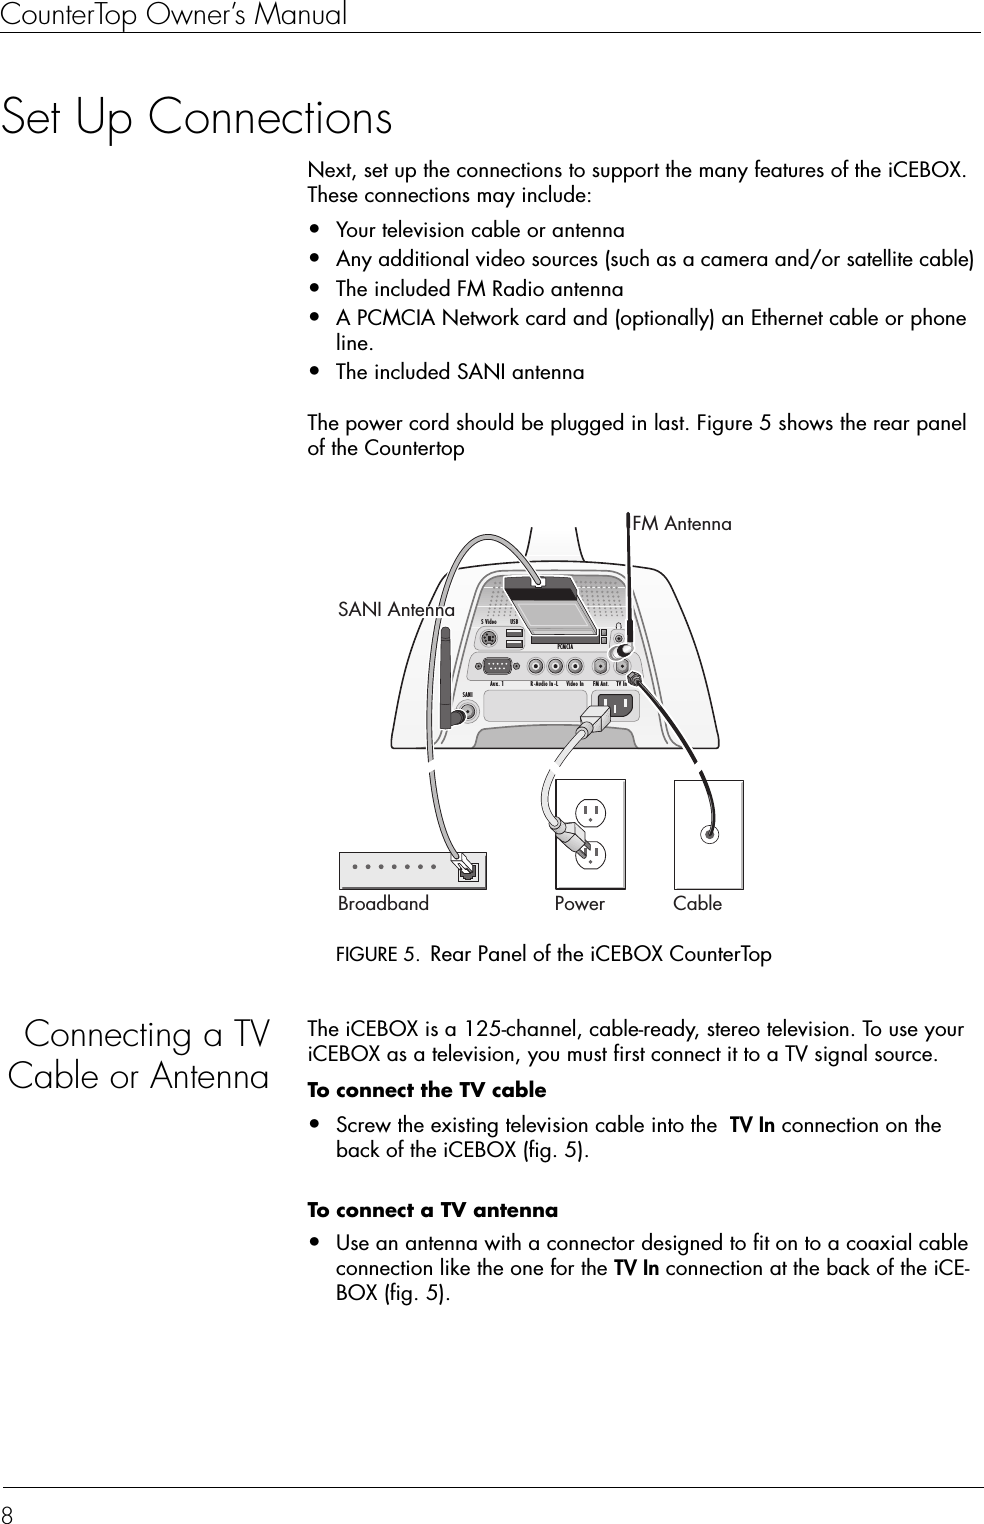
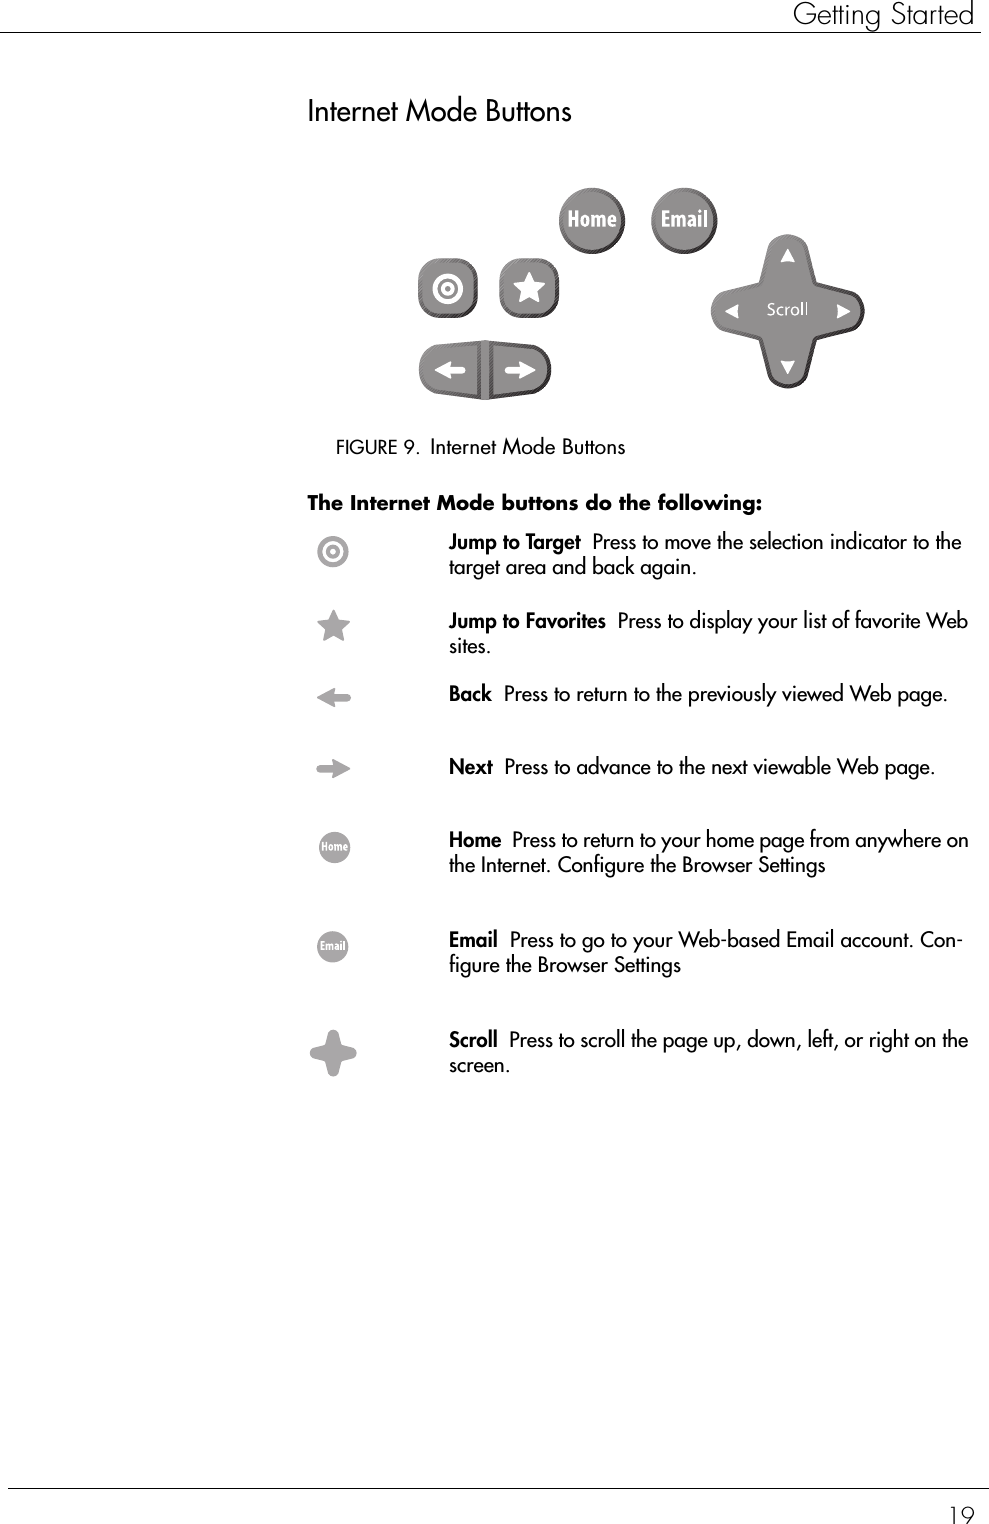
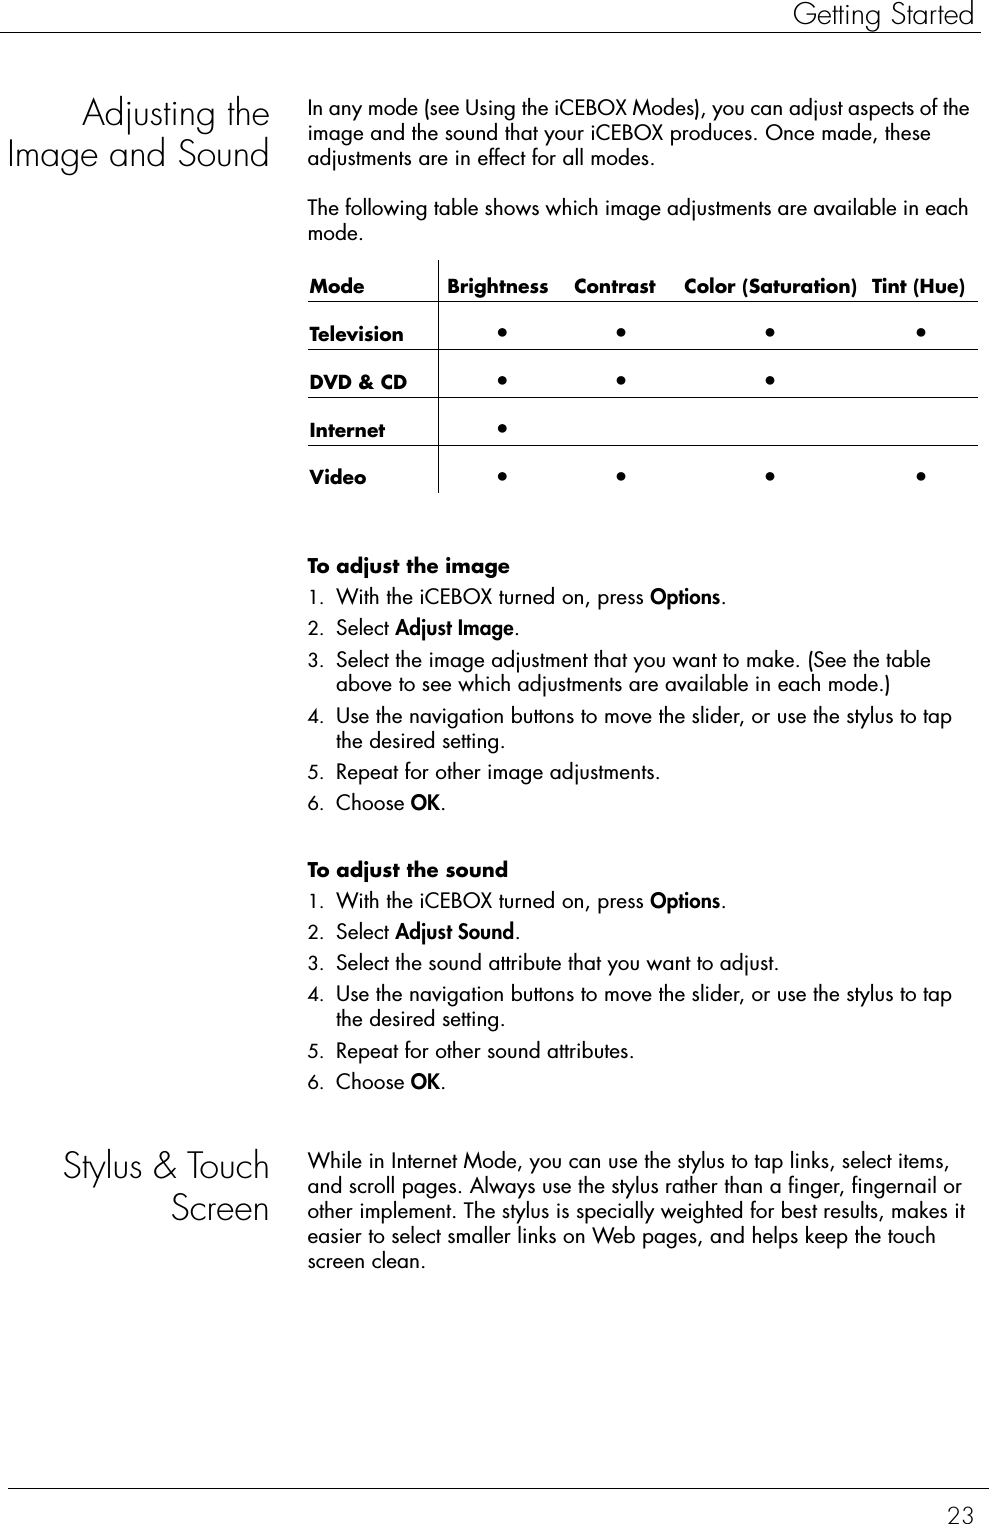
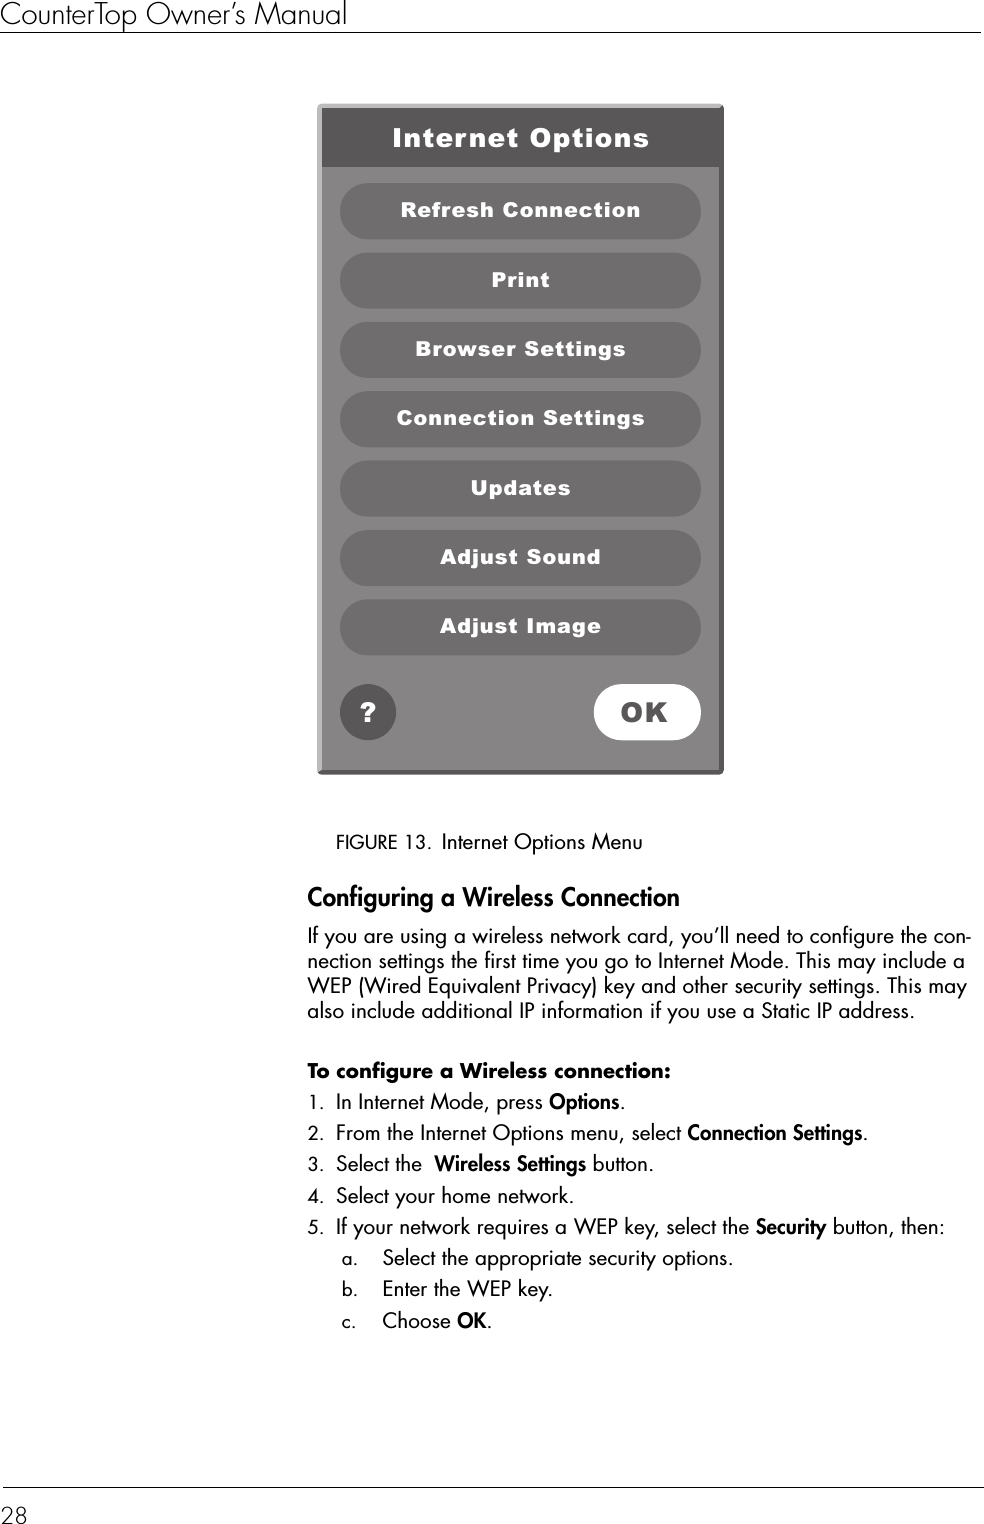
![CounterTop Owner’s Manual10To connect an RCA Composite source 1. Plug an RCA cable from a camera, VCR or game machine into the Video In connection on the back of the iCEBOX.2. Insert audio cables from the device into the Audio In connections on the back of the iCEBOX.Connecting theFM RadioAntennaYou can use the iCEBOX to listen to your favorite local FM radio stations in FM Radio Mode. Enclosed with your iCEBOX CounterTop is an FM radio antenna.To connect the FM Antenna 1. Make sure the CounterTop unit is powered off by checking the LED on the front of the unit – it should be black and unlit. The power can be turned off by unplugging the power cord. 2. Remove the antenna from the iCEBOX packaging.3. Attach the antenna by screwing it onto the FM Antenna coaxial socket (see Figure 2) on the back of the CounterTop.Connecting forInternet AccessThe iCEBOX supports three types of Internet connectivity using a PCMCIA Network card. Depending upon which type of card is used, you can con-nect using:•Wired (Ethernet) Broadband. Your broadband service may be pro-vided over DSL or cable modem.•Wireless (802.11b) Broadband. This requires a wireless network.•Dial-Up Internet Access. The dial-up Internet services must not require the installation of additional software.Wired Broadband ConnectivityYour iCEBOX accessories box includes a PCMCIA Network card which supports an Ethernet connection to a DSL or cable modem. Because the iCEBOX uses the Windows CE .NET platform, we cannot ensure that an alternate network card will work. Please contact customer support for a current list of alternate supported cards.The following instructions assume that your DSL/cable modem and home network are already installed and configured. For more detailed Internet Connection information, refer to [tbd]To connect using a Wired Broadband (DSL or cable modem) connection 1. Insert the networking card into the PCMCIA slot on the back of the iCE-BOX (Rear Panel of the iCEBOX CounterTop).](https://usermanual.wiki/Quanta-Computer/HA2SANI/User-Guide-417818-Page-12.png)