Quanta Computer P91 Parkifi Sensor Version 2 User Manual
Quanta Computer Inc Parkifi Sensor Version 2
User manual

Parkifi Sensor v2 User Manual

About Parkifi
Founded in 2014 by Ryan Sullivan and Rishi Malik, Parkifi is revolutionizing the world of parking. Our
mission is to reduce parking challenges using real-time data. Whether it's a parking owner or operator
looking to increase their top line revenue, create more efficient processes and better understand their lot,
or a person driving around for 15 minutes looking for a parking spot, Parkifi provides the solution. We
use sensors to track data across all the parking spots you operate to gain valuable insights on trends and
patterns.
By gathering, filtering and sharing this data in real time, we help you manage parking far more
efficiently – and revolutionize the way they monetize it. Our solutions work equally well for parking
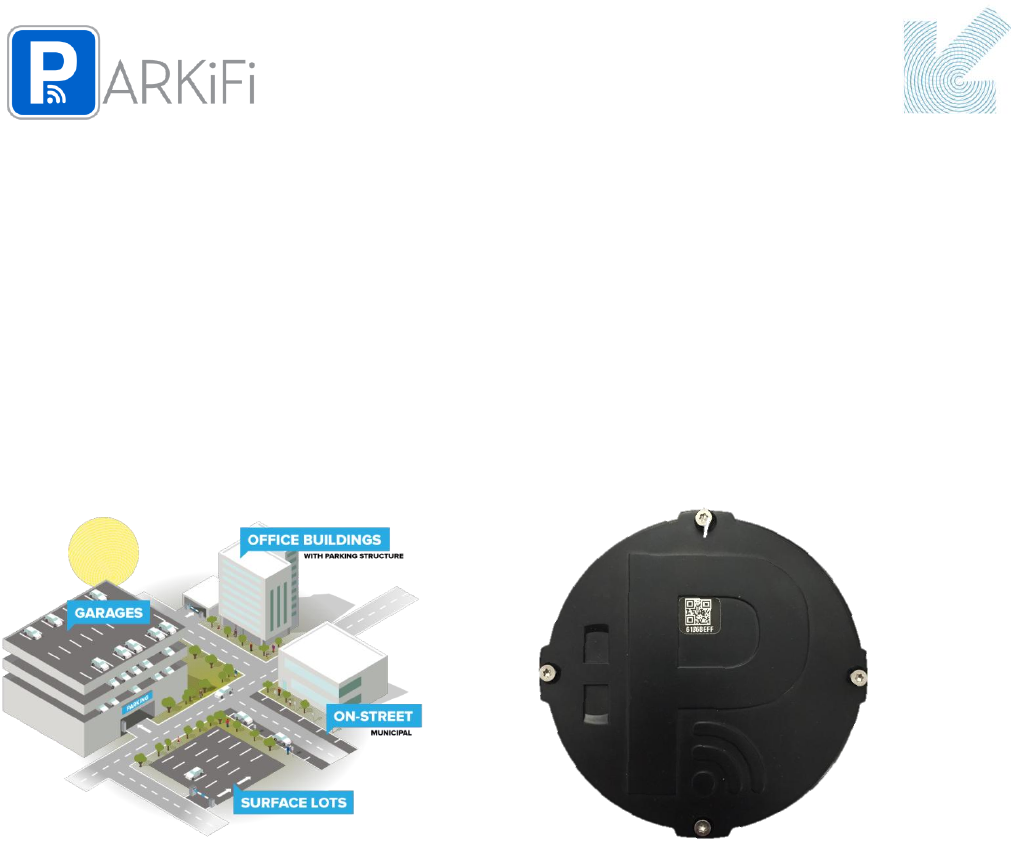
garages, surface lots and municipal parking.
Some of the key parking frustrations we address include:
City traffic congestion
Harmful emissions
Wasted fuel
Lost time looking for parking
Enforcement inefficiencies
Lost revenue
Parkifi is headquartered in Denver, CO.

Sensor v2 User Manual
Instructions:
Chalk Lines:
Measure half the depth of a spot in from the top of the spot and mark. Do the same on the other
end of the line
Chalk a line between the two ends
Go through each spot and mark the midpoint on the chalk line to find the center of the spot
where the sensor will go
Surface Lot (Recessed Installation):
Use a 4.25" core drill bit and drill 1.25" deep into the center of the spot
Use a chipping gun to chip out the inside of the core drilled hole
Use a vacuum or gloves to clear out dust/debris from the hole
Put in self leveling (SL) adhesive around the edge of the hole and on the bottom of the sensor
Put the sensor in the hole so the top is level with the ground
Default orientation is with the Parkifi 'P' facing up in the spot at 12 o'clock
If the antenna is in the direction of the top or bottom of the 'P', rotate the sensor 90 degrees so
that the top of the 'P' is now at 3 o'clock
Put adhesive around the outside of the hole to fill in the gaps around the sensor. Put adhesive
around the top of the sensor to cover the four screws
Go to Installifi > Zones > View Spots and run base_recalibration on the spot. Wait 3 minutes
then check to see that the Sensor Calibrated At time is populated
Go to Installifi > Zones > View Spots and run cloud_recalibration on the spot. Verify that the
Cloud Calibration Start Time is populated and wait 7 minutes. After those 7 minutes are up the
spot is complete

Garage (Surface Mounted Installation):
Lay all sensors into the center of the spots as determined by your chalk lines
Go to Installifi > Zones > View Spots and run base_recalibration on all sensors in the zone.
Running a base_recal allows the sensors to start reporting magnetometer data
Go to each sensor page and check the Sensor History Series Data. Hover over the furthest-right
point to see the X, Y and Z magnetometer values
Check that all values are less than the absolute value of 1200 (less than 1200 or greater
than -1200)
If any values are outside of that threshold, move the sensor a couple inches to the left or
right in the spot, wait a couple minutes and check values again. Repeat until you find a
point near the center of the space that has good magnetometer readings (less than
absolute value 1200)
We prefer to move sensors left and right in the spot to keep the aeshetic so that if
someone looked down the line of sensors they'd all be in line
Put high viscosity (HV) adhesive on the bottom of the sensor and stick it in the spot
Default orientation is with the Parkifi 'P' facing up in the spot at 12 o'clock
If the antenna is in the direction of the top or bottom of the 'P', rotate the sensor 90
degrees so that the top of the 'P' is now at 3 o'clock
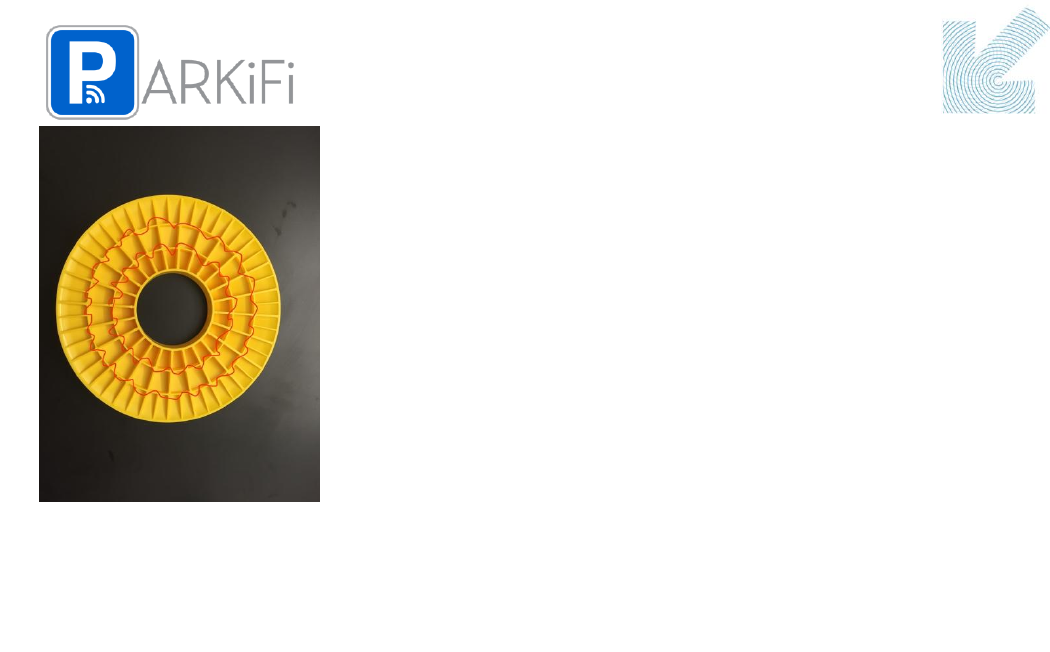
Put high viscosity (HV) adhesive around the outside of the ring. Put the ring down around the
sensor and stand on it

Go to Installifi > Zones > View Spots and run base_recalibration on the spot. Wait 3 minutes
then check to see that the Sensor Calibrated At time is populated
Go to Installifi > Zones > View Spots and run cloud_recalibration on the spot. Verify that the
Cloud Calibration Start Time is populated and wait 7 minutes. After those 7 minutes are up the
spot is complete

Operation Description
Bluetooth LE Function Description
The Bluetooth LE transceiver includes PLL, VCO, LNA, PA, modulator and demodulator. The
Bluetooth baseband signal processor incorporates hardware engines performs frequency hopping, error
correcting, whitening, encrypting, data packet assembling and de-assembling. Bluetooth LE function is fully
compliant with Bluetooth specification 4.0. Bluetooth basic rate use GFSK modulation, where an
instantaneous data rate of 1 Mbit/s is possible.
433MHz RF Function Description
For 433MHz RF function operation, devices communicate using near filed EM wave with 433MHz
frequency. Its transmission data rate is set as 9600 bps for type of standards. The significant advantages of
433MHz wireless signal penetration is strong, able to spread further. 433MHz RF function generally used in
some device which request less data transfer.

Federal Communication Commission Interference Statement
This device complies with Part 15 of the FCC Rules. Operation is subject to the following two
conditions: (1) This device may not cause harmful interference, and (2) this device must accept any
interference received, including interference that may cause undesired operation.
This equipment has been tested and found to comply with the limits for a Class B digital device,
pursuant to Part 15 of the FCC Rules. These limits are designed to provide reasonable protection against
harmful interference in a residential installation. This equipment generates, uses and can radiate radio
frequency energy and, if not installed and used in accordance with the instructions, may cause harmful
interference to radio communications. However, there is no guarantee that interference will not occur in
a particular installation. If this equipment does cause harmful interference to radio or television
reception, which can be determined by turning the equipment off and on, the user is encouraged to try to
correct the interference by one of the following measures:
Reorient or relocate the receiving antenna.
Increase the separation between the equipment and receiver.
Connect the equipment into an outlet on a circuit different from that
to which the receiver is connected.
Consult the dealer or an experienced radio/TV technician for help.
FCC Caution:
Any changes or modifications not expressly approved by the party responsible for compliance
could void the user's authority to operate this equipment.
This transmitter must not be co-located or operating in conjunction with any other antenna or
transmitter.
Radiation Exposure Statement:
This equipment complies with FCC & IC radiation exposure limits set forth for an uncontrolled
environment. This equipment should be installed and operated with minimum distance 20cm between
the radiator & your body.
Déclaration d'exposition aux radiations:
Cet équipement est conforme aux limites d'exposition aux rayonnements IC établies pour un
environnement non contrôlé. Cet équipement doit être installé et utilisé avec un minimum de 20 cm de
distance entre la source de rayonnement et votre corps.

Industry Canada statement
This device complies with Industry Canada license-exempt RSS standard(s). Operation is subject to
the following two conditions:
1) this device may not cause interference, and
2) this device must accept any interference, including interference that may cause undesired
operation of the device.
Le présent appareil est conforme aux CNR d'Industrie Canada applicables aux appareils radio
exempts de licence. L'exploitation est autorisée aux deux conditions suivantes:
1) l'appareil ne doit pas produire de brouillage, et
2) l'utilisateur de l'appareil doit accepter tout brouillage radioélectrique subi, même si le
brouillage est susceptible d'en compromettre le fonctionnement.
This Class B digital apparatus complies with Canadian ICES-003.
Cet appareil numérique de la classe B est conforme à la norme NMB-003 du Canada.
This device complies with RSS-310 of Industry Canada. Operation is subject to the condition that
this device does not cause harmful interference.
Cet appareil est conforme à la norme RSS-310 d'Industrie Canada. L'opération est soumise à la
condition que cet appareil ne provoque aucune interférence nuisible.
This device and its antenna(s) must not be co-located or operating in conjunction with any other
antenna or transmitter, except tested built-in radios.
Cet appareil et son antenne ne doivent pas être situés ou fonctionner en conjonction avec une autre
antenne ou un autre émetteur, exception faites des radios intégrées qui ont été testées.
The County Code Selection feature is disabled for products marketed in the US/ Canada.
La fonction de sélection de l'indicatif du pays est désactivée pour les produits commercialisés aux
États-Unis et au Canada.