Quanta Microsystems AQT82 LTE Tablet PC User Manual
Quanta Microsystems, Inc. LTE Tablet PC Users Manual
UserManual.wiki
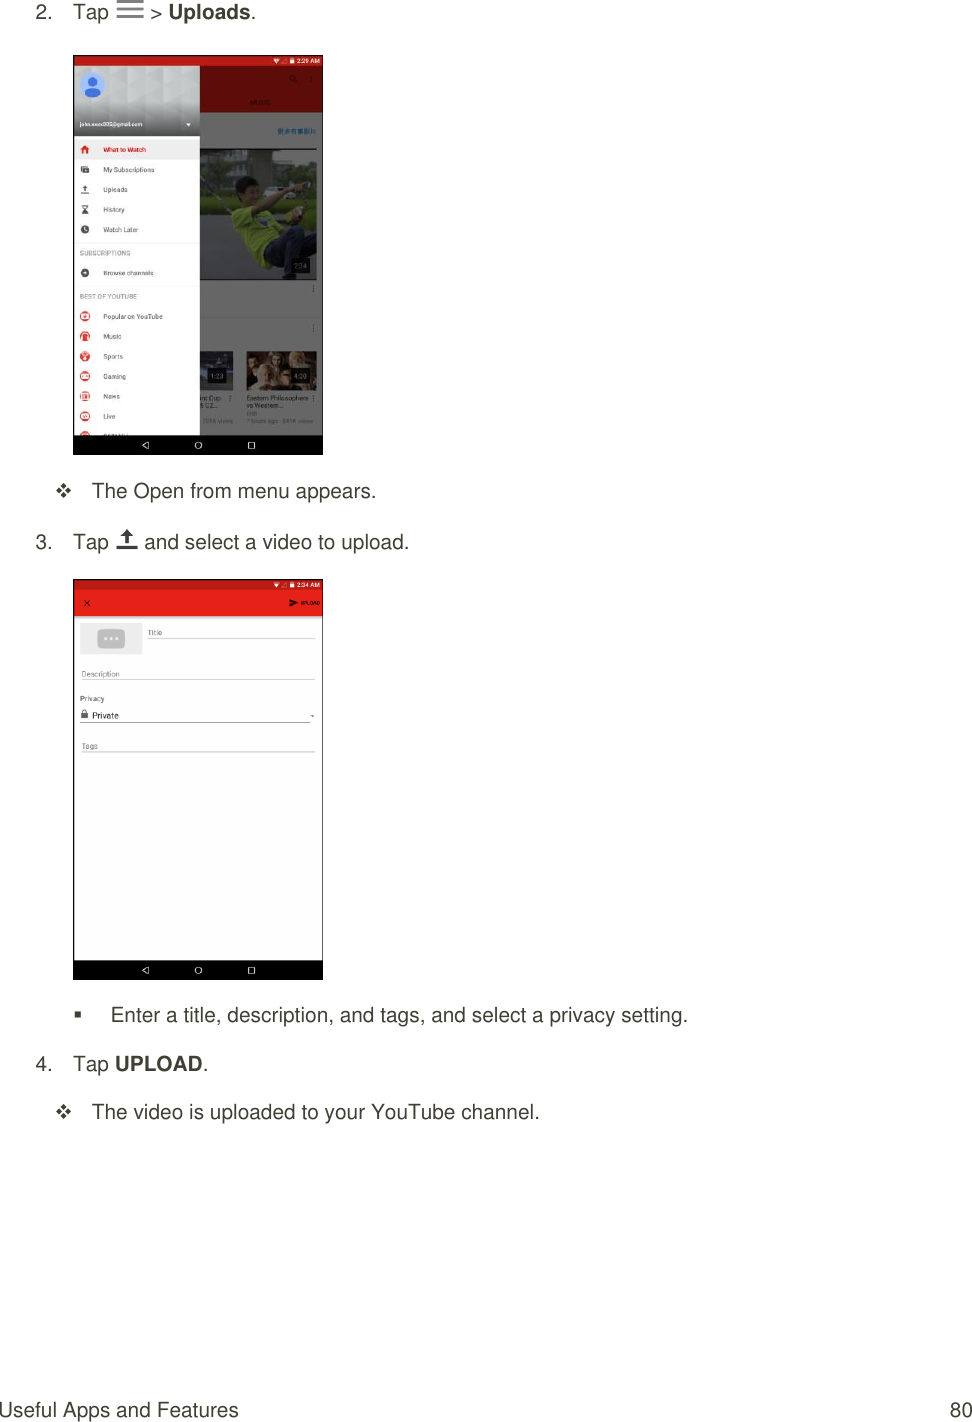
>
Quanta Microsystems
>
AQT82 User Manual
Users Manual
Navigation menu
Upload a User Manual
Namespaces
Wiki Guide
HTML
PDF
Info
Views
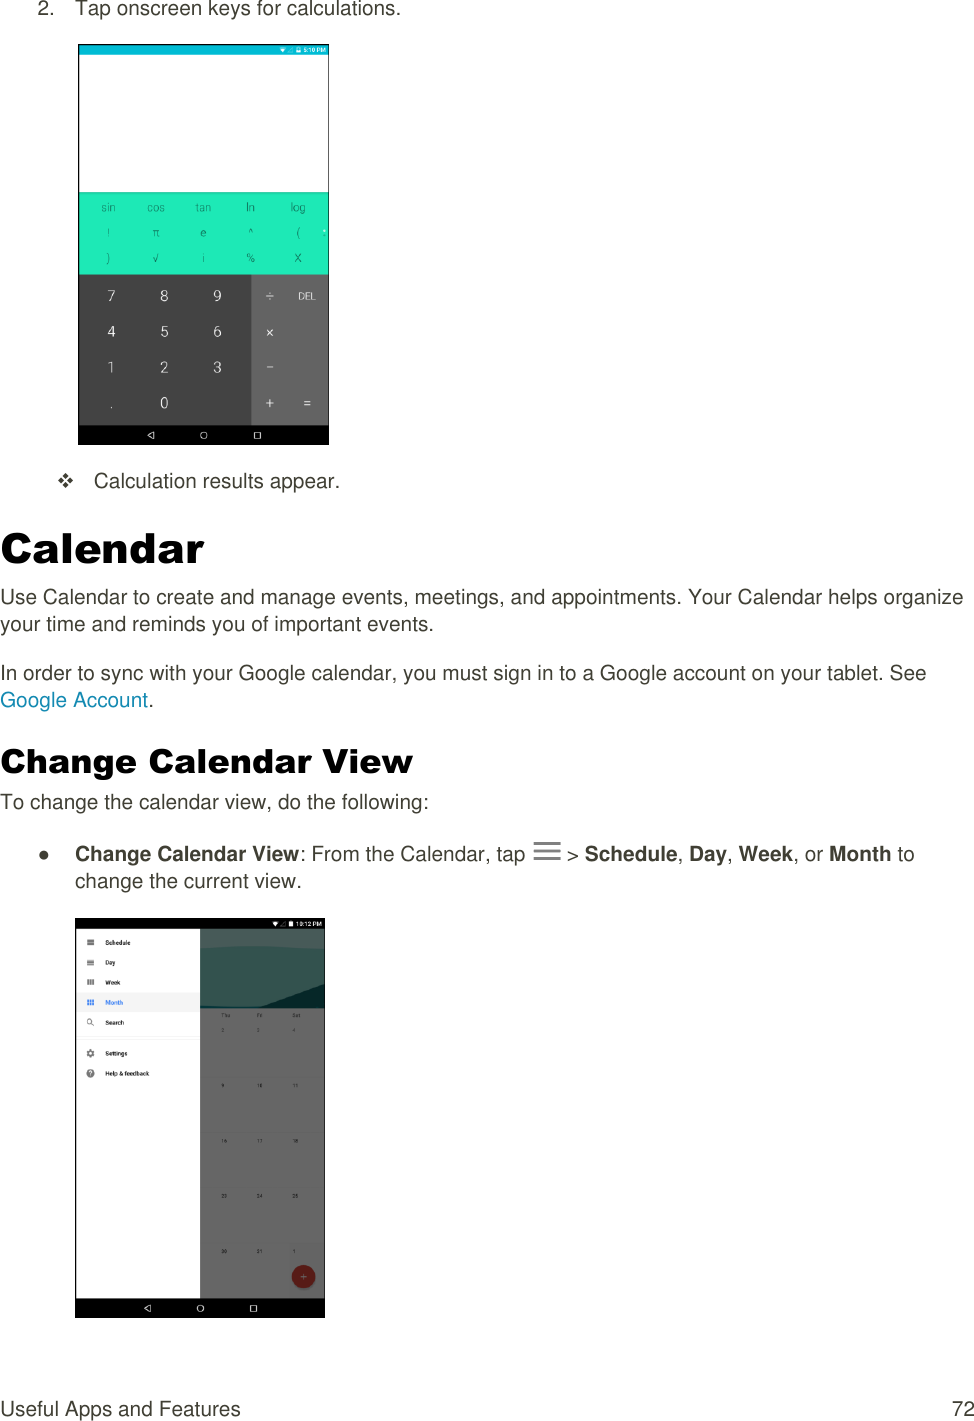
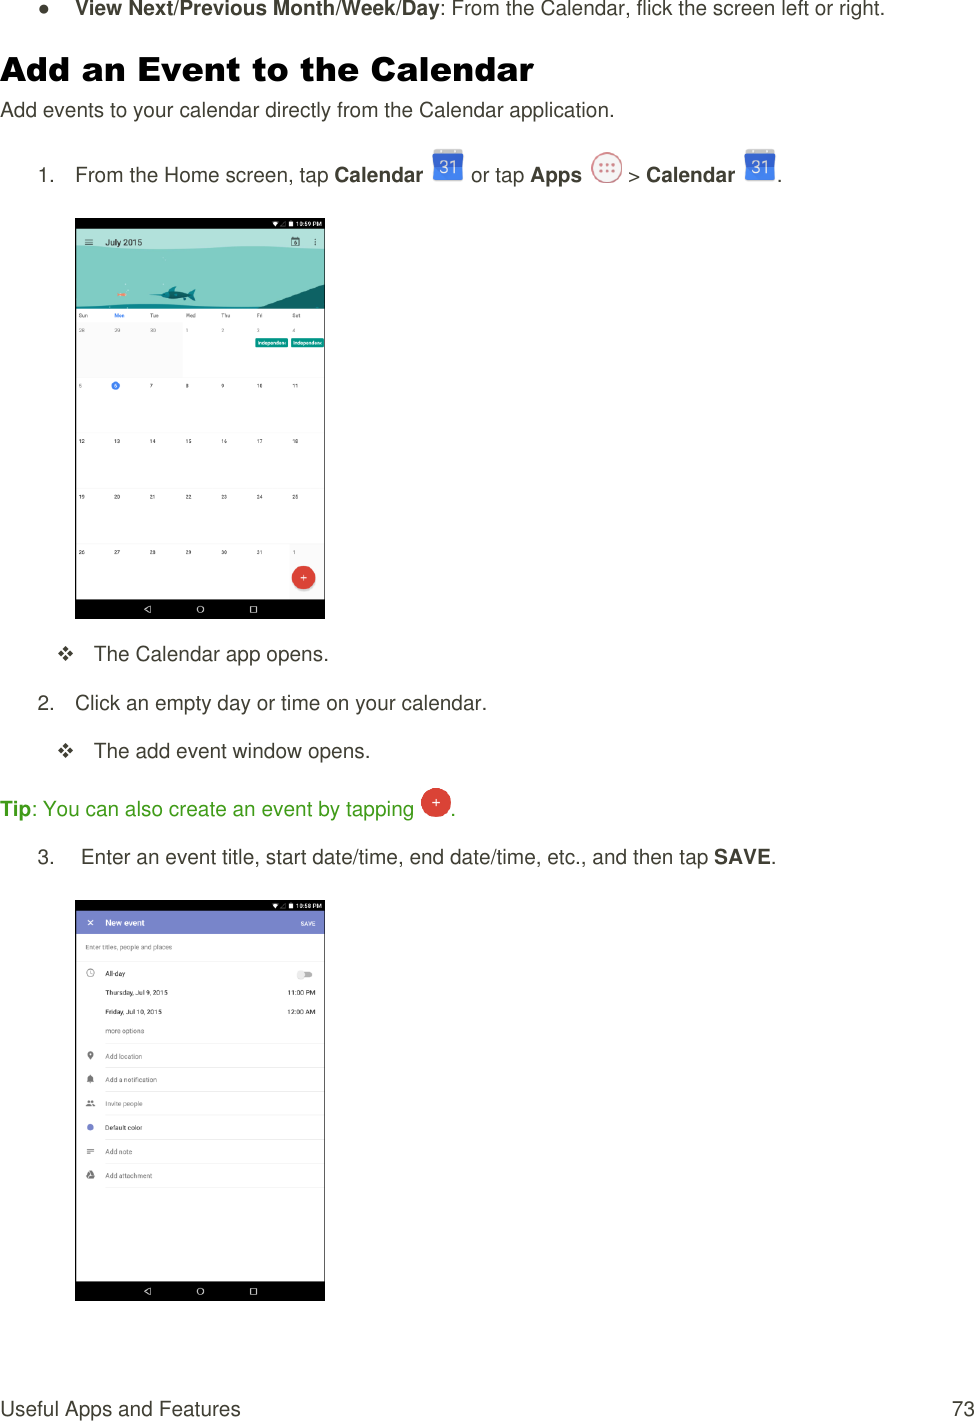
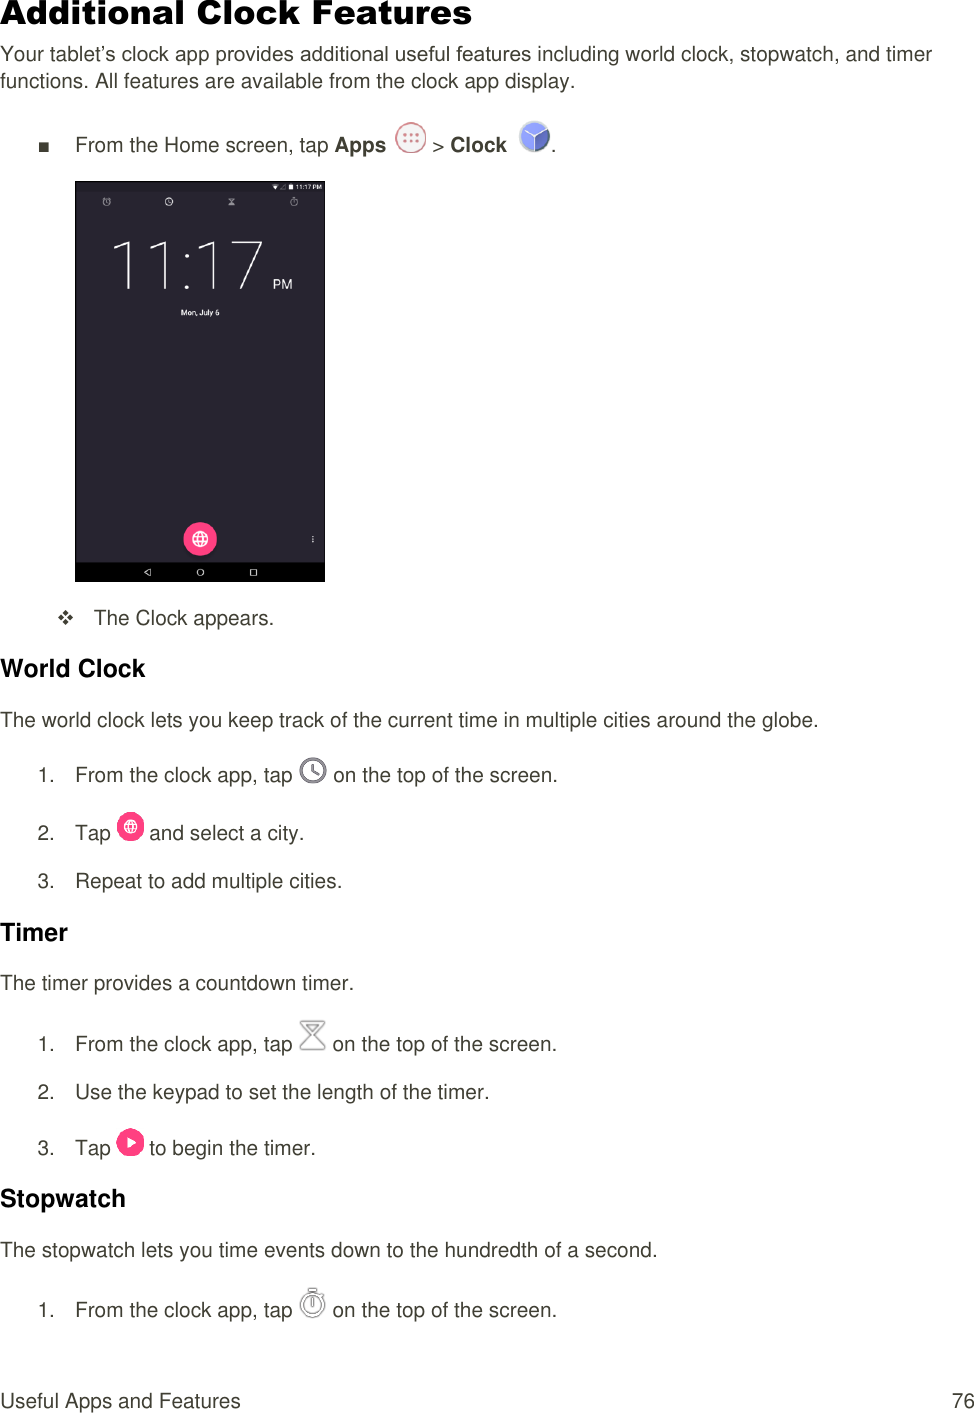
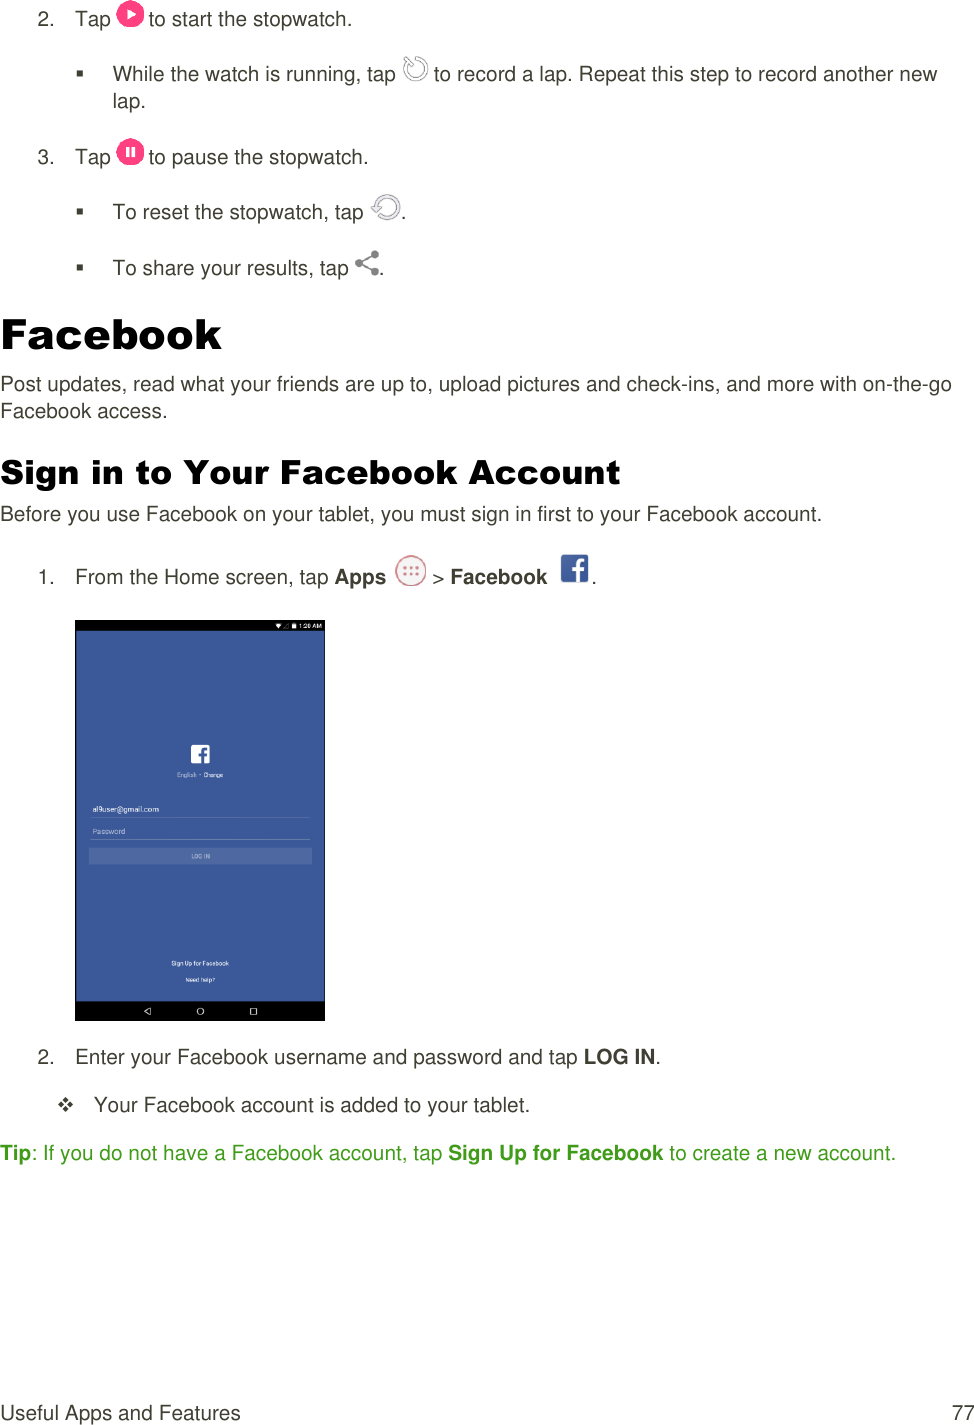
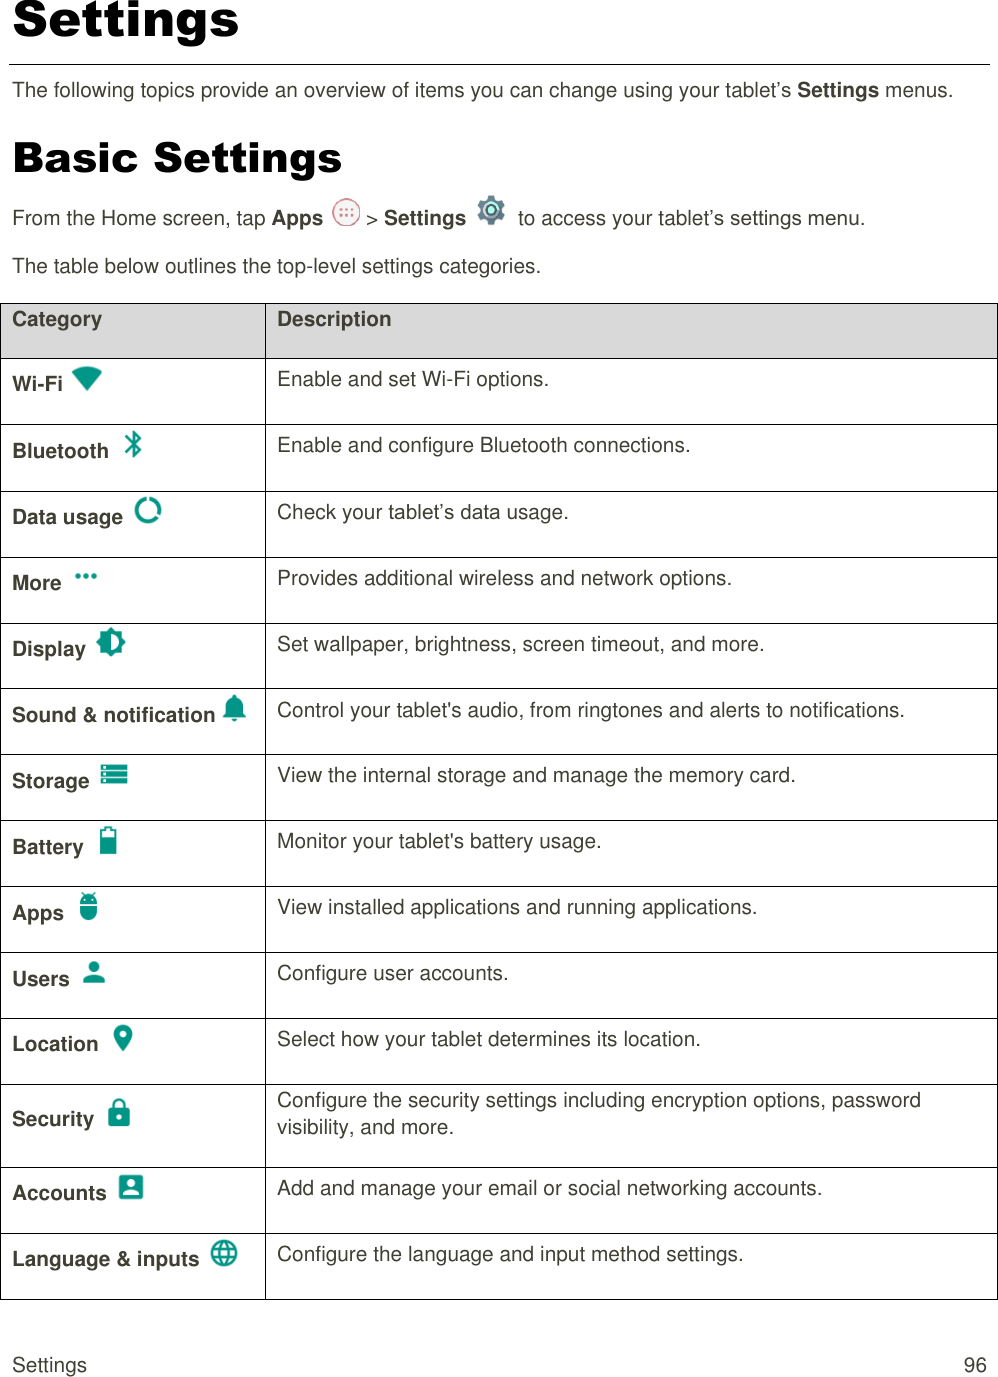
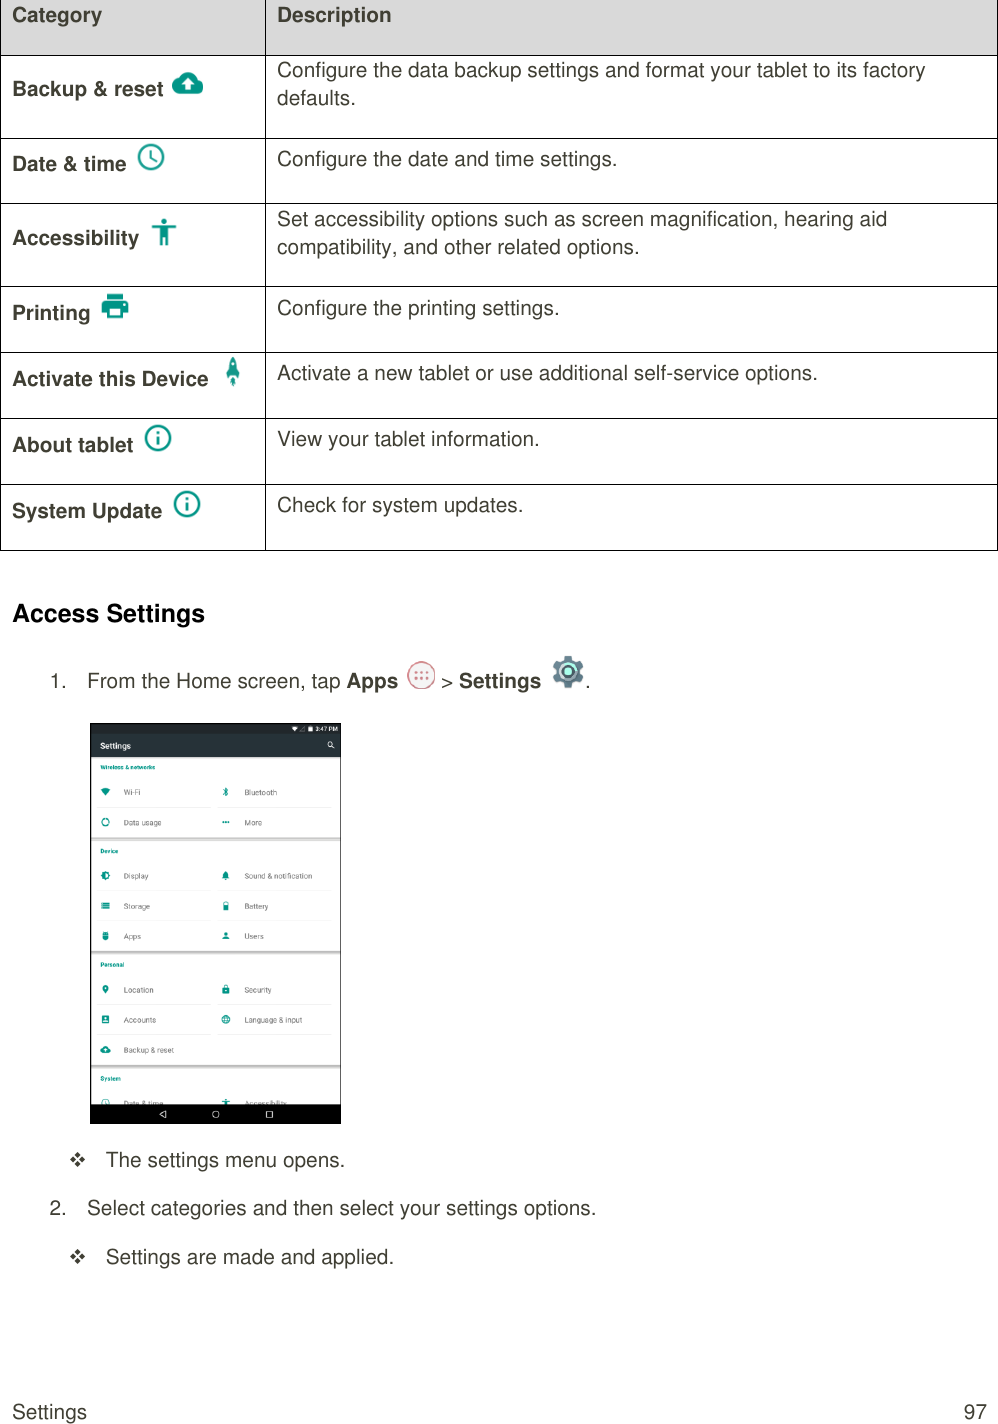
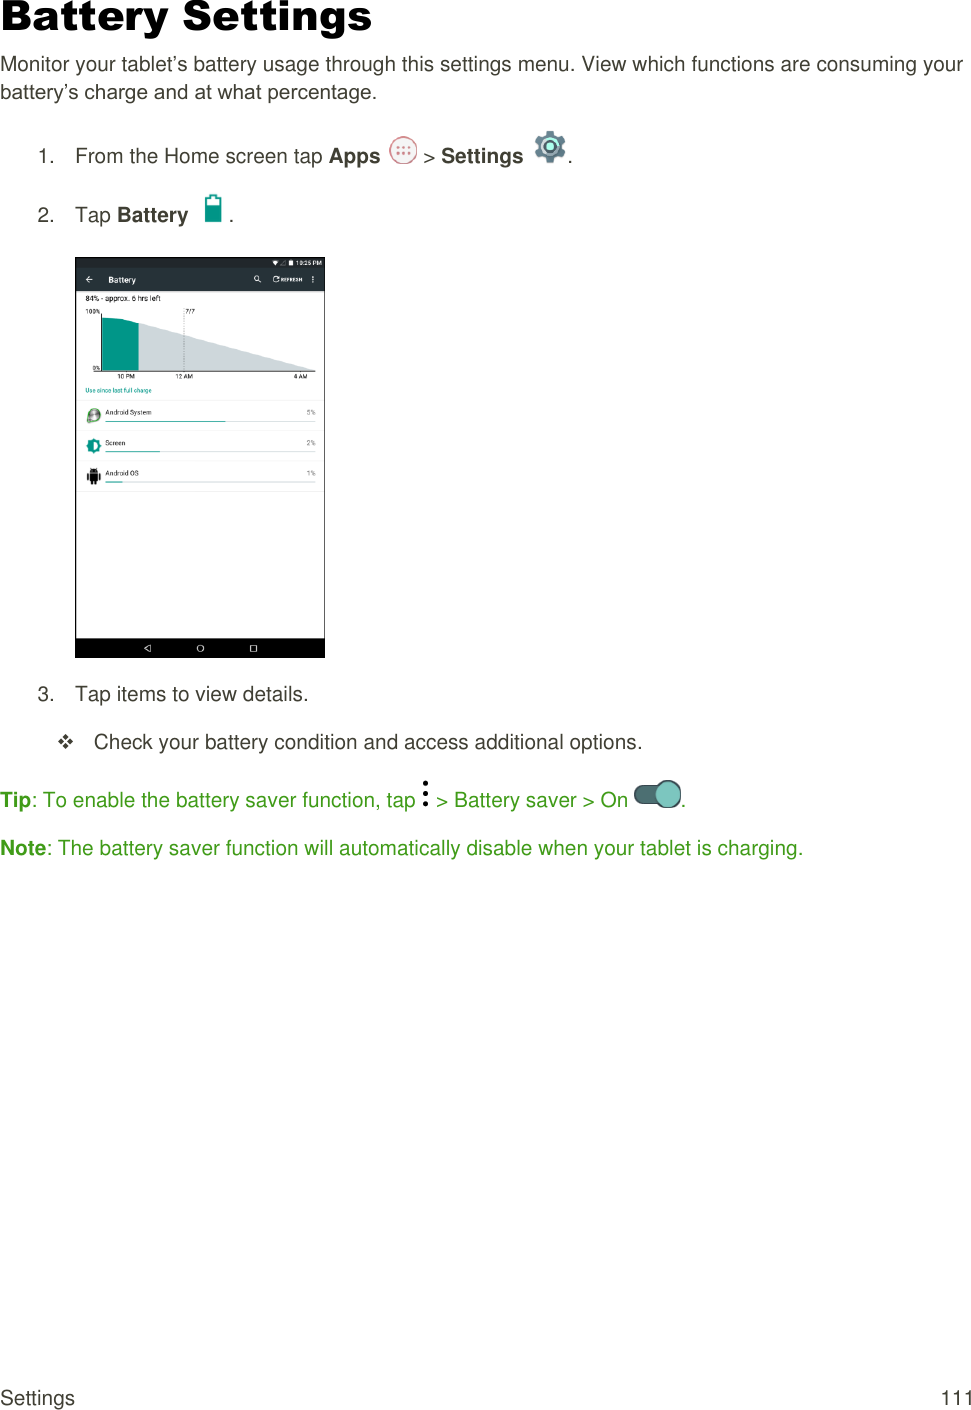
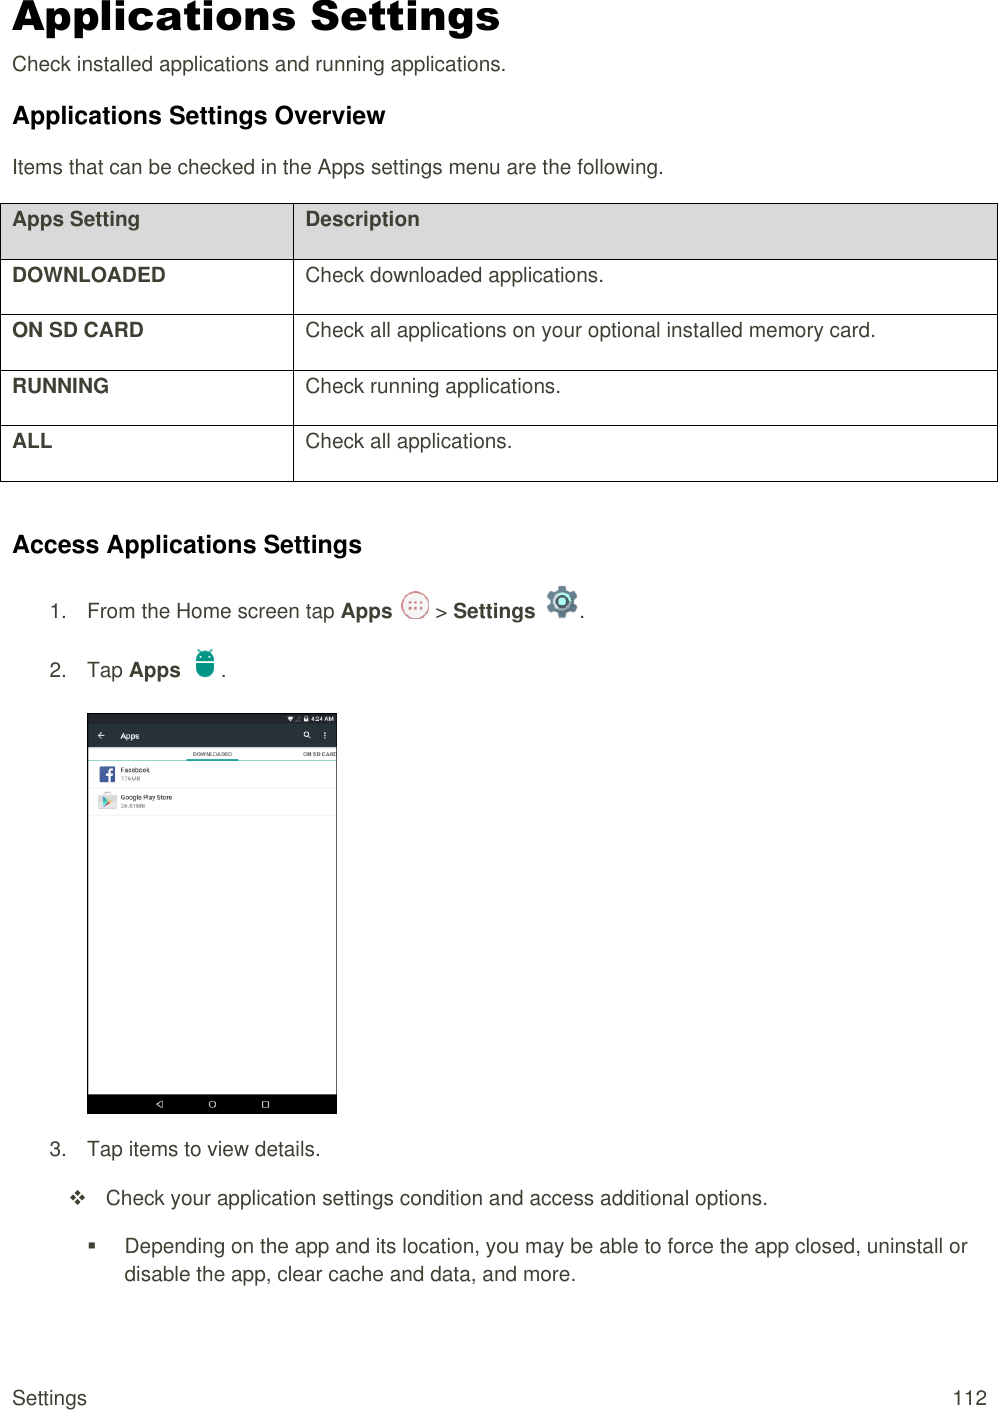
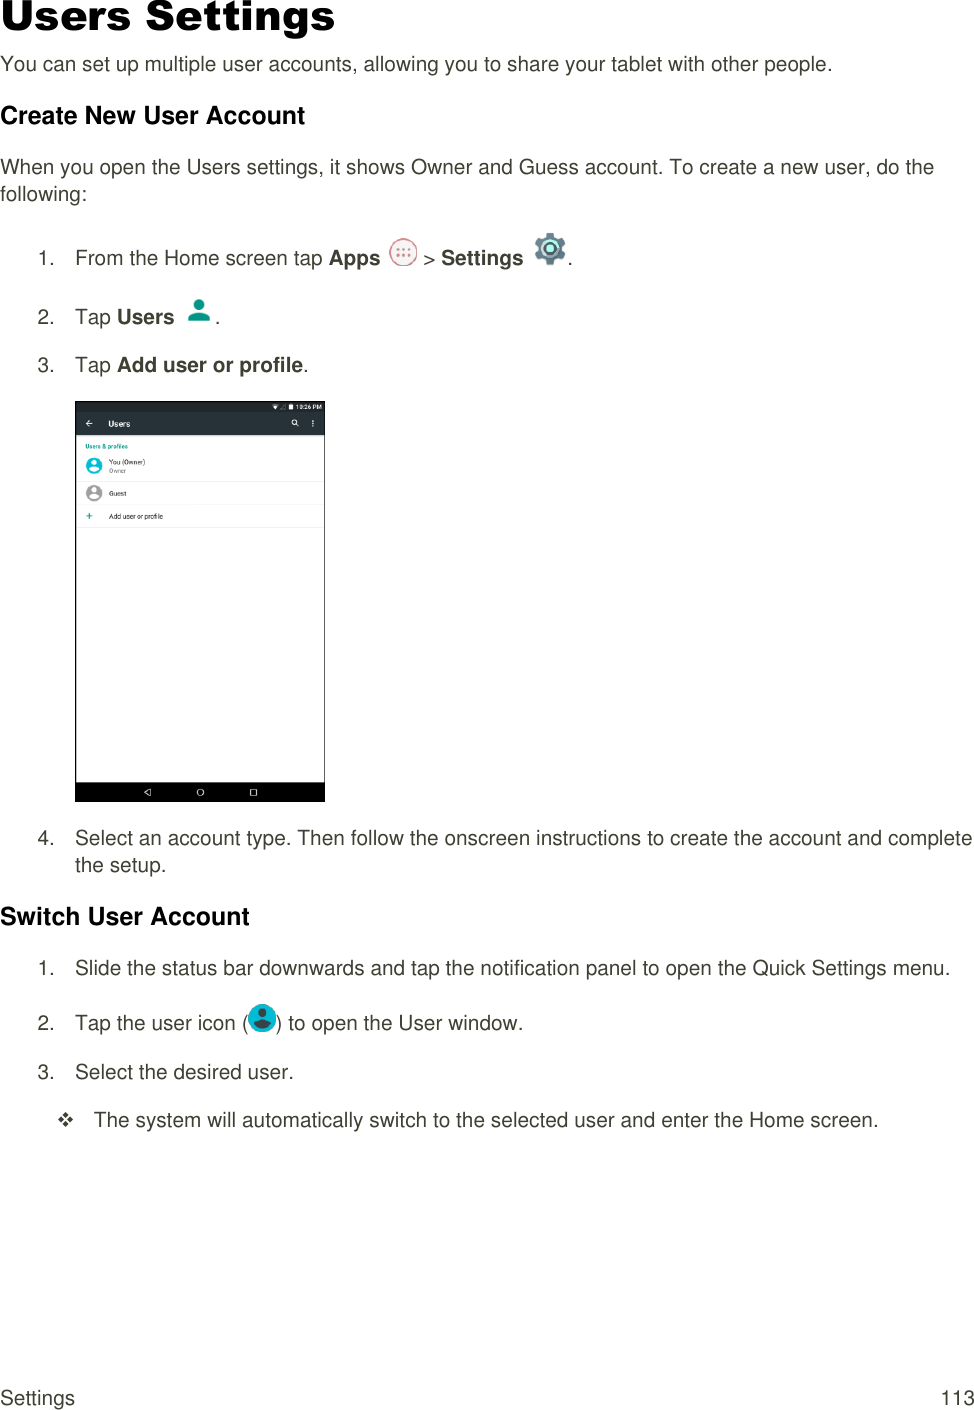
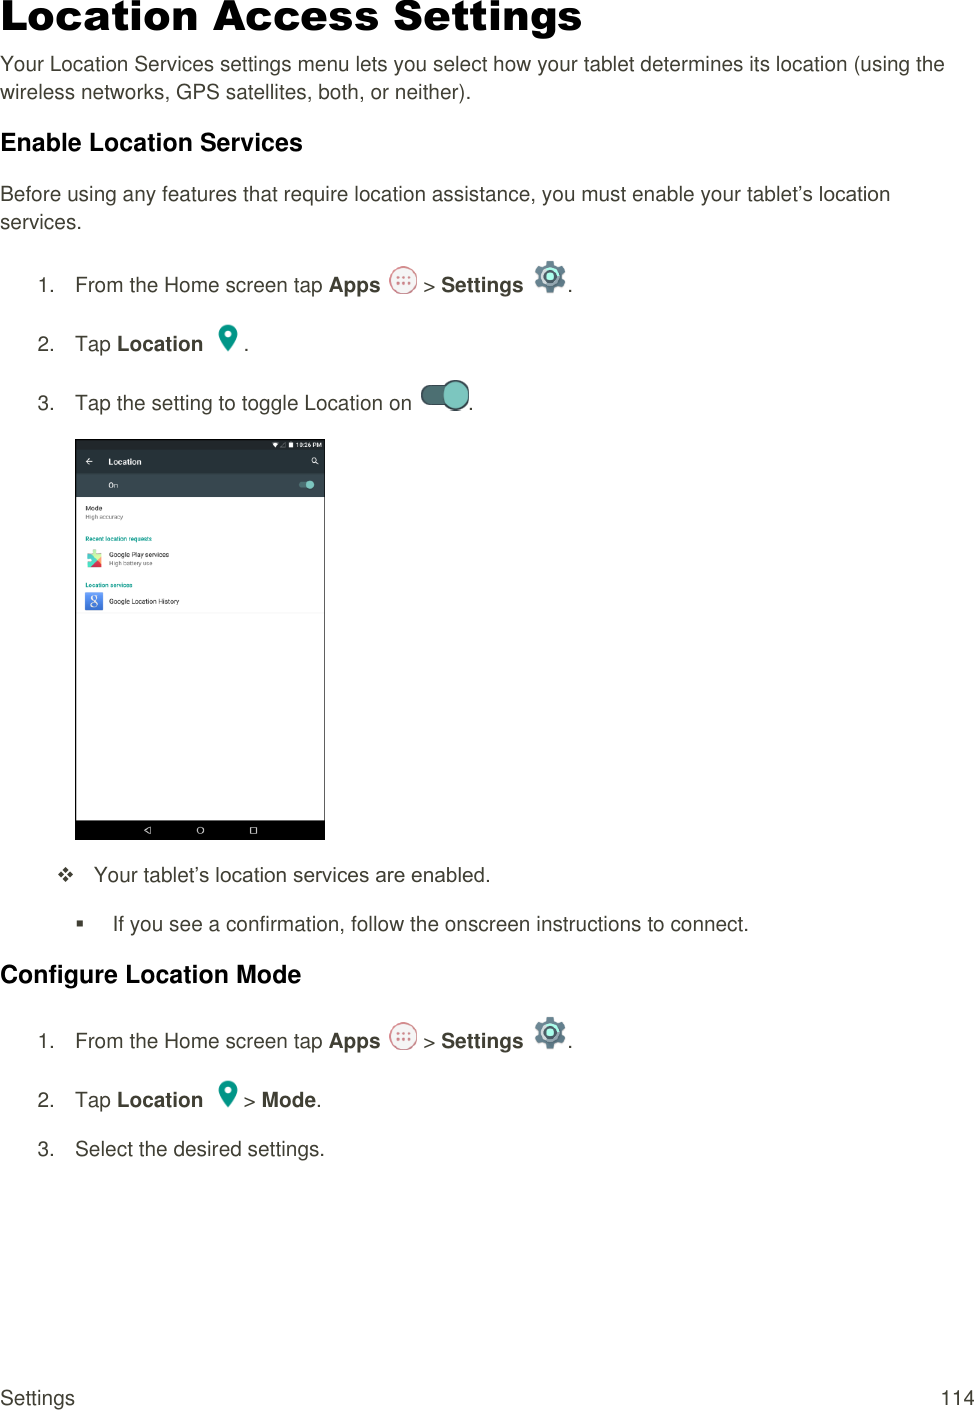
User Manual
Discussion / Help
Navigation
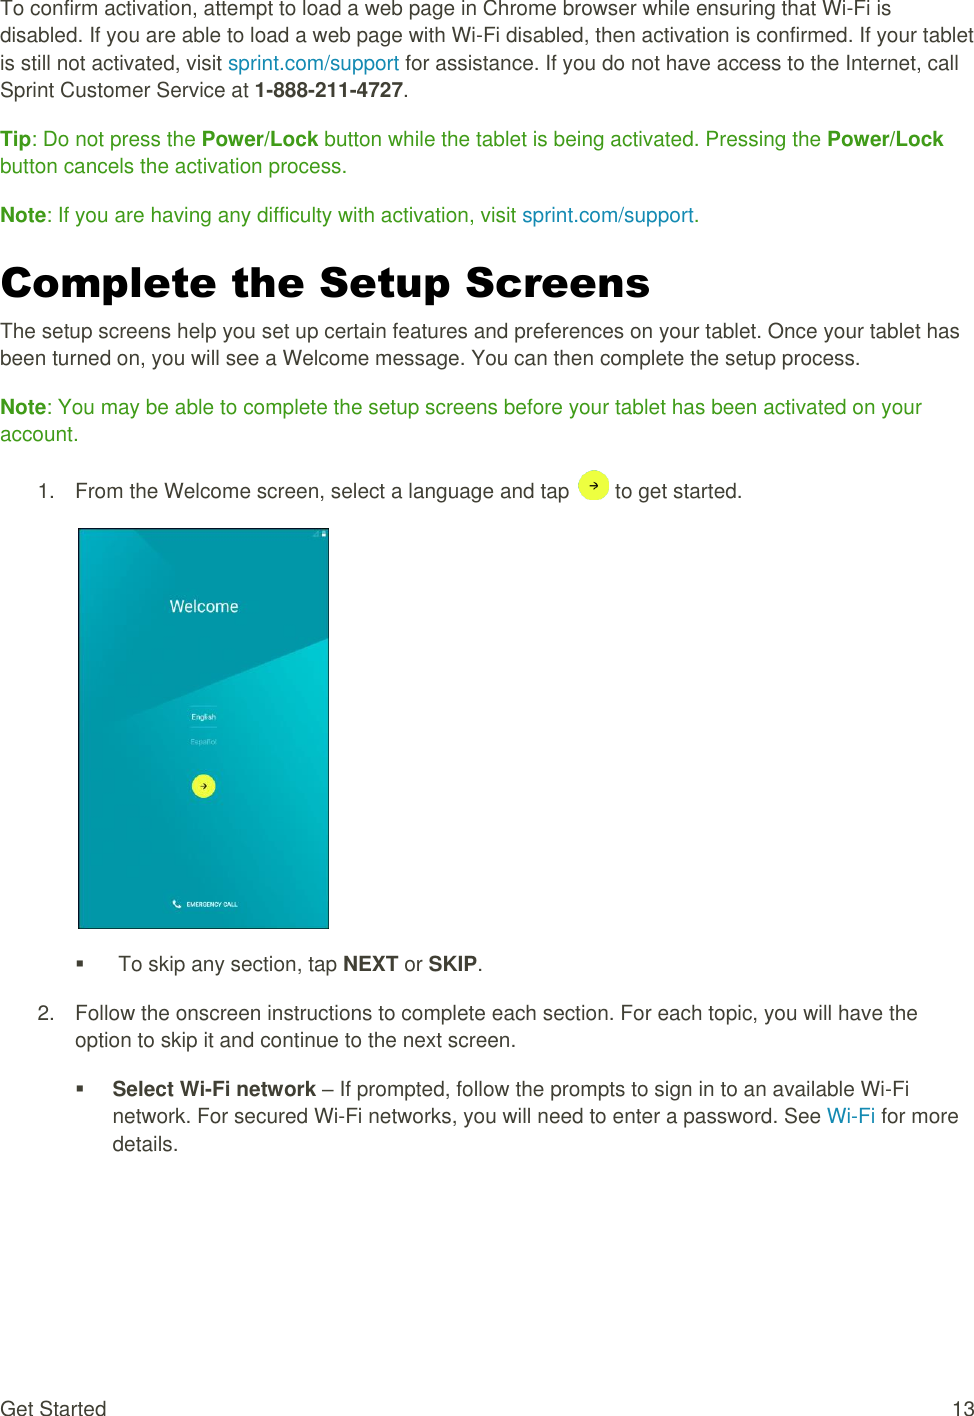
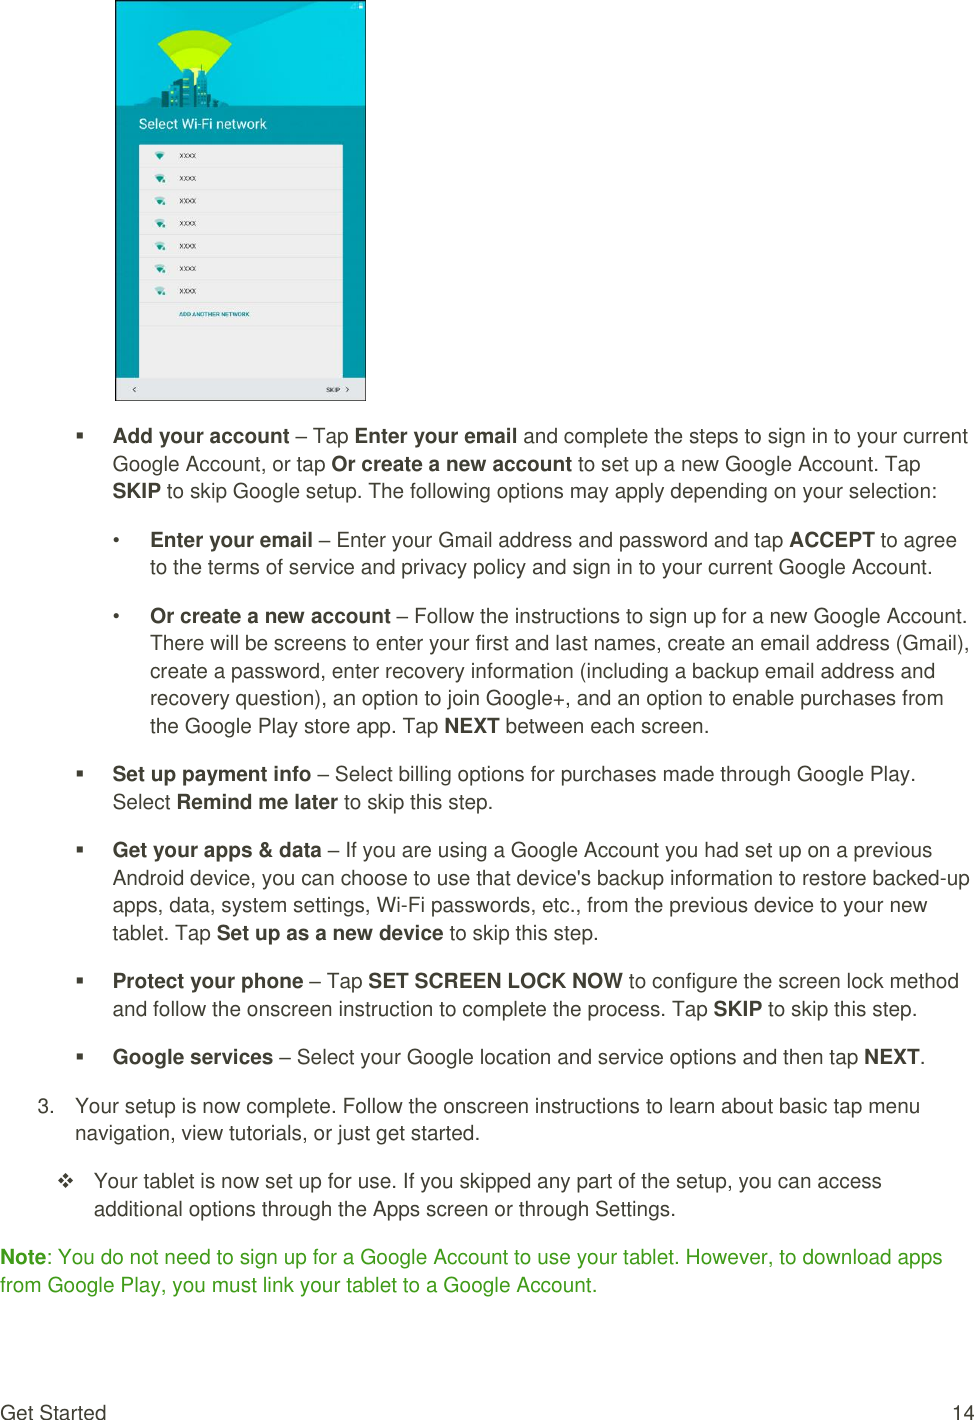
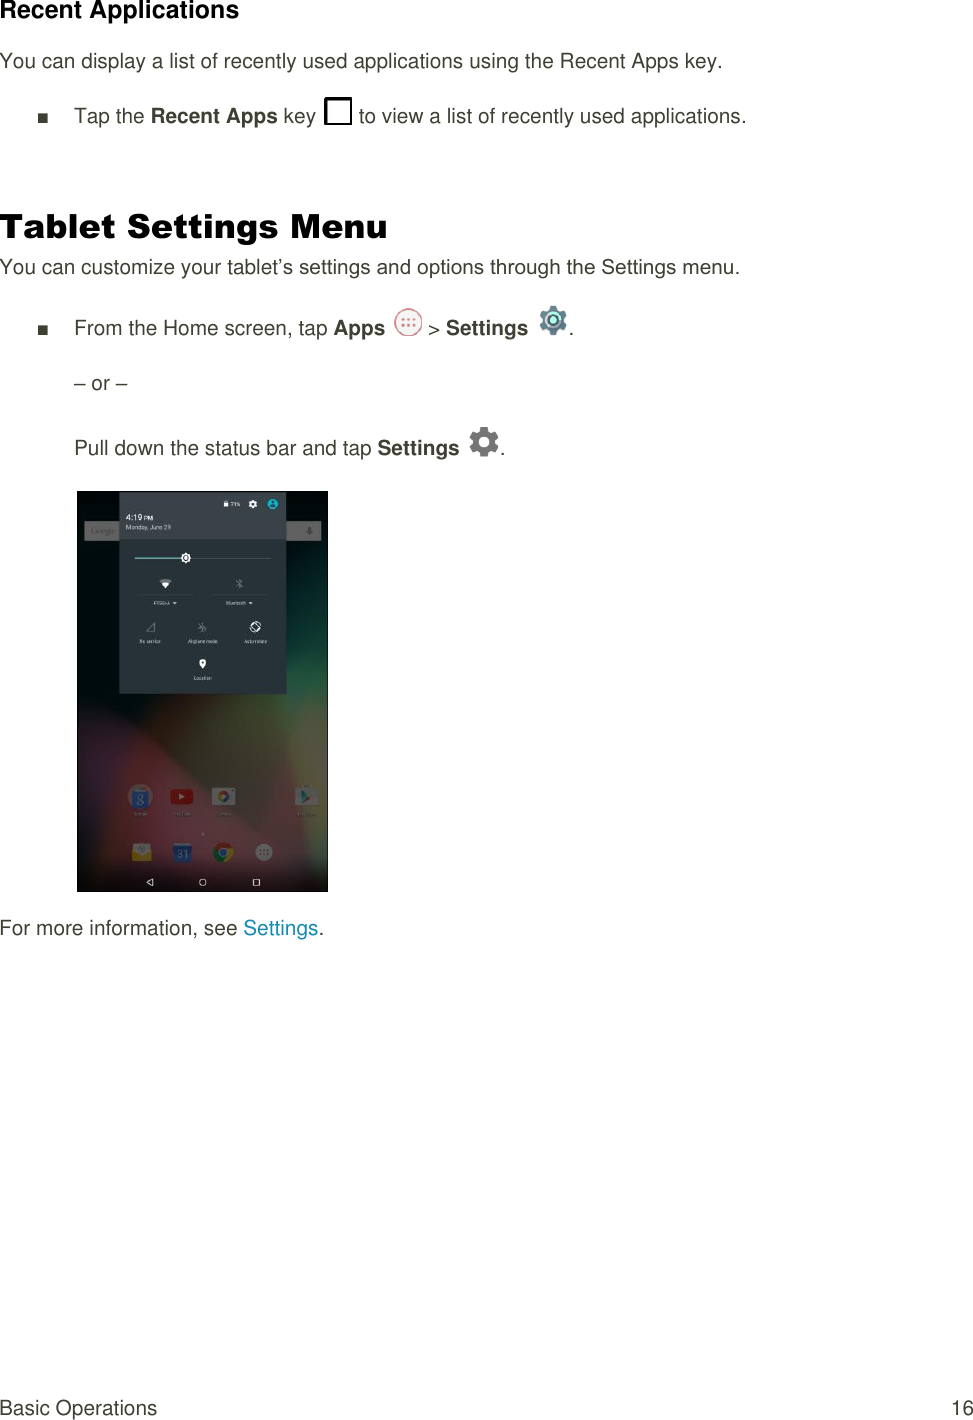
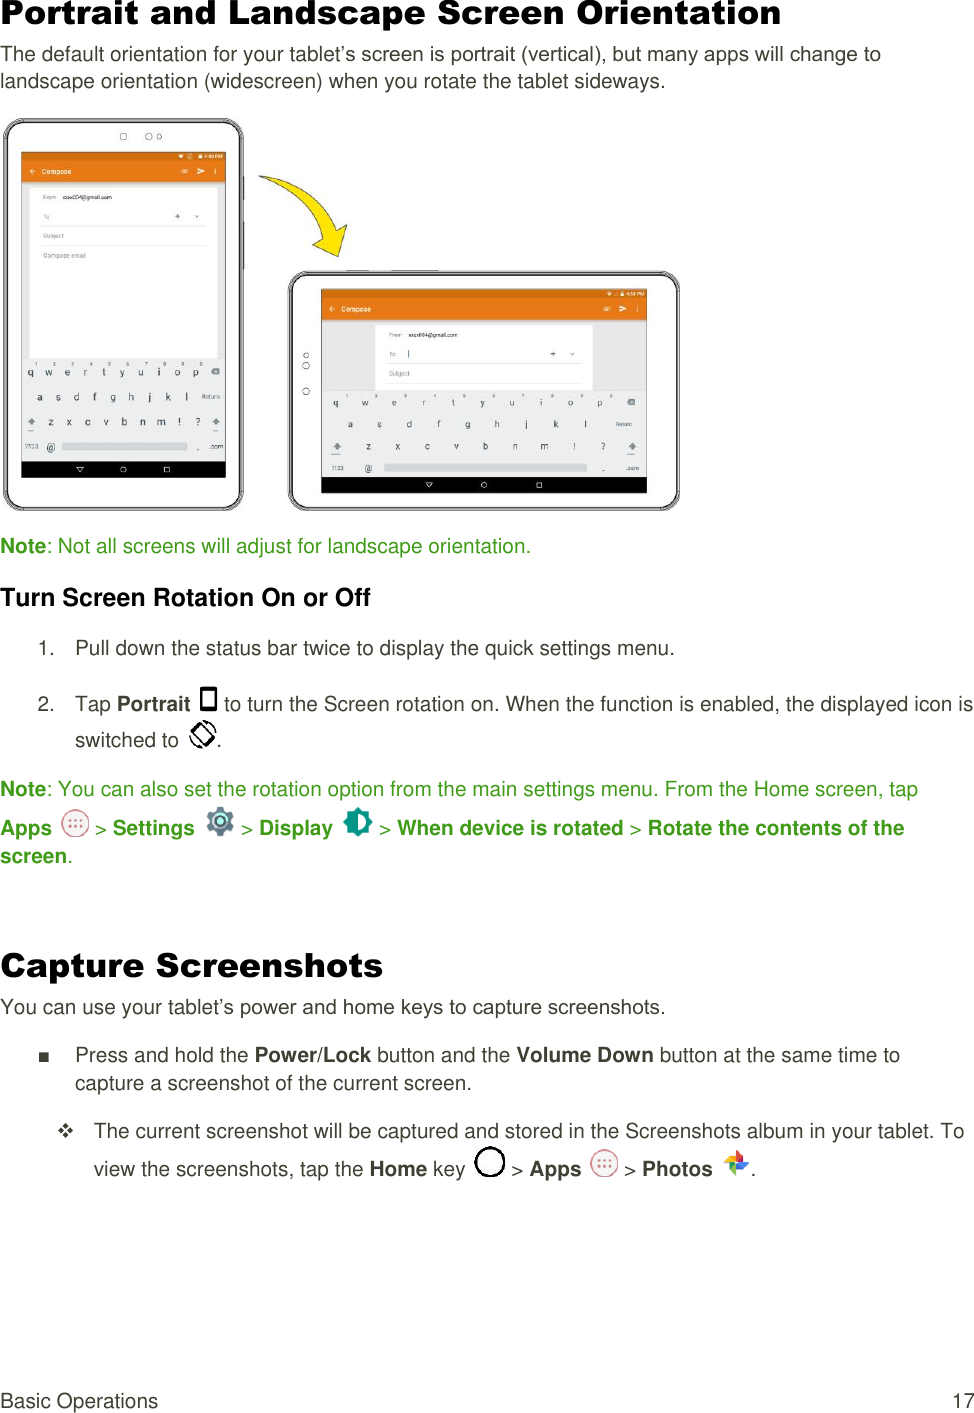
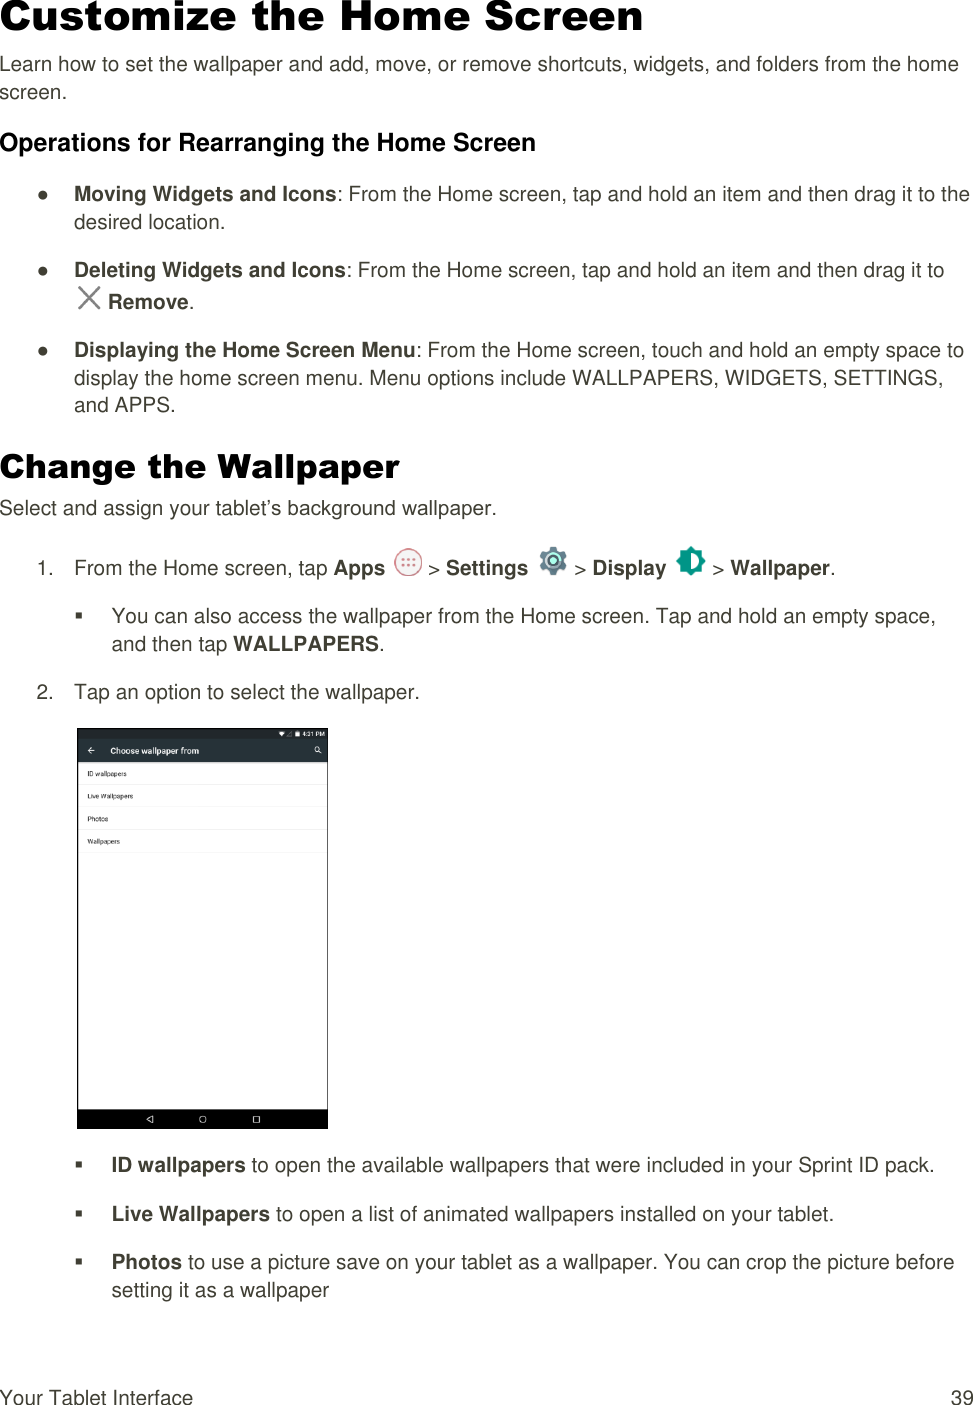
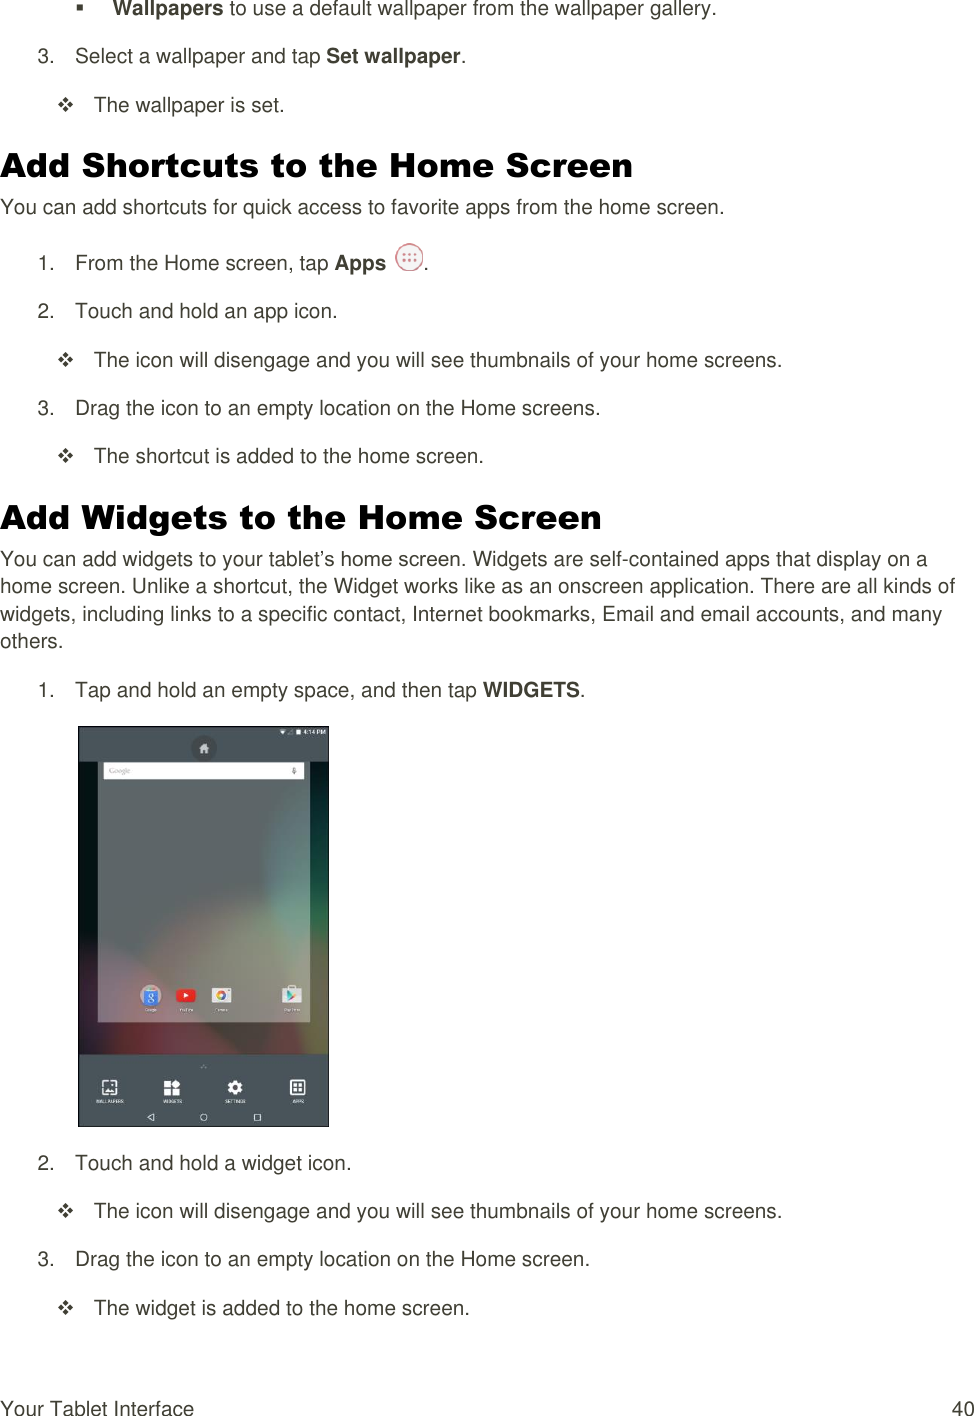
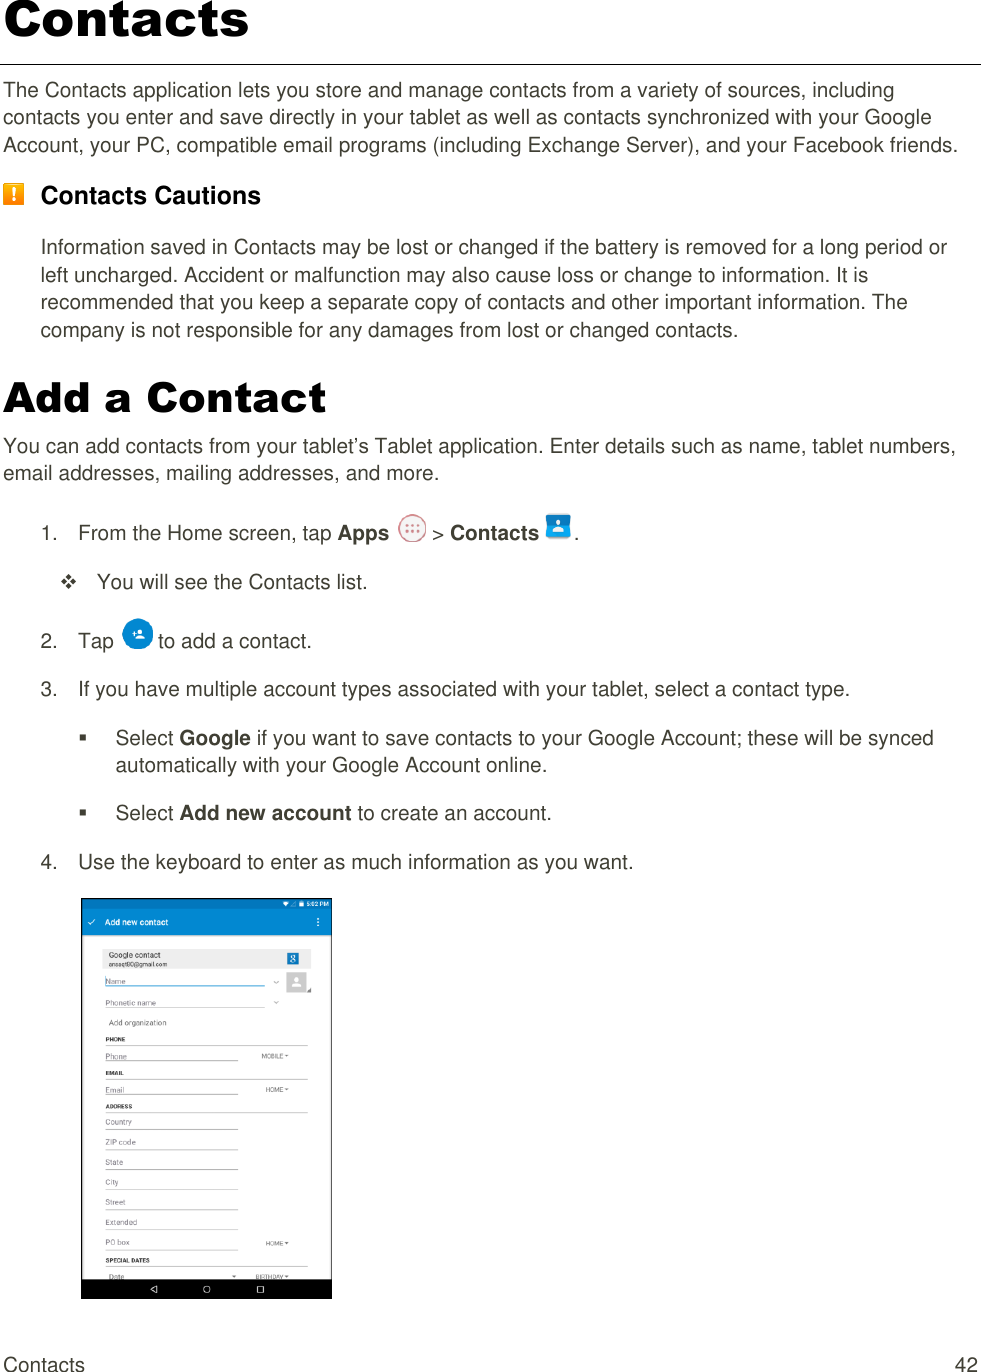
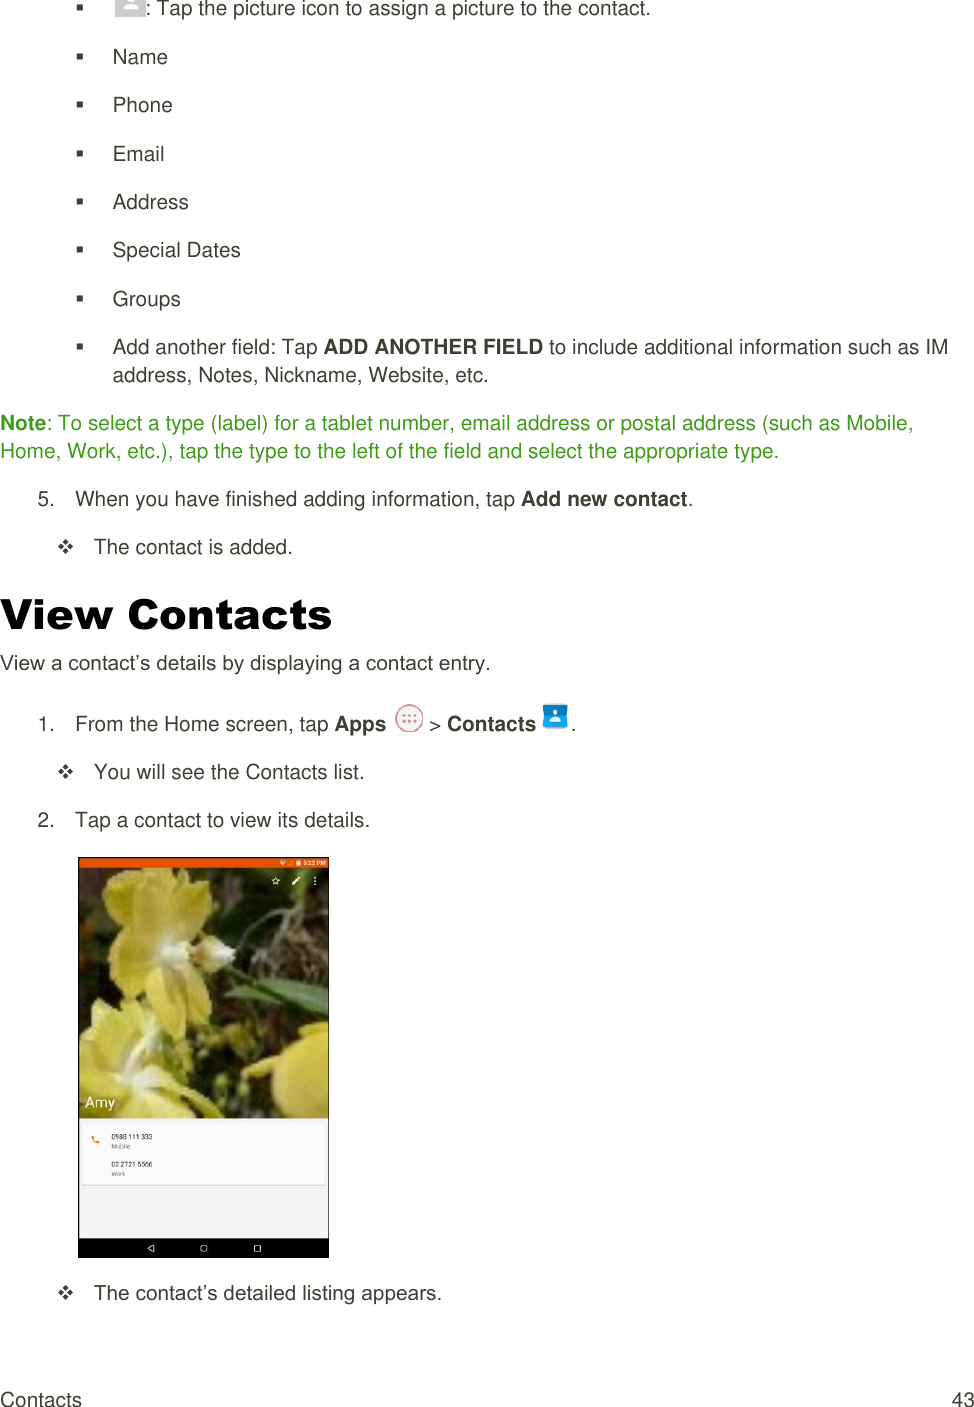
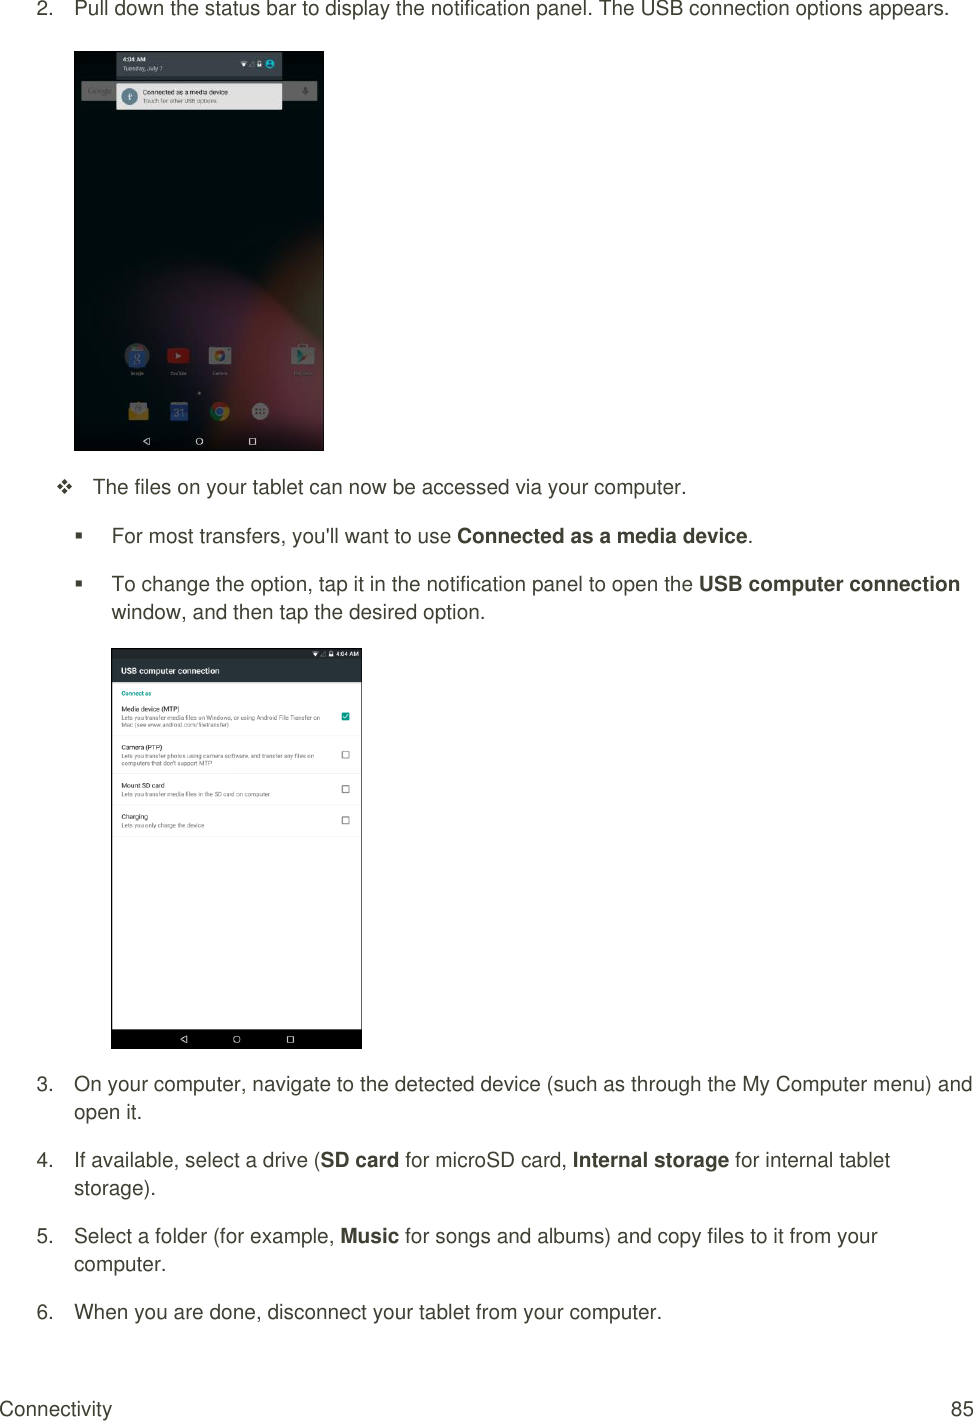
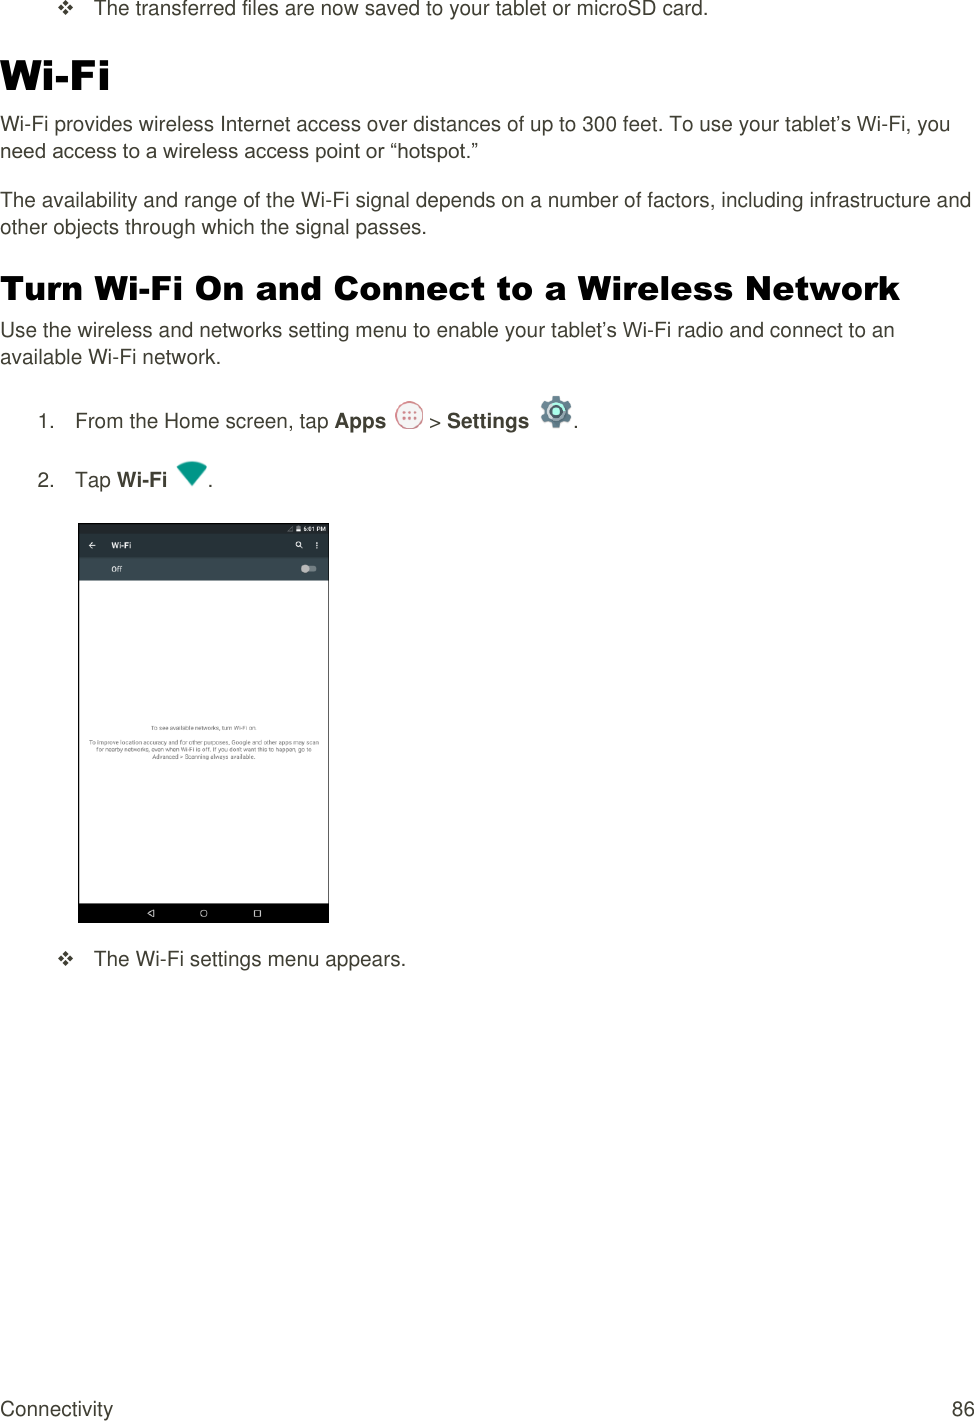
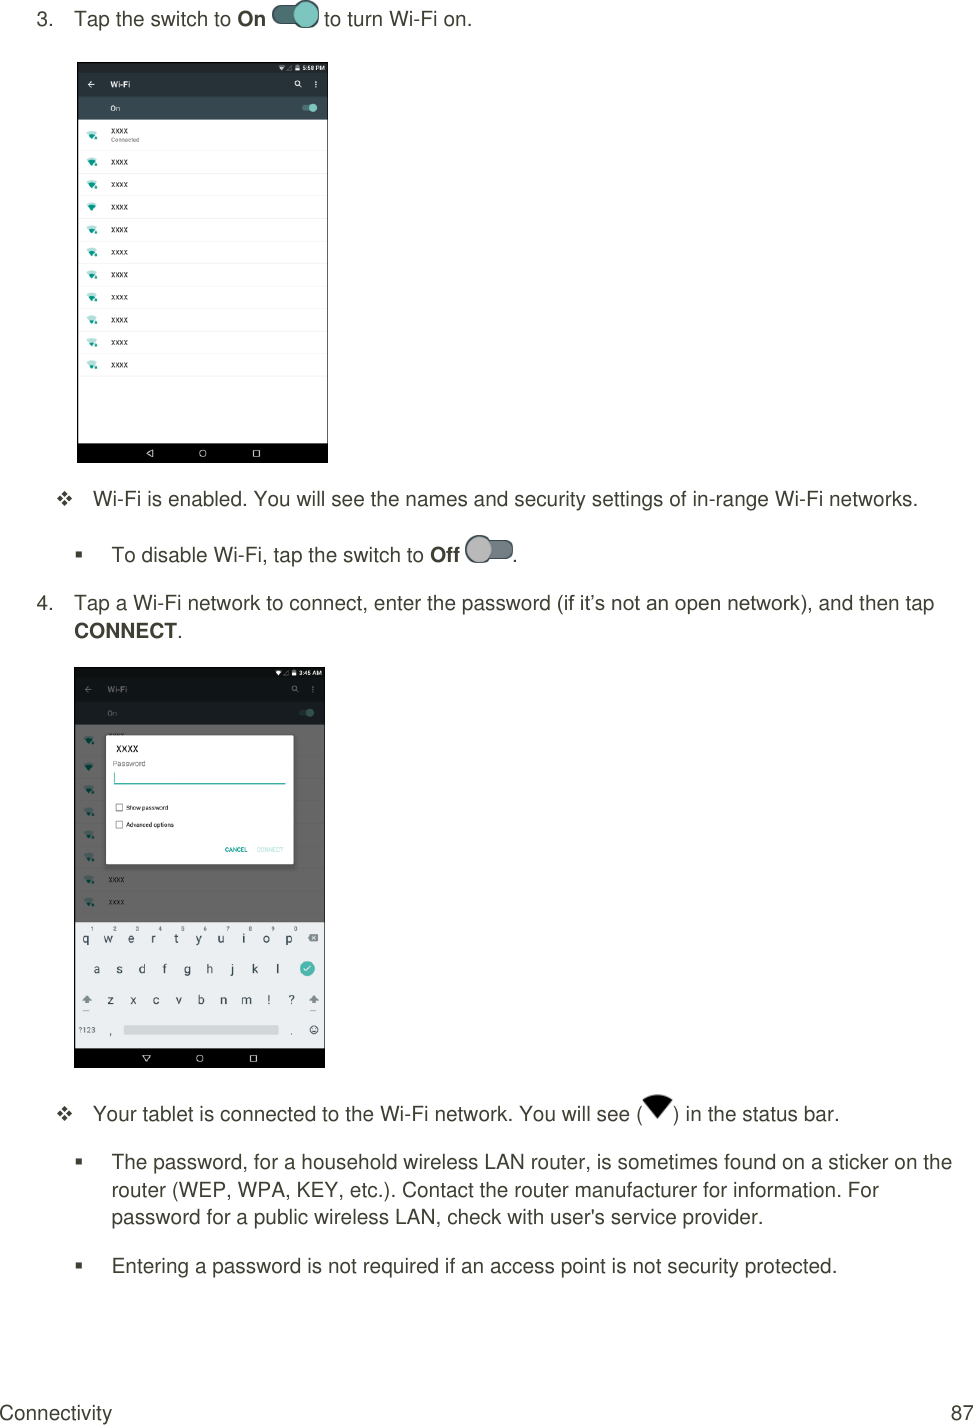
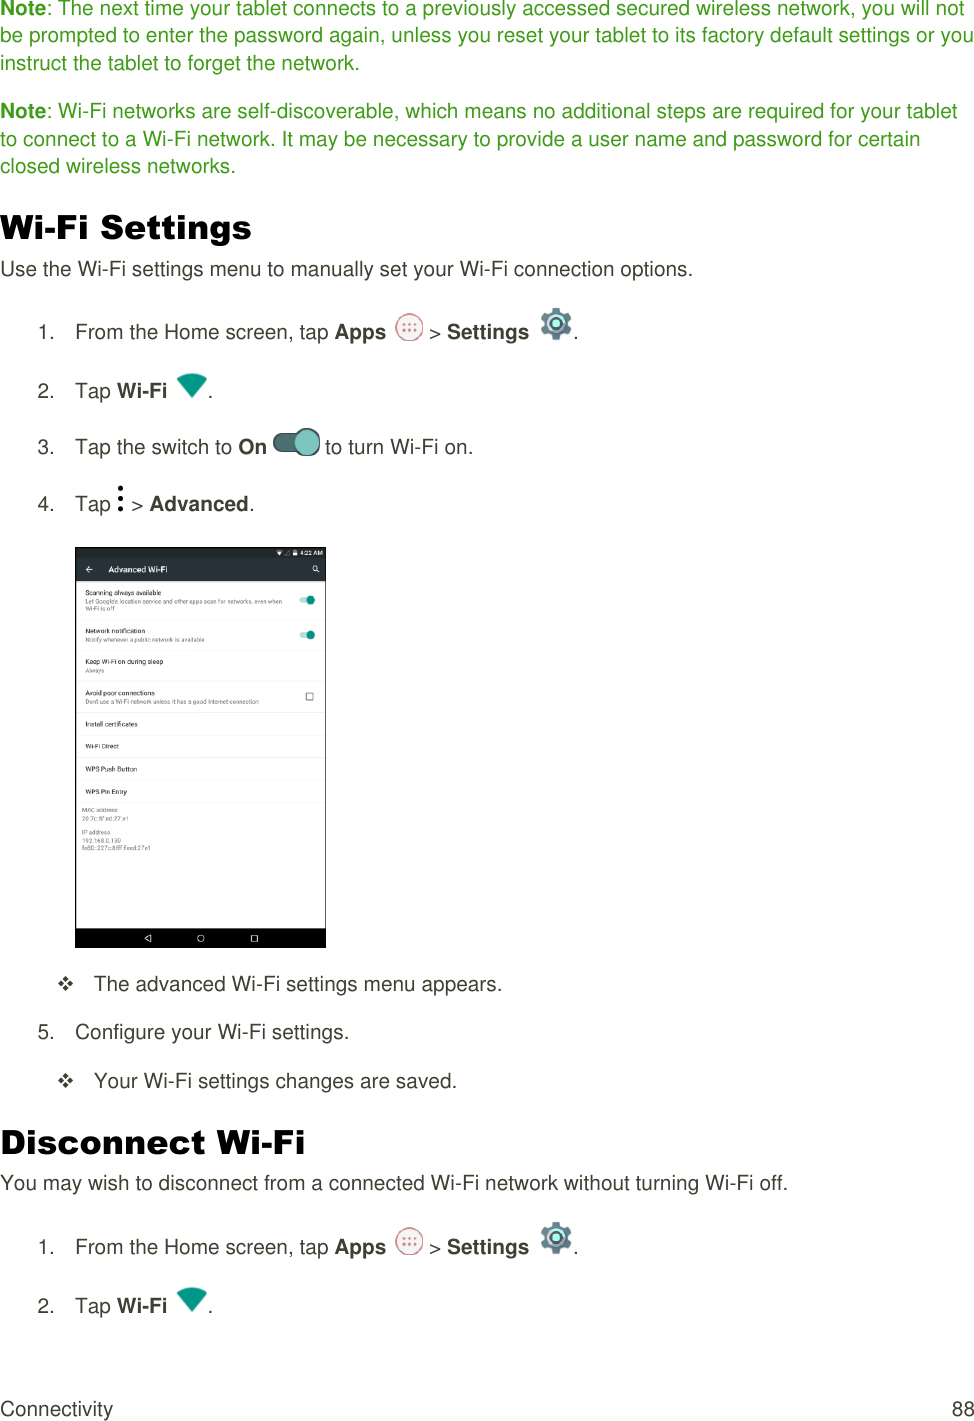
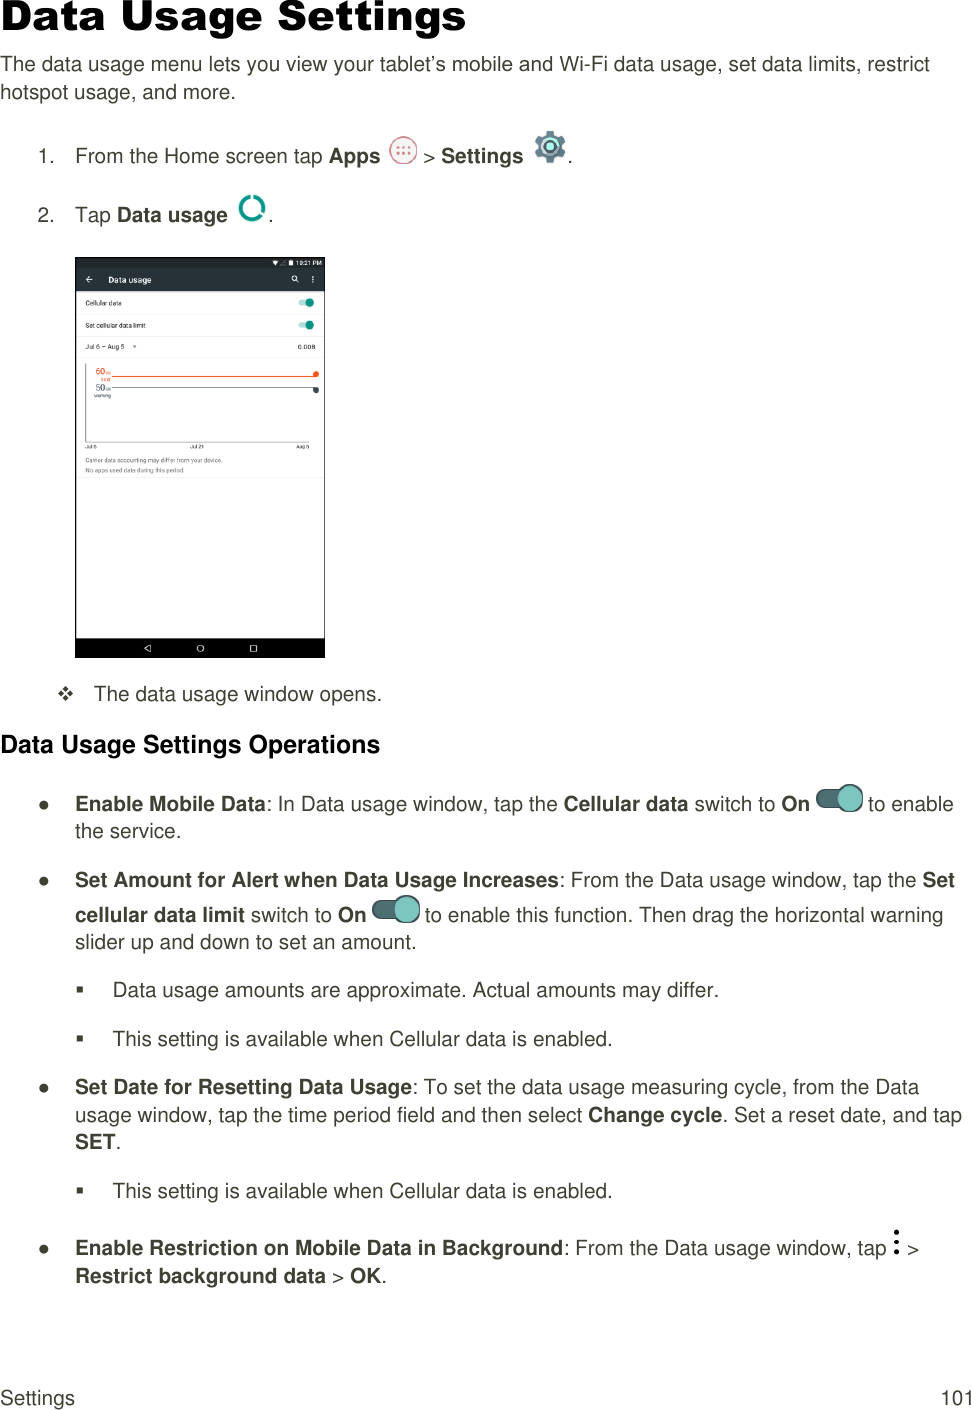
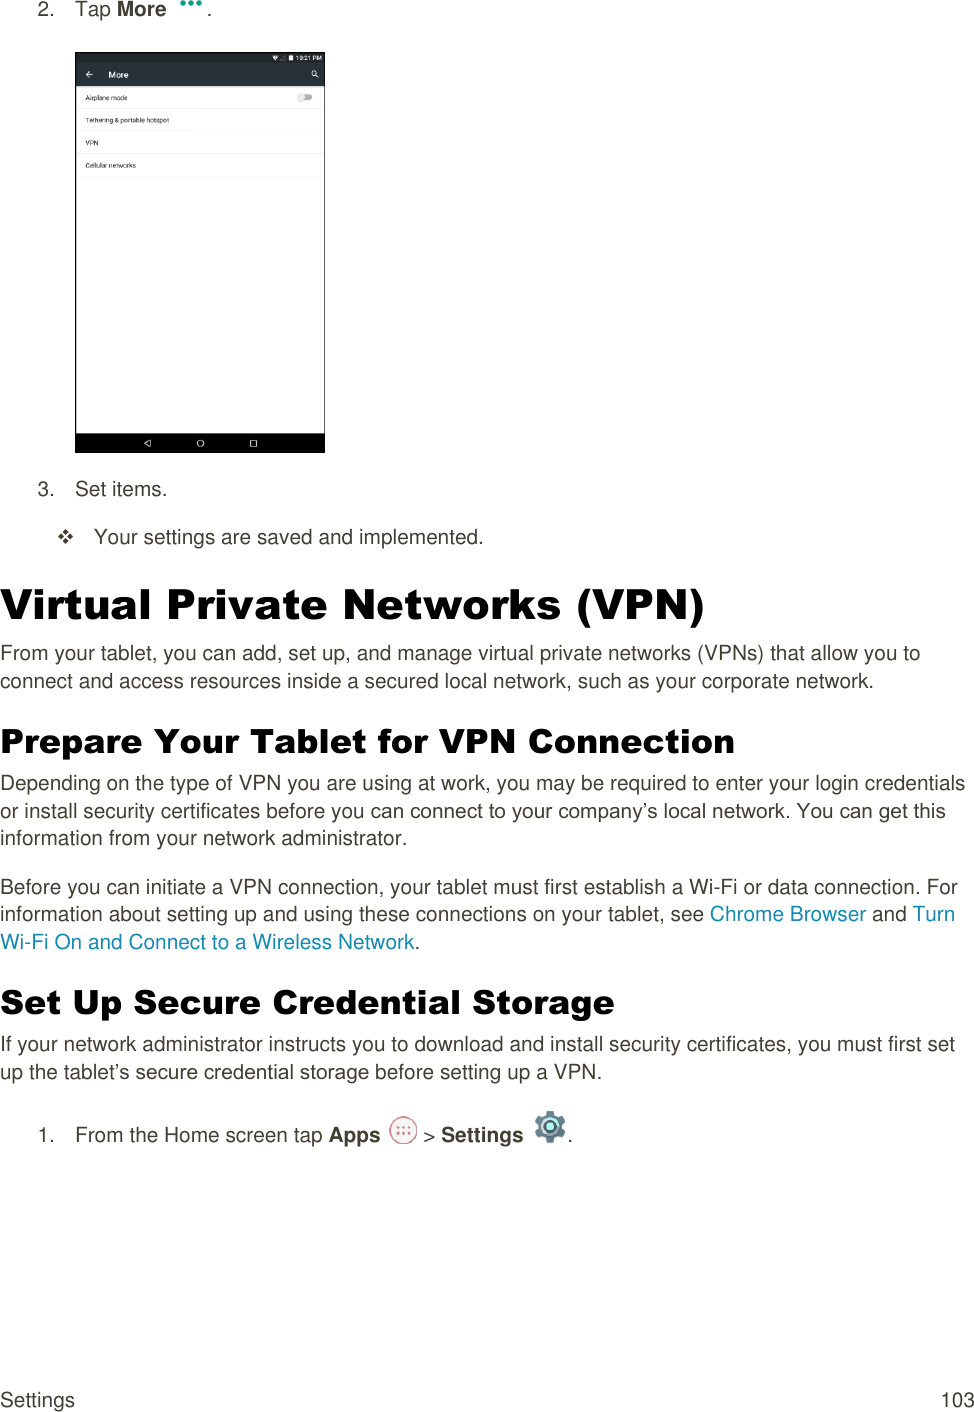
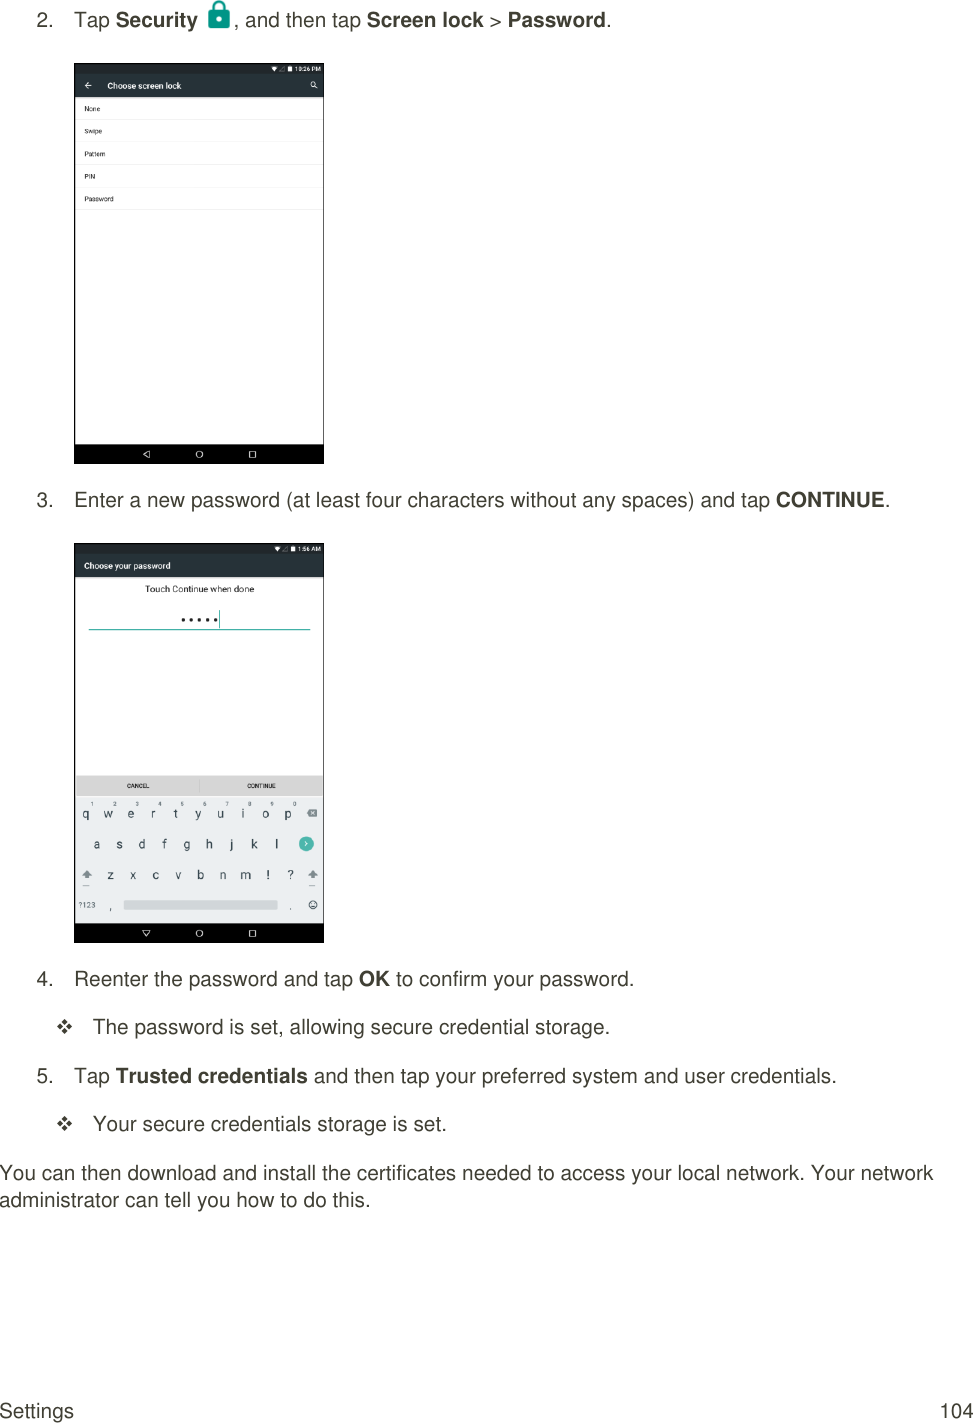
![Slate 8" Tablet User Guide [UG template version 15b] [sprint_ans_aqt80_ug_en_100715_d2] AQT82](https://usermanual.wiki/Quanta-Microsystems/AQT82/User-Guide-3362607-Page-1.png)