R F Technologies 30011533001 User Manual Tag Installation Guide
RF Technologies Inc Tag Installation Guide
Tag Installation Guide
Pin PointLocal Positioning Systems
Tags
Inst allation and Maintenance Manual
W arnings 2
Included In This Package 3
About Antennas 4
Placement 5
Mounting 6
Inst alling 7
Technical Specification 7
' Copyright 1999, PinPoint Corporation. All right s reserved.
tags.qxd 5/5/99 4:27 PM Page 1

Warnings
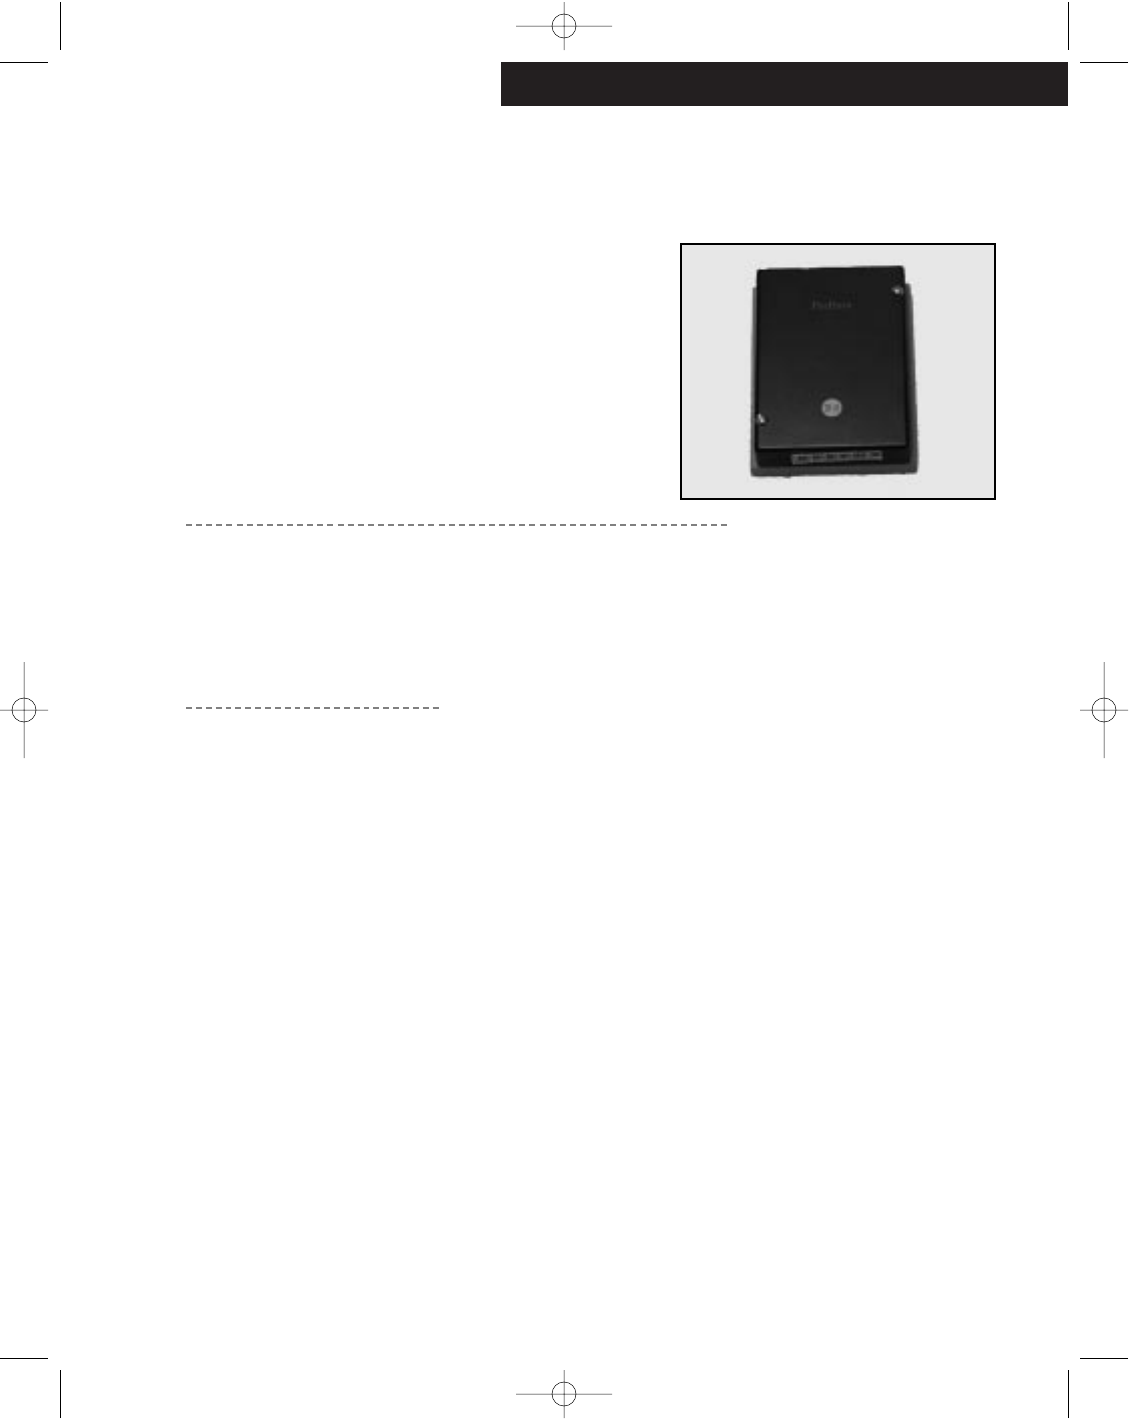
The 3D-iD Tags are water and shock resist ant. However,
immersion, high-pressure washing, or extreme force can
damage the Tags.
When installing the Tags, keep in mind that met allic object s and
other radio absorbers and deflectors will hinder the per -
formance of the Tags.
The Tags may be washed with alcohol, diluted bleach, and
diluted ammonia. Harsher solutions may cause damage
to the Tag s exterior or seal.
Changes and modifications not expressely approved by
PinPoint Corporation could void the user s authority to
operate the equipment.
2Pin Poi nt Local Positioning Systems
!
tags.qxd 5/5/99 4:27 PM Page 2
Inst alling T ags
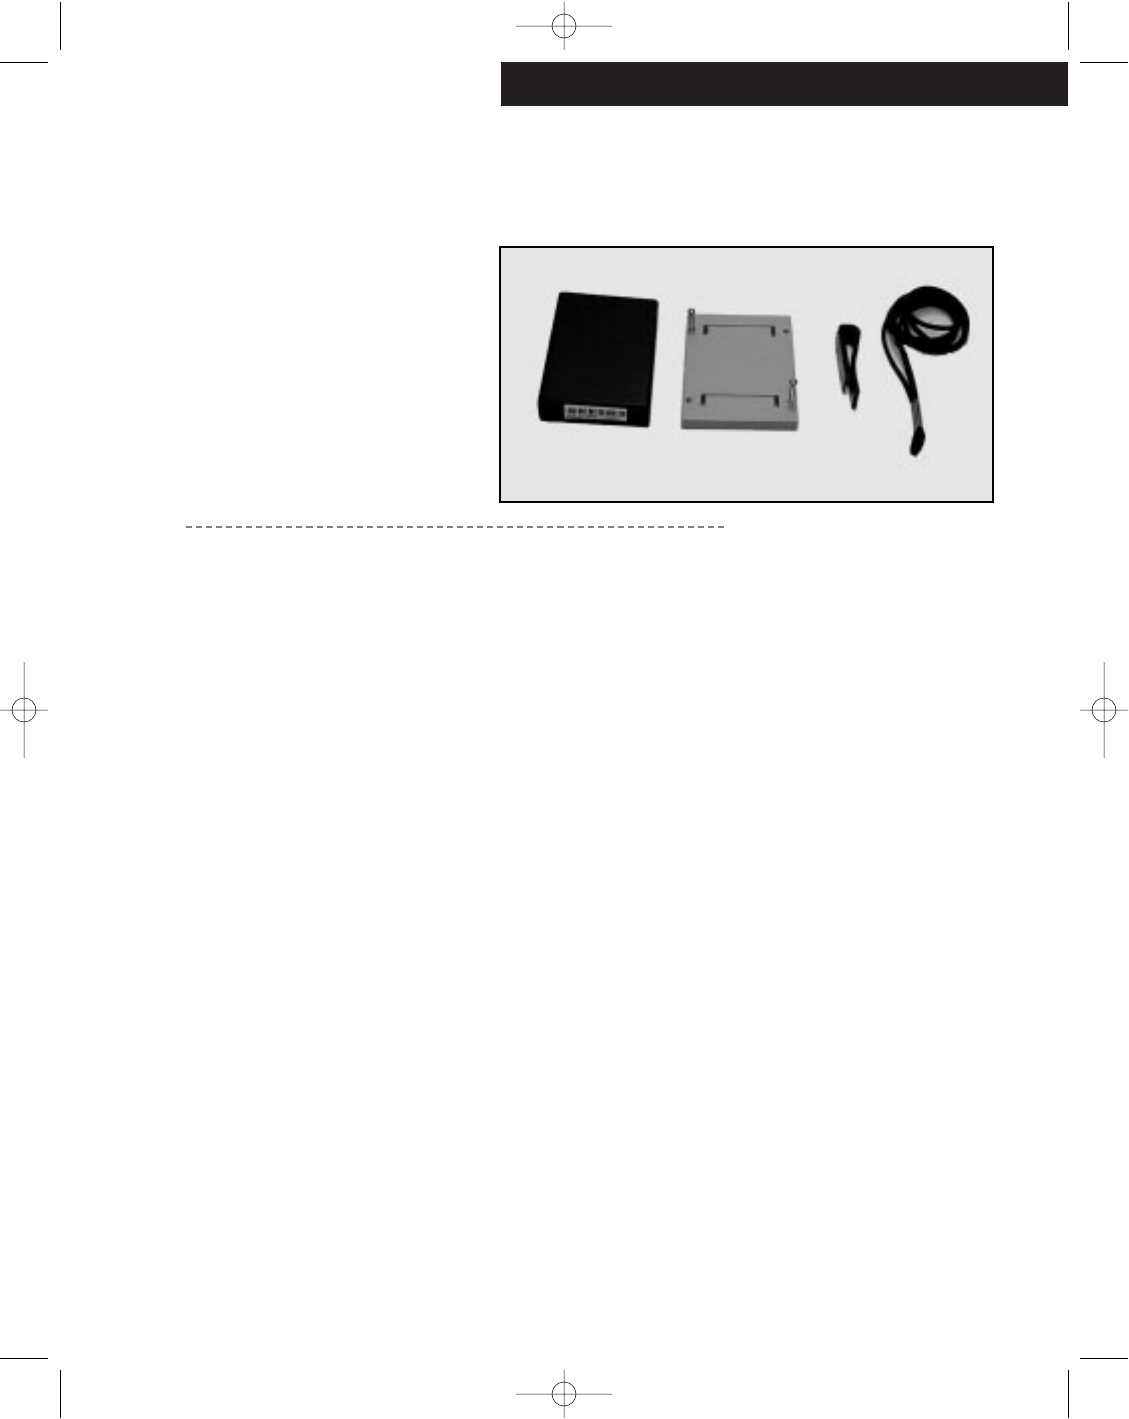
Included in this p ackage
This p ackage may include:
10 or 25 Tags
10 or 25 Asset Mount Kits consisting of:
1 Asset mount (flat or curved surface)
Double-sided tape
2 Security screws (?? )
Foam tape
2 Hose clamps
1 Security screwdriver
10 or 25 Personnel Mount Kit s consisting of:
1 Belt clip
Tape, Double Sided
1 Lanyard
3
tags.qxd 5/5/99 4:27 PM Page 3
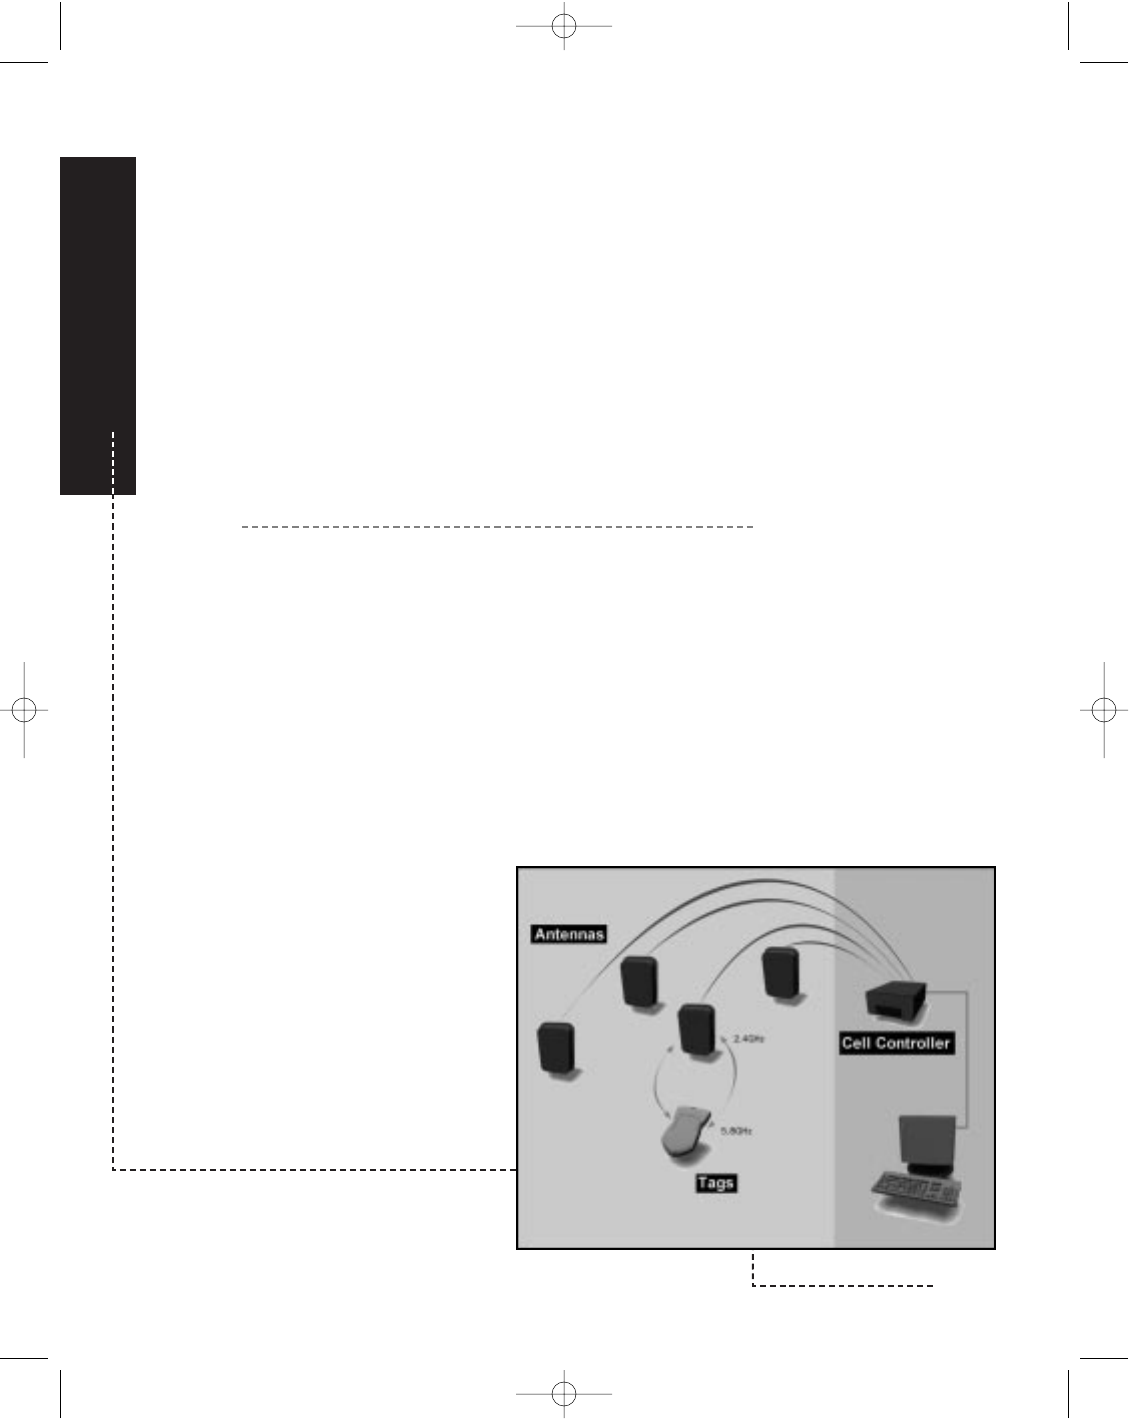
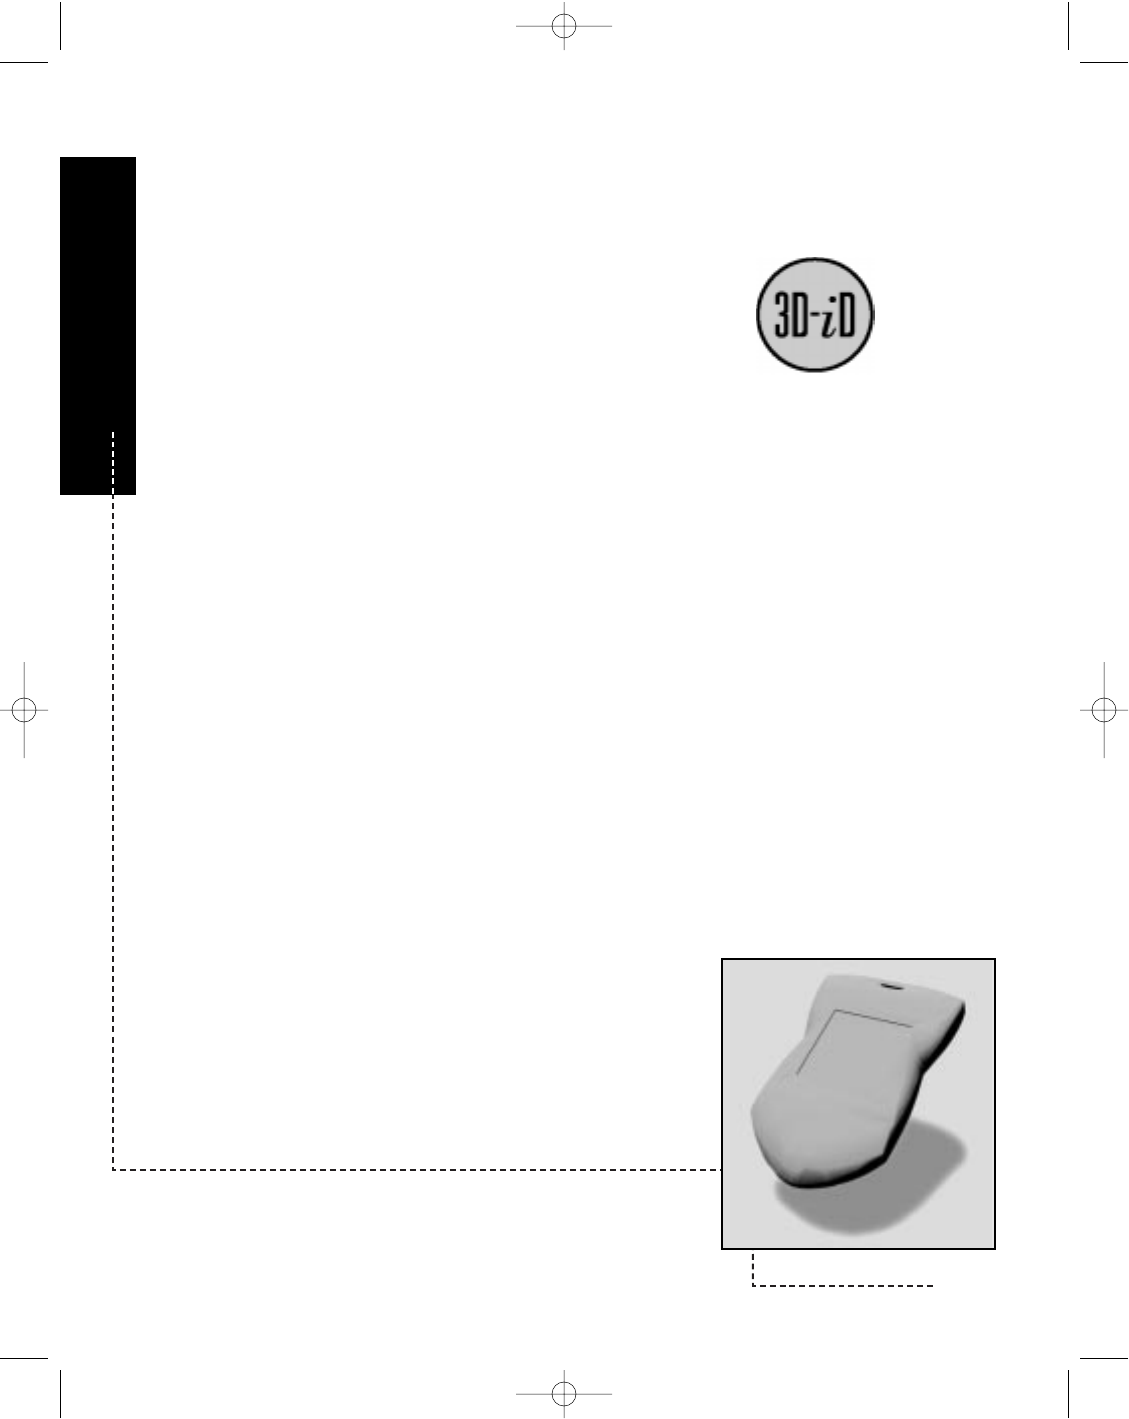
About Tags
The 3D-iD Tags are the items tracked by the Cell Controller
and the Antennas - the components of the PinPoint
System. They are af fixed to asset s or personnel
enabling the 3D-iD system to secure, locate, and track
those resources. The Tags receive 2.442GHz radio sig -
nals which are generated by the Cell Controller. They
add their unique serial number to the signal and trans -
flect the signal back to the Antenna at 5.77GHz. The
Cell Controller measures
the delay between when
the signal was sent and
when it was received, gen -
erating Tag-Antenna
Dist ance (TAD) data.
4Pin Poi nt Local Positioning Systems
tags.qxd 5/5/99 4:27 PM Page 4
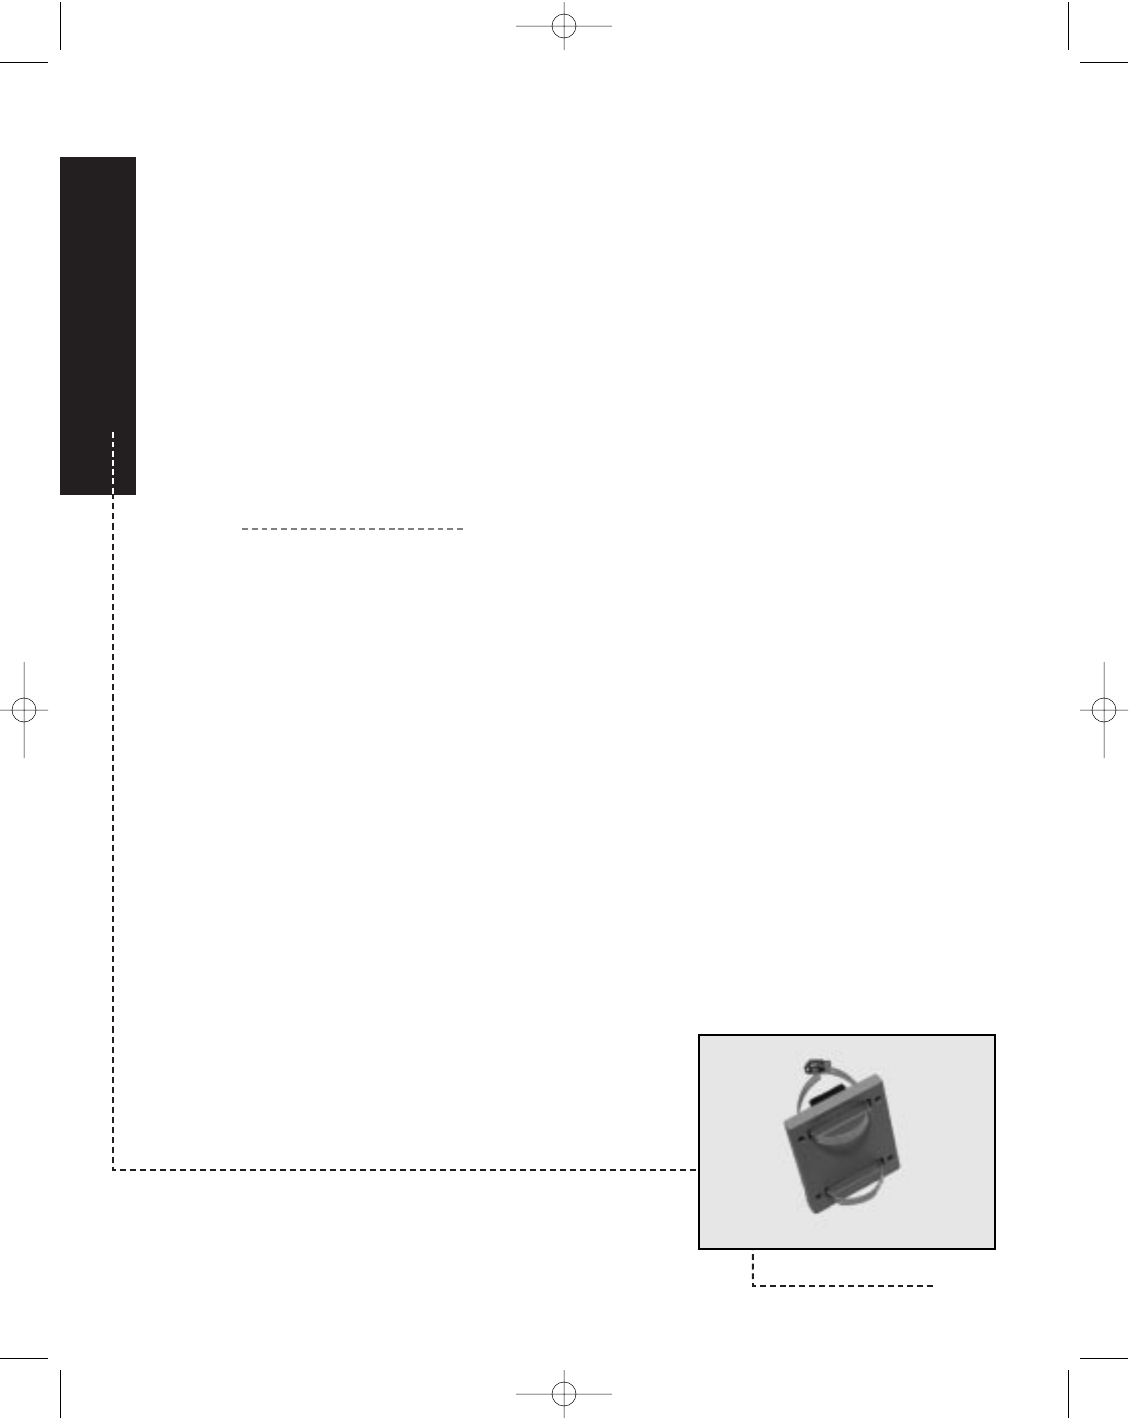
Inst alling T ags
Mounting Tags - Asset Mount
The asset mount can be used to attach the Tag to any flat surface
or curved surface (up tp 2 diameter), such as a narrow bar
or a pole.
Mounting to a flat surface:
1. Af fix the bottom (flat side) of the mount to the desired sur -
face using the double-sided t ape.
For information about more securely att aching the mount to
an asset (e.g. screwing it to the asset), please cont act your
certified system integrator.
2. Screw the tag to the mount using the two (2) security screws
and the security screw driver. Ensure that:
-The logo is facing outwards
-The screws are not overtightened (overtightening can
damage the Tag package)
3. The Tag and Mount should appear as shown.
5
tags.qxd 5/5/99 4:27 PM Page 5
Mounting to a curved surface:
1. Apply the enclosed strip of foam t ape down the middle of
the vertical axis on the bottom (flat side) of the Tag
Mount
2. Run the hose clamps through the upper and lower chan-
nels of the mount. The ends of the hose clamps should
meet above the flat side of the mount.
Note: Other mechanisms may be used to secure the
mount to a curved surface, including tie-wraps or securi -
ty banding. Ask your certified system integrator for
det ails.
6Pin Poi nt Local Positioning Systems
tags.qxd 5/5/99 4:27 PM Page 6
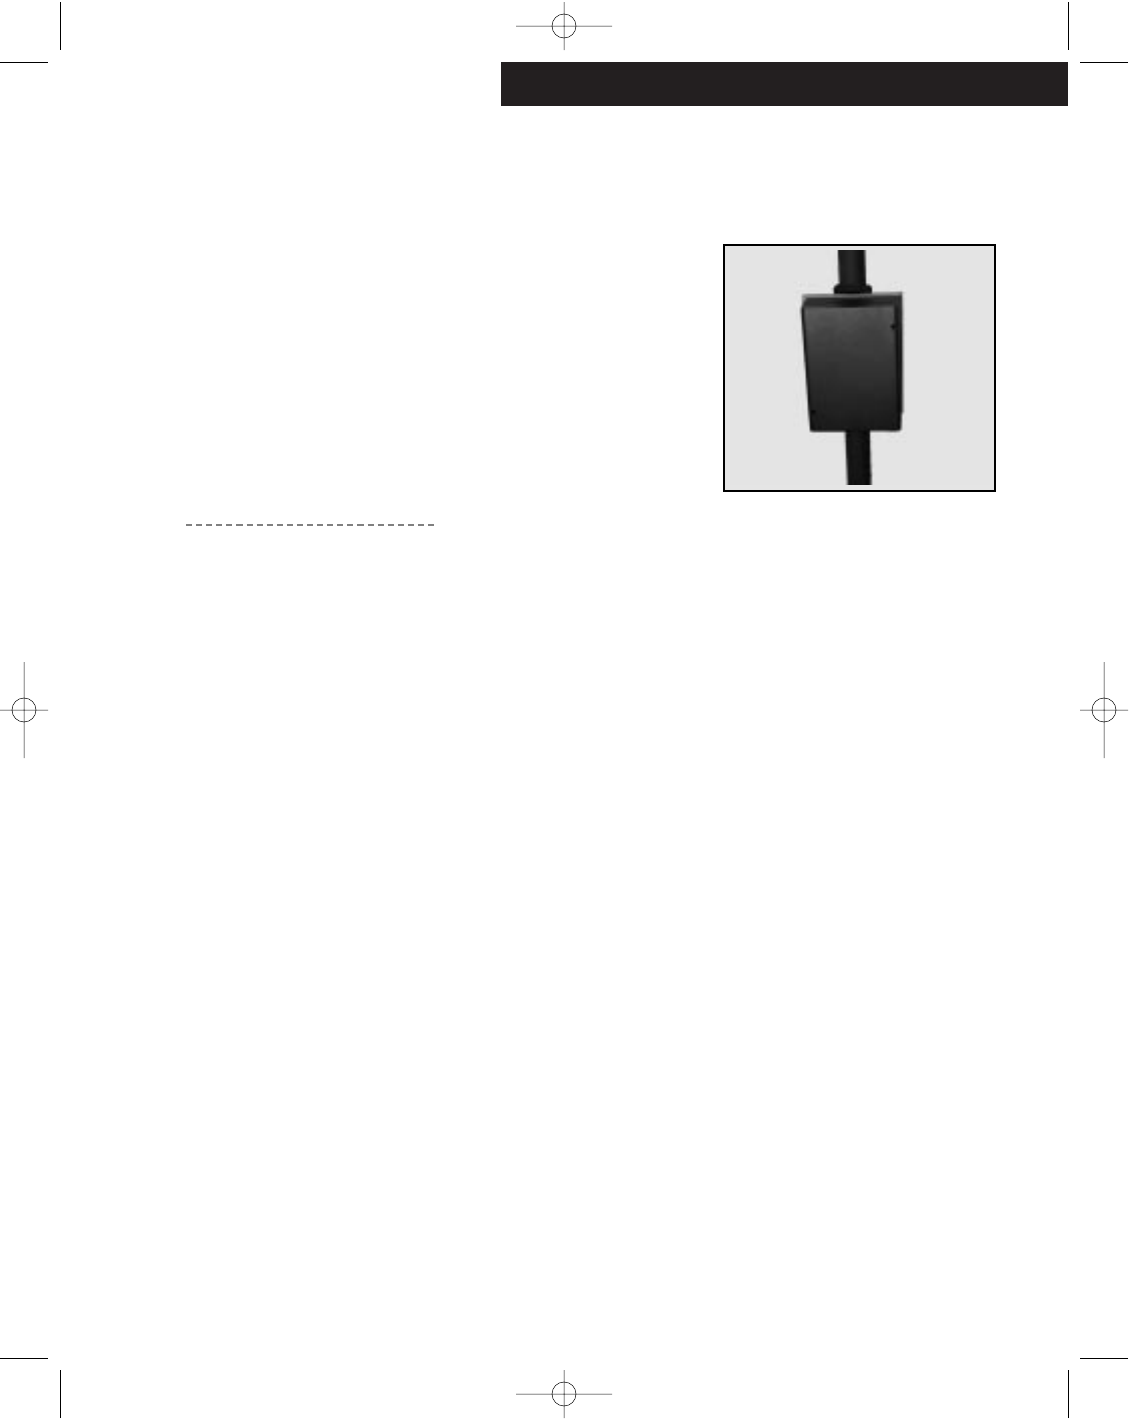
Inst alling T ags
Mounting to a curved surface (cont.):
3. Attach the mount to the curved surface and tighten the hose
clamps screws until the hose clamp s run nearly flat along
the channel in the mount.
4. Screw the t ag to the mount using the two (2) security
screws and the security screw driver. Ensure that:
-The logo is facing outwards
-The screws are not overtighted (overtightening can
damage the Tag package)
5. The Tag and Mount should appear as shown.
7
tags.qxd 5/5/99 4:27 PM Page 7
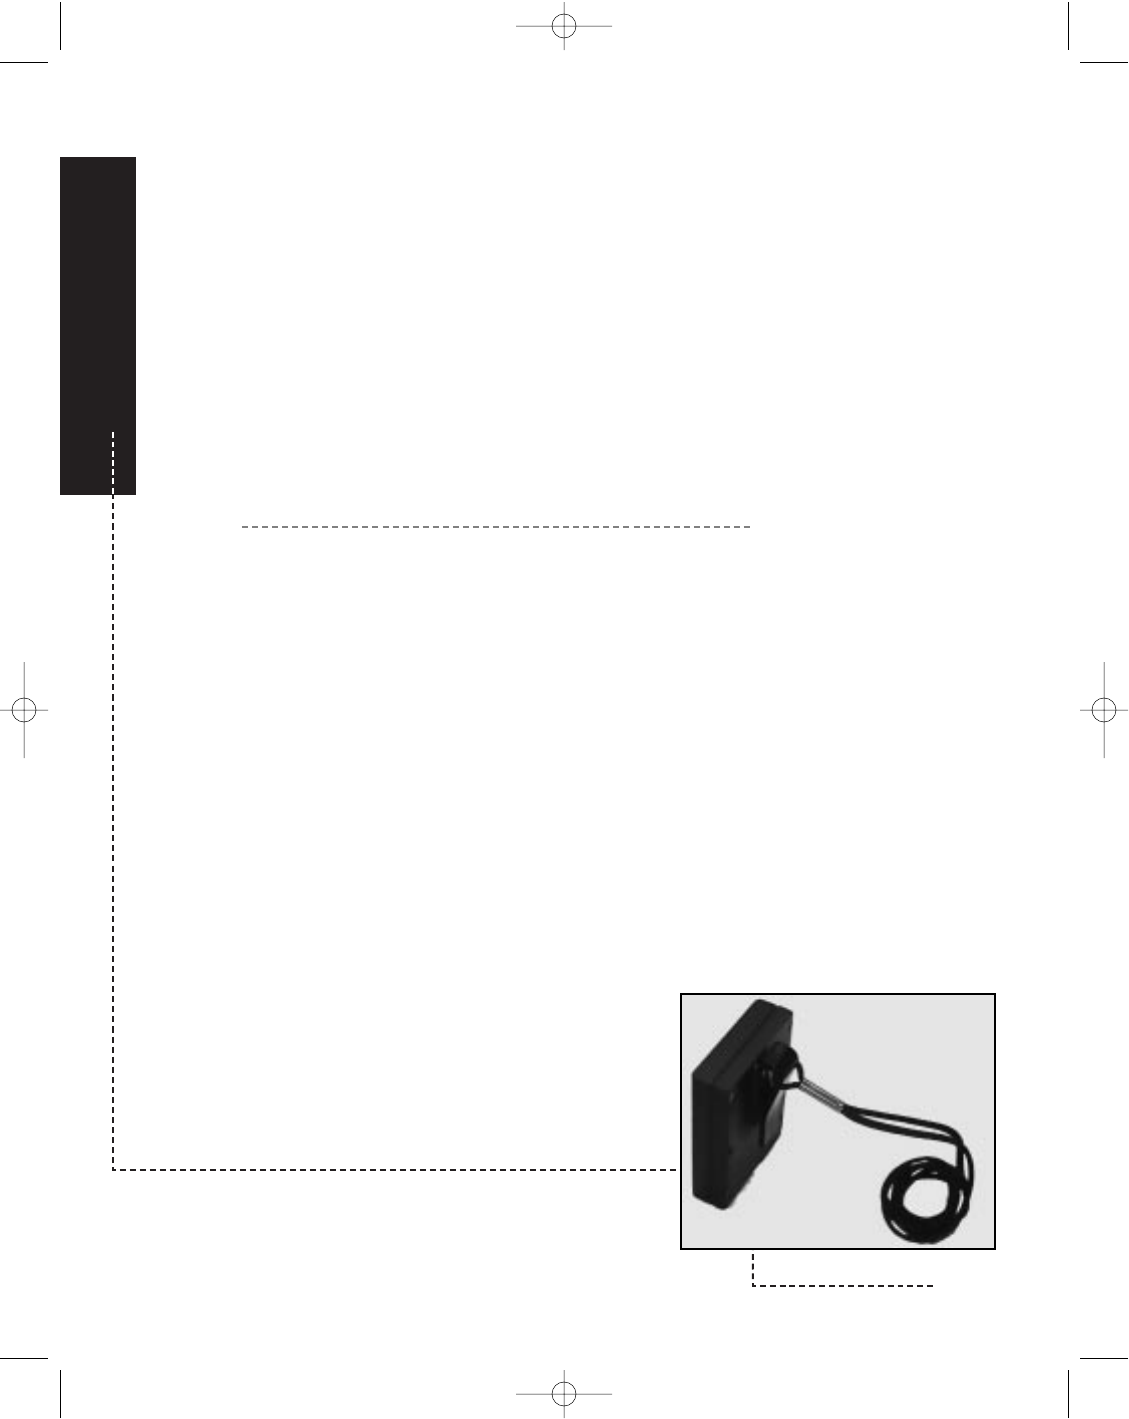
Mounting Tags - Personnel Mount
Personnel Mounts are designed to enable a t ag to be worn
around the neck or on a belt clip.
1. Using the small strip of double-sided t ape, af fix the t ape
to the flat side of the belt clip.
2. Att ach the belt clip to the back (no logo) side of the t ag
near the top as shown.
3. Using the belt clip af fix the t ag to a belt, or if desired, run
a lanyard through the belt clip to wear the Tag around
one s neck.
Note: The Tag s logo must always be facing out!
8Pin Poi nt Local Positioning Systems
tags.qxd 5/5/99 4:27 PM Page 8
Inst alling T ags
Maintaining the Tag
The ViewPoint sof tware p ackage contains a battery monitoring
application which will generate a report of all Tag s that have
a low battery (See the V iewPoint User s Manual for more
information). To change the Tag s battery:
1. IIf the Tag is mounted to the Asset Mount, remove the Tag
from the Mount.
2. Detach the battery case by carefully unscrewing the seven
(7) screws holding it to the Tag. The screws are on the rear
of the t ag (the side with no logo).
3. Carefully sep arate the Battery Case from the Tag.
4. Properly dispose of the old battery case.
9
Picture of a Tag open with
the battery separate
tags.qxd 5/5/99 4:27 PM Page 9

Maintaining the Tag (cont.)
5. Slide the new Battery Case firmly into place against the
Tag body.
NOTE: Be sure that the battery cont act s are aligned with
the T ag leads!
6. Screw the battery case on to the t ag base.
7. If the t ag is from an asset mount, reatt ach the t ag to the
mount following the instructions in the Mounting section
of this manual.
10 Pin Poi nt Local Positioning Systems
tags.qxd 5/5/99 4:27 PM Page 10

Inst alling T ags
11
Technical Specifications
This device complies with Part 15 of the FCC Rules.
Operation is subject to the following two conditions: (1)
this device may not cause harmful interference, and (2)
this device must accept any interference received,
including interference that may cause undesired opera -
tion.
Frequency:
Tx: 5.770 GHz
Rx: 2.442 GHz
Radiated Power: <0.5mW EIRP
Power Source: 6V Lithium Battery
Battery Life: Greater than 1 year at 3 second chirp intervals
Radiation Pattern: Semi-spherical (from front face of t ag)
Read Range: 125 feet
Performance: Detect a 3 second t ag in a population of:
200 t ags within 10s (99% confidence)
500 t ags within 25s (99% confidence)
Dimensions: 3.5 x 2.6 x 0.8
Environment: -20 C 50 C (operating range)
Water-resist ant to x feet
See Tag Dat a Sheet for Det ails
tags.qxd 5/5/99 4:27 PM Page 11

PinPoint Corporation
One Oak Park Bedford, MA 01730
http://www.pinpointco.com
phone/fax: 781-687-9720 - 781-687-9730
tags.qxd 5/5/99 4:27 PM Page 12