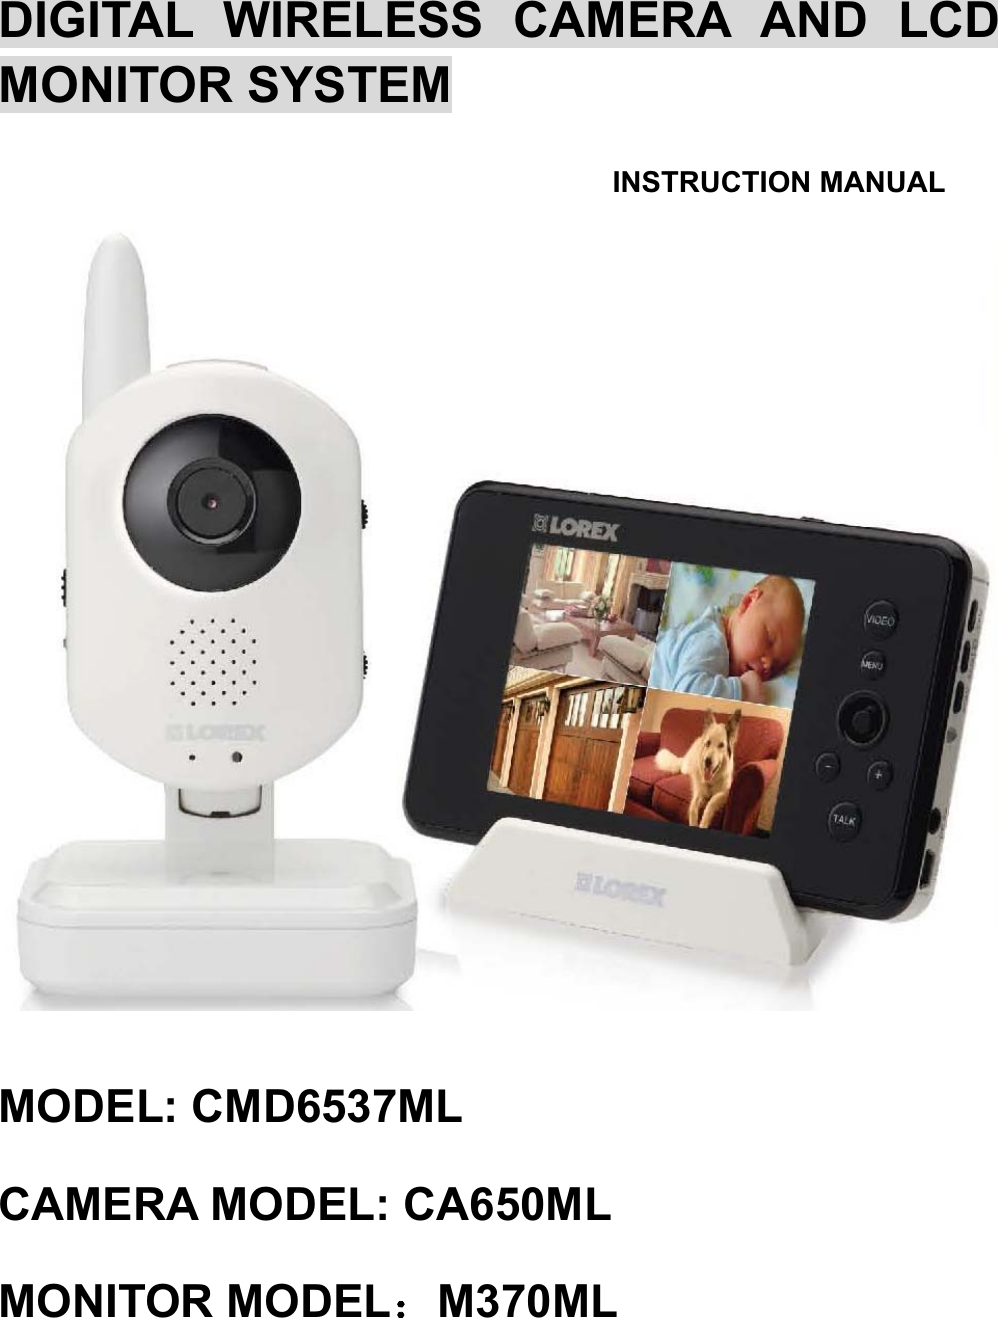
RDI Technology M370ML DIGITAL WIRELESS CAMERA AND LCD MONITOR User Manual LW2451 SERIES BODY
RDI Technology (Shenzhen) Co., Ltd. DIGITAL WIRELESS CAMERA AND LCD MONITOR LW2451 SERIES BODY
UserManual.wiki
>
RDI Technology
>
M370ML User Manual
Users Manual
Navigation menu
Upload a User Manual
Namespaces
Wiki Guide
HTML
PDF
Info
Views
User Manual
Discussion / Help
Navigation


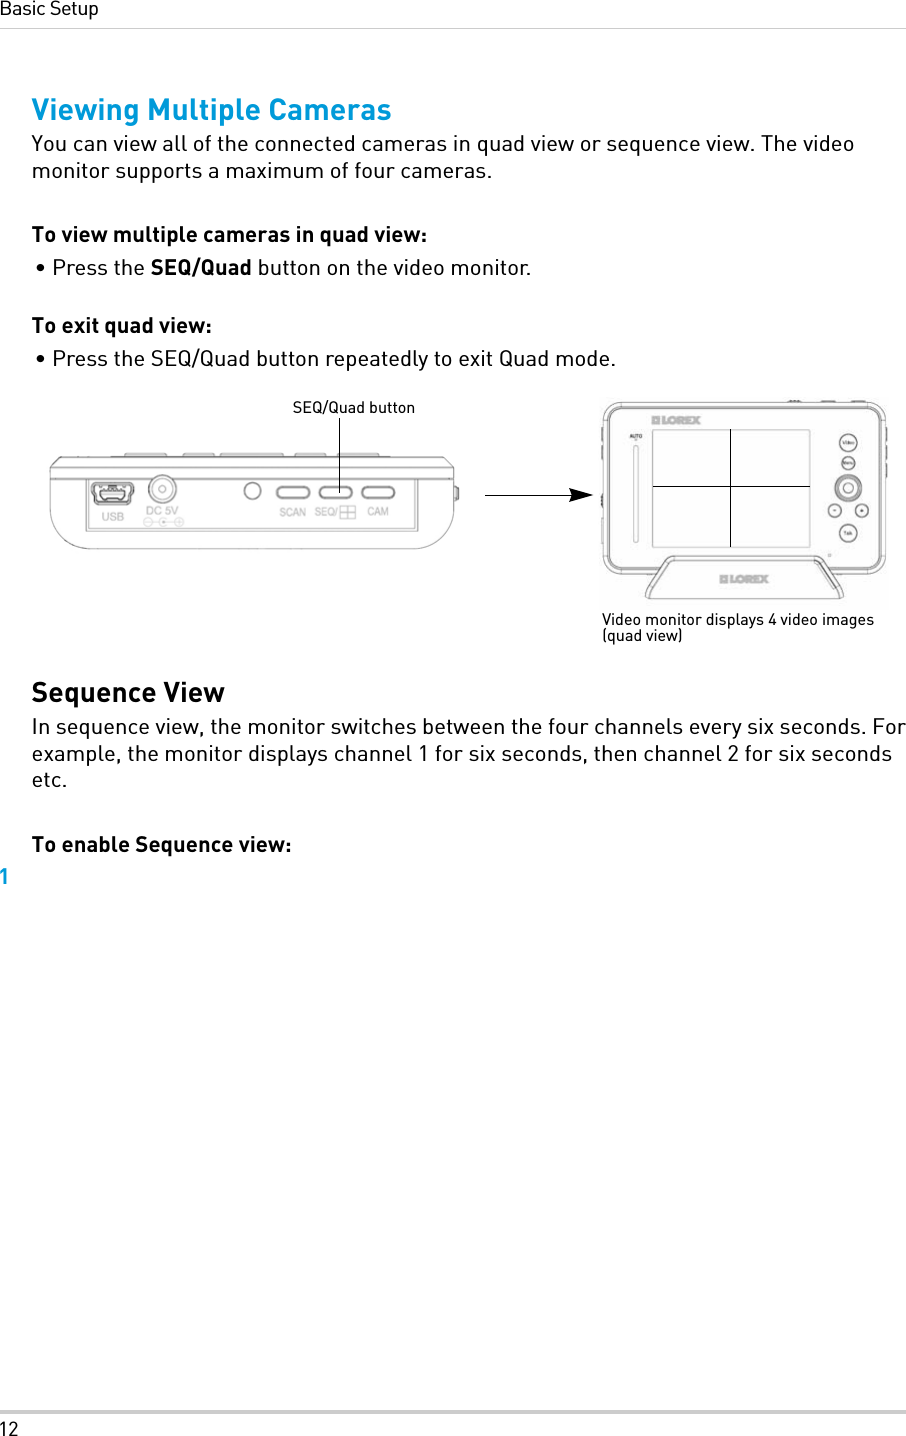

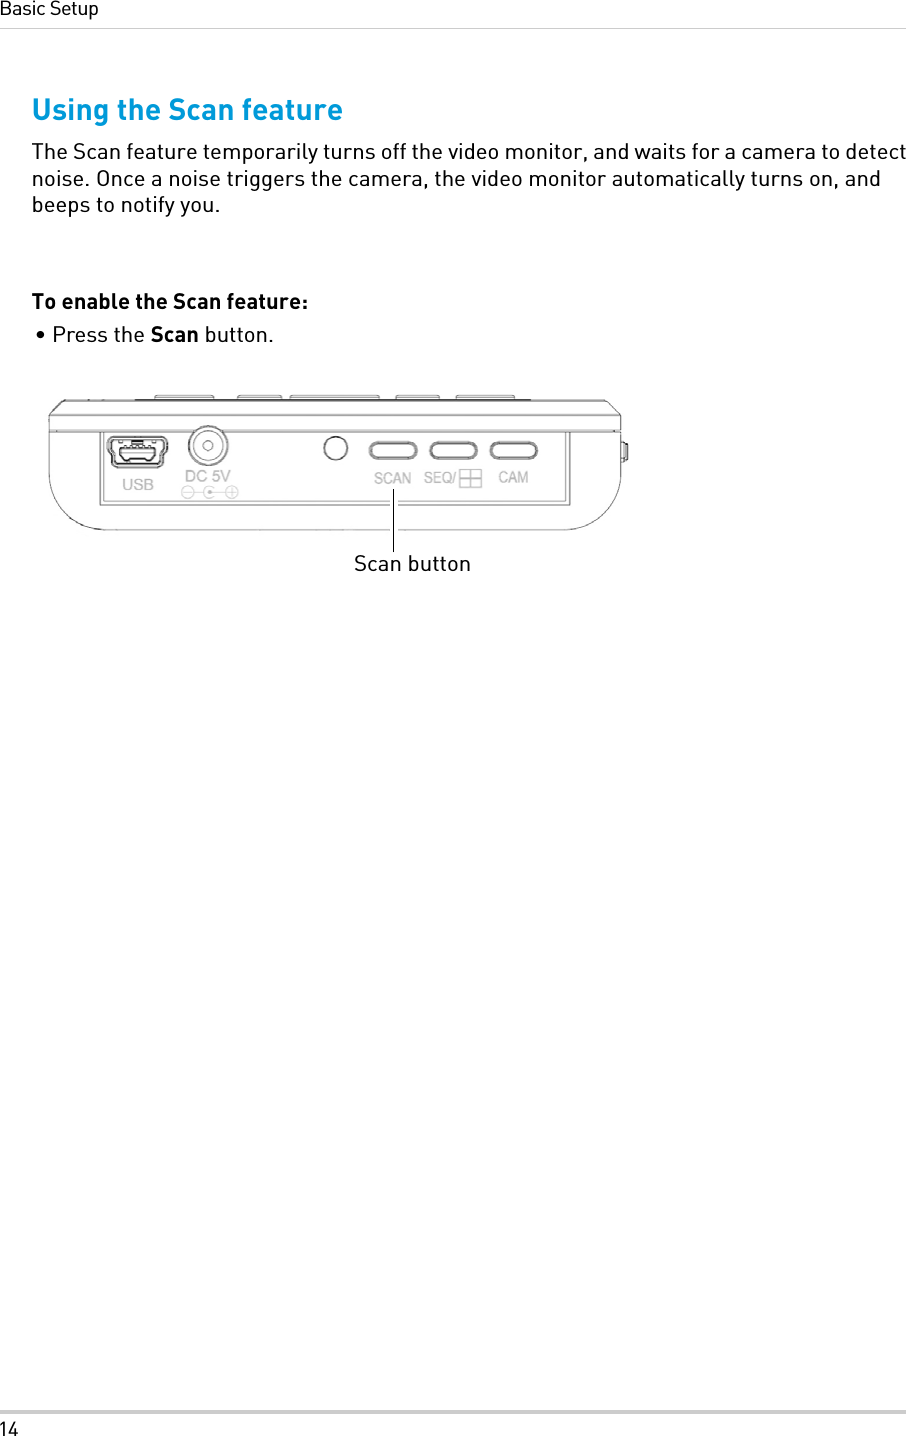
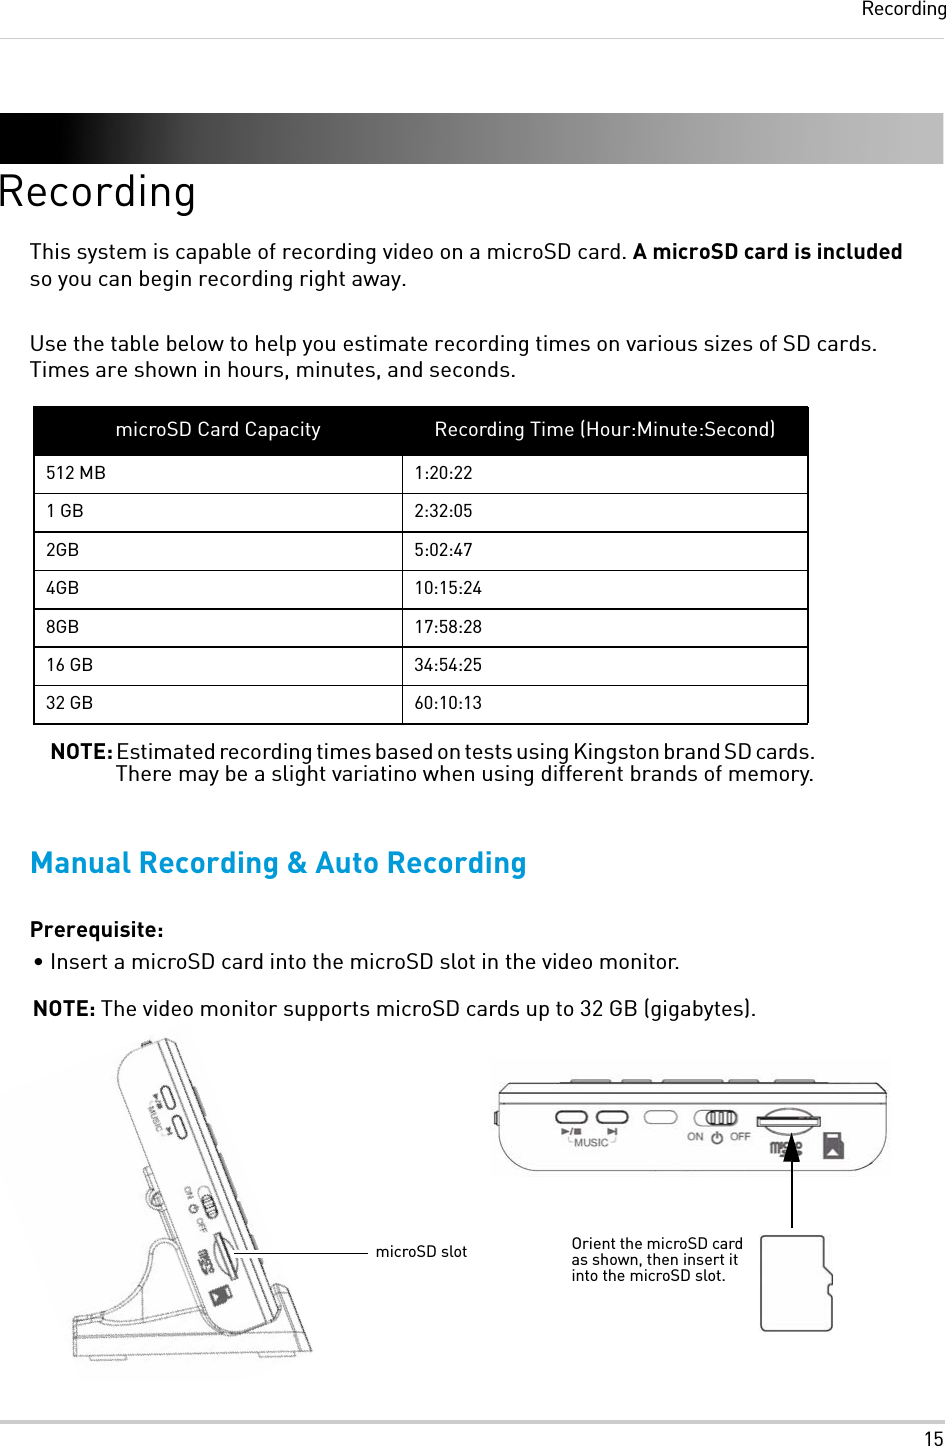
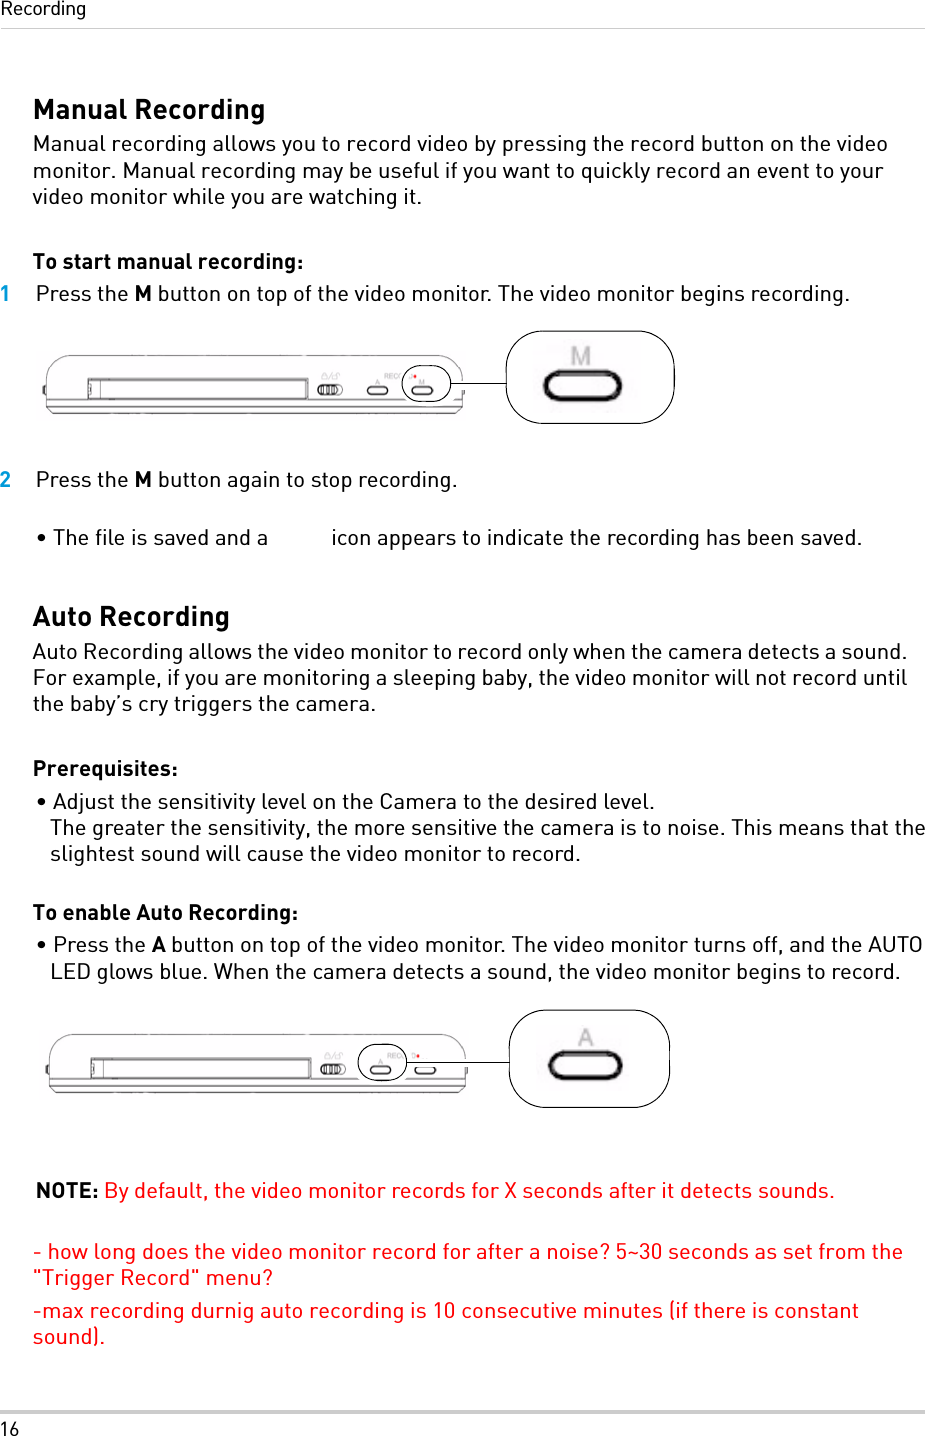
![FCCNoticeFCC NOTICE: This device complies with Part 15 of the FCC Rules. Operation is subject to the following two conditions: (1) this device may not cause harmful interference, and (2) this device must accept any interference received, including interference that may cause undesired operation. FCC NOTE: THE MANUFACTURER IS NOT RESPONSIBLE FOR ANY RADIO OR TV INTERFERENCE CAUSED BY UNAUTHORIZED MODIFICATIONS TO THIS EQUIPMENT. SUCH MODIFICATIONS COULD VOID THE USER’S AUTHORITY TO OPERATE THE EQUIPMENT. IC NOTE˖ LOW POWER DECIVES___RF Operation is subject to the following two conditions: (1) this device may not cause harmful interference and (2) this device must accept any interference, including interference that may cause undesired operation of the device." CLASS B OR A PRODUCTION This Class [B] digital apparatus complies with Canadian ICES-003. CLASS B OR A PRODUCTION This Class [B] digital apparatus complies with Canadian ICES-003. The antenna used for this transmitter must be installed to provide a separation distance of at least 20 cm from all persons and must not be co-located or operated in conjunction with any other antenna or transmitter.](https://usermanual.wiki/RDI-Technology/M370ML/User-Guide-1759315-Page-32.png)