RF Ideas BUPCPROXM100 125 kHz Base ID Transmitter User Manual Operational manual
RF Ideas Inc 125 kHz Base ID Transmitter Operational manual
UserManual.wiki
>
RF Ideas
>
BUPCPROXM100 User Manual
Operational manual
Navigation menu
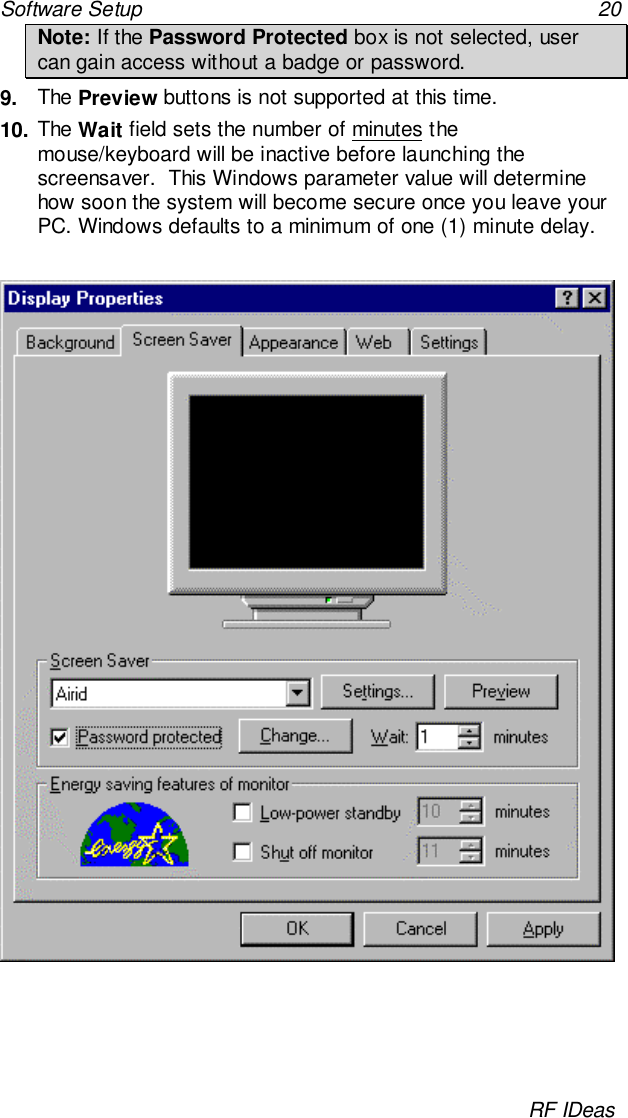
Upload a User Manual
Namespaces
Wiki Guide
HTML
PDF
Info
Views
User Manual
Discussion / Help
Navigation

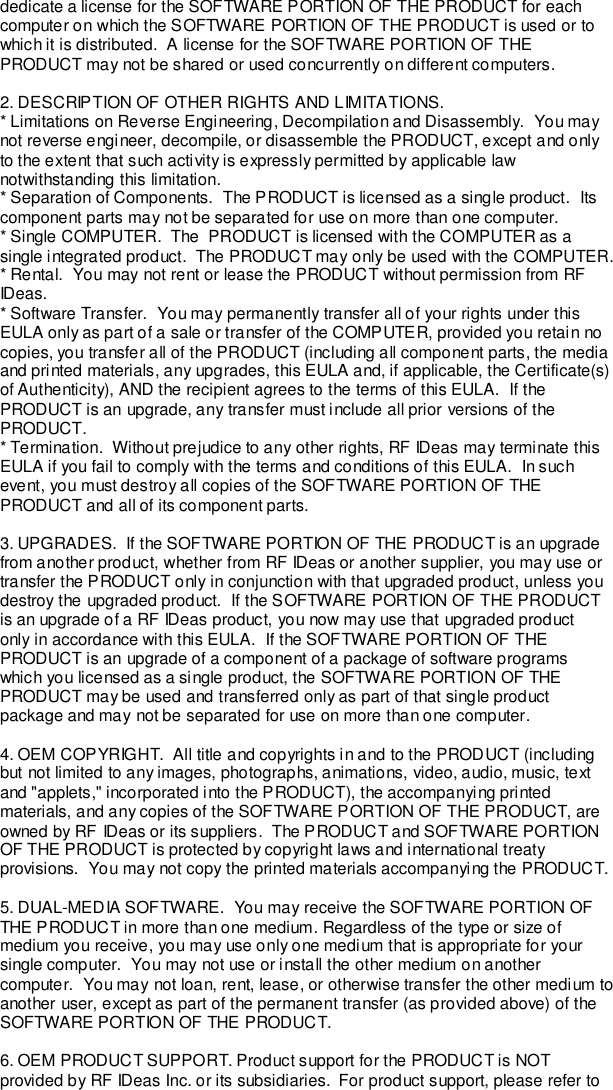


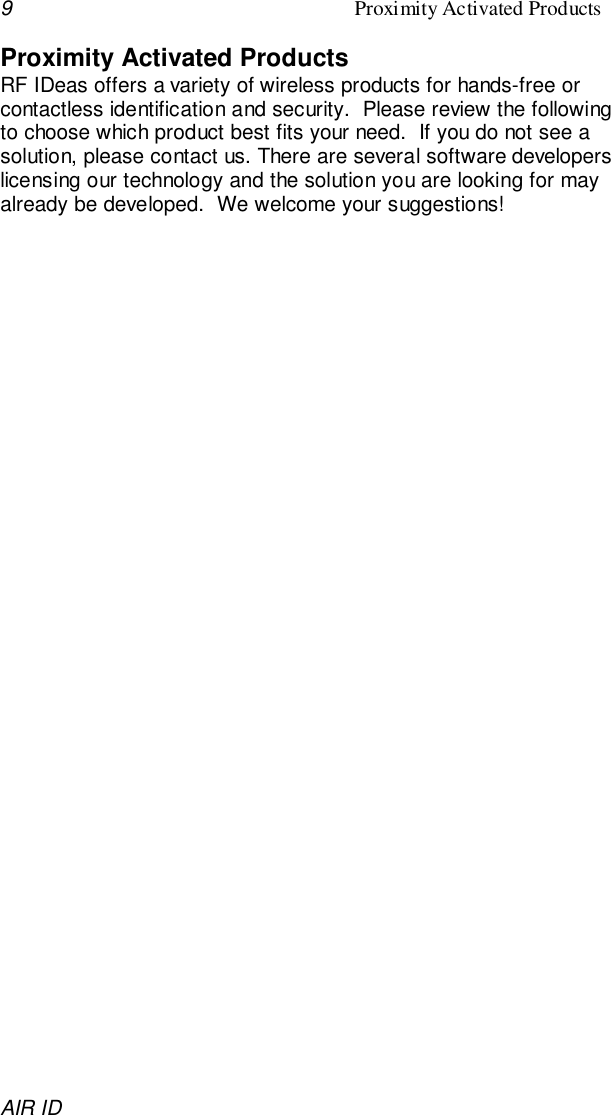
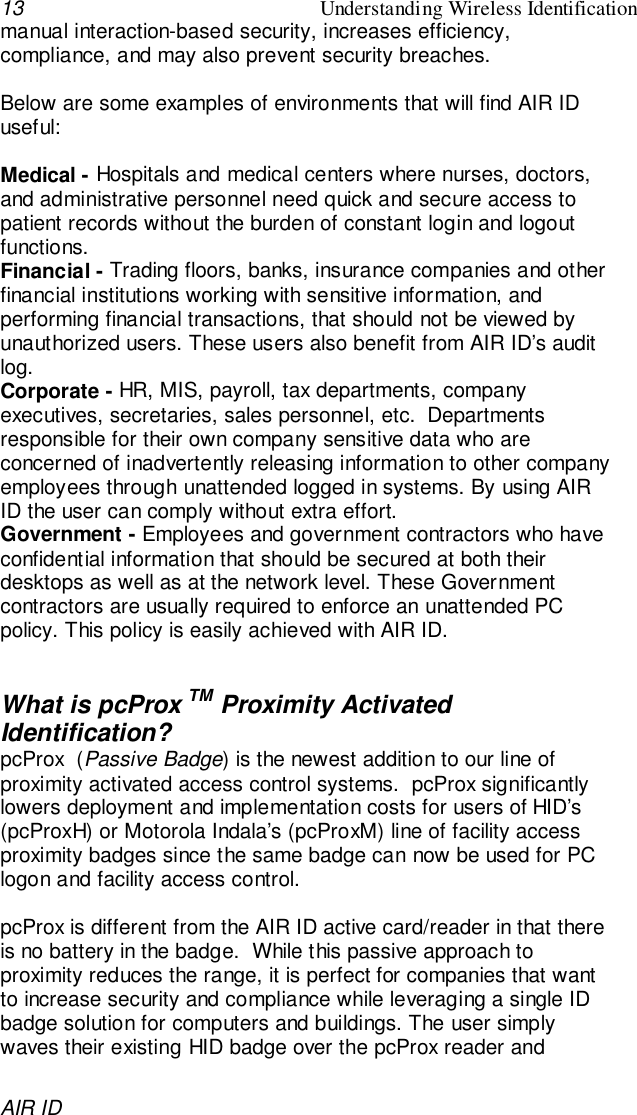
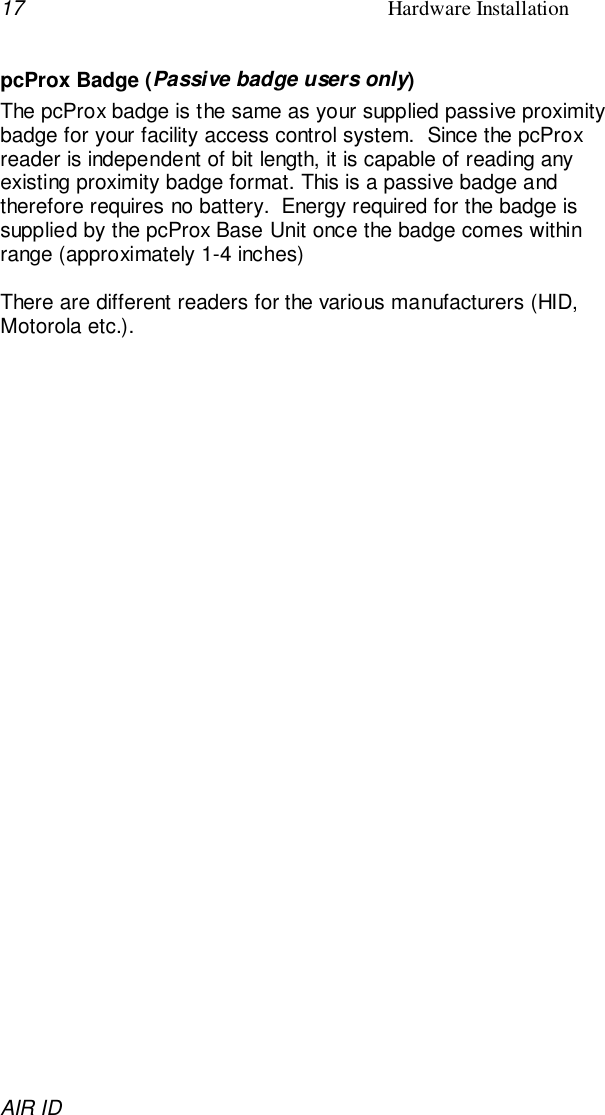
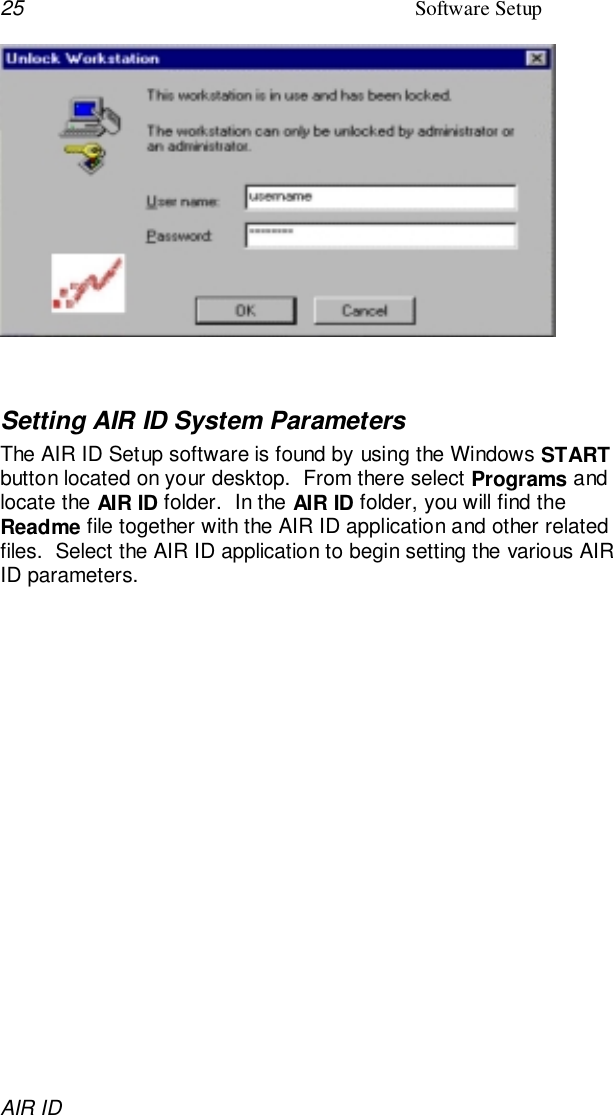
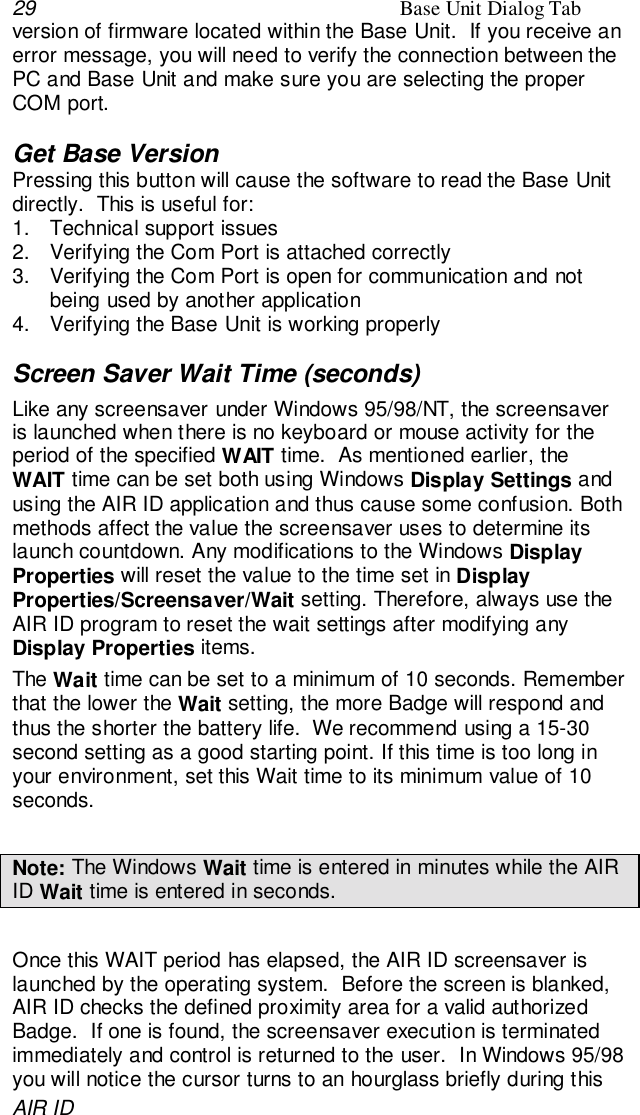
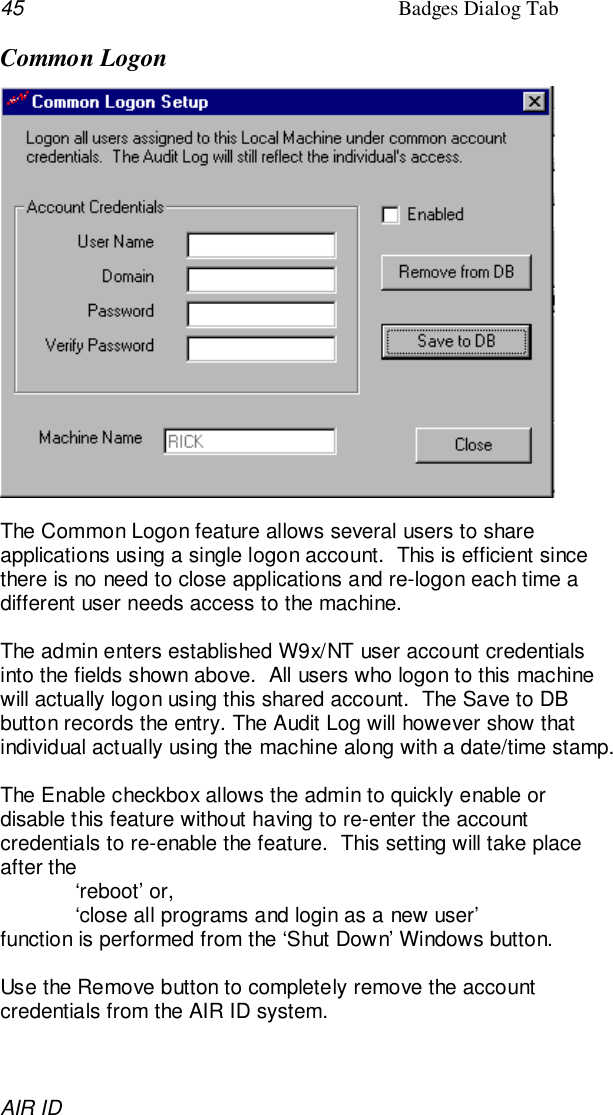
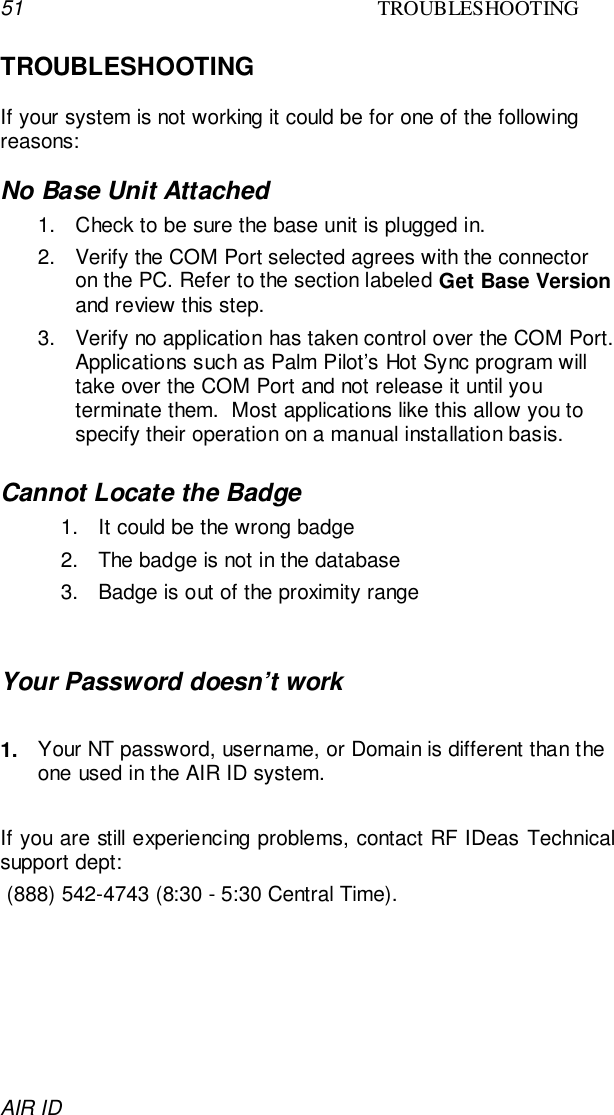
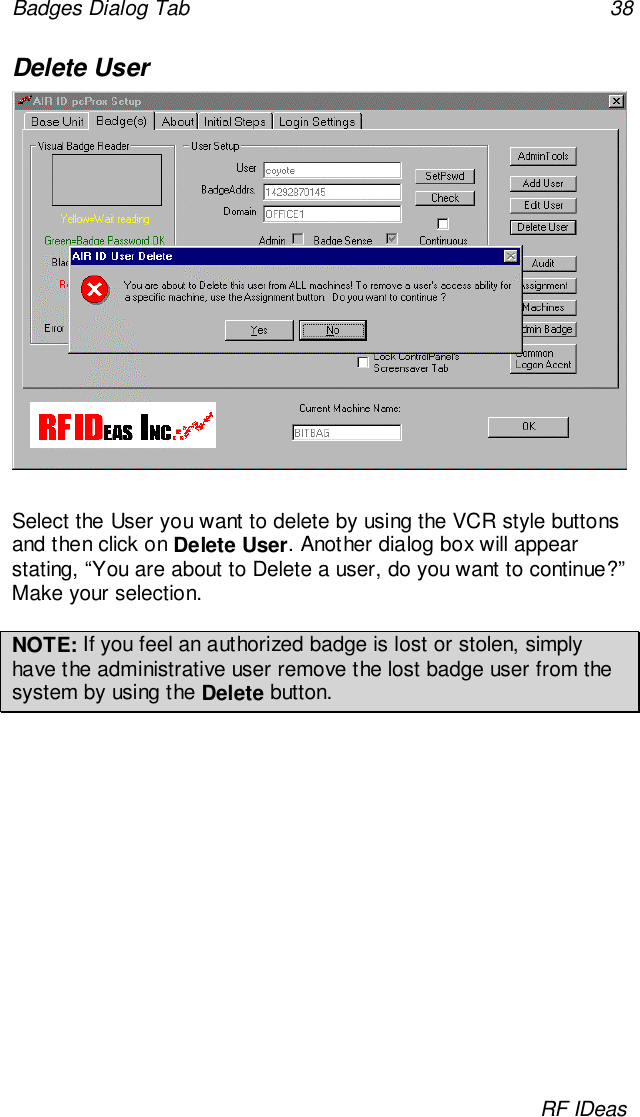
![31 Badges Dialog TabAIR IDBadges Dialog TabThe Badge(s) Tab allows the adding, deleting and editing ofusers. This function also allows the badges to be tested for properoperation. Functions within this tab help the user adjust theorientation of the base. All functions are described in this section.OverviewAll AIR ID screensaver systems have a database that holds userinformation. The Badge(s) Dialog Tab is a convenient screen toview user information and test the badge’s RF characteristics inyour environment. A Visual Badge Indicator is shown to assist theuser in testing the badge to base unit communications.Types of UsersThere are three types of users in the AIR ID system:Administrative UsersThere is one administrative user (Username is “admin”), permittedin the AIR ID system. This user has the ability to add, delete andedit users on the system as well as modify other system settings.The “admin” user may also have proximity badge capability ifinitialized with the [Admin Tools]-[Admin Badge] facility.](https://usermanual.wiki/RF-Ideas/BUPCPROXM100/User-Guide-130835-Page-33.png)
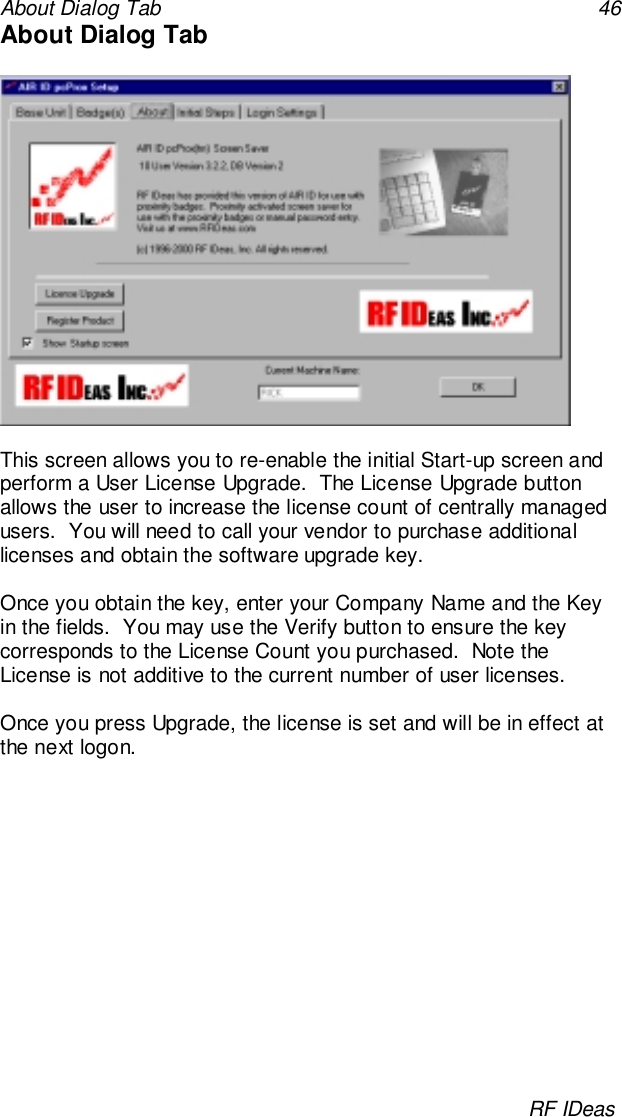
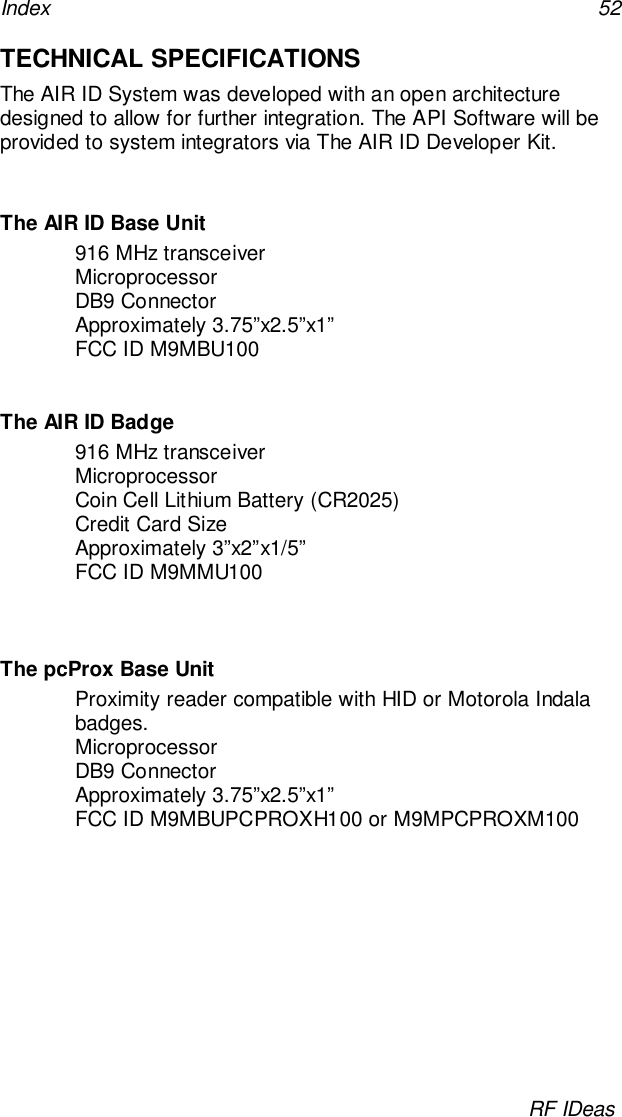
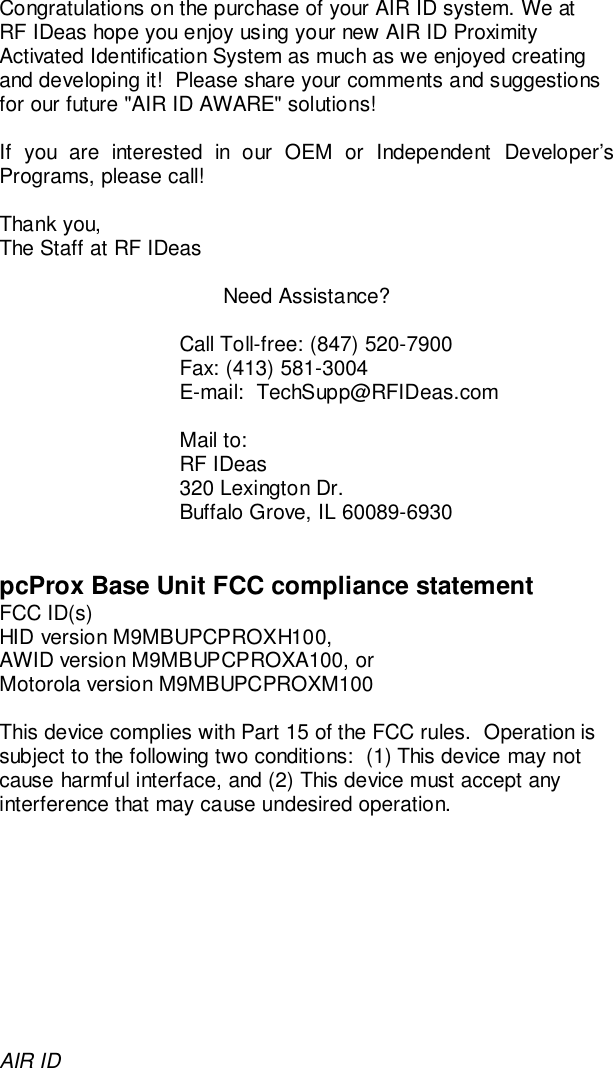
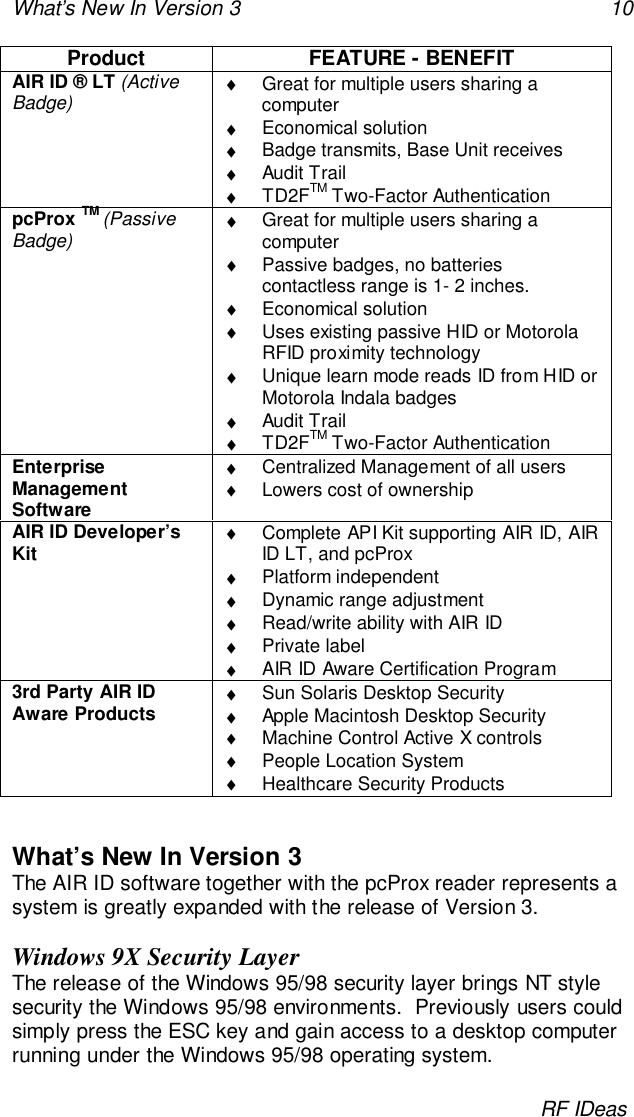
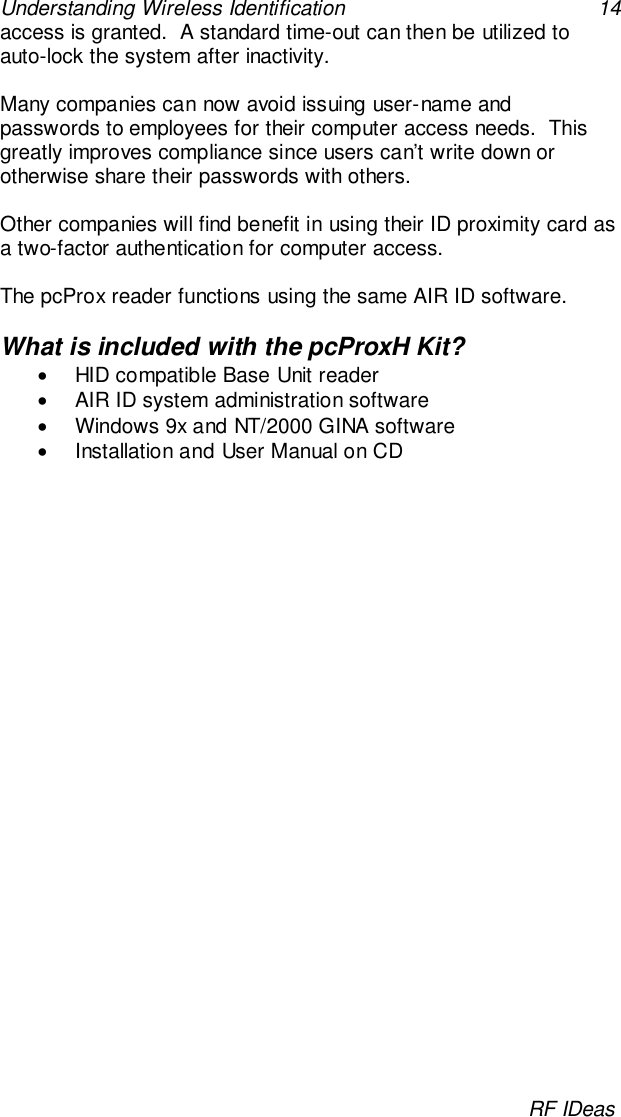
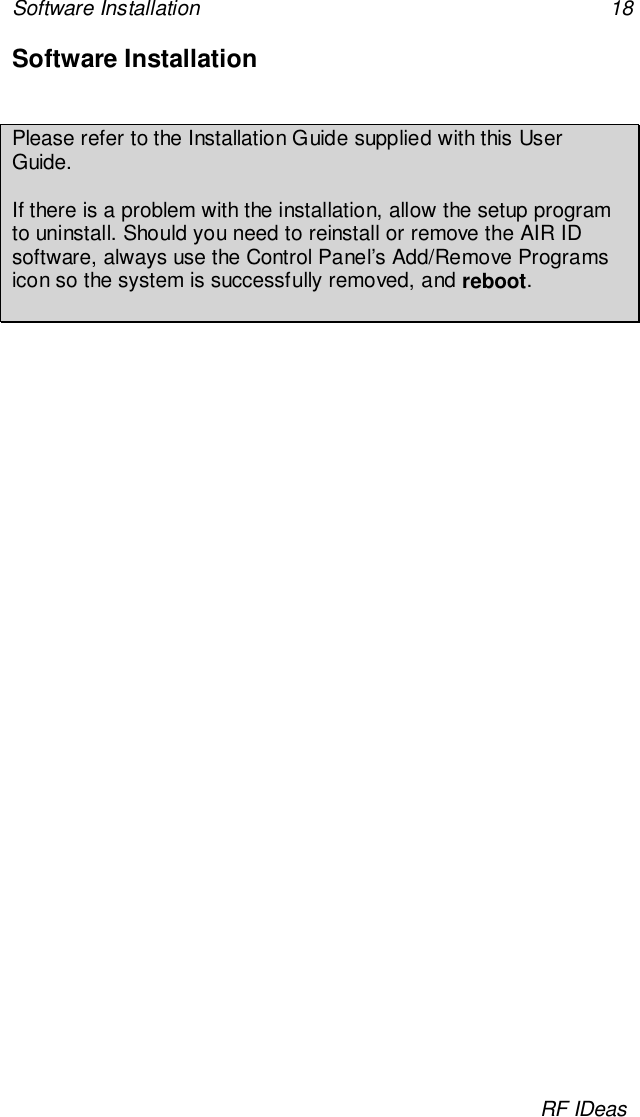
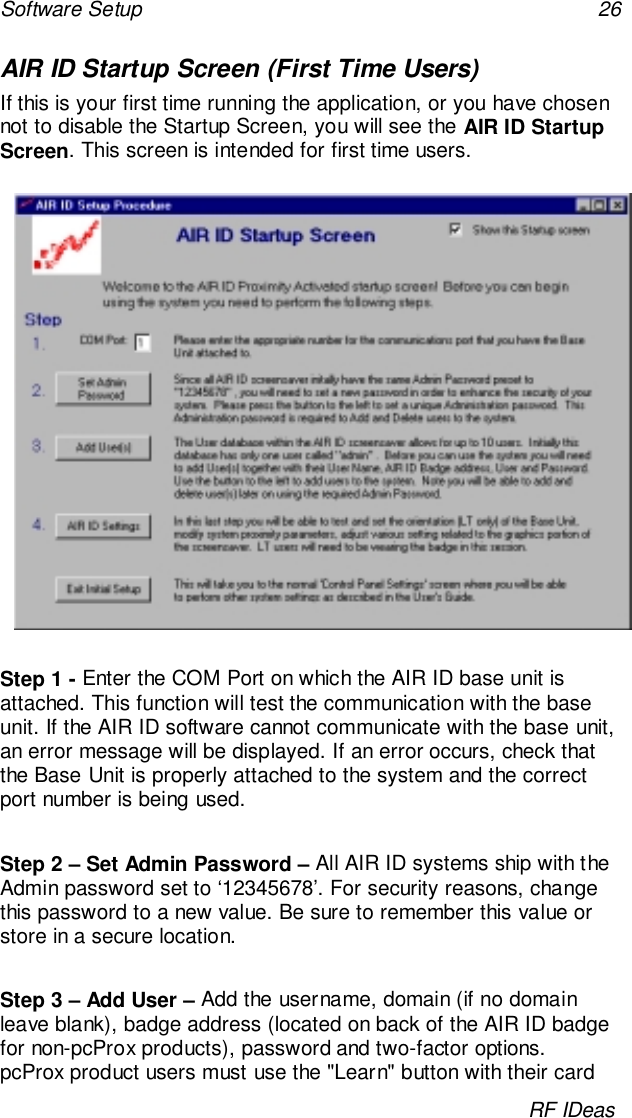
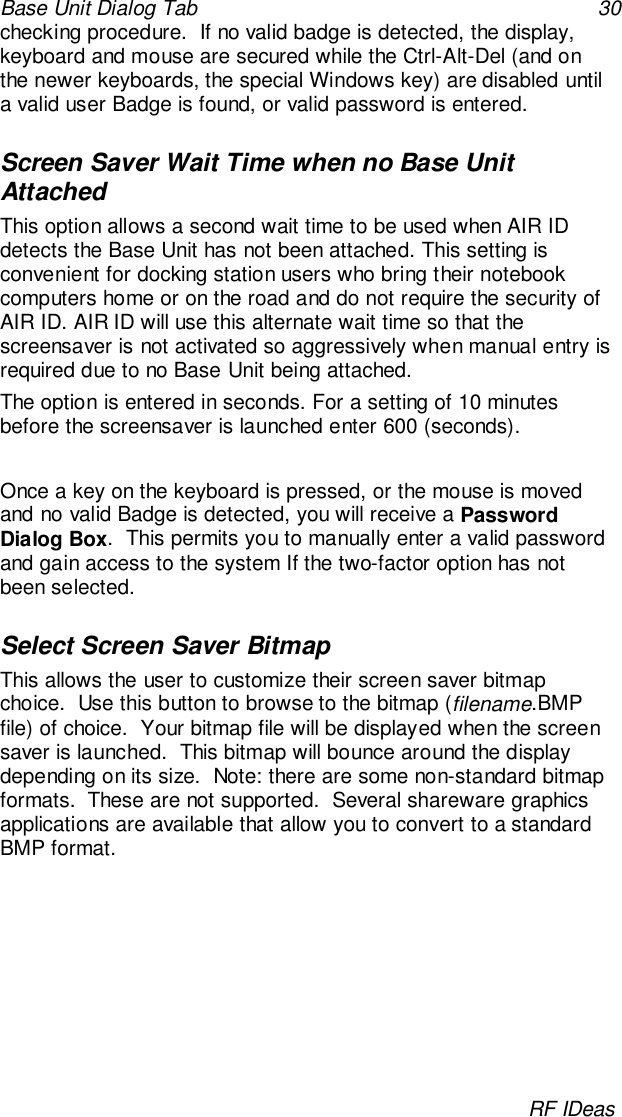
![Badges Dialog Tab 34RF IDeasAdministrative FunctionsTo gain access to the administrative buttons you need to enter theAIR ID admin password. Press the [Admin Tools] button and enterthe admin Password.A valid admin password yields the following screen:NOTE: Since all AIR ID system ship with the same ‘ADMIN’ user’spassword (12345678), make sure you change this password inorder to maintain the security of the system.](https://usermanual.wiki/RF-Ideas/BUPCPROXM100/User-Guide-130835-Page-36.png)
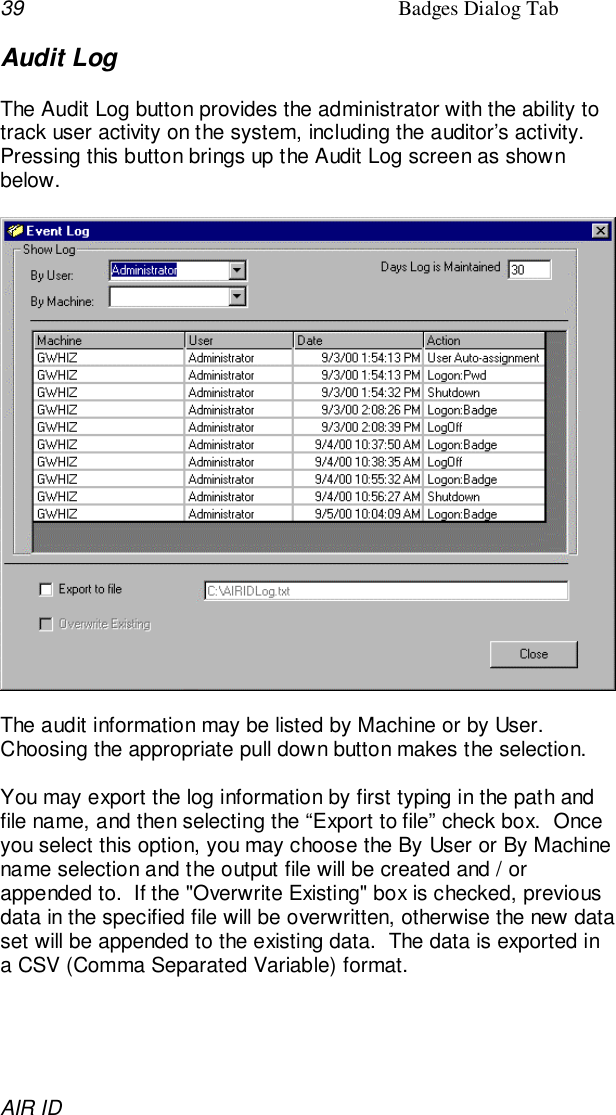
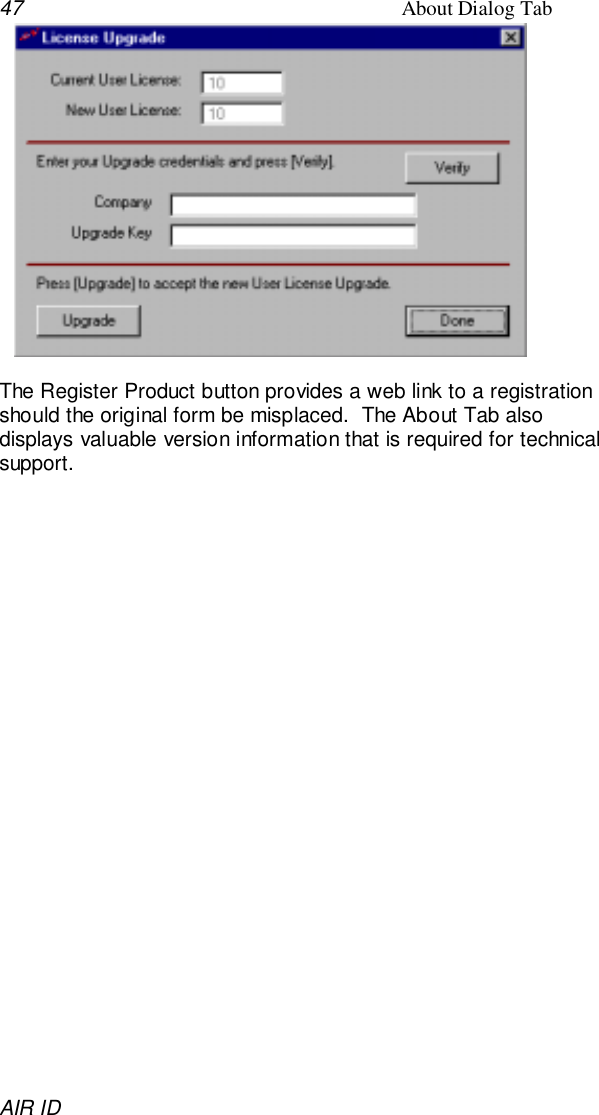
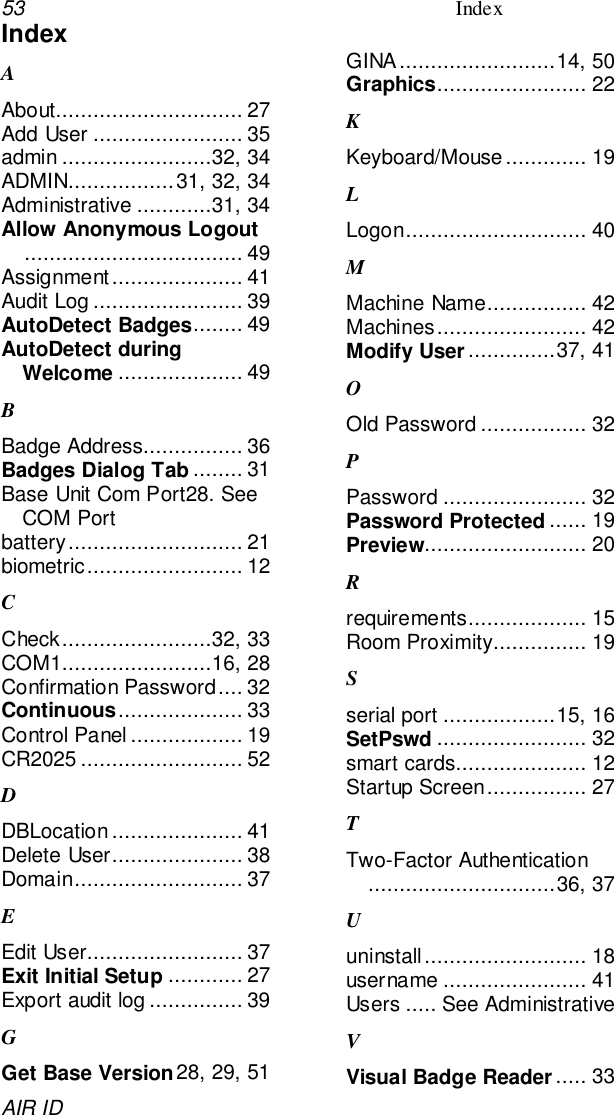
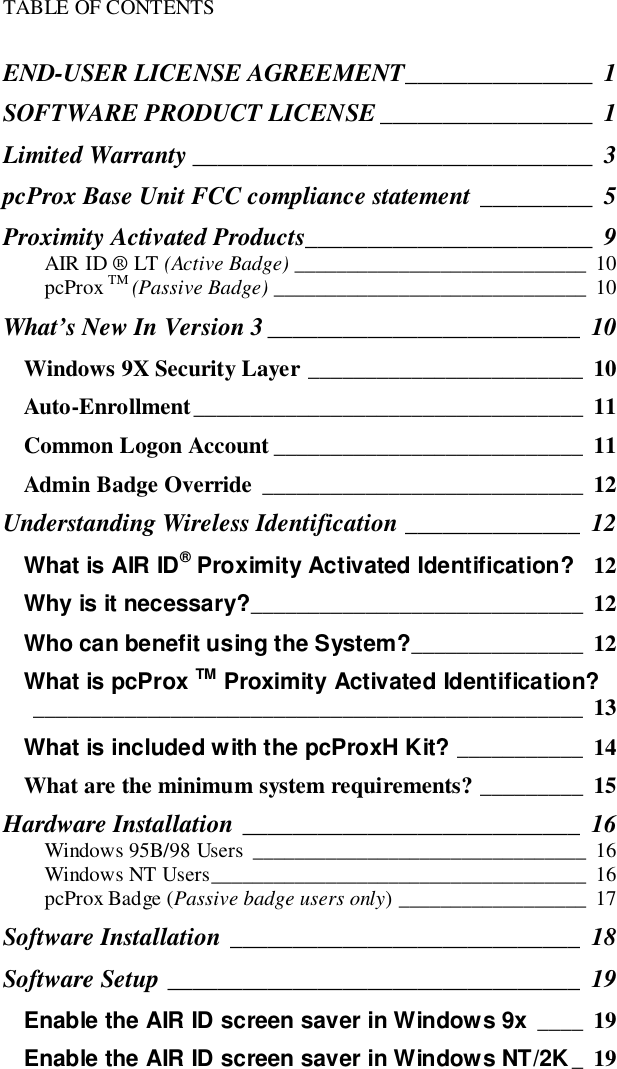
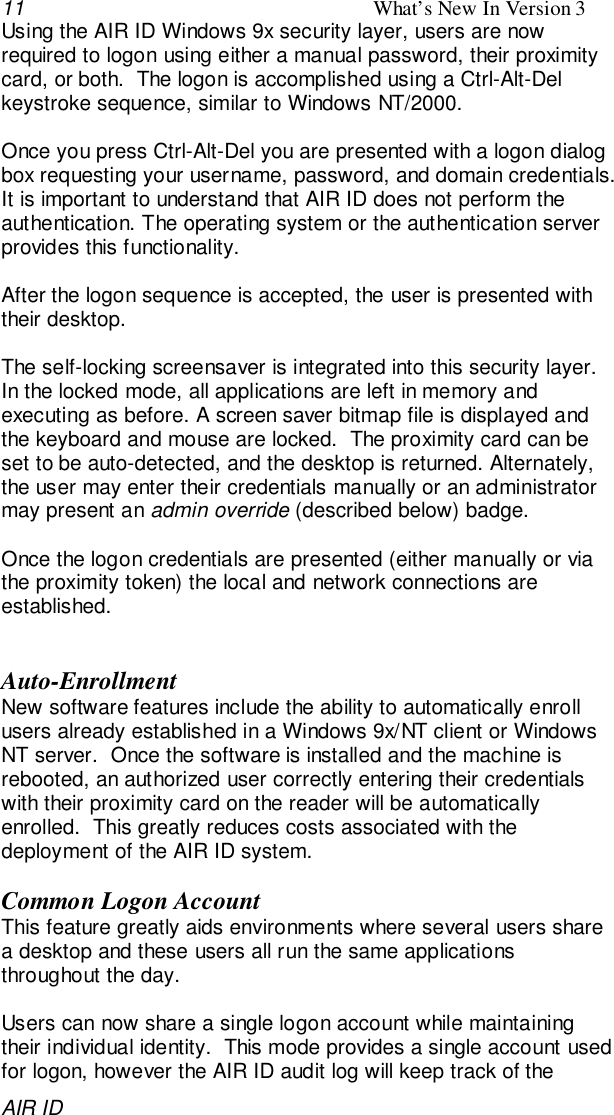
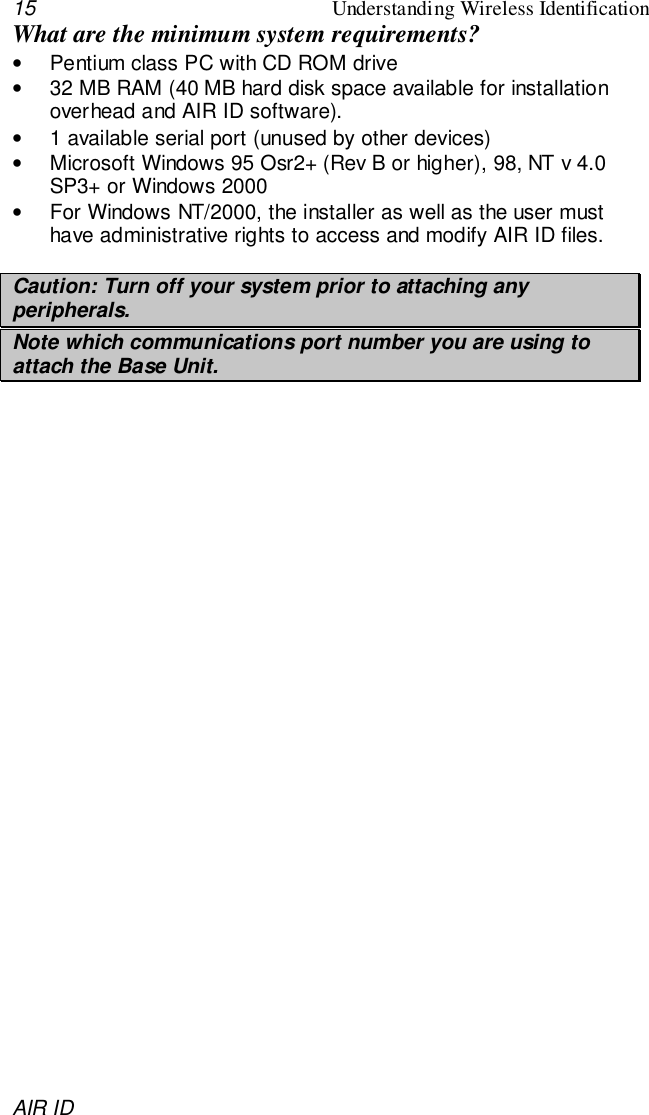
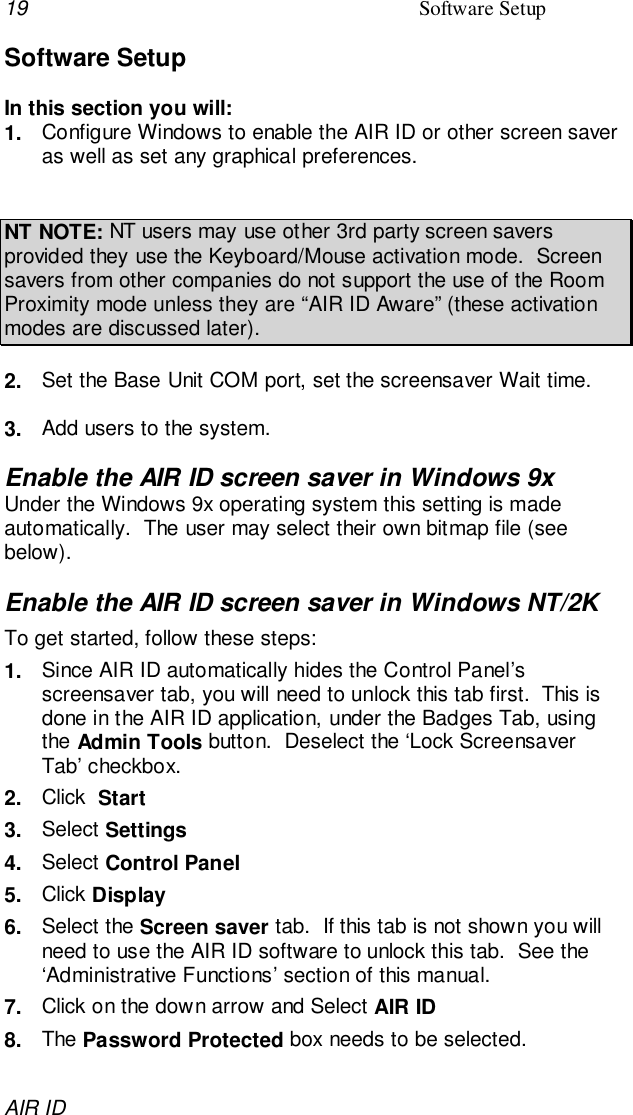
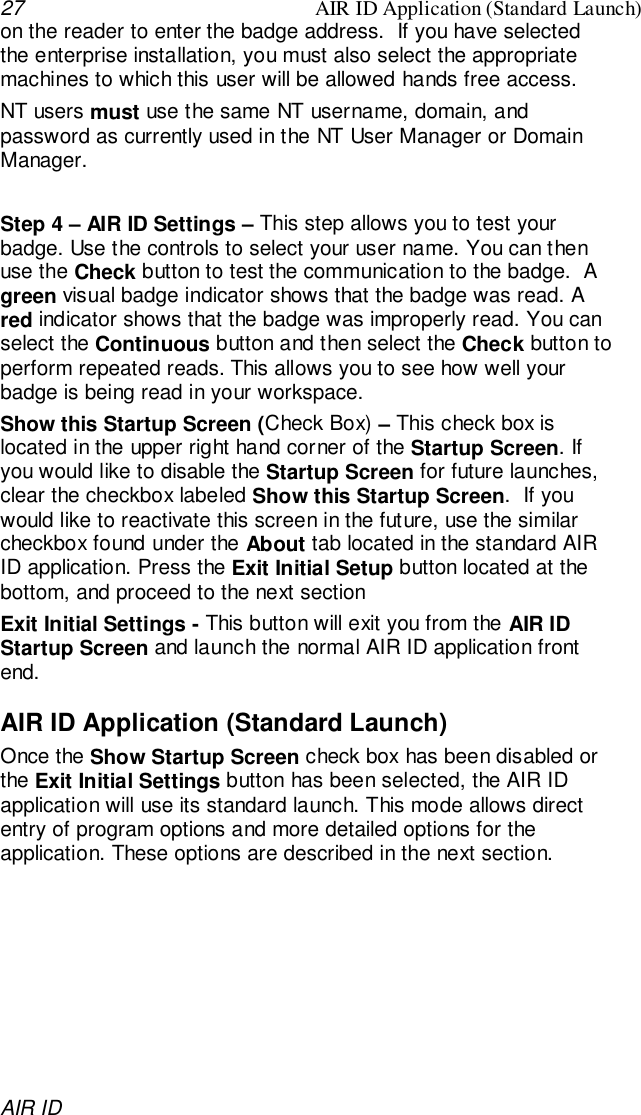
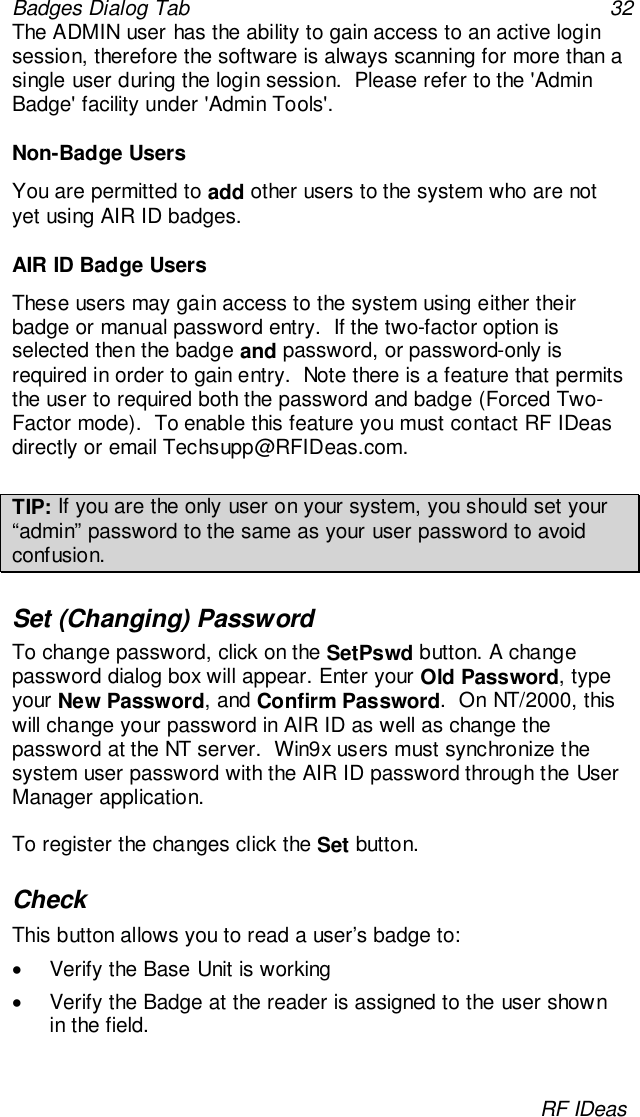
![Badges Dialog Tab 40RF IDeasAuditThe AIR ID system currently logs the following events:1. Change Password2. Change Password: Failed3. Logon Badge4. Logon Badge Fail5. Logon Pwd6. Logon Pwd Failed7. Logoff8. Shutdown9. User Auto-assignment10. Manual Lock11. Manual Unlock12. Manual Unlock Failed13. Badge Unlock14. Badge Unlock Failed15. Assignment [of a user to a machine]16. Admin Badge Override17. Admin Manual Override](https://usermanual.wiki/RF-Ideas/BUPCPROXM100/User-Guide-130835-Page-42.png)