User manual
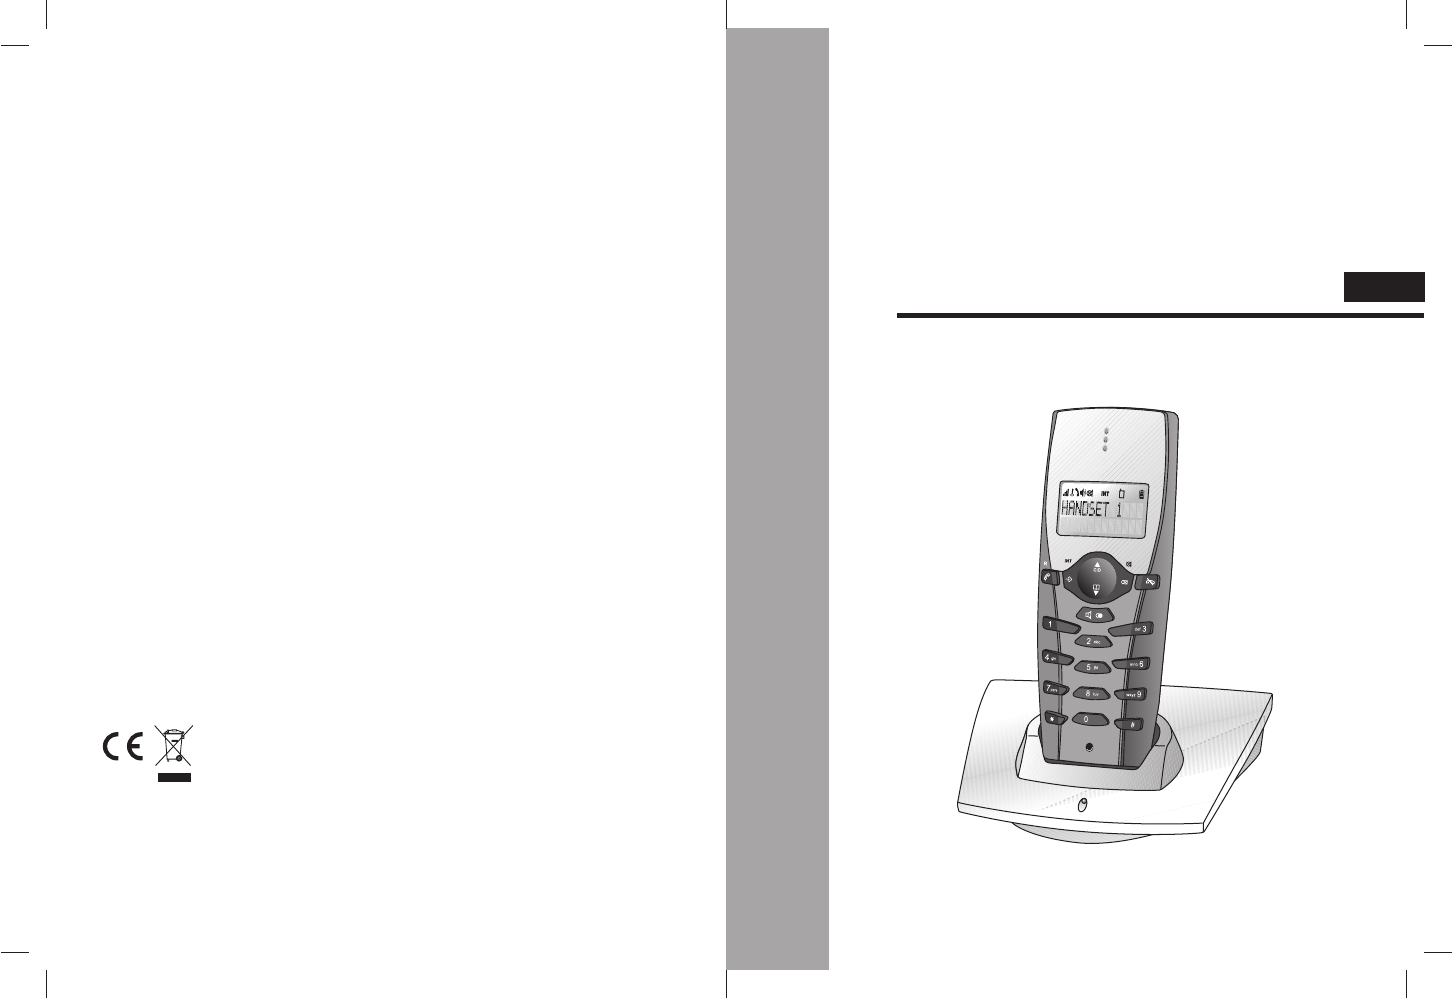
CORDLESS DECT PHONE
INSTRUCTION MANUAL
GB
The crossed-out wheeled bin symbol that can be found on your product means that the product is covered
by the European Directive 2002/96/EC and it indicates that this product should not be disposed of via the
normal household waste stream.
To prevent possible harm to the environment or human health, please separate this product from other waste
streams to ensure that it can be recycled in an environmentally sound manner.
For more details on available collection facilities, please contact your local govern office or the retailer where
you purchased this product.
P

FCC RULES
FCC Rules
This device complies with Part 15 of the FCC Rules. Operation is subject to the following
two conditions: (1) this device may not cause harmful interference, and (2) this device must
accept any interference received, including interference that may cause undesired operation.
Changes or modifications to the equipment not expressly approved by the party responsible
for compliance could void the user’s authority to operate the equipment.
NOTE: This equipment has been tested and found to comply with the limits for a Class B
digital device, pursuant to Part 15 of the FCC Rules. These limits are designed to provide
reasonable protection against harmful interference in a residential installation. This equipment
generates, uses and can radiate radio frequency energy and, if not installed and used in
accordance with the instructions, may cause harmful interference to radio communications.
However, there is no guarantee that interference will not occur in a particular installation.
If this equipment does cause harmful interference to radio or television reception, which can
be determined by turning the equipment off and on, the user is encouraged to try to correct
the interference by one or more of the following measures:
– Reorient or relocate the receiving antenna.
– Increase the separation between the equipment and receiver.
–Connect the equipment into an outlet on a circuit different from that to which the receiver
is connected.
– Consult the dealer or an experienced radio/TV technician for help.
This device complies with FCC RF radiation exposure limits set forth for an uncontrolled
environment: SAR 0.0560 W/kg (Nor mal use), SAR 0.017 W/kg (Pocket/Belt use).
Privacy of communications may not be ensured when using this phone.
For body worn operation (Pocket/belt use). To maintain compliance with FCC RF
exposure guidelines, use only accessories that contain no metallic component and
provide a separation distance of 15mm (0.6inches) to the body. Pocket use and use
of other accessories may violate FCC RF exposure guidelines and should be
avoided.
1
4
7
0
8
5
2
3
6
9
abc
jkl
def
mno
ghi
pqrs tuv wxyz
Following items are included in the package of this Designer’s Phone: –
– Handset unit
(additional handsets may be included according to product package)
– Charger unit
– Rechargeable AAA size NiMH batteries (1.2V 600mAh x 3 pieces)
– Power supply unit
– Instruction for user
Accessories & Content
Instruction for User
The cordless phone system can only work under constant power supply to the E-MTA base
station. It is advisable that another corded phone (works without main power supply) is
connected to your phone system for emergency call purpose in case of power failure.
Installation and Start-Up
21
Handset
1. LCD screen
2. Function keys
3. Ear piece/Receiver
4. Mouth piece/Microphone
5. Battery compartment cover
6. Handset charge contacts
7. Headset jack (optional)
Charger Unit
8. Charger charge contacts
9. Power indicator
10. Power supply unit
8
9
10
3
1
2
4
7
5
6
Congratulation on your purchase of this DESIGNER’S PHONE. This phone is designed with
finishing touch by renowned Danish designer. It is a state of the art device created with
consideration of form and function.
This designer’s phone is powered with latest digital technology — DECT system (Digitally
Enhanced Cordless Telecommunication). It brings you digital sound, penetrating range and
user-friendly menu-driven functions.
According to the DECT system standard (GAP compatible), 6 different handsets (
sold
separately
) can be registered to a single E-MTA cable modem unit to perform function of a
mini-PABX system that offers you functions of intercom and call transfer between handsets
and base unit.
In addition, its built-in caller ID decoder, re-dial, phone book, redial list and caller ID memory
provide you great convenience to manage your phone calls.
This Instruction for Users briefly describes the installation procedures and all built-in features
at a glance.
P
Or
1. On the charger unit, connect the power supply unit to the power supply at the wall.
3. Put the handset onto the charger unit, according to picture shown,
make sure charge indicator on the handset unit animates to show
charging in progress.
IMPORTANT NOTICE :
To obtain best battery performance, keep the handset being
charged for 12 hours after first time installation.
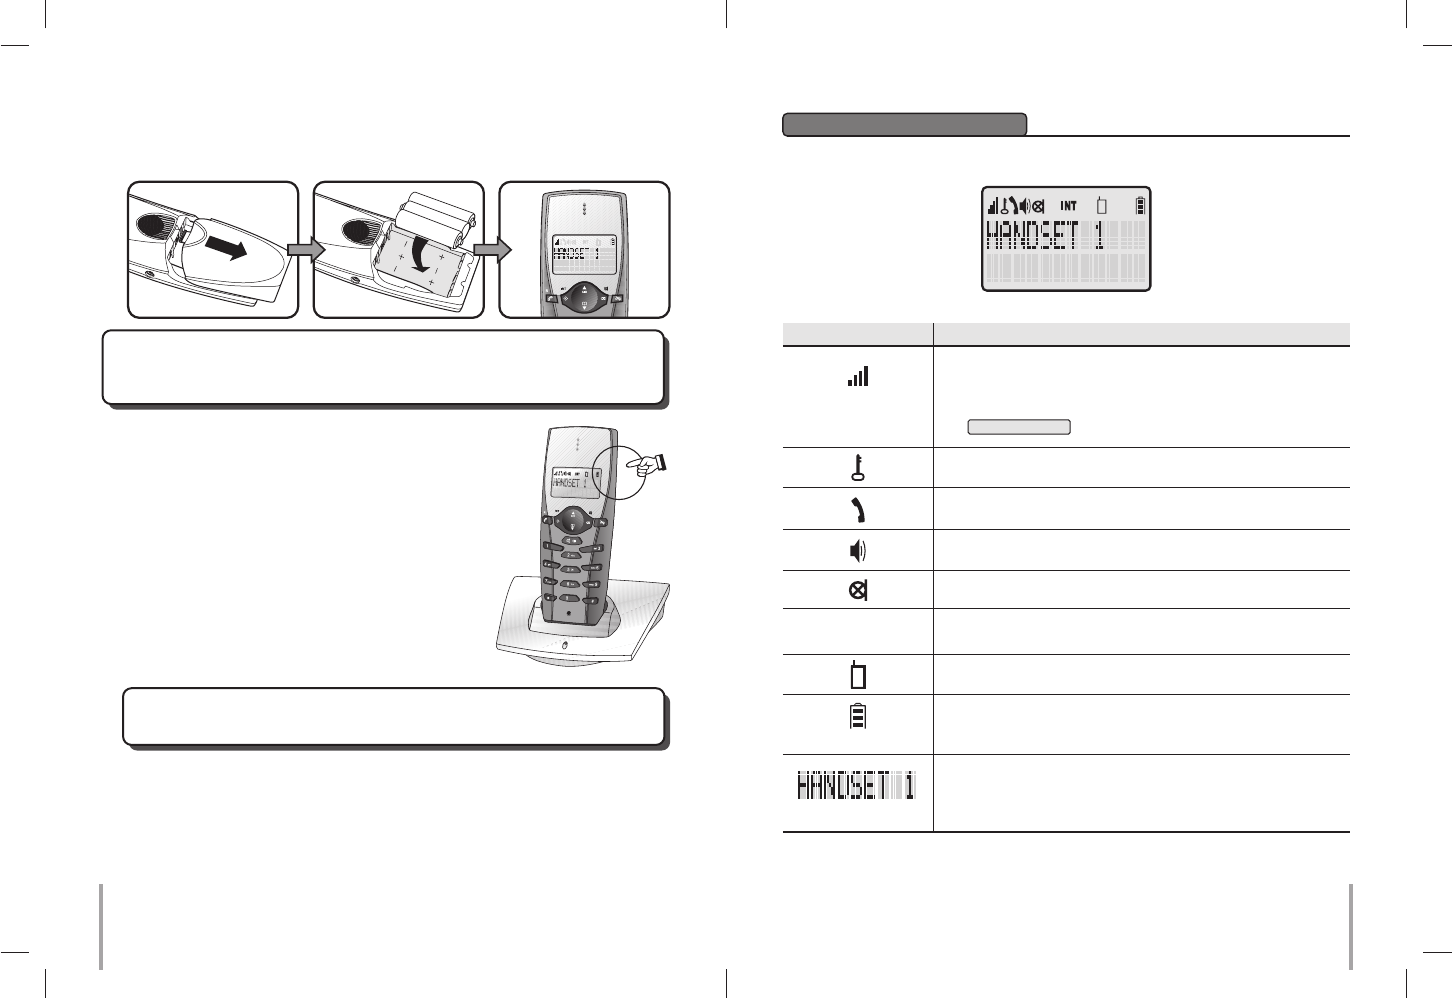
In standby/idle mode:-
Display & their Indication
Replacement of Batteries
Depending on your usage, it is recommended to change rechargeable batteries every
year to achieve best performance.
Symbol Indication
A “RSSI” symbol received signal strength from the E-MTA
cable modem.
If the handset is out of range, the display will show
SEARCHING
This will show when the line is engaged
This will show when handset speakerphone mode is activated
This will show when handset microphone is muted
43
This will show when the phone is in intercom conversation
mode
This will show when the phone is in walkie-talkie mode
It shows the battery capacity.
During charging, it will show animated icon.
INT
2. On the handset, gently slide & open the battery cover and insert the rechargeable
batteries come with the package. Make sure batteries following the polarity indication
marked inside battery compartment. LCD screen will turn up as soon as battery connection
is through.
L1
L2
P
IMPORTANT NOTICE :
This DECT phone has to be registered to the E-MTA cable modem.
Please read carefully the “
READ ME FIRST
” before you start the following installation.
This will show when keypad lock is activated
The handset is in standby mode.
During standby mode, the given handset name will be
displayed.
Handset Unit
Before going through the following keypad functions, it is a good idea to understand
multiple functions may be assigned to a single button in order to reduce buttons cluster.
Button In Standby In Conversation
In Programming/Viewing Mode
Push this button to answer
an incoming call or to make
a call.
Long push this button to
turn on the handset.
This button functions as
Flash to switch between 2
lines
When reviewing phone
book, redial list or caller ID
records, push this button to
start dialing.
Preparation Before Use
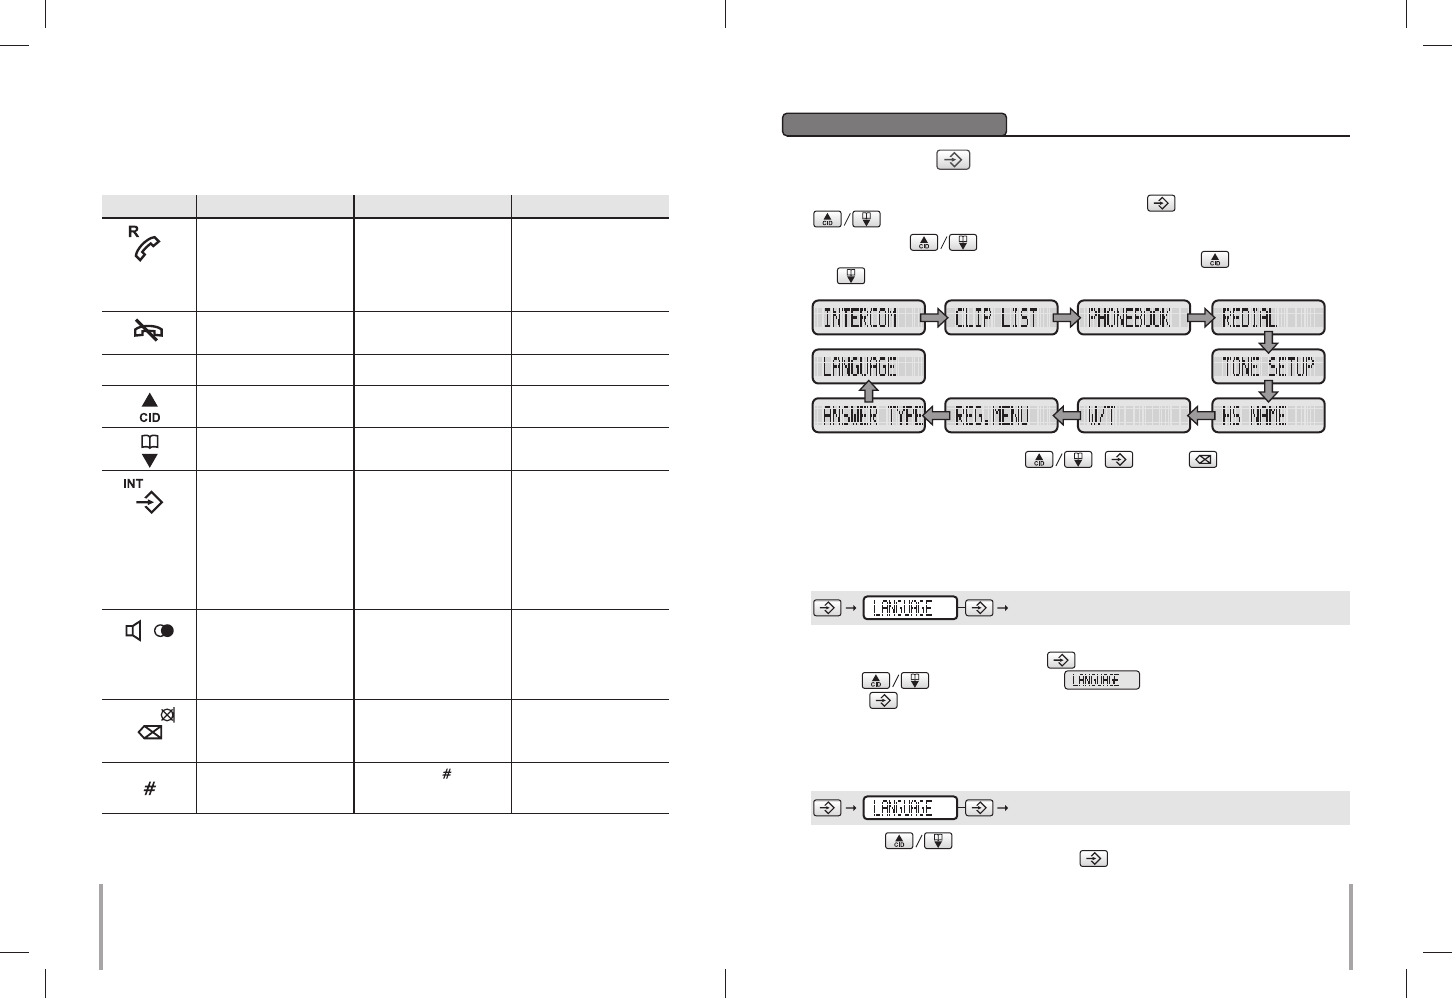
The Menu Button
This DECT phone is built with a user-friendly MENU function. All essential functions of
this phone can be programmed via the Menu button and Up/Down arrow button
by a question & answer (Q&A) approach.
By pushing the button on the handset, it leads you to browse through the
following function menus in a circular manner. You may push to browse upward
and to browse downward.
65
With the combination of Up/Down , , delete buttons, you can set
your phone up with great ease.
Throughout the remaining part of this Instruction, for Users, a quick Key Map will lead
you to different programming areas where you will be asked to make your selections.
For example:
Key Map showing the key sequence for setting language area : –
Above Key Map shows you the following steps:-
1. On the handset, push and release button.
2. Use buttons to scroll until is shown on the screen.
3. Push to confirm.
Setting Language
Usually, English is factory-programmed display language. To change the language setting:–
Key Map:-
Key Map:-
HS Setting
OK
Language
OK
Long push this button to
turn off the handset. Push this button to end an
call
0 – 9To enter digit 0-9 To send DTMF signal 0-9 To enter digit 0-9
Push this button to enter
Call log To adjust receiver volume
during conversation To scroll through menu
selections
Push this button to enter
menu mode.
Long push this button and
followed by handset
number of the desired
calling handset to make
internal call to another
handset (if more than 1
handset is connected)
Press this button followed
by an internal handset
number to perform call
transfer. (If more than 1
handset is connected)
To confirm an action or
selection
Push this button to enter
redial list.
Long push this button to
activate speakerphone
mode
Push this button to
activate or deactivate
speakerphone mode
No function Mute In programming mode,
push this button to go back
to previous menu or to
cancel an action
1. Use the button to browse through available languages.
2. When desired language is shown, push button to confirm. A beep sound will be
heard as confirmation.
Push this button to review
phonebook memories To adjust receiver volume
during conversation To scroll through menu
selections
To enter DTMF Push and hold this button
to insert a timed pause in
phonebook records
P
Push this button to switch
the upper/lower case
alphabet input in phone
book mode.
To return standby mode
Press and hold this button
to insert pause
To Make & Receive Calls
To make a new call –
1. Make sure the symbol on the handset screen is steady and this indicates good
connection to the base unit. If the display show SEARCHING , it indicates the
handset is too far away from the base unit.
2. You may enter the telephone number to be called before or after pushing button.
Entered number will be dialed automatically.
Normal Operation
To receive a call –
1. If you have subscribed to caller ID service with your telephone operator, caller’s
number will show on the screen while the handset is ringing.
2. Simply push the button if you decide to answer the call.
To end a call, push button on the handset.
87
To Make & Receive Internal Calls (Intercom)
In a standard package, your phone comes with one handset only. Depending on the
package you have purchased (please consult product packaging), separate handset may
be included for extended usage.
Internal communication (INTERCOM) can be made between handsets - like intercom,
call transfer & conference conversation.
Each handset is given an individual extension number. This individual extension number
will be used when making intercom, call transfer & conference conversation.
To make an internal call to another handset
You may make intercom to another handset registered to the same E-MTA cable modem.
Long push button and entered desired handset number to send a ring to the desired
handset. When the intercom is answered by the designated handset, intercom conversation
can be started.
To answer an intercom ring, simply push button on the called extension unit.
Call Transfer
External call can be transferred from one handset to another handset.
1. During a conversation with external party.
2. Follow the instruction listed in above INTERCOM section to start an internal call,
external call will be put on hold until intercom has been established.
3. Wait till the designated internal handset answers the INTERCOM.
4. When the INTERCOM is answered, push button on the calling handset to
transfer the external call.
NOTE : If INTERCOM was not answered by designated handset, external call can be
retrieved by pushing button on the calling handset.
Keypad Lock
During standby mode, you can lock the keypad by the following procedures.
1. Push button
2. Push button
3. then, the icon and KEYS LOCKED will display on the screen.
4. To unlock the keypad again, please repeat above procedure.
There are 40 phone book memory banks built inside this DECT phone (12 characters and
24 digits). You may store frequently used number into these memory banks.
If more than one handset comes with your product package (refer to information on
package), phone book memories are independent among handsets. Phone book memory
will not be automatically transferred from one handset to the others.
Phone Book
To Make a New Entry
1. The display will show EDIT NUMBER .
2. Use the alphanumeric buttons (0 to 9) to enter a number. Push to save the record.
3. The display will show EDIT NAME .
4. Use the alphanumeric buttons (2-9) to enter a name in the same manner as you
manage alphabet input from your mobile phone. Use the button (0) to enter a space.
Push switch between upper and lower case. Push button to confirm.
5. A beep sound will be heard as confirmation.
To Make a New Entry from Caller ID Memory
You may copy a number stored in Caller ID memory to phone book. (Consult sections of
Caller ID for more details.)
To Make a Call from Phone Book Memory
Key Map:-
Or, you can directly enter the phonebook by pushing button.
1. You view the Call log to get your desired number.
2. Push button. The display will show COPY TO PHB .
3. Push button to confirm.
4. The display will show the number and ask you if you need to edit the number. If no
editing, please push button to confirm.
5. The display will show EDIT NAME .
6. Enter your name and push button to confirm.
1. Push button to view the phonebook memories.
Push button to find the desired entry.
2. Push button to make the call.
109
To Delete Phone Book Memory
If caller ID service is available from your service operator and you have subscribed to this
service, telephone number of the caller will be shown on the screens of handset when there
is an incoming call. If the number is stored in the phone book, the name will be displayed.
Caller Line Identification Presentation (CLIP) Memory (Caller ID)
NOTE:
– This DECT phone stores last 10 caller ID records into caller ID memory. Oldest record
will be replaced by newest record.
– For unread Caller ID records, there will be mark “ ” shown on the record.
To Review Caller ID Records
To Make Call from Caller ID Records
You may make a call from the caller ID records. Simply push button on the
handset when the desired caller’s number is shown when reviewing caller ID records.
This DECT phone is built with features to offer you personalized settings, such as ringing
melody, ringing volume and key click.
Personalizing Your Phone
Setting Ring Volume & Melody
Different ringing melody and volume can be programmed to each handset.
To set external ring melody: –
To set internal ring melody: –
Setting Key Beep
When Key Beep turned on, a beep is heard when you push on any button. You may also
select to turn key beep off.
Key Map:-
Key Map:-
Key Map:-
1. Push button to enter phonebook memory.
2. Find your desired entry.
3. Push button.
4. Push button to select DELETE or DELETE ALL .
5. Push button to confirm.
The entry is deleted!
To Change Phone Book Memory
1. Push button to enter phonebook memory.
2. Find your desired entry.
3. Push button.
4. Push button to select EDIT .
5. Push button to confirm.
6. You can now edit your entry.
1. Push button to enter Call log.
2. Push button to scroll among records.
3. The Caller ID memory also tells the date/time of the call.
scroll to your desired ring melody
scroll to your desired ring melody
To set ring volume: –
Key Map:-
scroll to your desired ring volume
select ON/OFF
To Delete Caller ID Records
You can delete all the Caller ID record in your phone by the following procedure:-
Key Map:-
browse the Caller ID record select
Naming Your Handset
You may name your handset up to your preference.
Key Map:-
Walkie-Talkie (N/A in US version)
If you have more than one handset, you can use the DECT phone as walkie-talkie. You
can use this function when you will be out of range from the cable modem. During walkie-
talkie mode, the handset cannot receive incoming calls and cannot make out-going calls.
enter your desired name
Enter the name up to 12 characters.
1211
1. Do not expose this product to dust, strong sunlight, humidity, high temperature or
mechanical shock.
2. Do not use corrosive or abrasive cleansers on this product. Keep the unit dust free by
wiping it with a soft, dry cloth.
3. Do not disassemble this product, it contains no user-serviceable parts.
4. In case of a thunderstorm, it is advised to disconnect the power adaptor, as product
warranty does not cover damage caused by lightning/serge.
5. Only use adaptor and battery pack come with the package.
6. Use only supplied charging cradle for recharging the handset batteries.
Maintenance
Q1. My phone does not work!
A1. Make sure connection of adaptor cord are connected securely to the jack.
A1. Make sure you have inserted batteries into the handset battery compartment, and they
are charged with good capacity and inserted with correct polarity.
A1. If you have connected more than one phone to the same cable modem, make sure all
other telephones connected are put on hook. In some telephone systems, when the first
phone on the same telephone line is used, all other telephones are electrically
disconnected.
A1. Try to connect another telephone to the telephone socket, if the problem persists, it
appears that there is a problem with your telephone line system, consult your network
provider.
A1. If the person of the other end of the conversation does not hear your voice, make sure
you have not activated the MUTE function. To test, activate the MUTE function once more
and your phone should resume to normal operation.
A1. Check if the antenna symbol on the screen is shown. If it is not, it indicates your
handset is too far away from the base unit and radio signal is too weak. You should get
closer to the base unit and try again.
A1. In some critical situation, if the handset is without normal battery charging for a prolonged
period of time, it may lock itself when battery level becomes too low. Try to disconnect the
batteries and put them back on again and put the handset on charger for 12 hours to
resume.
Q2. My phone does not ring!
A2. Check if the phone is set to Silence mode.
A2. Make sure your handset is not switched off.
Q3. The phone book memories do not work as expected!
A3. Make sure you do not enter telephone number longer than limits mentioned in the phone
book section.
Q4. Caller’s number does not show on my phone!
A4. Make sure your phone line is provided with caller ID function from the phone service
provider. In most countries, caller ID function must be paid and subscribed separately
from normal phone function. For details, please consult phone service provider.
A4. Callers may suppress their caller’s number when making their phone call. Caller’s number
does not necessary display when a call is received. For details, please consult phone
service provider.
A4. If a call is made from abroad, caller’s number cannot be transmitted.
A4. Check the CLIP format of your country. Details please refer to CLIP FORMAT section.
Q5. My handset does not work after I have registered my handset to a base unit from
different maker!
A5. According to DECT standard, handset (GAP compatible) can be registered to any DECT
system base unit (GAP compatible). However, maker specific functions may not be
compatible between products. It may happen that only basic function can be operated
if handset and base unit from 2 makers are registered together.
A5. Check if the other base unit is GAP compatible according to DECT standard. Only GAP
compatible products can be compatible to each other.
Trouble Shooting
1. The display will show GROUP: .
2. Enter any 4-digits number and both handsets must enter with the same number.
3. The display will show HS NUMBER: .
4. Define the handset number of the handset which already in the walkie-talkie mode.
5. Now the two handsets are now in walkie-talkie mode.
6. Push button following by the receiver handset number designated in procedure
(4) to start a call.
7. Push button to end a call.
To disable walkie-talkie mode: –
Key Map:-
Please refer to below operation to apply on the two handsets you want to bring them to
walkie-talkie mode
Key Map:-
Answer Type
This phone offers 2 answer type modes for the user to select.
Any Key: During “Any Key” mode, you can answer the incoming call by pushing any
buttons.
Normal: During “Normal” mode, you can answer the incoming call by only pushing
button.
You can change the answer type by the following procedure:-
Key Map:-
select “ANY KEY” or “NORMAL”