Radeum FMC200 Wireless speaker-microphone for two-way radios User Manual FreeMic manual rev8 indd
Radeum, Inc. (DBA FreeLinc) Wireless speaker-microphone for two-way radios FreeMic manual rev8 indd
UserManual.wiki
>
Radeum
>
FMC200 User Manual
User manual
Navigation menu
Upload a User Manual
Namespaces
Wiki Guide
HTML
PDF
Info
Views
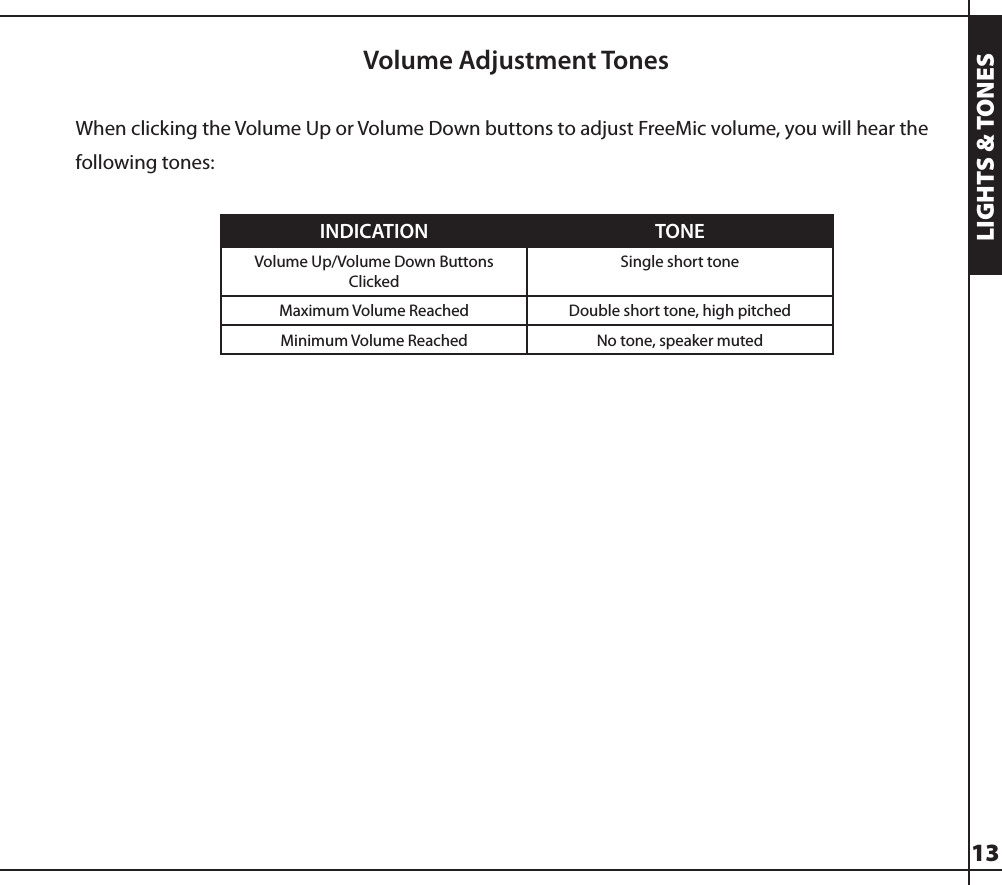
User Manual
Discussion / Help
Navigation