Radeum FMT200 Wireless headset for two-way radios User Manual headset manual rev10 indd
Radeum, Inc. (DBA FreeLinc) Wireless headset for two-way radios headset manual rev10 indd
Radeum >
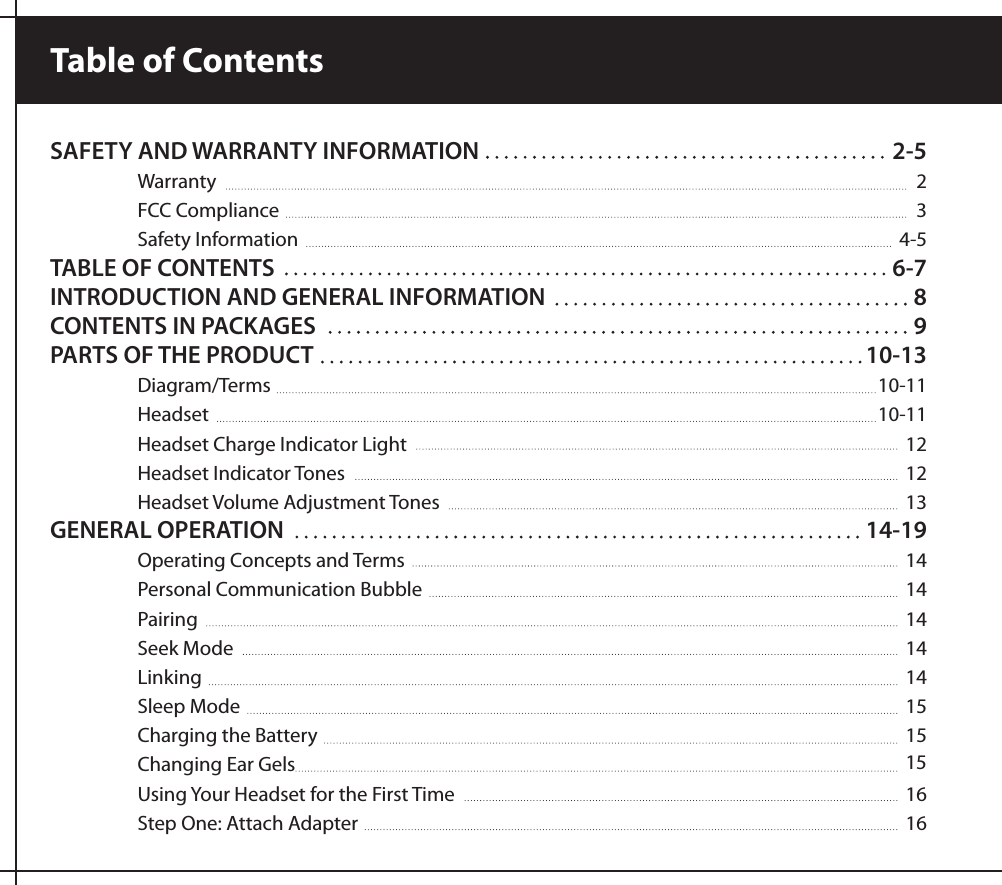
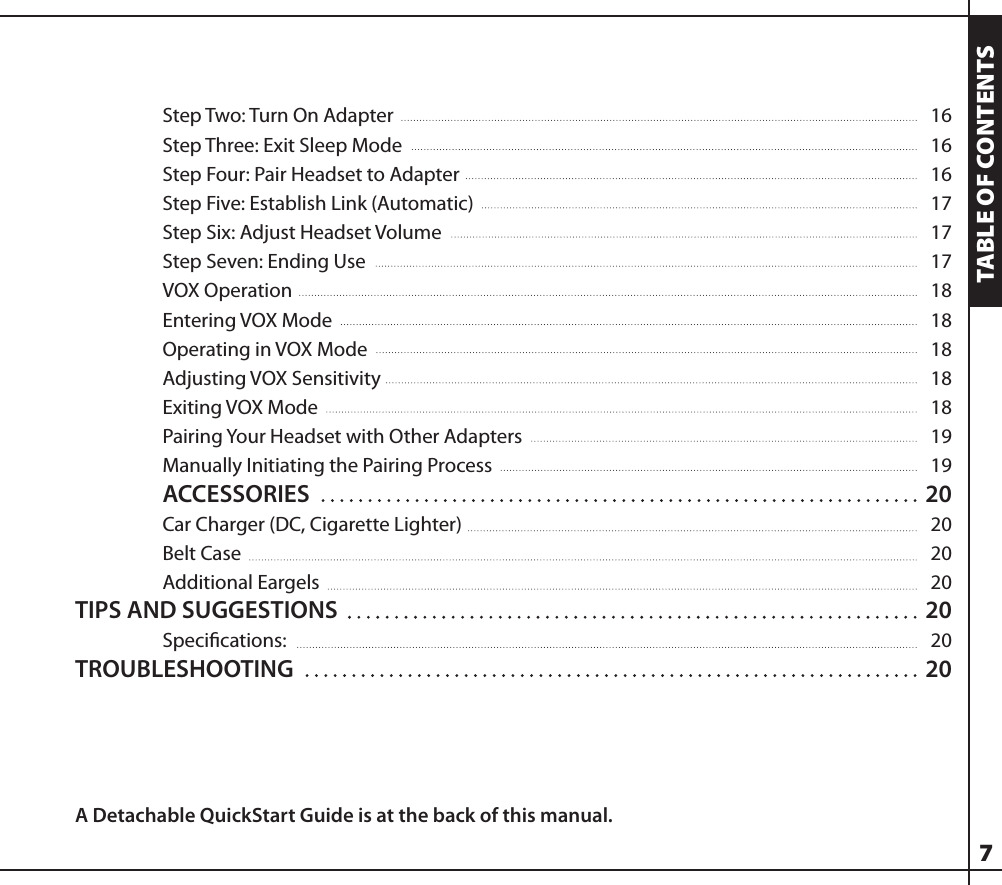
Contents
- 1. User manual
- 2. Compliance text
- 3. Compliance text location
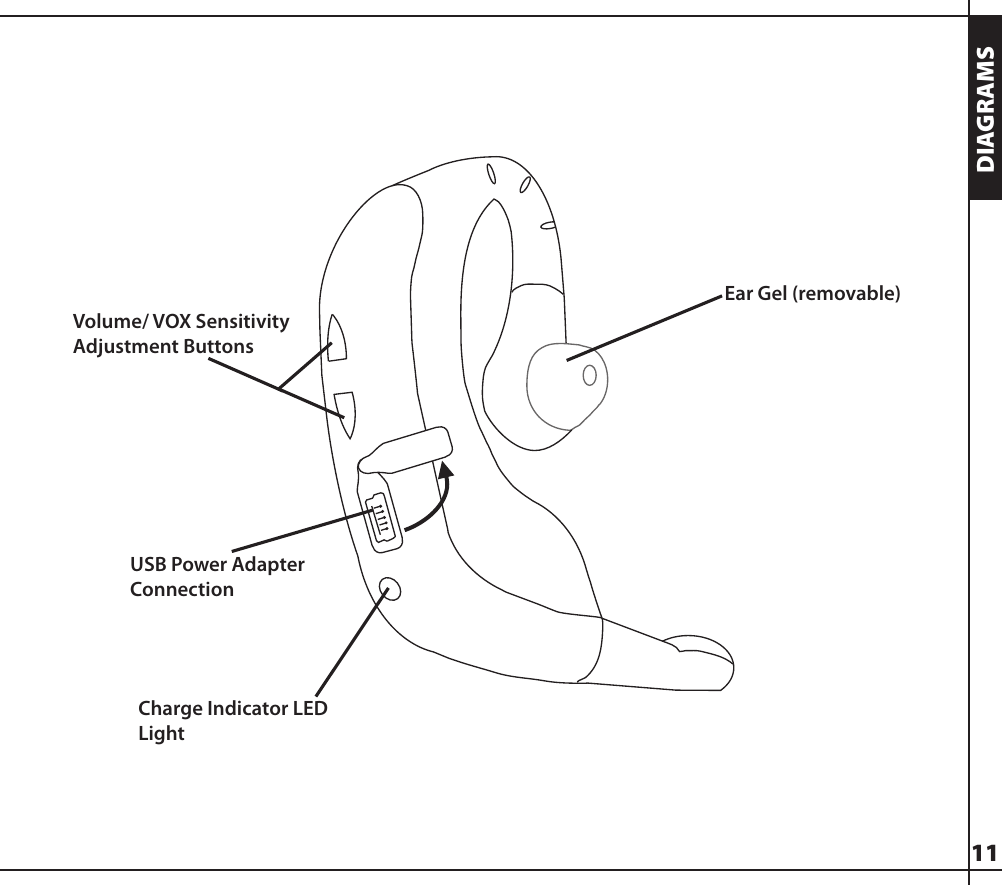
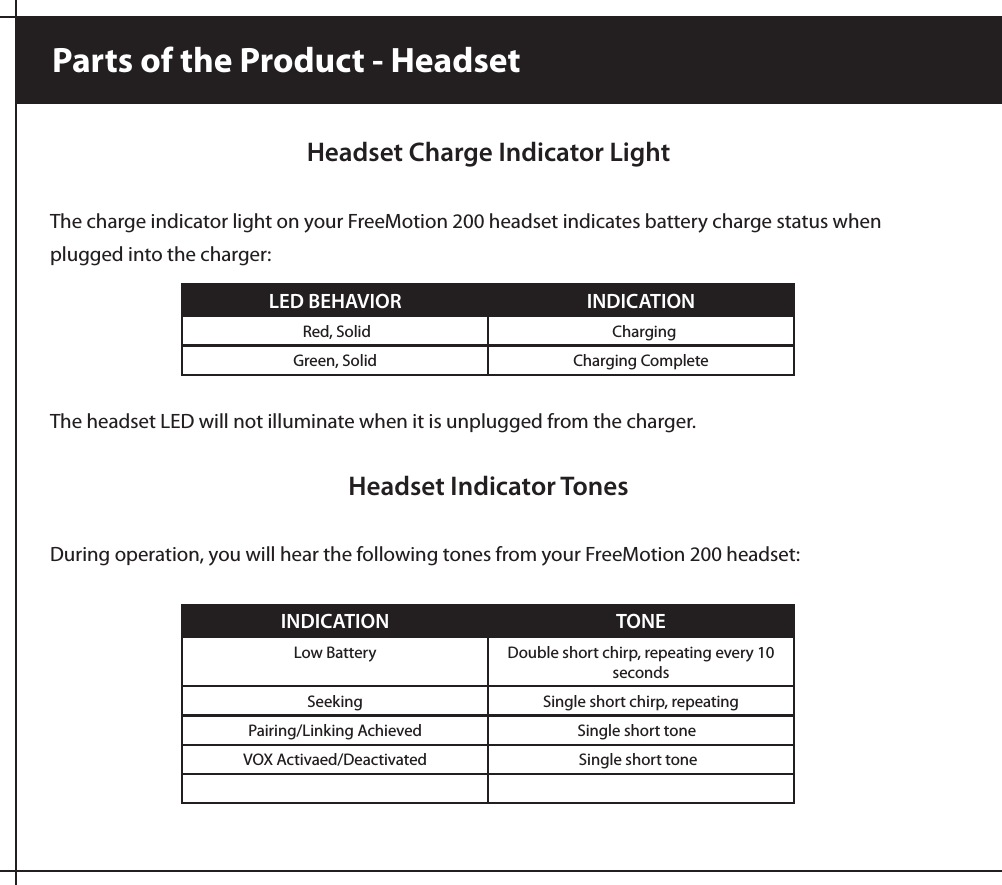
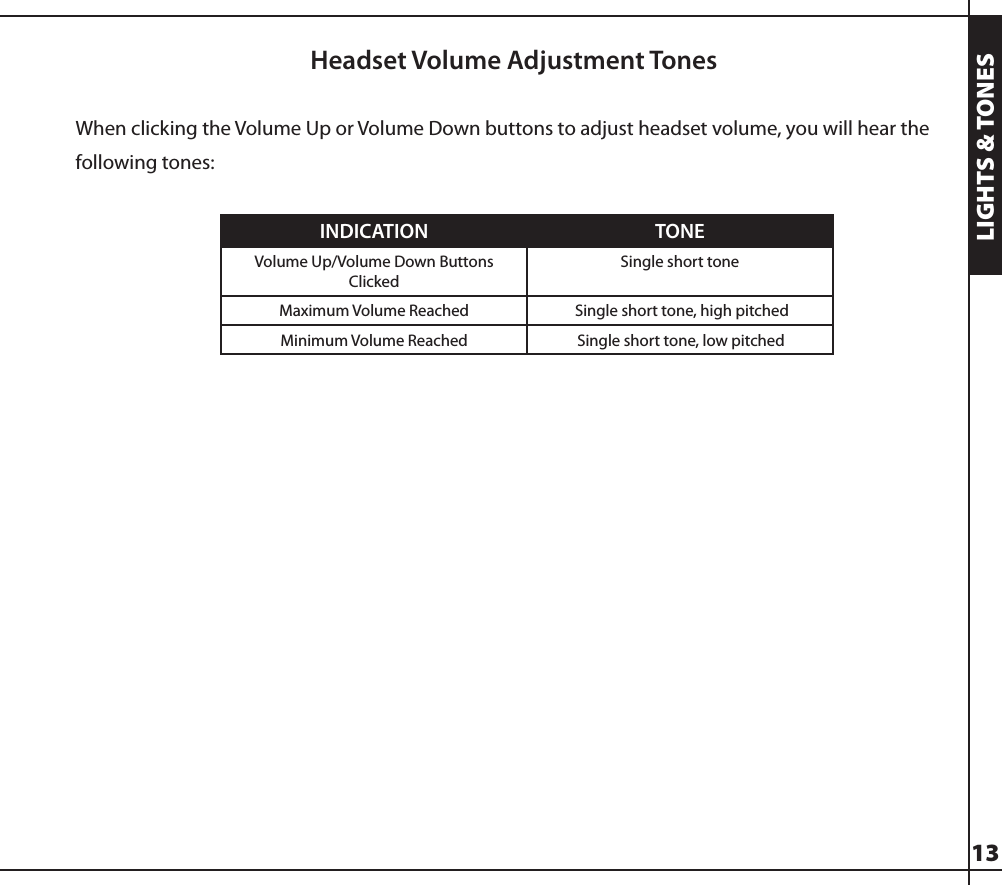
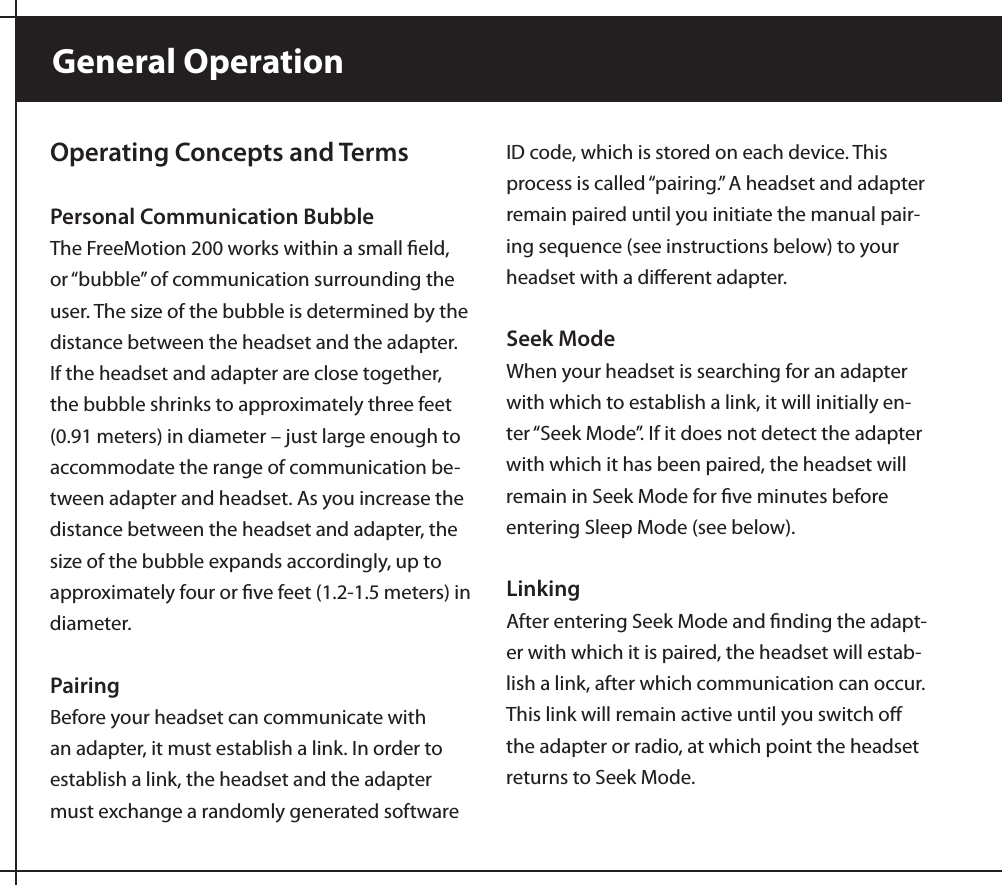
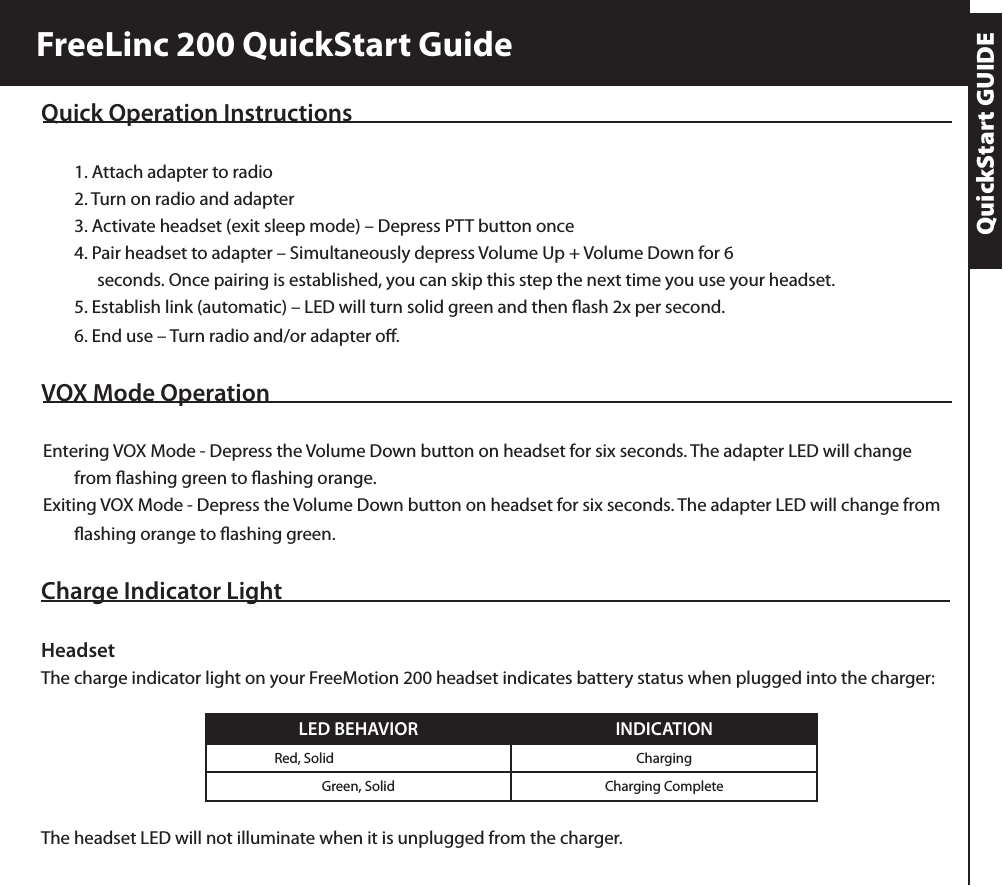
User manual