Radio Shack 120358 FM transmitter User Manual
RadioShack Corporation FM transmitter
User Manual
©2007. RadioShack Corporation. All rights reserved. Accurian is a registered trademark used by RadioShack Corporation.
This product is not designed, manufactured, sponsored, or endorsed by Apple Computer, Inc. iPod is a trademark of Apple Computer, Inc., registered in the U.S. and other countries.
12-358
09A07
P/N: AO0295AAA1
Printed in China
Thank you for purchasing your FM transmitter
from RadioShack. This FM Transmitter with
auto scanning function connects to your iPod
for recharge and allows listening to music
through your FM radio. Please read this user’s
guide before installing, setting up, or using
your new FM transmitter.
WHAT’S INCLUDED
FM Transmitter User’s Guide
SPECIFICATIONS
Power ...............................................Lighter socket in vehicle
Transmitting frequency . 88.1-107.9 MHz with 0.2 MHz step
Operating range ..................................................... 10 - 30 feet
Specications are subject to change and improvement
without notice. Actual product may vary from the images
found in this document.
RF EMISSIONS INFORMATION
This equipment has been tested and found to comply with
the limits for a Class B digital device, pursuant to Part 15
of the FCC Rules. These limits are designed to provide
reasonable protection against harmful interference in a
residential installation. This equipment generates, uses,
and can radiate radio frequency energy and, if not installed
and used in accordance with the instructions, may cause
harmful interference to radio communications. However,
there is no guarantee that interference will not occur in a
particular installation. If this equipment does cause harmful
interference to radio or television reception, which can be
determined by turning the equipment off and on, the user is
encouraged to try to correct the interference by one or more
of the following measures:
• Reorient or relocate the receiving antenna.
• Increase the separation between the equipment and
receiver.
• Connect the equipment into an outlet on a circuit
different from that to which the receiver is connected.
Consult your local RadioShack store or an experienced
radio/TV technician for help.
If you cannot eliminate the interference, the FCC
requires that you stop using your equipment. Changes or
modications not expressly approved by RadioShack may
cause interference and void the user’s authority to operate
the equipment.
This device complies with Part 15 of the FCC rules. Operation
is subject to the following two conditions: (1) This device
may not cause harmful interference, and (2) This device must
accept any interference received, including interference that
may cause undesired operation.
LIMITED 90-DAY WARRANTY
This product is warranted by RadioShack against
manufacturing defects in material and workmanship under
normal use for ninety (90) days from the date of purchase
from authorized RadioShack dealers. For complete warranty
details and exclusions, check with your dealer or contact
RadioShack directly.
RadioShack Customer Relations
300 RadioShack Circle, Fort Worth, TX 76102 04/04
12-358
FM Transmitter
Tuning the Transmitter
Selecting a Saved Frequency
To select a saved frequency, press 1/), 2/(
or 3/M to select the memory location. The
corresponding LED lights and the display shows the
frequency.
Scanning for a Frequency
If necessary, you can search for a clear, unused
frequency:
To start a search, hold down 2/( and 3/M and
simultaneously, then press 1/) for about 2
seconds. This may take several seconds.
Manually Tuning a Frequency
You can manually tune your transmitter:
1. Hold down 3/M until all LEDs are ashing for
manual search.
2. Repeatedly press 1/) or 2/( to nd the
desired frequency.
Saving Frequencies
To save a displayed frequency, hold down 3/M until
all LEDs are ashing, then hold down 1/), 2/( or
3/M for two seconds. The transmitter assigns the
frequency to that button.
Patent Pending
IMPORTANT SAFETY INFORMATION
Connect and operate this product BEFORE
operating your vehicle and pay attention to the road.
Attempting to drive and scan your set at the same
time can cause a serious trafc accident! Drive
responsibly.
Step 1: Connect the Transmitter
1. Plug the transmitter’s barrel plug into your car’s’s barrel plug into your car’s into your car’s
power outlet. The LED lights and the transmitter outlet. The LED lights and the transmitter
displays the last used frequency.
2. Insert the iPod 30-pin connector into your iPod.
Your iPod will start charging.
Step 2: Tune Your Radio
Tune your FM radio to the frequency displayed on the
transmitter.
Step 3: Listen to Your Music
To listen to your music, use the volume controls on
radio to adjust the volume. If the sound is unclear,
you can tune your transmitter and radio to a new
frequency. See “Tuning the Transmitter.”
Note: The volume control on your iPod doesn’t
control the sound on the radio.
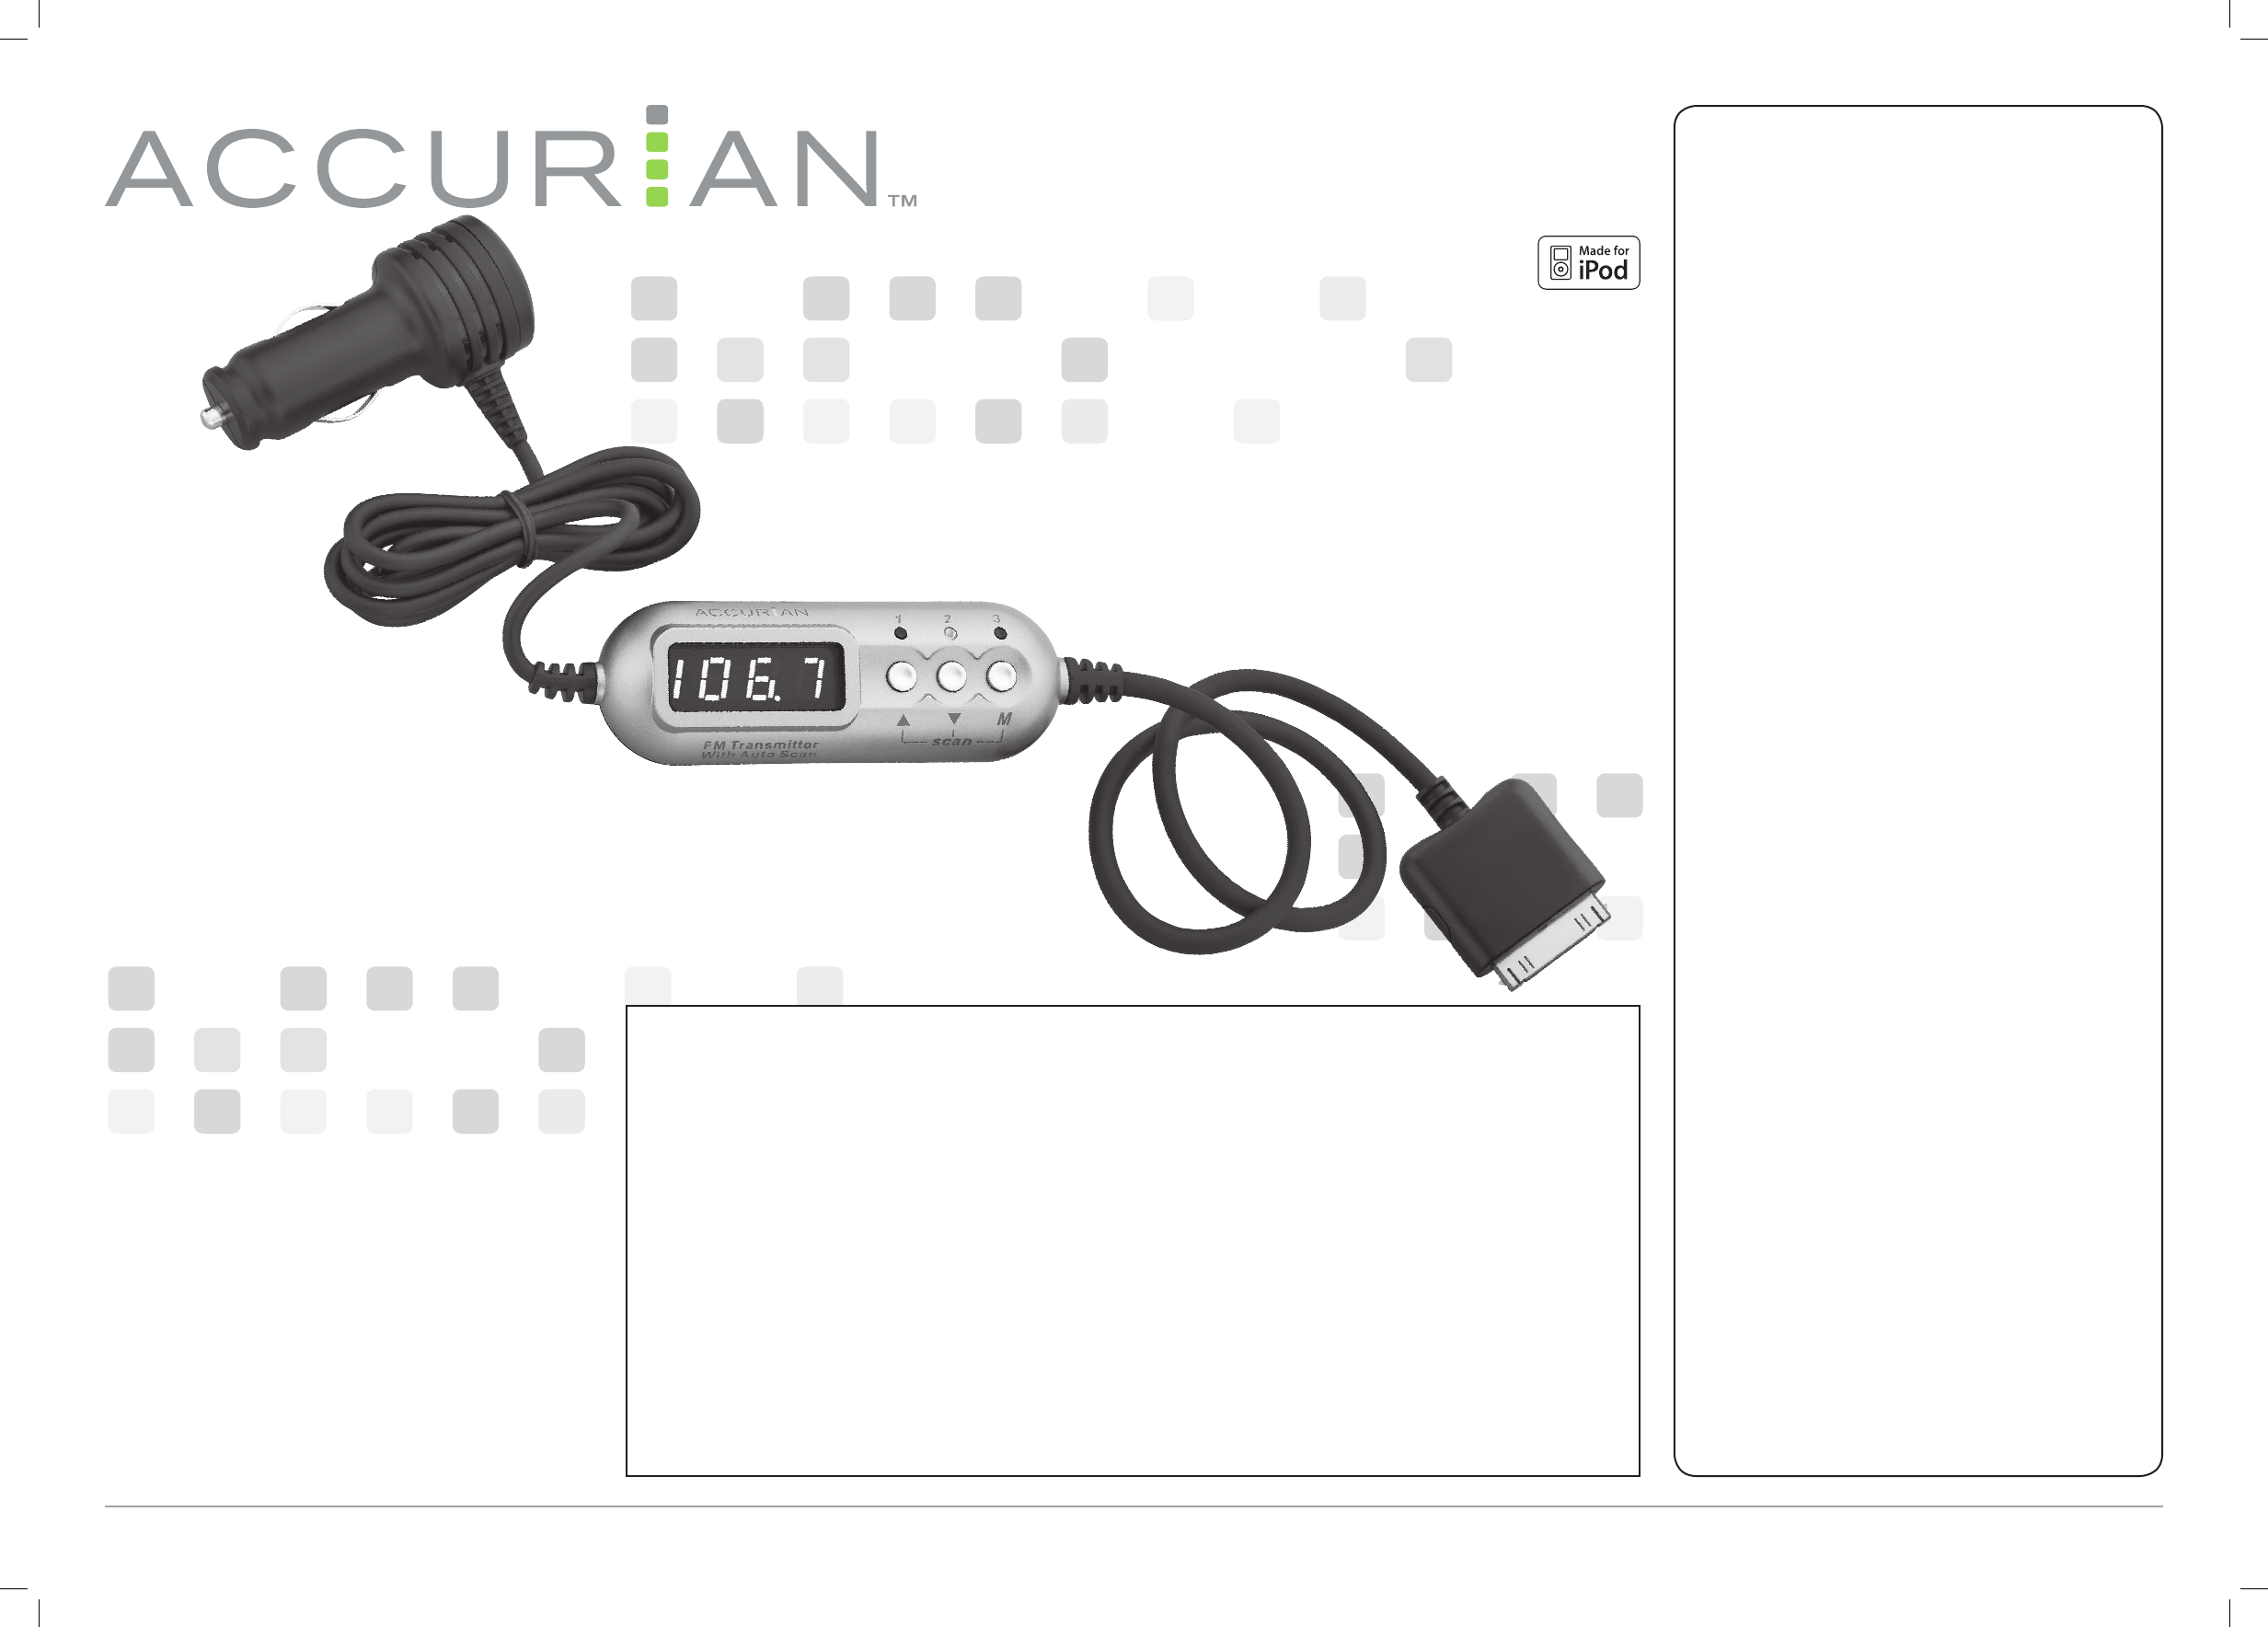
Connect to your iPod
Connect to the
car’s lighter socket.
For easier viewing, press 1/) and 2/(
simultaneously to dim or brighten the display.
Interference caused by car antenna location, car design, physical location and obstructions such as steel
bridges and parking garages can prevent the transmitter from detecting frequencies and limit sound quality.
In these cases, you can select a saved frequency, scan for a clear frequency, or manually tune a frequency.