Radio Shack 2101848 14-Channel Family Radio Service User Manual revised
RadioShack Corporation 14-Channel Family Radio Service revised
Users Manual
1
Two-Way
Personal Radio
• 14 Channels
• 200mW Output Power
• No License Required!
• Unique LCD Display
• Dual-color LCD
Backlight
• Automatic Squelch
• Call Button
• Insects sound tones

2
Features
Family Radio Service (FRS) is a license-free, two-way, short-range voice radio
service that lets families and groups keep in touch with each other on specific
reserved channels. This walkie talkie is recommended for children ages 6 to 13.
Your RadioShack 14 Channel Personal FRS 2-Way Radio is a lightweight, palm-
sized radio you can use to talk with another person who has a FRS radio set to the
same frequency as your radio.
Your radio has auto-squelch, so you will not hear anything on a channel unless
someone is transmitting nearby on the same channel.
Your radio has last channel memory retention. It automatically resumes on the last
channel you monitored when you turn on the radio.
Your radio’s display has a backlight that turns on for about 10 seconds when you
press the Up or Down key.
Your radio’s other features include:
14 Channels – provide clear communications for up to two miles.
Key Beep – generate insect sound when you acknowledge call with key press.
Channel Lock – allows the active channel to be locked for next use.
3
Installing Batteries
Your radio requires 3 AAA alkaline batteries for power. For the best performance
and longest life, we recommend RadioShack batteries.
Cautions:
§ Use only fresh batteries of the required size and recommended type.
§ Do not mix old and new batteries, different types of batteries (alkaline or
rechargeable).
1. Rotate VOL/OFF counterclockwise until it clicks to turn off the radio.
2. Use a Philips screwdriver to loosen the screws in the battery door, then lift the
door off.
3. Install 3 AAA batteries according to the polarity symbols (+ and -) marked
inside.
4. Replace the cover and then rotate VOL/OFF clockwise until it clicks to turn on
the radio.
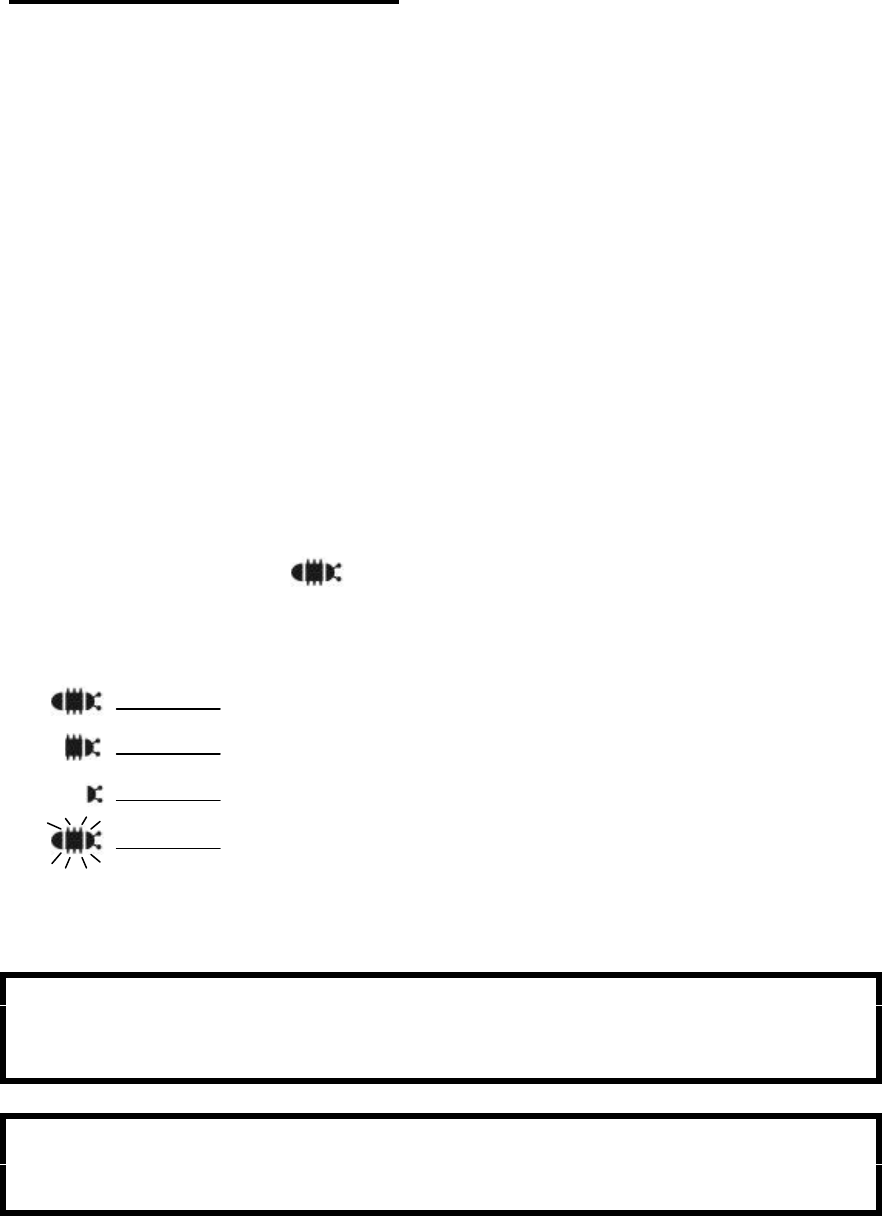
5. The battery indicator [ ] on the bottom of the LCD display shows how
much power remain. The battery indicator displayed the battery power in 4
levels:
[]Battery full
[ ]Below 70% battery capacity
[ ]Below 30% battery capacity
[](Blinking) Battery depleted
Warning:
Dispose of old batteries promptly and properly. Do not burn or bury them.
Caution:
If you do not plan to use the radio for a month or longer, remove the batteries. Batteries
can leak chemicals that can destroy electronic parts.
4
To Communicate
1. Rotate VOL/OFF to turn the radio on and off and adjust the volume. When the
radio is on, Battery Level indicator will show the state of the batteries.
Note: If you do not press any button on the radio or the radio receives no signal
after 10 seconds, a built-in energy saving system switches on automatically to
reduce power consumption and lengthen standby time.
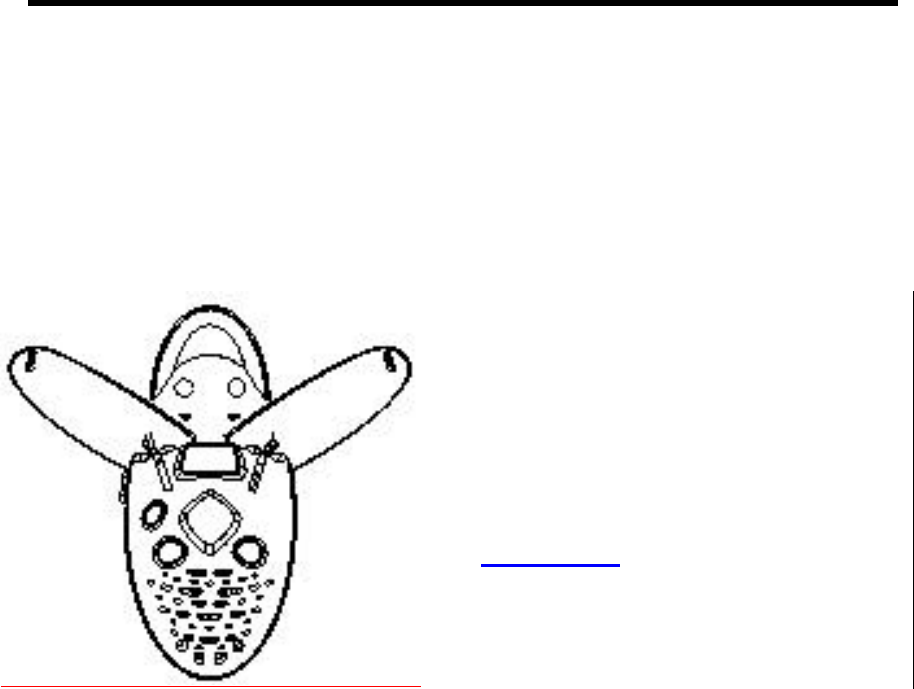
2. Slide switch up, the Bug’s wing will be opened automatically.
3. Hold down PTT (Push-To-Talk) and speak into the microphone to transmit.
Transmit icon [ ] appears. When you finish your transmission, release PTT.
Note: If you hold down PTT continuously for about 2 minutes, the radio will
assume the button is being pressed accidentally and the radio automatically
stops transmission to save power.
Selecting Channel
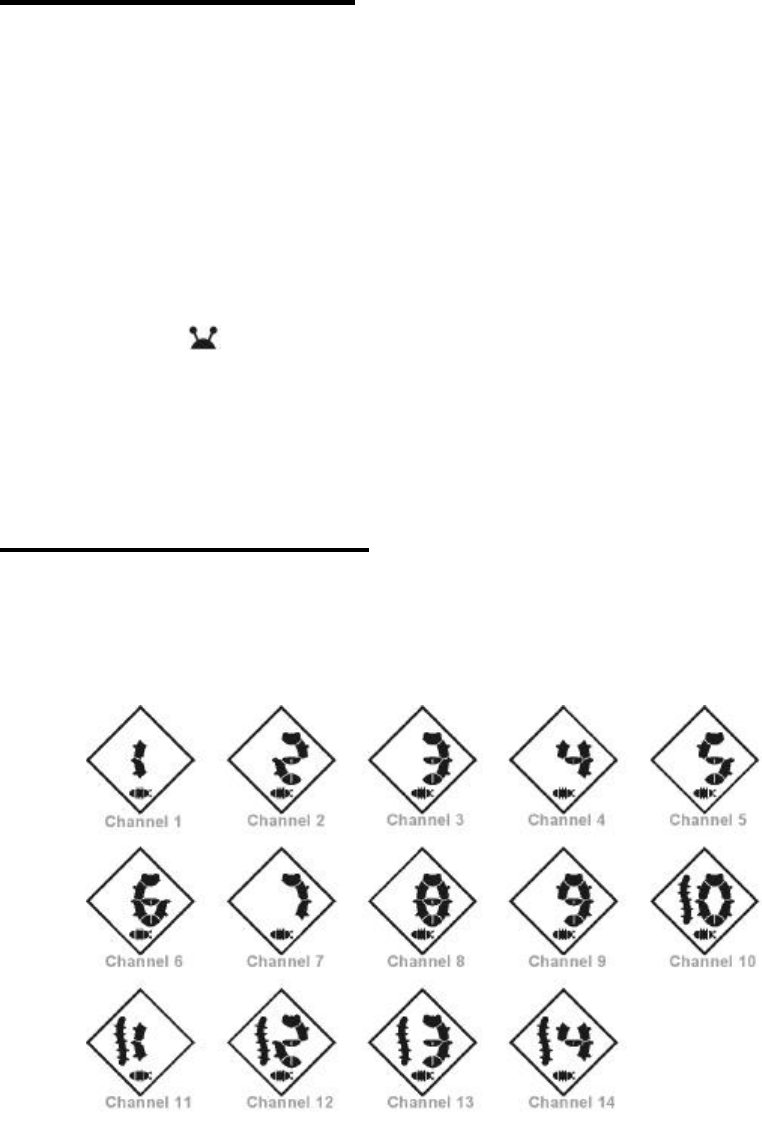
To manually select a channel, press Up or Down key. The selected channel number
appears as shown.
Note: The channel number will scroll rapidly if you press and hold Up or Down key.
5
FRS Frequencies
Channel No. Frequency
(MHz) Channel No. Frequency
(MHz)
1462.5625 8467.5625
2462.5875 9467.5875
3462.6125 10 467.6125
4462.6375 11 467.6375
5462.6625 12 467.6625
6462.6875 13 467.6875
7462.7125 14 467.7125
Call Tone
Hold down CALL to send a page to other FRS radios set to the same channel.
Transmit icon [ ] appears and the call tone sounds. After you hold down CALL for
about 6 seconds, the tone stops. During call tone generation, the backlight will
change from green to Amber and then to Red. Finally, the Red color backlight will
flash if the user is still holding the CALL key after Call tone generation was
terminated.
Channel Lock
You can lock the Up or Down key to prevent accidental changes of the channel
number. The lock switch is located in the battery cabinet. If you press Up or Down
key during channel lock, the word LOCK [ ] will be scrolled in the LCD display
until the UP/DOWN key is released or the PTT/CALL key is pressed.
Use of Carabiner
You can attach the carabiner provided to the “feeler” of your radio lug. Then you can
hook your radio to your bag.
Care
Keep the radio dry; if it gets wet, wipe it dry immediately. Use and store the radio
only in normal temperature environments. Handle the radio carefully; do not drop it.
Keep the radio away from dust and dirt, and wipe it with a damp cloth occasionally
to keep it looking new.

6
Modifying or tampering with the radio’s internal components can cause a
malfunction and might invalidate its warranty and void your FCC authorization to
operate it. If your radio is not performing as it should, take it to your local
RadioShack store for assistance.
FCC Information
Important: Do not open your radio to make any internal adjustments. Your radio is
set up to transmit a regulated signal on one of 14 assigned frequencies. It is illegal
to alter or adjust the settings inside the radio to exceed those limitations. Any
adjustments to your radio must be made by a qualified technician using the proper
test equipment.
To be safe:
§ Never open your radio’s case.
§ Never change or replace anything in your radio except the batteries.
Your radio might cause TV or radio interference even when it is operating properly.
To determine whether your radio is causing the interference, turn it off. If the
interference goes away, your radio is causing it. Try to eliminate the interference by:
§ Moving your radio away from the receiver.
§ Calling your local RadioShack store for help.
If you cannot eliminate the interference, the FCC requires that you stop using the
radio.
This device complies with Part15 of the FCC Rules. Operation is subject to the
following two conditions: (1) This device may not cause harmful interference, and (2)
this device must accept any interference received, including interference that may
cause undesired operation.
NOTE: This equipment has been tested and found to comply with the limits for a
Class B digital device, pursuant to Part 15 of the FCC Rules. These limits are
designed to provide reasonable protection against harmful interference in a
residential installation. This equipment generates, uses and can radiate radio
frequency energy and, if not installed and used in accordance with the instructions,
may cause harmful interference to radio communications.
However, there is no guarantee that interference will not occur in a particular
installation. If this equipment does cause harmful interference to radio or
television reception, which can be determined by turning the equipment off

7
and on, the user is encouraged to try to correct the interference by one or
more of the following measures:
oo Reorient or relocate the receiving antenna.
oo Increase the separation between the equipment and receiver.
oo Connect the equipment into an outlet on a circuit different from that to
which the receiver is needed.
oo Consult the dealer or an experienced radio/TV technician for help.
SAFETY INFORMATION
Your wireless hand-held portable transceiver contains a low power transmitter.
When the Push-to-Talk button is pushed it sends out radio frequency (RF) signals.
The device is authorized to operate at a duty factor not to exceed 50%. In August
1996, the Federal Communications Commissions (FCC) adopted RF
exposure guidelines with safety levels for hand-held wireless devices.
IMPORTANT: To maintain compliance with the FCC’s RF exposure guidelines hold
the transmitter and antenna at least 1 inch (2.5 centimeters) from your face and
speak in a normal voice, with the antenna pointed up and away from the face. If you
wear the handset on your body while using the headset accessory, use only the
supplied belt clip for this product and when transmitting, take it out of the belt to
ensure that the antenna is at least 1 inch (2.5 centimeters) from your body.
Use only the supplied antenna. Unauthorized antennas, modifications, or
attachments could damage the transmitter and damage the transmitter and may
violate FCC regulations
.
Specifications
Frequency Range …………………………………………462.5625 – 467.7125MHz
Channels ……………………………………………………………………………….14
RF Output Power ………………………………………………………... 200mW ERP
Power Supply ……………………………………………. 4.5VDC (3 x AAA Alkaline)
Operation Temperature ………………………………….. -4 to 122 ºF (-20 to 50 ºC)
Dimension (HWD)……..……………………………126mm(H)x58mm(W)x34mm(D)
Weight …………………………………………………………………………….…90g
Specifications are typical; individual units might vary. Specifications are subject to
change and improvement without notice.