Radio Systems 050229 Pet Containment System M022900 User Manual Manual CB 100W XL revise

Radio Systems Corporation Pet Containment System M022900 Manual CB 100W XL revise

Users Manual

TRAINING INFORMATIONInnotek is proud to be theexclusive electronic trainingproducts sponsor of Triple CrownAll Breed Dog Academy ofgreater Austin, TX. For moreinformation on Triple Crown,visit their web site atwww.triplecrowndogs.comLIMITED WARRANTYInnotek warrants that this product will be free fromdefects in material and workmanship under normaluse for one year from the date of original consumerpurchase.Within 30 days of the original consumer purchase,this product is covered by Innotek’s 30-day money-back guarantee. If you are not satisfied with theperformance of this product, you may return it withthe original receipt to the place of purchase for afull refund.After 30 days and during the one-year limitedwarranty period we will, at our option, repair orreplace defective part(s) for a $15 processing fee.Shipping costs to our facility are not covered bythis limited warranty.This limited warranty is offered only to the originalconsumer purchaser. This limited warranty is subjectto the condition that any covered defect occurs undernormal conditions of use and maintenance and thatInnotek receives prompt written notice of the discoveryof the defect within the limited warranty period. It doesnot apply to damage or failures that result from physicalabuse or misuse of the product. The limited warrantyis void if any attempts are made to alter or repair thisproduct prior to returning it to our facility within thelimited warranty period. This limited warranty doesnot cover lost parts or broken probe studs.EXCEPT AS SPECIFICALLY SET FORTH HEREIN,THERE ARE NO WARRANTIES, REPRESENTATIONS,PROMISES OR ASSURANCES BY INNOTEK, EITHEREXPRESSED OR IMPLIED, WHETHER BY LAW,CUSTOM, PREVIOUS TRANSACTION OR OTHERWISE,INCLUDING WITHOUT LIMITATION, WARRANTIES OFMERCHANTABILITY OR FITNESS FOR A PARTICULARPURPOSE WITH REGARD TO THE PRODUCT.INNOTEK’S LIABILITY IS SOLELY AS STATED HEREINAND NO OTHER LIABILITY SHALL EXIST, WHETHERBY NEGLIGENCE, STRICT LIABILITY, TORT OR ANYOTHER CAUSE OR ACTION. ALL LIABILITIES FORINNOTEK STATED HEREIN ARE THE SOLE ANDEXCLUSIVE REMEDIES OF THE ORIGINAL CONSUMERPURCHASER. IN NO EVENT SHALL INNOTEK BELIABLE FOR ANY CONSEQUENTIAL OR INCIDENTALDAMAGES, OR ANY OTHER TYPE OF DAMAGE WHICHMAY BE CAUSED IN WHOLE OR IN PART BY ANYFAILURE, DEFECT OR PROBLEM OF THE PRODUCT.This product is not a substitute for traditional obediencetraining in situations where attractive nuisance or caninepersonality would reasonably require such training.Some states do not allow the exclusion or limitationof incidental or consequential damages, so the abovelimitation or exclusion may not apply to you.If services are required, contact the Innotek CallCenter to get your Return Materials AuthorizationNumber (RMA) and return instructions. Send thedefective part or the complete system by insured U.S.Mail or UPS to the address below: Include a check ormoney order for $15 to cover processing and handling.FCC NOTICEThis device has been tested and found to comply withthe limits for a Class B digital device, pursuant to Part15 of the FCC Rules. These limits are designed toprovide reasonable protection against harmfulinterference in a residential installation. This devicegenerates, uses, and can radiate radio frequencyenergy and, if installed and used in accordance withthe instruction, may cause harmful interference toradio communications. However, there is no guaranteethat interference will not occur in a particularinstallation. If this device does cause harmfulinterference to radio or television reception, the useris encouraged to try to correct the interference by oneor more of the following measures:• Reorient or relocate the receiving antenna.• Increase the separation between the computerand receiver.• Connect the computer into an outlet on a circuitdifferent from that to which the receiver isconnected.• Consult the dealer or an experienced radio/TVtechnician for help.Caution:  Any changes or modifications not expresslyapproved by the grantee of this device could void theuser’s authority to operate the equipment.Rev. 03/00    P/N: 2100151IMPORTANT! DO NOT BURY THE WIREUNTIL YOU HAVE TESTED THE SYSTEMAND ARE SURE IT IS WORKING PROPERLY!Use gradual turns at the corners. This will produce amore consistent signal field and avoid confusing thedog in these areas.IMPORTANT!Do not run the loop within six feet parallel toelectrical, telephone, cable TV or any other buriedwire you may have in your yard.Do not run one section of wire within 10 feet of another section or the signal may cancel.Do not run your wire within 10 feet of a neighboringcontainment system’s boundary wire.Driveways/Sidewalks - When crossing an asphaltdriveway, make a 1/2" deep cut across the drivewayusing a circular saw and masonry blade. Place thewire in the crack and seal with asphalt sealant. Ondriveways and sidewalks, if an expansion joint isavailable, simply place the wire in the joint and sealwith an outdoor caulk. When crossing gravel, burythe wire at least 3" deep. Use an old garden hose orplastic PVC piping to protect the wire. In water,anchor the wire with large rocks. Protect the wirewith an old garden hose or plastic PVC piping.Connecting the Loop to the Transmitter1. Splice the two ends of the twisted wire to each ofthe two ends of the loop wire.2. Drill a hole through the exterior wall or window/door sill, or run the wire through an existing utilityline hole.3. Connect the twisted wires to the transmitter, eitherwire to either terminal. (Wire ends must be stripped.)4. A red indicator light should appear, indicating acontinuous wire loop. If no light appears, refer toSection 1, Part C.SECTION 6: THE SIGNAL FIELDThe width of the signal field isadjusted using the transmitter’s FieldWidth Adjustment Knob. Increasingor decreasing the signal field widthdoes not affect the correctionintensity.To test the signal field, hook up the testlight and slowly walk the collar receivertoward the boundary wire, listening for thewarning tone and watching for the testlight to light up. The wider the signal PART II. OPERATING MODESSECTION 1: SELECTING ANDCHANGING MODESBy combining containment and bark-controlfeatures into one system, the CB-100W providesyou with a choice of three operating modes: 1)Bark-Control Only 2) Containment Only and3) Bark Control and Containment Dual Mode.Each mode is indicated by the light on the collarreceiver as follows:Bark-Control Only - Flashing GREEN light.Containment Only - Flashing RED light.Dual Mode - Flashing YELLOW light.OFF - No lightNote: When the receiver is removed from thewall-mount transmitter/charging unit , itsindicator light will be flashing yellow,indicating the unit is in combinationcontainment and bark-control mode.To change the mode, simply pass the keychainmagnet past the blue paper dot on the receiver.This activates the receiver’s internal magneticswitch. The first time you do this, the receiverwill turn OFF, indicated by no receiver light.Each time you pass the magnet past the bluedot, the receiver’s indicator light will changeto indicate the current operating mode.1. Slowly pass the magnet by the red paper doton the side of the receiver.2. When the receiver light turns solid red, pullthe magnet far away from the receiver.3. The light will stay on for approximately 1second and will then flash from 1 to 7 times,identifying the level at which the unit was lastset (i.e. one flash for Level 1, two flashes forLevel 2, etc.) Do not attempt further stepsuntil the light is done flashing.4. When the light is done flashing, you havefive seconds to start changing the receiver toa new level.5. To change the level, hold the magnet againstthe red paper dot. The light will start flashingup to 7 times.6. Pull the magnet away after the number offlashes that matches the stimulation level youwant.7. After about five seconds, the unit will flashback 1 to 7 times to confirm the level you set.B. Setting the Sensitivity - Immediately aftersetting the stimulation level, you will need to setone of four sensitivity levels. Level 1 is the mostsensitive and Level 4 is the least sensitive. (Werecommend first setting the sensitivity at Level2.) To set the sensitivity:1. After Step 7 above, the light will turn green,go out, then flash back the previous setting. Youfield, the less chance there is that a dog can runthrough the field.The signal field should extend a minimum of 3ft. on either side of the wire (creating a 6 ft.wide field). An 8-12 ft. wide field is preferred.This ensures that the dog is properly containedand makes the Run-Through Preventer moreeffective.Buried Boundary WireGrey Area DenotesSignal Field 6-12 Ft. Twisted Wirehave five seconds to change the sensitivity level.2. To change, hold the magnet against the red paperdot. The light will flash green 1-4 times.3. Remove the magnet after the number of flashesthat matches the sensitivity you want.4. After about five seconds, the unit will flash back1-4 times to confirm the sensitivity level.IMPORTANT: When using the No-Bark collar on adog for the first time, start at Stimulation Level 1and Sensitivity Level 2. Increase the stimulation byone level each day until you reach a satisfactoryresponse from your dog. If your dog does not appearto be reacting to the stimulus, experiment withdifferent combinations of stimulation levels andsensitivity levels.PART IV. TROUBLESHOOTING ANDMAINTENANCEA. If the collar appears to not be working:- Adjust the collar fit.- Trim hair or use longer probes- Recharge the battery- Adjust stimulation and/or sensitivity levelB. MaintenanceThe CB-100W system requires very littlemaintenance. The receiver is waterproof and can beimmersed in water. To remove dirt, simply wipe withsoap and water. Never place the collar in adishwasher.The transmitter is not waterproof and needs to beprotected from the weather. (See Part I., Section 1Afor more transmitter information.)IF YOU HAVE QUESTIONSABOUT THE OPERATION ORUSE OF YOUR NEW INNOTEKSYSTEM, DO NOT RETURN ITTO YOUR RETAILER. WE CANHELP. CONTACT THE INNOTEK CALL CENTERAT 1-800-826-5527. HOURS: 8 a.m. to 5 p.m., EST,Monday-Friday.WEB SITE INFORMATIONYour complete satisfaction is our goal. If you havequestions not answered here, please visit us at :You can also e-mail us at :OPERATING MODE NOTES- If you are unable to produce a flashing light onthe receiver, the receiver most likely needscharging. See Part I., Section 2A.- You can expect 30-90 days on a charge. Chargelife is affected by how much time the collar ison, how often the dog tests the containmentboundary and how often the dog barks.PART III. BARK-CONTROLOPERATIONSECTION 1: SETTING THE STIMULATIONLEVEL AND SENSITIVITYA. Setting the Stimulation Level - The bark-control feature provides a programmablestimulation option that allows you to choose oneof seven levels. Level 1 is lowest; Level 7 ishighest. After charging, you will need to pickone of the seven levels. To set a level, first besure the receiver is flashing green or yellow.Then:STOPTo close off one section of a yardFenced yard with opening for drivewayPET PRODUCTS DIVISIONInnotek Inc. One Innoway, Garrett, IN 46738To keep dog away from a specific areawww.pet-products.cominfo@pet-products.comOWNER’S GUIDEFor Smart Dog Model CB-100WPETCONTAINMENTSYSTEMwith Bark ControlEasy toInstallEasy toUseA New Breed of Behavior SolutionsTM
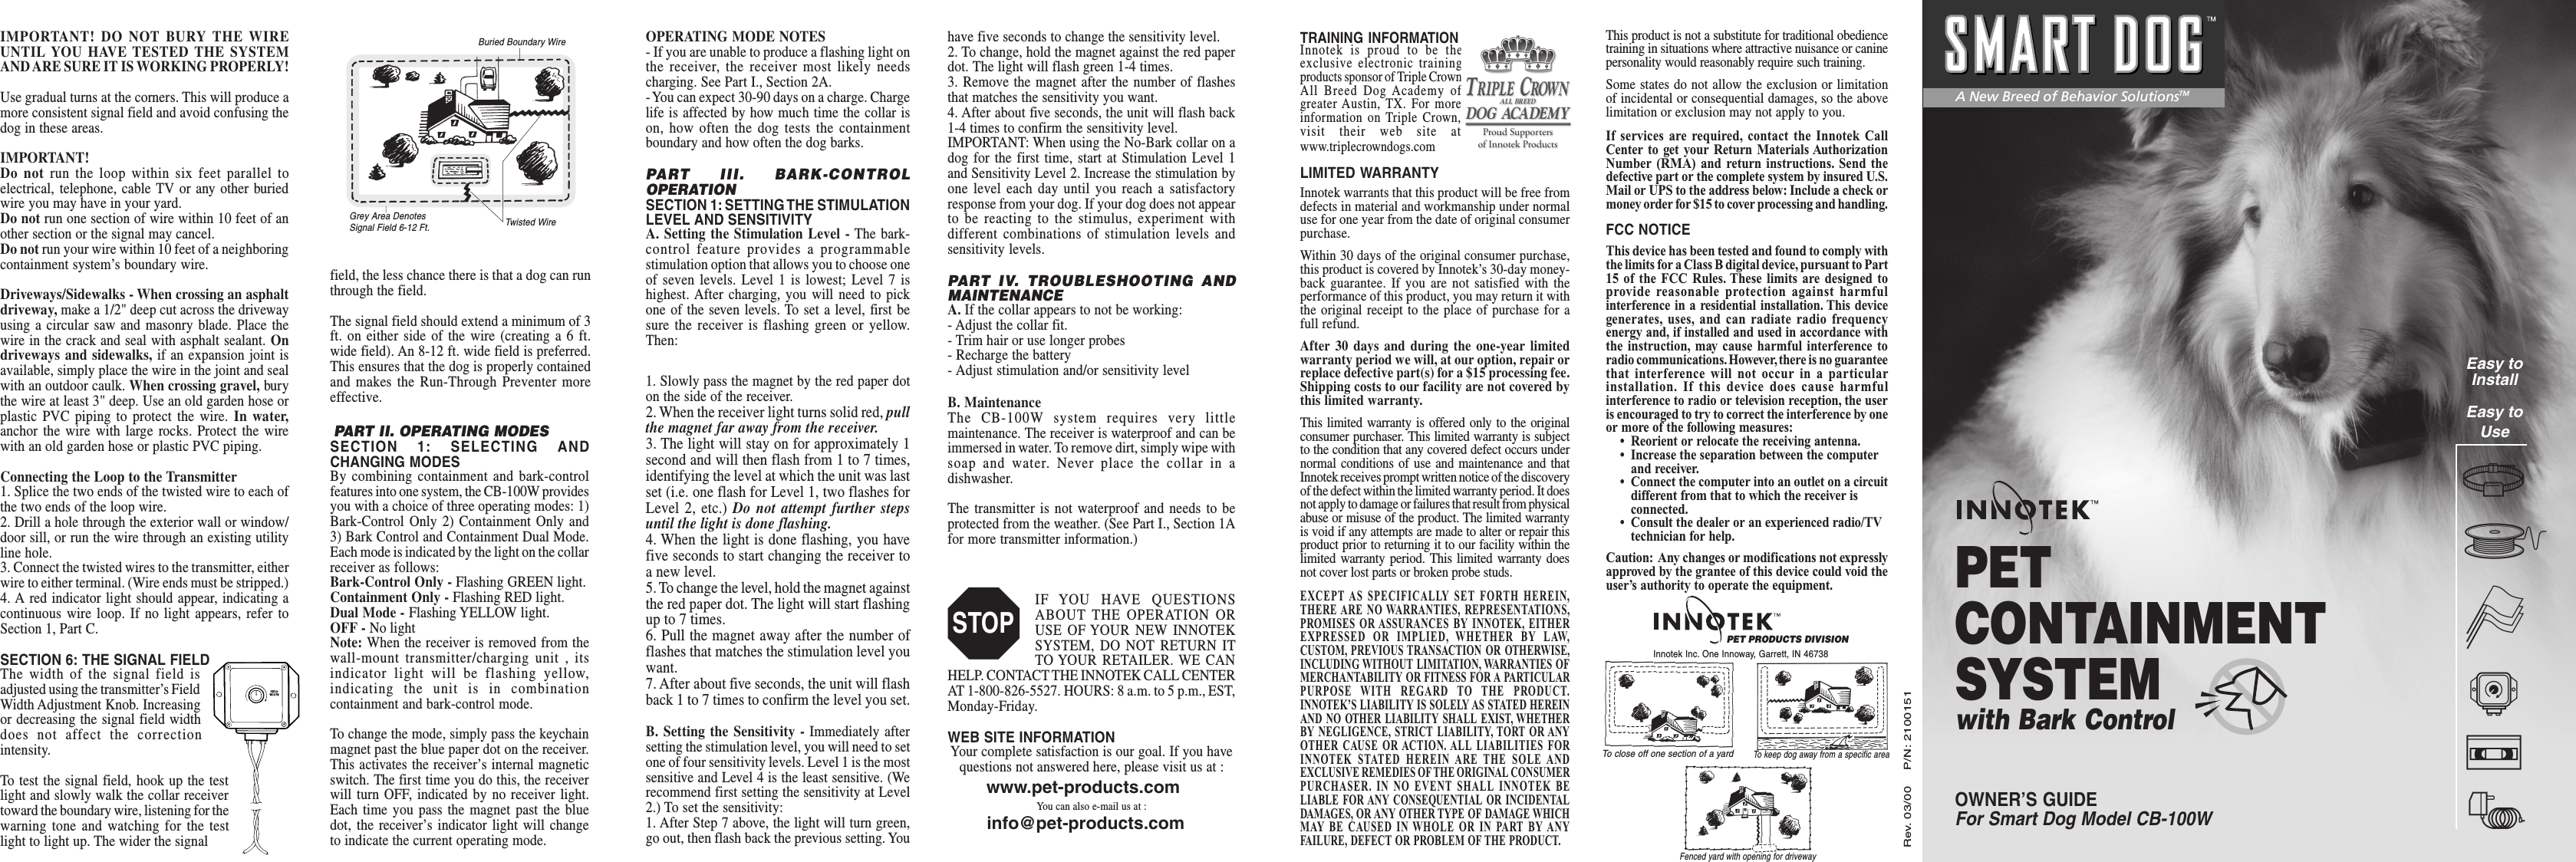
Innotek’s Pet Containment System provides security for your dog and peace of mind for you. Itshumane stimulation is proven safe and effective for training dogs to stay within the boundaries youset. This system, Model CB-100W, features Innotek’s micro-size collar receiver - our smallest ever- along with bark-control functions. This unique, dual-purpose system is ideal for dog owners whoneed a solution to two common problems at once. Although you are eager to get your systeminstalled and begin training your dog, please take the time to review the Installation and TrainingVideo, Training/Troubleshooting Guide and this manual so your installation and training can proceedefficiently and successfully.COMPONENTSA. Wall-Mount Transmitter - Used to turn thecontainment system on and off, control the fieldwidth and select the stimulation level. Thetransmitter is also used to recharge the collarreceiver.B. AC Adapter - Power source for the transmitter.C. Collar/Receiver - Consists of a rechargeablereceiver attached to a nylon collar strap.D. Collar Receiver Probes (2 sets) - Use thelong probes for dogs with long hair and the shortprobes for dogs with short hair. Special probes areavailable for dogs with extra-thick coats. (Contactthe Innotek Call Center to order.)E. Probe Wrench - (not shown) Used to tightenprobes. When changing probes, finger tighten, thenturn one additional revolution with the wrench. Donot over-tighten.F. Training/Troubleshooting Guide - (notshown) A helpful guide to help you train your dogto respect the boundary area.G. Installation and Training Video - A step-by-step guide to installing your system and training yourdog.H. Mounting Hardware - (not shown) Used toattach the transmitter to the wall.I. Test Light - Lets you check to make sure thecollar receiver is operating properly. When the leadsare attached to the collar probes and the collar isheld in the signal field, the test light should light up.J. Boundary Wire - Used to create the containmentsystem boundary. Wire is available in 500 footspools. If more than 500 feet is needed, simplypurchase an additional boundary kit(s). Boundarykits include wire, boundary flags and wire splices.Note: A chart at the end of this manual providesapproximate linear footages to cover different areasand the boundary kit model needed for your system.K. Boundary Flags - Helpful for teaching yourdog the boundaries of the containment system.BEFORE YOUR BEGINRealize that because individual dogs have uniquetemperaments, there is no way of knowing how yourdog will react to its introduction to the training collar.For the safety of your dog, initial training should takeplace using a long lead to keep you in complete controlover the situation. Also realize that an aggressive animalcould turn against the handler upon receiving thestimulus. Therefore, if you feel your dog has anaggressive behavior and/or it has a history of suchbehavior, we suggest you consult a certified animalbehaviorist before using this product as a training aid.PART I. CONTAINMENT SYSTEMOPERATIONSECTION 1: THE WALL-MOUNTTRANSMITTERThe transmitter can be mounted to any wall near astandard 110-volt household outlet with the includedscrews. The transmitter will withstand freezingtemperatures, but it is not waterproof. Therefore youmay locate it in a garage but not outdoors.To power the transmitter, plug the AC adapter into astandard 110-volt household outlet and connect it tothe transmitter’s power port.Transmitter features include:A. Lightning/Surge Protection - This helps preventthe transmitter from damage if a power surge occursor if lightning hits the ground in your area. A closelightning strike may damage the unit. Therefore werecommend that you unplug the transmitter anddisconnect the wires during storms. Lightning strikesare not covered under the Limited Warranty. However,an Extended Warranty is available that covers suchdamage. Contact Innotek for more information.B. Wire Connectors - Easy-to-use, push-release wireconnectors let you instantly connect or disconnectthe boundary wire leads. Wires should be strippedabout an inch before connecting.C. Indicator Light - Tells you the followinginformation.a. Containment Mode - A continuous red light tellsyou the transmitter is properly connected, both wiresare connected and the wire forms an unbroken,continuous loop.b. System Malfunction - No light tells you one ormore of the following: One or both wires are notproperly connected, both wires are connected but thewire is broken or nicked at some point, or thetransmitter has malfunctioned.Note: The transmitter light only indicates continuity.If you have a loose splice or nicked wire, the red lightor a flickering light may still show, but you may noticereduced or no field width. If this situation or a wirebreak should occur, follow the instructions in theTraining/Troubleshooting Guide.D. Field Width Adjustment Knob - Controls thewidth of the signal field (the distance from theboundary wire to the place where the collar receiveris first activated). Turning the knob clockwiseincreases the field width; turning it counter-clockwisedecreases it.L. Wire Splices -(not shown) Used for joining wireends.M. Keychain Magnet - (not shown) Used to turncollar on and off and change operating modes. (Anymagnet will perform this function.)SECTION 2: THE COLLAR RECEIVERA. CHARGING1. To charge the collar receiver, placeit on top of the transmitter,making sure thetransmitter’s raisedalignment pin fits intothe receiver’sindicator lightdepression.2.When properlyaligned, thetransmitter’s indicatorlight will blink during charging.3. The transmitter keeps track of thecharging time. At the start of charging,the transmitter will emit a blinking red light for 12hours.4. When charging is done, the transmitter light willgo out. Remove the collar receiver. The receiver’sindicator light will be flashing yellow, indicating thatit is in the combination containment and bark controlmode. (For more information on operating modes,see Part II.)SECTION 3: THE CORRECTIONA. Setting the Stimulation (Correction) Level -The transmitter allows three levels of correction:Low, Medium or High. It comes from the factoryset at Medium. If you want to change the level:1. Remove the four cover screws, range controlknob and the front cover.2. The “jumper” near the top-center of thetransmitter (directly under the indicator light) canbe moved to the right for the Low setting orcompletely removed for the High setting.NOTE TO MULTIPLE DOG OWNERS:Because the system is not operational while a collarreceiver is being charged using the wall-mounttransmitter, you may want to purchase a separatecharger from Innotek. You can then charge a collarwithout disabling the system.IMPORTANT CHARGING NOTESa. Charge the receiver 12 hours before first use.b. Test the system once a week to make sure thereceiver is still charged. To test, walk the receiverinto the signal field with the test light attached tothe probes. Listen for the warning tone and/orwatch for the test light to flicker.c. You can expect 30-90 days on a charge. Chargelife is affected by how much time the collar is on,how often the dog tests the containment boundaryand how often the dog barks.d. Every six months the receiver should be allowedto fully discharge, then be fully recharged. Todischarge, hook up the test light to the collarreceiver probes and place the receiver in the signalfield until it is fully drained (indicated by no toneor light).Note: Always use the test light when draining thecollar receiver. Not using the test light canpermanently damage the receiver.When the dog reaches the edge of the boundary(signal field) in the yard, it will hear a prestimulationwarning tone that lasts about two seconds. If thedog does not move back from the boundary, it willreceive a continuous correction stimulus (at theLow, Medium or High level) until it re-enters the“safe” part of the yard.Note: If the transmitter is set on High, there will beno pre-stimulation warning tone prior to thecorrection.B. Special features that increase effectivenessThe system is fully operational when the collarreceiver has an adequate charge and the boundarywire is producing a signal field. These specialfeatures increase the system’s effectiveness:1. Run-Through Preventer - Correction alwaysstarts with a warning tone, followed by stimulation.If the dog continues more than one-third of the waythrough the signal field, the stimulation willautomatically rise to the High level. For example,if the signal is emitted 12 feet from the wire andyour dog enters the signal field, this feature isactivated when the dog is eight feet from the wire.At this point, the dog automatically receives theHigh level of correction. The correction remains onHigh until the dog returns to the safe part of theyard.A New Breed of Behavior SolutionsTMModel CB-100WPET CONTAINMENTSYSTEM with Bark ControlABCDGIJK4. Never leave the collar on your dog for more than12 hours a day or when you are away.5. The collar is waterproof and will not be damagedif it gets wet. Never place the collar in thedishwasher.6. Always remove the collar from your dog when itcomes indoors. Keep the collar at least five feet awayfrom any electronic equipment to avoid accidentaldischarging of the battery.7. Do not attempt to dismantle or repair thetransmitter or receiver. They contain computerizedcircuitry that should be serviced only by anauthorized expert.8. Do not clean the transmitter with any liquid,including water.**EXTRA COLLARS**Any number of collars may be added to yoursystem. See your dealer for a selection of extracollars or contact the Innotek Call Center at 1-800-826-5527.SECTION 5: INSTALLING THE BOUNDARYWIREBefore installing the boundary wire, contact yourutility companies to mark your utility lines beforeyou start digging. Select the areas of your propertywithin which you want to contain your dog. It maybe helpful to make a diagram to help you avoidunforeseen obstacles. (Please note the examplediagrams included at the end of this manual.)Your system includes 500 feet of boundary wire. Foryards requiring more wire, boundary kits areavailable from your dealer or Innotek. Eachboundary kit includes 500 ft. of wire, 50 trainingflags and wire splices. Here are some examples ofwire coverage.Above figures assume a rectangular layout. Actualfootage may vary. For estimates on yards larger than5 acres, contact the Innotek Call Center.Keep in mind that you will want at least a 6-8 ft.signal field (3 ft. on each side of the wire) and thedog will stay back another 2-4 ft. from the edge ofthe field. Avoid makingpassageways too narrow or your dog may behesitant to use them (i.e. along the sides of ahouse).Tools Needed - You may need the following toolsfor efficient installation: Straight-edged spade,wire cutter/stripper and flathead screwdriver. Ifyou plan to run the wire across concrete you willalso need a caulk gun, silicone caulking and acircular saw with a masonry blade.Placing the Wire -For the system to workproperly, the wiremust make onecontinuous loop. Thesignal is transmittedfrom one terminal ofthe transmitter,through the wire, andback to the otherterminal.Running and twistingthe wire along itselfcancels the signal. Use the twisted wire from thetransmitter out to the exterior loop wire. Thisallows the dog to cross that area withoutreceiving a signal. To twist the wire, cut twoequal lengths and hold them side by side. Putone end of both wires in a power drill and spinthe wires until the twists are 1"-3" apart. Thetighter the wire, the better the signal cancellation.You can also twist the wires manually.You do not have to bury the wire, but forprotection you probably want to bury it at least1/2" underground. Start by digging about 3"-4"deep where the wire first enters the ground nearthe transmitter and continue around the path ofthe loop wire. A 30˚-45˚ angle cut make with aflatblade spade will be the easiest to close upand heal.IMPORTANT NOTE: When covering a largearea, you may wish to use a trenching machineto cut into the ground. However, we recommendthat the wire be placed in the trench by hand. Acommercial wire-placing machine may break thewire.Acres Linear Feet Needed1 8502 12003 15004 17005 19002. Over-Correction Preventer - In the unlikelyevent your dog becomes “trapped” in the correctionfield, this feature limits the length of time itreceives the correction to 20 seconds. The systemwill then shut off for 10 seconds before resumingcorrection for another 20 seconds. This pattern willalternate until your dog returns to the safe part ofthe yard or the system is turned off.SECTION 4: FITTING THE COLLAR TO YOURDOGProbes- Use short probes for short-haired dogs- Use long probes for long-haired or thick-coated dogs- Finger-tighten the probes, then turn one additionalrevolution with the probe wrench. Do not over-tighten.Collar Strap- Place the collar around the dog’s neck, receiver boxon the bottom.- Fit the strap as snugly as possible, without restrictingbreathing.- Make sure both probes contact the dog’s skin.- Remove the collar and trim the excess, leaving 4-6inches.NOTE:- Special probes are available for thick-haired dogs- Dummy collars, which are non-operational but getthe dog used to wearing a training collar, are alsoavailable. Contact Innotek to order.IMPORTANT NOTES ABOUT THE COLLARAND TRANSMITTER!1. Always use the rubber insulators between the collarstrap and probes to provide insulation in dampconditions.2. If needed, a small amount of hair removal orthinning will improve probe contact with the skin.3. Check your dog’s neck periodically for skinirritation.Proper Fit:The collar strap fit should besnug, yet loose enough to allowtwo fingers to fit between thestrap and dog’s neck.For Best Results:If the dog does not seem to befeeling the stimulus, try moving thereceiver to another part of the neck.This may improve the contact.Splice SpliceOuttoYardOuttoYard

Navigation menu