Redline Communications RDL3000RMF White Space Device with Geo-location - Fixed User Manual Short Word 2012
Redline Communications Inc. White Space Device with Geo-location - Fixed Short Word 2012
Contents
- 1. User Manual
- 2. Revised user Manual
- 3. User instructions for FCC Lab to use for samples submitted
- 4. Users Manual
User instructions for FCC Lab to use for samples submitted

Confidential and Proprietary
© 2013. Redline Communications Inc.
1
1.0 TVWS Quickstart
This guide is intended to provide a very quick introduction to establishing an RF link between an RDL-
3000 UHF sector and subscriber. The units have been shipped mostly pre-configured, with only some
site-specific parameters remaining.
As shipped, the units are configured as follows:
Radio Mode
Radio MAC
Radio S/N
Management IP
Sector Controller
00:09:02:14:B4:FB
182PC13030002
192.168.45.64
Subscriber
00:09:02:14:B5:02
182PC13030003
192.168.45.65
1.1 Physical Connectivity
Before powering up the radios, make sure to connect each radio’s RF ports to the other radio’s
corresponding port. Make sure there is at least 60dBm of attenuation inline.
Connect each radio to the output port of the PoE injector via Ethernet cable.
Connect the sector controller PoE injector’s input port into your local area network, ensuring
that there is a valid route through your network to the internet (for WSDB access).
1.2 Configuring network connectivity
Configure your PC’s network interface to an IP address within the radios’ subnet (e.g.
192.168.45.100 / 255.255.255.0).
Connect your PC to the sector controller’s PoE injector input port, and verify ping connectivity to
the sector’s IP address (listed above).
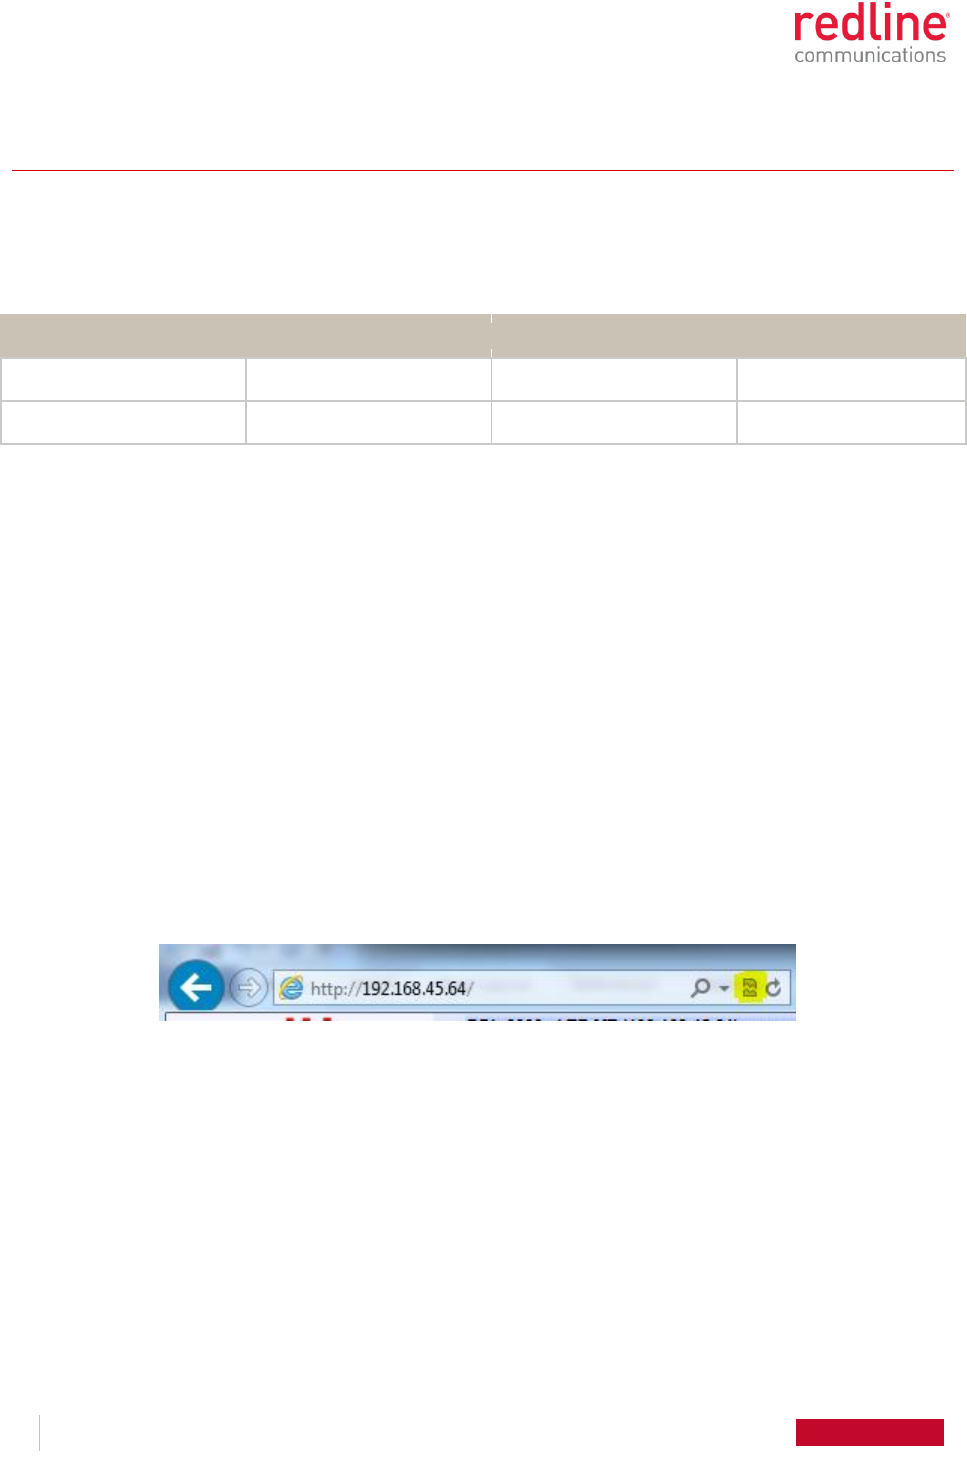
Open Internet Explorer and browse to the sector’s IP address. Note that if you’re using Internet
Explorer 10, you’ll need to place your browser into compatibility mode.
o To place IE10 in compatibility mode, browse to the page you’re trying to view, then click
the small “broken page” icon next to the address bar’s “refresh” button.
o
The login credentials are “admin”/”admin”.
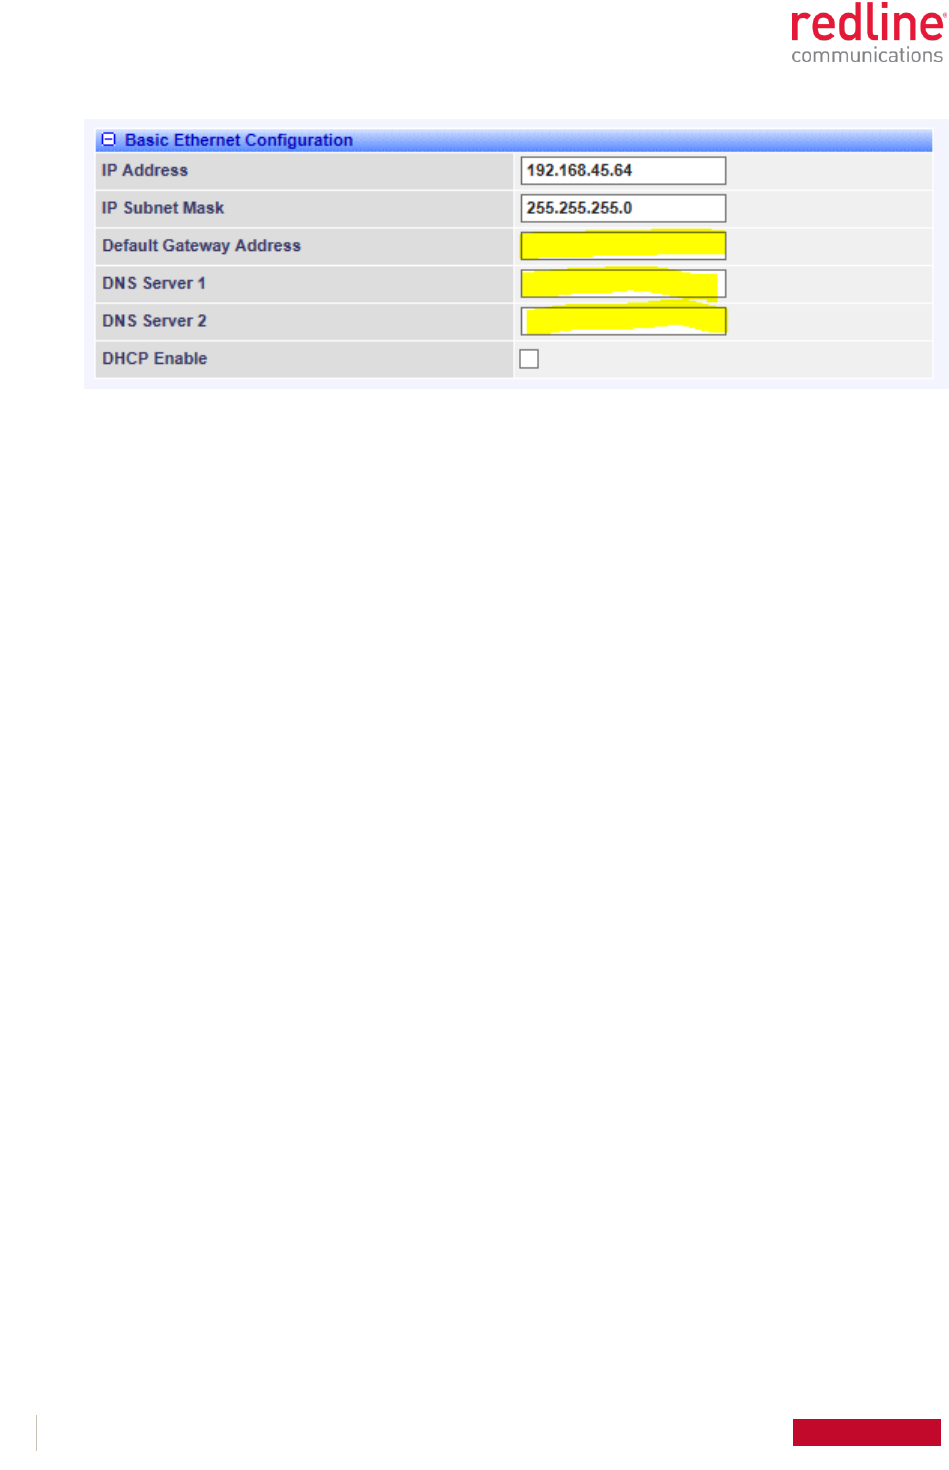
The next step is to configure the radio’s internet access. To do this, you need to provide your
network’s default gateway and DNS server IP addresses, accessed in the System Configuration
menu.

Confidential and Proprietary
© 2013. Redline Communications Inc.
2
o DNS Server 2 is optional.
o If your DHCP server provides this information, you can use DHCP instead of providing
this information yourself. However, you’ll need some way to determine what IP address
your DHCP server has provided the radio. You IT department should be able to help out
there.
Press “Apply and Save All” to activate your changes. If you’ve changed your IP address (or
activated DHCP) you’ll need to browse to the radio’s new IP address, as these changes take
effect immediately after activation.
That’s it for the sector controller. Repeat these steps on the subscriber station, then proceed to
section 1.2.
1.3 Configuring WSDB Access – Sector Controller
Configure the radio’s registration information as appropriate to your location.
If the unit has a GPS antenna connected and has a fix on a sufficient number of satellites, the
“Use GPS” checkbox will be enabled. This will automatically populate the Lat/Long fields.
o You can view information on the current GPS status in the “System Status” menu. Click
on the “GPS Status” link to open a new window.
Make sure to “Apply and Save” your changes.
Once you have everything configured, wait 60 seconds and then navigate to the “WSDB Status”
menu. Check to make sure that “Server Connectivity Status” shows “SUCCESS”. If so, you should
see a color-coded indication of available channels in the bottom half of the page.
o If “Server Connectivity Status” shows FAILURE, check the system log for an indication of
the reason for the failure.
In the displayed channel list, red channels are unavailable for use at your location, blue channels
are available, and the green one is the currently selected channel.
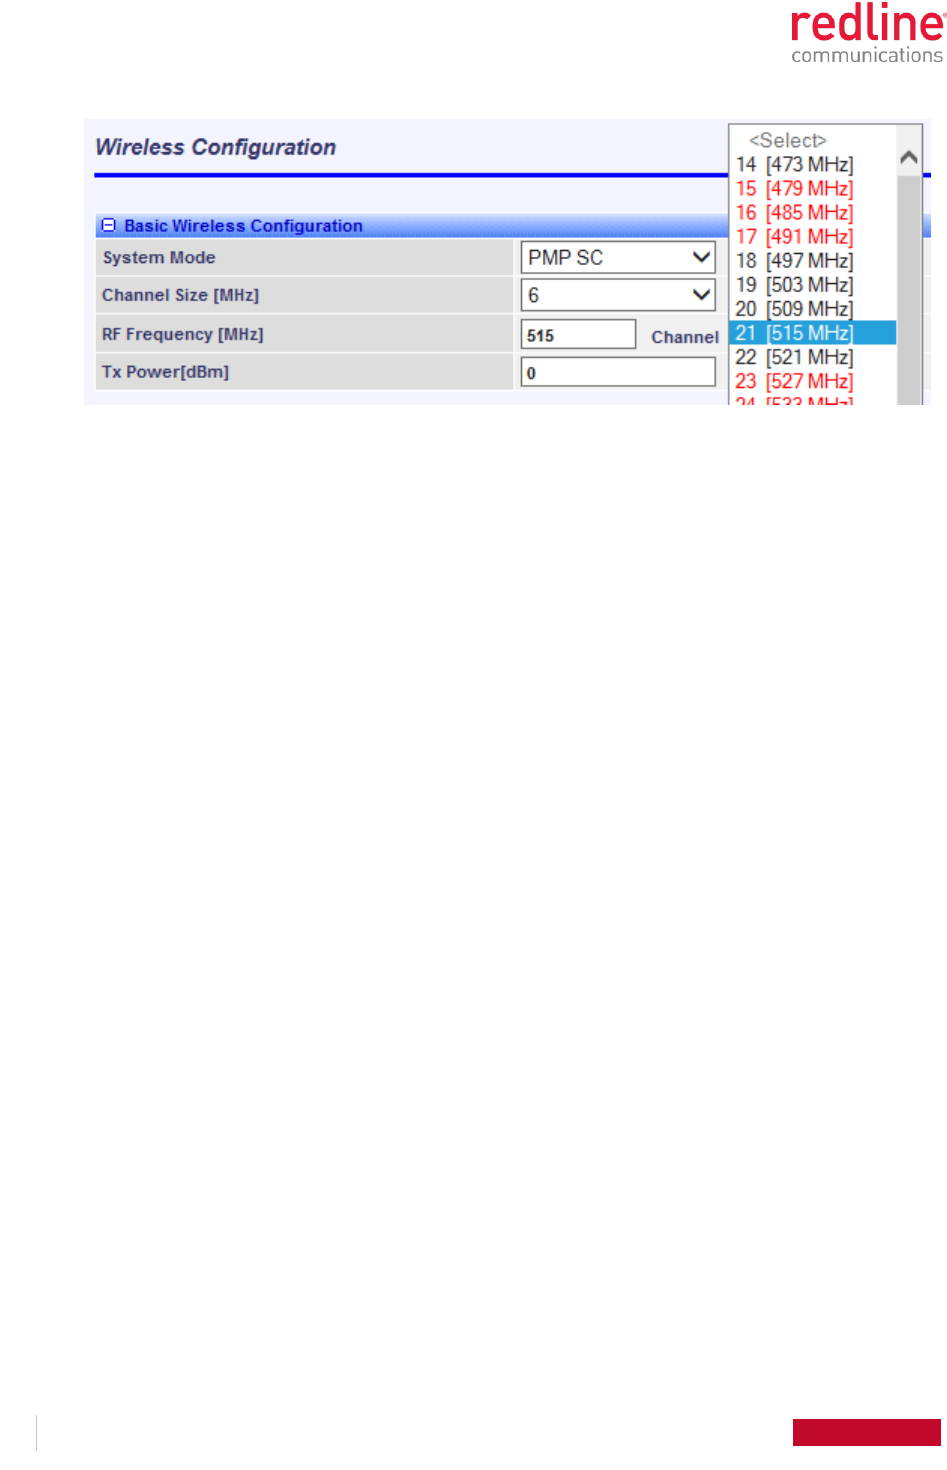
Navigate to the “Wireless” page, and select a non-red channel from the dropdown list.

Confidential and Proprietary
© 2013. Redline Communications Inc.
3
1.4 Configuring WSDB Access – Subscriber
Repeat the same steps as in the previous section, making sure to select the same channel as was
selected in the sector controller.

Confidential and Proprietary
© 2013. Redline Communications Inc.
4
2.0 Hardware Testing / RDL-3000 Backup Unit
In regards to third Hardware Testing & Backup unit (S/N 160PC13030002, MAC 00-09-02-14-B5-04, IP
192.168.45.69)
Note about debug/engineering mode which is provided to FCC for testing purposes, but is not
provided to end customers
Before applying POE power, ensure all ports are terminated into a 50-ohm load
Login to GUI using MSIE web browser using admin/admin
select desired power and center frequency
select the desired RF1, RF2 or RF1&RF2 configuration
Click Apply
For Part 15, Subpart H tests, continuous transmit mode is required. To do this:
DUT must be in SC (Sector Controller) mode
Using Windows CMD window or a Telnet program, telnet into the DUT (“telnet 192.168.45.69” for
example) and login as debug/debug
Enter command: “dbg txloop 1”
Before adjusting other system parameters (such as frequency) from the GUI, disable continuous Tx
mode with “dbg txloop 0”
Note that in the customer software the following restrictions are made:
Channels 36, 37, and 38 are disallowed
Tx power for all channels is limited to +18dBm, except channels 35 and 39 which are limited to
+16dBm
On channel 35, the center frequency is moved down by 0.5MHz
On channel 39, the center frequency is moved up by 0.5MHz