Ricoh RFAEG01 Color Laser Printer (Color Copier) User Manual
Ricoh Company Ltd Color Laser Printer (Color Copier)
UserManual.wiki
>
Ricoh
>
RFAEG01 User Manual
User Manual
Navigation menu
Upload a User Manual
Namespaces
Wiki Guide
HTML
PDF
Info
Views
User Manual
Discussion / Help
Navigation
![How to Read This ManualSymbolsThis manual uses the following symbols:Indicates important safety notes.Ignoring these notes could result in serious injury or death. Be sure to read these notes. They can be found in the“Safety Information” section of this manual.Indicates important safety notes.Ignoring these notes could result in moderate or minor injury, or damage to the machine or to property. Be sureto read these notes. They can be found in the “Safety Information” section of this manual.Indicates points to pay attention to when using the machine, and explanations of likely causes of paper misfeeds,damage to originals, or loss of data. Be sure to read these explanations.Indicates supplementary explanations of the machine's functions, and instructions on resolving user errors.This symbol is located at the end of sections. It indicates where you can find further relevant information.[ ]Indicates the names of keys that appear on the machine's display panel.[ ]Indicates the names of keys on the machine's control panel. 110Draft 2008/02/07](https://usermanual.wiki/Ricoh/RFAEG01/User-Guide-906231-Page-9.png)
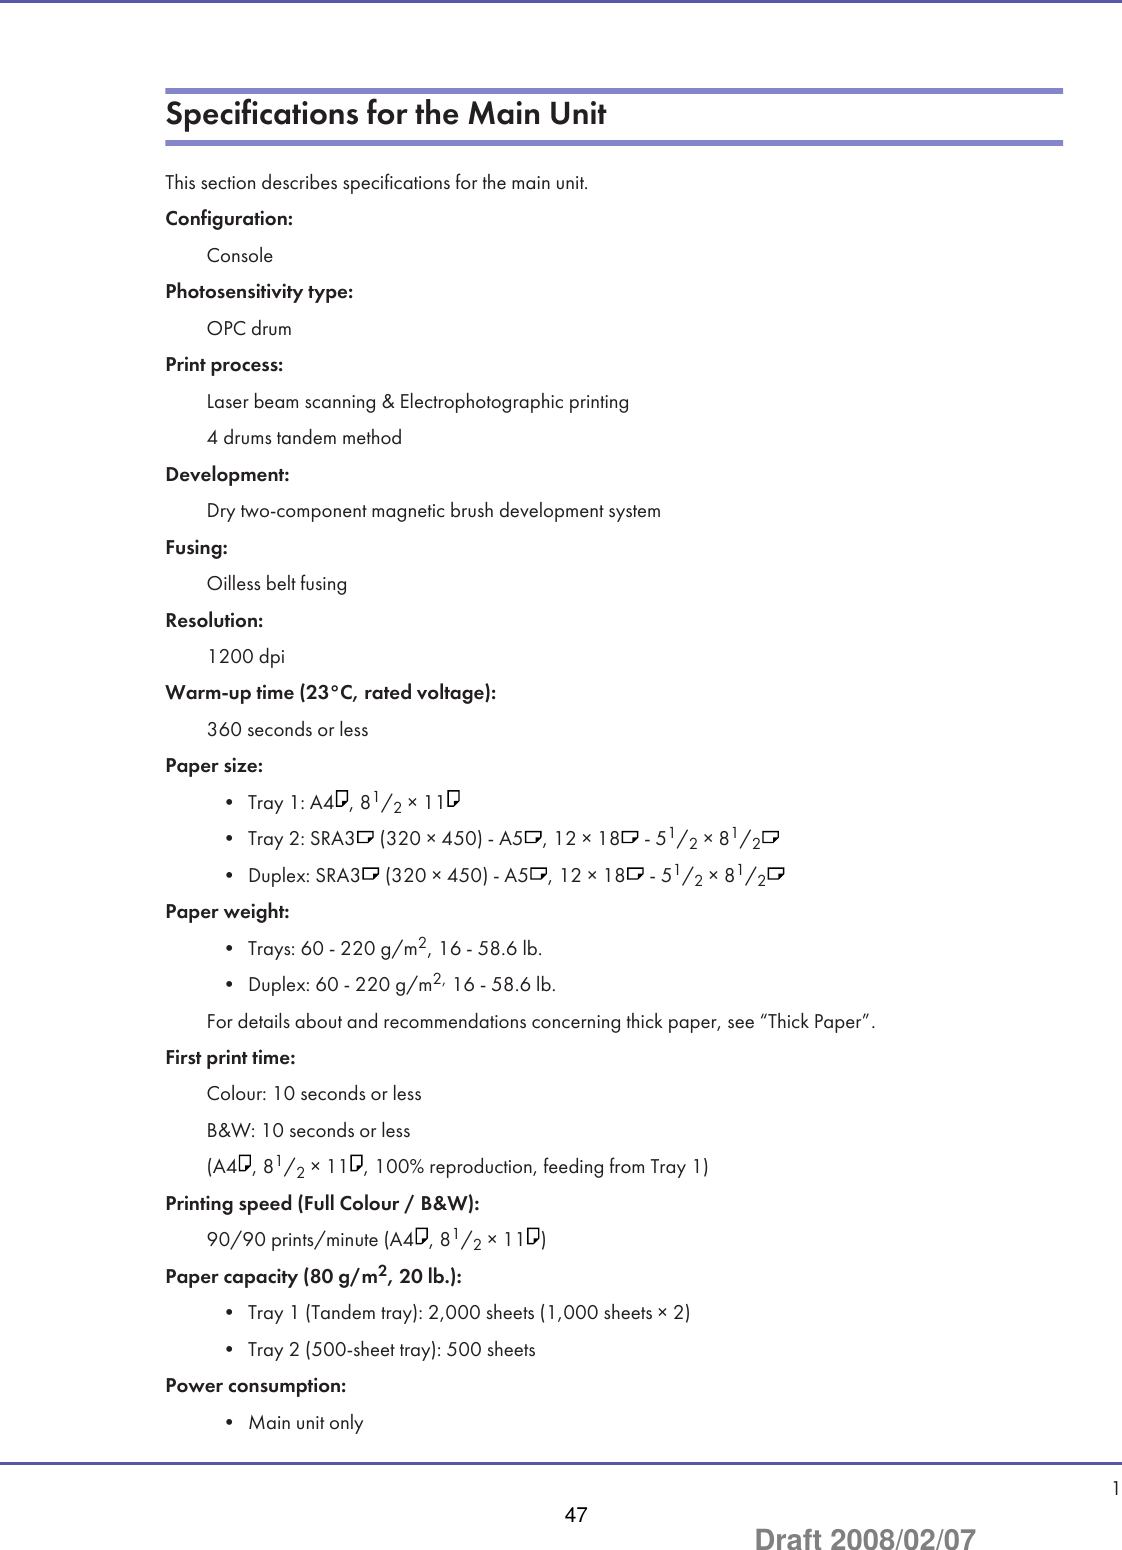
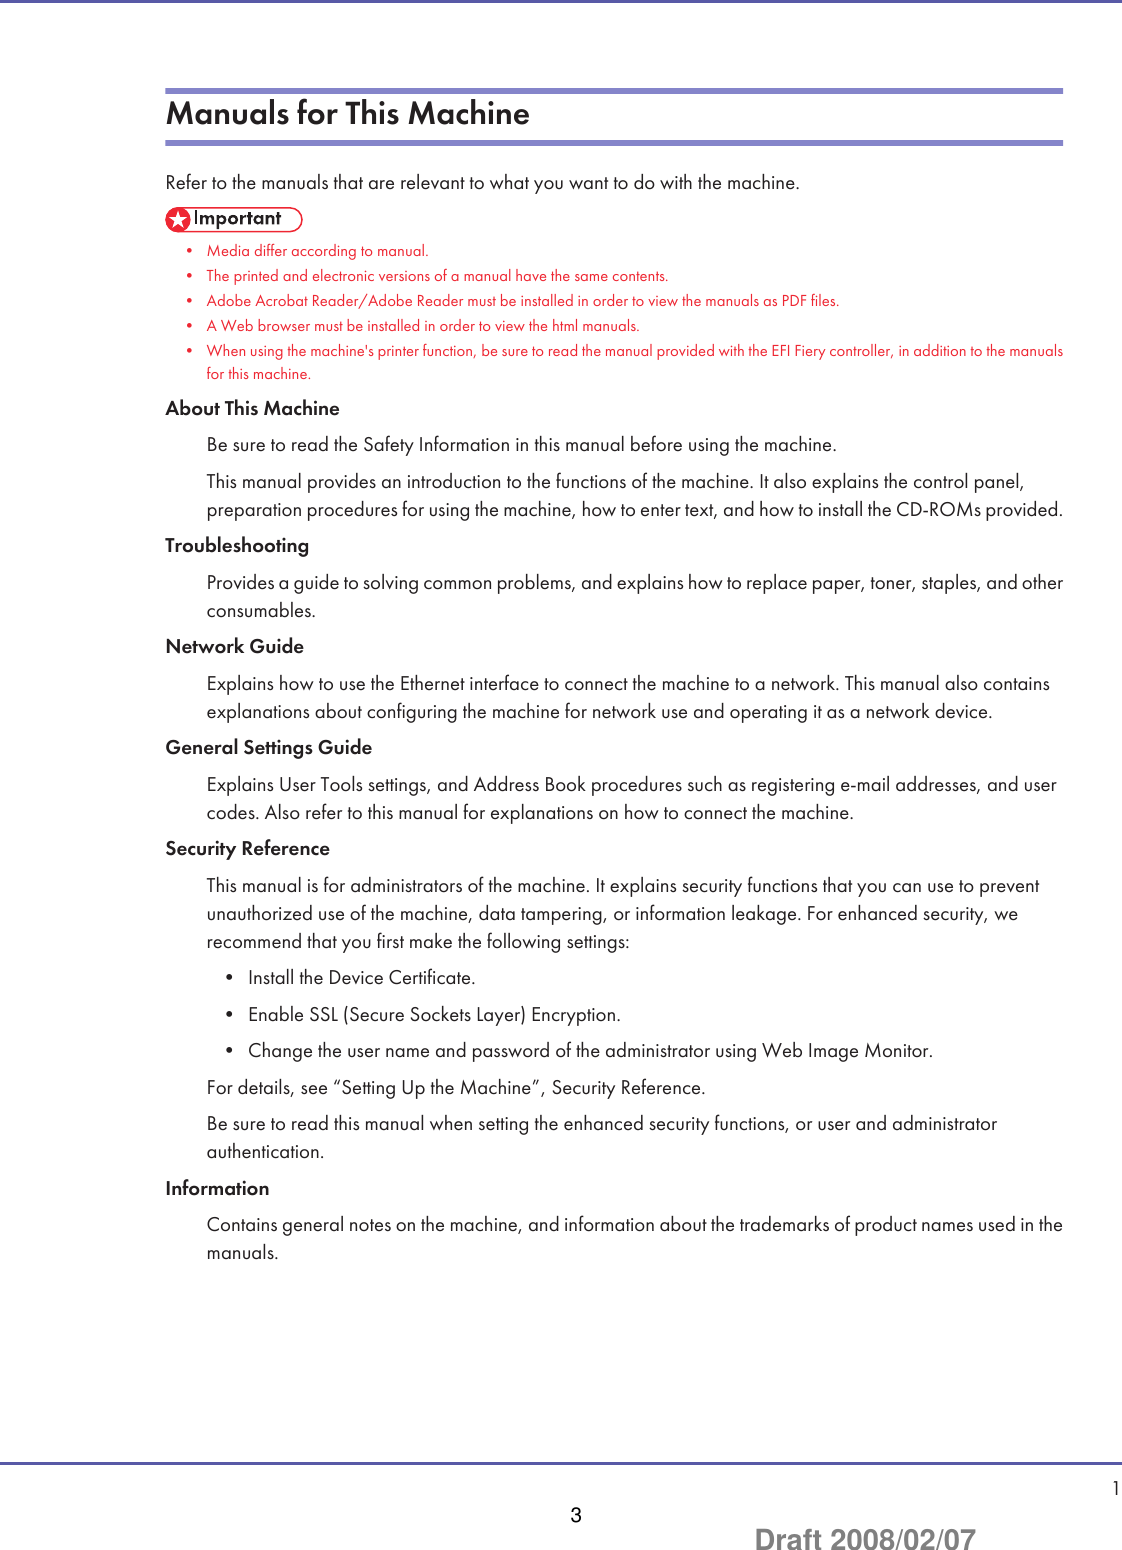
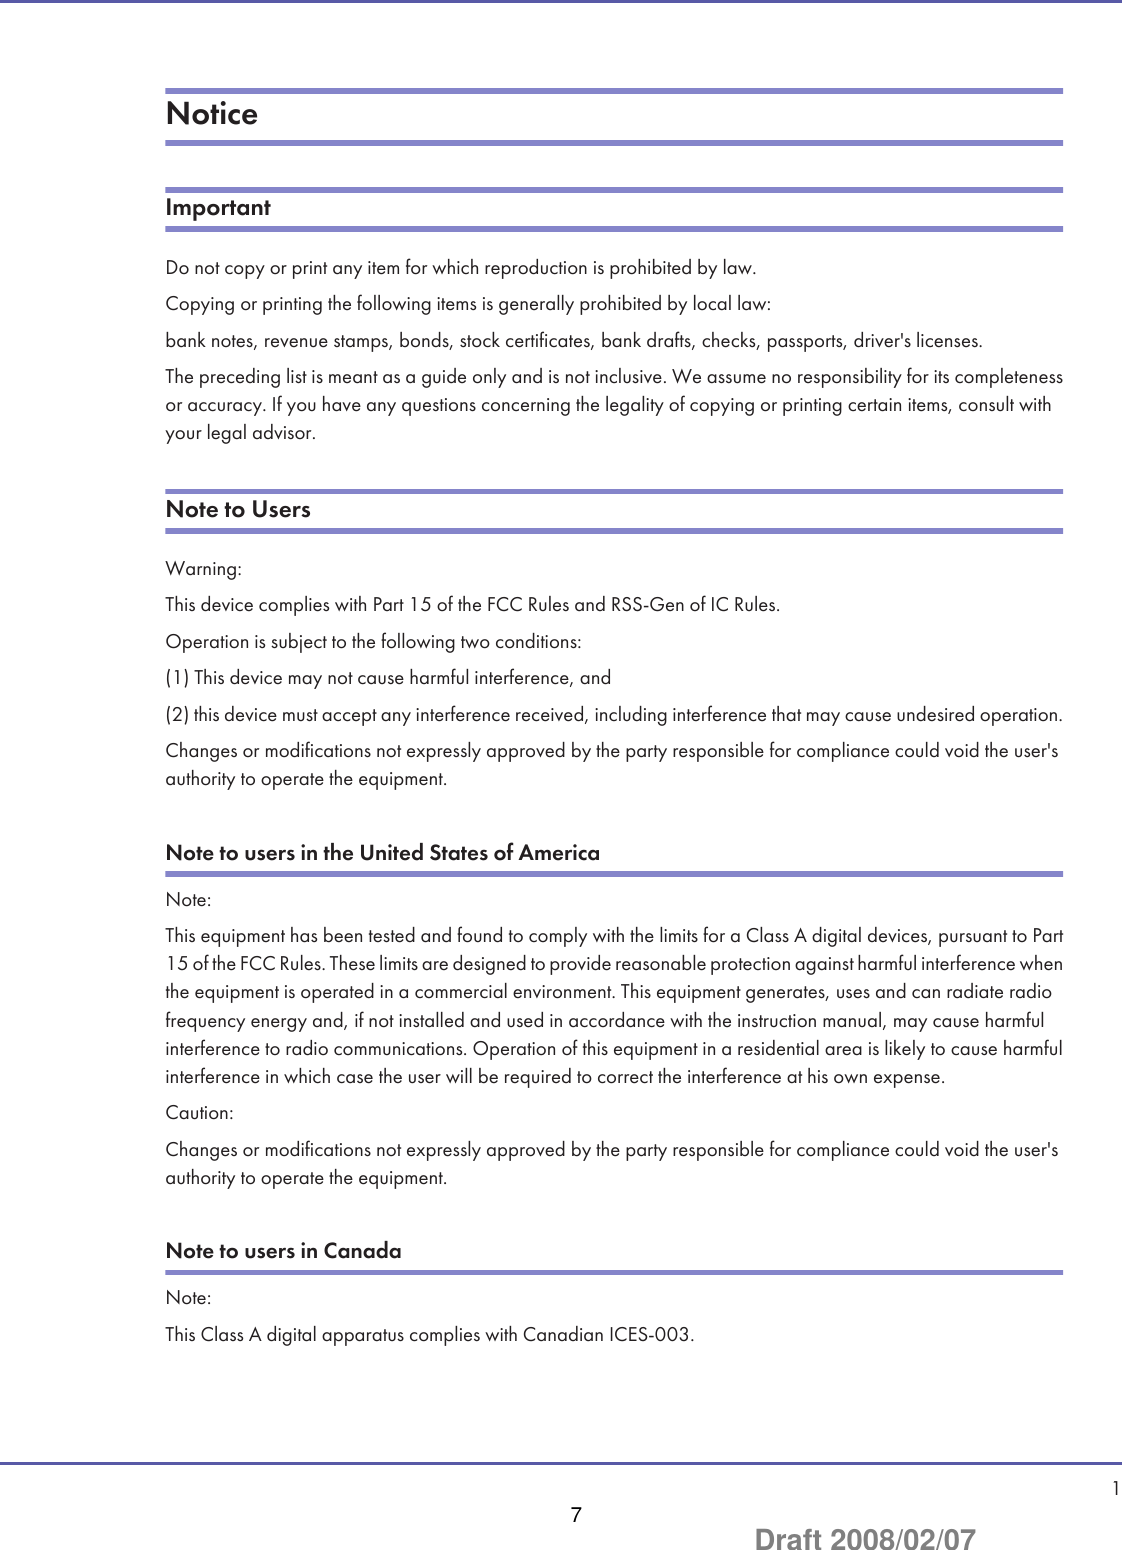
![Energy Saving FunctionsLow Power modeThis product automatically lowers its power consumption 15 minutes after the last print job has finished. Faxreception or printing is still possible in Low Power Mode, but if you wish to make copies press the [EnergySaver] key first.Sleep modeThis product automatically lowers further its power consumption 90 minutes after it has shifted to Low Powermode. Printing is still possible in Sleep mode.SpecificationsMachineLow power mode Power consumption XXX WLow power mode Default interval 30 minutesLow power mode Recovery time 120 seconds or lessSleep mode Power consumption 130 W or lessSleep mode Default interval 90 minutesSleep mode Recovery time 360 seconds• Figures for power consumption were obtained from testing performed prior to shipment.• Using the Energy Saver Timer setting, you can change the length of time that the machine waits before it switches to Low Power mode.See “System Settings”, General Settings Guide.• Using the Auto Off Timer setting, you can change the length of time that the machine waits before it switches to Sleep mode.Recycled PaperWe recommend use of recycled paper which is environmentally friendly. Please contact your sales representativefor recommended paper. 118Draft 2008/02/07](https://usermanual.wiki/Ricoh/RFAEG01/User-Guide-906231-Page-17.png)


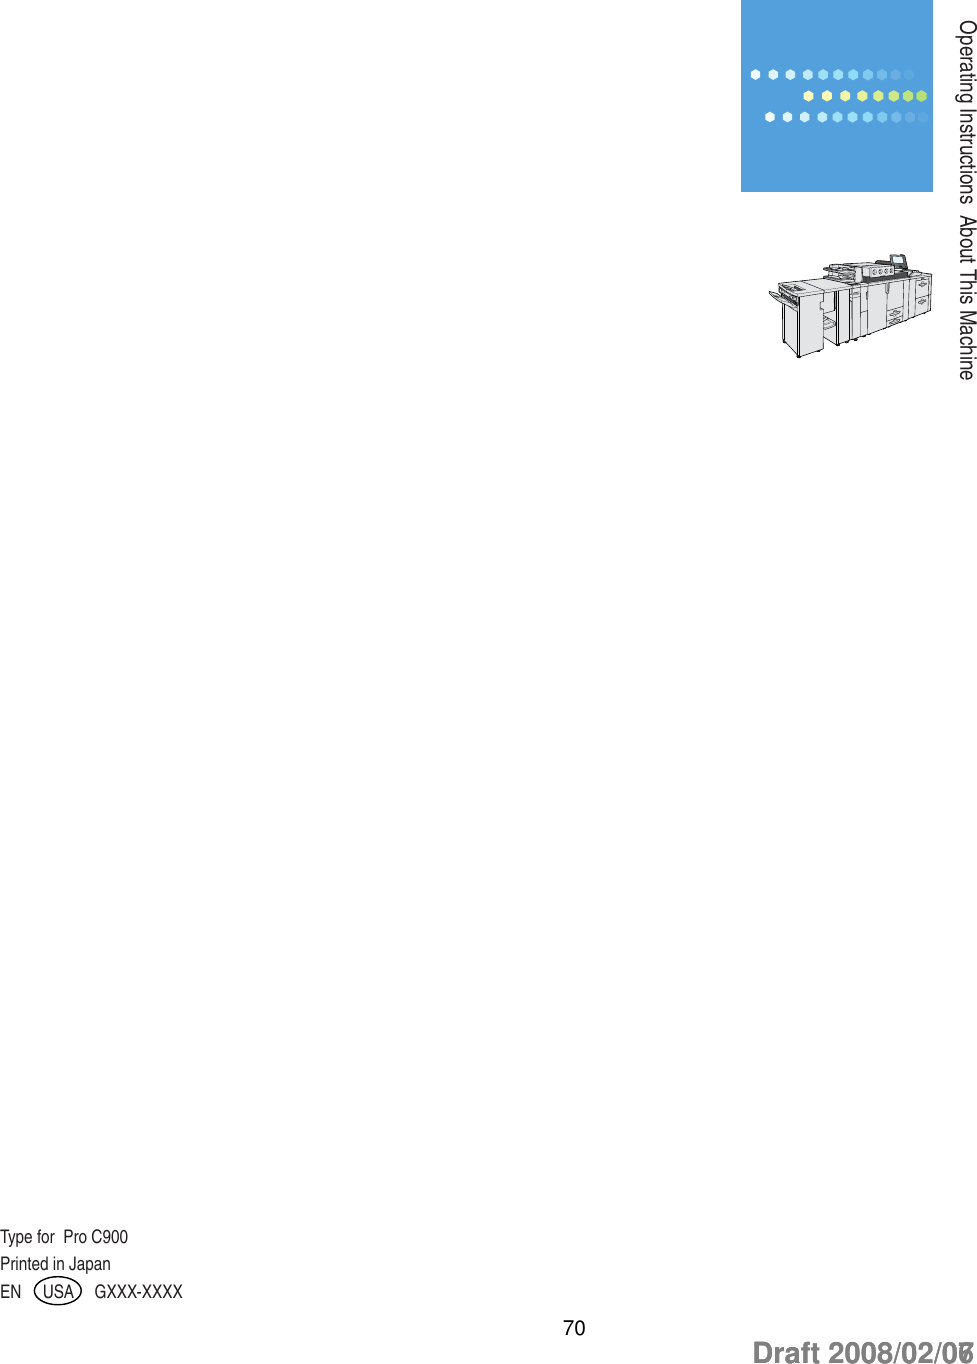
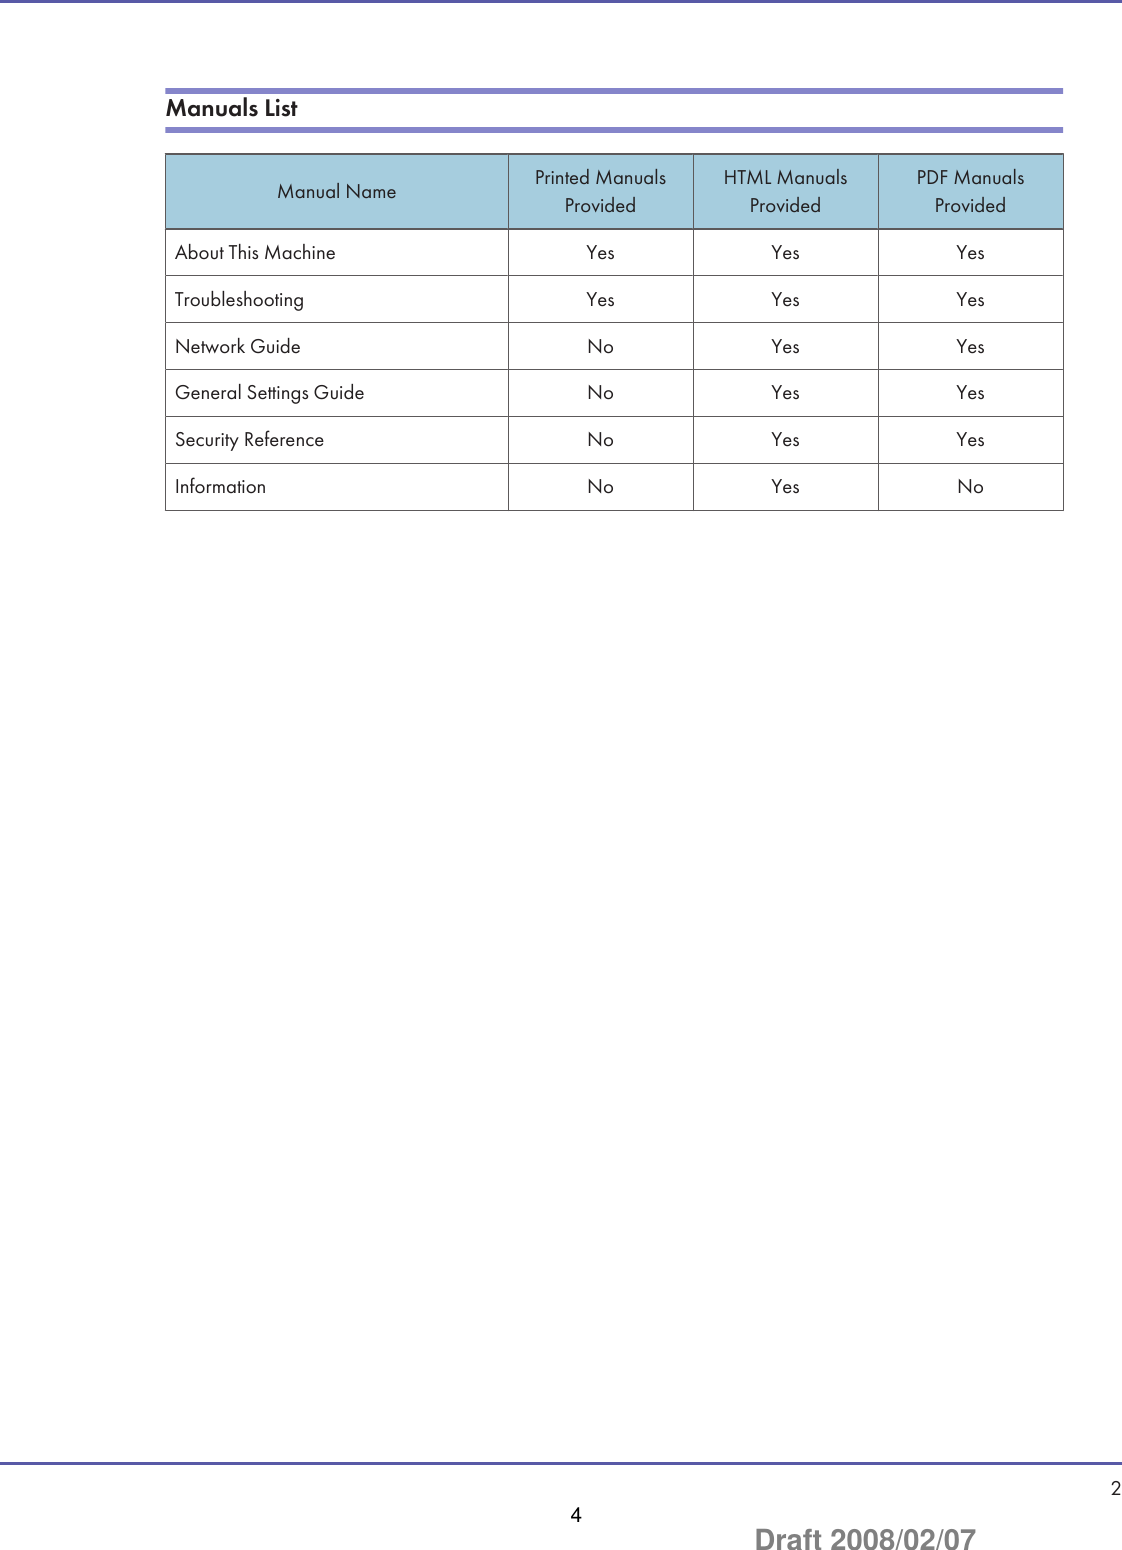
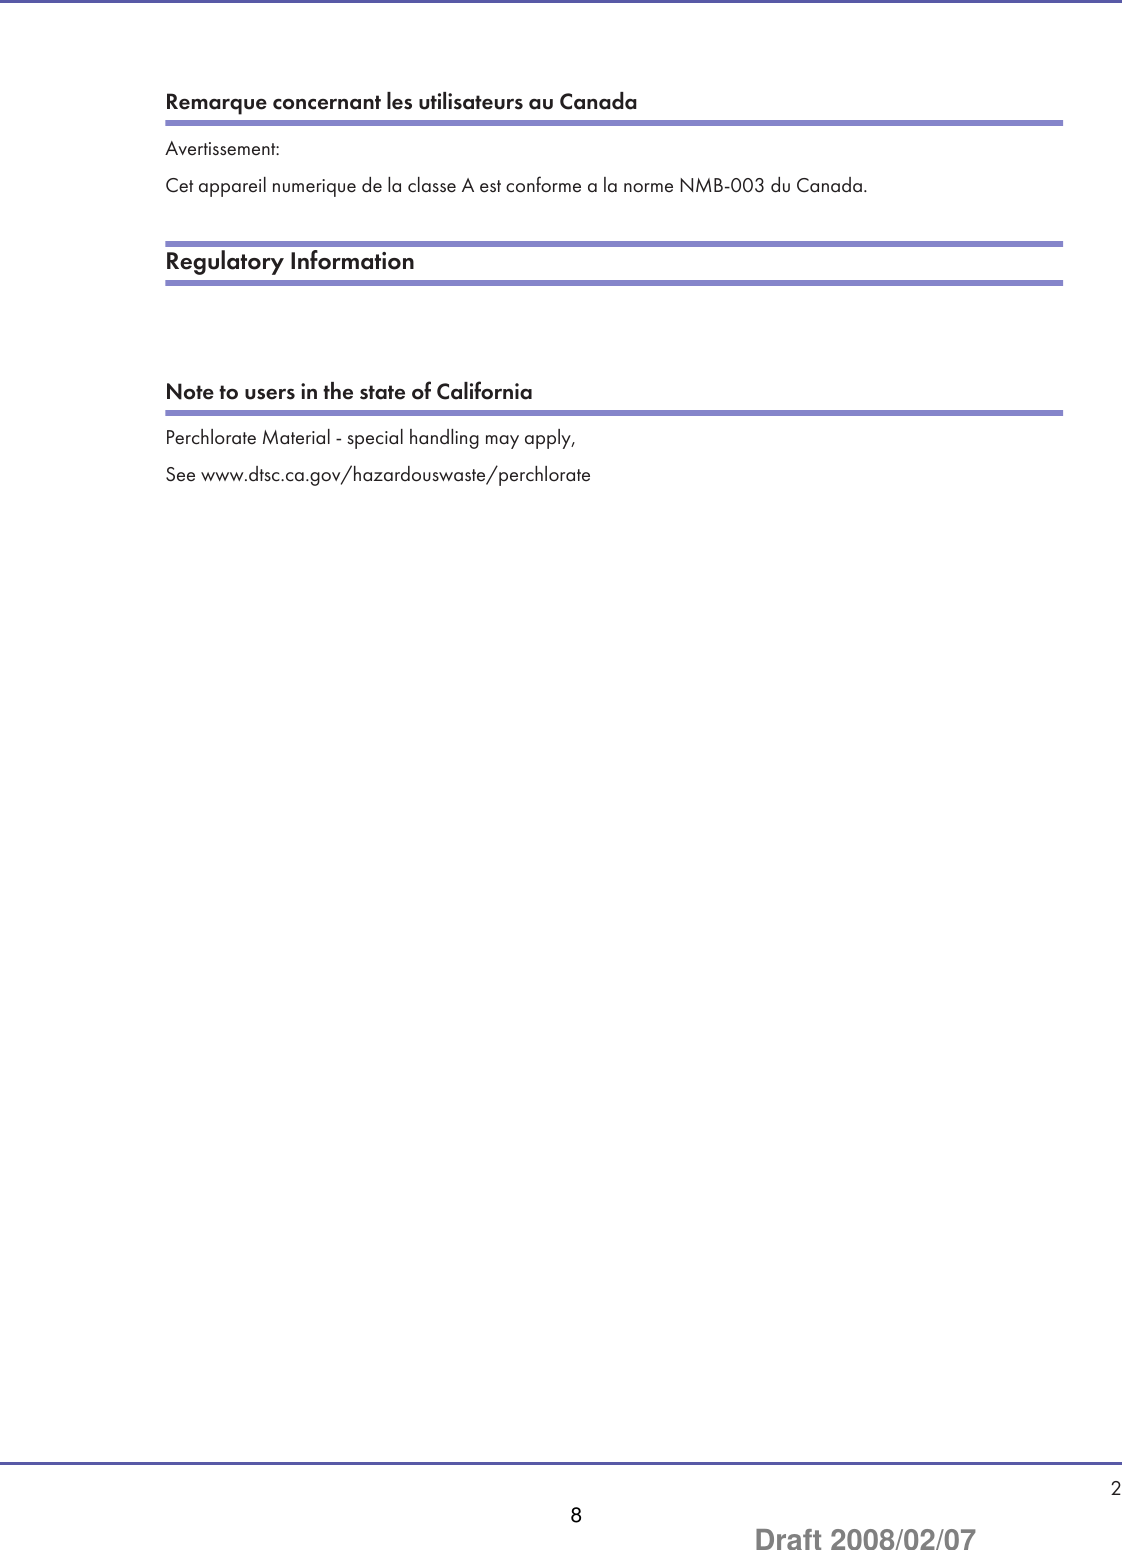
![Control PanelThis section introduces the names and functions of the control panel's components.• Do not turn off the main power switch if the operation switch indicator is lit or flashing. Doing so may damage the hard disk.BKA030S1. Status indicatorDisplays the machine's current status. By default, this indicator is off (unlit). You can select whether or not it is lit.• Off: The power switch is turned off or printing is possible.• Flashing red: Toner level is nearing empty.• Lit red: Paper jam or other malfunction. If the status indicator is flashing red, a paper jam has occurred within thecurrent job. Bring up the current job screen to resolve the jam.2. Operation switchPress to turn the power on (the On indicator will light up). To turn the power off, press this switch again (the On indicatorgoes off).See “Turning On the Power”.3. [Login/Logout] keyPress to log in or out of the system.4. [Language Selection} keyPress to change the language of the display. 123Draft 2008/02/07](https://usermanual.wiki/Ricoh/RFAEG01/User-Guide-906231-Page-22.png)
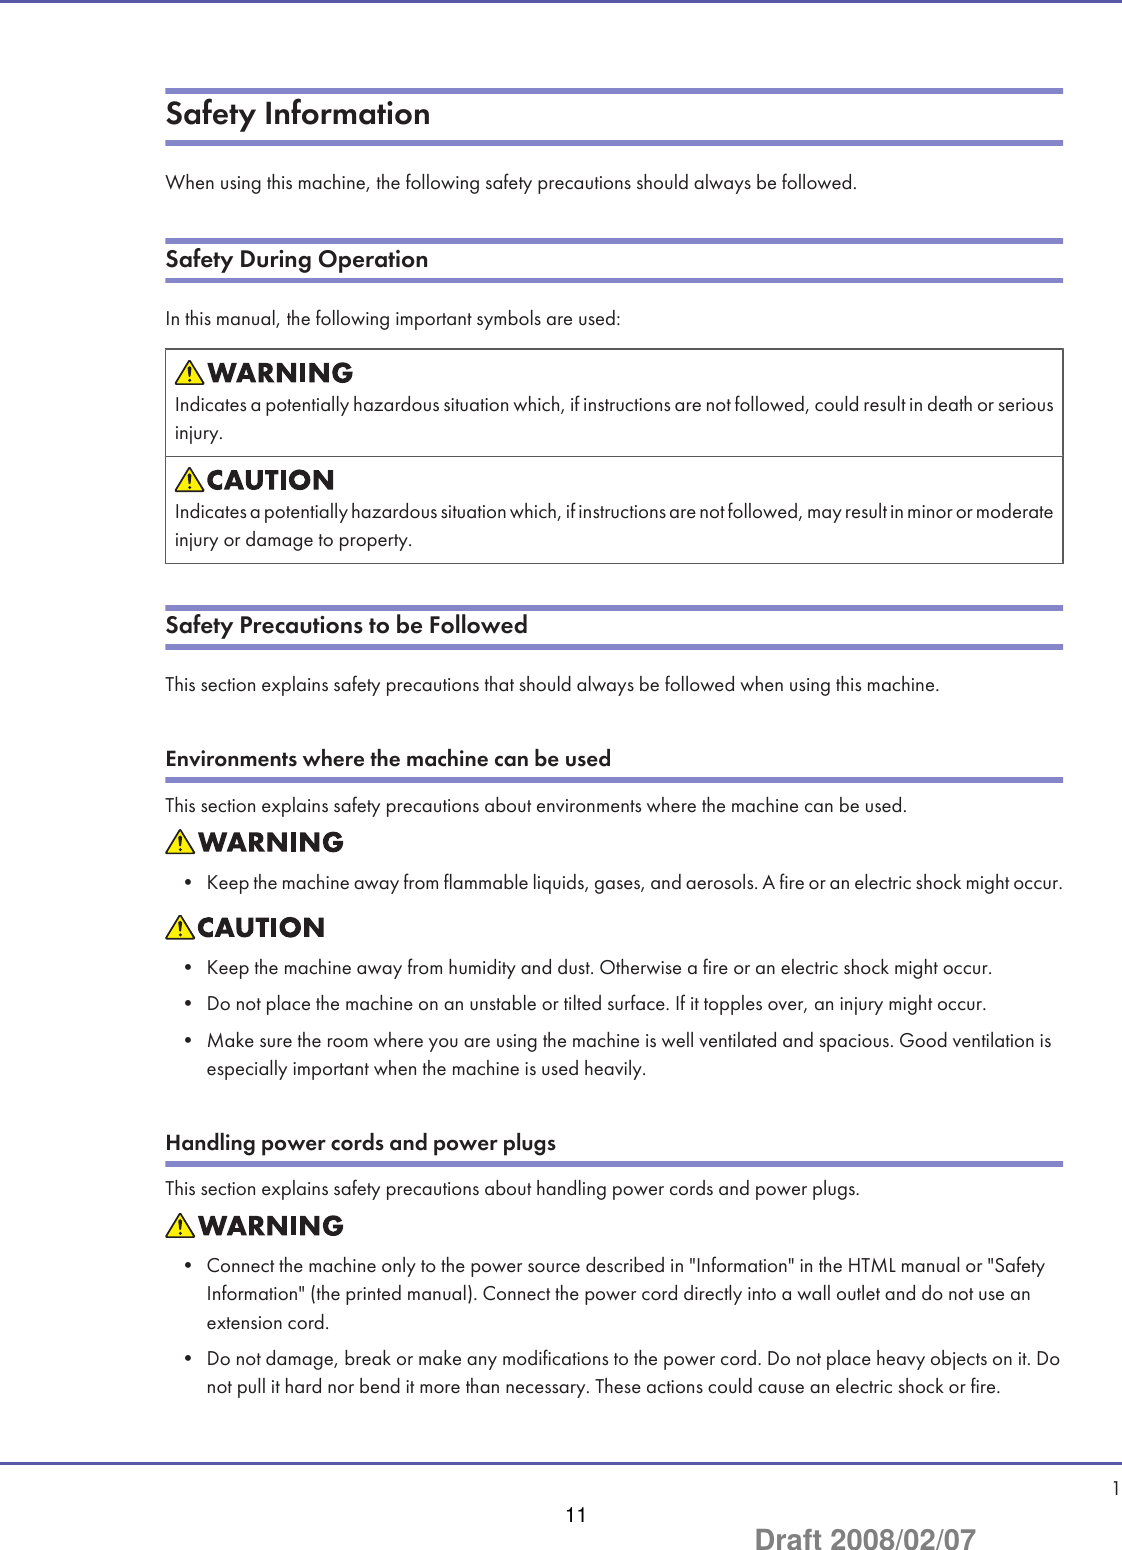
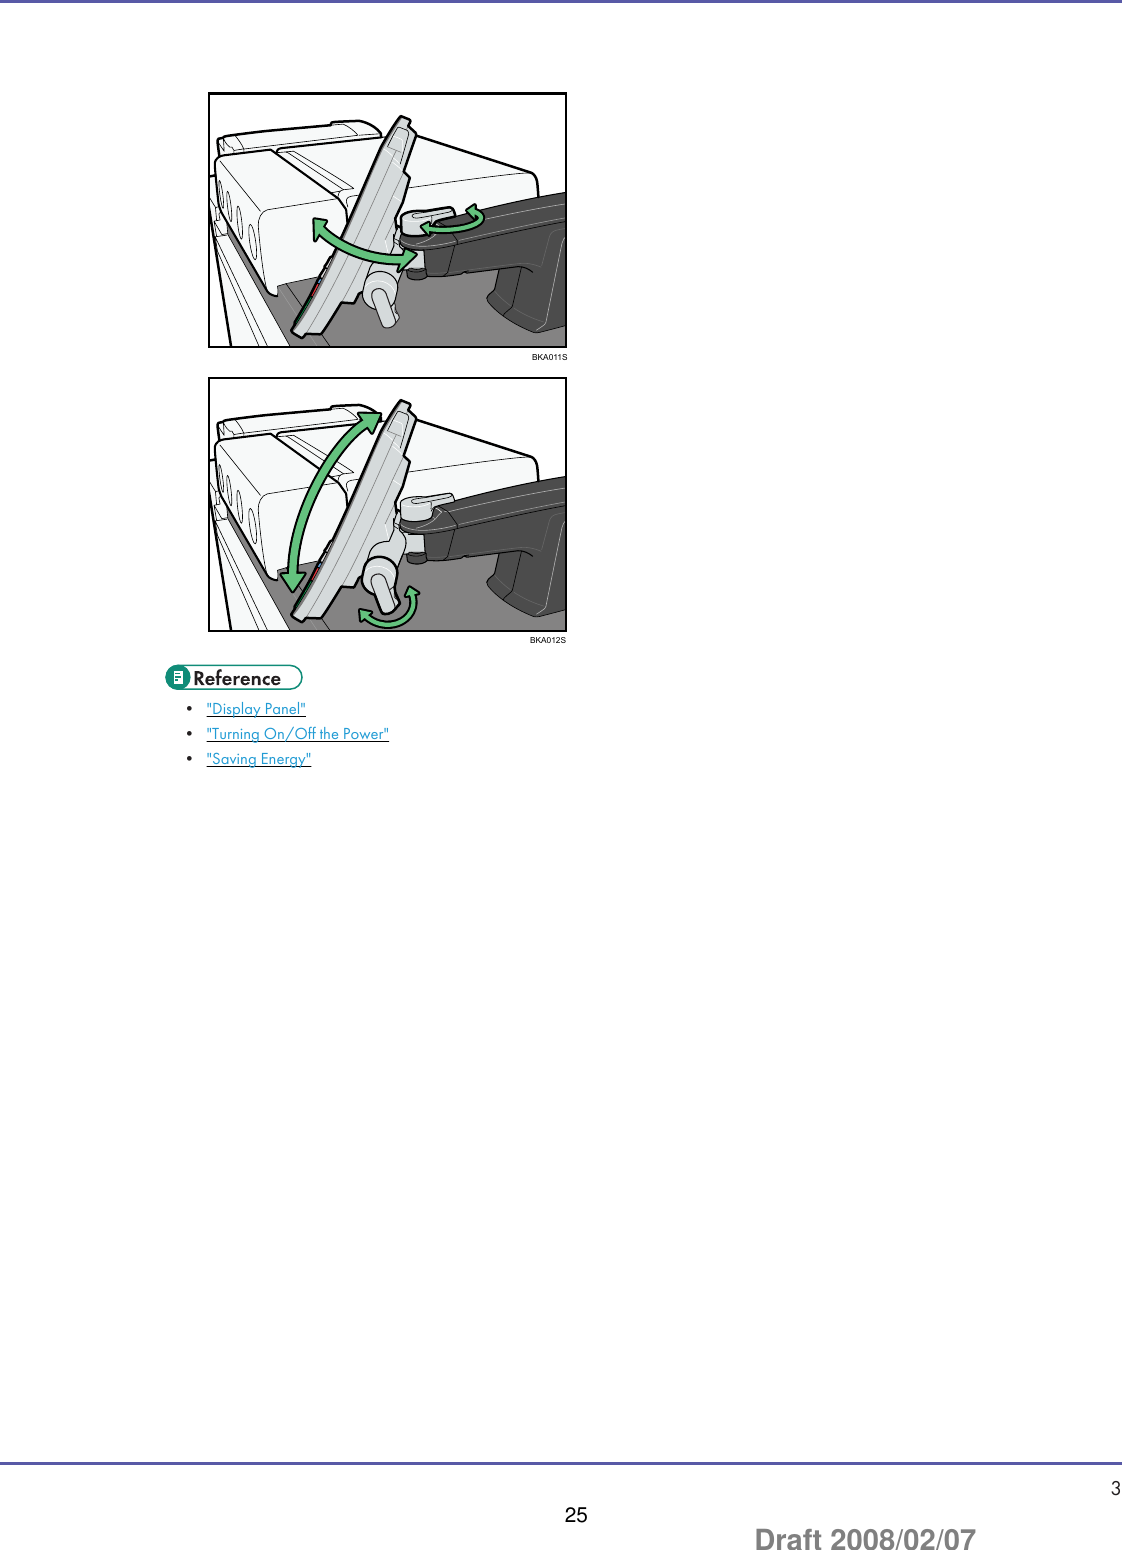
![5. [Energy Saver] keyPress to switch the machine into and out of Low Power mode.See “Saving Energy”.6. [Clear Modes] keyPress to clear previously entered print job settings.7. [Stop] keyPress to stop a job in progress.8. [Start] keyPress to start printing.9. [Clear] keyPress to delete an entered number.10. [ ] key (Enter key)Press to enter a numerical value.11. Number keysUse to enter the numbers.12. Data In indicator (printer mode)Lights up when the printer is receiving data.13. [Registered Program] key/[Other Function] keyCalls up registered functions.14. Function status indicatorsShow the status of the printer function.• Green: active.• Red: interrupted. Press the function key to change the display, and then follow the instructions that appear.15. Function keysPress to display the operation screen of a printer function.16. [Counter] KeyPress to check or print the total number of copies made.See “Counter”, General Settings Guide.17. [User Tools] keyPress to change the default settings and conditions to meet your requirements.See “Accessing User Tools (System Settings)”, General Settings Guide.18. [Tray Paper Settings] keySpecify settings for the tray to which prints are delivered.19. Display panelShows function menus, error messages, and the machine's operation status.• You can adjust the angle of the control panel. 224Draft 2008/02/07](https://usermanual.wiki/Ricoh/RFAEG01/User-Guide-906231-Page-23.png)

![When the Authentication Screen is DisplayedThis section explains the authentication screen.• Ask the user administrator for the login user name, login password, and user code. For details about user authentication, contact youradministrator.• User code to enter on User Code Authentication is the numerical value registered in the address book as “login user name”.If Basic Authentication, Windows Authentication, LDAP Authentication, or Integration Server Authentication isactive, the authentication screen appears on the display. The machine only becomes operable after entering yourown login user name and login password. If User Code Authentication is active, you cannot use the machine untilyou enter the user code.If you can use the machine, you can say that you are logged in. When you go out of the operable state, you cansay that you are logged out. After logging in the machine, be sure to log out of it to prevent unauthorized usage.• If authentication fails, the "Authentication has failed." message appears. Check that the login user name and login password are correct.User Code Authentication (Using a Printer Driver)This section explains the procedure for logging in to the machine using a printer driver while User CodeAuthentication is active.If User Code Authentication is active, specify the user code in the printer properties of the printer driver. For details,see the printer driver Help.• When logged in through User Code Authentication, you do not have to log out.Login (Using the Control Panel)This section explains the procedure for logging in to the machine when Basic Authentication, WindowsAuthentication, LDAP Authentication, or Integration Server Authentication is set.1. Press [Login]. 127Draft 2008/02/07](https://usermanual.wiki/Ricoh/RFAEG01/User-Guide-906231-Page-26.png)
![2. Enter a login user name, and then press [OK].3. Enter a login password, and then press [OK].When the user is authenticated, the screen for the function you are using appears.• If authentication fails, the "Authentication has failed." message appears. Check that the login user name and login password are correct.Logout (Using the Control Panel)This section explains the procedure for logging out the machine when Basic Authentication, WindowsAuthentication, LDAP Authentication, or Integration Server Authentication is set.• To prevent use of the machine by unauthorized persons, always log out when you have finished using the machine.1. Press the [Login/Logout] key.BKA032S 228Draft 2008/02/07](https://usermanual.wiki/Ricoh/RFAEG01/User-Guide-906231-Page-27.png)
![2. Press [Yes].Login (Using a Printer Driver)This section explains the procedure for logging in to the machine using a printer driver.If Basic Authentication, Windows Authentication, LDAP Authentication, or Integration Server Authentication isactive, make encryption settings in the printer properties of the printer driver, and then specify a login user nameand password. For details, see the printer driver Help.• When logged in using a printer driver, you do not have to log out.Login (Using Web Image Monitor)This section explains the procedure for logging in to the machine via Web Image Monitor.1. Click [Login].2. Enter a login user name and password, and then click [Login].• For user code authentication, enter a user code in [User Name], and then click [OK].Logout (Using Web Image Monitor)This section explains the procedure for logging out the machine via Web Image Monitor.1. Click [Logout] to log out.• Delete the cache memory of a Web browser after logging out.System ResetThis section explains System Reset. 329Draft 2008/02/07](https://usermanual.wiki/Ricoh/RFAEG01/User-Guide-906231-Page-28.png)

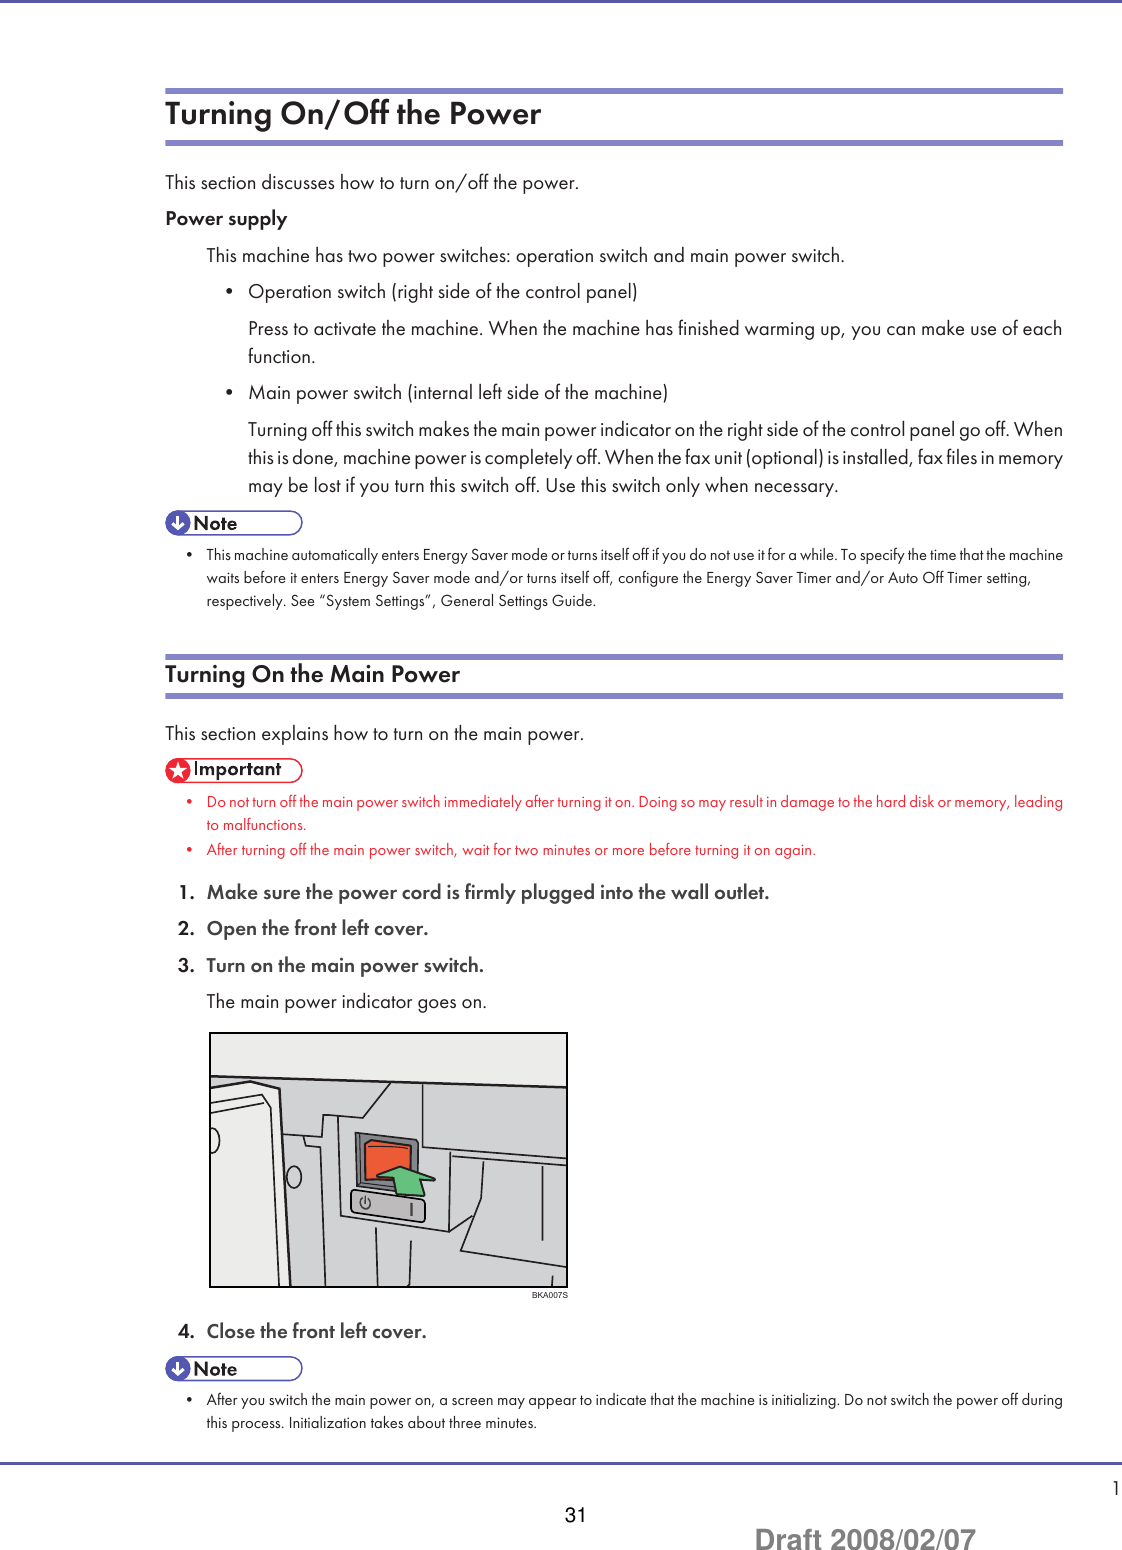
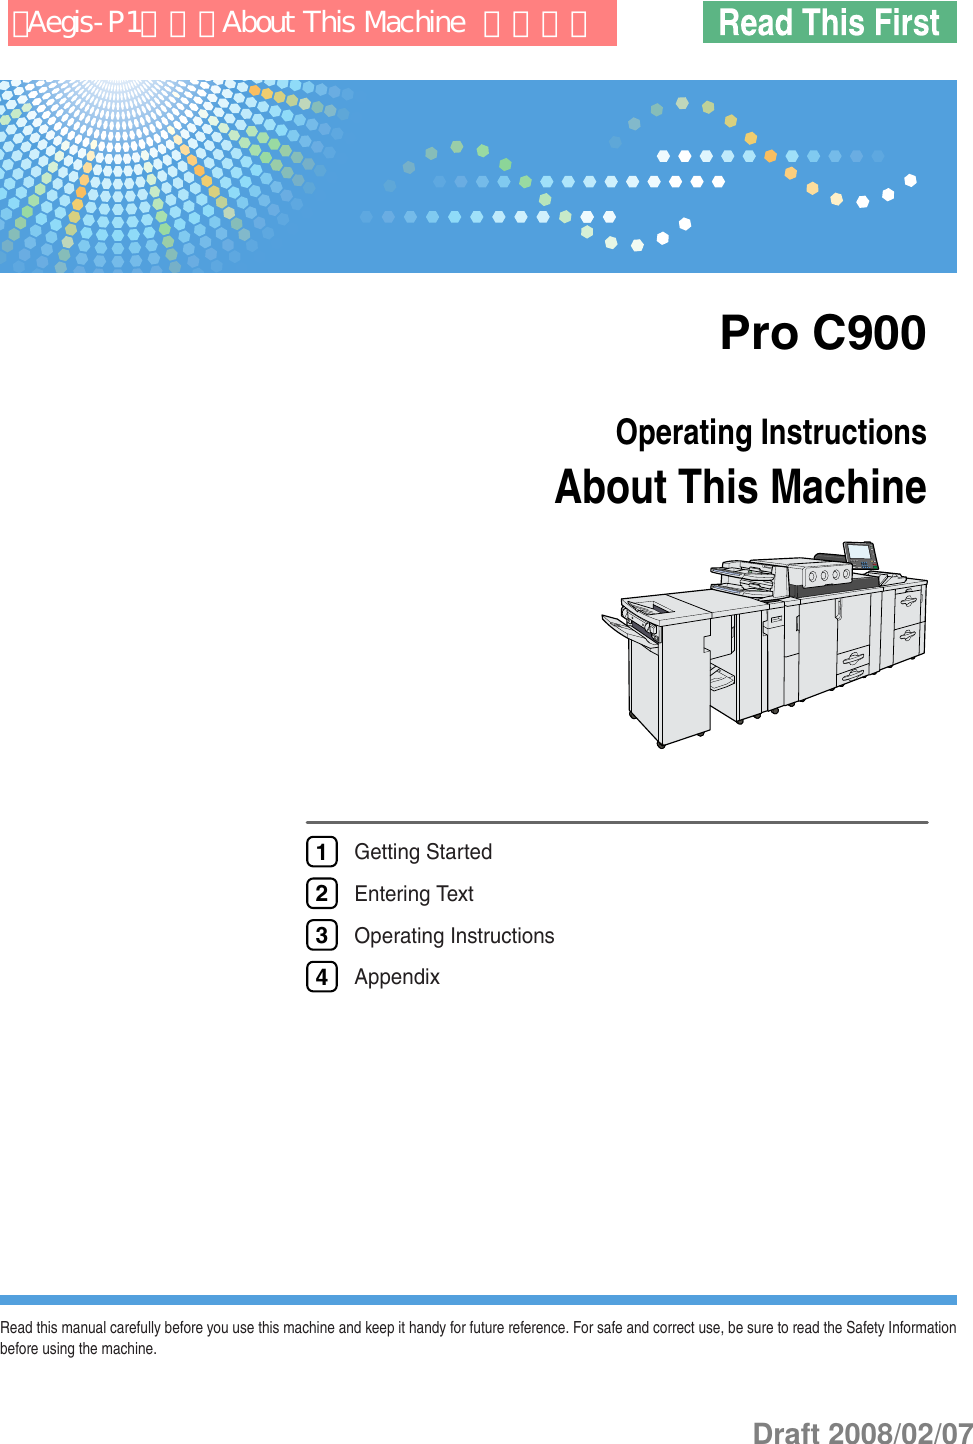
![Turning On the PowerThis section explains how to turn on the power.1. Press the operation switch.The operation switch indicator goes on.BKA031S• If the power does not come on when the operation switch is pressed, check the main power switch is on. If it is off, turn it on.Turning Off the PowerThis section explains how to turn off the power.1. Press the [Fiery] tab.2. Press [Restart Fiery], and then press [Shut Down]. 232Draft 2008/02/07](https://usermanual.wiki/Ricoh/RFAEG01/User-Guide-906231-Page-31.png)
![3. Press [OK].4. The following message appears on the display panel. Press the operation switch.The operation switch indicator goes off.• Even if you press the operation switch, the operation switch indicator does not go out, but blinks in the following cases:• During communication with external equipment.• When the hard disk is active.• When the internal cooling fan is active.Turning Off the Main PowerThis section explains how to turn off the main power.• Do not turn off the main power switch when the operation switch indicator is lit or blinking. Doing so may result in damage to the harddisk or memory.• Make sure to turn off the main power switch before pulling out the power plug. Not doing so may result in damage to the hard disk ormemory.• After turning off the main power switch, wait for two minutes or more before turning it on again.1. Make sure the operation switch indicator is not lit.2. Open the front left cover.3. Turn off the main power switch.The main power indicator goes out.4. Close the front left cover. 333Draft 2008/02/07](https://usermanual.wiki/Ricoh/RFAEG01/User-Guide-906231-Page-32.png)
![Saving EnergyThis section explains the machine's energy saving functions.This machine has the following energy saving functions.Energy SaverIf you do not use the machine for a certain period after an operation, or when you press the [Energy Saver]key, the display disappears and the machine goes into Energy Saver mode. When you press the [EnergySaver] key again, the machine returns to the ready condition. The machine uses less electricity in EnergySaver mode.You can change the amount of time the machine waits before switching to Energy Saver mode after copyinghas finished or the last operation is performed under Energy Saver Timer.Auto OffThe machine automatically turns itself off when the job is finished, after a certain period of time has elapsed.This function is called “Auto Off”.You can change the Auto Off time under Auto Off Timer.• See “System Settings”, General Settings Guide.• The Energy Saver and Auto Off functions will not operate in the following cases:• When a warning message appears• When the service call message appears• When paper is jammed• When the cover is open• When the "Add Toner" message appears• When toner is being replenished• When the User Tools screen is displayed• When fixed warm-up is in progress• When data is being processed• When operations are suspended during printing• When a recipient is being registered in the address list or group dial list• When the Data In indicator is on or blinking• When the screen of stored document under the printer function is displayed• When the internal cooling fan is active 434Draft 2008/02/07](https://usermanual.wiki/Ricoh/RFAEG01/User-Guide-906231-Page-33.png)

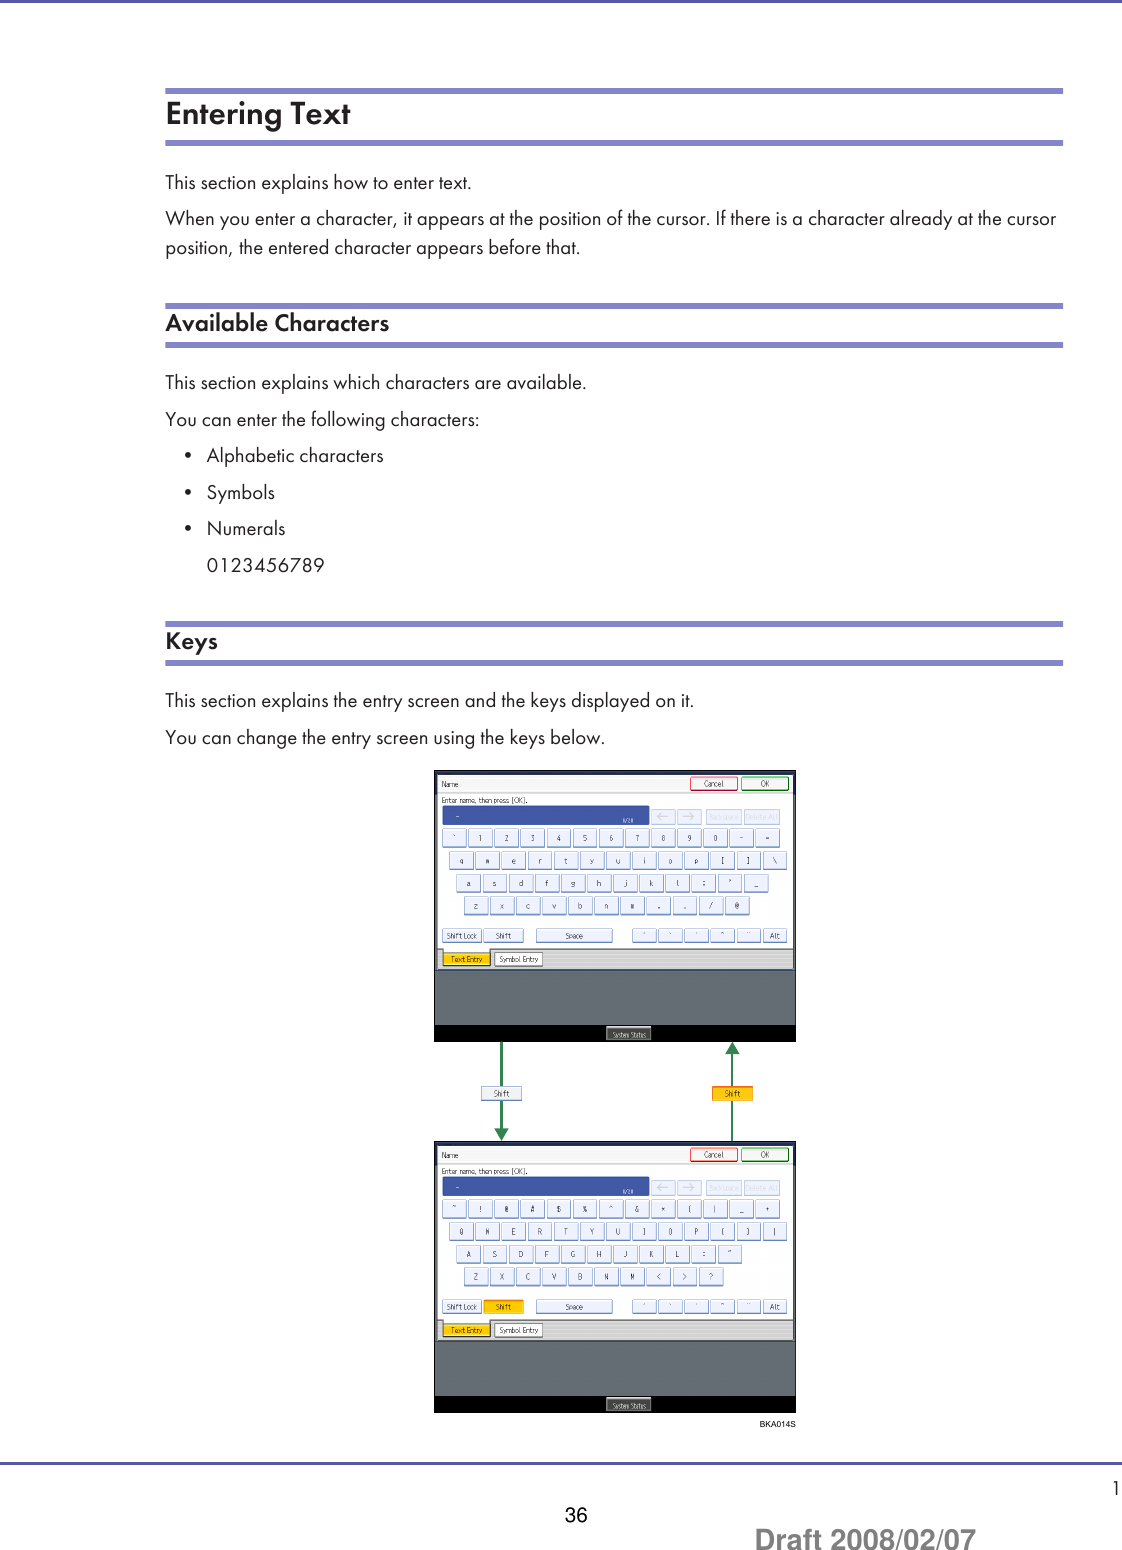
![• When entering uppercase or lowercase letters continuously, use [Shift Lock] to lock the case.• You can also use the number keys to enter numbers, regardless of mode.How to Enter TextThis section explains text entry more specifically.Entering lettersThis section explains how to enter letters.1. Press [Shift] to switch between uppercase and lowercase.2. Press the letters you want to enter.Entering symbolsThis section explains how to enter symbols.1. Press [Symbol Entry] to enter into the Symbol Entry mode.2. Press the symbols you want to enter.Deleting charactersThis section explains how to delete characters. 237Draft 2008/02/07](https://usermanual.wiki/Ricoh/RFAEG01/User-Guide-906231-Page-36.png)
![1. Press [Backspace] or [Delete All] to delete characters. 338Draft 2008/02/07](https://usermanual.wiki/Ricoh/RFAEG01/User-Guide-906231-Page-37.png)

![Installing Operating InstructionsThe supplied “Manuals” and “Manuals for Administrators” CD-ROMs contain HTML format manuals. For easyaccess, we recommend you install the manuals on a computer.• The “Manuals for Administrators” CD-ROM that includes Security Reference is for administrators of the machine.• The system requirements for installing the manuals are as follows:• Operating system: Windows 95/98/Me/2000/XP/Vista, Windows Server 2003/2003 R2, Windows NT 4.0• Minimum display resolution: 800 × 600 pixels• Recommended browsers:• Microsoft Internet Explorer 4.01 SP2 or later• Netscape 6.2 or later• Non-recommended browsers can display the simplified manual only.• HTML manuals can also be viewed on a Macintosh.1. Select a language and a product, and then click [OK].2. Click [Install manuals].If you want to read manuals from the CD-ROM, click [Read HTML manuals] or [Read PDF manuals].3. Install the manual you require according to the displayed instructions.4. When installation is complete, click [Finish].5. Click [Finish].• If you cannot install a manual, copy the “MANUAL_HTML” folder to your computer's hard drive, and then run “Setup.exe”.• To delete an installed manual, on the [Start] menu, click [Programs], then [Product Name], and then uninstall the data.• If you are installing the manuals on a Macintosh, open the “Manuals.htm” file on the CD-ROM.PDF ManualsThe supplied “Manuals” CD-ROM contains PDF manuals.File pathThe PDF manuals are in the following folder on the CD-ROM:MANUAL_PDF\ENGLISH• To view the PDF manuals, you need to have Adobe Acrobat Reader/Adobe Reader installed on your computer. 140Draft 2008/02/07](https://usermanual.wiki/Ricoh/RFAEG01/User-Guide-906231-Page-39.png)
![How to Use the Operating InstructionsThis section explains how to use manuals.Opening from the IconThis section explains how to open a manual using its desktop icon.1. Double-click the icon on your desktop.The browser opens and the manual appears.Opening from the [Start] MenuThis section explains how to open a manual from the [Start] menu.1. On the [Start] menu, point to [Programs] (Windows XP: [All Programs]), then [Product Name],and then click the manual you want to view.The browser opens, and then the manual appears.• Depending on the settings made during installation, menu folder names may differ.Opening from the CD-ROMThis section explains how to open a manual from the supplied “Manuals” and “Manuals for Administrators” CD-ROMs.1. Click [Read HTML manuals].2. Click the title of the manual you want to view.The browser opens, and then the manual appears. 141Draft 2008/02/07](https://usermanual.wiki/Ricoh/RFAEG01/User-Guide-906231-Page-40.png)
![Software and Utilities Included on the CD-ROMThis section explains the software and utilities CD-ROMs provided with this machine.“Printer Drivers and Utilities” CD-ROM come with this machine.The following are included in these CD-ROMs:Font ManagerFor installing new screen fonts, or organizing and managing fonts already in the system. For details aboutFont Manager, see the manual on the CD-ROM labeled “Printer Drivers and Utilities”.• Some documentation about using the machine is included on the CD-ROM in PDF format. For details about using Adobe AcrobatReader/Adobe Reader, see Adobe Acrobat Reader/Adobe Reader online Help.Viewing the Contents of the CD-ROMThis section explains how to view the contents of the CD-ROMs.1. Insert the CD-ROM into the CD-ROM drive.The installer starts.2. Click [Browse This CD-ROM].Explorer starts and displays the contents of the CD-ROM.Printer Drivers for This MachineThis section explains printer drivers for this machine.• You can install the PCL printer drivers (PCL 5c and PCL 6), and the Adobe PostScript printer drivers from the CD-ROM provided withthis machine or download them from the supplier's Web site. If your operating system is Windows XP x64/Vista x64 or Windows Server2003/2003 R2 x64, you must download the printer drivers from the supplier's Web site. Select this machine and the operating systemyou are using, and then download them.Printing requires installation of a printer driver for your operating system. The following drivers are included on theCD-ROM labeled “Printer Drivers and Utilities”.Printer Language PCL 6 PCL 5c PostScript 3Windows 2000 *1 OK OK OKWindows XP *2 OK OK OKWindows Vista *3 OK OK OKWindows Server 2003 *4 OK OK OKMac OS *5 OKMac OS X *6 OK 145Draft 2008/02/07](https://usermanual.wiki/Ricoh/RFAEG01/User-Guide-906231-Page-44.png)