Ringway Tech DP-7 DIGITAL PIANO User Manual
Ringway Tech(Jiangsu) Co.,Ltd. DIGITAL PIANO Users Manual
UserManual.wiki
>
Ringway Tech
>
DP 7 User Manual
Users Manual
Navigation menu
Upload a User Manual
Namespaces
Wiki Guide
HTML
PDF
Info
Views
User Manual
Discussion / Help
Navigation
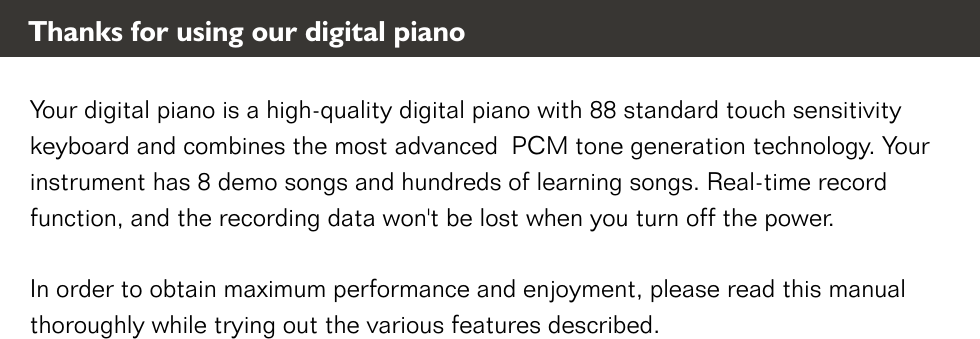

![Turn the power on, the LCD will light. STANDBY/ONMASTER VOLUMEDEMODeactivate the Auto Standby functionStandby OnThis product will switch off automatically in 30 minutes after no any operation on it. In this case, press the [STANDBY/ON] button again to turn the power switch on.Hold the first white key and first black key on the left side of the keyboard at the same time and then turn on the unit to deactivate the AUTO STANDBY function.POWERON/OFFMP3Press [DEMO] button again to stop playing.Use [MASTER VOLUME] control to adjust the volume to your desired level. There are 8 preset demo songs that you can play individually. Listen to the pre- programmed demo songs and they will give you a good idea of what the instrument can do. Press [DEMO] button to play the demo songs in sequence. You can use the number buttons (001-008) to select the demo songs. Demo Songs Adjust the Main Volume Basic Operation Turn on the power5](https://usermanual.wiki/Ringway-Tech/DP-7/User-Guide-2423939-Page-7.png)
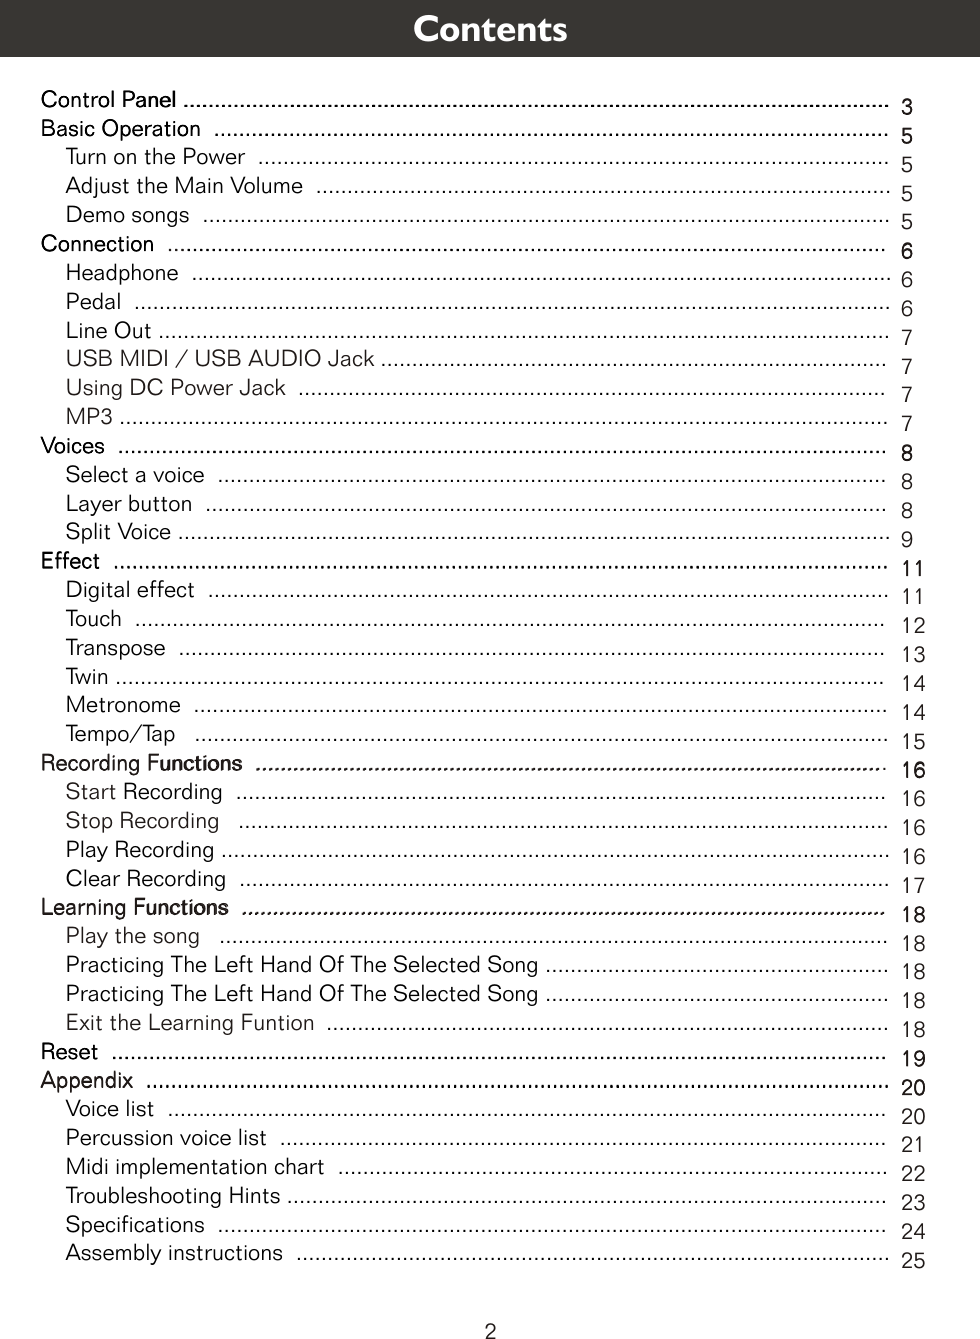
![GRANDPIANOBRIGHTPIANOELECTRICPIANO 1ELECTRICPIANO 2CHURCHORGAN GUITAR STRINGS BRASS GM VOICEThere are 9 voices that can be selected quickly by Pressing one of the 9 voice select buttons and its indicator is lighted.Select a voice, then use [DATA CONTROL] knob to select your desired voice. This function is capable of enhancing the delicacy of your music by playing two voices of musical instruments simultaneously; new combinations of voices and music could be created. When the layer function is off, the voice indicated is VOICER1. When the layer function is on, the voice indicated is VOICE R2. Press [LAYER] button to turn on or turn off Layer function. Select Layer Voice Press [LAYER] button to enter the Layer voice mode, the indicator is lighted Voices Your piano has 128 sounds in the internal sound library numbered from 01 to 128, and The available sounds can be played in three different modes: Main voice, Layer voice and Split voice. You can use the voice button on the panel, or use [DATA CONTROL] knob to select voice.Select a Voice Selecting Voice Directly Use [DATA CONTROL] knobLayer Button8](https://usermanual.wiki/Ringway-Tech/DP-7/User-Guide-2423939-Page-10.png)
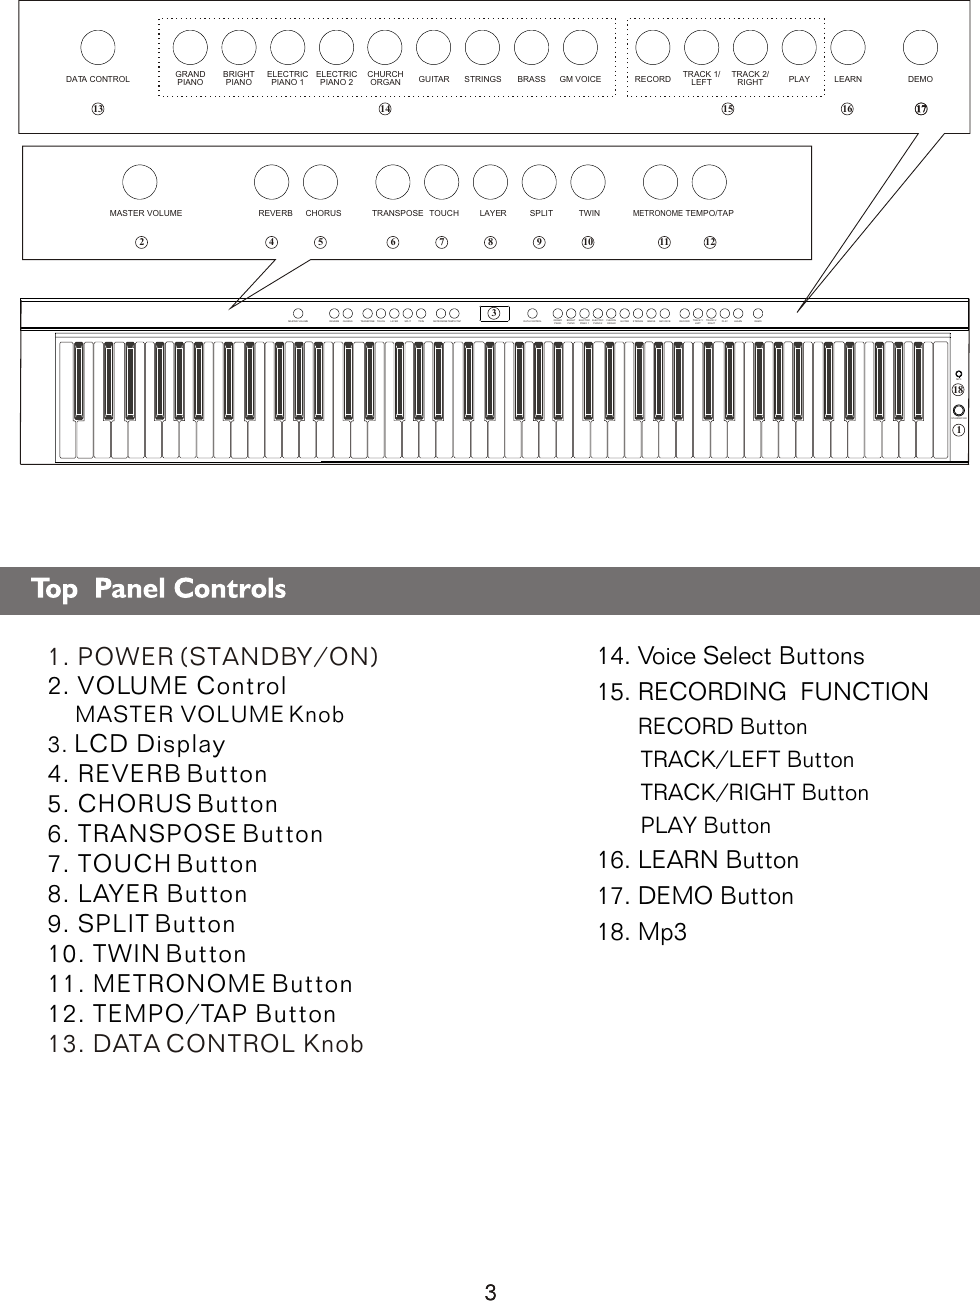
![LAYER Adjust Layer Voice Volume old down the [LAYER] button, then use [DATA CONTROL] to adjust Layer Voice volume. Range: 000-127. Press the [GRAND PIANOPress and h] and [BRIGHT PIANO] buttons simultaneously to restore the default value: 75. to exit the Layer mode. Split function let the keyboard split into two sections which means different voices can be played with the left and right hands at the same time. Select Split Voice Press [SPLIT] button to enter the split mode, the [SPLIT] indicator light is light, now you can change the split voice by using [DATA CONTROL] knob.Exit The Layer ModePress [LAYER] button again simultaneously. The number of the dual voice will be displayed on the LCD. Now, you can play two different sounds at the same time. To change the Layer voice by using [DATA CONTROL] knob while the Layer indicator is light.LAYERSplit Voice9](https://usermanual.wiki/Ringway-Tech/DP-7/User-Guide-2423939-Page-11.png)
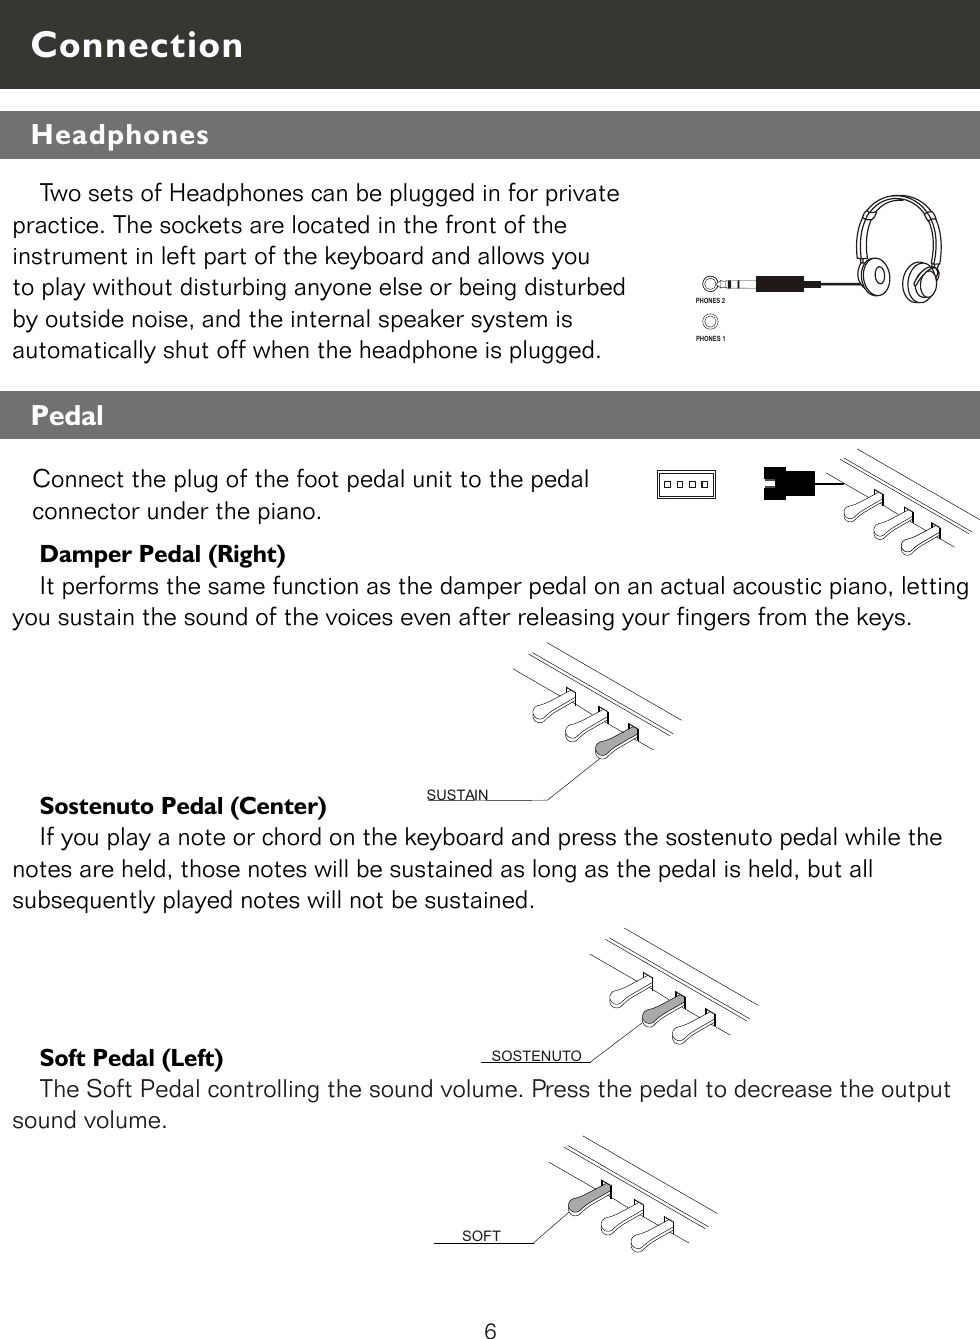
![SPLIT Change the Split PointAdjust Spilt Voice Volume old down the [SPLIT] button, then use [DATA CONTROL] to adjust Layer Voice volume. Range: 000-127. Press the [GRAND PIANO Press and hold down [SPLIT] button, then press the appropriate piano key to select the Split Point. Range:000~087. Default: 034. Press and h] and [BRIGHT PIANO] buttons simultaneously to restorethe default value: 127. to exit the Layer mode. Exit The Split ModePress [SPLIT] button again SPLITSPLIT10](https://usermanual.wiki/Ringway-Tech/DP-7/User-Guide-2423939-Page-12.png)
![REVERBREVERB This function allows you to perform the overall sound in a realistic style. Reverb The [REVERB] button selects a number of digital reverb effects that you can use for extra depth and expressive power. Press [REVERB] button, use [DATA CONTROL] knob to select reverb type. Press the [GRAND PIANO The reverb types in the list below can be selected from the reverb display. Press [REVERB] button again to turn off the reverb effect. Reverb Level Press and hold down the [REVERB] button, use [DATA CONTROL] knob to adjust the reverb level. Range: 000~127. Default: 036. ] and [BRIGHT PIANO] buttons simultaneously to restore the default value: Room3. 1 2 3 4 5 6 7 8 Hall1 Hall2 Room1 Room2 Room3 Stage1 Stage2 PlateEffectDigital Effect11](https://usermanual.wiki/Ringway-Tech/DP-7/User-Guide-2423939-Page-13.png)
![The touch function provides three different types of keyboard touch sensitivity that can be selected to match different playing styles. CHORUSREVERB Chorus Press [CHORUS] button, use [DATA CONTROL] knob to select chorus type. Press the [GRAND PIANO The chorus types in the list below can be selected from the reverb display. Press [CHORUS] button again to turn off the reverb effect. Chorus Level Press and hold down the [CHORUS] button, use [DATA CONTROL] knob to adjust the chorus level. Range: 000~127. Default: 036. ] and [BRIGHT PIANO] buttons simultaneously to restore the default value: Chorus3. 1 2 3 4 5 6 7 8 9 10 11 12 13 Chorus1 Chorus2 Chorus3 Chorus4 Feedbak Flanger1 ShDl S hDlFb Flanger2 Flanger3 Celeste1 Celeste2 Celeste3 Touch12](https://usermanual.wiki/Ringway-Tech/DP-7/User-Guide-2423939-Page-14.png)
![TOUCHTRANSPOSE Press the [TOUCH] button and its indicator is lighted , use [DATA CONTROL] knob to select the touch sensitivity type. Range: Low, Normal, High. Default: Normal. When [TOUCH] is off, the indicator is unlighted, means that regardless of how hard you play, the keyboard will transmit a velocity value of 100. Hold [TOUCH] button till Touchfix:100 displayed, then use [DATA CONTROL] knob to set the fixed touch level. Range: 000~127. Default: 100.TOUCH The Transpose function allows you to change the pitch of the instrument in semitone steps, up to a maximum setting of 12 semitones (a maximum of one octave up or down). Press [TRANSPOSE] button, the Transp 000 appears, then use the [DATA CONTROL] button to change the transpose value. Range: -12 to 12. Default: 000. Transpose13](https://usermanual.wiki/Ringway-Tech/DP-7/User-Guide-2423939-Page-15.png)
![TWINMETRONOME Press the [TWIN] button to enter TWIN mode. In this mode, the keyboard will be separated into two playing areas. Right: from C#3 to C7 Left: from A-1 to C3 This will be very helpful when the instrument is used by two players at the same time (example: Teacher and Student) and they will be able to play the same piano sound in the same octave. When the Twin mode is selected, use the optional 3 level pedal and the pedals will automatically switch in a different configuration where there are 2 Sustain pedals, one for the left and anther for the right part of the keyboard. Metronome is a convenient feature for practice, and it can also provide a solid rhythmic guide when recording. The metronome sound is alternately turned on and turned off by pressing [METRONOME] button.Time signature Press [METRONOME] button, the time signature appears in the display, use the [DATA CONTROL] to select it. Time signature: 2/2, 1/4, 2/4, 3/4, 4/4, 5/4, 6/4, 3/8, 6/8, 7/8, 9/8, 12/8. Default: 4/4TwinMetronome14](https://usermanual.wiki/Ringway-Tech/DP-7/User-Guide-2423939-Page-16.png)
![TEMPO/TAPMETRONOME This function allows you to set the rhythm tempo by tapping tempo on the [TEMPO/TAP] button. Tap on the button 2 times while rhythm is playing, the rhythm tempo are set as your desired speed. If you want to set the tempo before starting rhythm, you have to tap the button 4 times,You also can set the tempo by usingtap on the button one time. Range:020~280. Default: 120. but only tap 3 times for 3/4 time signature.[DATA CONTROL] button after Tempo/Tap15](https://usermanual.wiki/Ringway-Tech/DP-7/User-Guide-2423939-Page-17.png)
![RECORDRECORDTRACK 1/LEFTTRACK 1/LEFTTRACK 2/RIGHTTRACK 2/RIGHTPLAYPLAY Recording function lets you record your performances using up to two independent tracks. The recorded data will not be lost when you turn off the power. Note: If the other track has data recorded, it will play when the record is started. You also can press the track button to mute it.Recording FunctionStart Recording Hold down the [RECORD] button, and then press [TRACK1/LEFT] (or [TRACK2/RIGHT]) button to enter record mode, the [RECORD] button and tracks indicator and is flishing, then set the tempo, press the key to start Recording. Press [TRACK1/LEFT] or [TRACK2/RIGHT] button, the indicator is lighted, then press the [PLAY] button to play recording. Stop RecordingPress the [RECORD] button again to stop recording.Play Recording 16](https://usermanual.wiki/Ringway-Tech/DP-7/User-Guide-2423939-Page-18.png)
![RECORD TRACK 1/LEFTTRACK 2/RIGHT PLAY Hold down the [TRACK1/LEFT] button or [TRACK2/RIGHT] button to clear the recording data. RECORD TRACK 1/LEFTTRACK 2/RIGHT PLAYClear Recording Press the [PLAY] button again to stop recording.17](https://usermanual.wiki/Ringway-Tech/DP-7/User-Guide-2423939-Page-19.png)
![LEARN Your instrument has three bank songs to select for learning. The CZERNY bank includes 70 learning songs, the BEYER bank includes 106 learning songs and the School bank includes 124 learning songsRECORD TRACK 1/LEFTTRACK 2/RIGHT PLAYLearning Function In Learn Mode, press the [LEFT] button to mute the right hand part. The left indicator lights up. You will then hear the right-hand part. indicator is flashing.Press [PLAY] button to play the song, the [LEARN] button Play the Song Press [LEARN] button repeatedly to select three bank and its . Then use [DATA CONTROL] to select three bank songs. Press [PLAY] button to play the song, the [LEARN] button indicator is lightedindicator is flashing. Adjust the song's tempo Press the [TEMPO/TAP] button to adjust the song's tempo. Range:20-280.Practicing The Left Hand Of The Selected Song In Learn Mode, press the [RIGHT] button to mute the right hand part. The right indicator lights up. You will then hear the left-hand part. indicator is flashing. Press [PLAY] button to play the song, the [LEARN] button Practicing The Right Hand Of The Selected SongPress [LEARN] button again to exit theLearning function.Exit the Learning Function18](https://usermanual.wiki/Ringway-Tech/DP-7/User-Guide-2423939-Page-20.png)
![METRONOME TEMPO/TAP1). Turn off the power.2). Hold down buttons, then turn the power on, it can restore all internal settings to factory set.the [ buttonMETRONOME] and [TEMPO/TAP] buttons STANDBY/ONSTANDBY/ONReset19](https://usermanual.wiki/Ringway-Tech/DP-7/User-Guide-2423939-Page-21.png)