RuggON 8265NG Intel Dual Band Wireless-AC 8265 User Manual PX501 User s Manual 20180104x
RuggON Corporation Intel Dual Band Wireless-AC 8265 PX501 User s Manual 20180104x
RuggON >
Contents
- 1. Users Manual
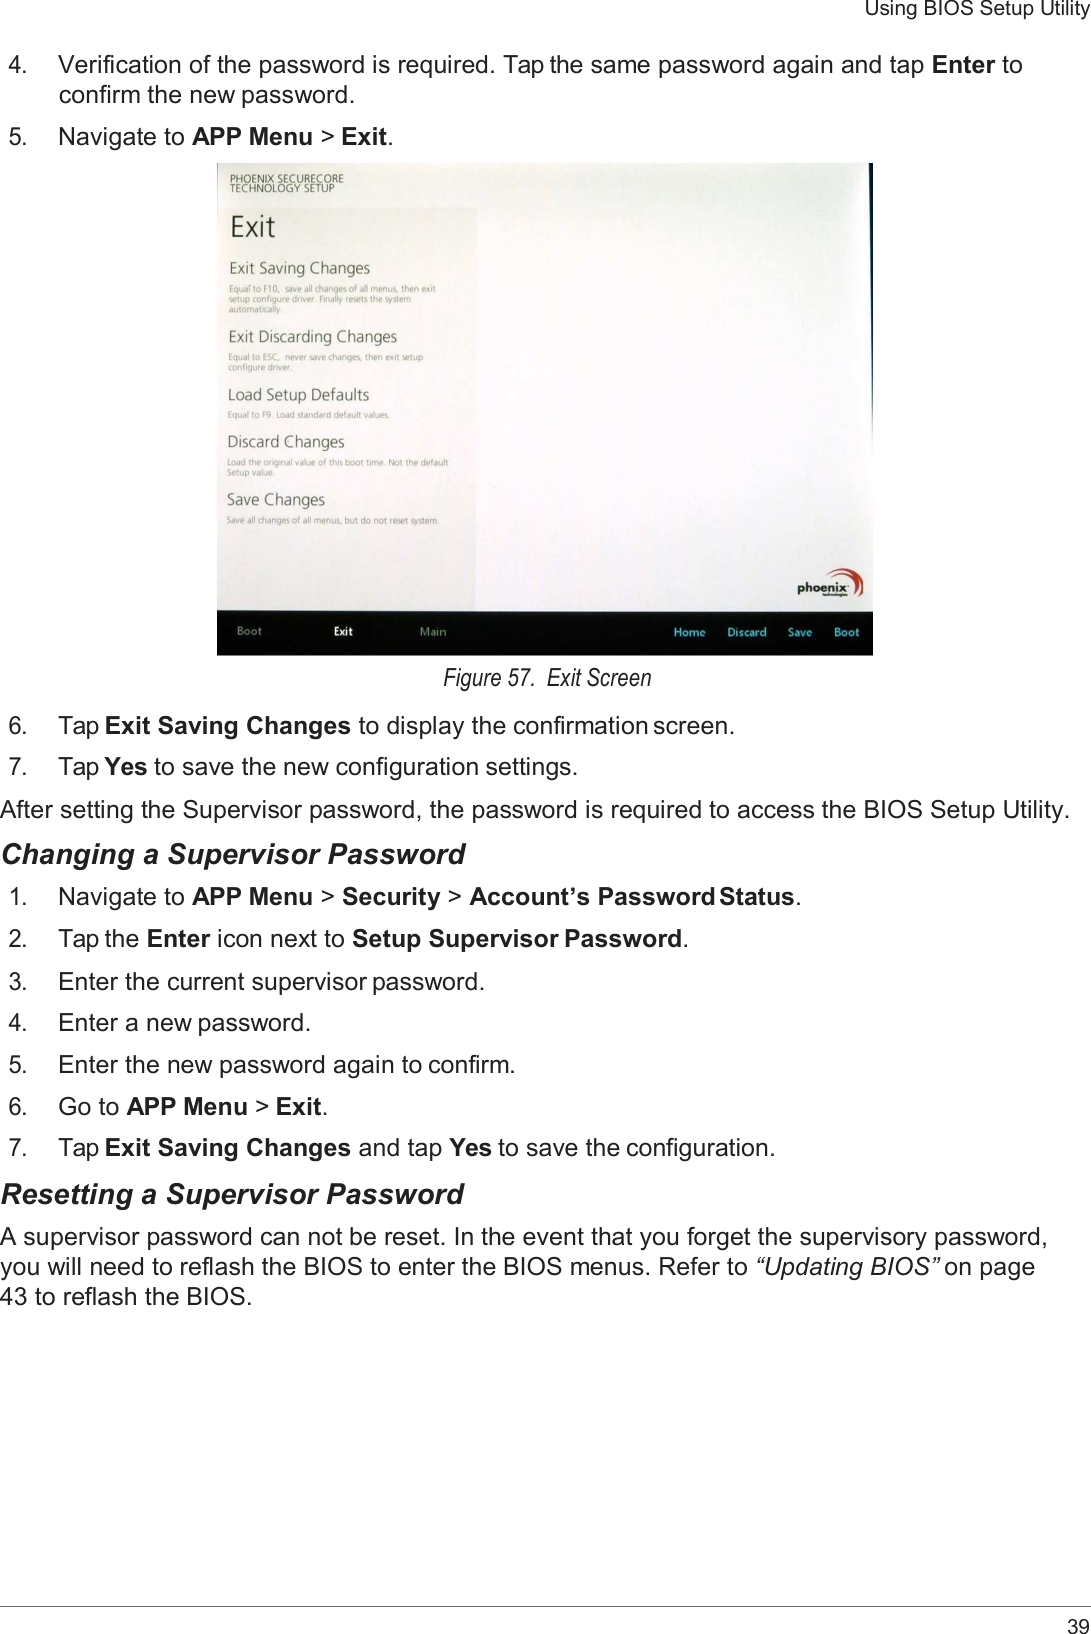
- 2. 8265NGW- UserMan_20200428
Users Manual