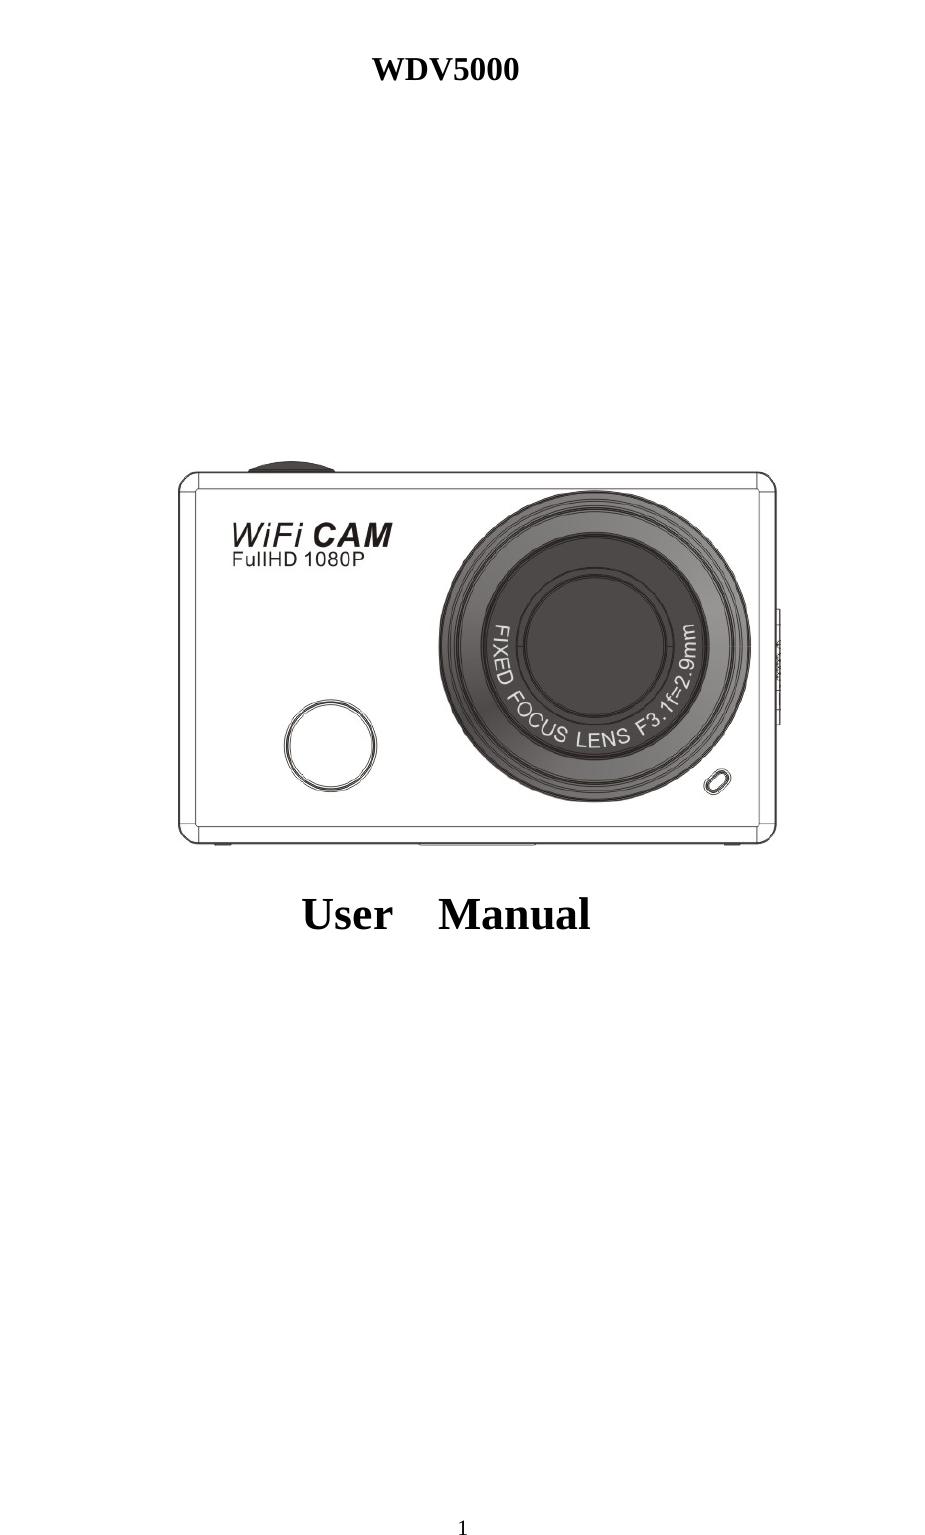
SHUOYING DIGITAL SCIENCE and TECHNOLOGY WDV5000 Wifi Camera User Manual
SHUOYING DIGITAL SCIENCE&TECHNOLOGY;(CHINA)Co.,Ltd Wifi Camera Users Manual
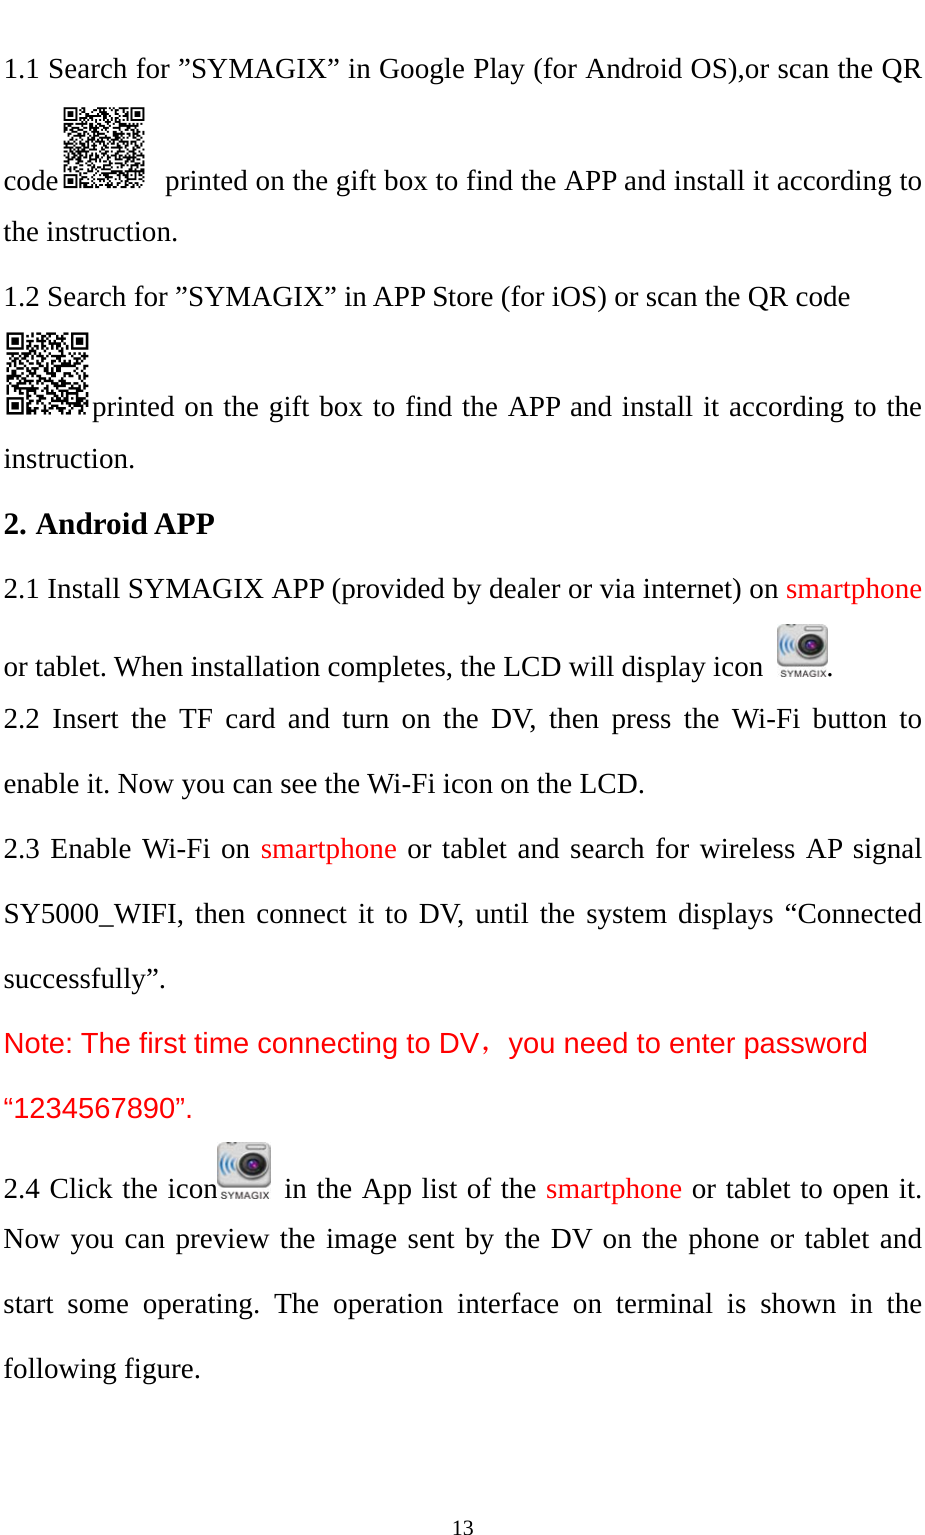
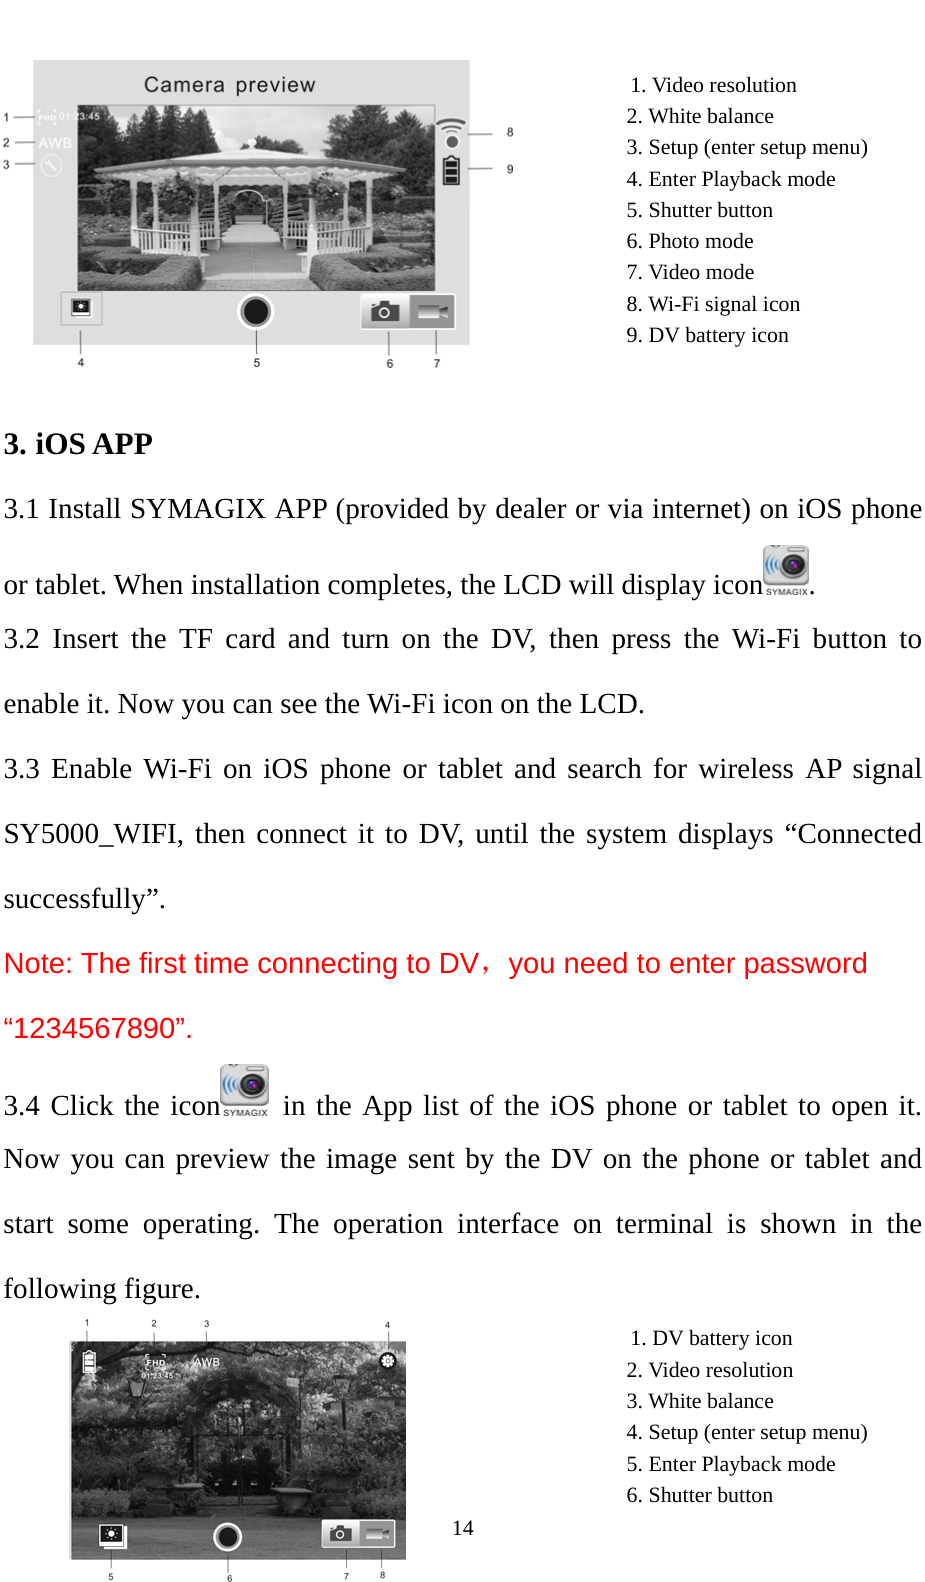
UserManual.wiki
>
SHUOYING DIGITAL SCIENCE and TECHNOLOGY
>
WDV5000 User Manual
User Manual
Navigation menu
Upload a User Manual
Namespaces
Wiki Guide
HTML
PDF
Info
Views
User Manual
Discussion / Help
Navigation

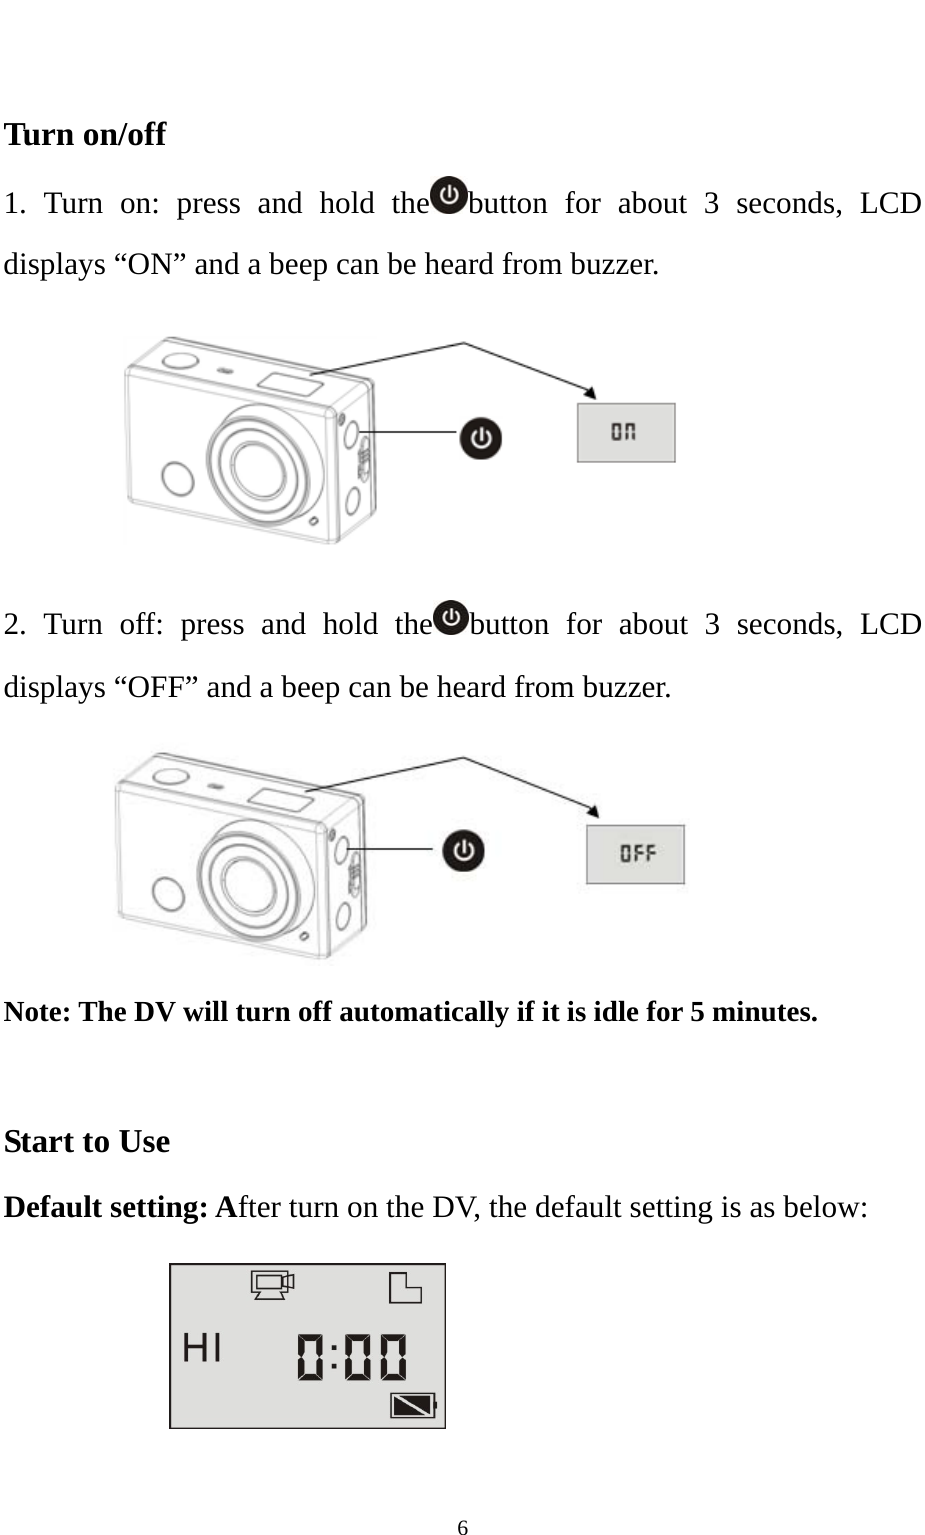
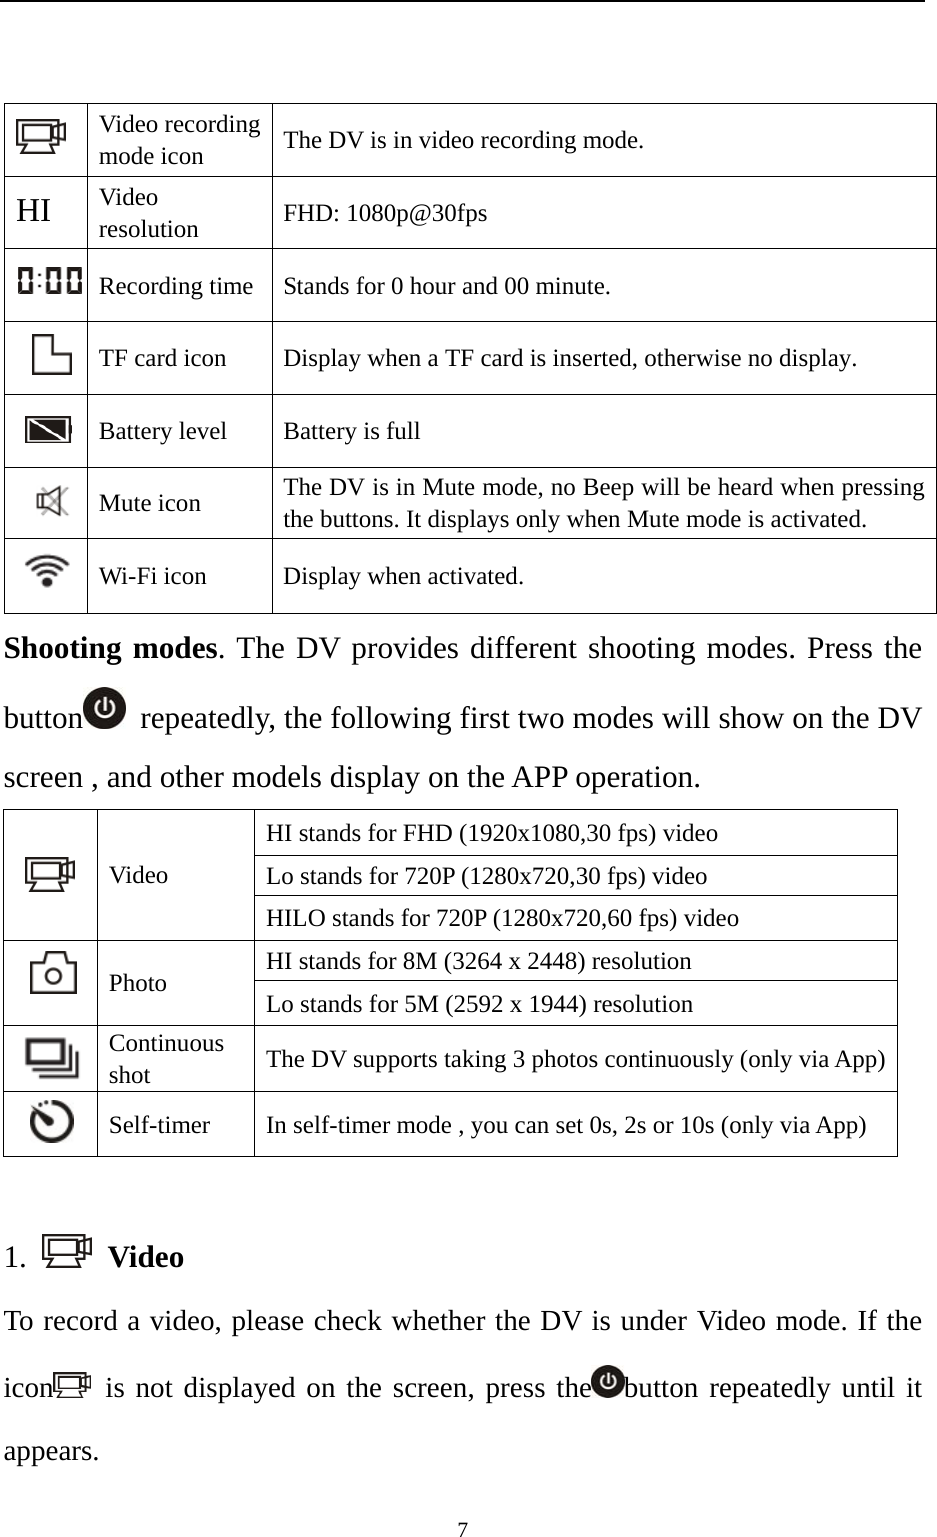
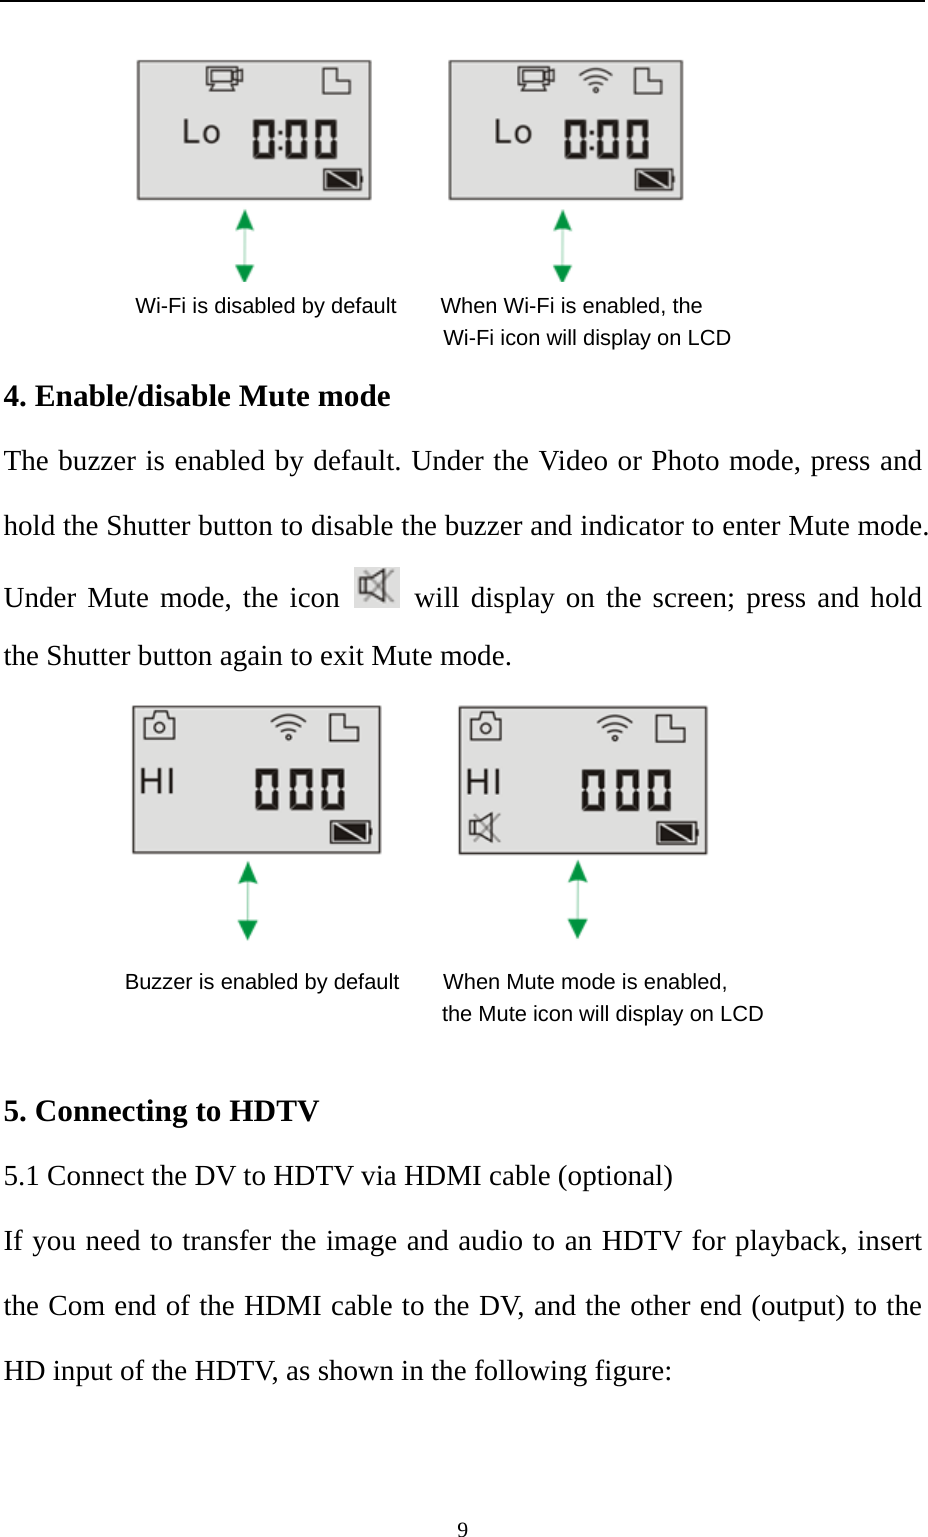
![8Start recording: Press and release the button, the icon and [:] displayed in LCD will flash. At the same time the red indicator will flash too, meaning the recording is in process. Stop recording: Press and release the button, the icon and [:] displayed in LCD will stop flashing. At the same time the red indicator will stop flashing either, meaning the recording is stopped. When the TF card is full, or the battery runs out, the recording will stop automatically, and the recorded video will be saved before the DV turns off. 2. Photo To take a photo, please check whether the DV is under Camera mode. If the icon is not displayed on the screen, press the button repeatedly until it appears. Press and release the button, a beep will be heard and the red indicator will flash, meaning a photo is taken.(If you take photos more than 999 copies, the LCD screen display only 999) 3. Enable/disable Wi-Fi The Wi-Fi is disabled by default. Press the Wi-Fi button on the side of the DV to enable it. When starting connecting to Wi-Fi network, the indicator will flash, and when a Wi-Fi network is connected, the indicator will remain on, and the Wi-Fi icon will display on LCD screen.( In order to save power, Wi-Fi will be automatically disabled if no terminal is connected after 30 seconds)](https://usermanual.wiki/SHUOYING-DIGITAL-SCIENCE-and-TECHNOLOGY/WDV5000/User-Guide-2130713-Page-8.png)