SHUOYING DV288 DIGITAL VIDEO CAMERA User Manual manual
SHUOYING INDUSTRIAL (SHENZHEN) CO., LTD. DIGITAL VIDEO CAMERA manual
UserManual.wiki
>
SHUOYING
>
DV288 User Manual
User Manual
Navigation menu
Upload a User Manual
Namespaces
Wiki Guide
HTML
PDF
Info
Views
User Manual
Discussion / Help
Navigation
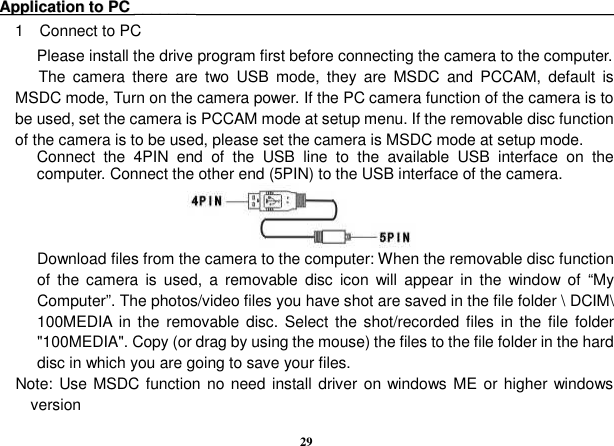
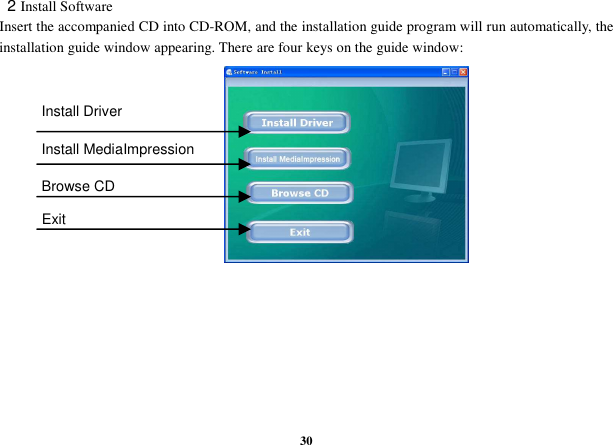
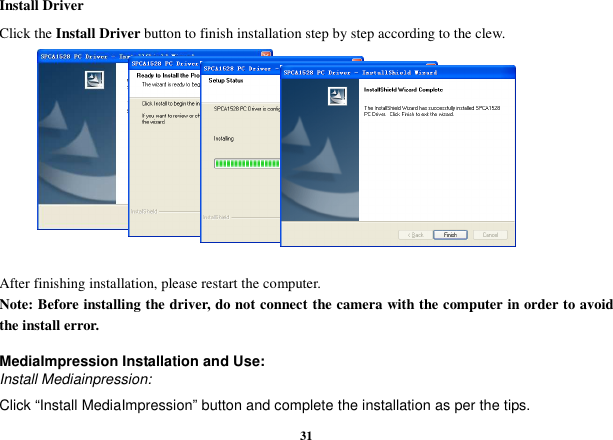
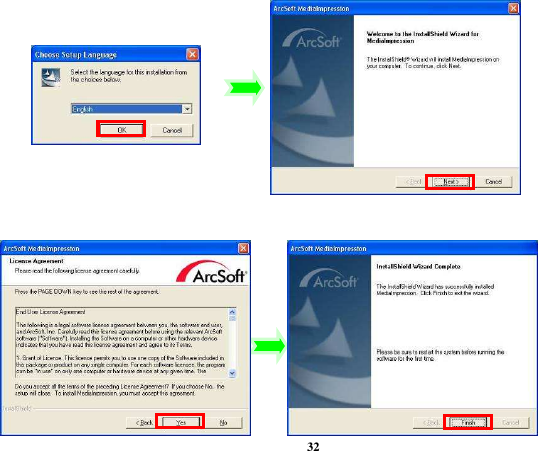
![24 Print the photo: 1 Playback one photo; 2 press the [Print] button; 3 Connect the camera to printer Fig.1 fig.2 fig.3 If at like above fig.2 mode, you press the MENU key will exit printing mode.](https://usermanual.wiki/SHUOYING/DV288/User-Guide-1595592-Page-24.png)