SHUOYING PA0752 Mobile Internet Devices User Manual 4SPA752C Revised 072415
SHUOYING INDUSTRIAL (SHENZHEN) CO., LTD. Mobile Internet Devices 4SPA752C Revised 072415
UserManual.wiki
>
SHUOYING
>
PA0752 User Manual
User manual
Navigation menu
Upload a User Manual
Namespaces
Wiki Guide
HTML
PDF
Info
Views
User Manual
Discussion / Help
Navigation
![4the charging time. • While charging, the battery icon will display the ‘charging’ lightning bolt • It is normal for the device to become hot while charging, the device’s battery life and performance will not be affected. • When the battery is fully charged, please disconnect the power adapter. Full charging requires roughly 4 hours. The battery is consumed faster if APPS or WiFi is running in background. To save battery power, close unused applications. You can also reduce the battery consumption time by turning down the brightness of the display also, when being unused, press the power button [ ] to switch the unit to sleep mode.](https://usermanual.wiki/SHUOYING/PA0752/User-Guide-1814210-Page-5.png)
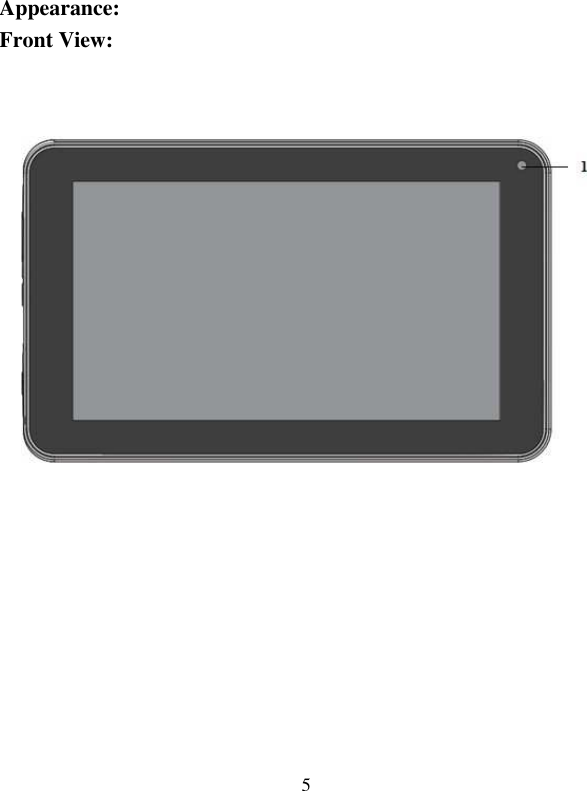
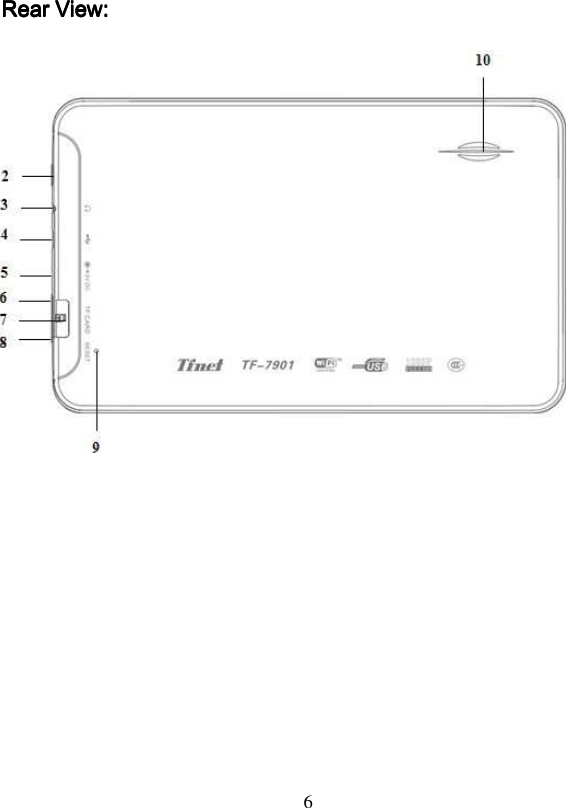
![7 Turning on/off To turn on the device, press and hold [ ] for 3 seconds (3s) To turn off the device, press and hold [ ] for 5s, then select Power off from the pop up menu Standby Mode: When powered on, press the Power key to enter the device into standby mode. Press the button again to exit standby mode. When exiting first powering on the device, or returning from standby Number# Description 1 Camera 2 Power button, Power on/off 3 Earphone jack, 3.5mm standard earphone jack 4 Micro USB interface. Used for: charging, connecting to external USB devices, as well as connecting to your PC for data transmission 5 Charging interface, support DC5V/2.5A adapter 6 VOL up button, VOL+ 7 Micro Memory Card Slot, supports 2GB-32GB 8 VOL down button, VOL- 9 RESET 10 Speaker](https://usermanual.wiki/SHUOYING/PA0752/User-Guide-1814210-Page-8.png)
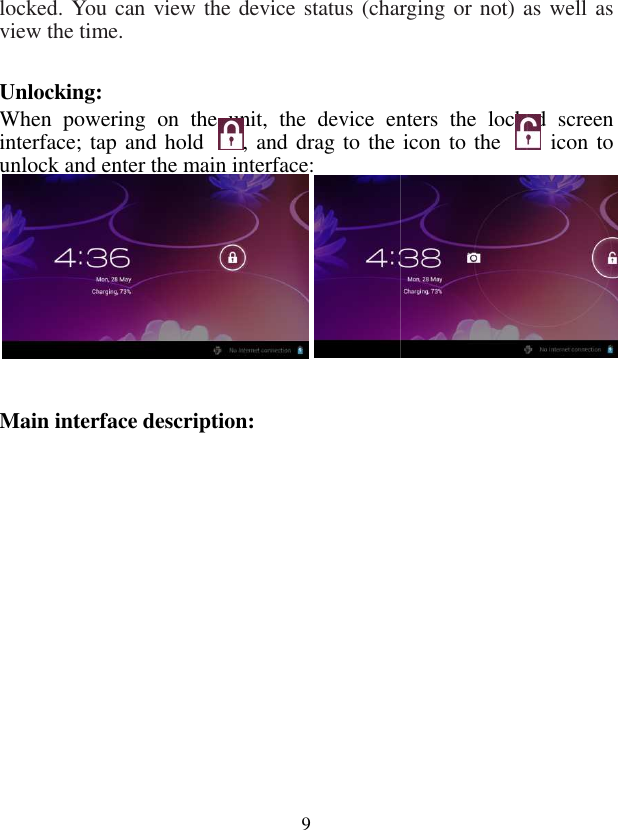
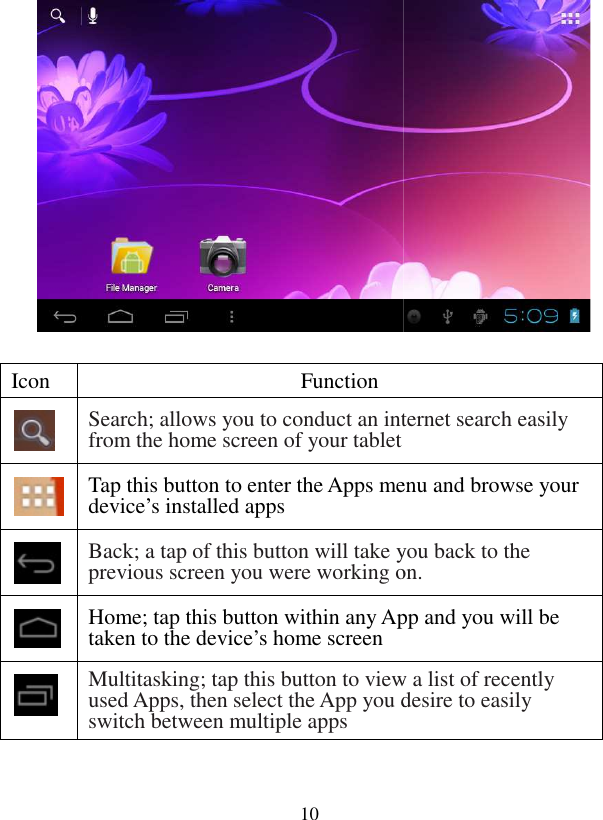
![8mode, you will be prompted with a ‘lock’ screen To unlock the device, touch and hold the ‘lock’ icon on the screen and drag it to the unlock icon on the right Touch screen usage The PA0752 has a 7” capacitive touch screen, which allows users to easily select or execute functions. Before using the touch screen, please review the below advice on proper use. • Do not use foreign objects to make selections on the touch screen as this will damage the screen • Do not saturate the touch screen with water, or any other liquid • This device is equipped with a capacitive touch screen, which detects the charge sent out by the human body. To achieve the best results, touch the screen with your fingertips; do not operate the device using a stylus, pen or any sharp object. There are a few basic commands that are available to control the unit through the touch screen: • Tap: tap once quickly • Tap and hold: tap and hold an item for at least two seconds • Drag: tap and hold an item, and drag it to your desired location • Double tap: quickly tap an item twice • Slide: slide up, down, left or right to browse through lists or menus • If your tablet remains untouched for an extended period of time, it will automatically enter standby mode and shut down the display to save battery power. Press the power button [ ] to wake up the screen Operation interface When the screen wakes up after being in standby mode, it will be](https://usermanual.wiki/SHUOYING/PA0752/User-Guide-1814210-Page-9.png)