SHUOYING PX7052 Mobile Internet Device User Manual PX7052
SHUOYING INDUSTRIAL (SHENZHEN) CO., LTD. Mobile Internet Device PX7052
UserManual.wiki
>
SHUOYING
>
PX7052 User Manual
Users Manual
Navigation menu
Upload a User Manual
Namespaces
Wiki Guide
HTML
PDF
Info
Views
User Manual
Discussion / Help
Navigation
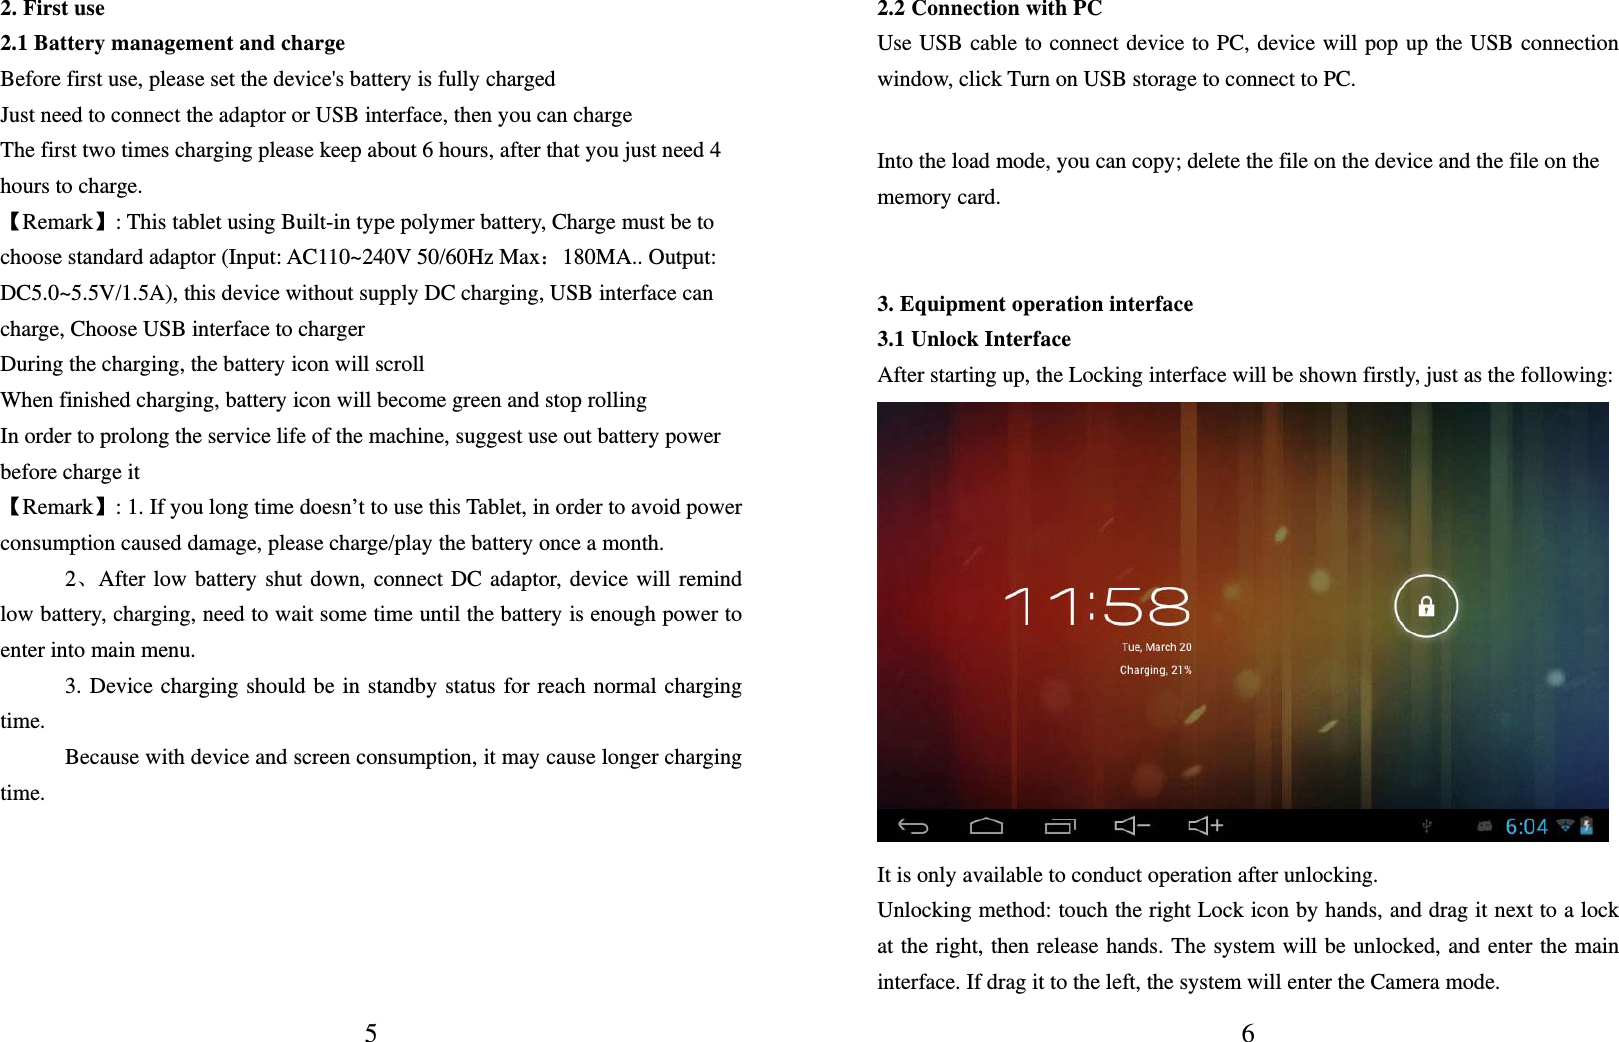
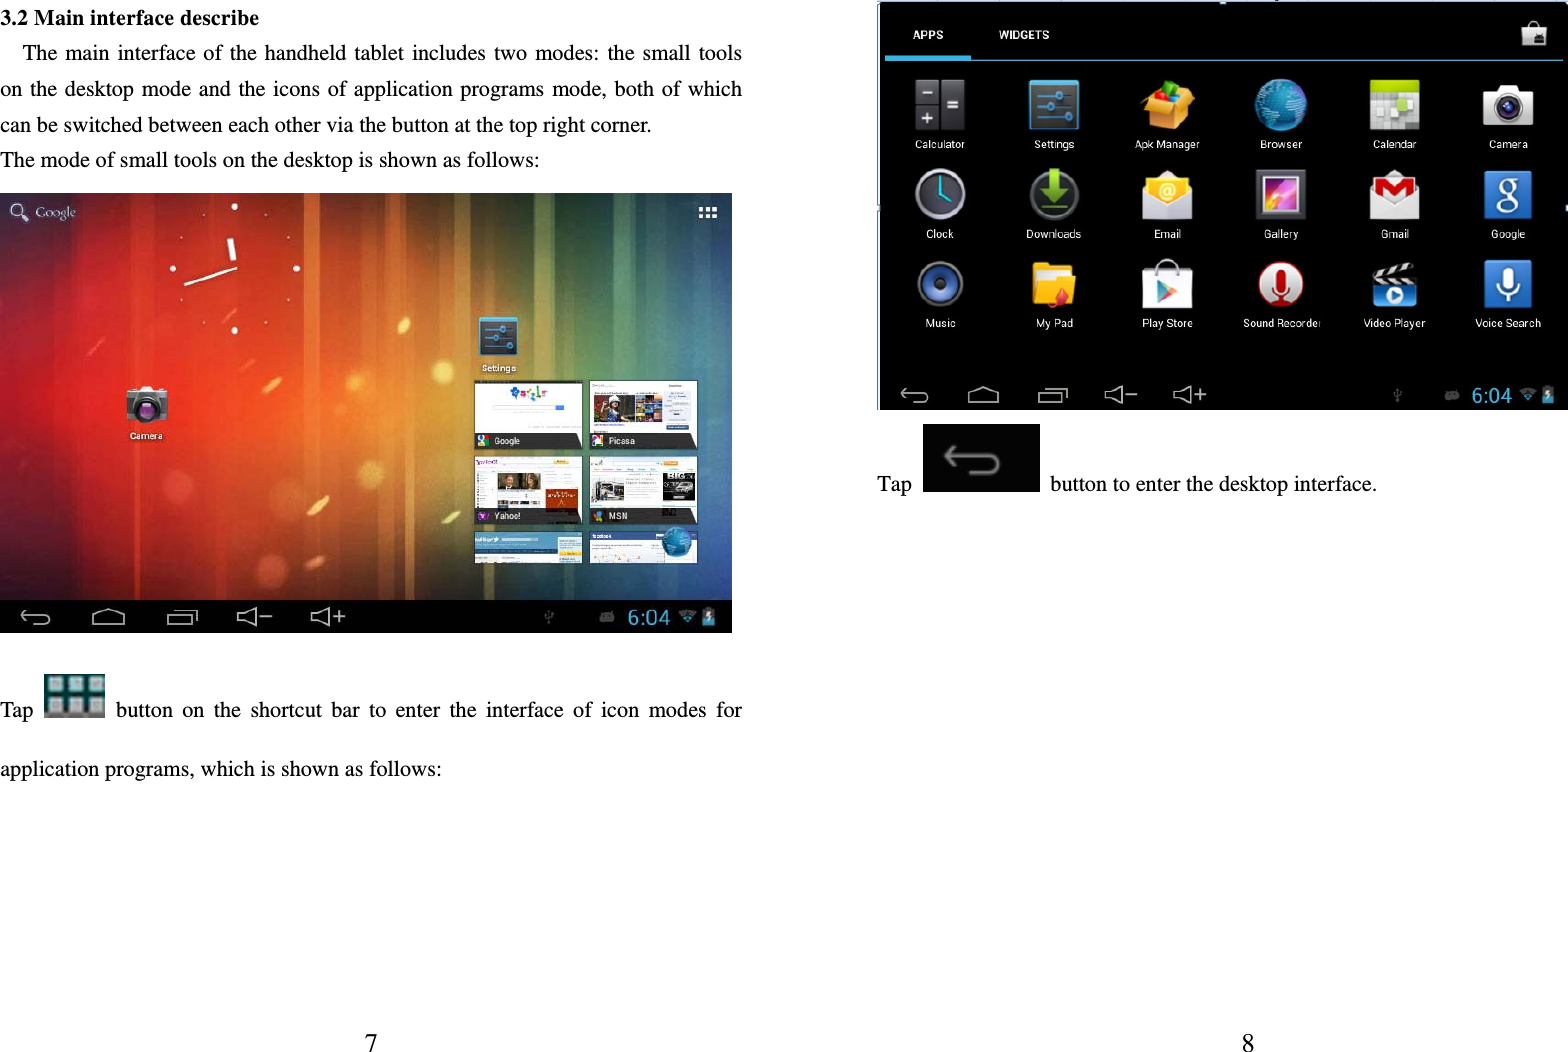
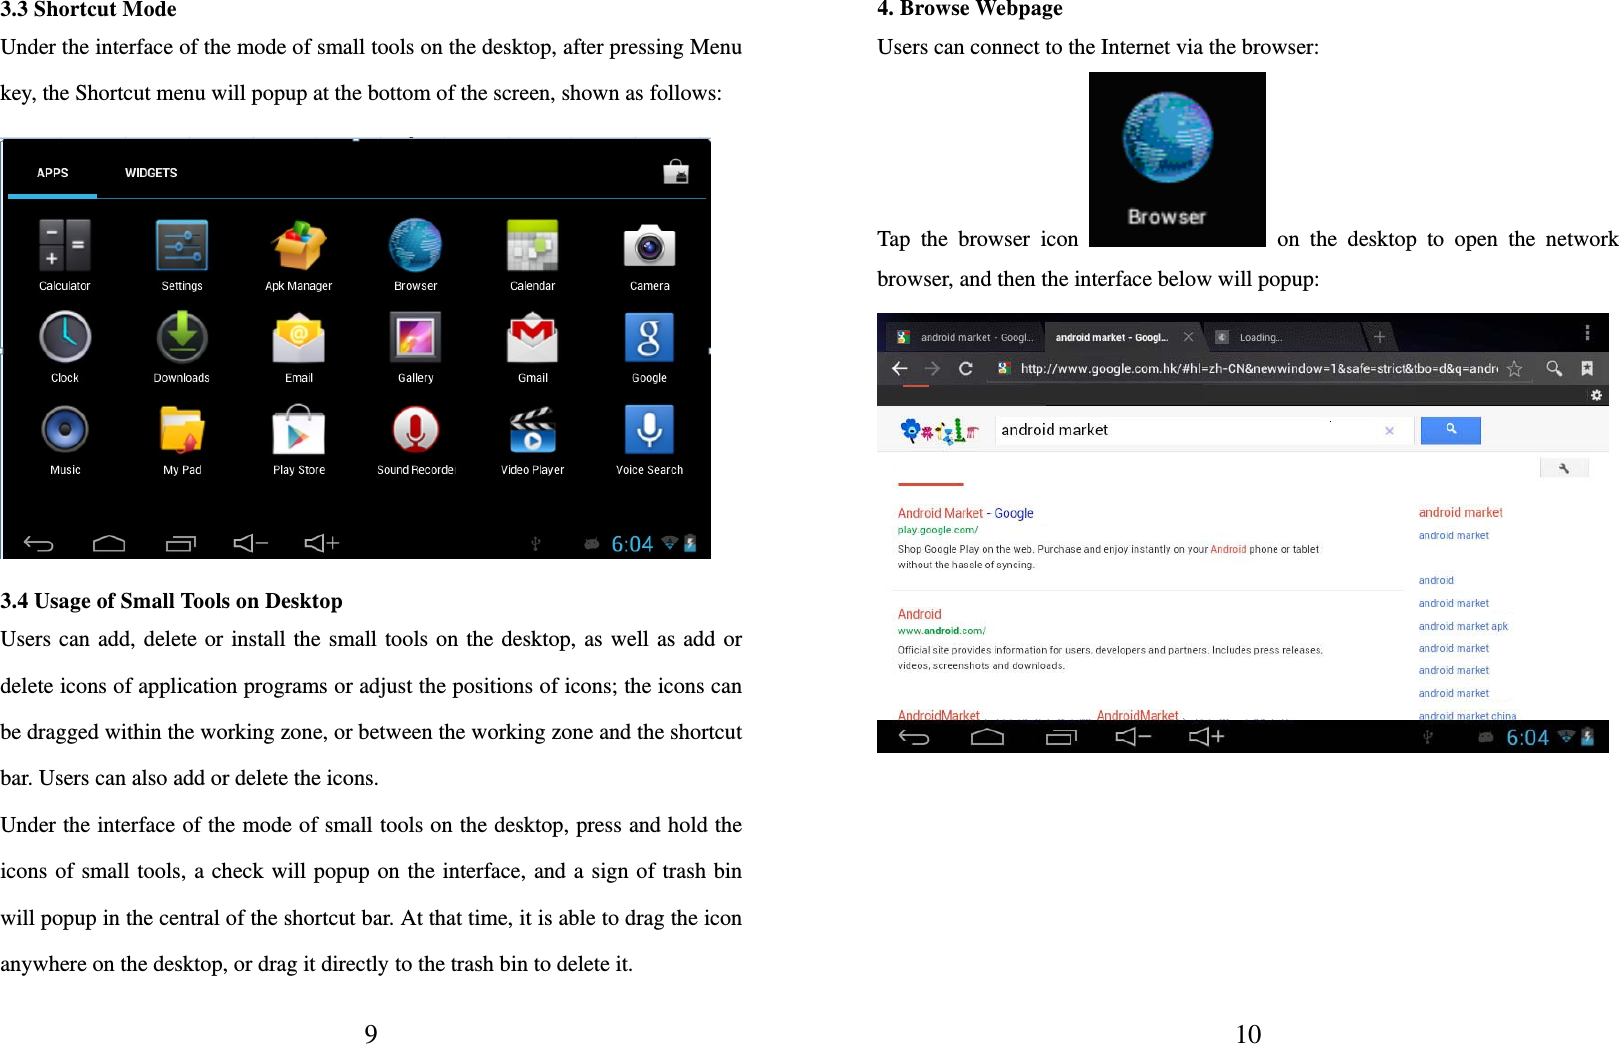
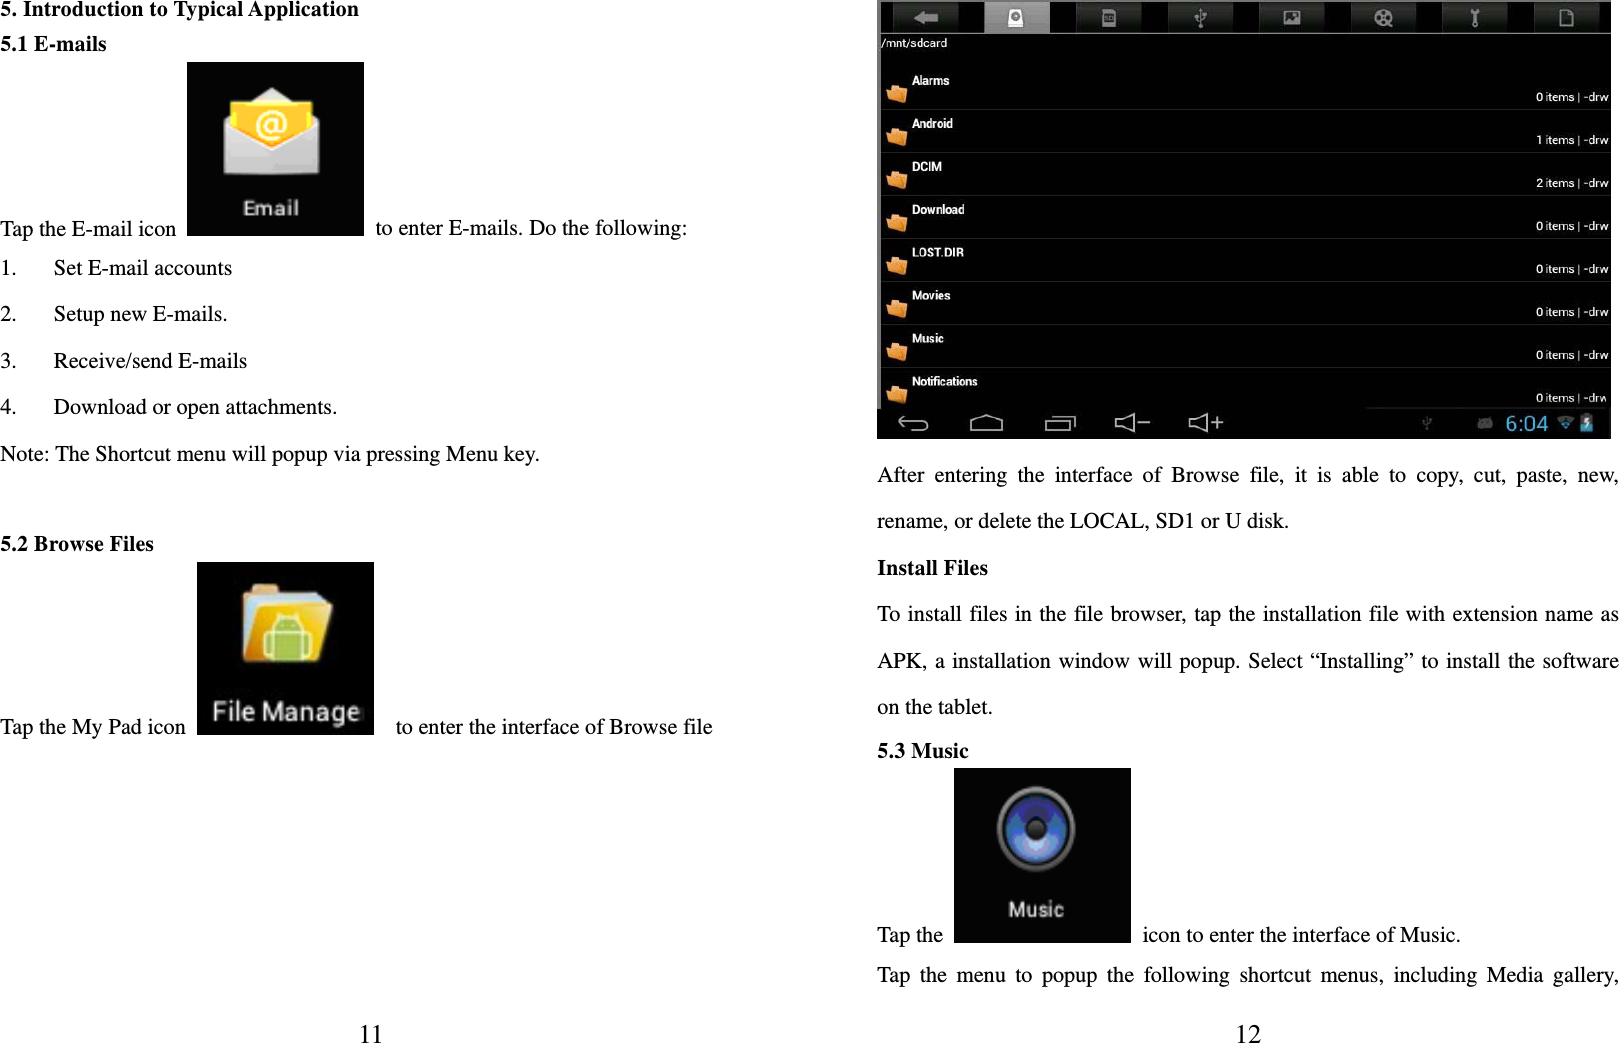
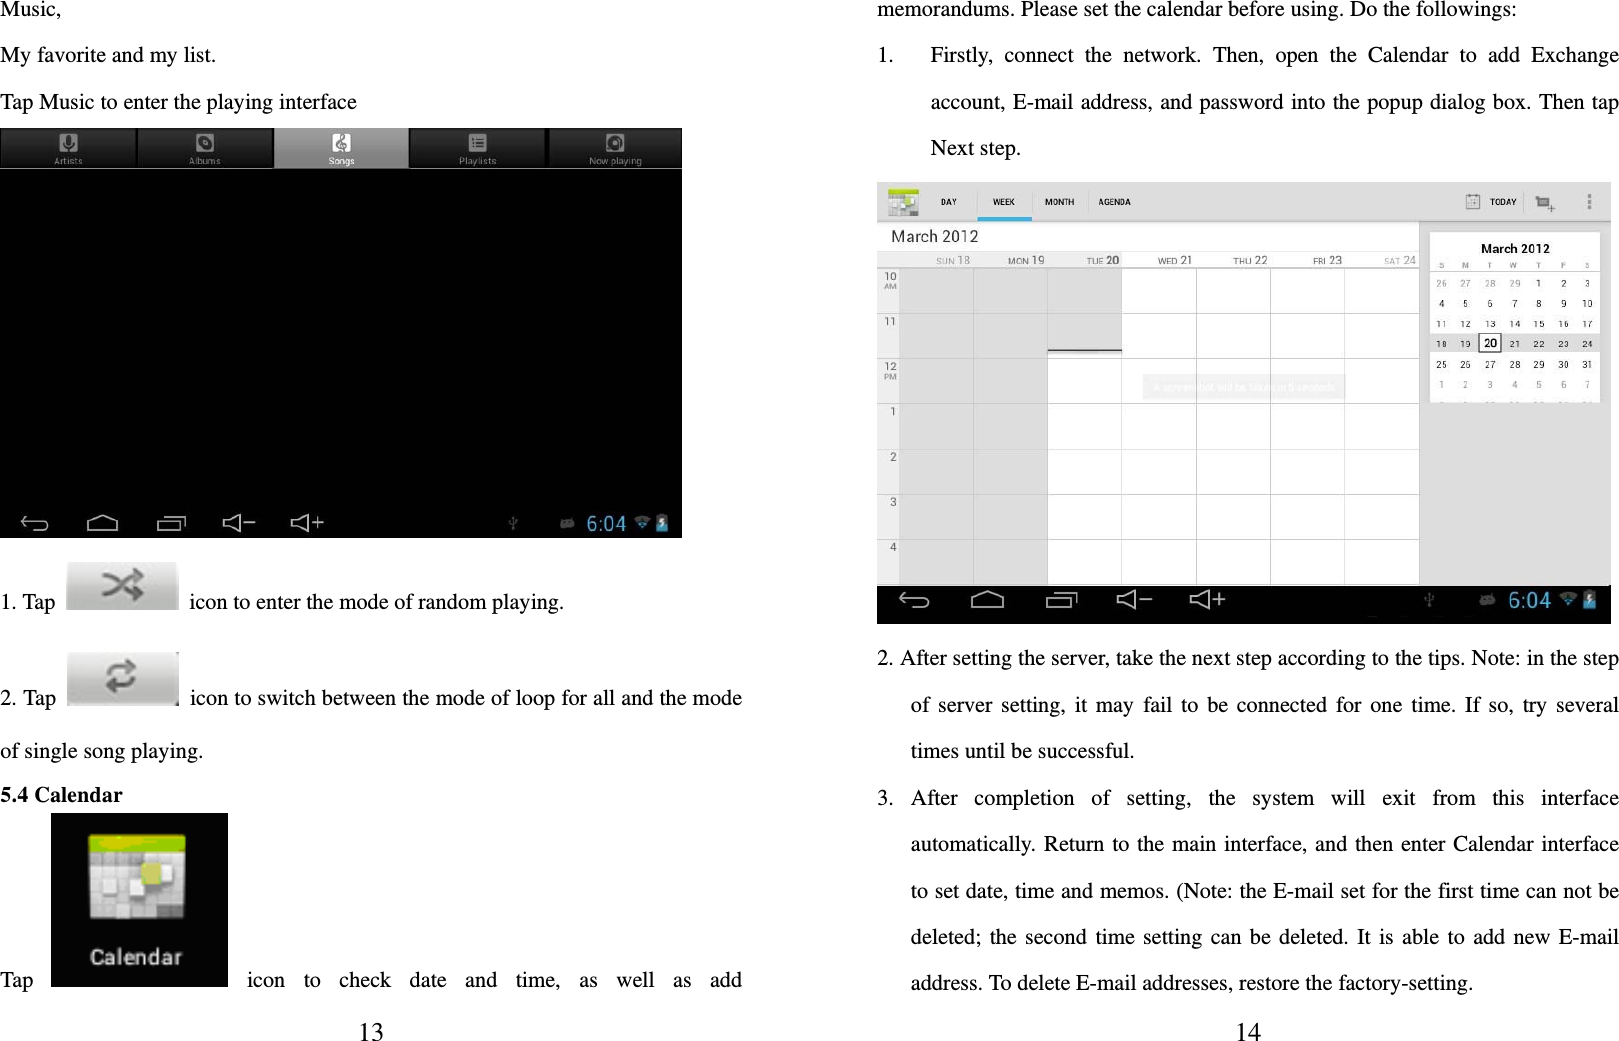
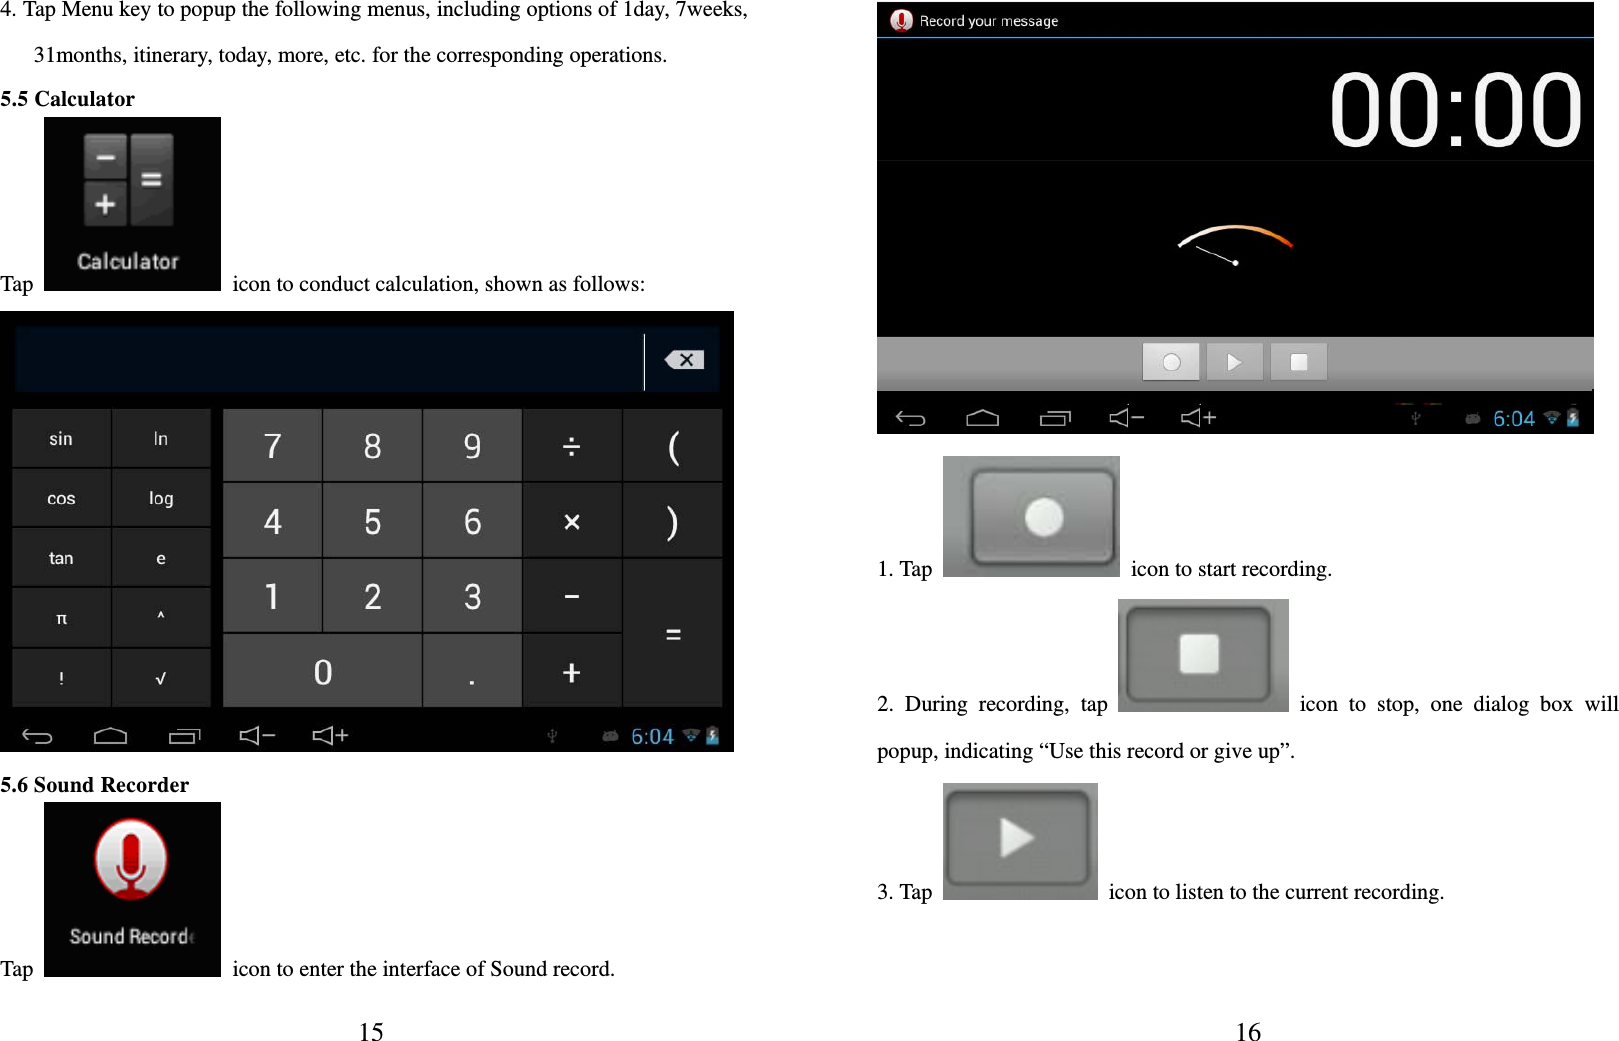
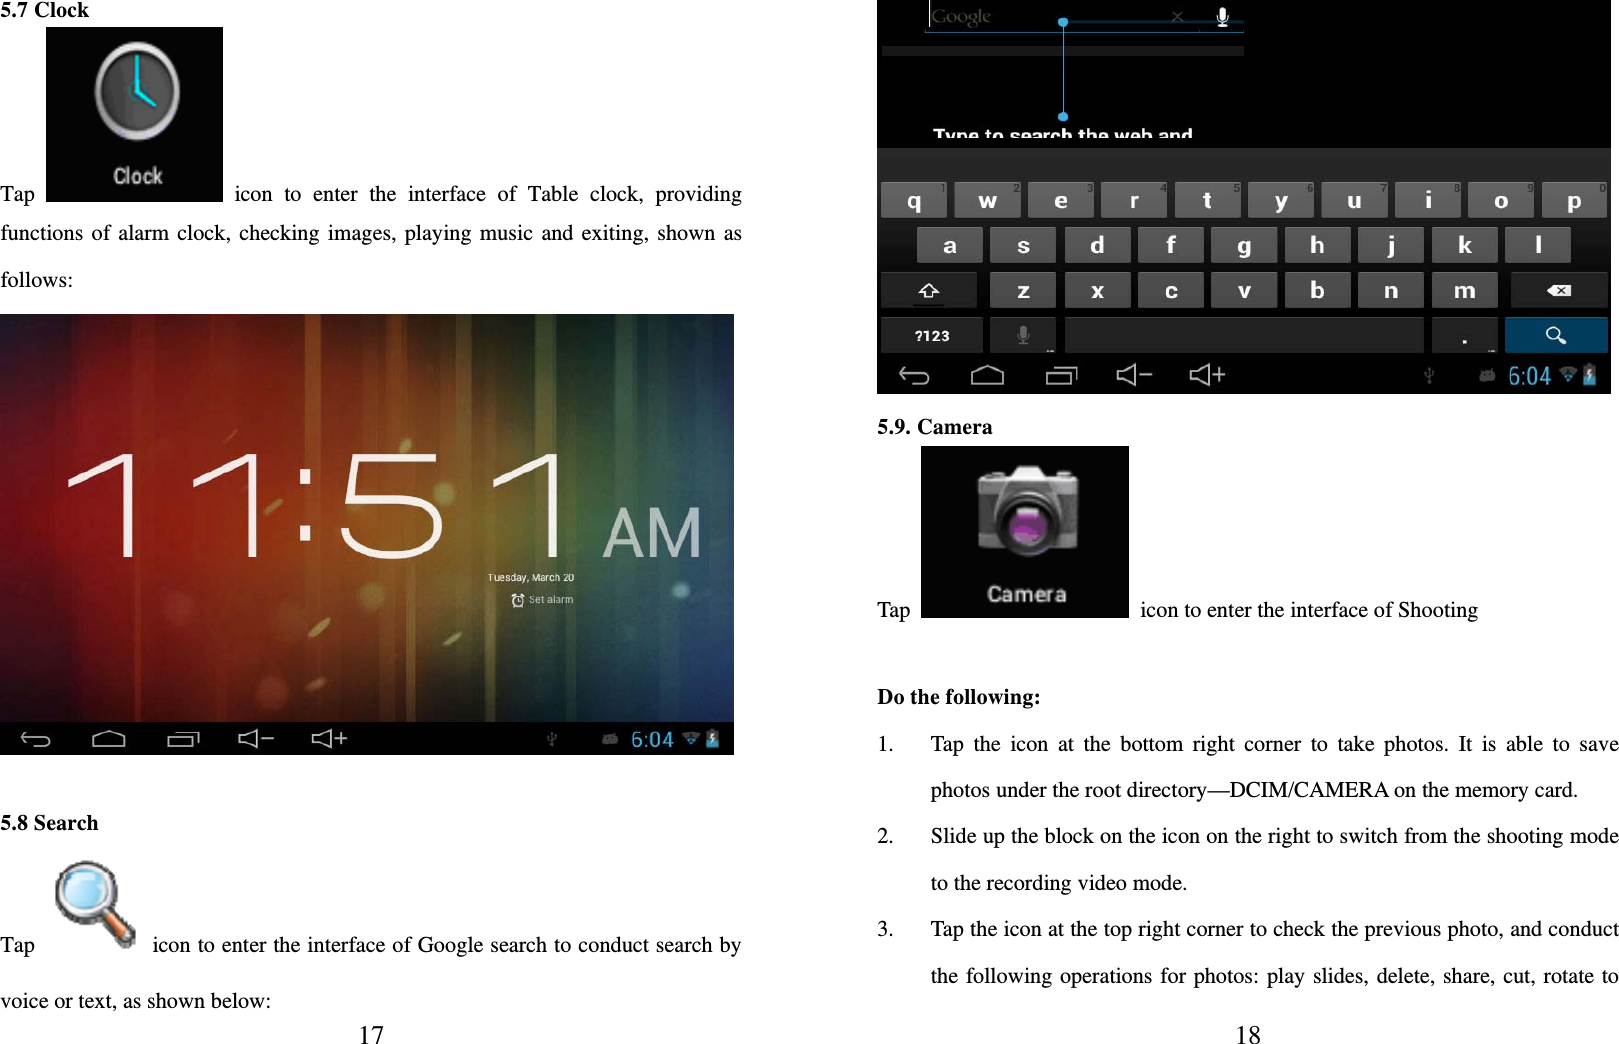
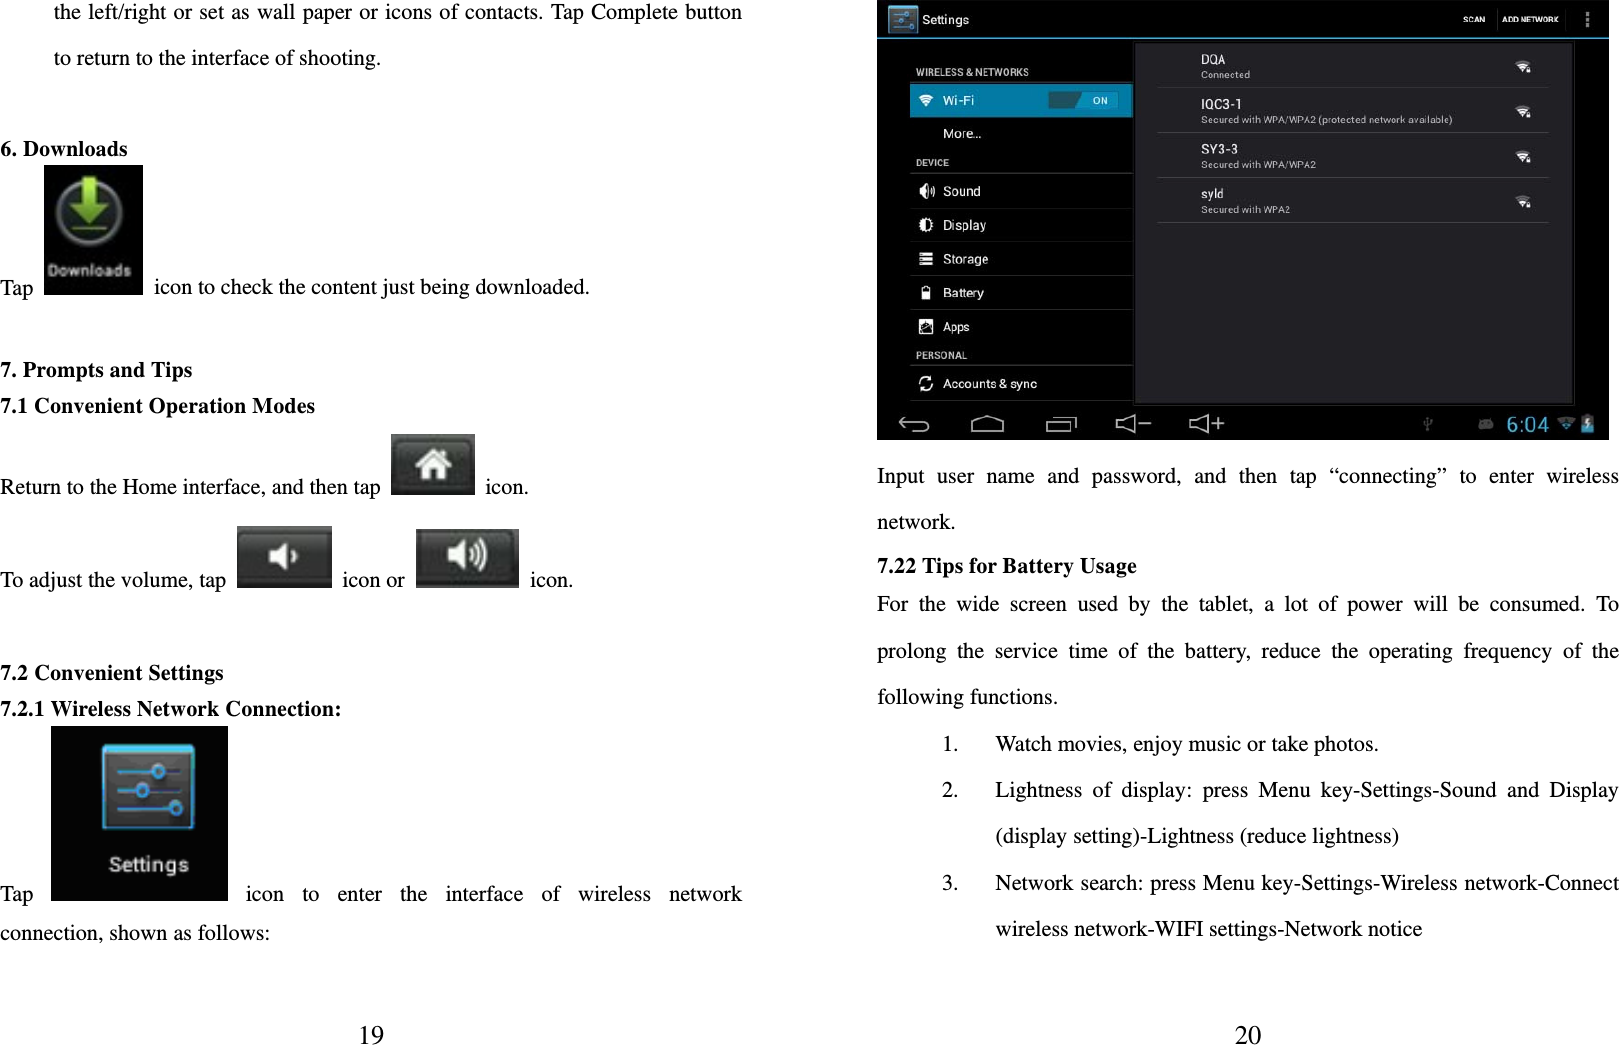
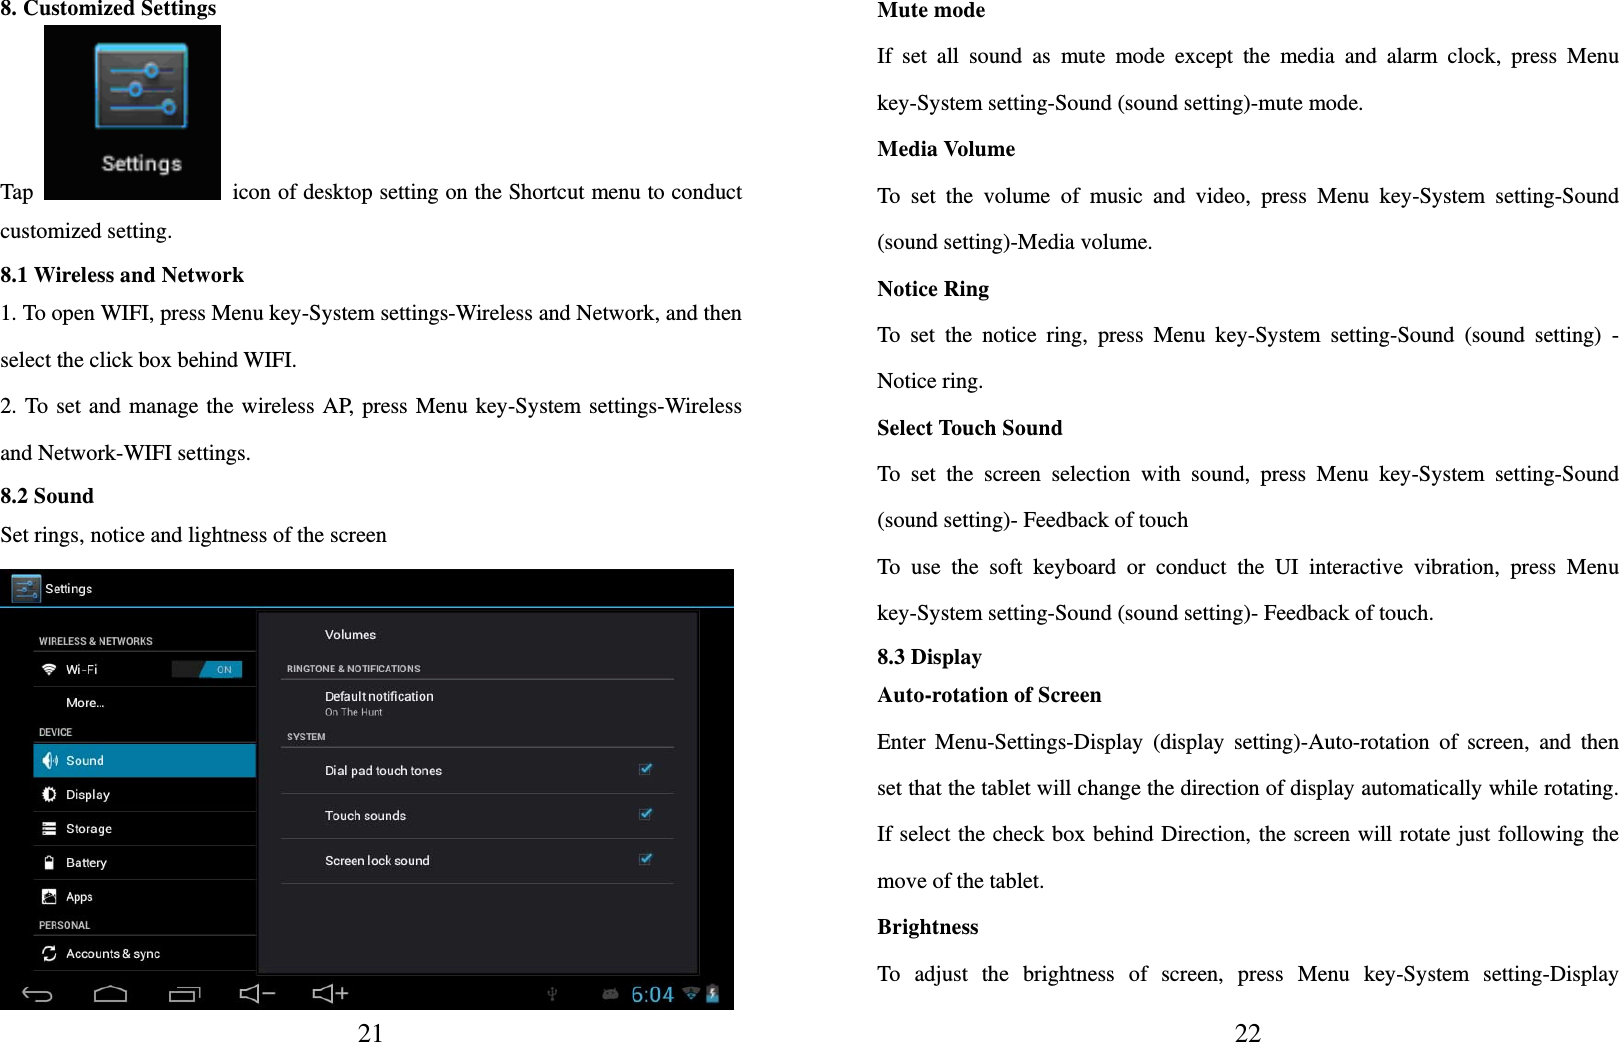
![31. Appearance and button: Front View: Rear View: (1) Camera (2) MIC (3) Power (4) Earphone jack (5) Micro USB (6) Charging interface (7)HDMI (8) TF card (9) Reset (10) Speaker 41.1 Touch panel 7” Capacitive touch panel: In the Operation, to click, dragging on the touch panel. 1.2 POWER startup: Long Press and hold the power button, the system will enter the main interface. shutdown: In the main menu interface, Press the power button about 5 second to shutdown, The system can hint "power off" option, Click ”ok”. You can safely shut down. Lock screen: Short press Power button to lock screen or unlock screen. Remark 1.When power is empty, system will shut down automatically. 2. Illegal turn off the device, restart will scan and restore the disk, it may take longer time to enter into system. 1.3 Reset When tablet PC has failure, press the reset hole (R) with a sharp object, and the tablet PC will be turned off. [Remark]: Unless necessary, do not press the reset button. 1.4 HDMI The port connect with TV and show HDMI file. 1.5 earphone jack 3.5 mm standard earphone jack 1.6 Micro SD card Micro SD card slot: external Micro SD card. 1.7 Micro USB Micro USB jack: you can use it to connect the computer for data transmission, charging and external connection USB flash drive.](https://usermanual.wiki/SHUOYING/PX7052/User-Guide-2178555-Page-2.png)