SKYPINE ELECTRONICS CNE8216EAVX Car Multimedia User Manual VM9424
SKYPINE ELECTRONICS (SHEN ZHEN) CO., LTD. Car Multimedia VM9424
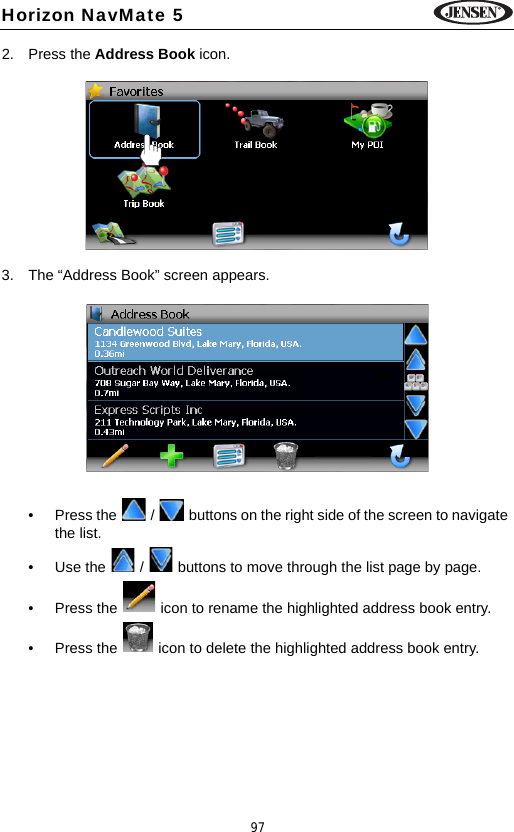
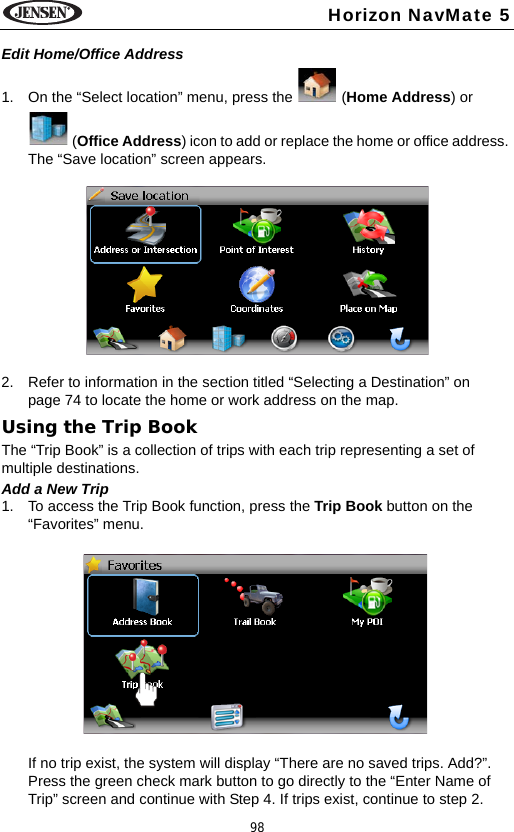
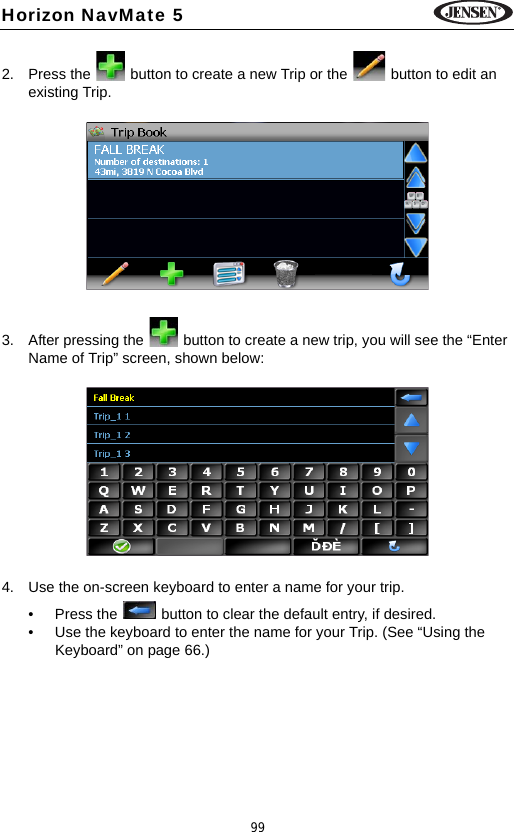
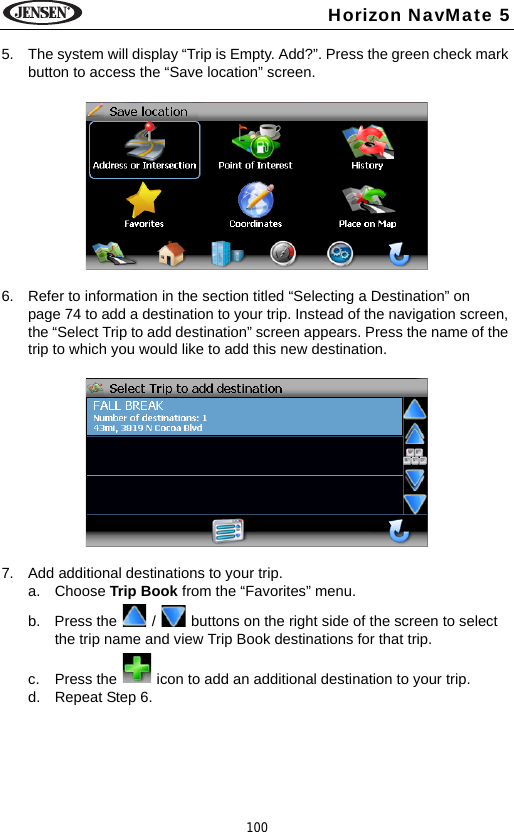
UserManual.wiki
>
SKYPINE ELECTRONICS
>
CNE8216EAVX User Manual
Users Manual
Navigation menu
Upload a User Manual
Namespaces
Wiki Guide
HTML
PDF
Info
Views
User Manual
Discussion / Help
Navigation


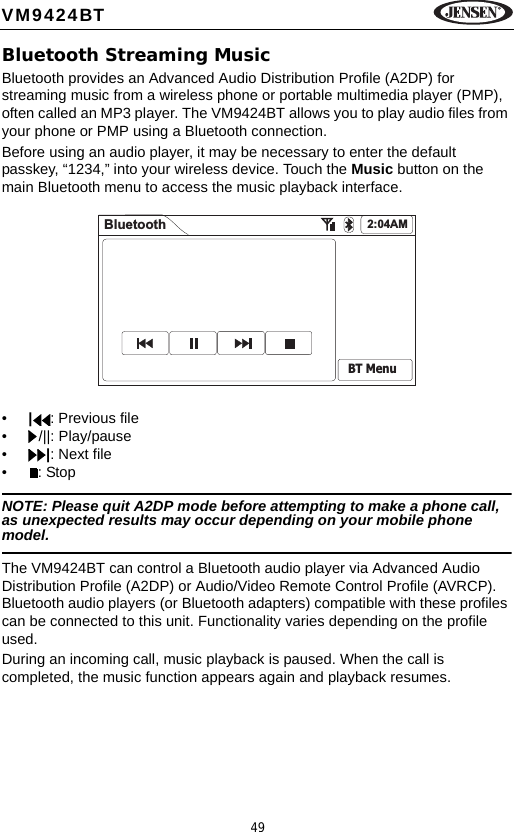
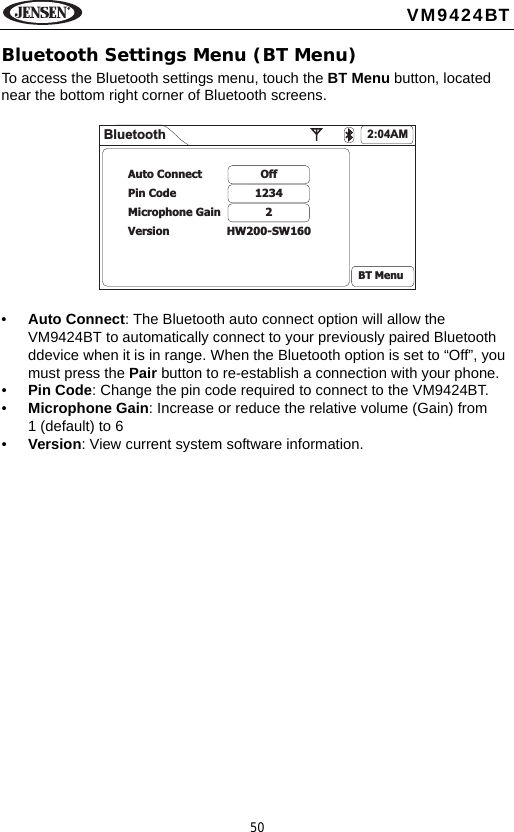
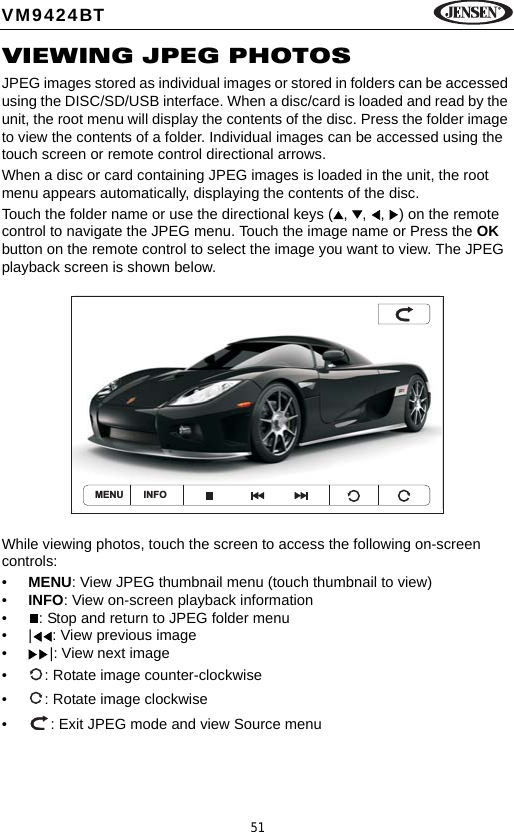
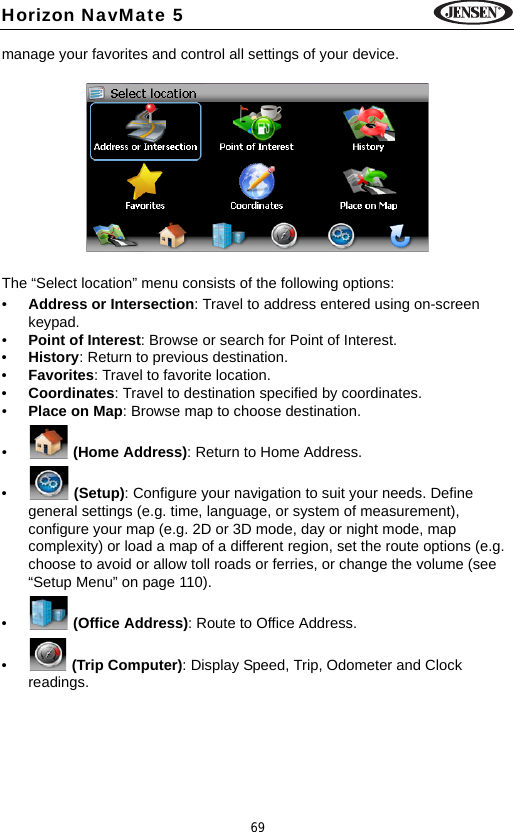
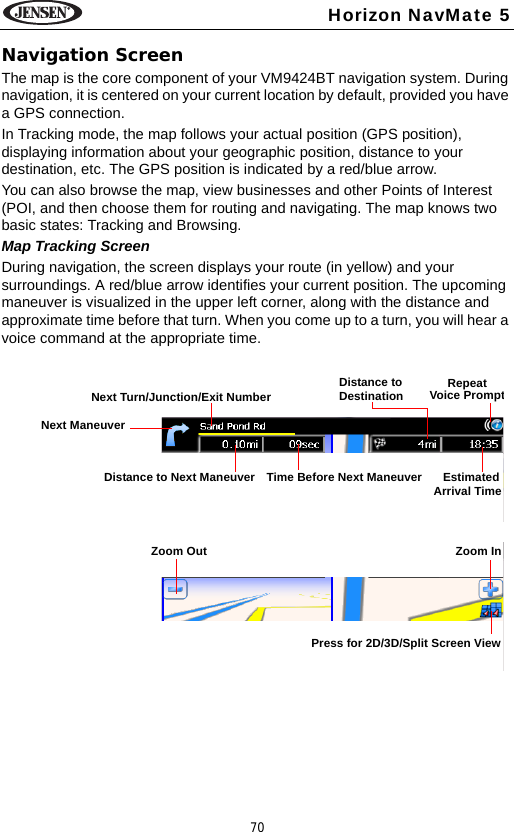
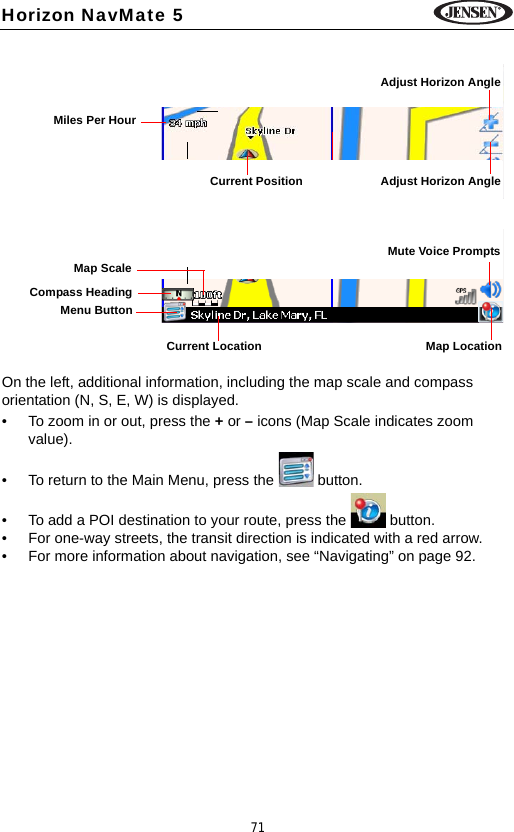
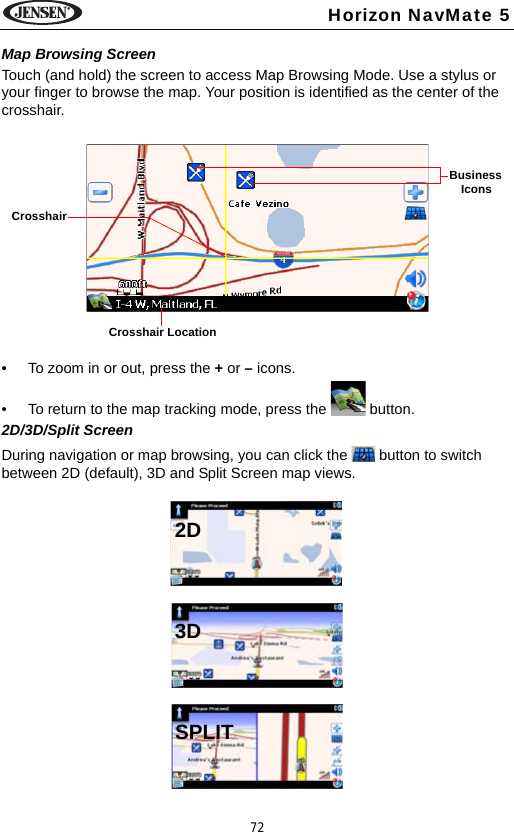
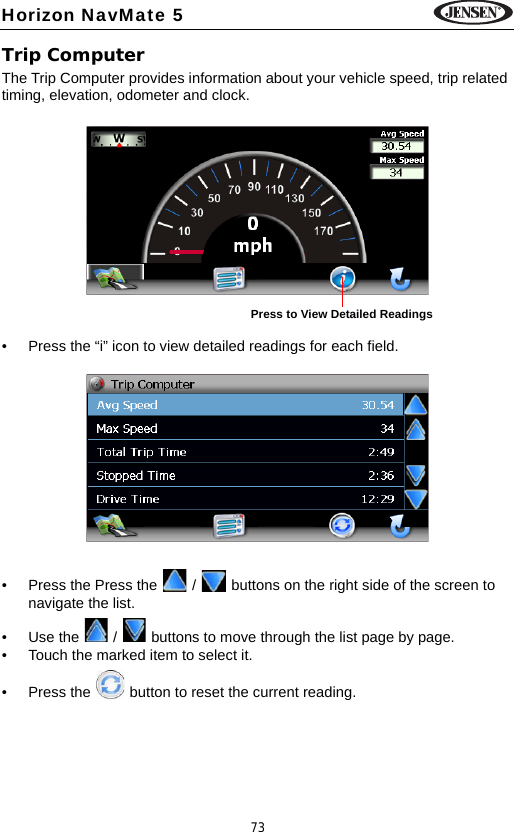
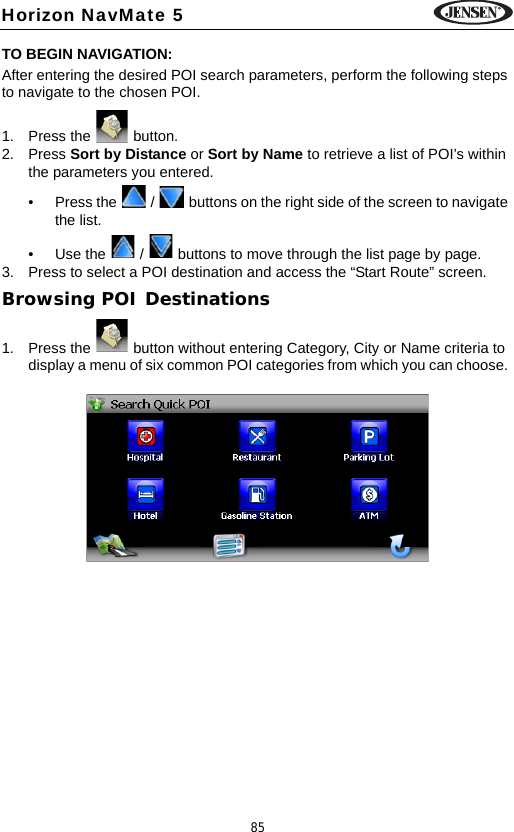
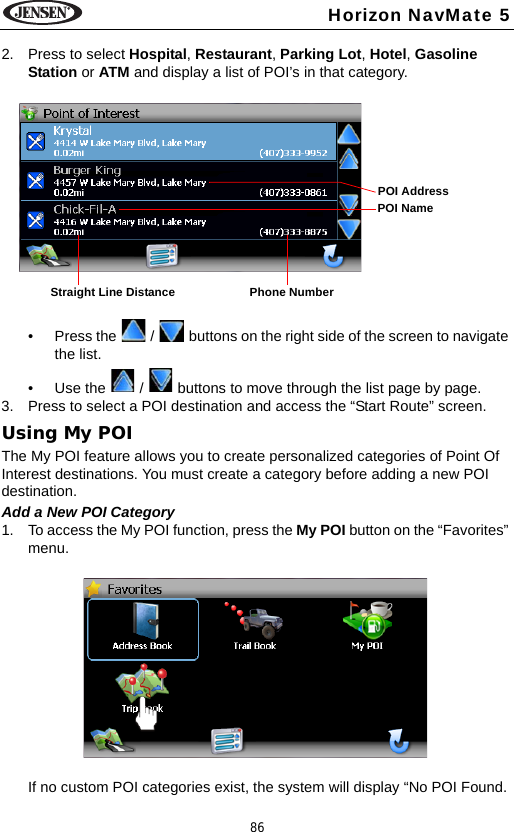
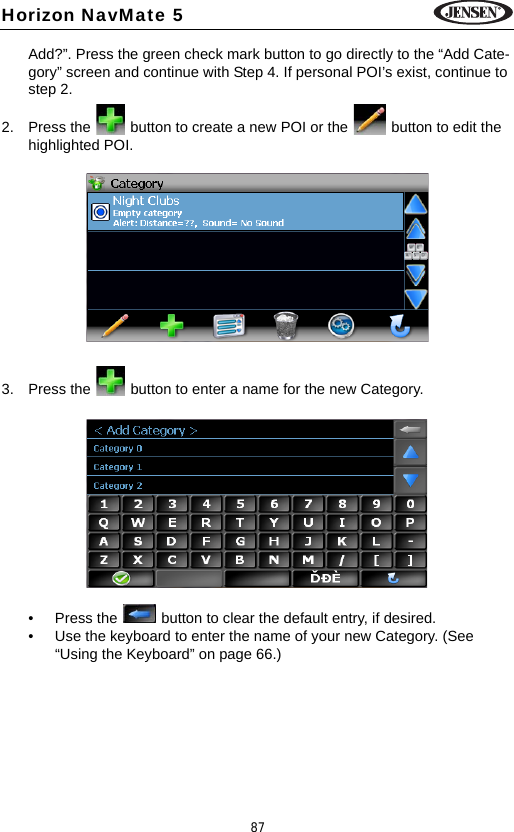
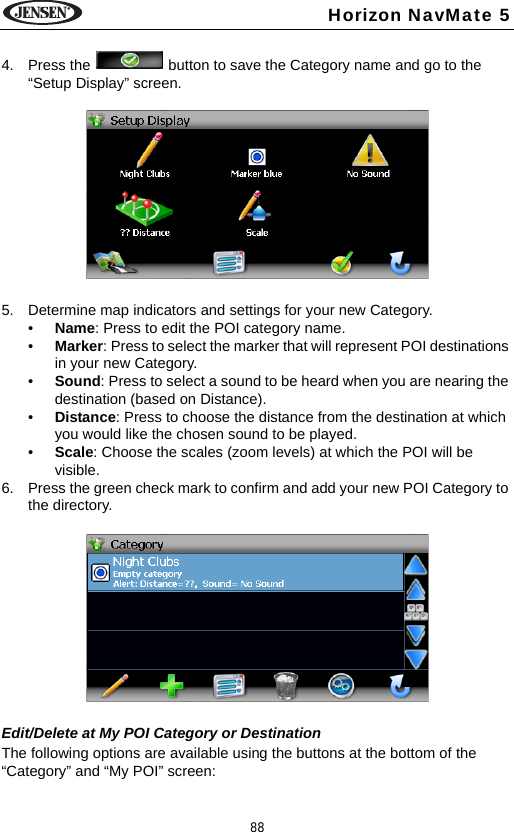
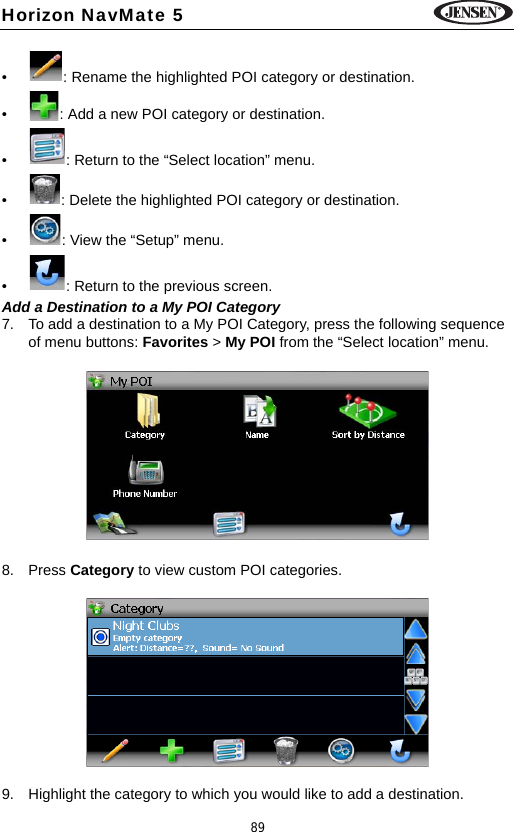
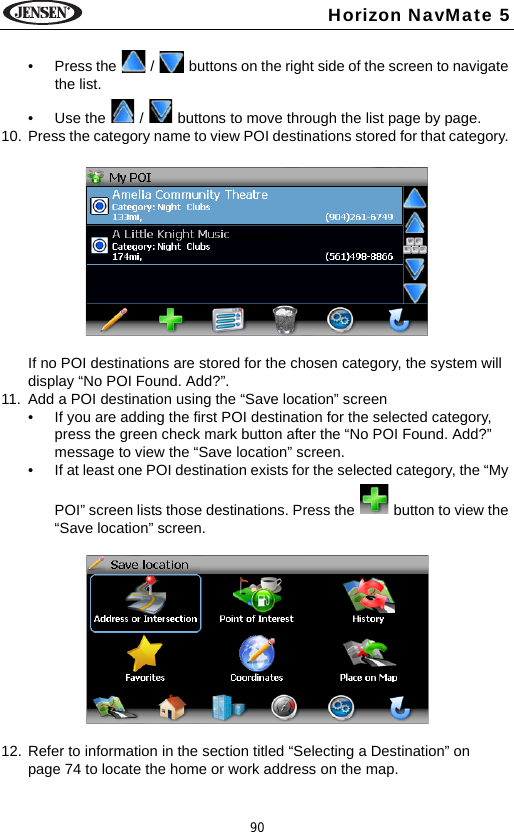
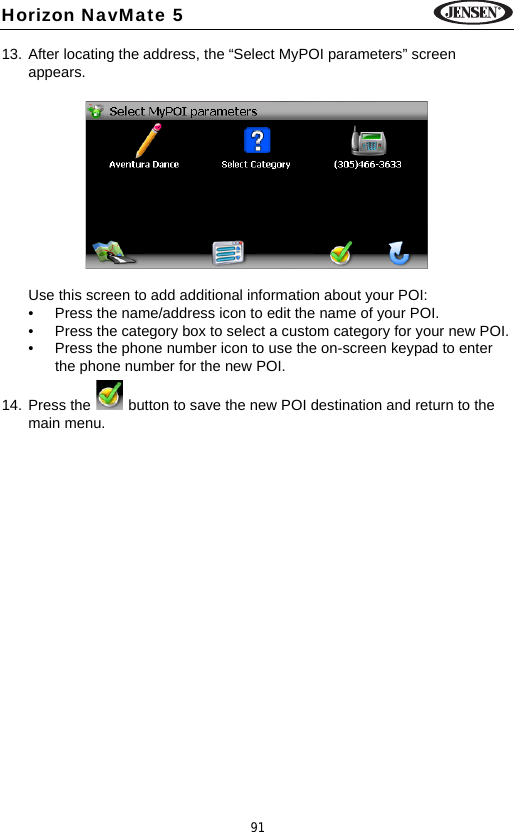
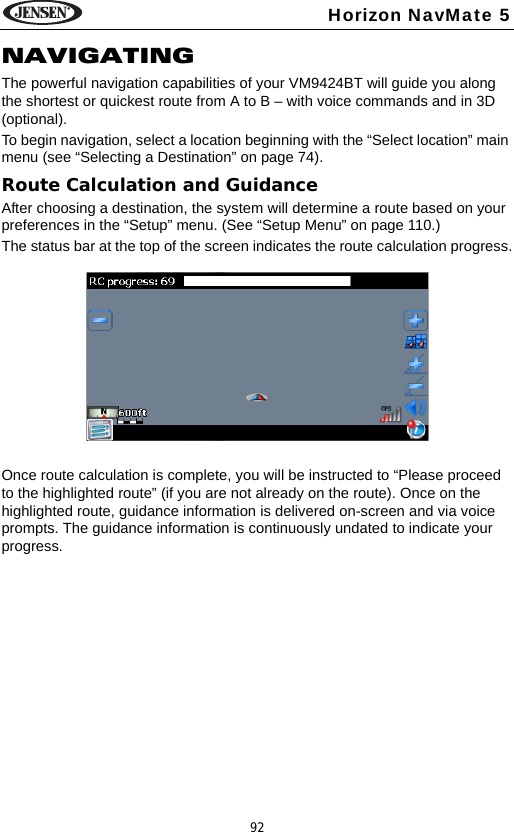
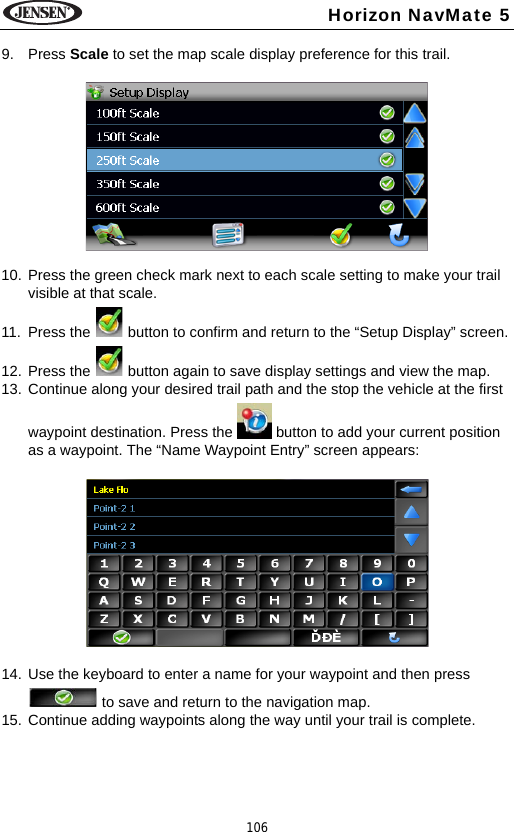
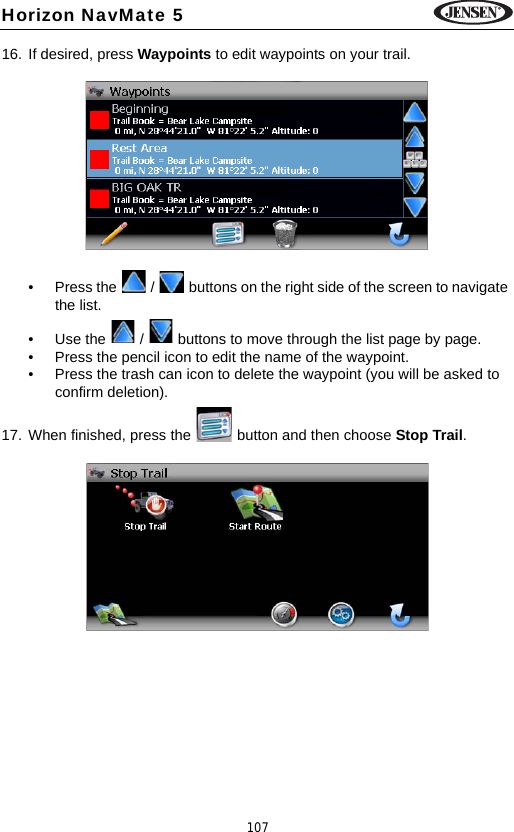
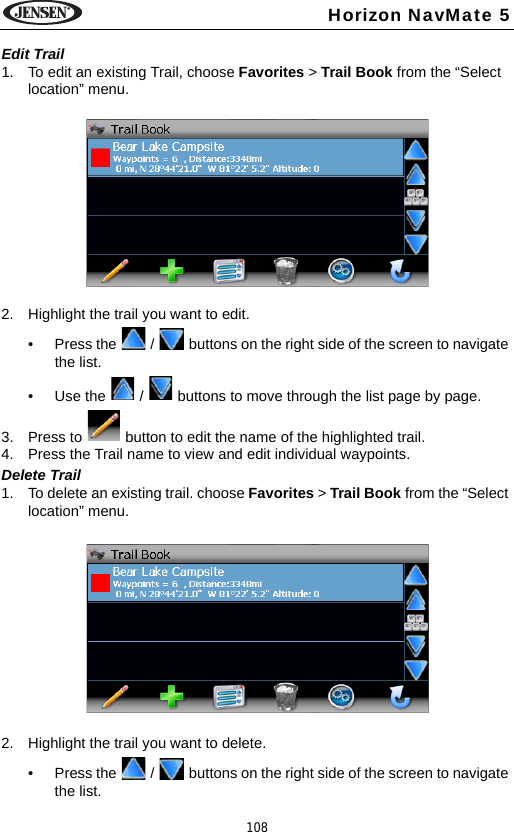
![12VM9424BTNOTE: The EQ SETTING mode will automatically change to “USER” when individual audio functions are adjusted.The Audio menu will automatically exit after a few seconds of inactivity. To exit quickly, touch the top left corner of the screen or press the VOL rotary encoder (5).System ResetTo correct a system halt or other illegal operation, use the tip of a pen to press the reset button (1), located left of the disc slot. After a system reset, the unit restores all factory default settings.NOTE: If the unit is reset while a DVD is playing, the DVD resumes play once the reset is complete.Steering Wheel Control (SWC)The VM9424BT is compatible with the PAC (Pacific Accessory Corporation) steering wheel control adapter SWI-PS. A 3.5mm female connector (labeled “SWC Interface”) on the back of the head unit allows connectivity to the PAC adapter. Please refer to the instructions included with the PAC adapter for detailed installation information. SWC FunctionsThe following controls are available for most vehicles:1. Vol Down2. Vol Up3. Mute4. Seek Down / Previous Track / ** Preset Down5. Seek Up / Next Track / ** Preset Up6. SRC (Source)7. ** Select8. ** Select9. Band** If additional steering wheel control buttons are available on the vehicle, function 7 / 8 may be assigned the "Select" feature. This feature / function may not be available on some vehicles.Select OperationIf "Select" (function 7 or 8) is held down and function 4 is pressed momentarily, Preset Up will be selected. If "Select" (function 7 or 8) is held down and function 5 is pressed momentarily, Preset Down will be selected. [RESET] Button](https://usermanual.wiki/SKYPINE-ELECTRONICS/CNE8216EAVX/User-Guide-1411362-Page-18.png)