SMK Link Electronics VP627X13 iCalc Bluetooth Calculator Keypad User Manual vp6274 usersguide indd
SMK-Link Electronics iCalc Bluetooth Calculator Keypad vp6274 usersguide indd
Manual(English)
RemotePoint
Sapphire Presenter
VP4585
VP6274
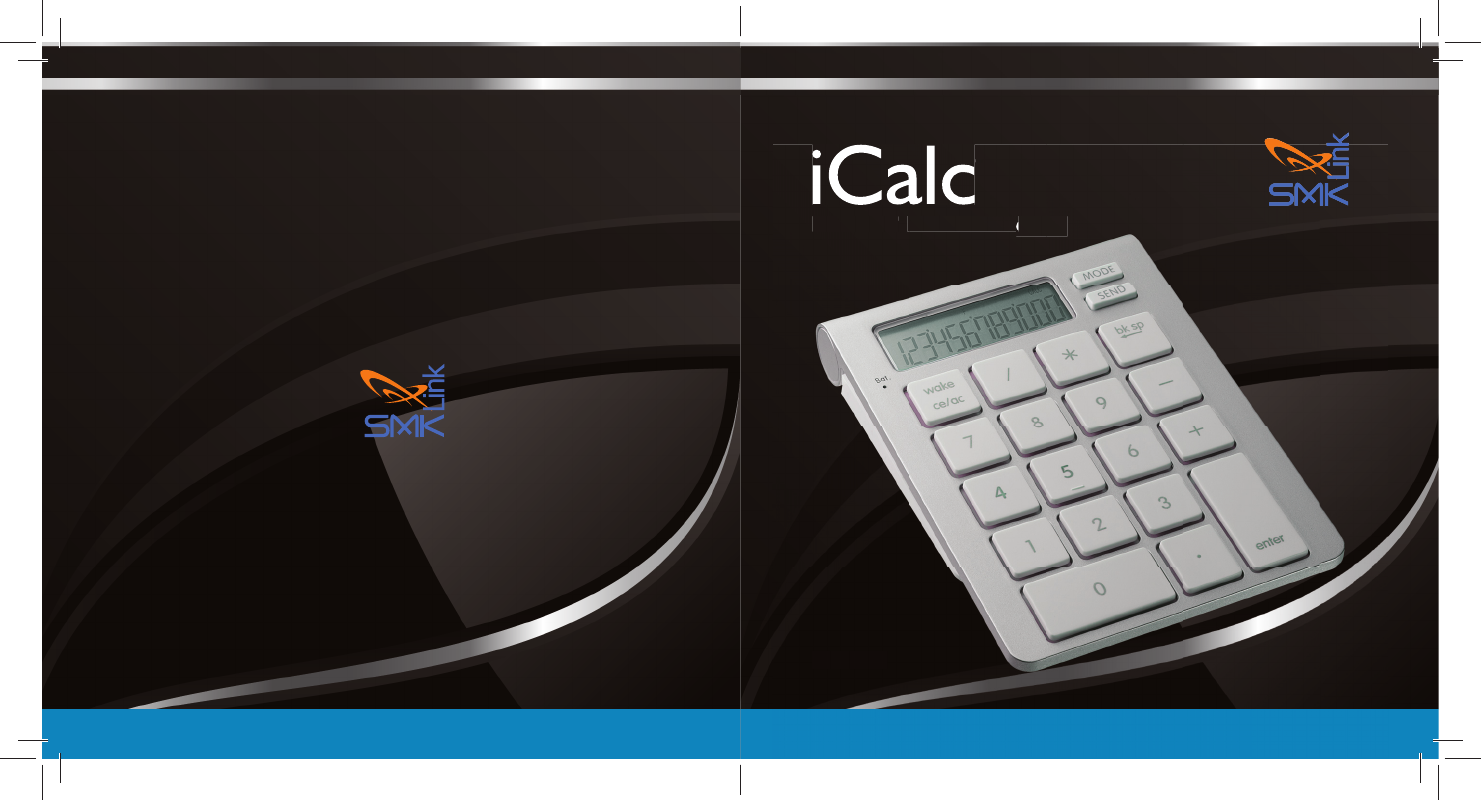
iCalc™
Bluetooth® Calculator Keypad
V
P62
7
4
™
Bl
uetoot
h
®
Ca
lc
ul
ator
K
eypad
KK

Page 1
Hardware:
• Bluetooth-enabled computer
(with either built-in
Bluetooth wireless capability
or external Bluetooth dongle)
• Optional for the iCalc
attachment: Apple®
Wireless Keyboard, the
Bluetooth model
Operating System:
• Mac® OS X v10.4.6 or later
• Windows® 2000,
XP®,Vista®, 7 or 8
Package Contents:
• iCalc™ Bluetooth
Calculator Keypad
• Magnetic Alignment Wedge
• 2 x AAA Batteries
• Quick Reference Guide
System Requirements
Page 18
©2013 SMK-Link Electronics Inc. SMK-Link, the SMK-Link logo, and
iCalc are trademarks of SMK-Link Electronics, Inc. Bluetooth® is a
registered trademark of Bluetooth SIG, Inc. Apple, MacBook, and iMac are
registered trademarks of Apple Inc. Windows is a registered trademark of
Microsoft Corporation in the United States and other countries. All other
trademarks are properties of their respective owners. iCalc Bluetooth
Calculator Keypad not manufactured in coordination with Apple Inc.
Made in China.
Canada, Industry Canada (IC) Notices
This Class B digital apparatus complies with Canadian ICES-003 and RSS-210.
Operation is subject to the following two conditions: (1) this device may not
cause interference, and (2) this device must accept any interference,
including interference that may cause undesired operation of the device.

Page 17
Thank You
Congratulations on your purchase of the iCalc Bluetooth Calculator Keypad.
We thank you for choosing SMK-Link Electronics to meet your wireless needs
and look forward to serving you in the future. To learn about new SMK-Link
products as they become available, and to ensure the best possible customer
support, please register your product online at www.smklink.com/register.
Support
SMK-Link Electronics Corporation
3601-B Calle Tecate
Camarillo, CA 93012
TEL: (888) 696-3500
FAX: (805) 987-6665
Email: pcsupport@smkusa.com
www.smklink.com
Page 2
Magnetic
Alignment Wedge
2x AAA
Batteries
(supplied)
iCalc™ Bluetooth
Calculator Keypad

Page 3
Step 1
Install Batteries (Supplied)
• Remove the battery cover from the bottom of the iCalc.
• Insert the 2 AAA batteries (supplied) into the battery slots.
Make sure the positive (+) and negative (-) ends of the batteries
match the polarity markings inside the battery compartment.
• Snap the battery cover back into position.
• Turn on the power by sliding the ON/OFF switch located
at the bottom of the iCalc to the ON position.
Page 16
Declaration of Conformity
Manufacturer:
SMK-Link Electronics Corporation
3601-B Calle Tecate
Camarillo, CA 93012
Hereby, SMK-Link declares that the VP4585 is in compliance with the essential
requirements and other relevant provisions of Directive 1999/5/EC.
EMC/EMI/Safety Standards
EN 300 440-2 V1.1.1 (2001-09)
EN 301 489-1 V1.4.1 (2002-08)
EN 301 489-3 V1.4.1 (2002-08)
EN 60825-1 (1994, A11:1996, A2:2001)
Page 15
harmful interference to radio communications. However, there is no guarantee
that this radio interference will not occur in a particular installation. If this
equipment does cause harmful interference to radio or television reception,
which can be determined by turning the equipment on and off, the user is encouraged
to try to correct the interference by one or more of the following measures:
• Re-orient or relocate the receiving antenna.
• Increase the separation between the equipment and the receiver.
• Connect the equipment into an outlet on a circuit different
from that to which the receiver is connected.
• Consult the dealer or an experienced Radio-TV technician for help.
Notice: Any changes or modifi cations not expressly approved by the
party responsible for compliance could void the user’s authority to
operate the equipment. Extension cables are not recommended,
if used, they must be shielded in order to comply with the emission
limits. This device and its antenna(s) must not be co-located or
operating in conjunction with any other antenna or transmitter.
IC Certifi cation
The term “IC” before the certification/registration number only signifies
that the Industry Canada technical specifications were met.
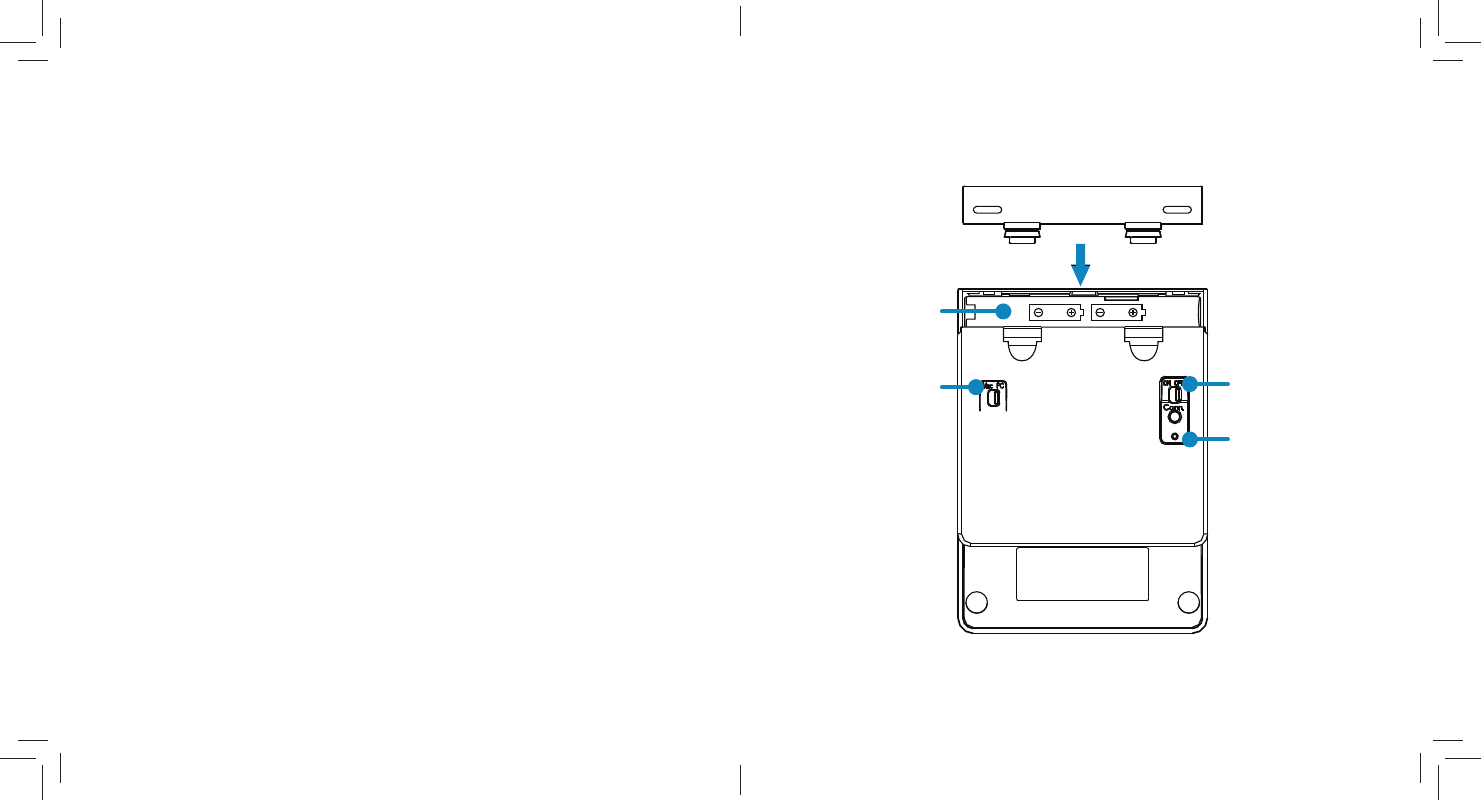
Page 4
Battery
Compartment
Battery Door
Mac / PC
Switch
On/Off
Switch
Conn.
Button

Page 5
Attach the Bridge
This step is optional if you
are using the Apple Wireless
Keyboard and wish to
magnetically align the iCalc
to the keyboard. The iCalc
Bluetooth Calculator Keypad
works with, or without, the
Apple Wireless Keyboard.
• Turn the Apple Wireless
Keyboard upside down.
• Remove the sticker from
the back of the wedge.
• Position the wedge to the
left-hand corner of the
keyboard so that the edge
of the wedge aligns with
the side of the keyboard.
• Affix the wedge to the Apple
Wireless Keyboard and press
firmly.
Note: It’s not recommended
to remove and reattach
the wedge to the keyboard
once this step is completed.
• Place the iCalc to the right side
of the keyboard. The iCalc
should attach to the keyboard
via the built-in magnets when
placed near the keyboard.
Step 2
(Optional - For Magnetically Aligning the
iCalc to the Apple Wireless Keyboard)
Page 14
The warranty does not affect your statutory rights and you may have other
rights which vary from state to state and country to country. This warranty
is understood to be the complete and exclusive agreement between the
parties, superseding all prior agreements, oral or written, and all other
communications between the parties relating to the matter of this warranty.
The above warranty does not apply to Products sold in
Australia. Products sold in Australia by an authorized reseller
will contain an Australia specific warranty statement.
Regulatory Compliance
FCC Certification
This device complies with Part 15 of the FCC Rules. Operation is
subject to the following two conditions: (1) This device may not cause
harmful interference, and (2) This device must accept any interference
received, including interference that may cause undesired operation.
This equipment has been tested and found to comply with the limits for a
CLASS B digital device, pursuant to Part 15 of the FCC rules. These limits
are designed to provide reasonable protection against harmful interference
when the equipment is operated in a residential installation. This equipment
generates, uses, and can radiate radio frequency energy. If not installed
correctly and used in accordance with the instruction guide, it may cause
Page 13
Warranty
SMK-Link Electronics Corporation (SMK-Link) warrants to the original end-
user purchaser of the Product (“you”) that the Product, excluding batteries,
will be free from defects in materials and workmanship under normal use
and service for one-year from date of purchase. If the Product becomes
defective in materials or workmanship during the warranty period, SMK-Link
will, at its option, either repair or replace it. The replacement unit may be
a more current or upgraded model if the originally purchased model is not
available. Any Product repaired or replaced under the terms of the warranty is
covered for the remainder of the original warranty period or ninety (90) days
from the date of return shipment, whichever is longer. This warranty does
not cover Products which have been subjected to misuse, accident, physical
damage, improper installation, abnormal operation or handling, neglect,
inundation or fire or when Product regulatory label has been removed, altered
or rendered illegible; nor does it cover accessory or consumable items.
SMK-Link shall not be liable for any indirect special, incidental, or consequential
damages. SMK-Link’s total liability for damages for any cause related to, or arising
out of, the use or inability to use the Product shall not exceed the original price
paid for the Product even if SMK-Link has been informed of such possibility.
If your Product requires service under warranty, you must first contact
SMK-Link product support to receive an RMA number. Shipping of defective
units back to SMK-Link is at your expense. The contact information
can be found on the SMK-Link website: www.smklink.com.
Page 6
Remove the
Sticker
Affi x the wedge to the keyboard
(Edge of the wedge aligns with the side of the keyboard)
Place the iCalc to the right
of the keyboard

Page 7
Step 3
Connect the iCalc to Your Bluetooth Computer
• Make sure the power is on and the OS Selector at the
bottom of the keypad is switched to the correct OS. The
LCD display should say “On Keypad” and a “0” is displayed.
• Before you can use Bluetooth devices for the first
time, you must connect your devices through a
standard discovery and pairing process.
• The iCalc Bluetooth Calculator Keypad is designed to
work with Bluetooth-enabled systems. Please review
the documentation that comes with your computer
system for any specifics regarding your Bluetooth system
and/or consult with your system vendor if you cannot
find the Bluetooth connectivity in your system.
Important: During the process of connecting your iCalc to
your Bluetooth system, you must set the iCalc Calculator
Keypad to Keypad Mode by tapping on the Mode key
until the word “Keypad” appears on the LCD display.
Page 12
• Your iCalc Bluetooth Calculator Keypad is designed with a
power-saving feature which goes into sleep mode with the LCD
display shuting off after approximately 30 minutes of inactivity.
To wake up the keypad from sleep mode, press the “WAKE”
key. Note: You don’t need to reconnect the Bluetooth keypad
to your computer after waking up the keypad as the keypad
stays connected to the computer during sleep mode.
Important: In some Mac systems the sleep mode triggers
a “Connection Loss” warning message. Please ignore the
message and tap on the “WAKE“ key to resume. This
warning message is a standard feature of some Mac OS
and it doesn’t impact your Bluetooth keypad connection.

Page 11
Step 4
Using the iCalc Bluetooth Calculator Keypad
Function Keys
MODE Switch between Keypad (communicating with
your computer) and Calculator (offline) modes.
SEND Send the calculation result displayed on
the keypad LCD to the computer when
the device is in Calculator Mode.
WAKE Press once to wake the keypad from sleep mode.
Operation Status
KEYPAD Allows for Bluetooth pairing and key
entry on your computer files.
CALC Allows simple arithmetic operations such as
“+”, “-”, “x”, “/”, “grand total” and “ce/ac.”
CALC GT Allows for cumulative arithmetic operations.
Page 8
Note: The iCalc defaults to Keypad Mode when you turn
the power on. If it was switched to Calculator Mode,
you must press the Mode key to switch it to Keypad
Mode before connecting to your Bluetooth computer.
Device Pairing on MAC
• Click on the Apple icon and select “System Preferences.”
• Click on the Bluetooth icon.
• Click on “Set Up New Device….”
• Click on “Continue”
• Press the Connect button “Conn” at the bottom of
the iCalc, the Pairing indicator LED light will flash
green indicating it’s ready to be discovered.
• Select “Keyboard” and click on “Continue.”
• Select “Bluetooth Calculator Keypad” and click on “Continue.”

Page 9
• On your iCalc Bluetooth Calculator Keypad, type the
passkey (numbers) provided on your computer screen,
followed by “enter” key on the keypad. Please note
that the numbers will not be displayed on the keypad’s
LCD screen as you type them in. At this point, the
pairing process is complete. Click on “Continue.”
• On the conclusion screen, click on “Quit.”
The keypad is ready to use.
Device Pairing on Windows
• Make sure the power is on and the OS Selector at the
bottom of the keypad is switched to PC. The LCD display
should say “On Keypad” and a “0” should be displayed.
• Press the “Conn” button on the back of the keypad.
The battery indicator LED will begin flashing green.
Page 10
• Click on the Bluetooth icon on your computer screen,
or access the Control Panel of your computer and select
“Devices and Printers”. Click on “Add a Device”. The
computer will display Bluetooth devices within range.
• Select the iCalc Bluetooth Calculator
Keypad and click on “Next.”
• On your iCalc Bluetooth Calculator Keypad, type the
passkey (numbers) provided on your computer screen,
followed by “enter” key on the keypad. Please note
that the numbers will not be displayed on the keypad’s
LCD screen as you type them in. At this point, the
pairing process is complete. Click on “Next.”
• When the connection / pairing is successfully completed,
your computer screen displays the following message.
Click on “Close” to finish and exit this process.