Star Computer Group A18 Mobile Phone User Manual
STAR COMPUTER GROUP INC. Mobile Phone
UserManual.wiki
>
Star Computer Group
>
A18 User Manual
User Manual
Navigation menu
Upload a User Manual
Namespaces
Wiki Guide
HTML
PDF
Info
Views
User Manual
Discussion / Help
Navigation
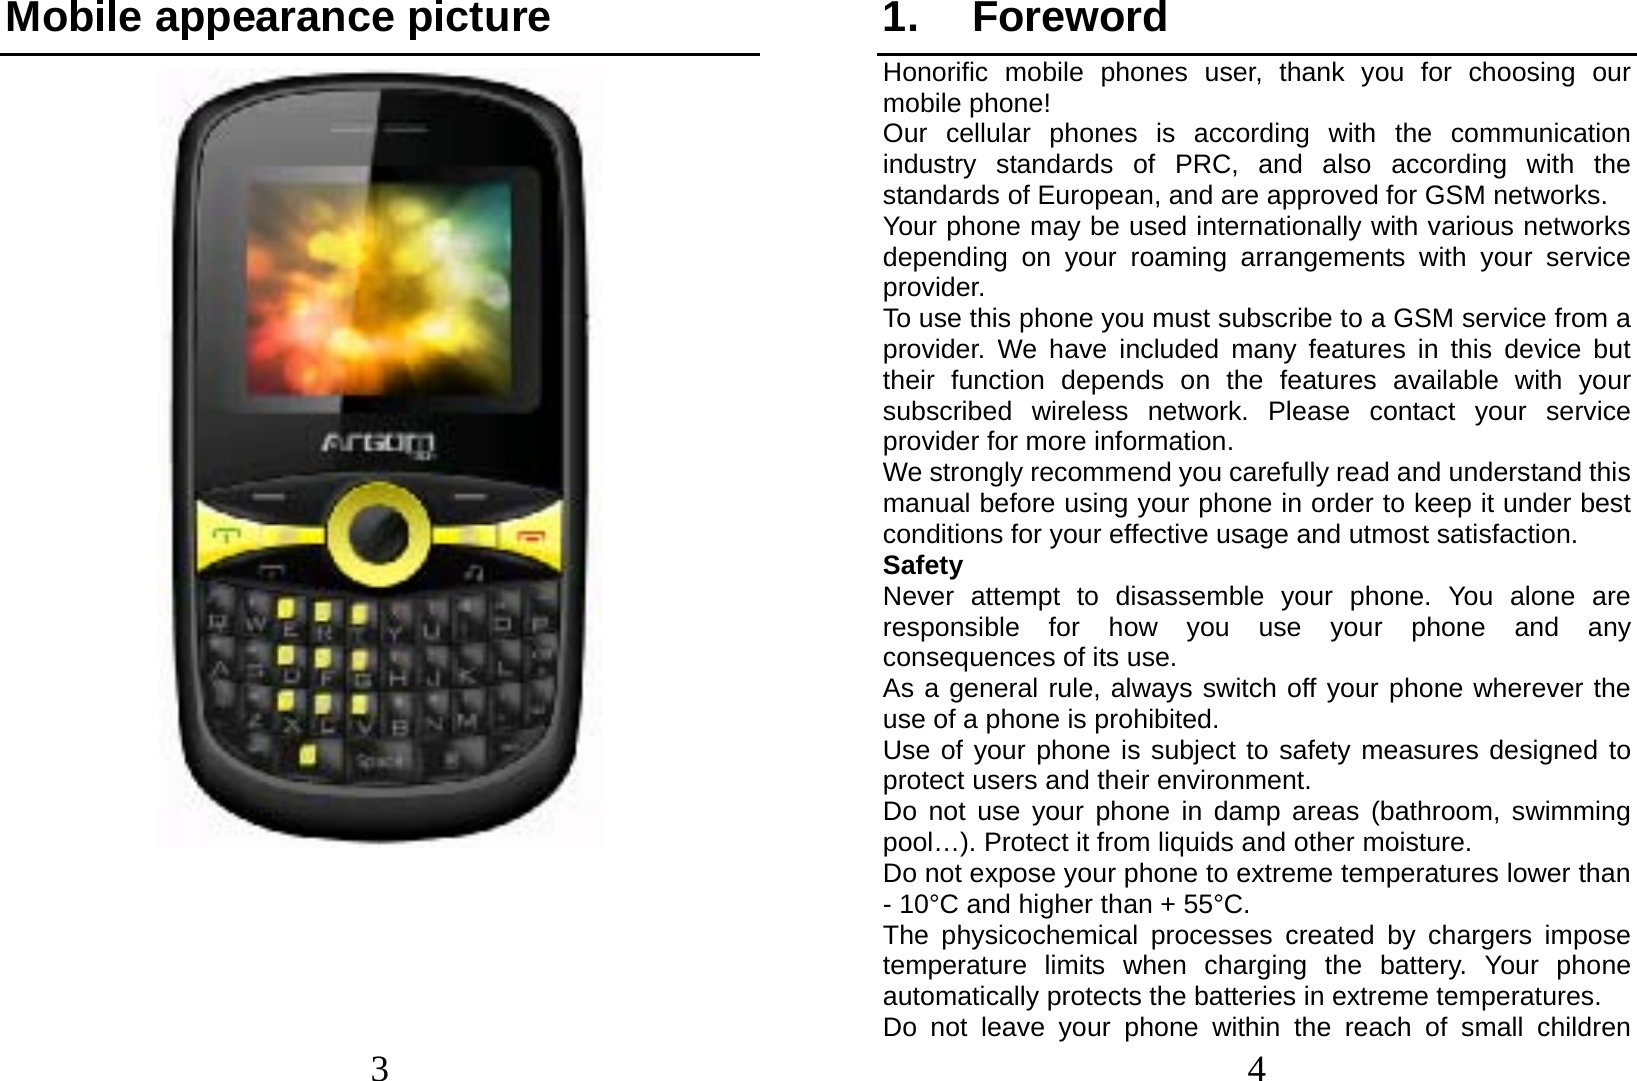
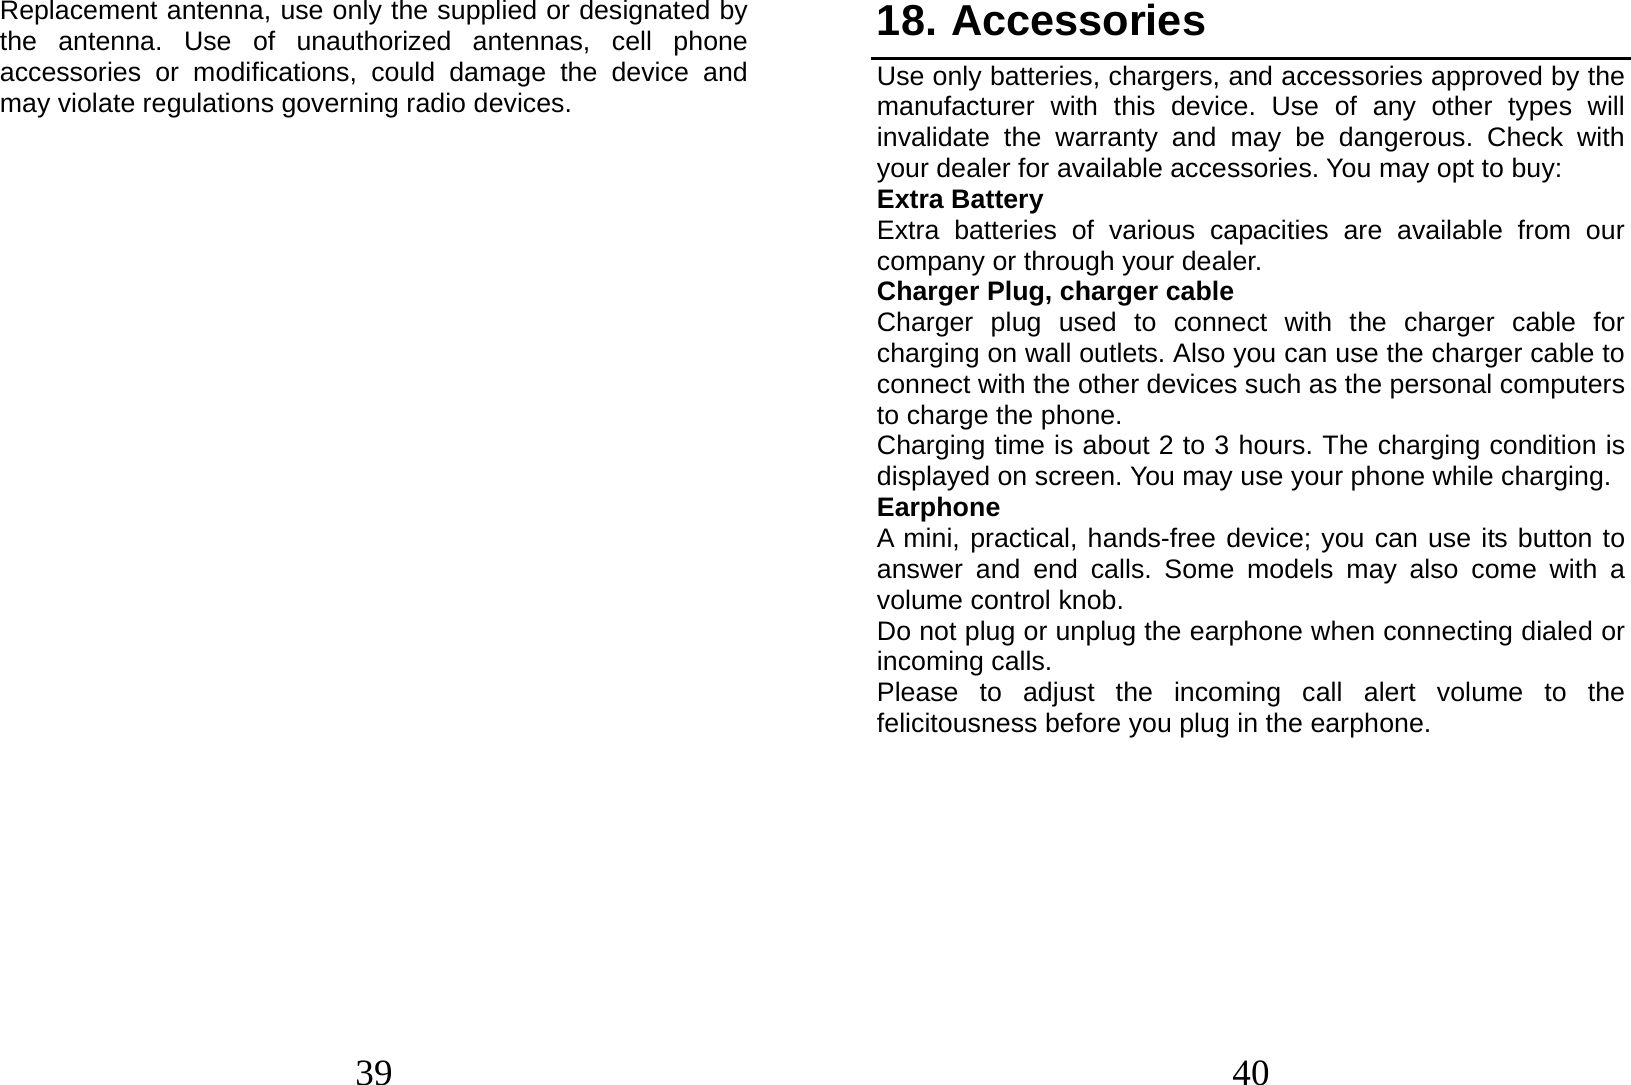
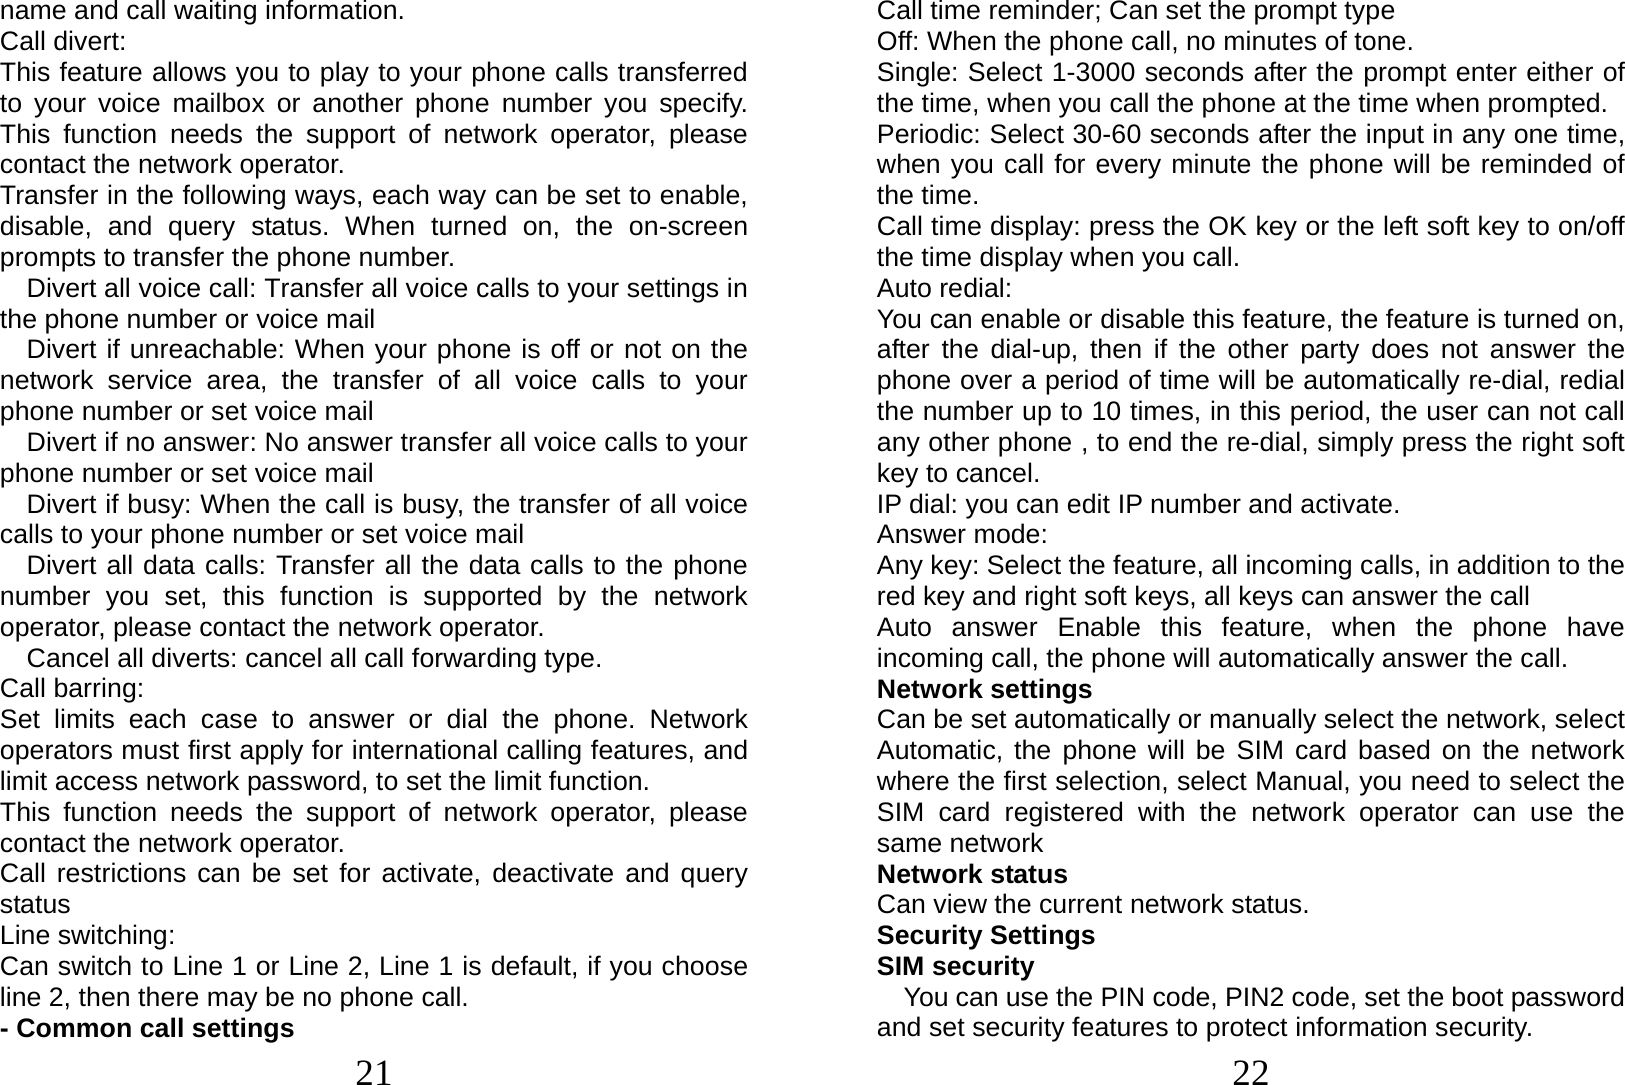
![7 2. Quick start Icon Explain Icon Function description Network signal strength: number of the more stronger the signal; Battery capacity number of the more power the more full; SMS SIM1/SIM2 have unread SMS Missed call SIM1/SIM2 have missed calls Used profiles Different icons show different icon: General, Silent, Meeting, Outdoor Headset Plug in headset Alarm Alarm function opened Key lock Show key and screen lock Knowing the Keys 1. Left soft key/Right soft key: Implement the functions shown in the lower left/right hand corner. 8 2. Call/Answer key (Green 1/2 key): Press the key to dialing, Press if there is an incoming call to answer. Press from standby to go to call records list. 3. End/Power key (Red key): Long press to switch phone on/off; Press to end, reject call; or to exit a menu. 4. OK key: Confirm or accept selection in menu access. Press from standby to enter the selected shortcuts list function. Long press the key to open or close the flashlight. 5. Music key: Press from standby to enter the audio player interface. 6. Message key: Press from standby to enter the Messages menu. 7. Camera key: Press from standby to enter the camera preview interface. 8. Navigator Keys: Press the up/down navigation key into the shortcut function. In idle mode, press the left/right direction keys to select the shortcut function showed on the bottom of the screen, and then press the OK key to confirm. 9. 0-9 alphanumeric keys: Press corresponding keys to input numbers when dialing or numbers and characters when editing. From Standby: Long press “2” to “9” key to dial speed dial numbers (as defined in the menu [Phonebook /Phonebook settings / Speed dial]). 10. # Key: Press in standby to input “#” character; long press from standby to activate or deactivate silent mode. 11.*(star)key: Press in standby to input “*” character, long press the * key to lock or unlock the keypad in the idle screen.](https://usermanual.wiki/Star-Computer-Group/A18/User-Guide-1789912-Page-4.png)
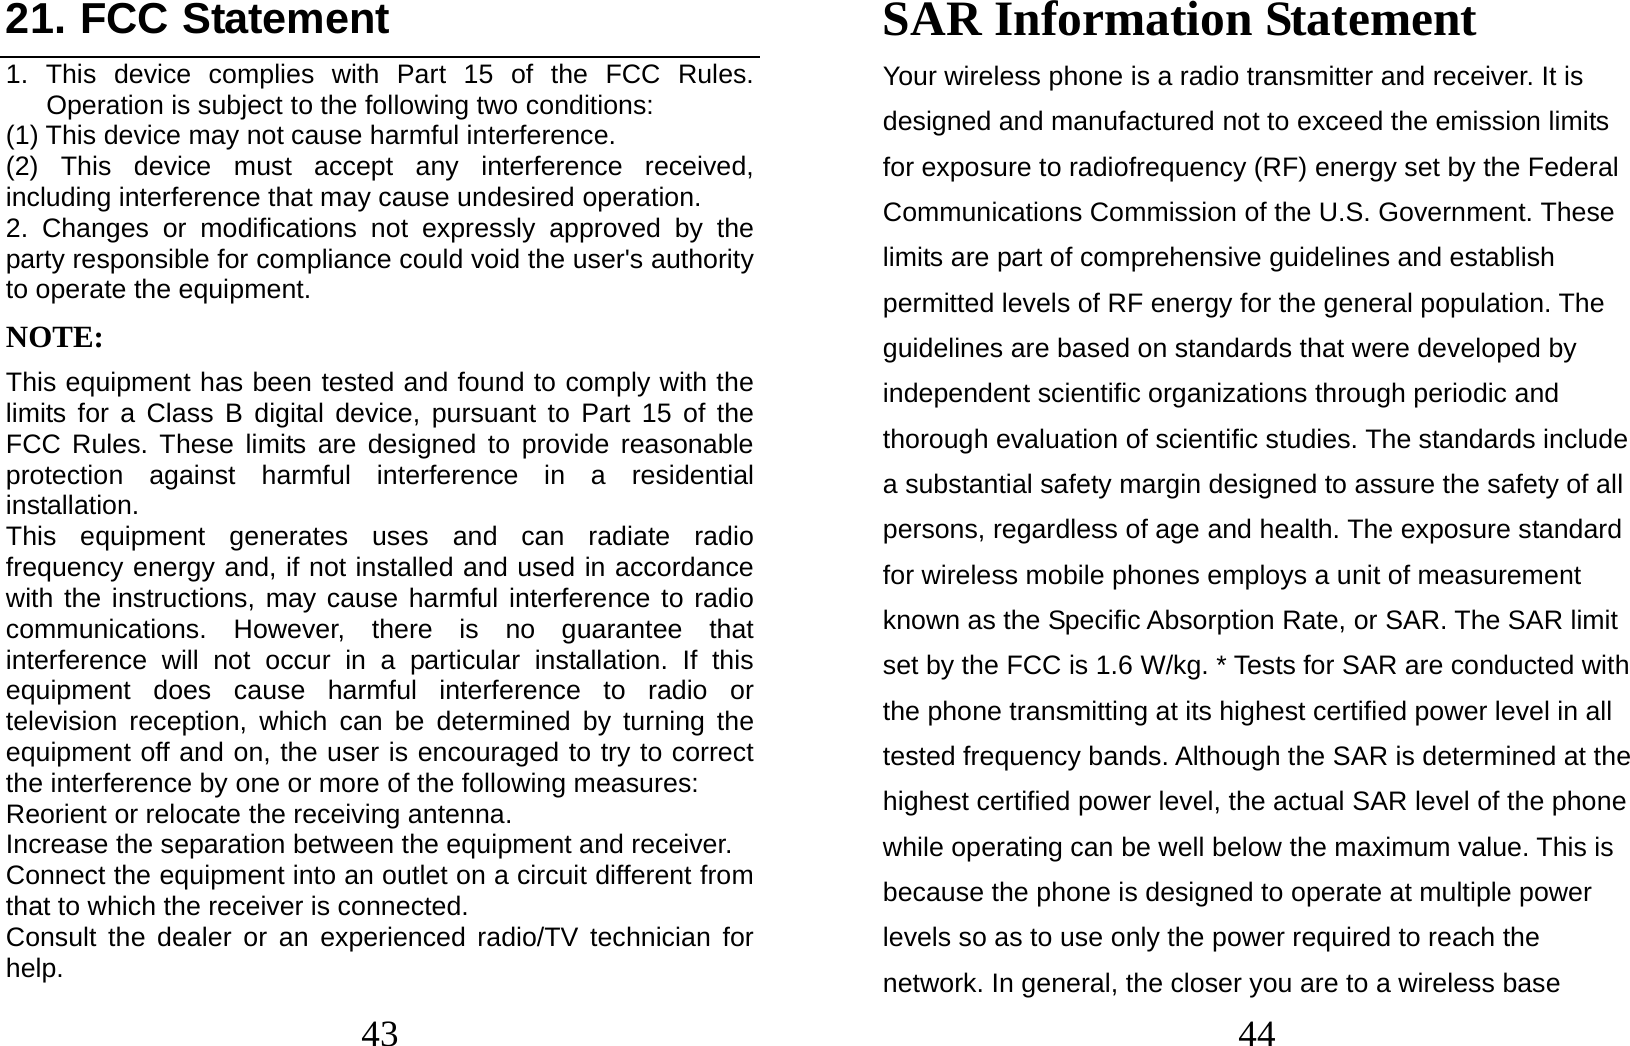
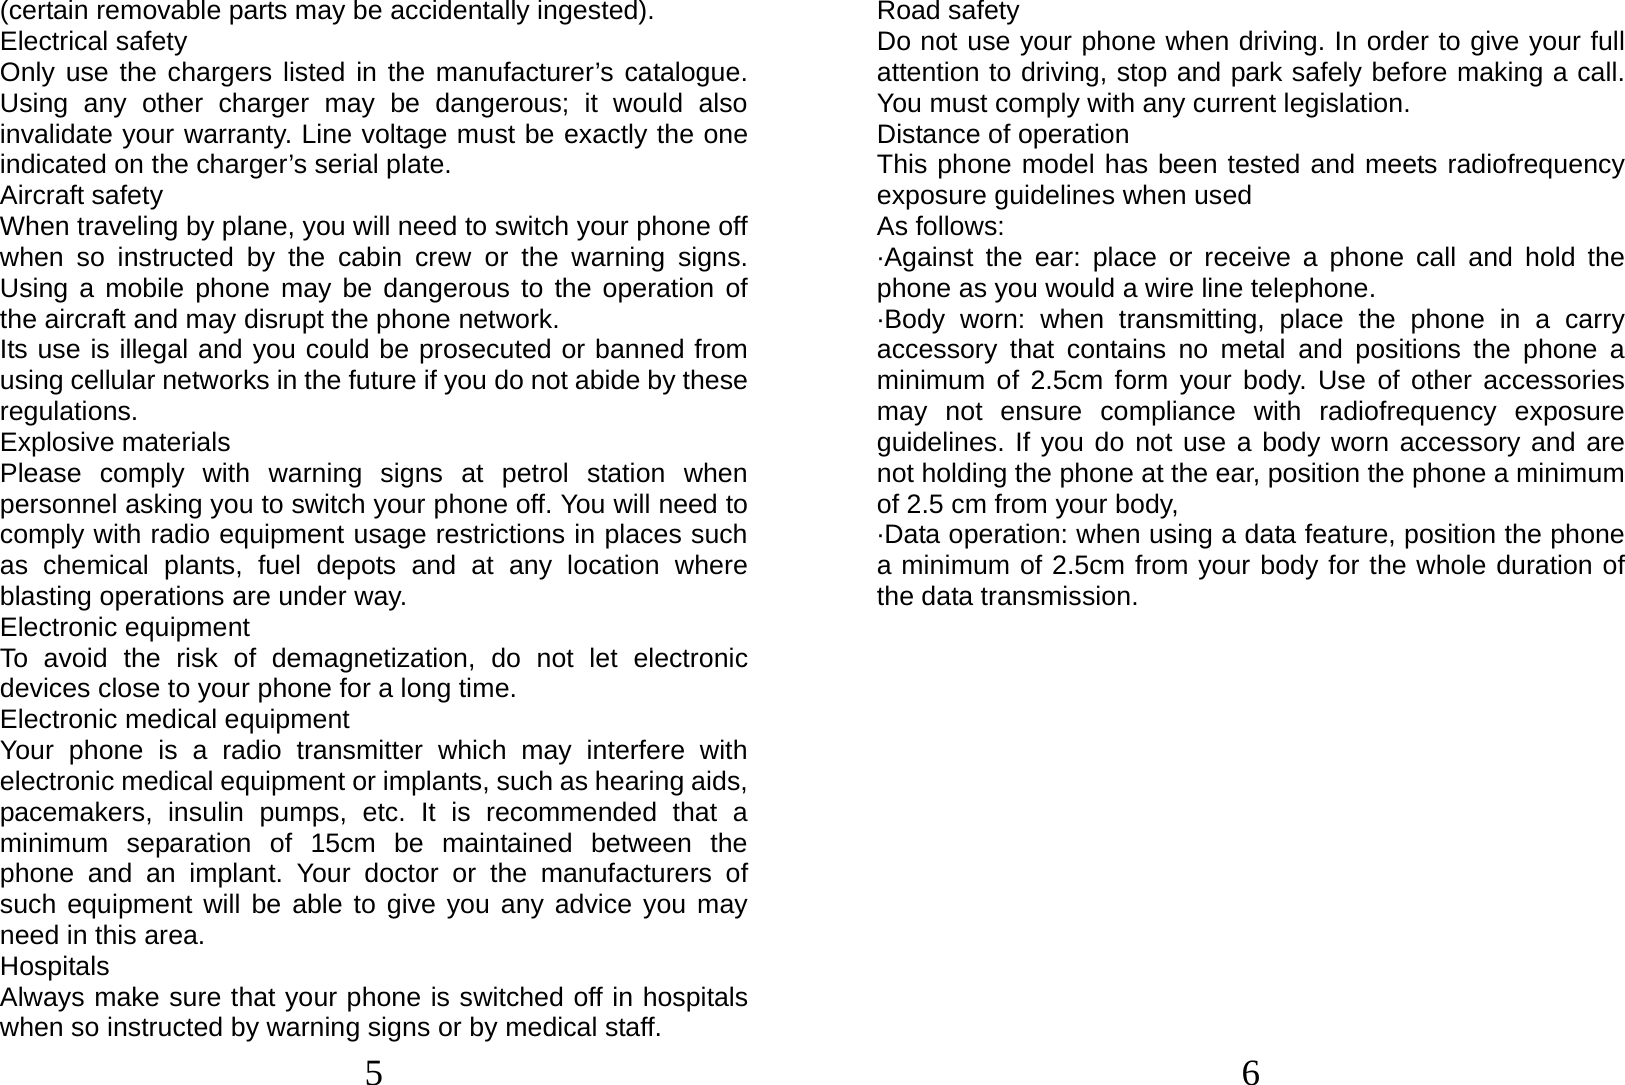
![11 3. Call function Dialing telephone In standby mode, press the corresponding numeric keys to enter the phone number that you want to dial, including necessary area codes. Press the Clear key to delete erroneous inputs; if inserted one GSM SIM card, press the Call/Answer key to make a call when done to connect. If inserted two GSM SIM card, press the call/answer key 1 use the SIM1 to dial, press the Call/answer 2 use the SIM2 to dial. 1. Dialing Fixed/Land Line Extensions: You cannot directly get through some fixed line extensions, and need to dial the telephone exchange or trunk line first and then press [P] key to switch until “P” appears on the screen. And then dial the extension. 2. Making an International Call: To make an international call, press the + key and number. 3. Dialing from Phonebook: Enter the Phonebook via the menu to enter the phonebook list, use the Up/Down Navigator keys to scroll to the desired contact, or press the first letter of the name of the desired contact as saved in your phonebook for quick access to names beginning with the letter then scroll to the desired one. 4. Dialing from Call history: Enter the Call center (press the Call/Answer key from standby or via the menu), use the Up/Down navigator keys to scroll to the desired contact. Receiving telephone When there is an incoming call, the phone will give corresponding alert, if your network supports caller ID, the screen will display caller’s name or number (depending on whether there is information of the caller in your phonebook). 1. Press the green key or press the Left soft key and confirm [Answer] to answer the incoming call. 2. If function of [Settings /call setting/Advanced setting/ Answer 12 mode] is selected as [Any-key], press the any key to answer the incoming call except the Right soft key or the Red key. 3. If you do not want to answer an incoming call, press the Red key or the Right soft key [Reject] to reject it. You can also press the Red key to end a call. 4. During a call, you can press the Up/Down navigator key to adjust receiver volume. call in the menu During a call, press the right soft key can also open / close the hands-free function, press the left soft-key into the options: - Swap*: Is maintained in the current call and switch between calls - Conference*:Into the multi-party conference call, you can follow the prompts to answer the waiting call, to add multi-session conference call will be maintained; and the party conference in private conversation, the call to keep all other parties; the parties to keep the party; the end of the current Calls and all calls remain. - Hold/Retrieve single call*: The current call on hold or resume the call - End single call*: end off the current call. - End all calls*:end off the current call and the hold call - Transfer*: the function need network support. - New call: enter the dial-up interfaces. - Phonebook: enter the phonebook list of interfaces. - Messages: access to the message menu. - Call history: access to call history list. - Sound recorder: record the current call. Note: Recording of the call, in some countries is illegal. Therefore, when you talk to Recording, should seek prior approval from the other party's consent. - Mute: mute on or off, open the case in the quiet do not send local voice.](https://usermanual.wiki/Star-Computer-Group/A18/User-Guide-1789912-Page-6.png)
![13 -DTMF: The dual tone multi-frequency switching operation ( a call, you press the keys on the keyboard, the audio signal will be sent to each other, for telephone banking, automatic answering machine, etc.) Note: Denotes menu items only appear in specific circumstances. Such as: [Swap] exist only in the state of the phone and call the phone only appears to be suspended. At the same time for the conferencing, you need to the appropriate service provider to subscribe. 14 4. Phonebook Stores and manages contacts that you often use. There are two locations where you can store the names and numbers that you regularly use, in the SIM memory and in the phone memory. The volume of contacts can be saved in SIM card depends on SIM capacity. Enter the Phonebook list via the menu, including all records saved in the phone and the SIM card. There are different icons before different records indicating its memory location. As you are browsing, you could enter a character, characters or number and jump to contacts whose names (as saved in the phonebook) starting with or most closely matching with the characters entered. After searching for the name, press the Call/Answer key to dial the number of record, and press the Red key to end. Press the OK key to view details of the record, press the Left soft key [Options] to access the menu options: ·View: Display details of the currently recorded. ·Send text message: Send a text message to the currently recorded. ·Call: Dial the currently selected phone number. ·Edit: Modify the currently selected contactor record. ·Delete: Delete the currently selected record. ·Copy: Copy this record to SIM card if it is saved in phone and vice versa. ·Move: Move this record to SIM card if it is saved in phone and vice versa. ·Add to Speed dial: Add the phone number to the speed dial -Mark several: you can mark one or more contacts to delete. ·Phonebook settings Speed dial: Set phone’s speed dial functions. Use the OK key at ‘Enable speed dial’ option to turn speed dial function on or off. Select ‘Set number’, scroll to a key number (8](https://usermanual.wiki/Star-Computer-Group/A18/User-Guide-1789912-Page-7.png)
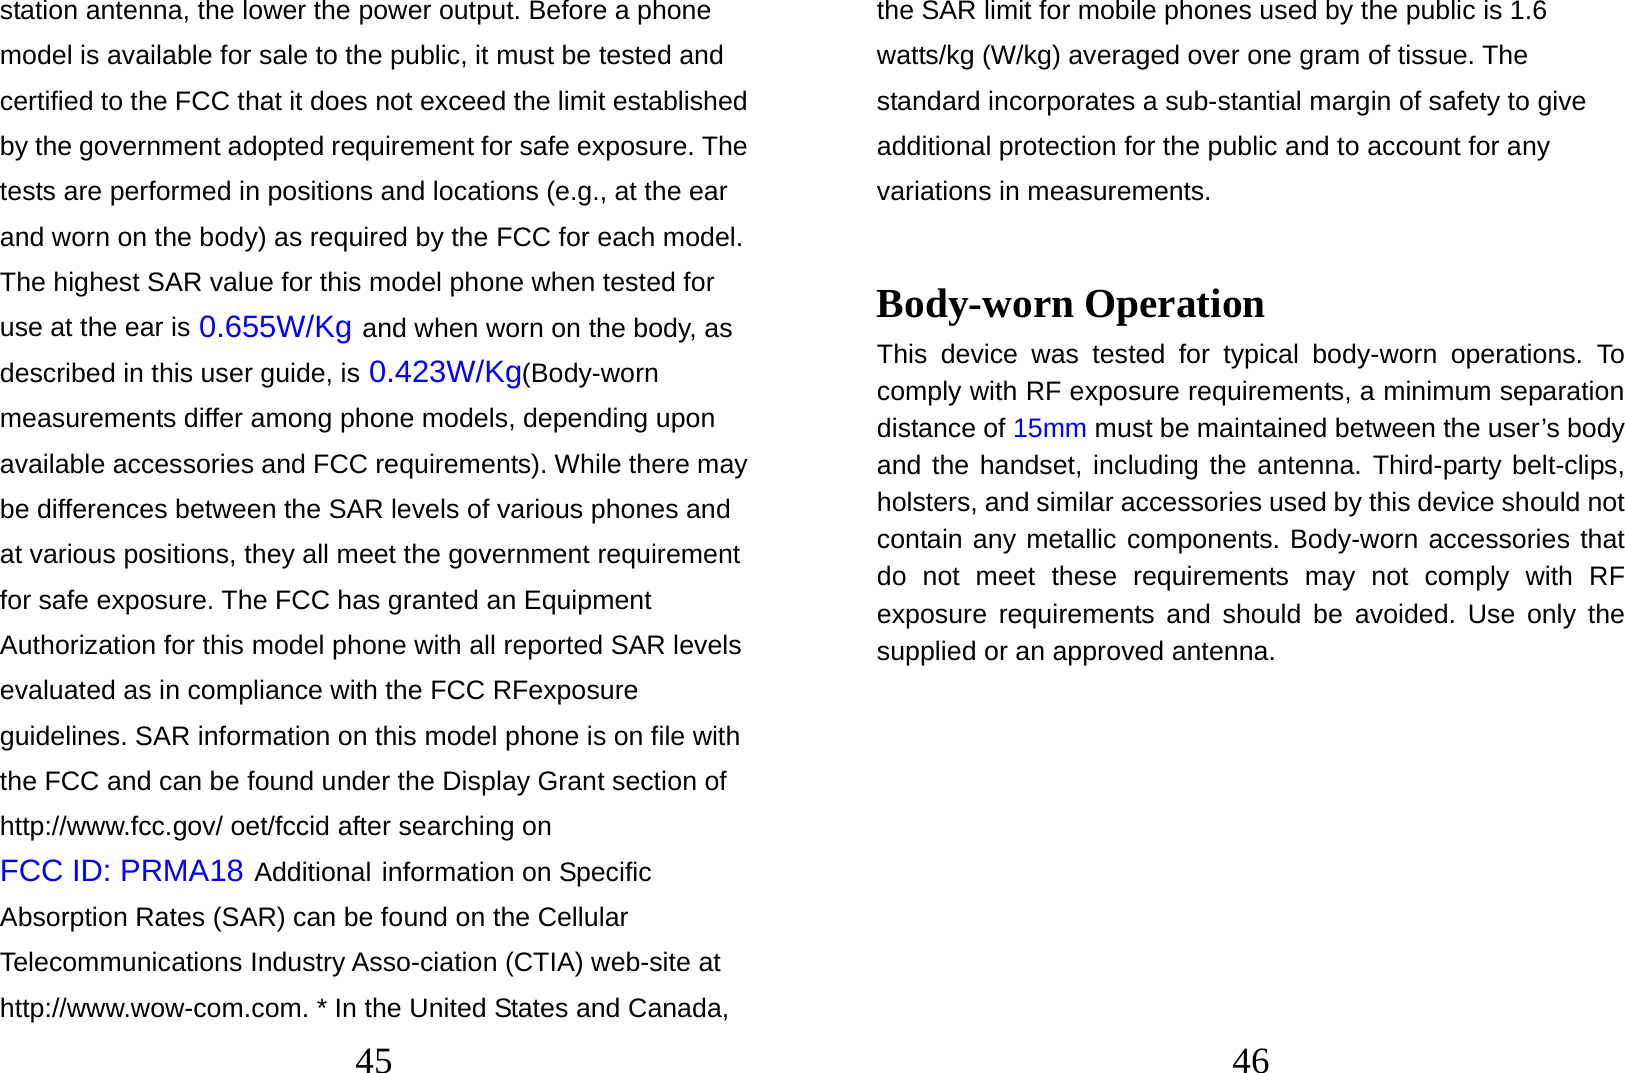
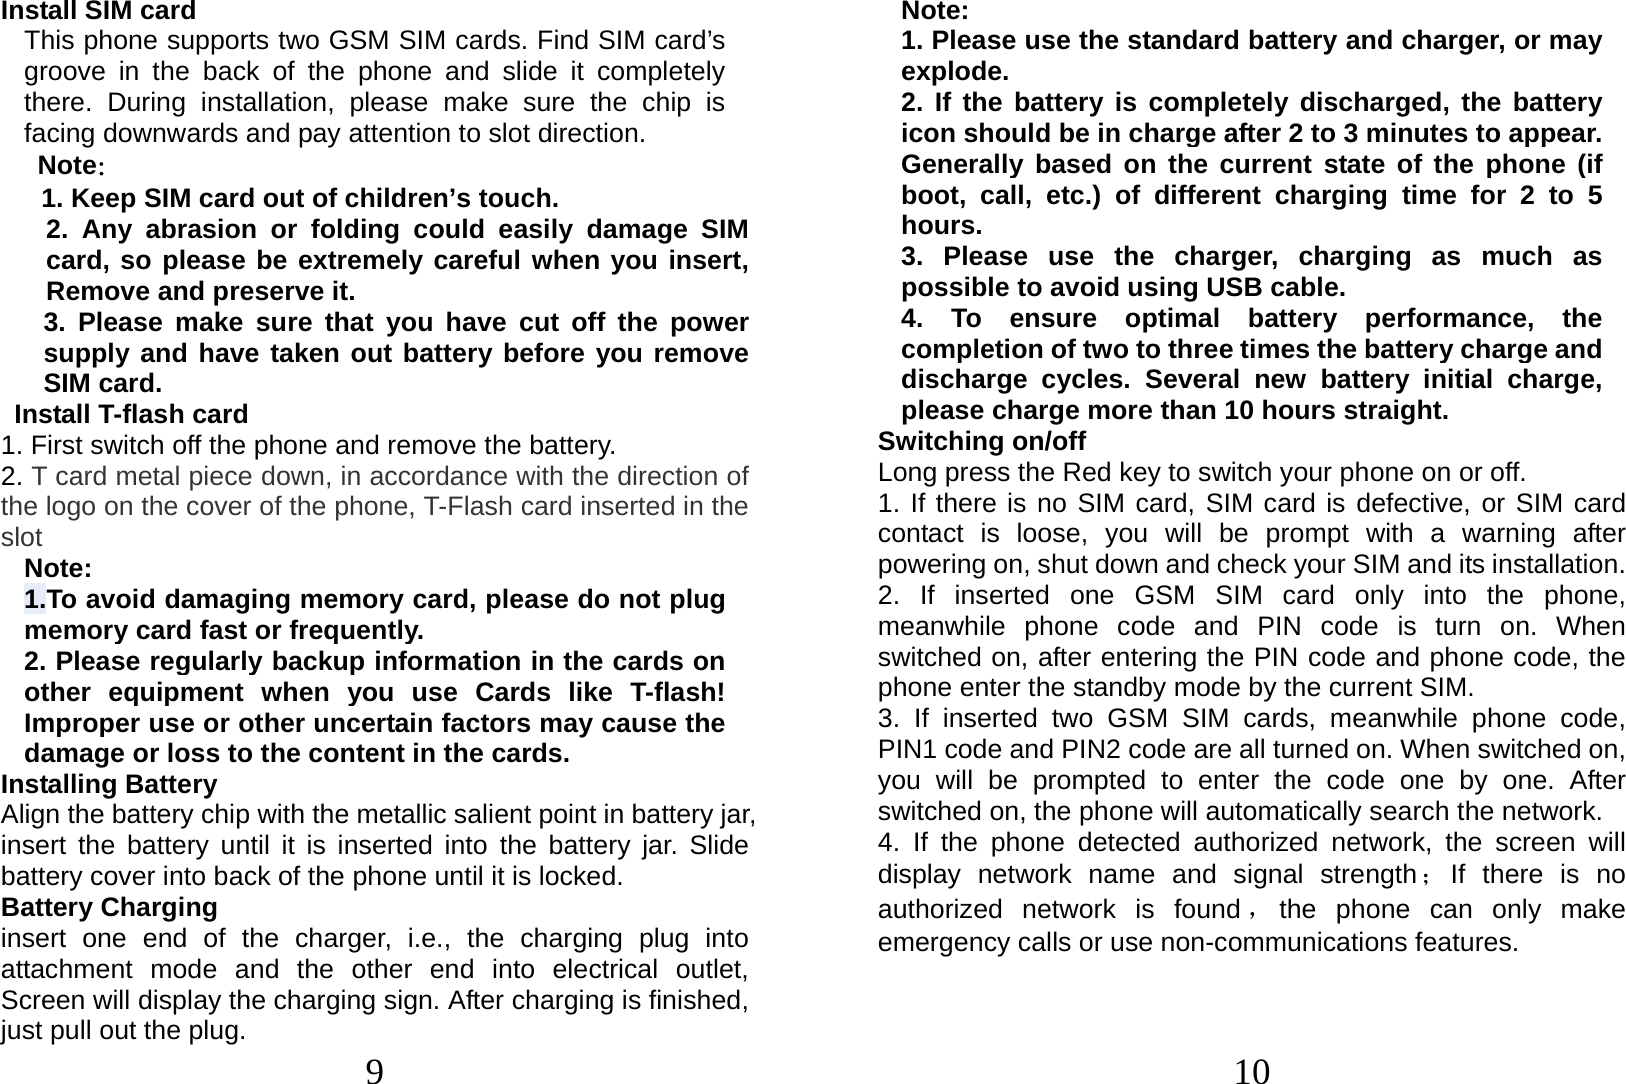
![15 available, from 2 to 9), press the OK key and select ‘Edit’, scroll to the desired number to set as speed dial number for the key and press the OK key. When a number is set as speed dial and the function is enabled, you can simply press and hold the corresponding numeric key to the number for instant and automatic dialing. Owner number: Save and view up to 2 own numbers (with name) Preferred storage: you can set preferred storage location, if you select SIM, add the new contact will directly save in the SIM, if you select phone, add the new contact will directly save in the phone. Memory status: View the service condition of the SIM card and phone’s phone book. The capacity of SIM card depends on different SIM card. Copy all contacts: You can select ‘SIM to phone, phone to SIM’ option to copy the phone book you want. Move all contacts: You can select ‘SIM to phone, phone to SIM’ option to move the phone book you want. Delete all contacts: Select to delete the contacts from SIM or the phone memory and you must input the phone password. Add new contact This menu allows you to add the new record to the SIM card or the Phone. Enter the phone number directly in standby mode, then press the OK key to save the phone number in the SIM card or the Phone. First you need to select storage: To SIM or To Phone. To SIM: New records added to the SIM, each name can only be stored under a number. To Phone: you can input name, number and set caller ring-tone. This Records stored in your phone,. 16 5. Messages Message service is a network dependent function, which allows you to send, receive and edit all kinds of messages. Please contact the network operator for more details. Write message Edit a new message, save or send it to the recipient. Note: To send SMS, you need to set the correct SMS service center number which can be obtained from network provider. While editing, press the key to change input method, a text message can be up to 612 characters in length. Press the OK Key, into add recipient interface, you can enter number and add from phonebook and call logs, you can add one number or more number, press the Left Soft key [Options] to select options when editing: - Send: Enter the destination number is sent, or press OK into the address book to find the necessary records, you can select the type of SIM card, confirmed, you can send - Edit: you can edit recipient number. - Save: Save the edited message to the outbox Inbox Received SMS/MMS messages can be stored either in phone or in SIM1/SIM2 memory, and are accessed here. When you have received a message, the tones or vibration to alert you and message mark will also be shown on the screen. Press the Left soft key [Read] or the OK key to read the new message, press the Right soft key [Back] to return, and you can also access the inbox to read the new message. If the message memory is full, the indication “Memory full” and the message icon will be shown on the screen and flashed. Before you can receive new messages, delete some of your old](https://usermanual.wiki/Star-Computer-Group/A18/User-Guide-1789912-Page-8.png)
![17 messages in the inbox folder. If the capacity of new messages is beyond the capacity of the inbox, the information will be lost and incomplete. In message list, press the OK key to read the selected message, press the Left soft key [Options] to make the following menu: -View: view the current message -Reply: Reply SMS to the message sender directly. -Delete: Delete the messages. -Copy to phone: copy the selected message to phone - Move to phone: move the selected message to phone - Delete all: delete all messages in inbox. - Copy all: copy all messages from SIM to phone or from phone to SIM. - Move all: move all messages from SIM to phone or from phone to SIM. - Mark several: mark one messages or more messages to delete. Outbox Not send \send Failed\sent message will save in the outbox, , the operation is the same with inbox. Settings Profile settings: You can choose either of two modes, custom different parameters, including the model name, short message center number, Validity period and Message type. Common settings Delivery report: Open the function, after a successful send text messages, the system will return to report. Reply path: If the network allows, open the function, the recipient receives a text message, the system will send a confirmation message. Save sent message: open the function, After the success of SMS will be automatically saved in the Outbox. Memory status 18 can view the memory storage status. Voice mail When you can not answer the phone, automatically incoming calls to voice mail number, you can let the other party to your message, a message stored in the network's voice mail system, and afterwards, you can access the voice mail system to listen to a message. Into the voice mail sub-menu, you can see the current voice message (up to the establishment of two voice mail) Voice mail function needs the support of network operator, you may need to subscribe to the service. For details, please contact with the operator. Broadcast messages Broadcast message is sent by network operators, public information, this function needs the network operator support, please contact the network operator. Using the cell broadcast service, you can receive from the network operator information on various topics, such as weather, taxis, hospitals and so on. For information on available topics, please consult your local network operator.](https://usermanual.wiki/Star-Computer-Group/A18/User-Guide-1789912-Page-9.png)
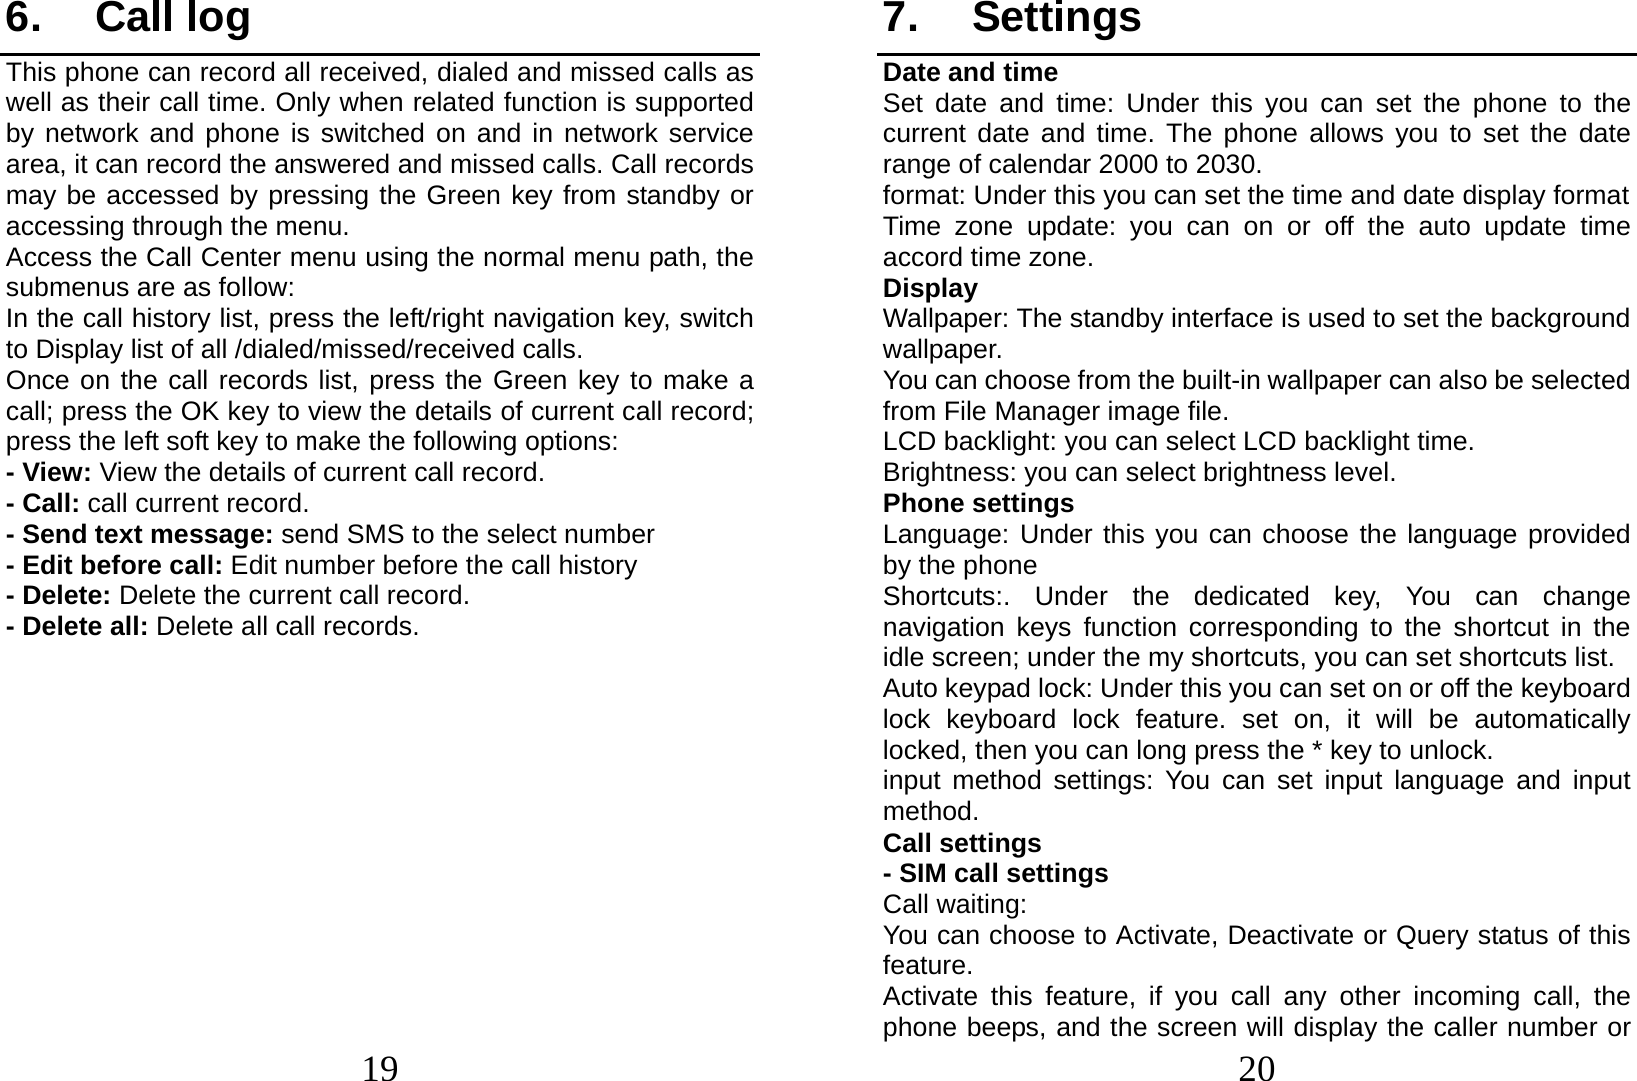
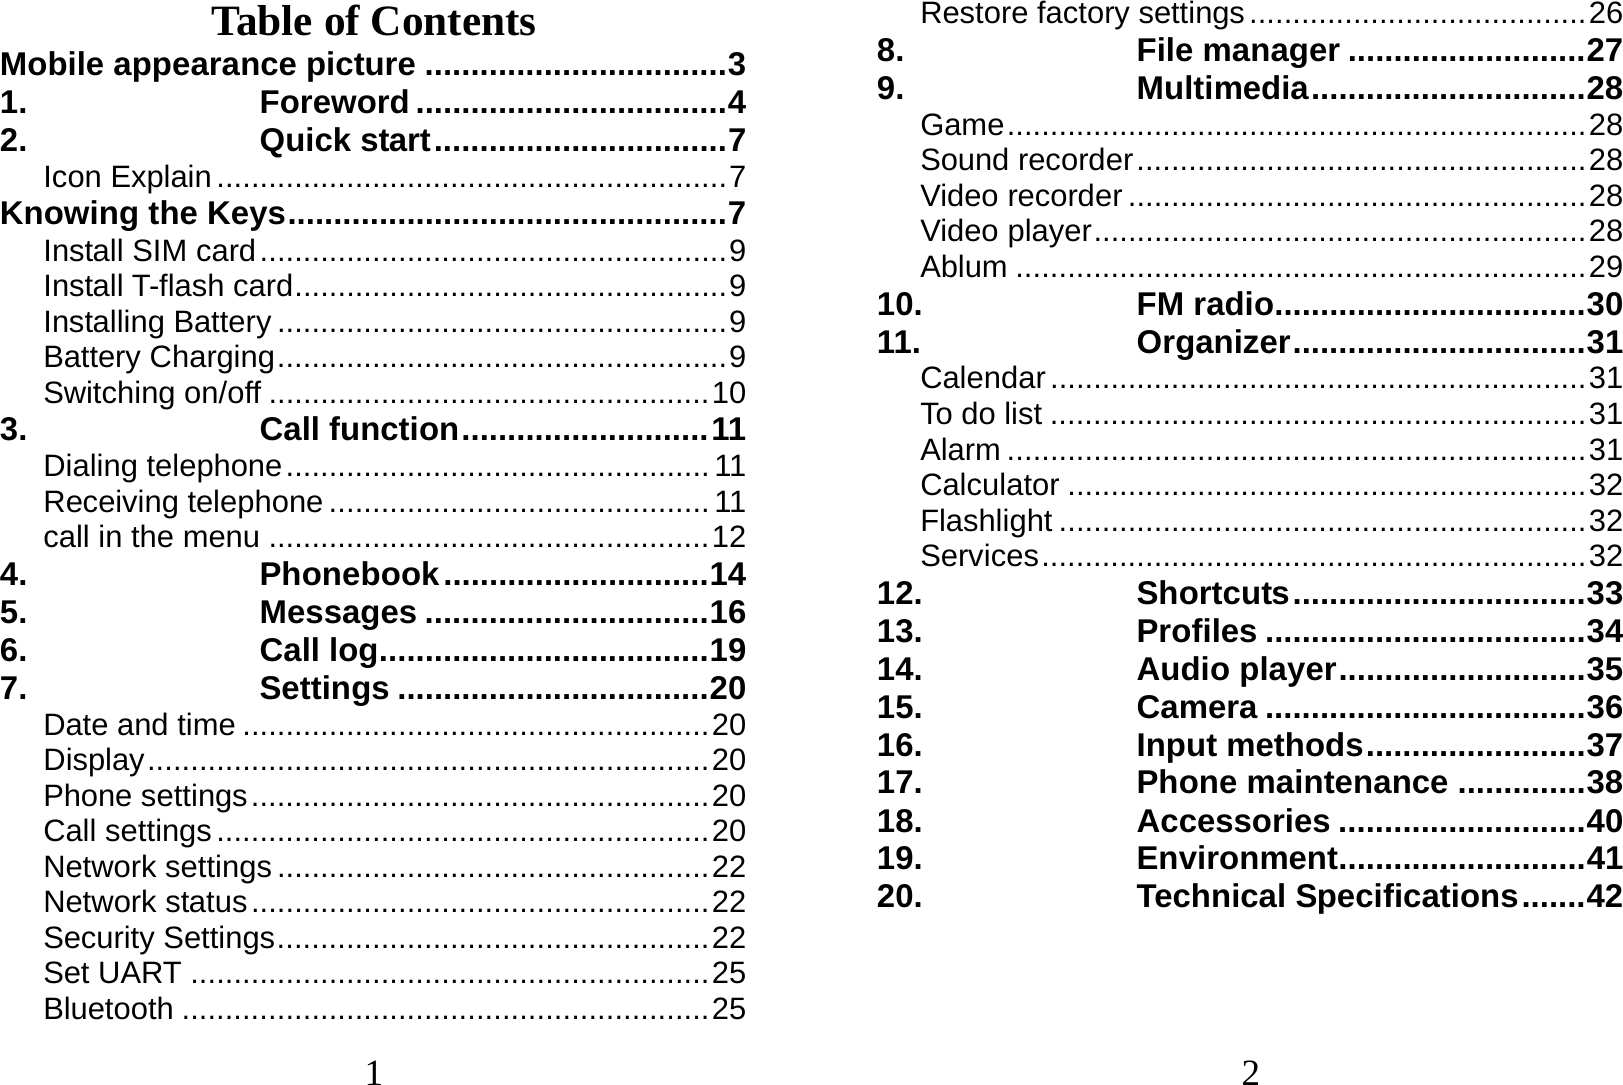
![27 8. File manager In document management, you can open files in the Phone or Memory card, you can select file or folder to press the left soft key into [Options], you can do the following(Perform different file operations are also different, depending on the specific operation by the file): - Open: open the file or folder. - New Folder: the folder in the selected directory New Folder. - Rename: you can rename the select folder. - Delete: delete the selected file or folder. - use as: if the selected file is audio files, can set the file use as SIM1/SIM2 incoming call; if the selected file is image file, can set the file use as wallpaper, Screen saver, Power on display or Power off display. - Search: memory card can be customized to find all the documents. - Sort by: can "name", “time” ,"size" , "type" or “none” . - Send: the select file can send by MMS or Bluetooth. - Copy: you can copy the select file to other folders. - Move: you can move the select file to other folders. - Details: you can view the select file information. Note: Memory card as the default save path, order to facilitate the use of multimedia features, please copy the appropriate files to Audio, My music, Photos, Videos etc. folders. 28 9. Multimedia Games The game is based phones built a F1 Race game, particular explain see the help information. Sound recorder Enter the recording screen, press the left key into options menu: New record: when you choose the function, start new record, In recording, press the left soft key to pause/ continue record, press the right soft key to stop record, the screen will be prompted to save video, press the left soft key to save and return to the record screen, press the right soft key to not save and directly Back to the record screen. Play*: can play the current recording. Rename *: Change the name of the current recorder file Delete*: Delete the current recording. List: Display recorder files list Settings: you can set file format and audio quality. Video recorder Enter video preview interface by selecting this option, press the Left soft key to make the following operations: settings and Restore Default. Press the OK key to begin video recording, during which press the OK key to pause or resume video recording, press the Right soft key to stop video recording, the phone will auto save the video Video player This menu allows you to playback videos stored in your memory card. Enter video list interface, press the OK key play the select video file, press the Left soft key [Options] to make the following operations: Play and details When playing the video, you need to press the OK key or the](https://usermanual.wiki/Star-Computer-Group/A18/User-Guide-1789912-Page-14.png)
![31 11. Organizer Calendar Select the calendar menu, and the screen will display the calendar of that month, with date of that day shown by a special color. Press the navigator keys to modify date and calendar in screen upside will be correspondingly renewed. press the Left soft key [Options] and make the following options: View tasks, Jump to date, Go to today etc. To do list With this function you could expediently manage all kinds of missions in work and life as well as arrange and record your future matters. When your prearranged matter time is up, phone will give warning tone for reminding you to finish it. When the current schedule is empty, press the Left soft key [Add] to add scheduling, and first select the task type. After selecting one task type and confirm; specific operation steps are as follows: Note, Date, Time, status, Repeat. After editing above options, press the left soft key confirm save. Note: 1. Phone obligates a certain amount of available memory for schedule. When phone gives alert that memory space is full, you have to delete some unwanted schedule records to create new ones. 2. Only when planned matter’s alert isn’t set as [Off], its ring tone setting is effective otherwise there is no alert. Alarm This phone can set five alarm clocks at most, which still work in phone switched-off status. When the alarm time is reached, press the Left soft key to stop; press the Right soft key to snooze, the alarm will remind you again after snooze time if snooze is selected. And you can also follow the same procedure to save the alarm settings after modifying. 32 Calculator Your phone provides you a calculator with four basic functions, which facilitates simple calculations. Note: The accuracy rate of calculator is 8 effective numbers, and calculations of over nine effective numbers will cause errors Flashlight Press the OK key or the Left soft key to open or close the torch light. In idle mode, long press the OK key to activate or deactivate the torch light. Services Enter network service menu, and the first menu is STK sub-menu. STK is the extra service offered by the network operator. Your phone supports STK function. This function cannot be used if the SIM card or the network operation company does not support this service. For more information, please contact the network operator.](https://usermanual.wiki/Star-Computer-Group/A18/User-Guide-1789912-Page-16.png)

![35 14. Audio player Play the audio files saved in the phone or memory card. In playing interface, press the OK key to start/pause the current song, press the left/right navigation key to switch previous/next song; press the up/down navigation key to adjust the volume, In playing interface, press the red key or the right soft key to exit player interface, Phone into the background playing mode, while the idle screen shows the name of the music. Press the left soft key into the play list, play the left soft key into option menu: All songs:view all songs list. Settings: List auto gen.: Select this option enabled, each time the player list will automatically update. Repeat: You can choose play mode repeat all, repeat one or off. Shuffle: When you select on, the player will not play in order by list. Background play: Select on when playing the exit music player can continue playing. Help The menu offer help information for you. Stop Select the function Press the left soft key or the OK key to stop the current audio when you playing. . 36 15. Camera Your phone is fitted with camera allows you to take photos whenever possible. You can store the pictures in phone or customize the wallpaper. Select this option to enter photo preview interface. In this interface, press the OK key to take photos, the photo will be stored in ablum, press the right soft key to back the preview interface. In photo preview interface, you can choose the following operations by pressing the Left soft key in a pop-up menu: Camera settings, Image settings, Restore default and album. Entering this album, you can conveniently view photo list saved in album, press the OK key to view the selected photo, press the Left soft key [Options] to make the following operations: View, set as wallpaper, Rename, Delete, Delete all files](https://usermanual.wiki/Star-Computer-Group/A18/User-Guide-1789912-Page-18.png)
![37 16. Input methods This phone provides diversified input modes for you to enter letter information when editing SMS and adding phonebook. Use the key on the right of the phone to switch between different input methods. When editing the key controls: The Left soft key: Generally represents confirmation. The Right soft key / : Press to clear one character, long press to clear all. The End/Power key: Return to the idle interface. [sym] key: In every input status, press this key to call out punctuation and symbol input frame. [Space] key: press the key to input blank once. [Fn] key: press the key to shift character type on the keypad. [] key: press the key on the left of the phone to shift lower or capital case. General input method General input method include abc\es\pt three languages input, Each key corresponding input one character, there is no association function. The Numeric input method To input numerical values, press the respective numeric keys. 38 17. Phone maintenance Mobile is a high-precision electronic products, please carefully maintained. The following suggestions can help you maintain phone, to extend the lifespan: Phone and its accessories should be placed out of the reach of children. Keep the device dry. Rain, humidity or moisture will corrode the circuit board. If the phone is accidentally flooded, shall promptly remove the battery, and immediately sent to a local authorized service center for processing. Do not place your phone in dusty places, this may affect the normal use of mobile phones. LCD display is easily damaged cell phone parts, mobile phone dropped onto the ground should be avoided or be strong vibration; prohibit the use of sharp objects to touch the screen. Do not place the phone where the temperature is too high. High temperatures can shorten the life of electronic devices, damage batteries, and warp or melt plastic shell phone. Do not place the phone where the temperature is too low. Otherwise, when the phone temperature to normal temperature, moisture will be generated internally, could damage the device electronic circuit boards. Do not drop, knock or severe shaking the phone, so as not to damage the internal circuit boards and precision mobile structure. Do not use chemicals, cleaning solvents or strong detergents to clean the device, apply a soft cloth soaked in soapy water and gently scrub. Do not use paint pigment cell phone to avoid moving parts and be stuck to proper operation. Use a clean soft lens cleaning cloth. Such as: camera lens.](https://usermanual.wiki/Star-Computer-Group/A18/User-Guide-1789912-Page-19.png)