SZ DJI TECHNOLOGY G1S1612 DJI Goggles User Manual
SZ DJI TECHNOLOGY CO., LTD DJI Goggles Users Manual
UserManual.wiki
>
SZ DJI TECHNOLOGY
>
G1S1612 User Manual
Users Manual
Navigation menu
Upload a User Manual
Namespaces
Wiki Guide
HTML
PDF
Info
Views
User Manual
Discussion / Help
Navigation

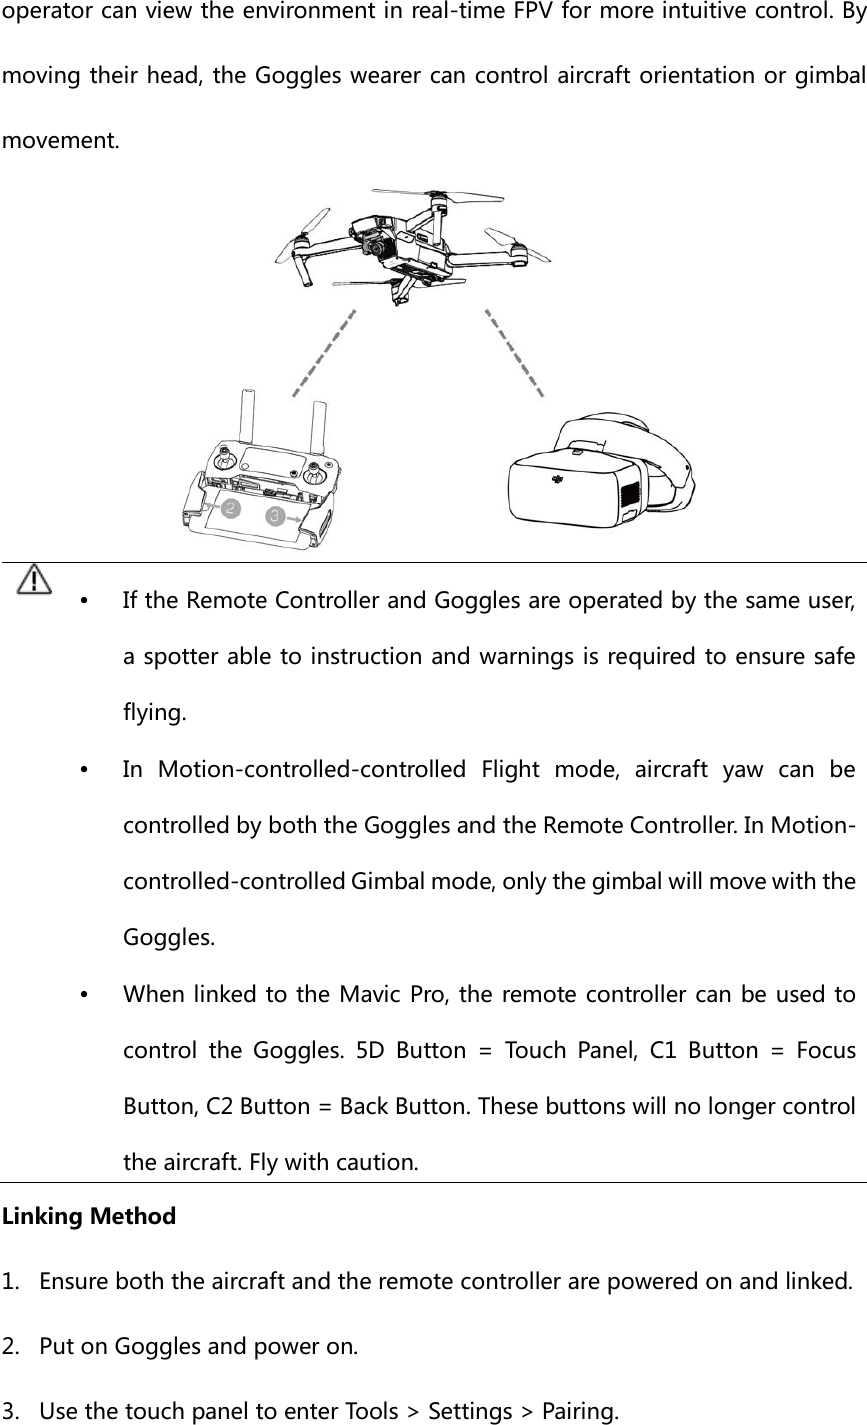
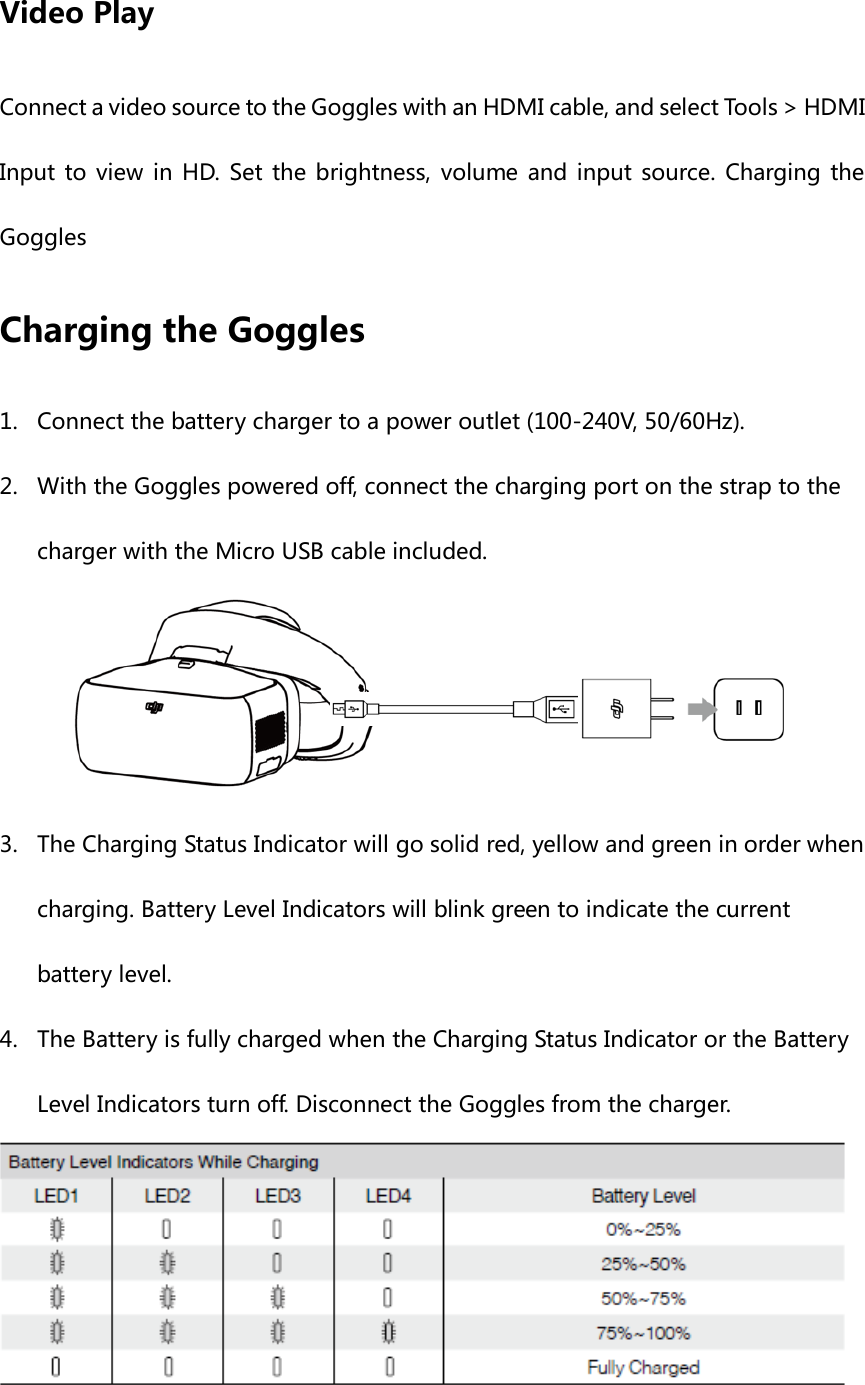
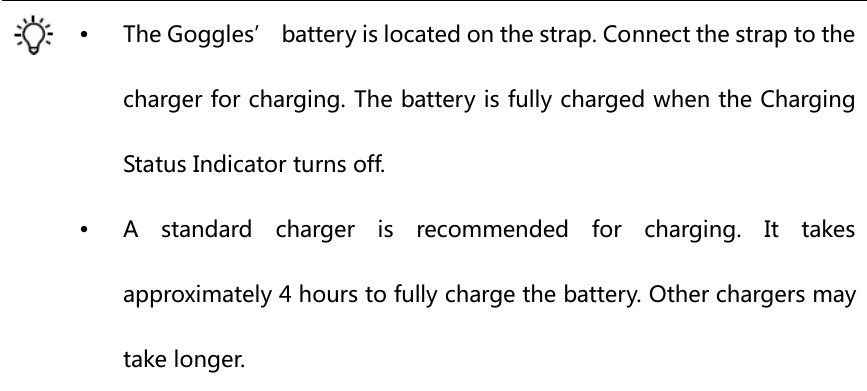
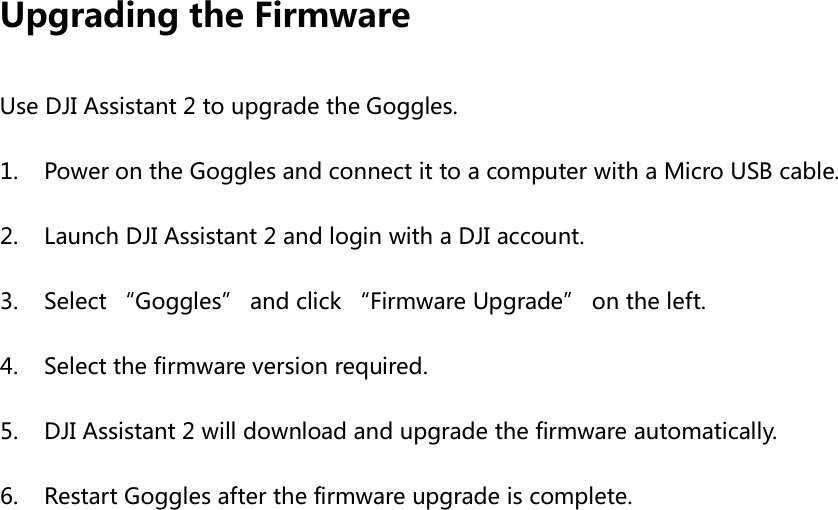
![Usage Controls and Operations [1] Power Button Press the Power Button once, the press again and hold for 2 seconds to turn the Goggles on/off. Battery Level Indicators will display the current battery level. [2] Battery Level Indicators When the battery is off, press the Power Button once to light up Battery Level Indicators to display the current battery level. The Battery Level Indicators will also show the current battery level during charging and discharging. The indicators are defined below. LED on LED flashing LED off [3] Touch Panel](https://usermanual.wiki/SZ-DJI-TECHNOLOGY/G1S1612/User-Guide-3282495-Page-6.png)
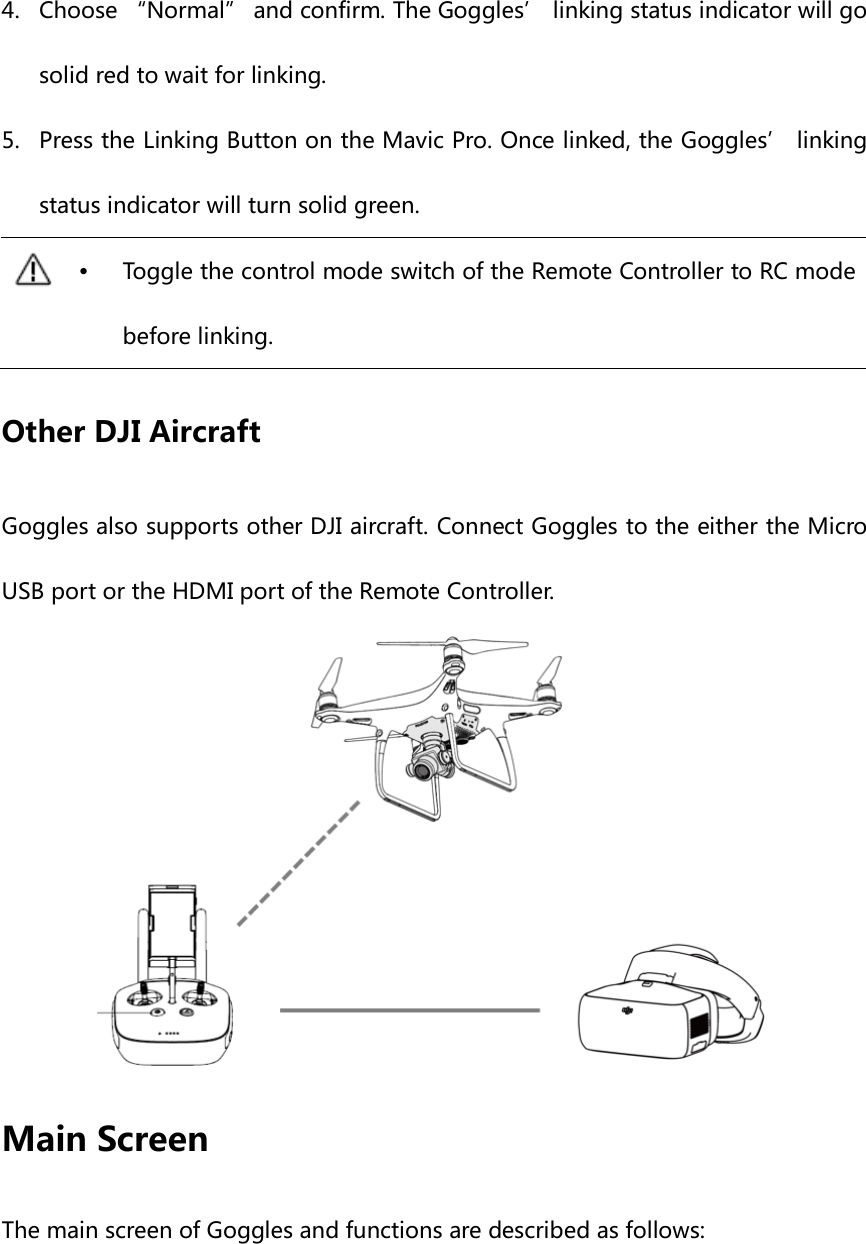
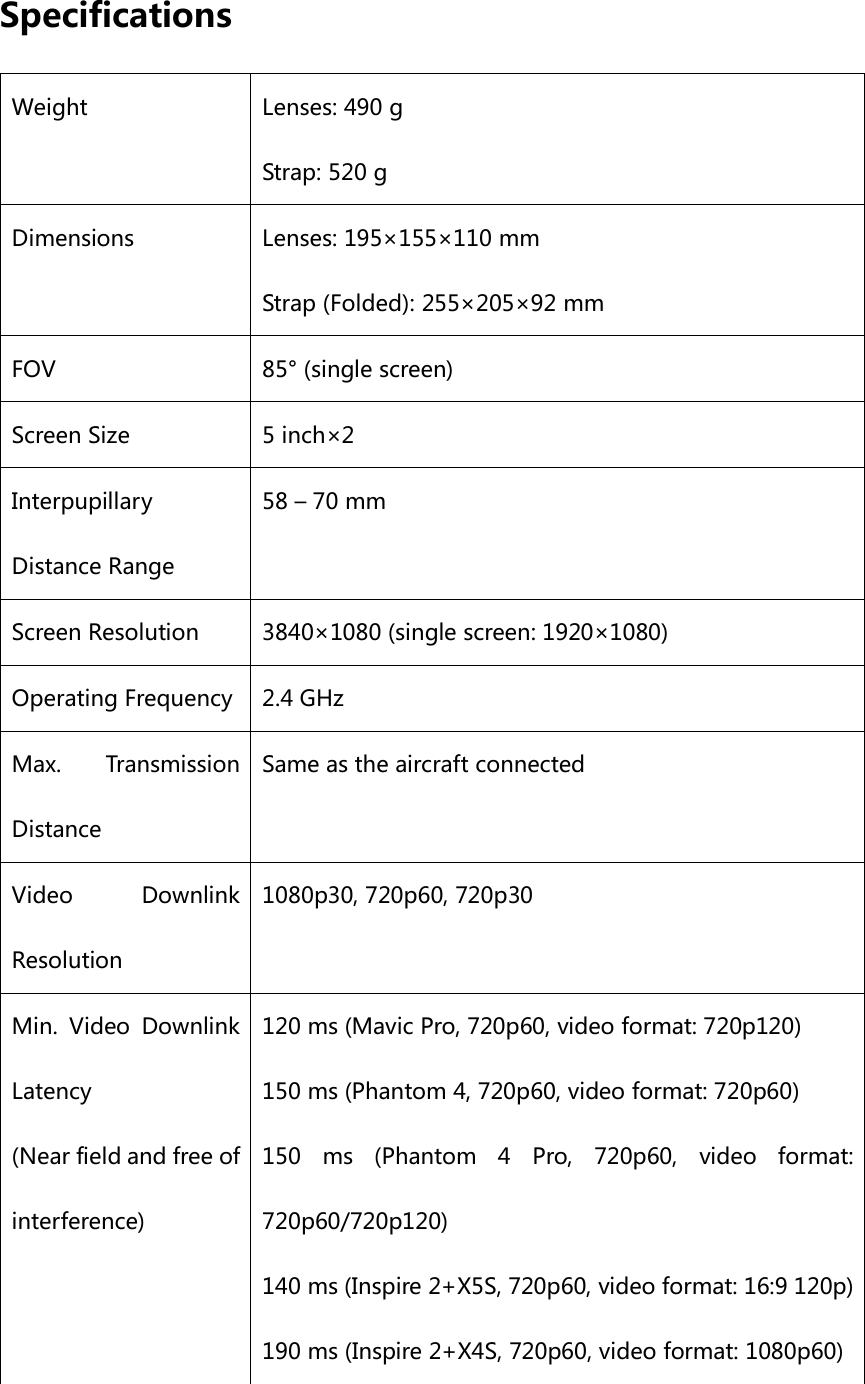
![Use the touch panel with your right hand to control on-screen operations. Action Description Swipe forward/backward with one finger Browse the menu and scroll right/left Swipe upward/downward with one finger Browse the menu and scroll up/down In the Main view, swipe upward to hide warnings Swipe backward with two fingers Lock the touch panel. It will become non-functional Swipe forward with two fingers Unlock the touch panel Swipe downward with two fingers Enter the shortcut menu Swipe upward with two fingers Exit the shortcut menu Tap with one finger Confirm [4] Charging Status Indicator Indicates the current charging status, the LED be solid red, yellow, green to reflect low, medium and high power levels respectively.](https://usermanual.wiki/SZ-DJI-TECHNOLOGY/G1S1612/User-Guide-3282495-Page-7.png)
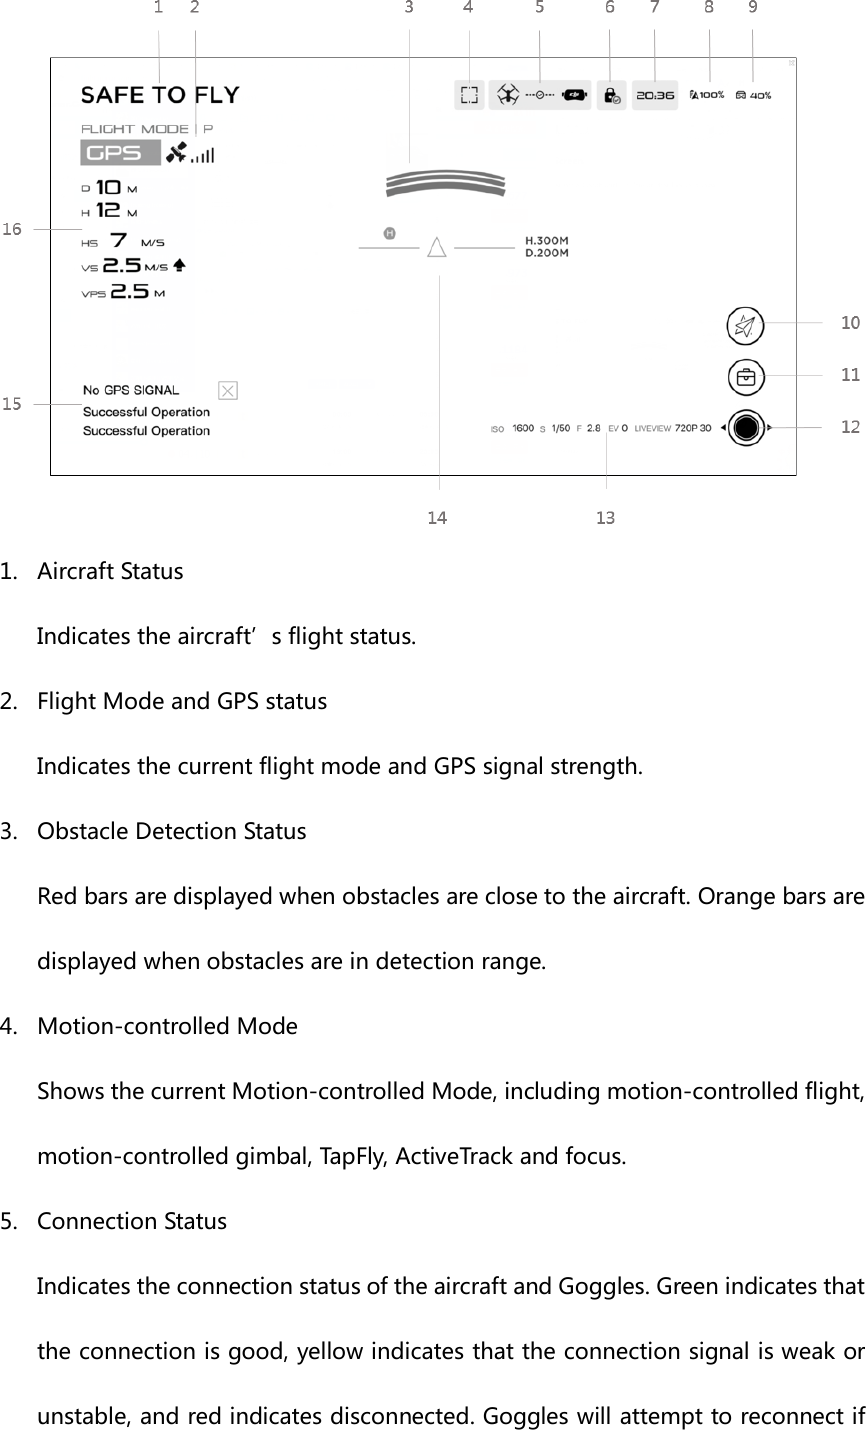
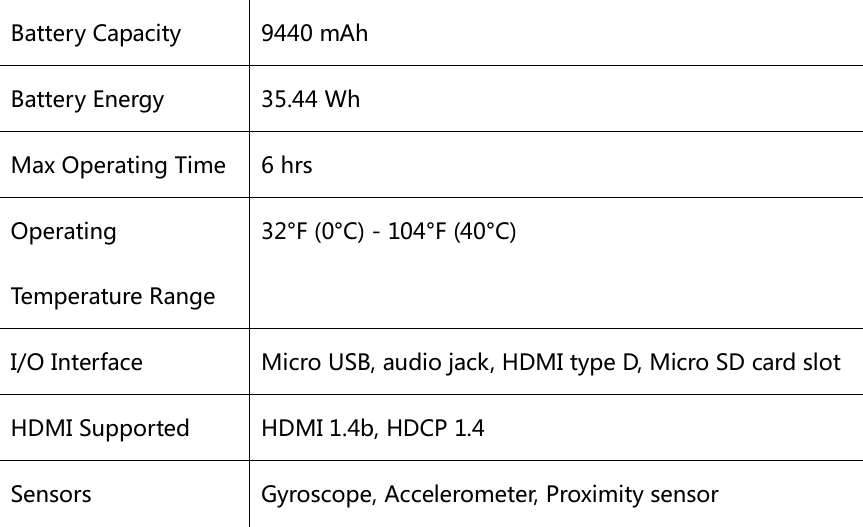
![[5] Back Button Press to return to the previous menu. [6] Focus Button Press to show the focus cursor on the display screen, and move your head to define the focus point. Tap the touch panel then swipe forward/backward with one finger to zoom in or zoom out. Only supported on the Mavic Pro, Phantom 4 Pro/Pro+ and Inspire 2. [7] Linking Status Indicator Indicates the linking status of the Goggles and the Mavic Pro. The indicator will be solid red while linking, and it will go solid green when linked. Connection Goggles supports a wide range of DJI aircraft and different uses. Follow the steps below to connect. Mavic Pro Goggles connect wirelessly to the Mavic Pro using OcuSync. This connection is suitable for both single and dual operator aircraft control. In this setup, the pilot using the remote controller can focus on flight, while the Goggles](https://usermanual.wiki/SZ-DJI-TECHNOLOGY/G1S1612/User-Guide-3282495-Page-8.png)