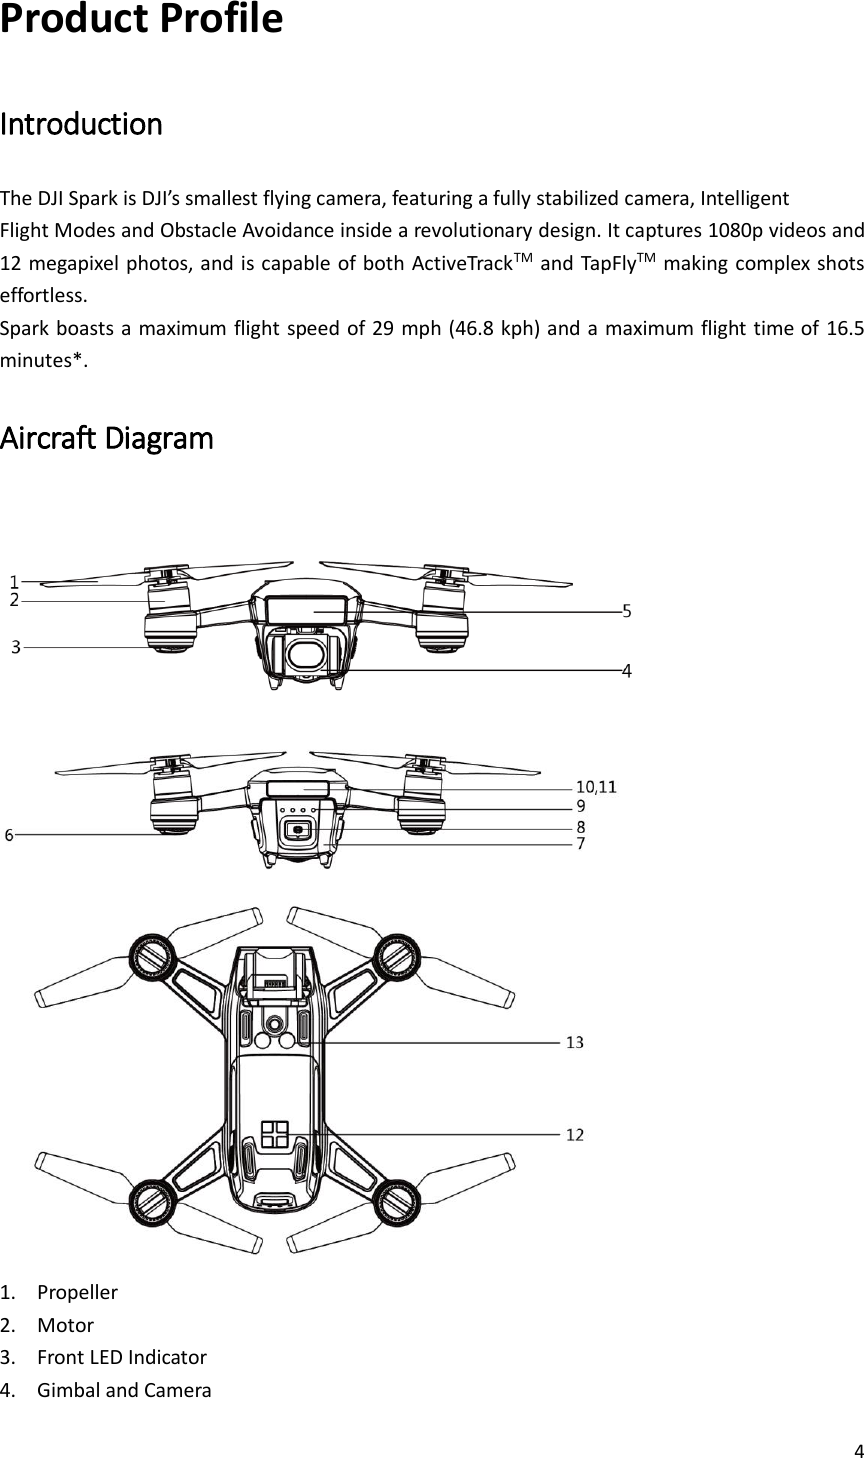
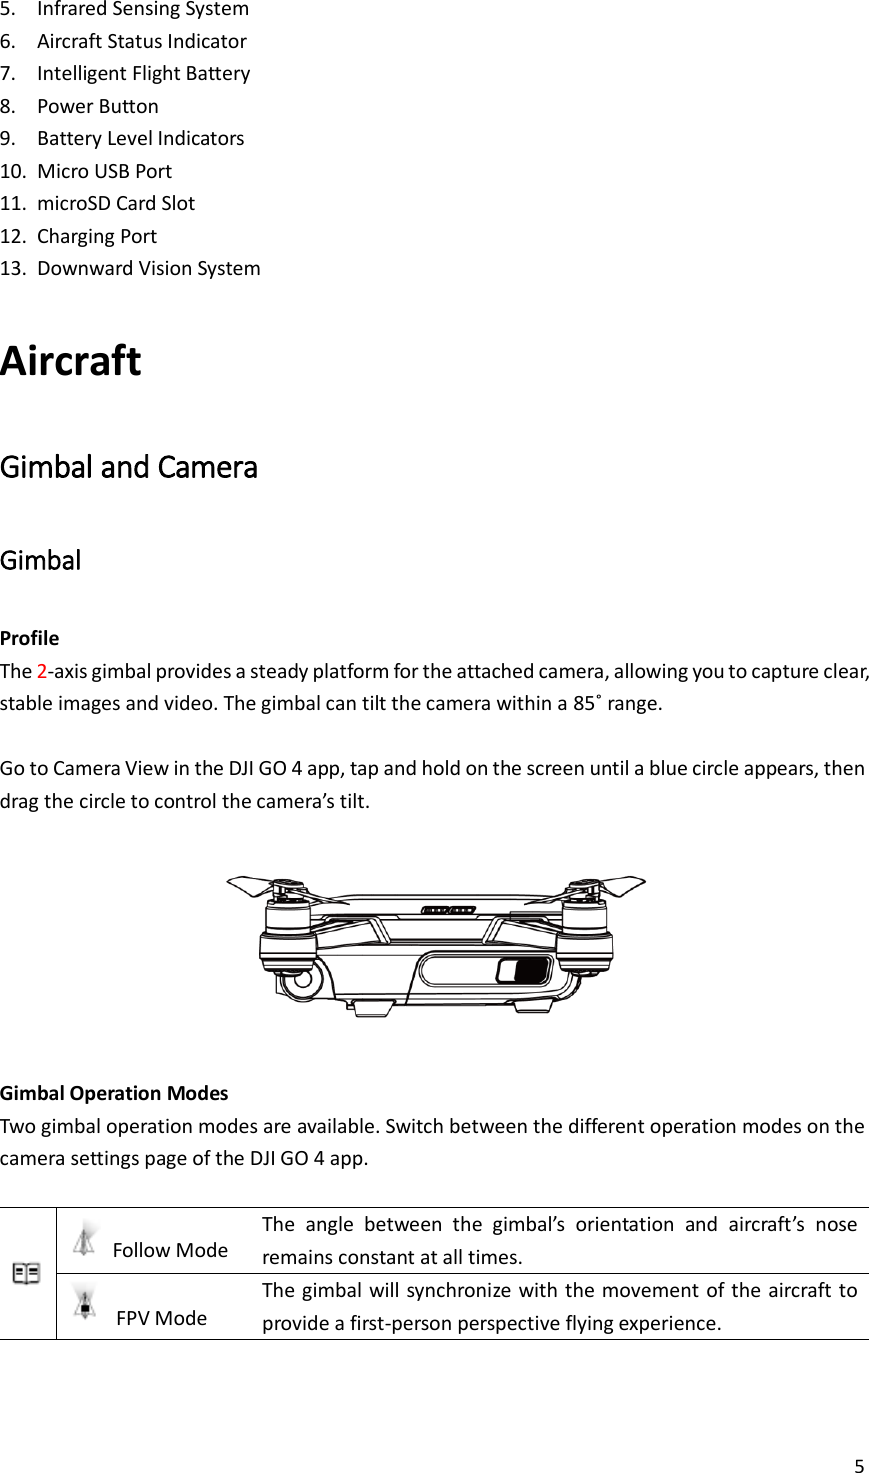
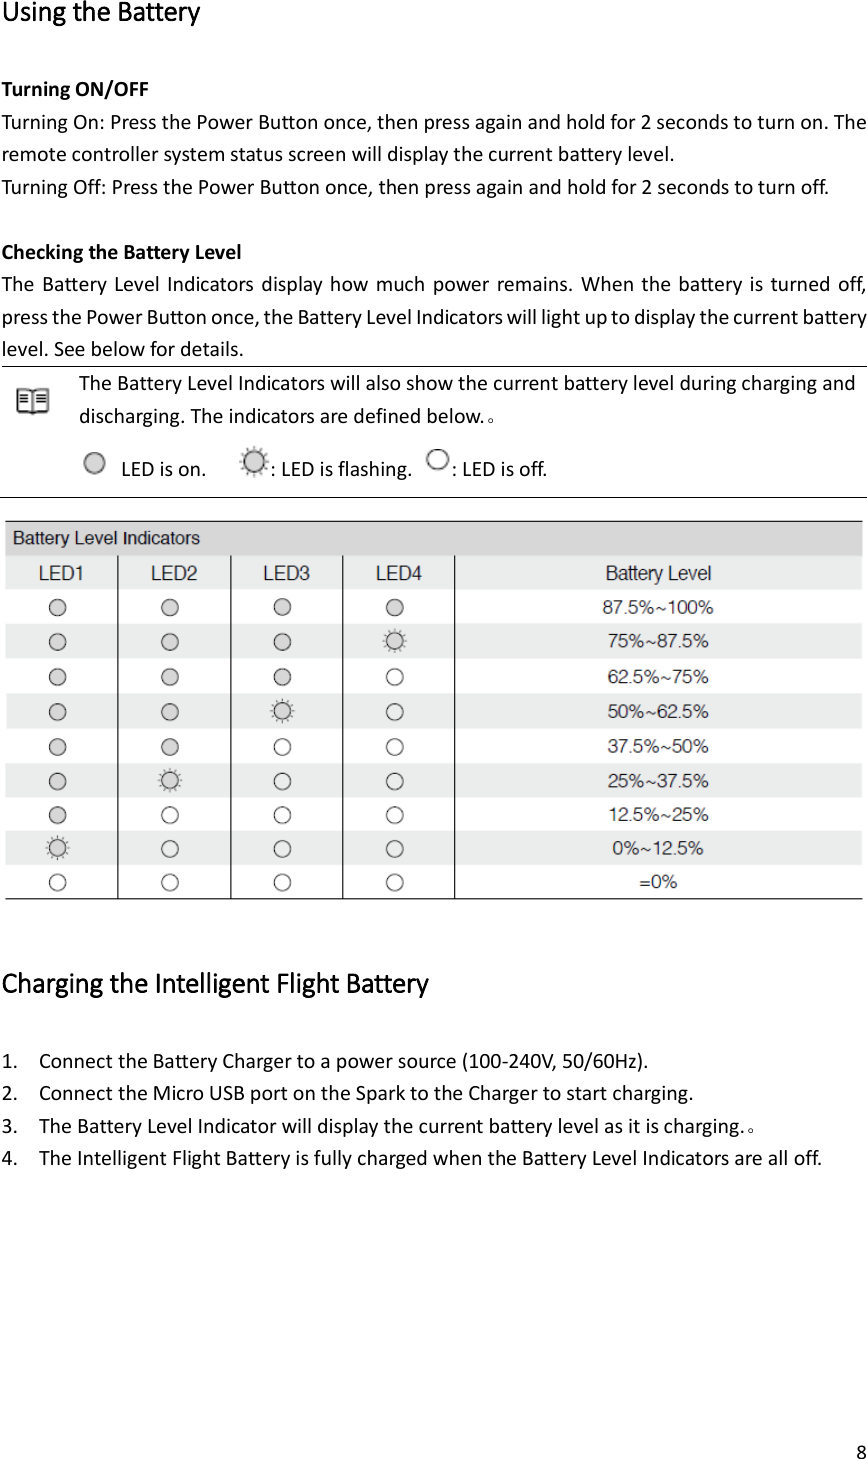
SZ DJI TECHNOLOGY MM1A1702 Spark User Manual
SZ DJI TECHNOLOGY CO., LTD Spark Users Manual
UserManual.wiki
>
SZ DJI TECHNOLOGY
>
MM1A1702 User Manual
>
Users Manual
Contents
1.
Users Manual
2.
User Manual
Users Manual
Navigation menu
Upload a User Manual
Namespaces
Wiki Guide
HTML
PDF
Info
Views
User Manual
Discussion / Help
Navigation

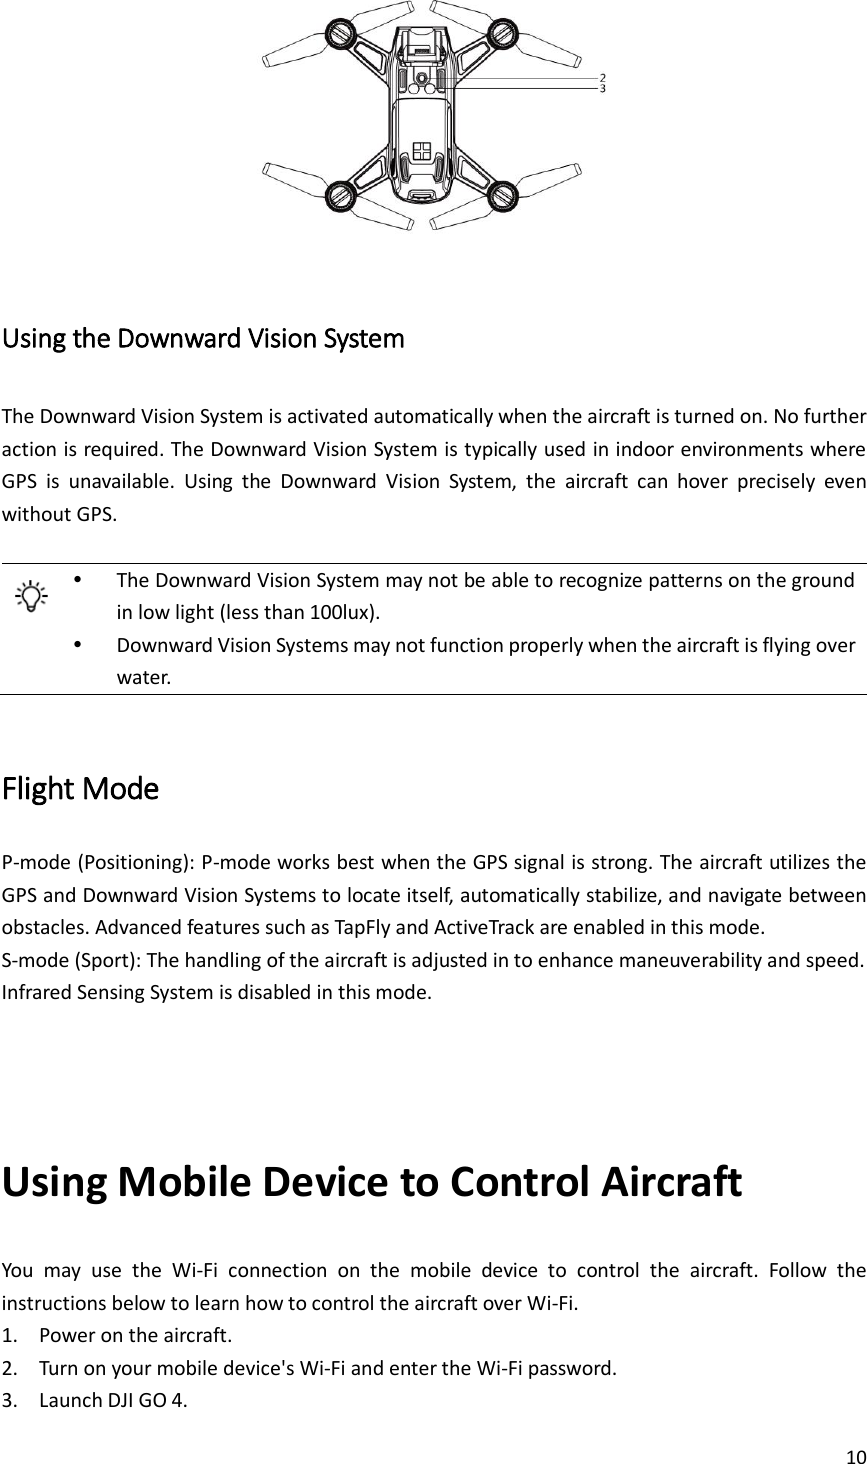
![9 • Never insert or remove a battery when it is turned on. • Allow battery temperature to drop to room temperature before storing for an extended period. • The charger will stop charging the battery if the battery cell’s temperature is not within the operating range (5°C to 40°C). Vision System and Infrared Sensing System The Infrared Sensing System consists [1] of two 3D infrared modules on front of the aircraft. The downward Vision System uses 3D infrared modules and image data to help the aircraft maintain its current position. With the help of the Downward Vision System, your Spark can hover in place more precisely and fly indoors or in other environments where a GPS signal is not available. The main components of the Downward Vision System is located on the bottom of the aircraft; they include [2] monocular sensors and [3] 3D infrared modules.](https://usermanual.wiki/SZ-DJI-TECHNOLOGY/MM1A1702.Users-Manual/User-Guide-3402148-Page-9.png)