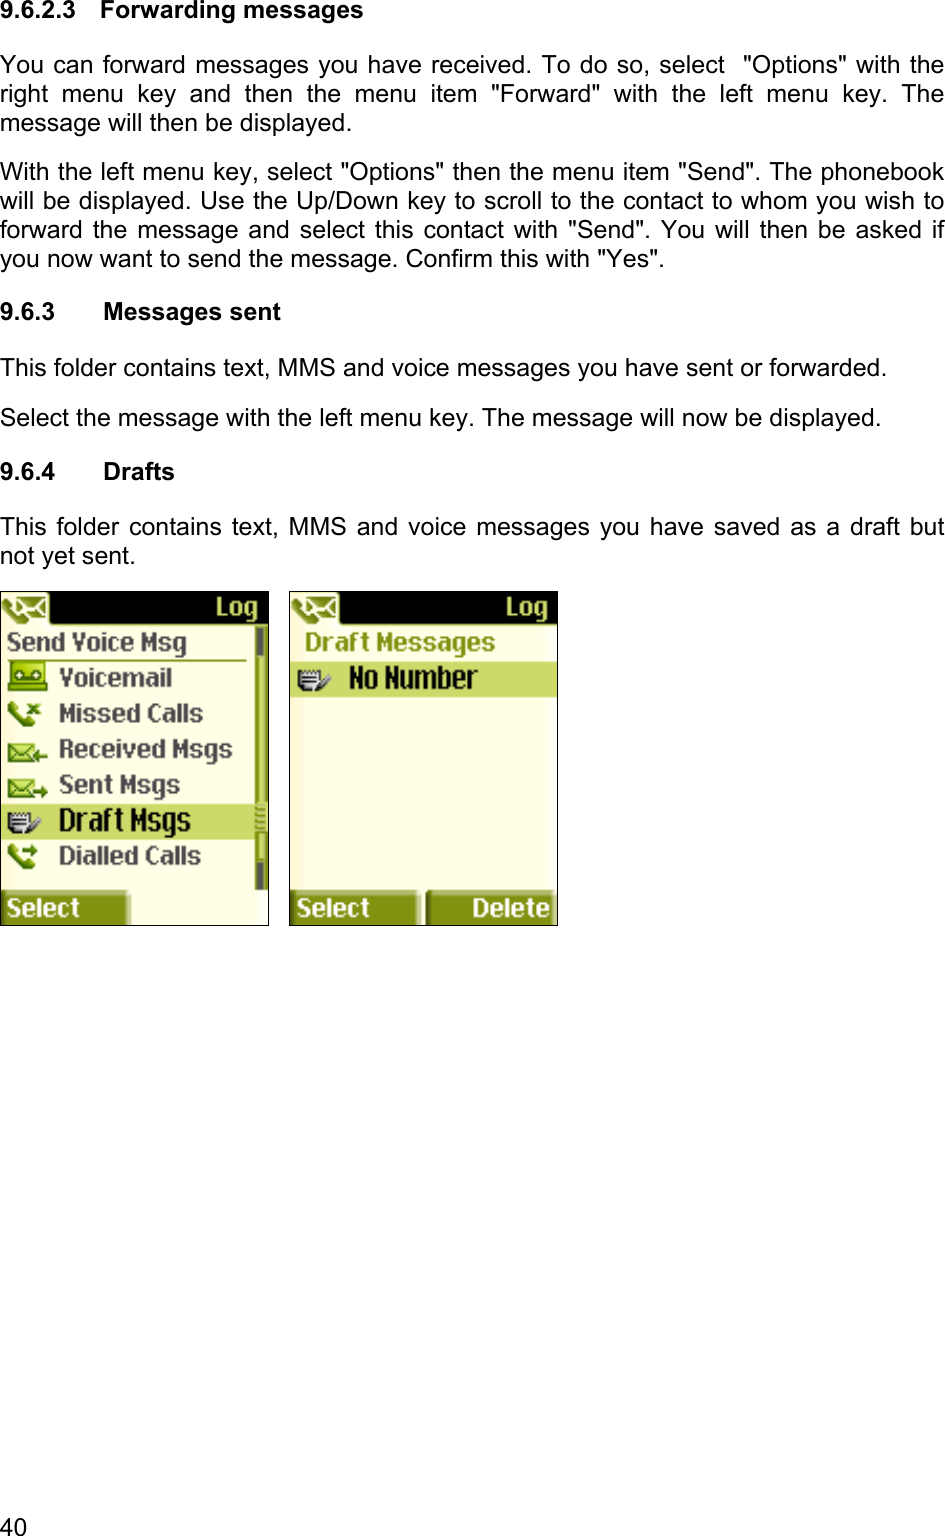
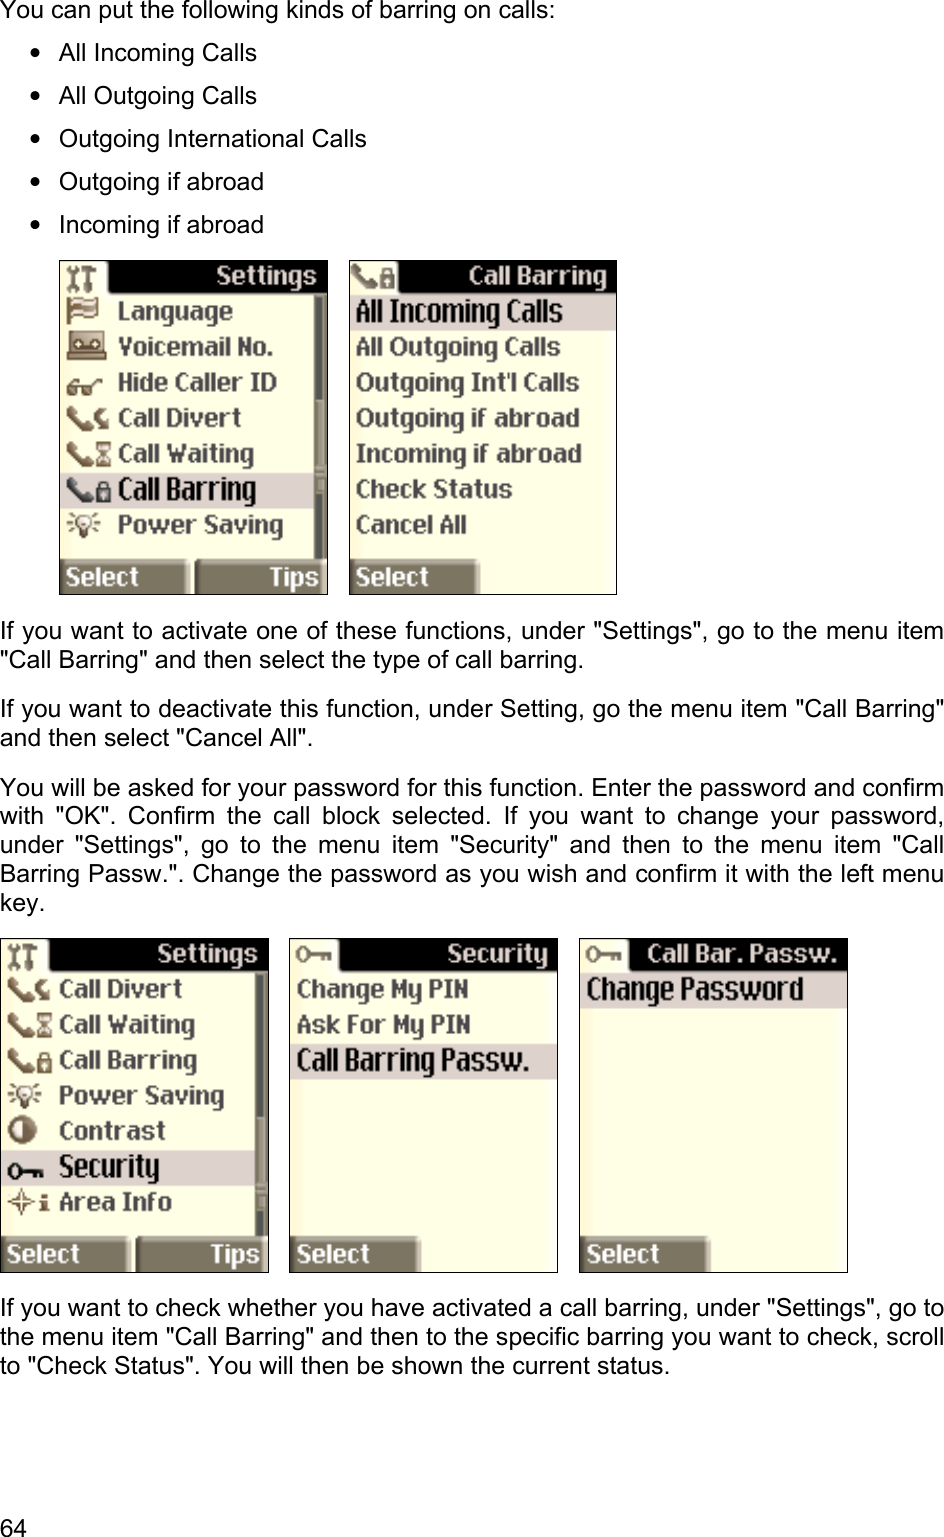
Sagem Wireless EP2006 Triple Band GSM 900/1800/1900 MHz Mobile Phone User Manual 1
Sagem Wireless Triple Band GSM 900/1800/1900 MHz Mobile Phone 1
UserManual.wiki
>
Sagem Wireless
>
EP2006 User Manual
User Manual
Navigation menu
Upload a User Manual
Namespaces
Wiki Guide
HTML
PDF
Info
Views
User Manual
Discussion / Help
Navigation


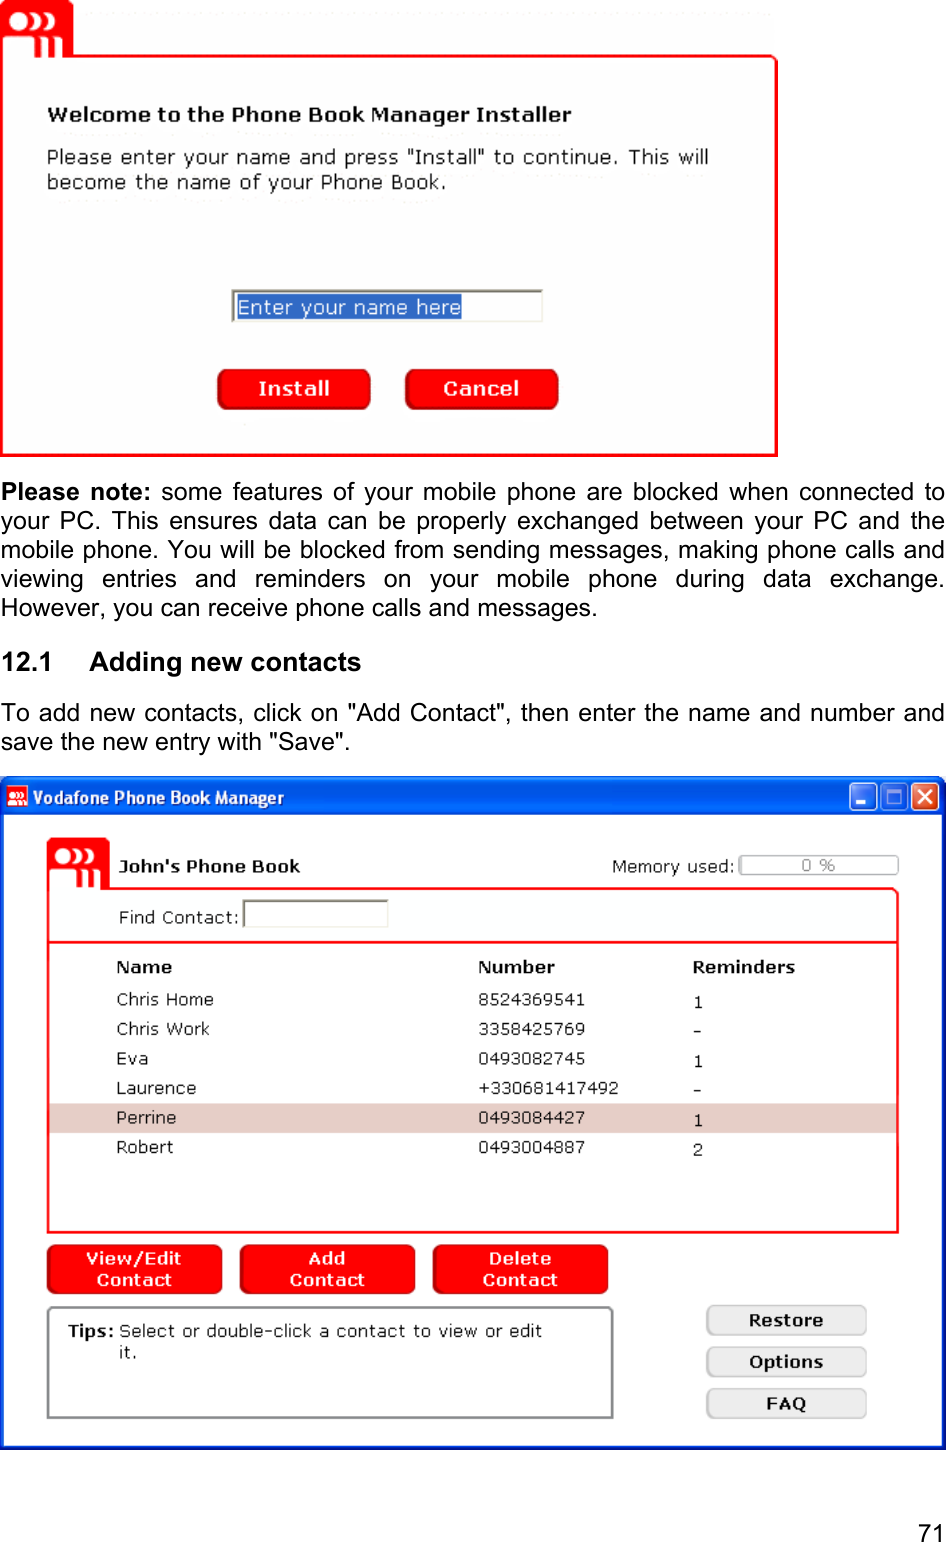
![Using the reminders tab. You can also add important reminders to each entry, such as birthdays, anniversaries, etc., and will then be reminded by your mobile phone on this date. You can add up to 50 reminders for each entry [and in total i.e. only 50 reminders in total are available]. Birthdays and anniversaries will remain stored in your mobile phone – i.e. you will be reminded again next year. Other reminders will be deleted once their date passes. Under the menu items "View/Edit Contact" and „Delete Contact" you can edit existing contacts or remove (delete) them from your phonebook. The memory used bar shows you the current memory status, i.e. the percentage of used memory in your mobile phone. In case of low memory you must free some memory. To do this, use the Delete Wizard (see § 8.2.4 "Delete Contact", page 33). Please note: Every time you save an entry, this will appear on your mobile phone. But you will only be able to view these on your phone once you have closed the application. 72](https://usermanual.wiki/Sagem-Wireless/EP2006/User-Guide-671935-Page-72.png)


![RESPONSIBILITIES SUPPORT AND INFORMATION Should you have any questions concerning this EULA, or if you desire to contact SAGEM ]for any other reason, please refer to the address provided in the documentation for the DEVICE. NO LIABILITY FOR CERTAIN DAMAGES. EXCEPT AS PROHIBITED BY LAW, SAGEM SHALL HAVE NO LIABILITY FOR ANY INDIRECT, SPECIAL, CONSEQUENTIAL OR INCIDENTAL DAMAGES ARISING FROM OR IN CONNECTION WITH THE USE OR PERFORMANCE OF THE SOFTWARE. THIS LIMITATION SHALL APPLY EVEN IF ANY REMEDY FAILS OF ITS ESSENTIAL PURPOSE. FOR APPLICABLE LIMITED WARRANTIES AND SPECIAL PROVISIONS PERTAINING TO YOUR PARTICULAR JURISDICTION, PLEASE REFER TO YOUR WARRANTY BOOKLET INCLUDED WITH THIS PACKAGE OR PROVIDED WITH THE SOFTWARE PRINTED MATERIALS. 103](https://usermanual.wiki/Sagem-Wireless/EP2006/User-Guide-671935-Page-103.png)