Samsung Electro Mechanics SWL-2100U Wireless LAN Card User Manual class b
Samsung Electro Mechanics Wireless LAN Card class b
UserManual.wiki
>
Samsung Electro Mechanics
>
SWL-2100U User Manual
>
Manual
Contents
1.
Manual
2.
Pages to be added
Manual
Navigation menu
Upload a User Manual
Namespaces
Wiki Guide
HTML
PDF
Info
Views
User Manual
Discussion / Help
Navigation


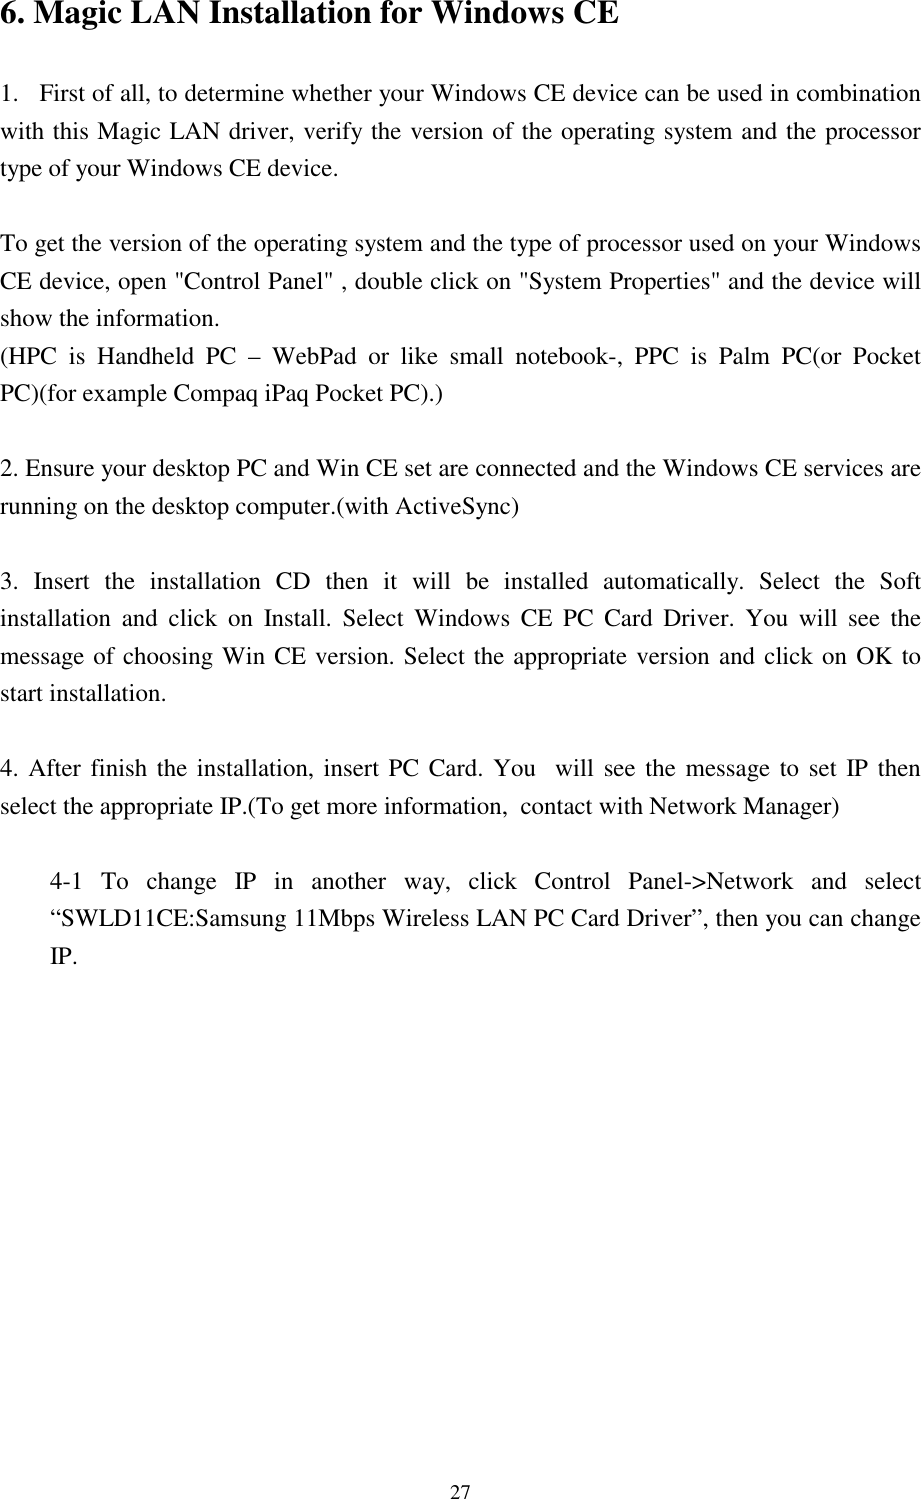
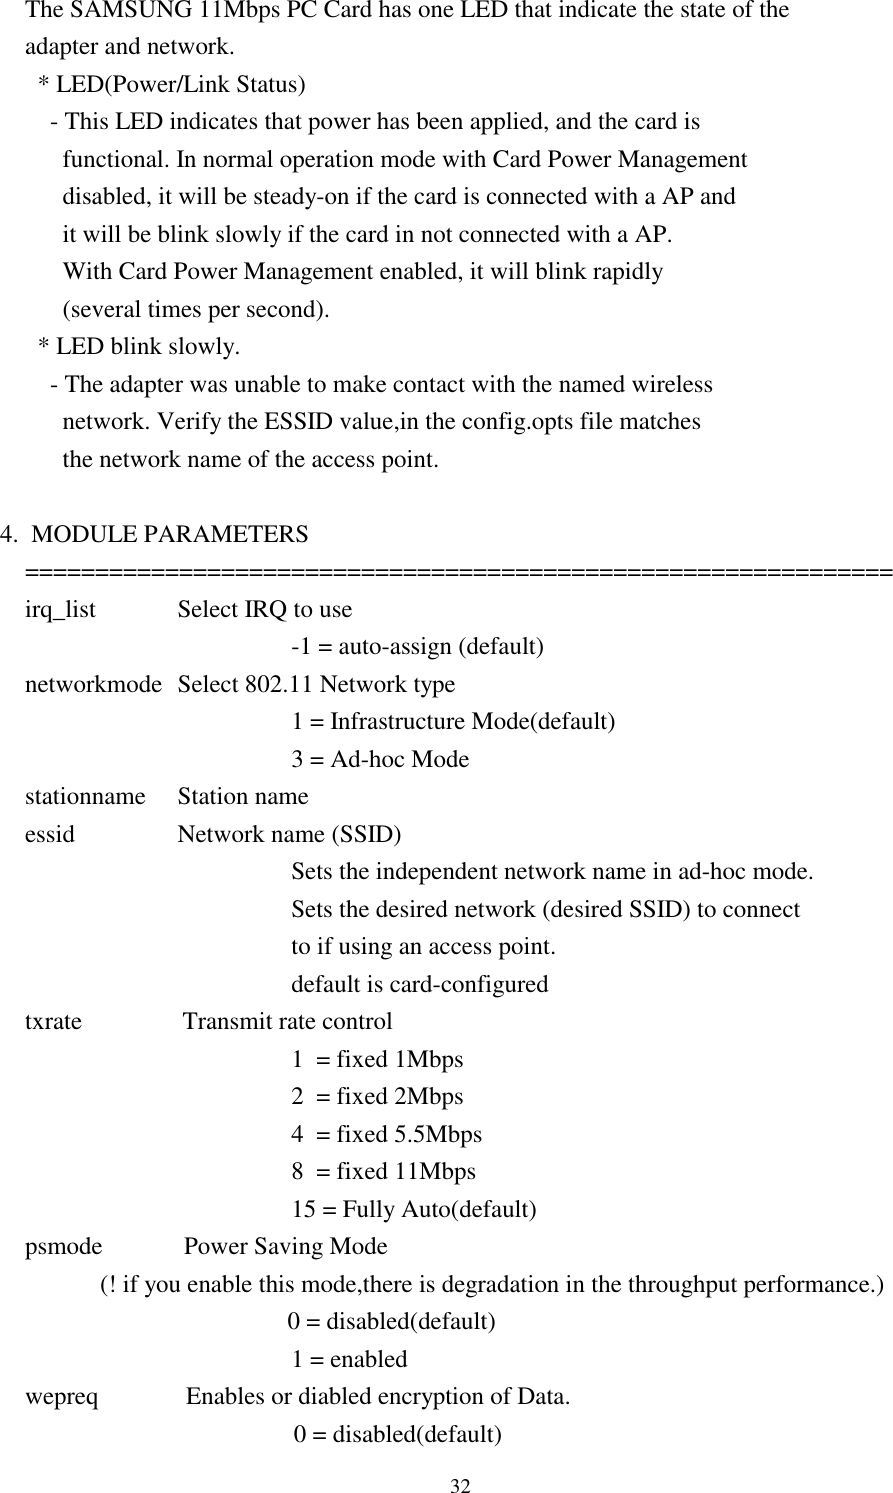
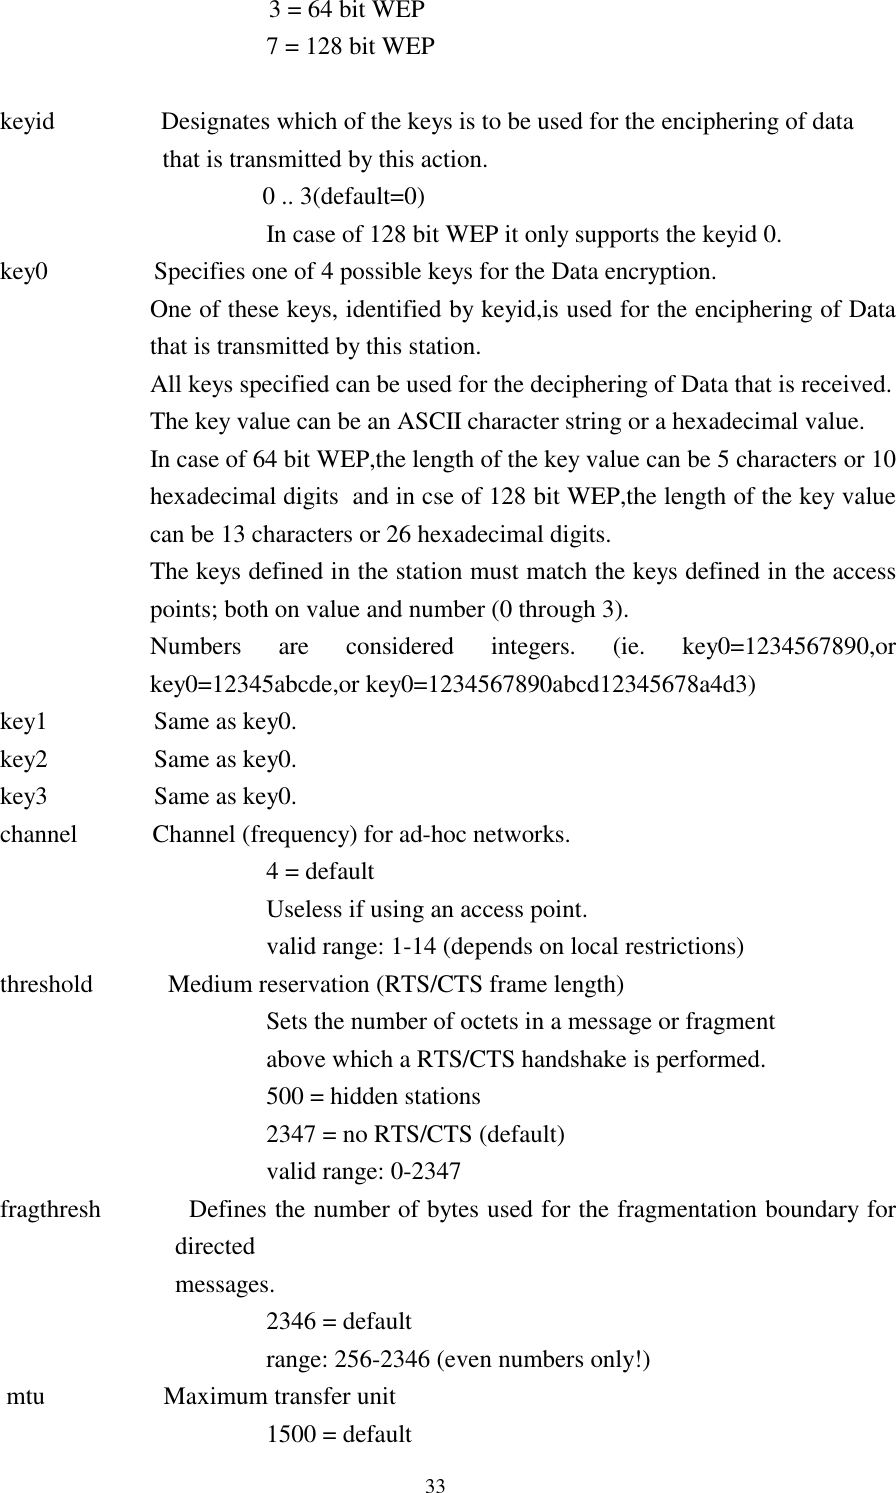
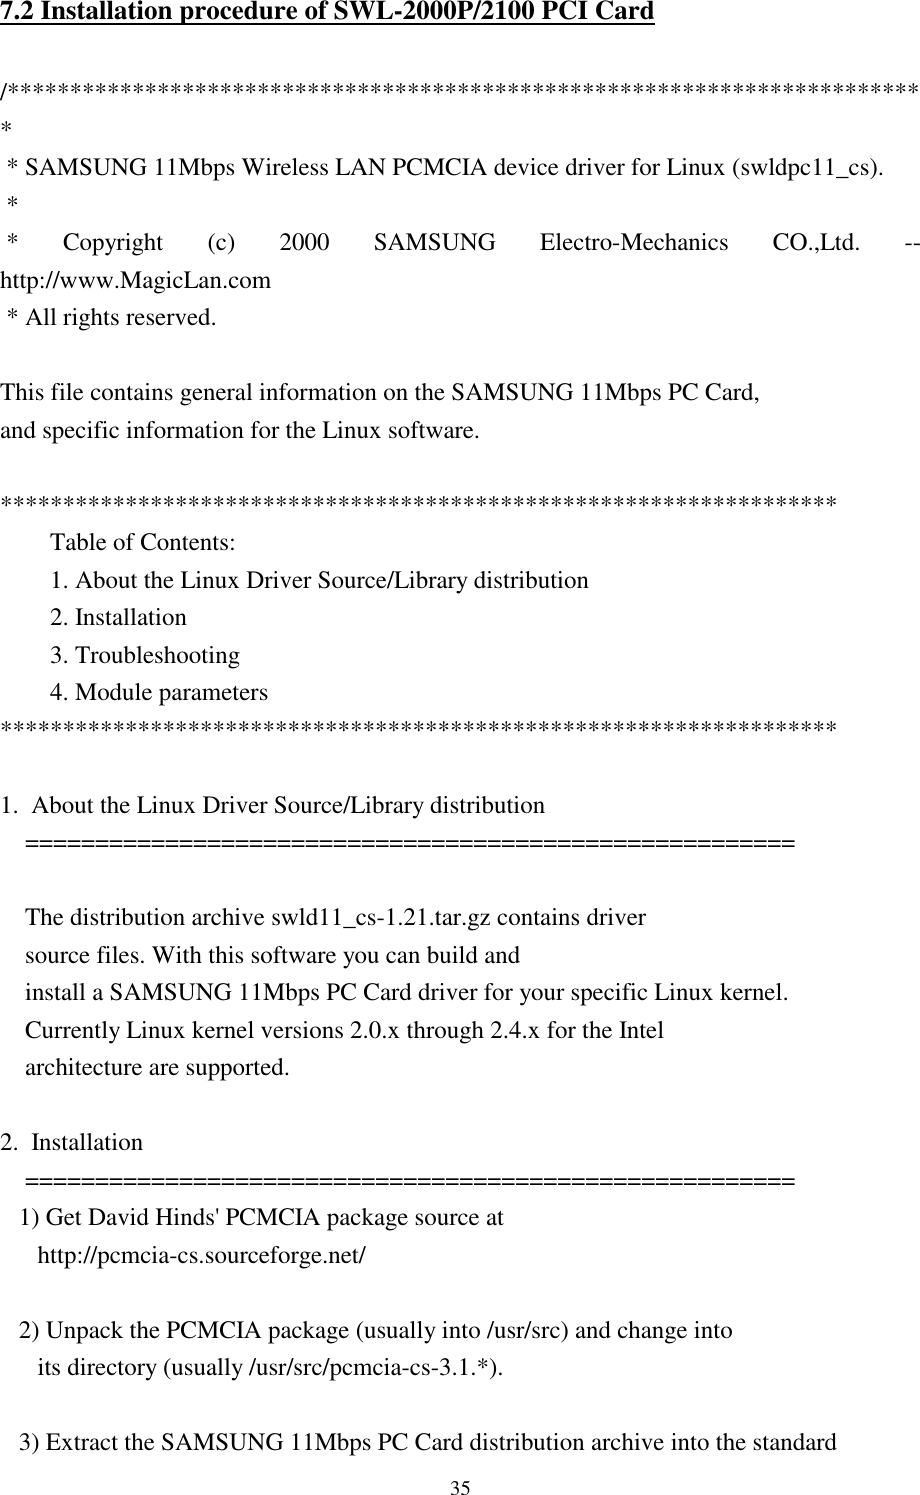
![30 If you have serveral network cards used for different purposes, one option would be to configure the cards based on socket position, as in: case "$ADDRESS" in *,0,*,*) # definitions for network card in socket 0 ;; *,1,*,*) # definitions for network card in socket 1 ;; esac % vi /etc/pcmcia/wireless.opts Using Wireless Extension "iwconfig",you can configure serveral network cards. If you have only one wireless card,you does not need to use this file,just uses "config.opts" file. For example: # Here are a few examples with a few Wireless LANs supported... # SAMSUNG 11Mbps Wireless LAN Card # Note : swld11_cs/swldpc11_cs driver only, and version 1.0.4+ for encryption support *,*,*,*) INFO="SAMSUNG 11Mbps WLAN" #ESSID (extended network name) : My Network, any ESSID="test3" # Operation mode : Ad-Hoc, Managed MODE="Managed" # Frequency or channel : 1, 2, 3 (channel) ; 2.422G, 2.46G (frequency) CHANNEL="4" # Bit rate : auto, 1M, 11M RATE="auto" # Encryption key : 4567-89AB-CD, s:password KEY="883e-aa67-21 [1] key 5501-d0da-87 [2] key 91f5-3368-6b [3] key 2d73-31b7-96 [4]" # Other iwconfig parameters : power off, ap 01:23:45:67:89:AB IWCONFIG="power on" ;; 6) Restart the PCMCIA services. % /etc/rc.d/init.d/pcmcia restart (in case of Red Hat,Caldera,Mandrake distributions) or](https://usermanual.wiki/Samsung-Electro-Mechanics/SWL-2100U.Manual/User-Guide-163344-Page-32.png)
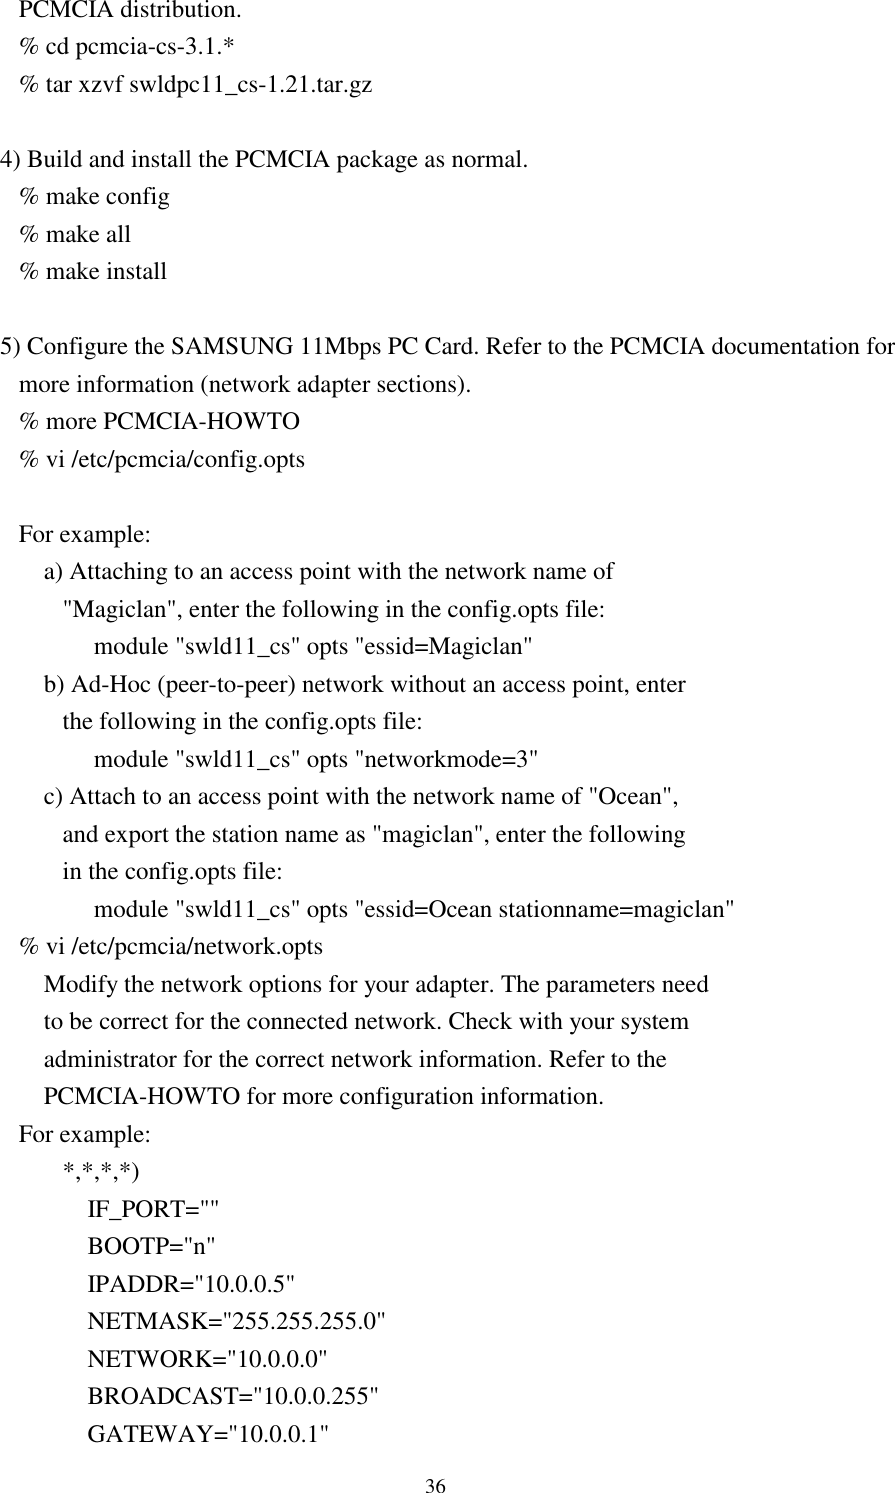
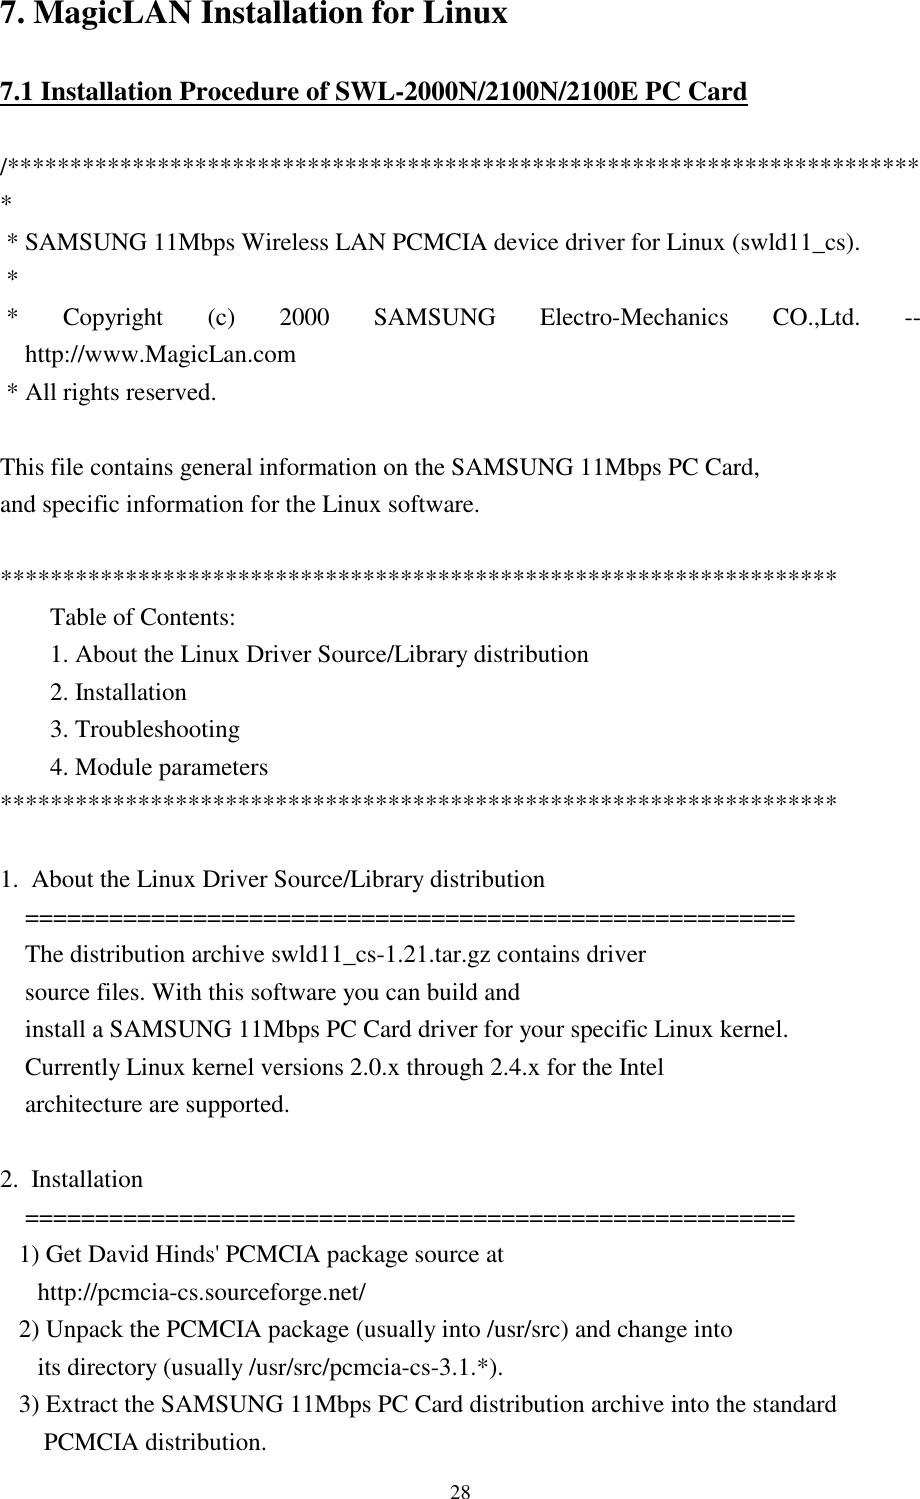
![37 DOMAIN="domain.org" DNS_1="dns1.domain.org" ;; If you have serveral network cards used for different purposes, one option would be to configure the cards based on socket position, as in: case "$ADDRESS" in *,0,*,*) # definitions for network card in socket 0 ;; *,1,*,*) # definitions for network card in socket 1 ;; esac % vi /etc/pcmcia/wireless.opts Using Wireless Extension "iwconfig",you can configure serveral network cards. If you have only one wireless card,you does not need to use this file,just uses "config.opts" file. For example: # Here are a few examples with a few Wireless LANs supported... # SAMSUNG 11Mbps Wireless LAN Card # Note : swld11_cs/swldpc11_cs driver only, and version 1.0.4+ for encryption support *,*,*,*) INFO="SAMSUNG 11Mbps WLAN" #ESSID (extended network name) : My Network, any ESSID="test3" # Operation mode : Ad-Hoc, Managed MODE="Managed" # Frequency or channel : 1, 2, 3 (channel) ; 2.422G, 2.46G (frequency) CHANNEL="4" # Bit rate : auto, 1M, 11M RATE="auto" # Encryption key : 4567-89AB-CD, s:password KEY="883e-aa67-21 [1] key 5501-d0da-87 [2] key 91f5-3368-6b [3] key 2d73-31b7-96 [4]" # Other iwconfig parameters : power off, ap 01:23:45:67:89:AB](https://usermanual.wiki/Samsung-Electro-Mechanics/SWL-2100U.Manual/User-Guide-163344-Page-39.png)