Samsung Electro Mechanics SWL-2300U 11Mbps High Rate 802.11b WLAN USB Adapter User Manual 348568
Samsung Electro Mechanics 11Mbps High Rate 802.11b WLAN USB Adapter 348568
Contents
- 1. User Manual Part 1
- 2. Installation Guide
- 3. Product Specifications
- 4. User Manual Part 2
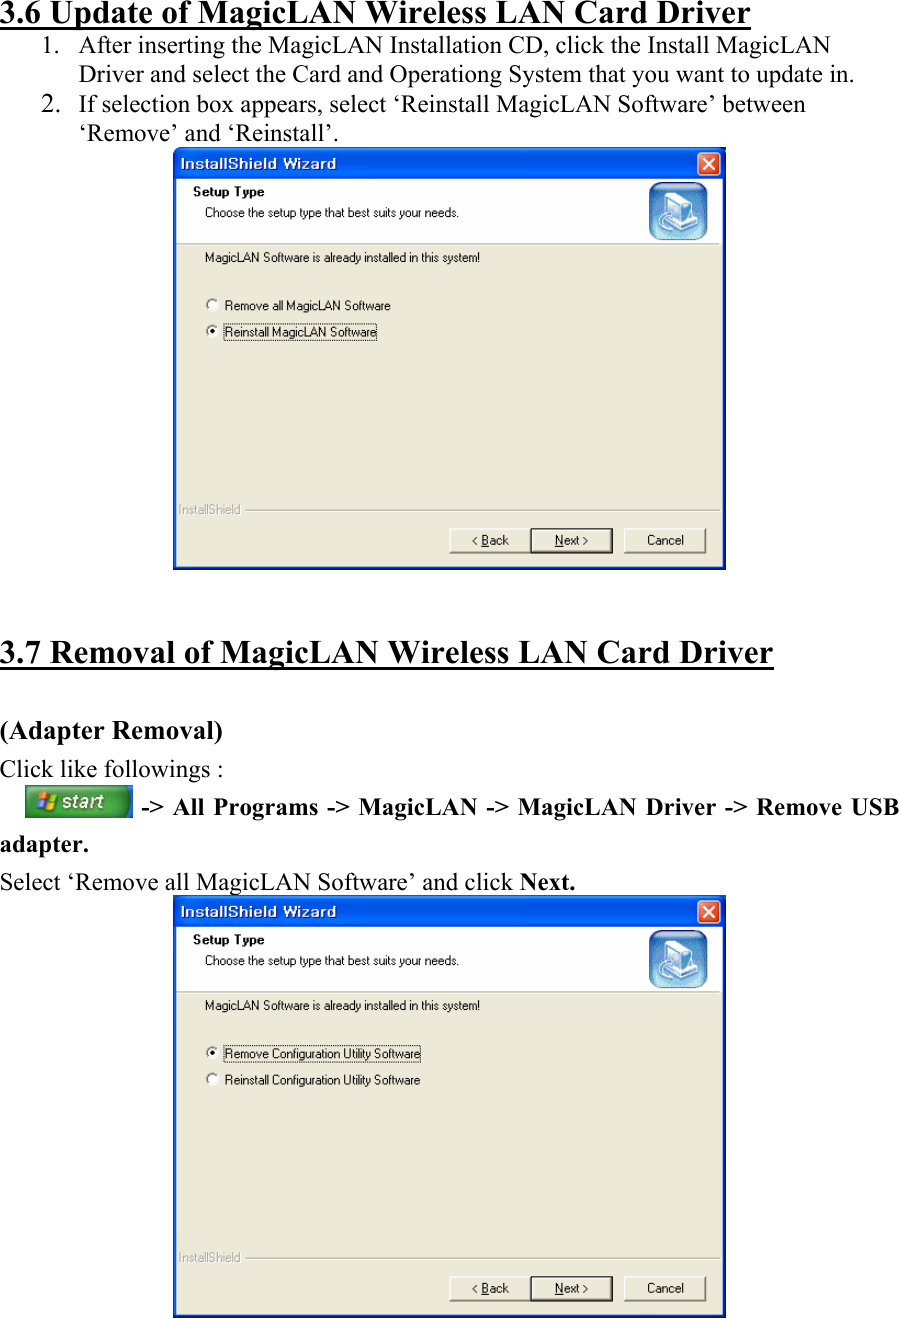
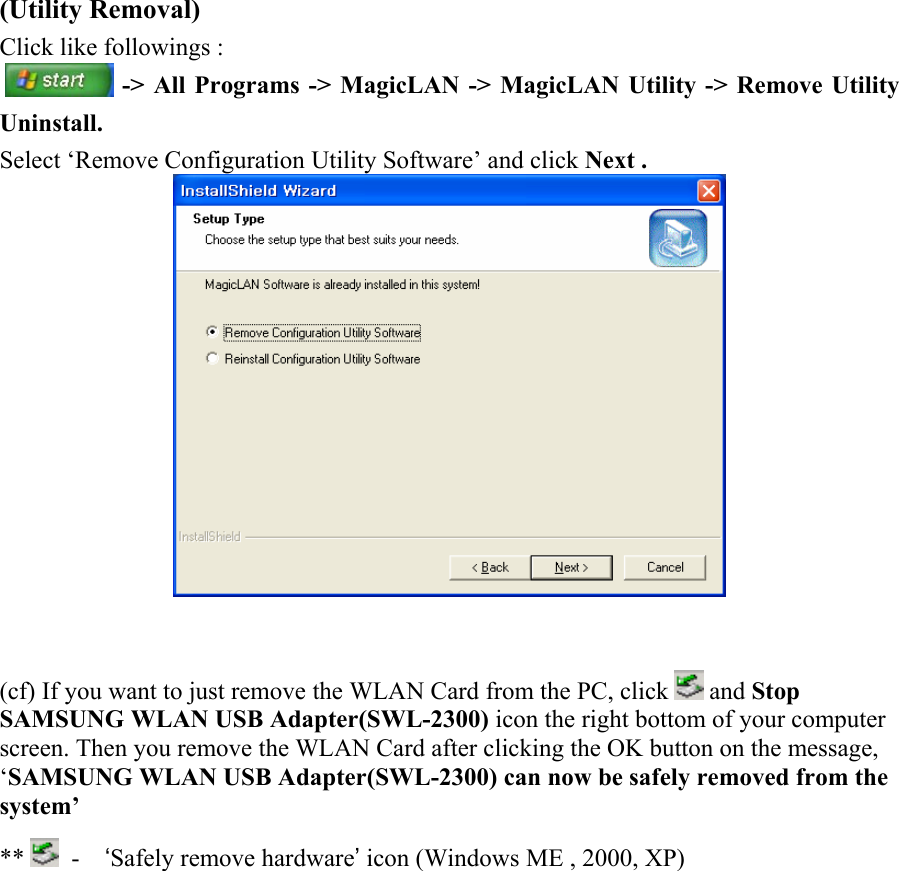
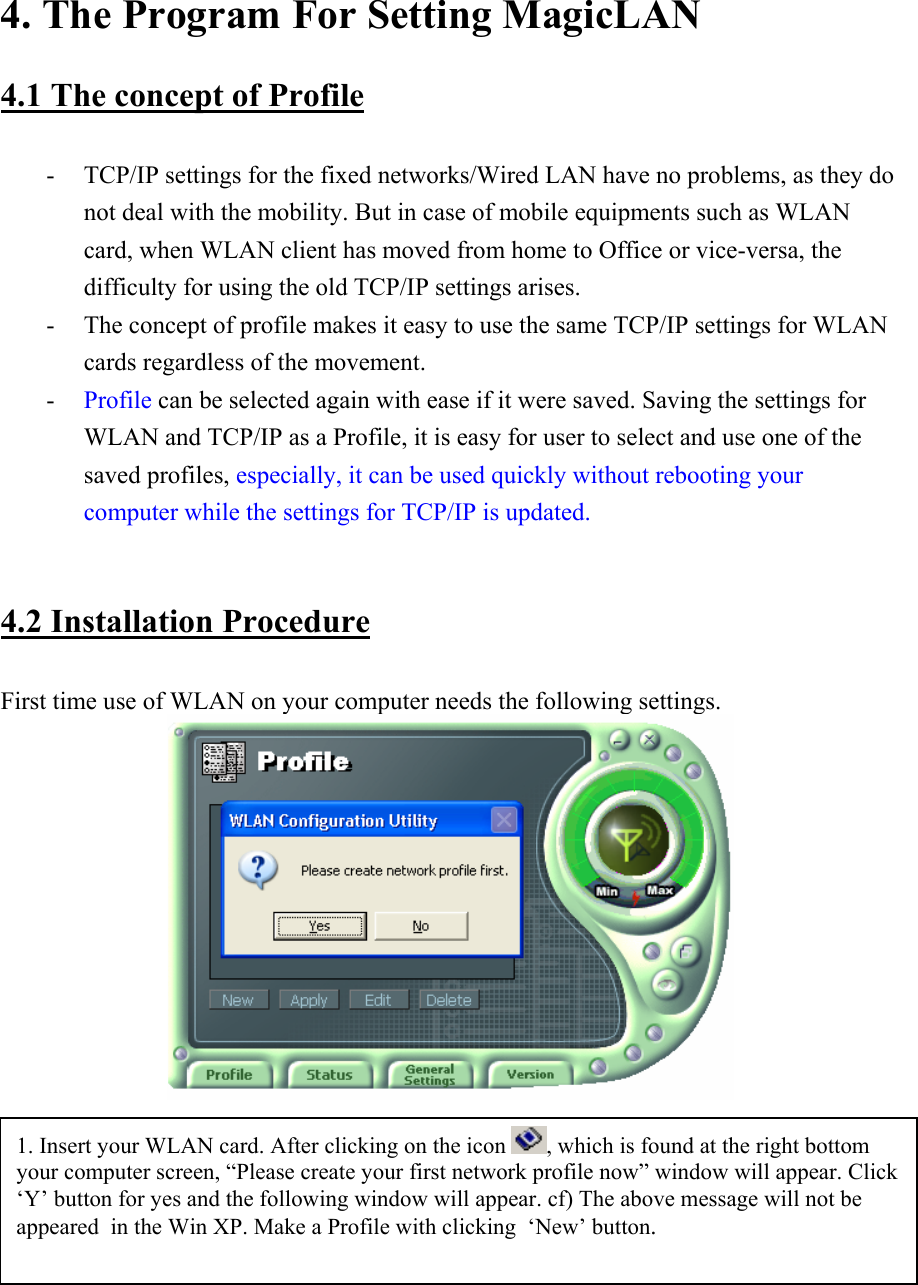
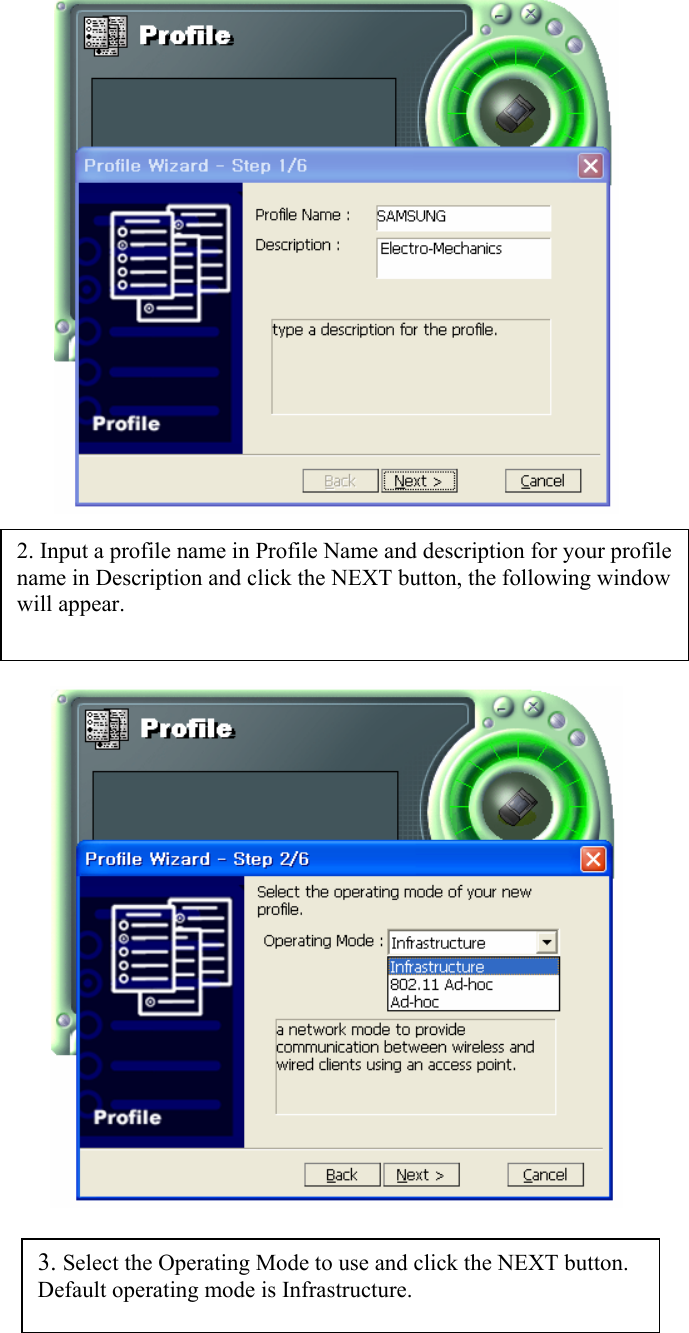
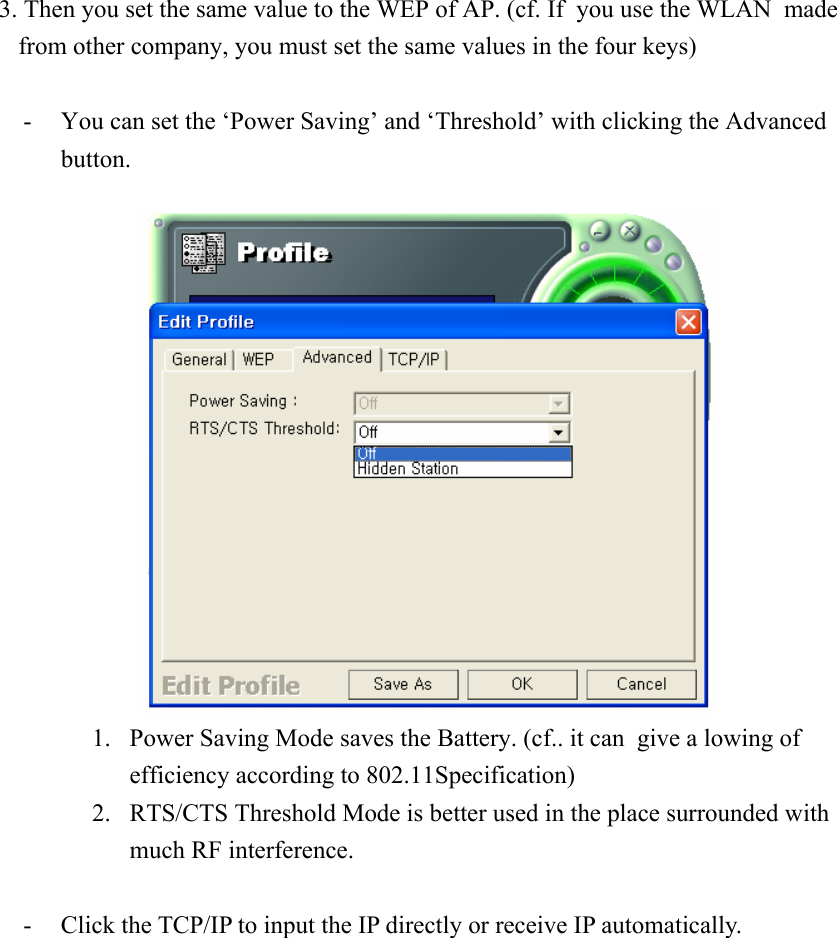
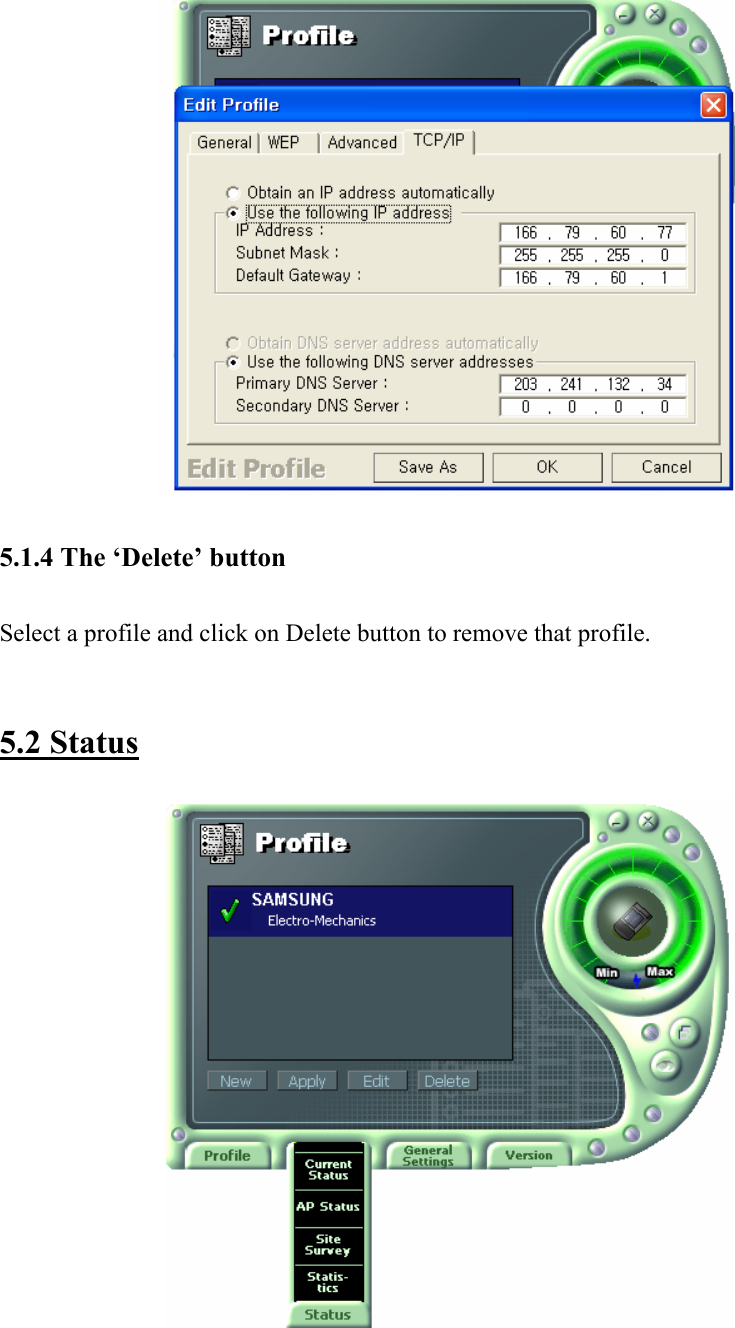
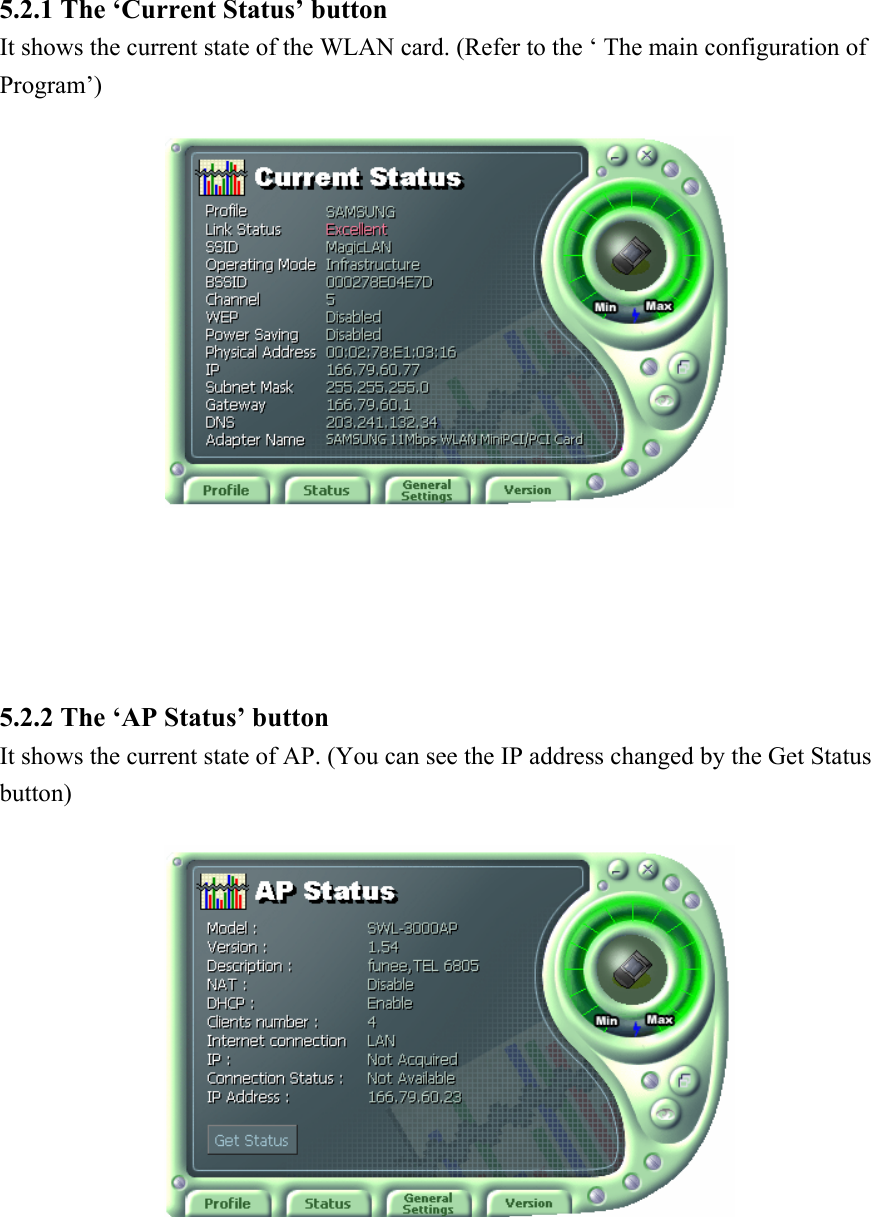
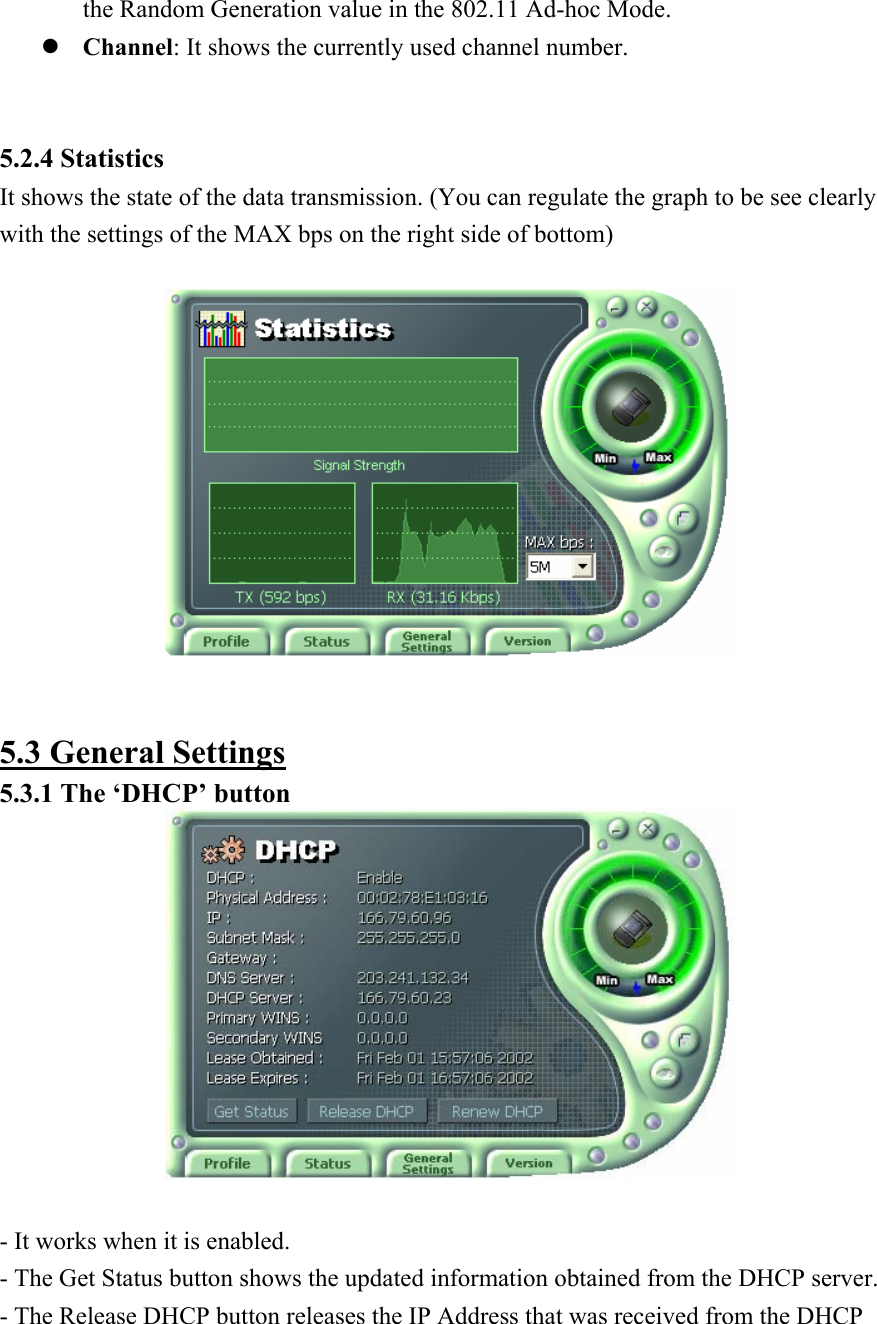
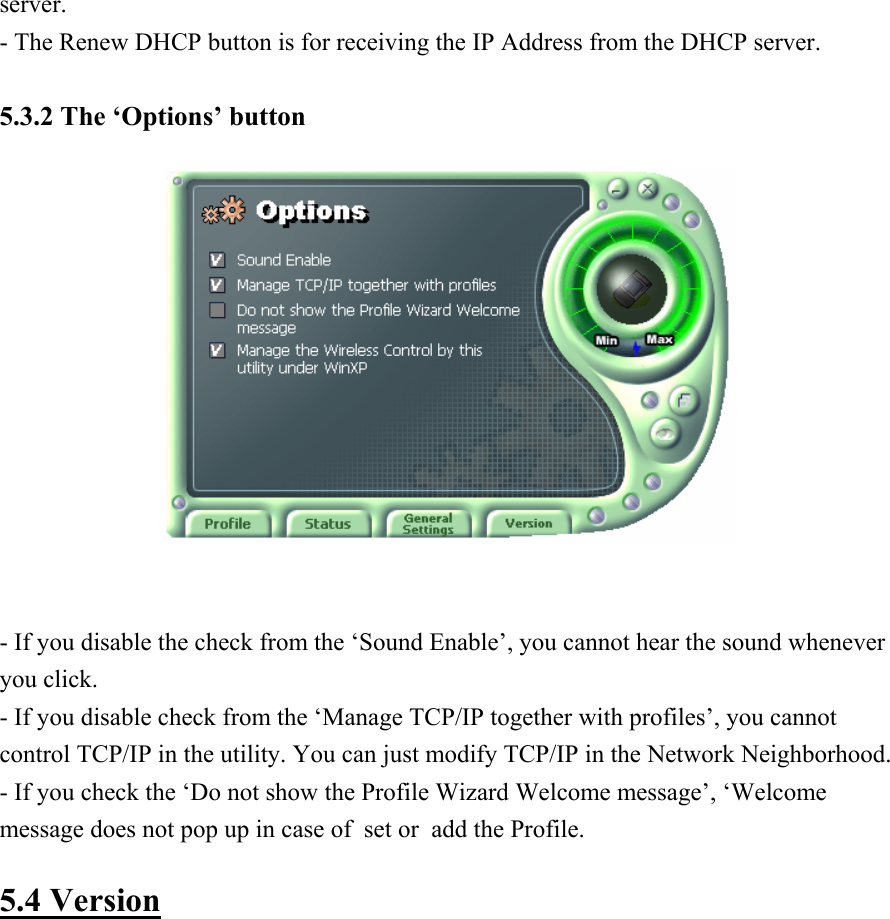
User Manual Part 2

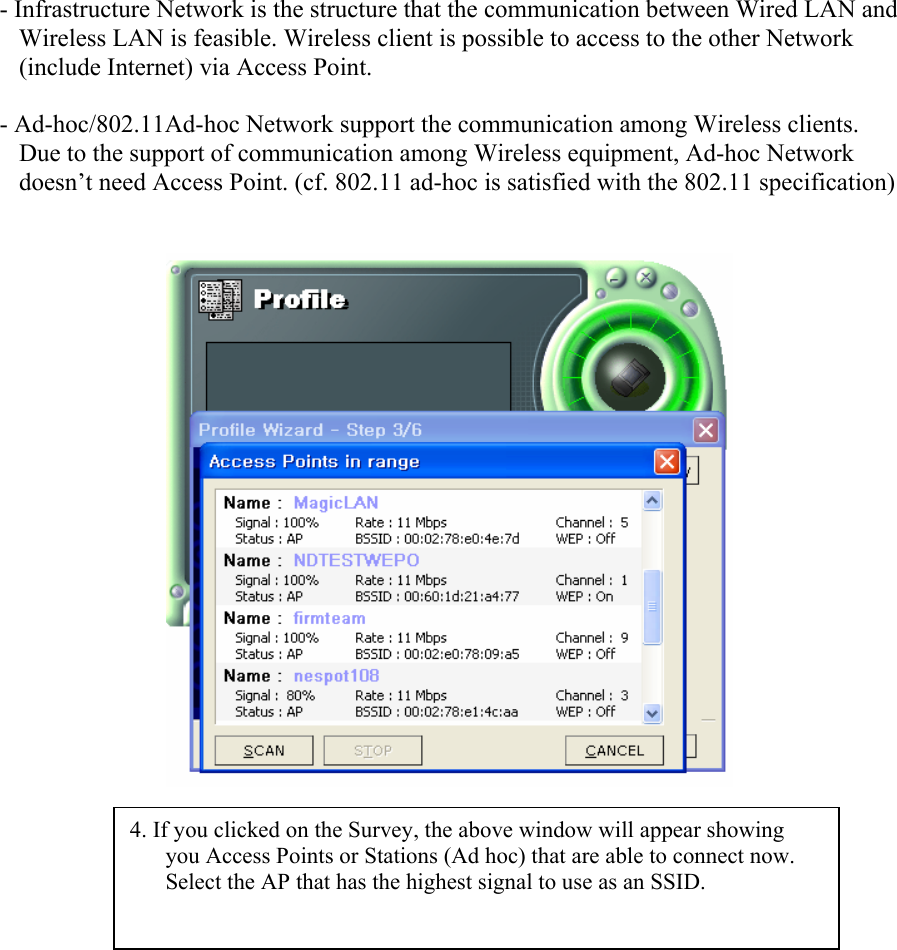
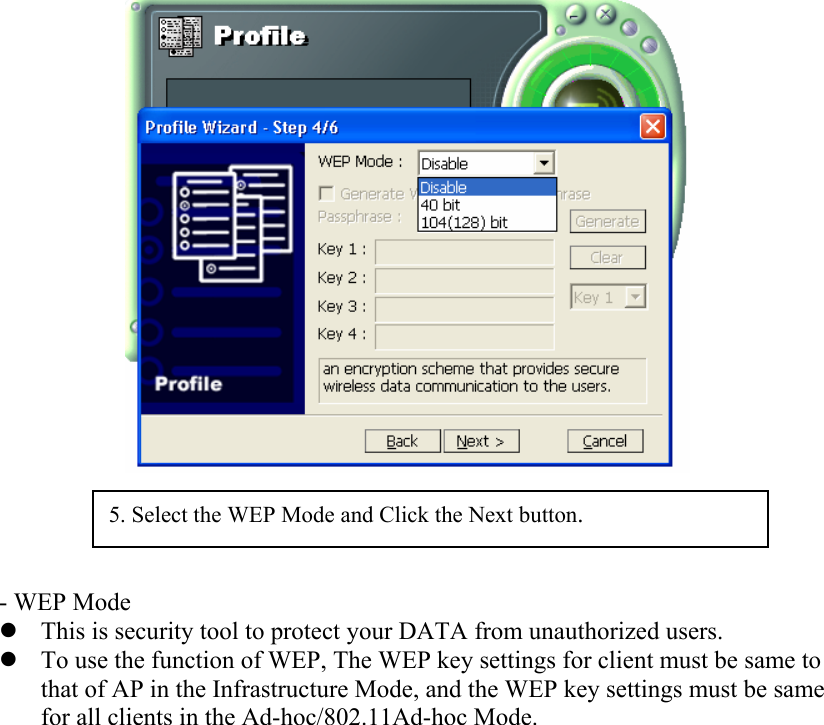
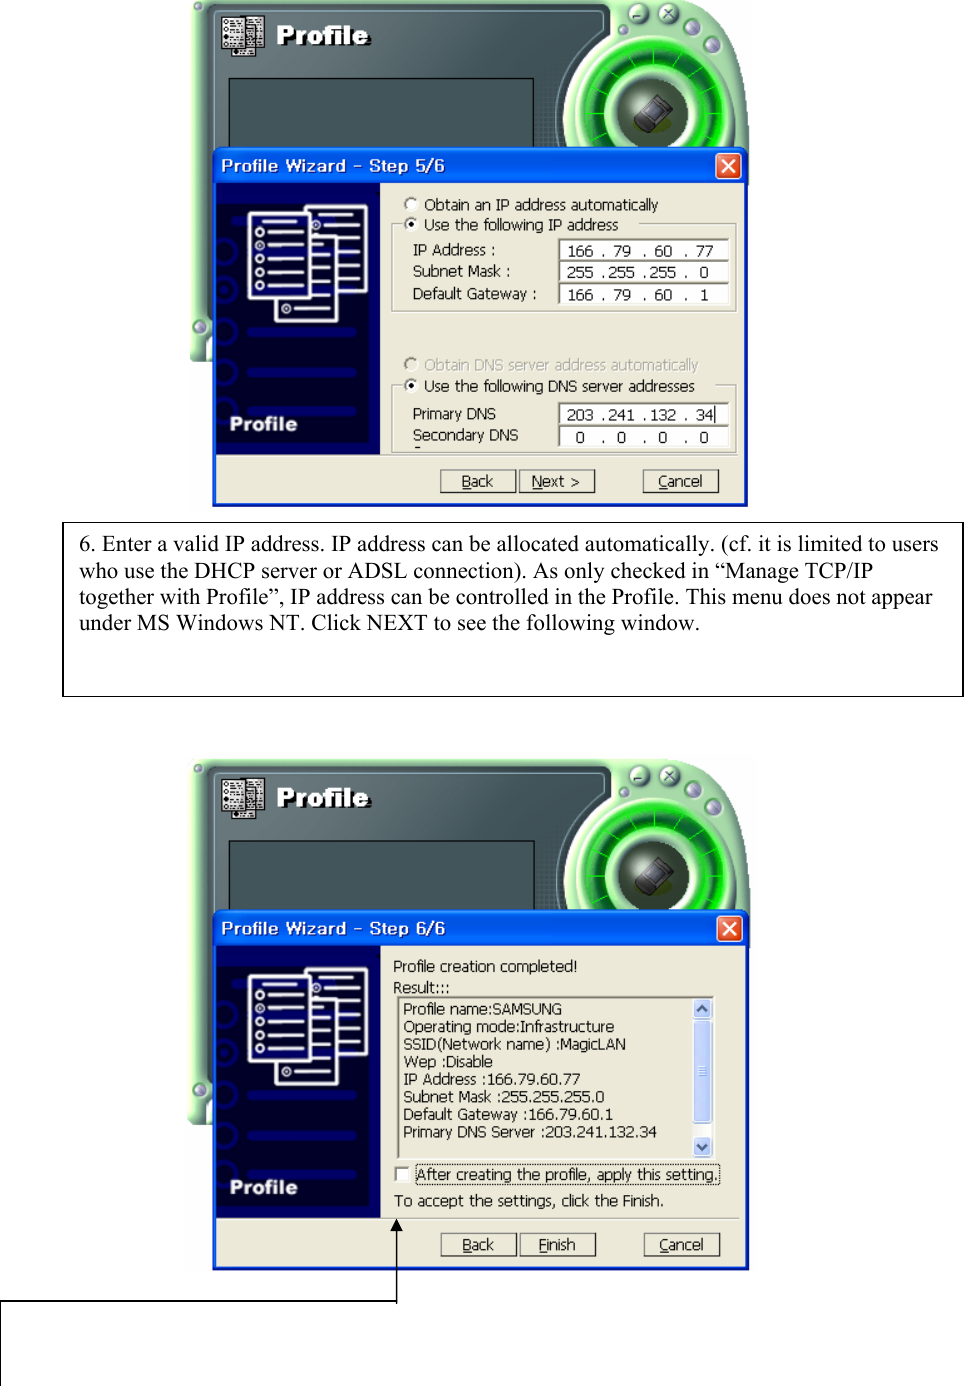
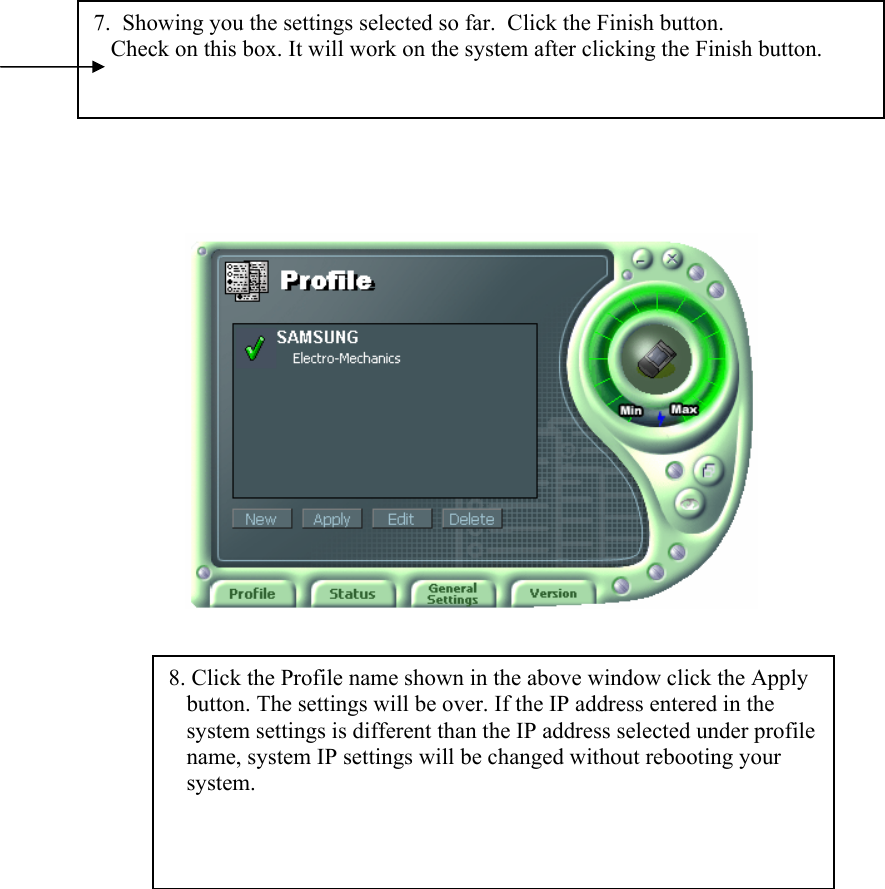
![[ Use of Our company’s Utility in Windows XP ] You can also set up the Wireless LAN by the our company’s utility program instead of Windows XP’ utility program. After booting the computer, you have to draw out and re-insert the MagicLAN Installation CD to be automatically installed. You can click “Install Configuration Utility” to install our utility. Choose the appropriate language when a context box appeared to choose utility’s language. You should reboot the computer to use our utility properly in the NT-based OSs(Winows 2000, Windows XP). - If you click the icon on the right bottom of the desktop, you can see the current state of the Wireless LAN. - Click on Option of the General settings on the bottom of the Utility and mark “Manage the Wireless Control by this utility under WinXP”. For more details, refer to ‘Chapter 4’ in this manual. - If you want to use Wireless LAN Utility in the system of Windows XP , be sure that the mark of “Manage the Wireless Control by this utility under WinXP” of the our company’s utility program is removed.](https://usermanual.wiki/Samsung-Electro-Mechanics/SWL-2300U.User-Manual-Part-2/User-Guide-348568-Page-6.png)