Samsung Electronics Co AAMR1D9TG Wireless Mouse User Manual 11 AA KR1D9TG
Samsung Electronics Co Ltd Wireless Mouse 11 AA KR1D9TG
UserManual.wiki
>
Samsung Electronics Co
>
AAMR1D9TG User Manual
User Manual_AA-MR1D9TG
Navigation menu
Upload a User Manual
Namespaces
Wiki Guide
HTML
PDF
Info
Views
User Manual
Discussion / Help
Navigation


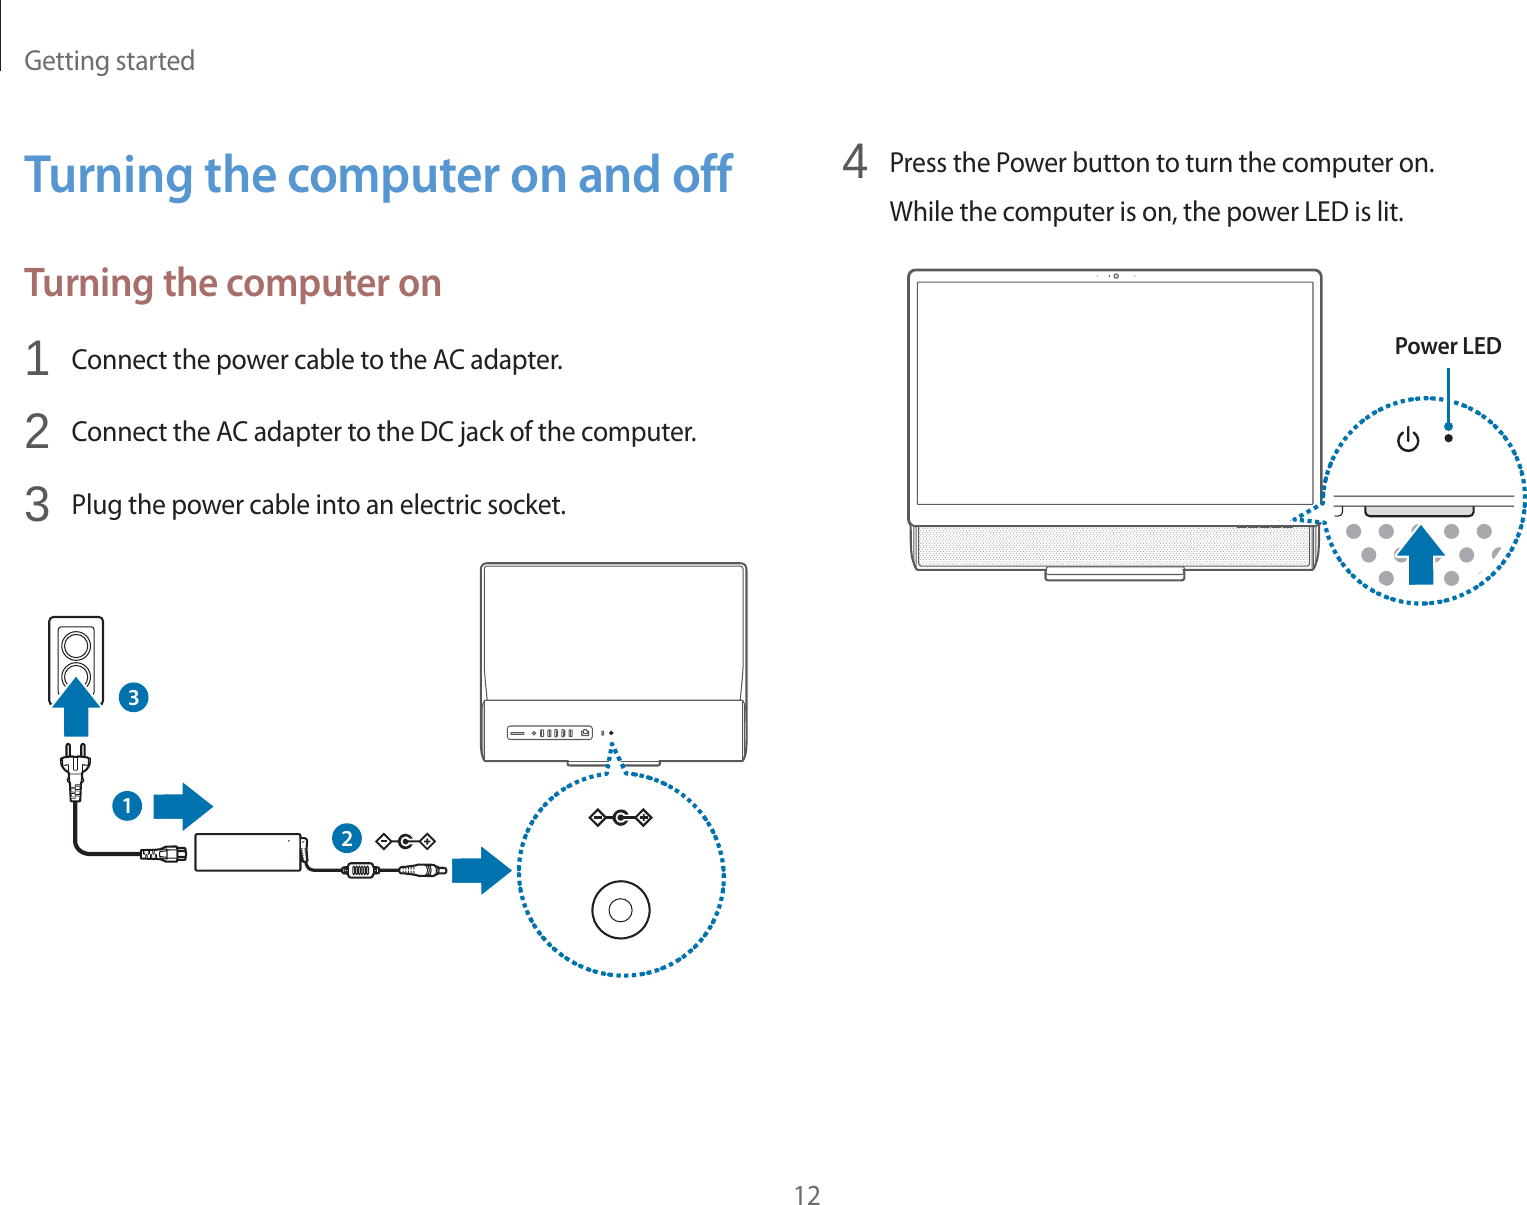
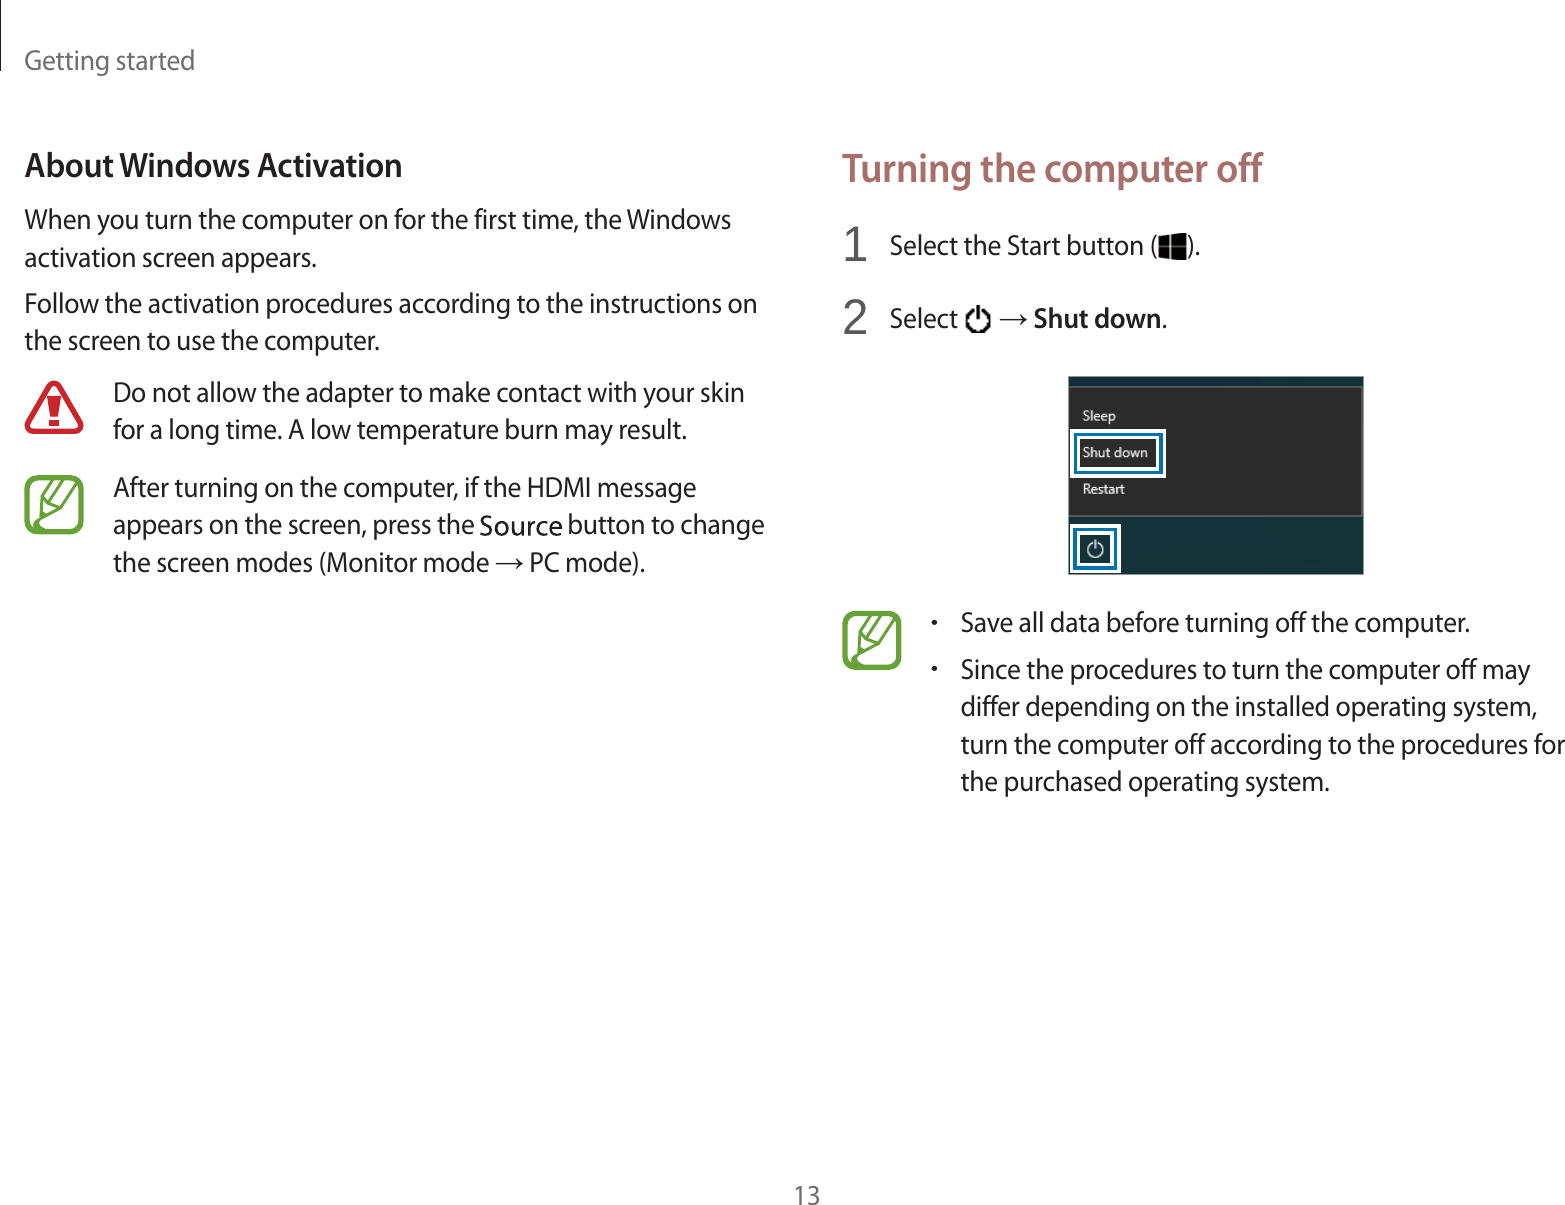
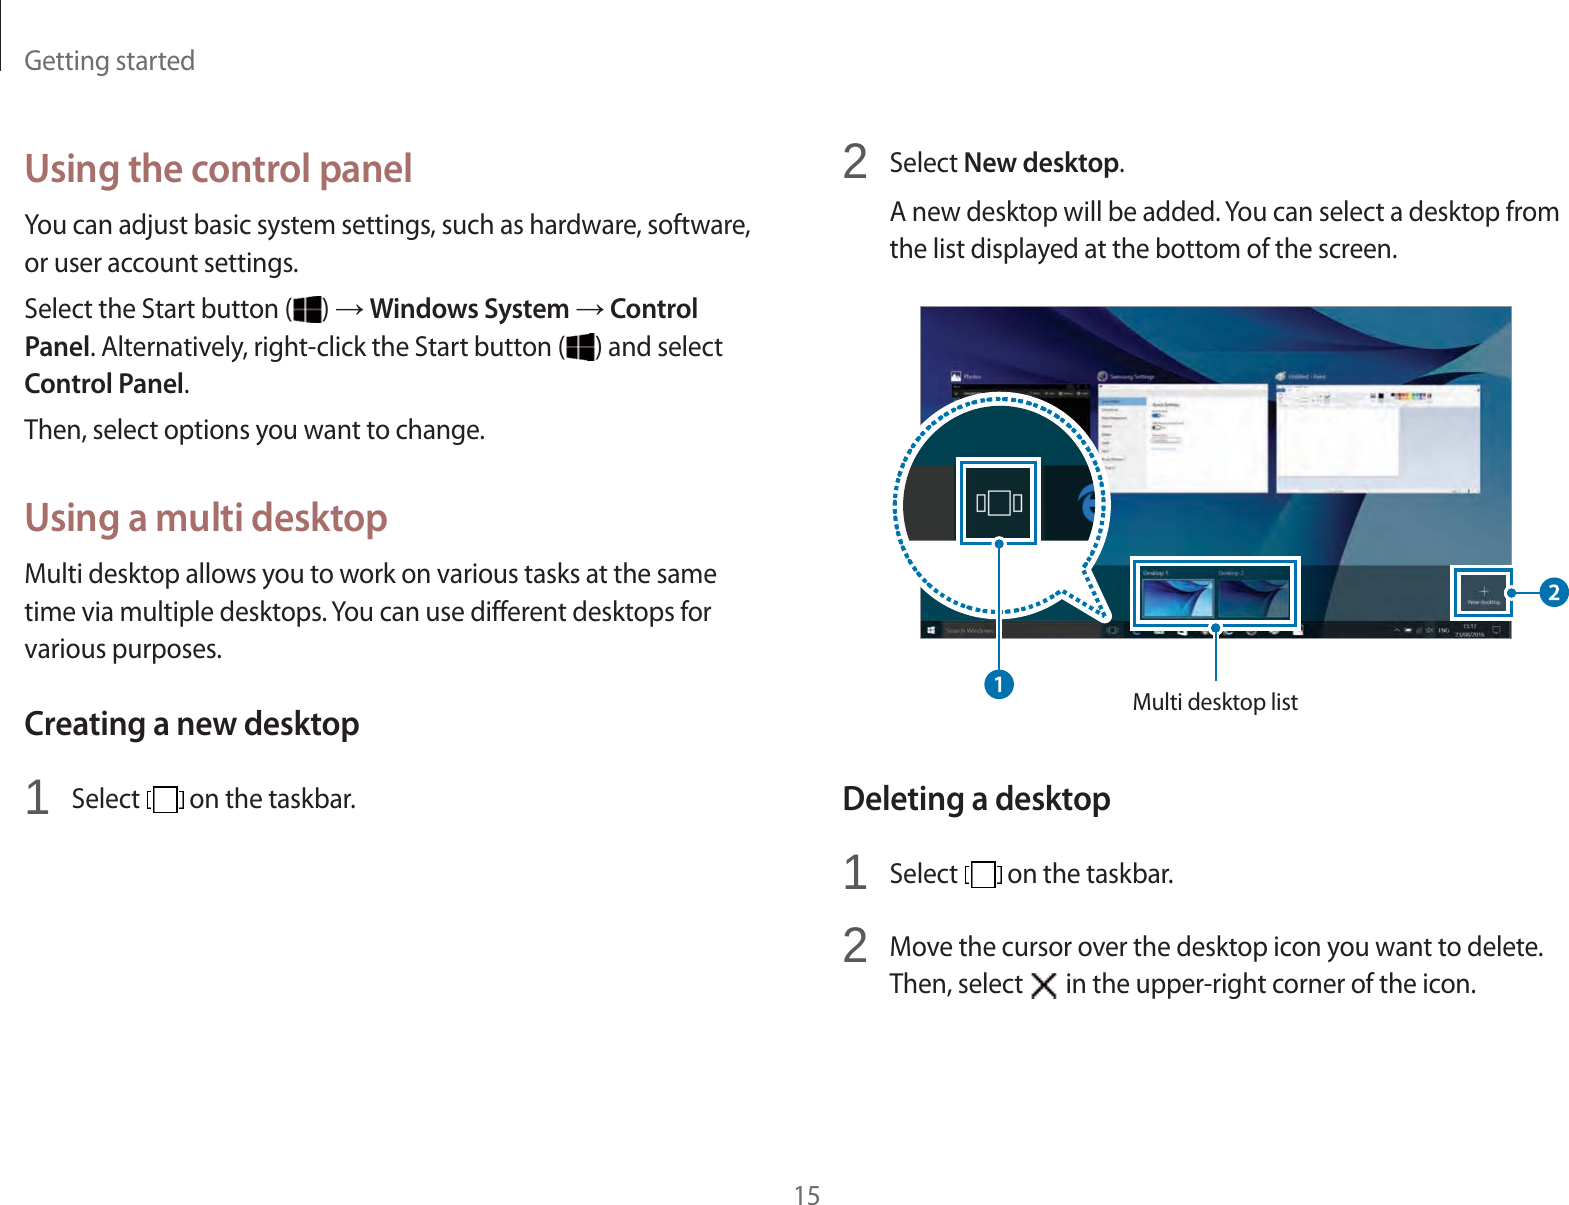

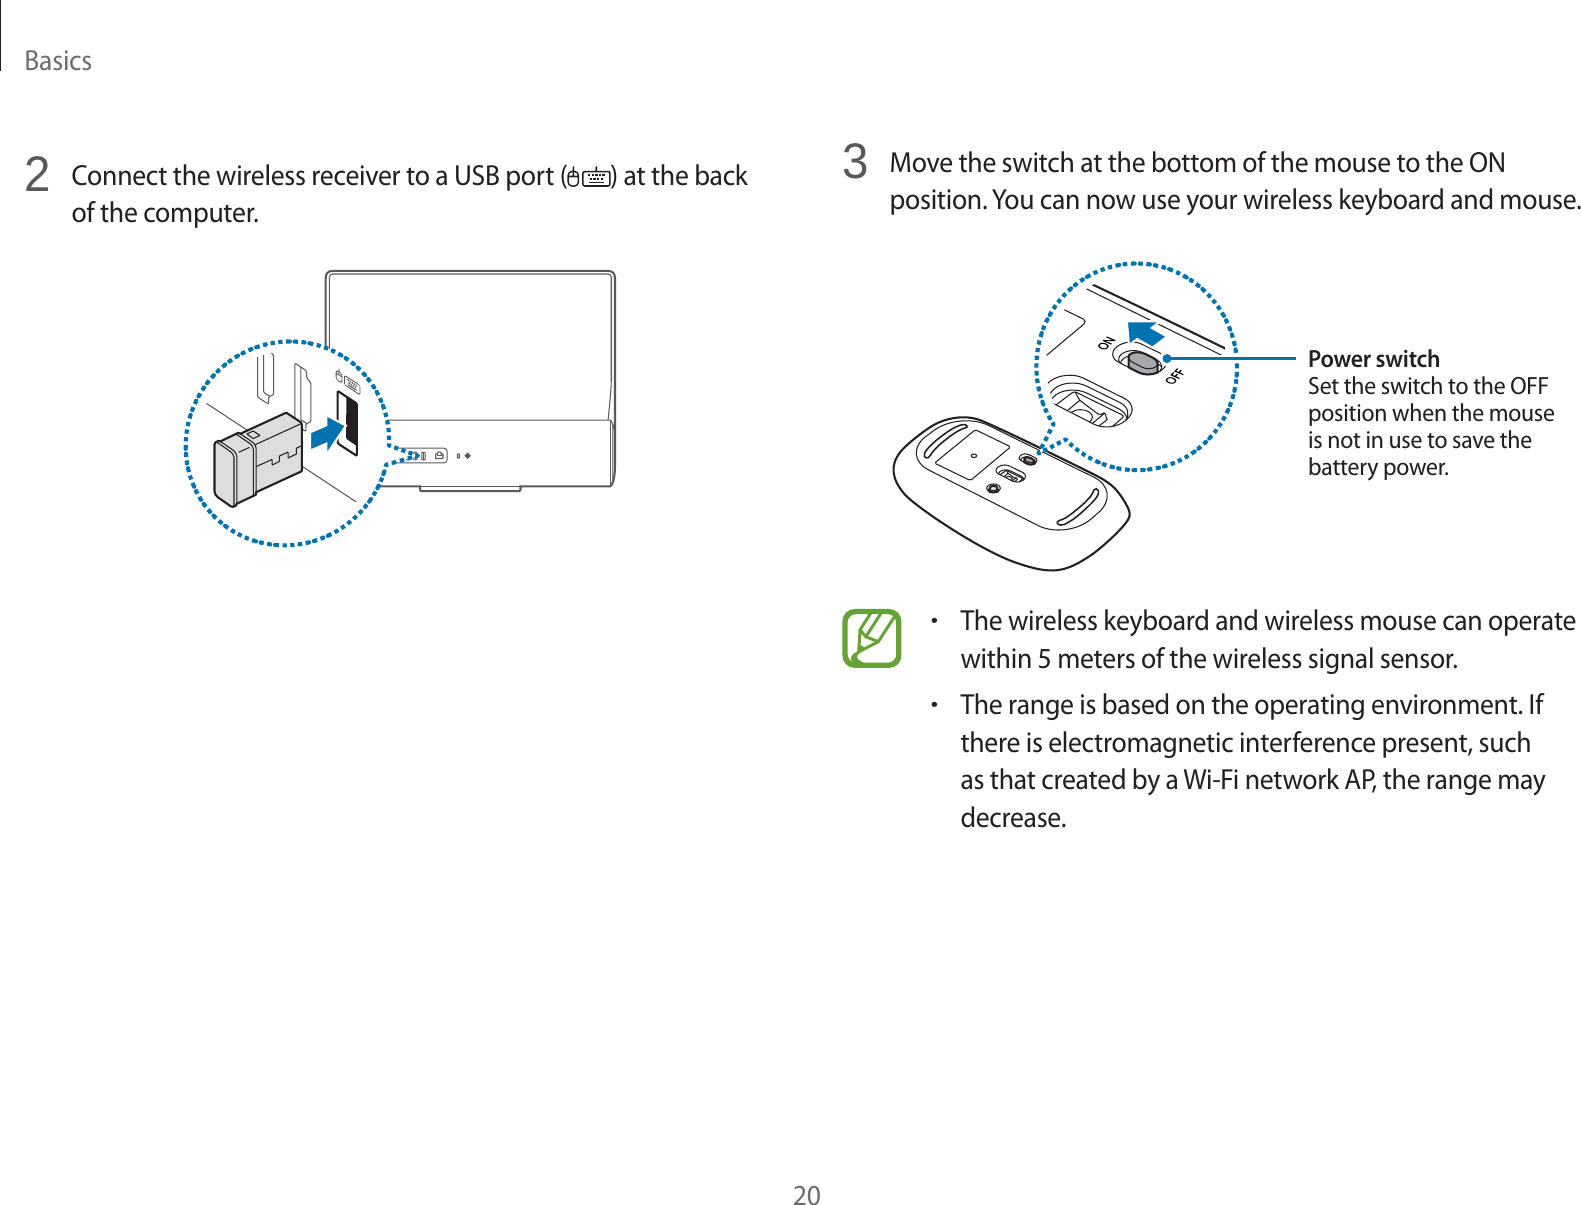
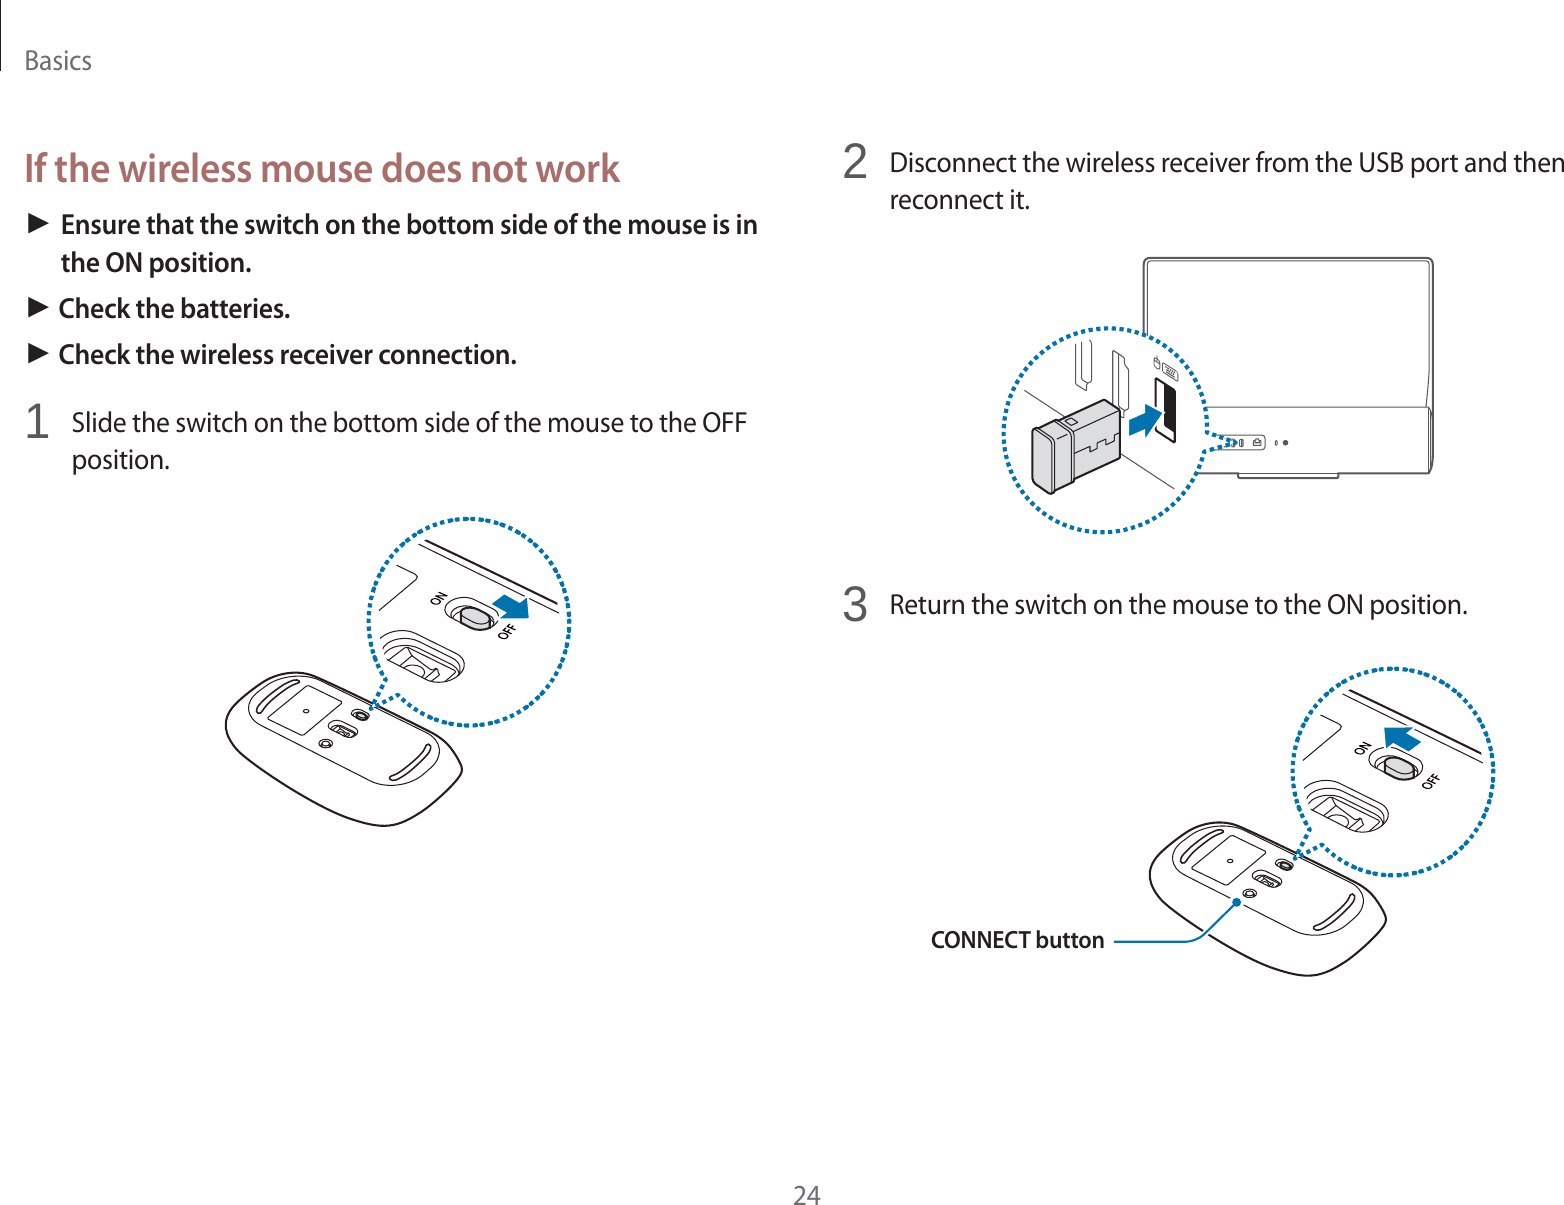
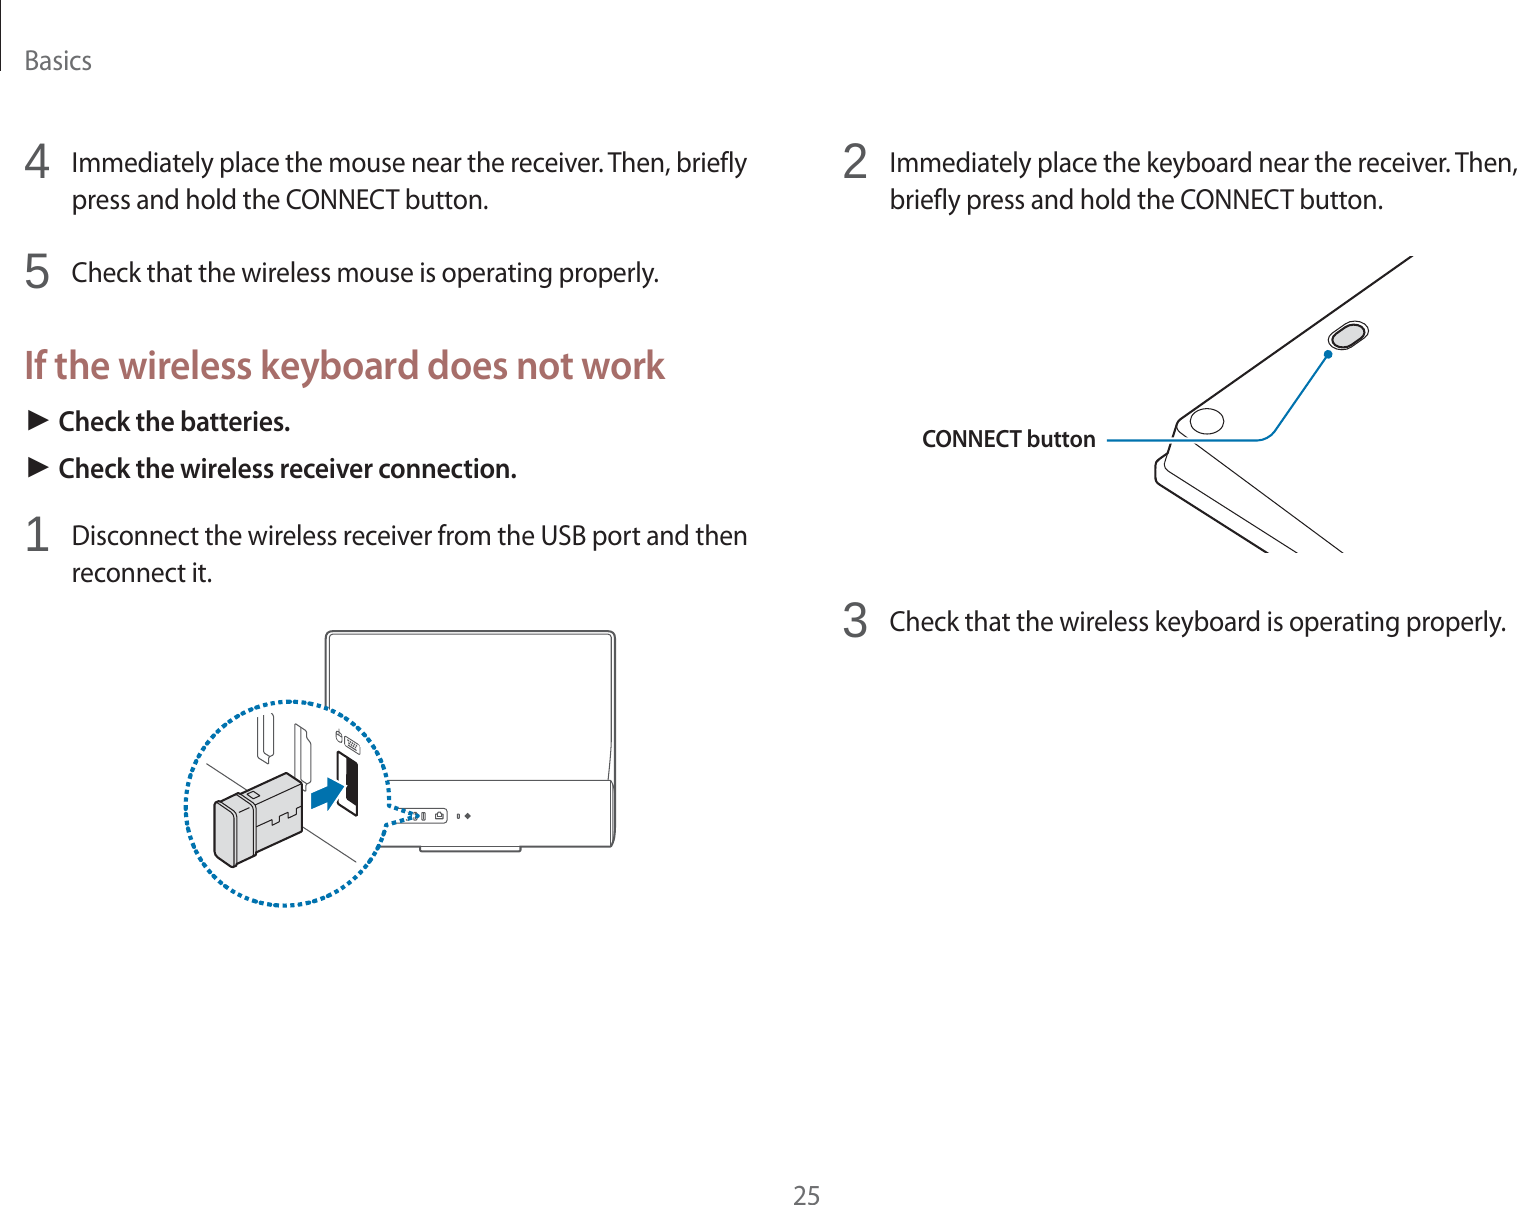
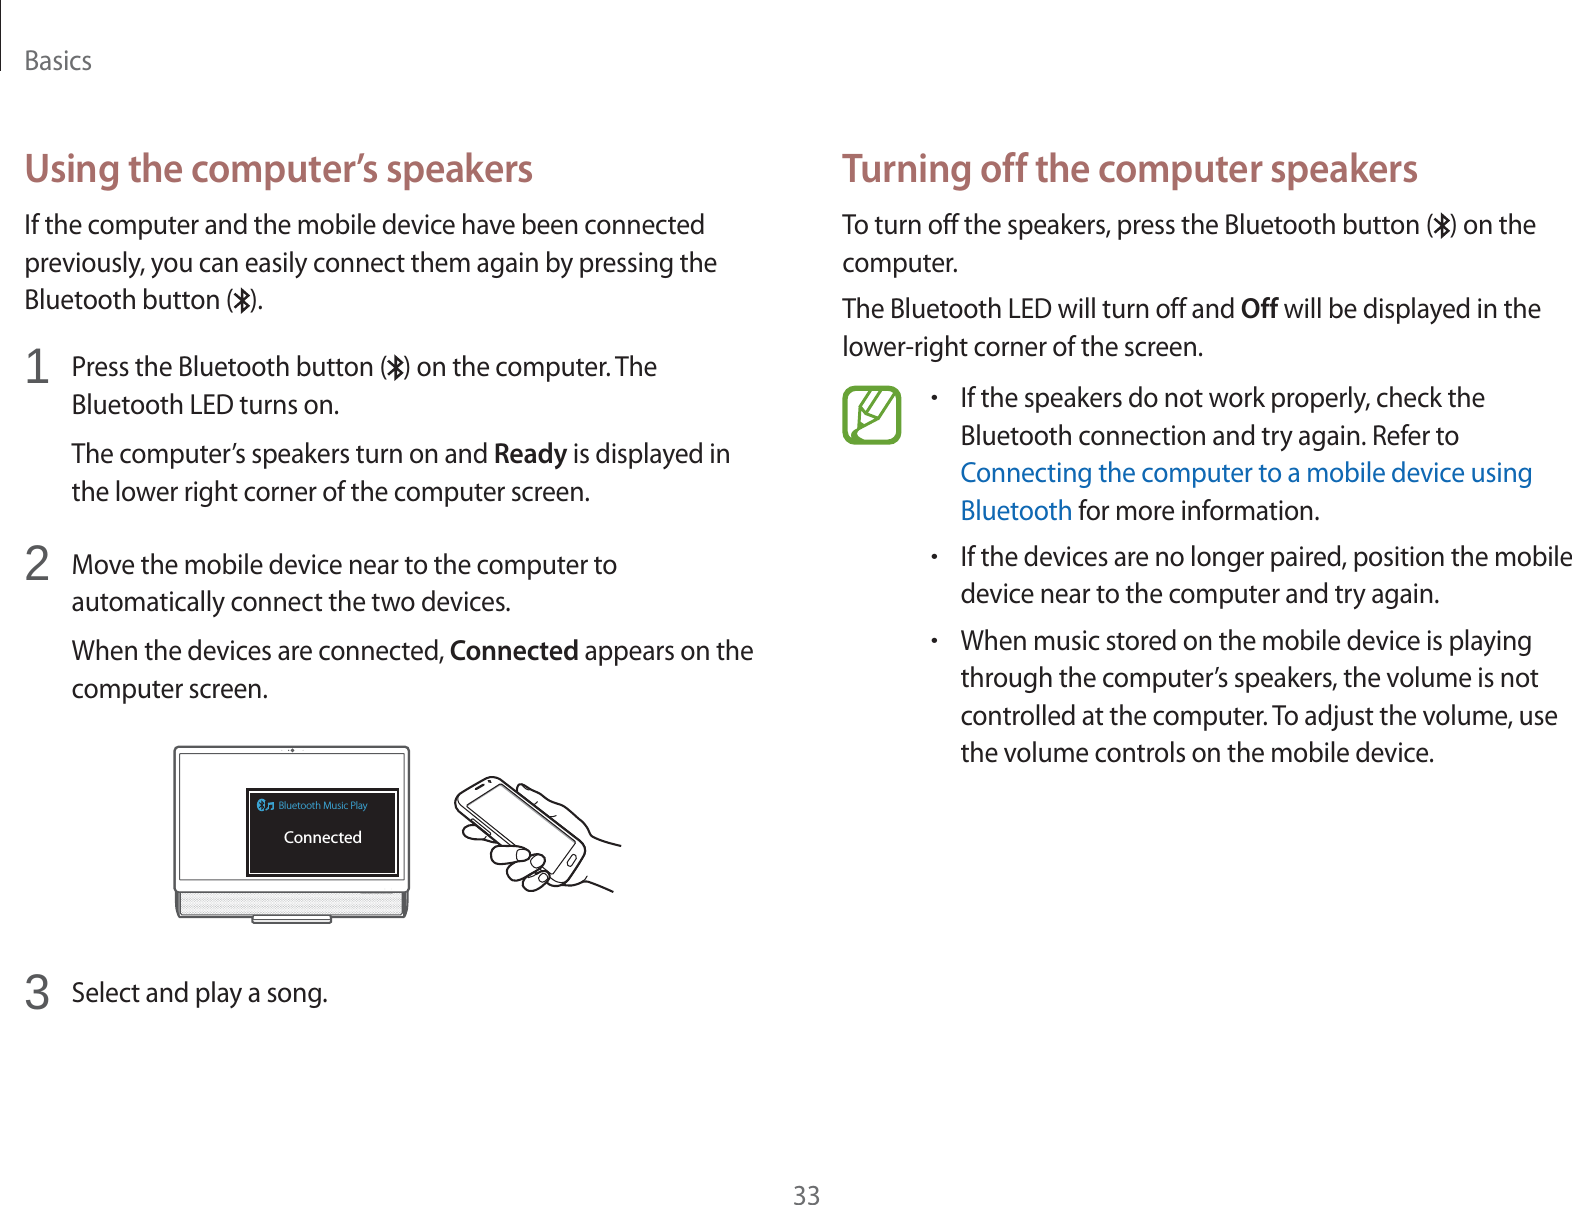
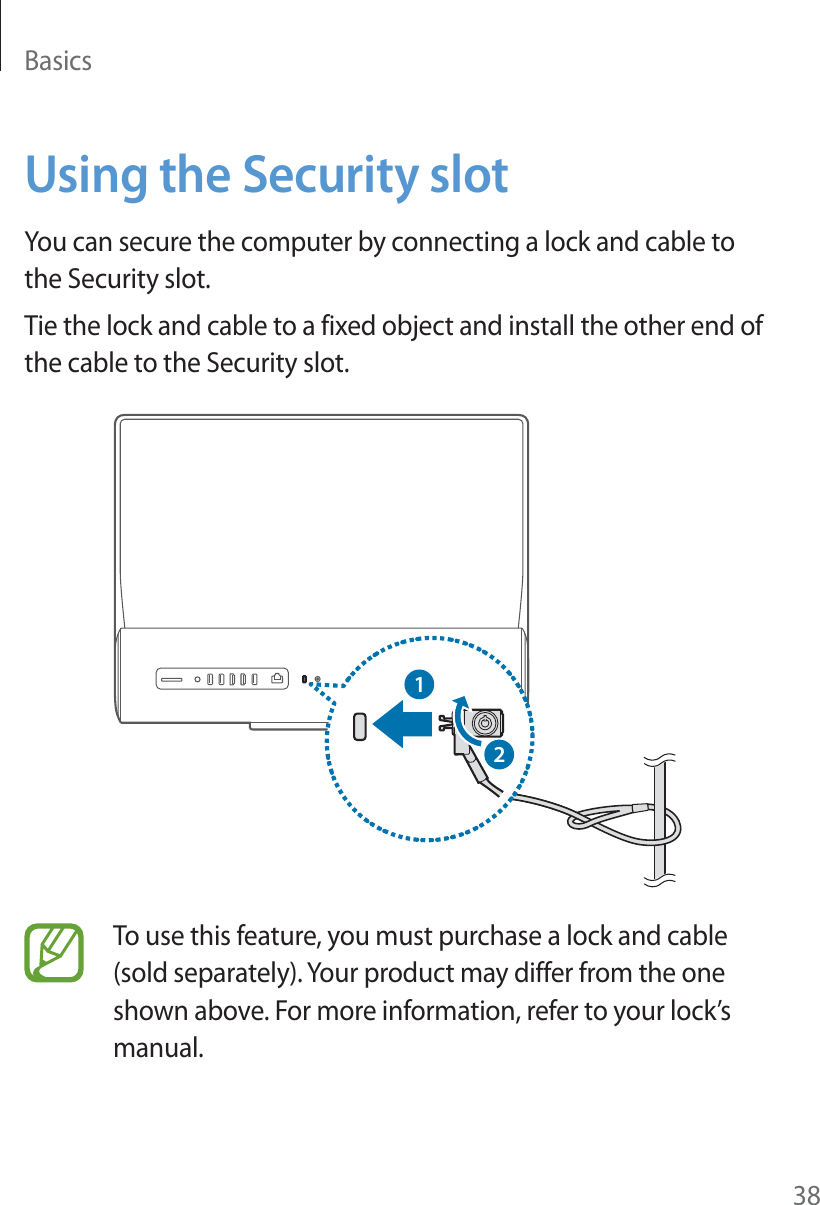
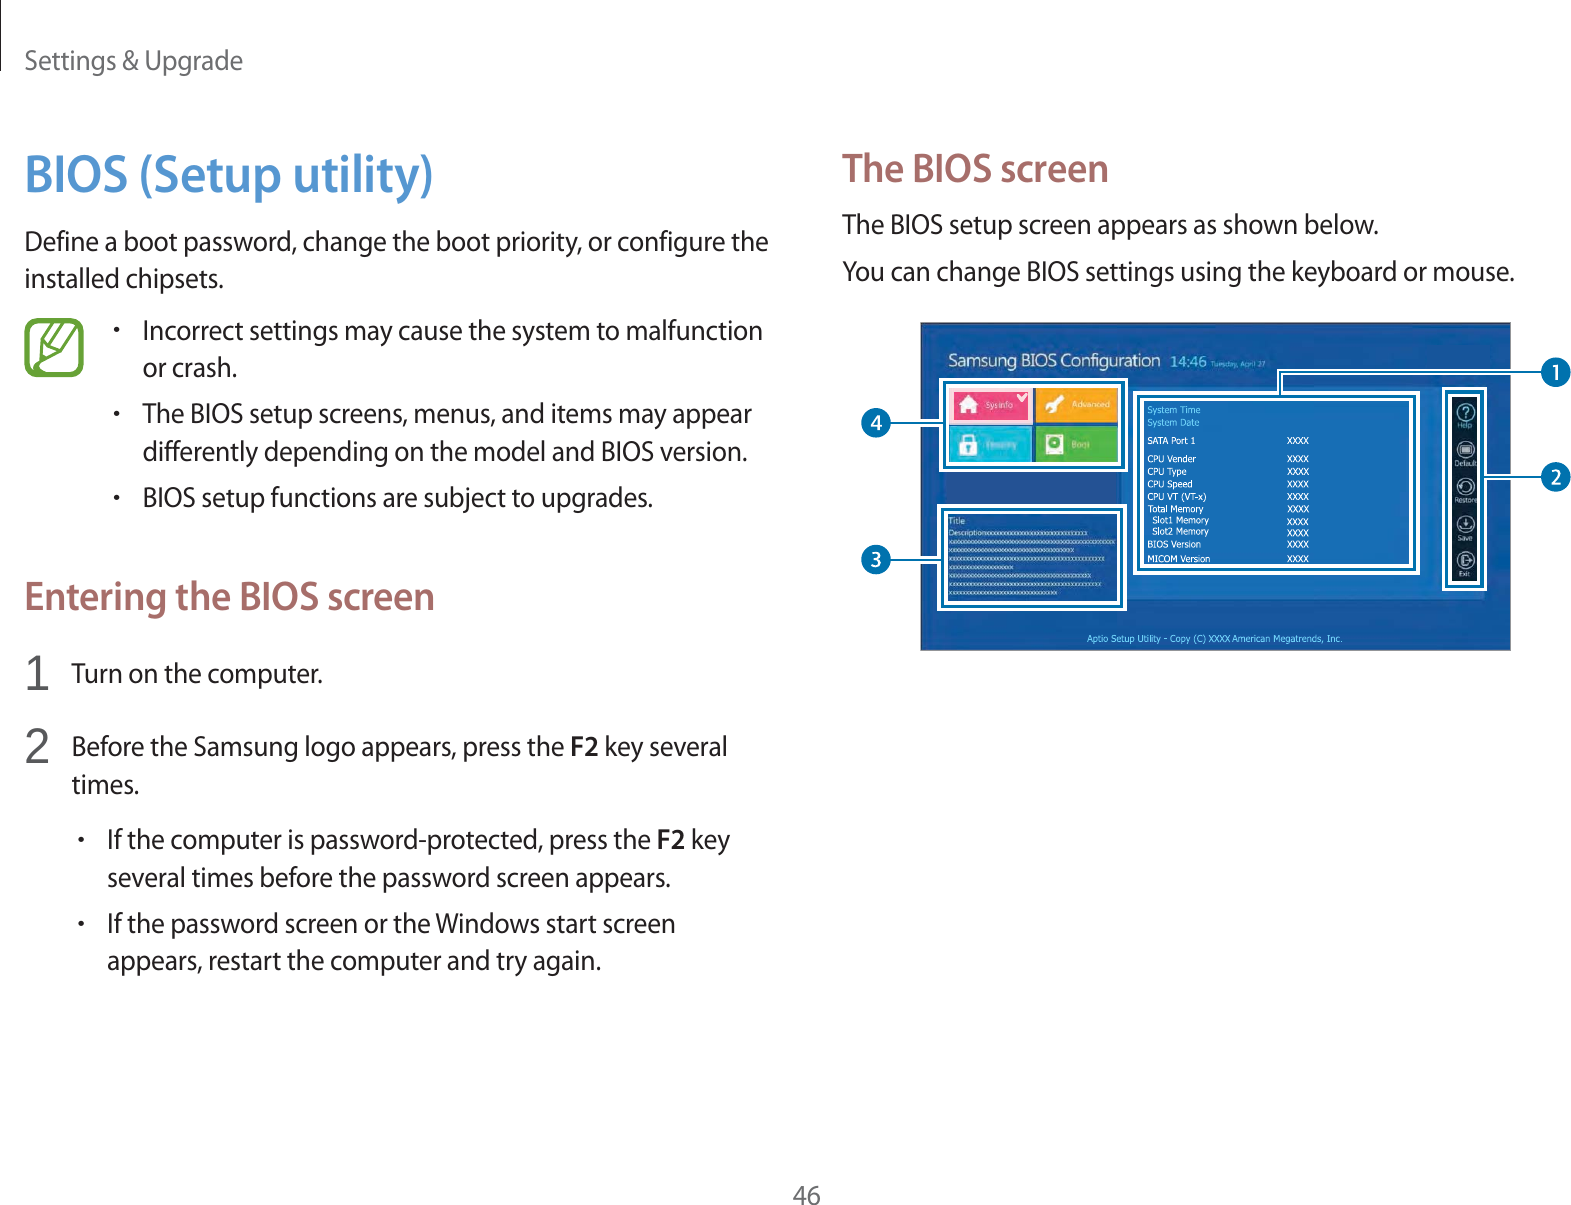
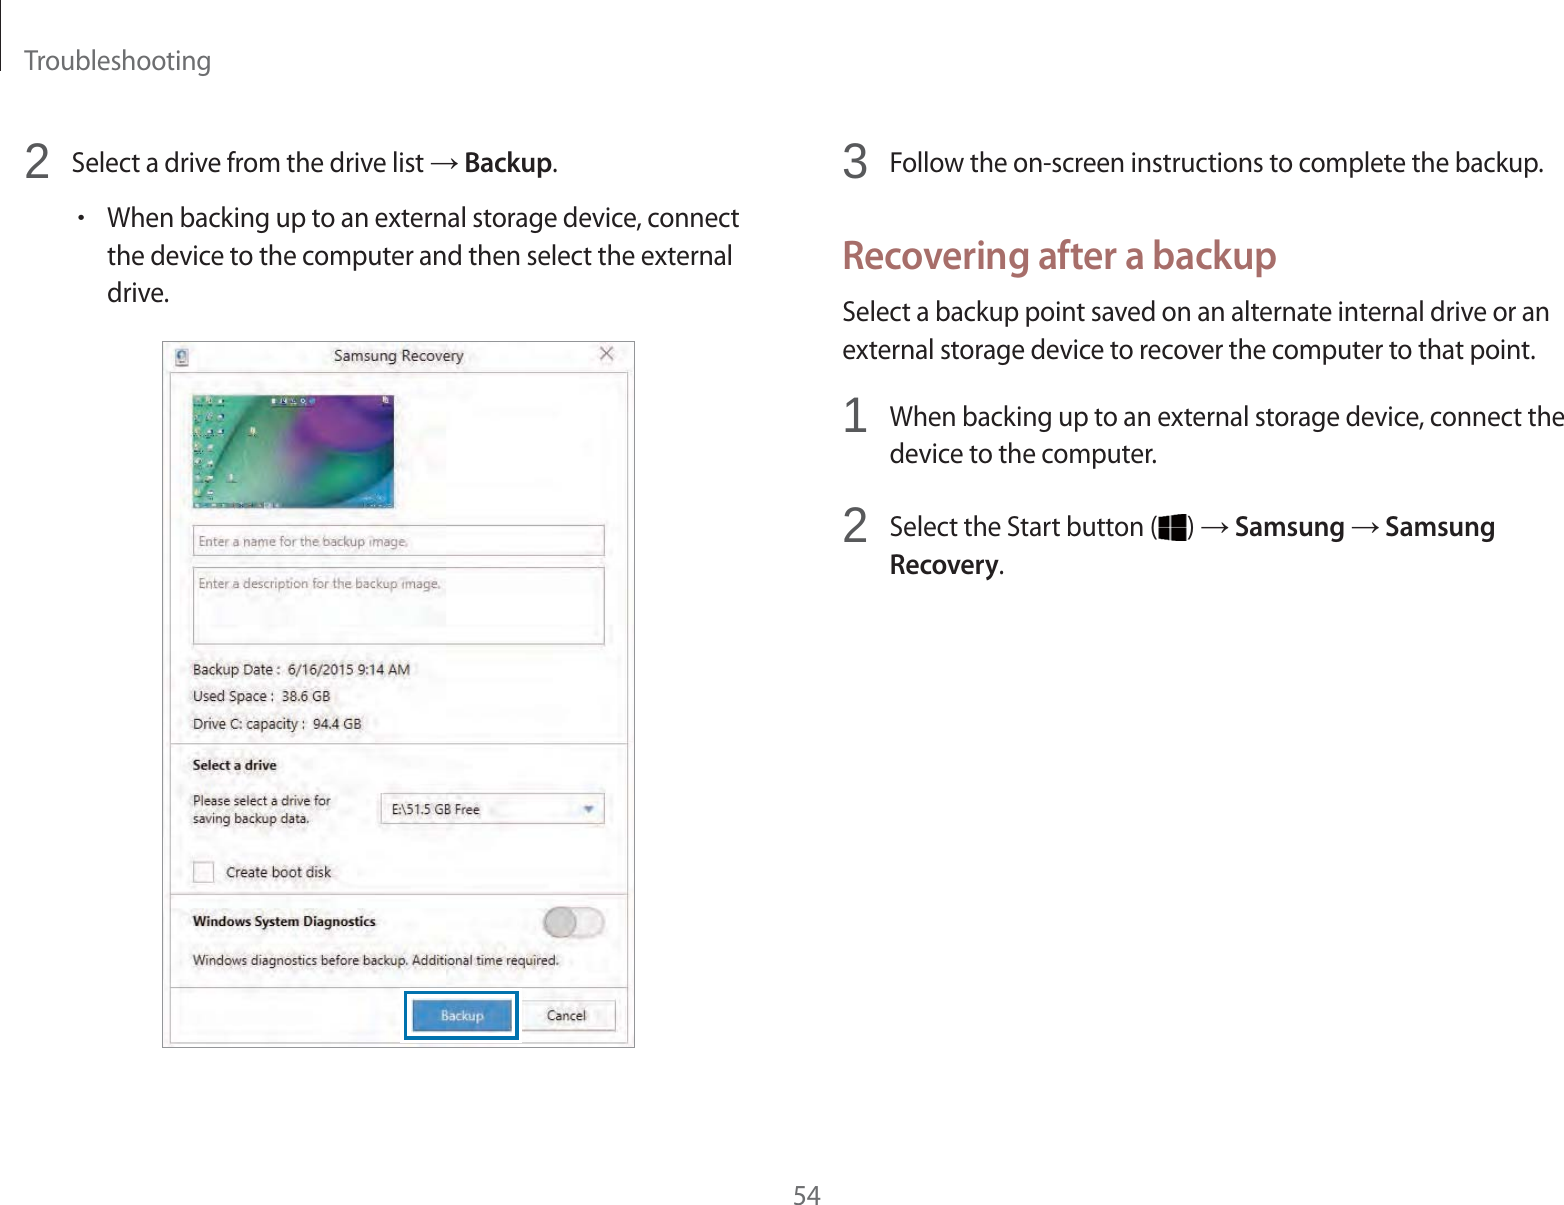
![Basics19[Wireless keyboard]Battery coverWireless receiverrEnsure the positive (+) and negative (-) ends of the batteries are positioned correctly.rThe AAA batteries supplied with the product cannot be recharged.Wireless keyboard/mouse (optional)The wireless keyboard and mouse are optional and the appearance may differ depending on the model.Some models may be supplied with a wired keyboard and mouse.To use the wireless mouse and keyboard, first install the batteries and then install the wireless receiver.Installing the wireless receiver1Open the wireless mouse and keyboard’s battery covers and insert the batteries. Make sure to insert the batteries with the positive (+) and negative (-) ends in the right direction, and remove the wireless receiver from the wireless keyboard.12[Wireless mouse]Battery cover](https://usermanual.wiki/Samsung-Electronics-Co/AAMR1D9TG/User-Guide-3214282-Page-19.png)