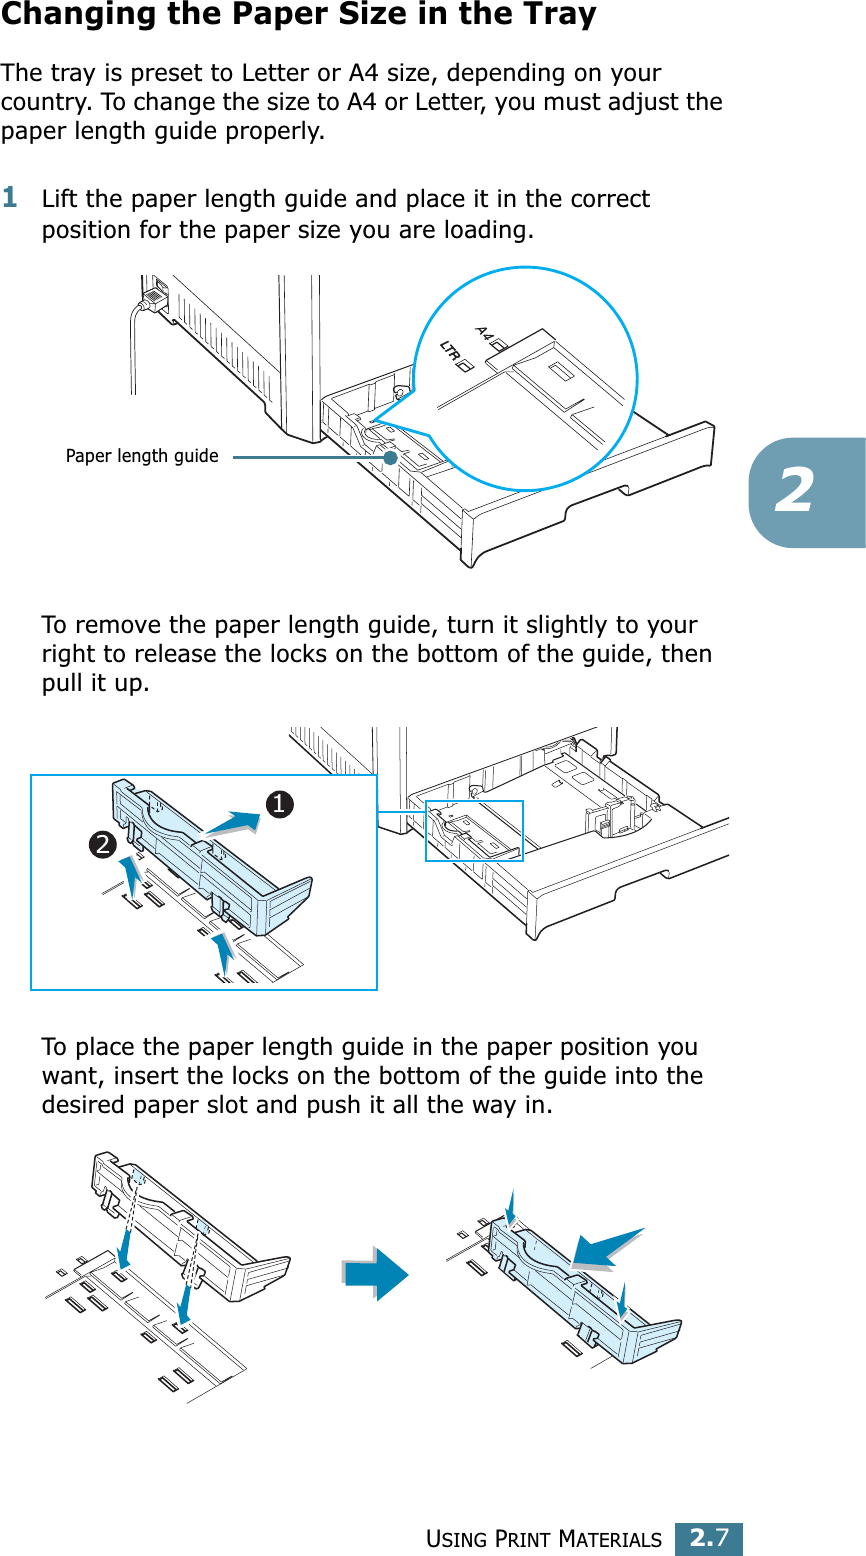
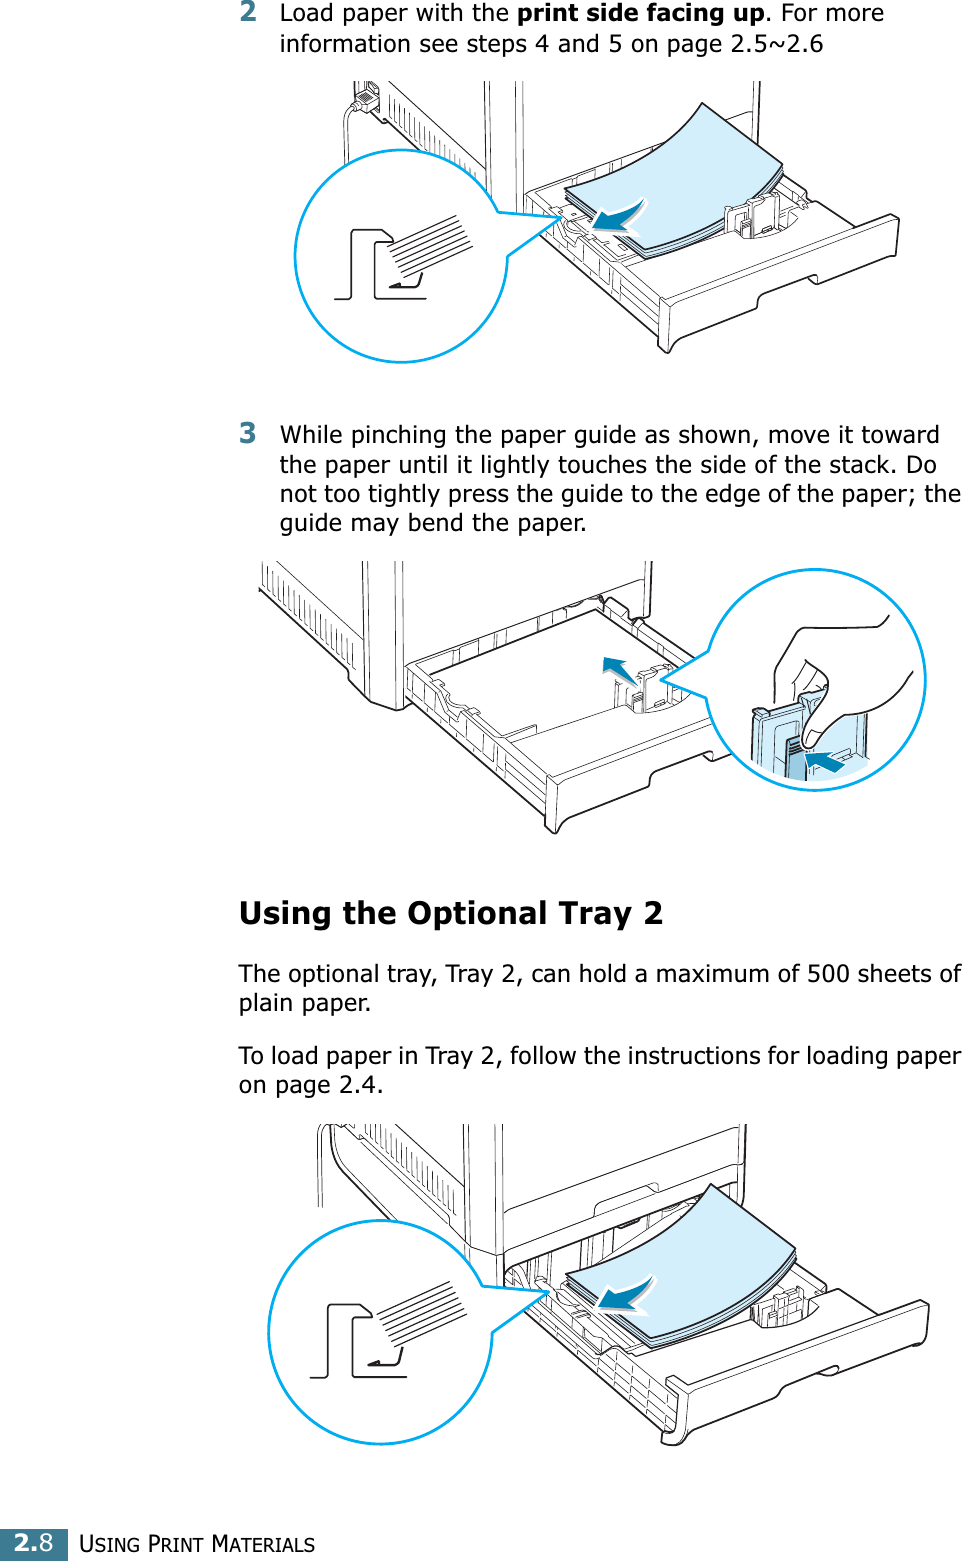
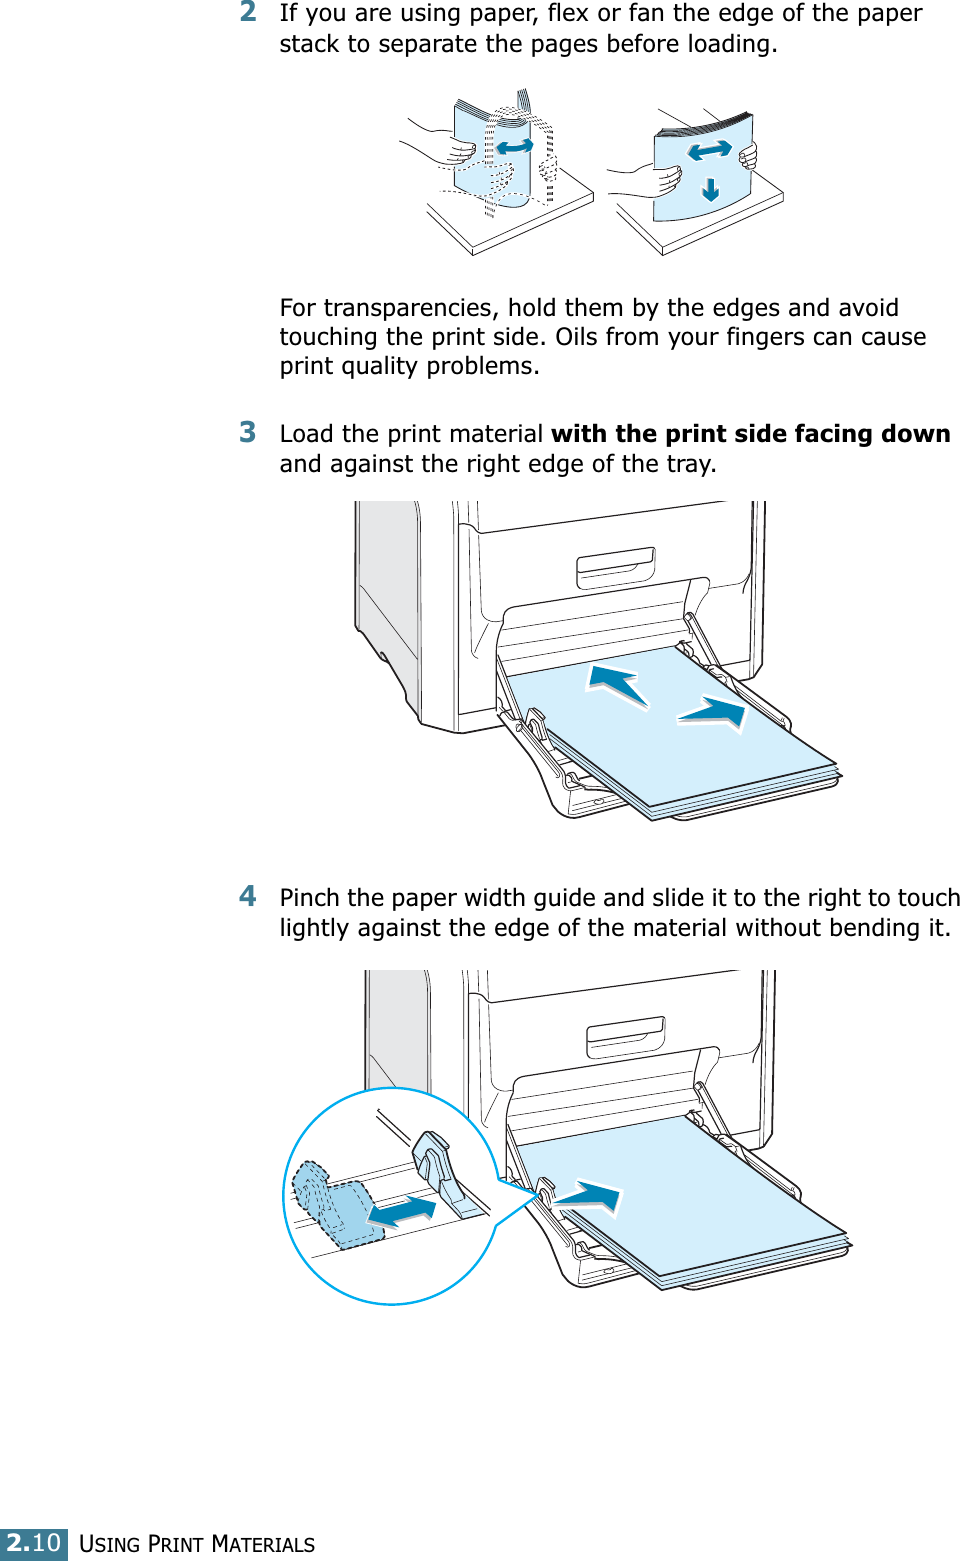
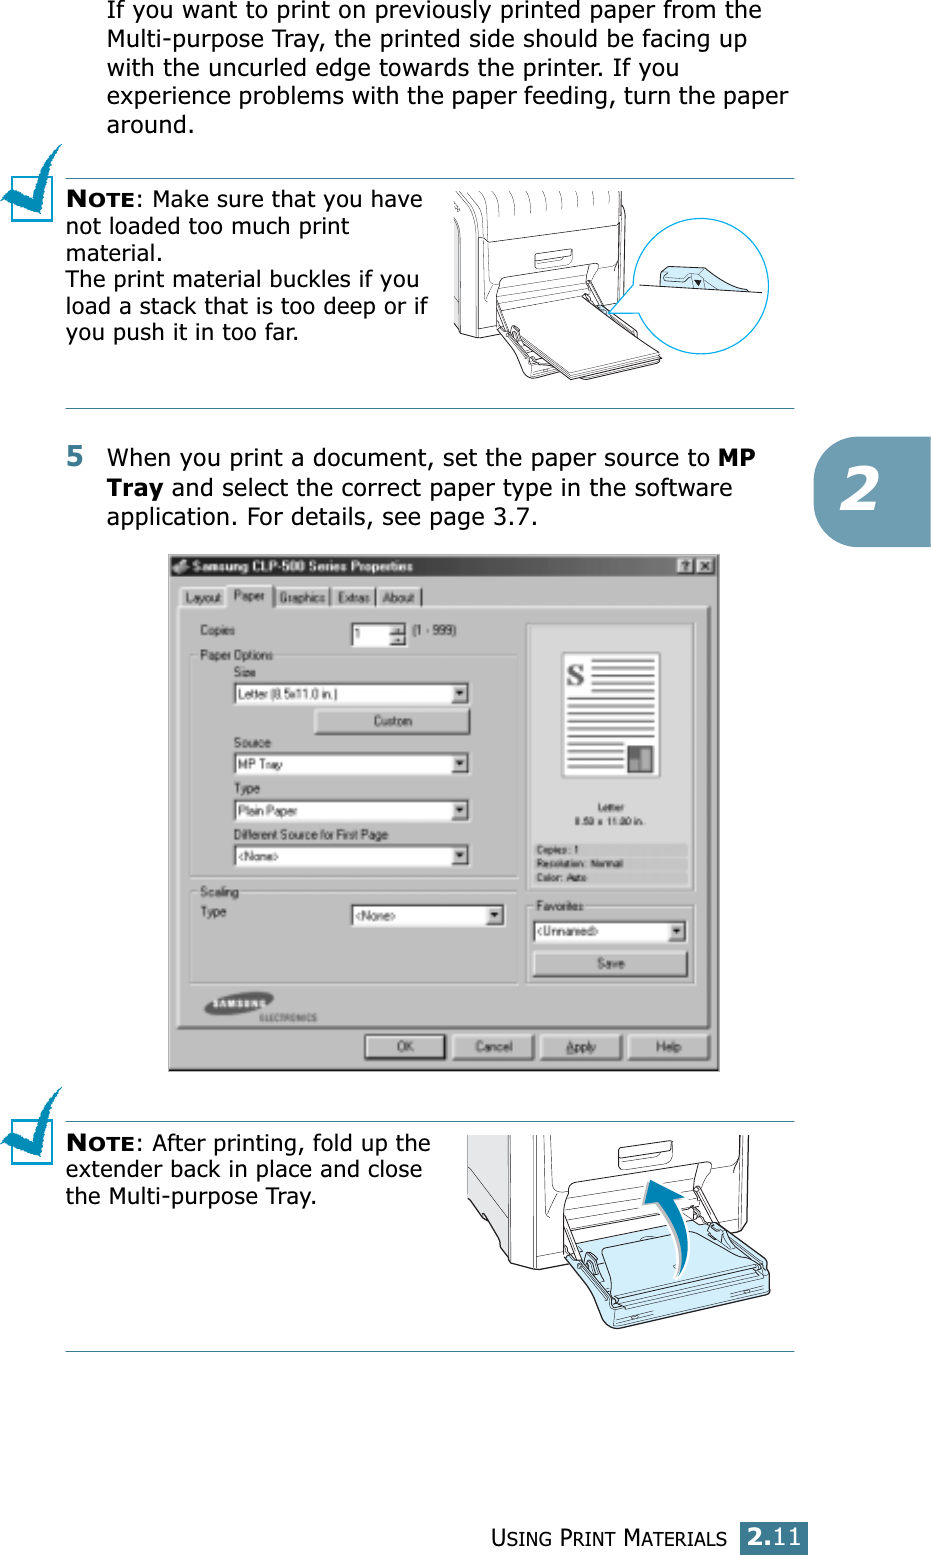
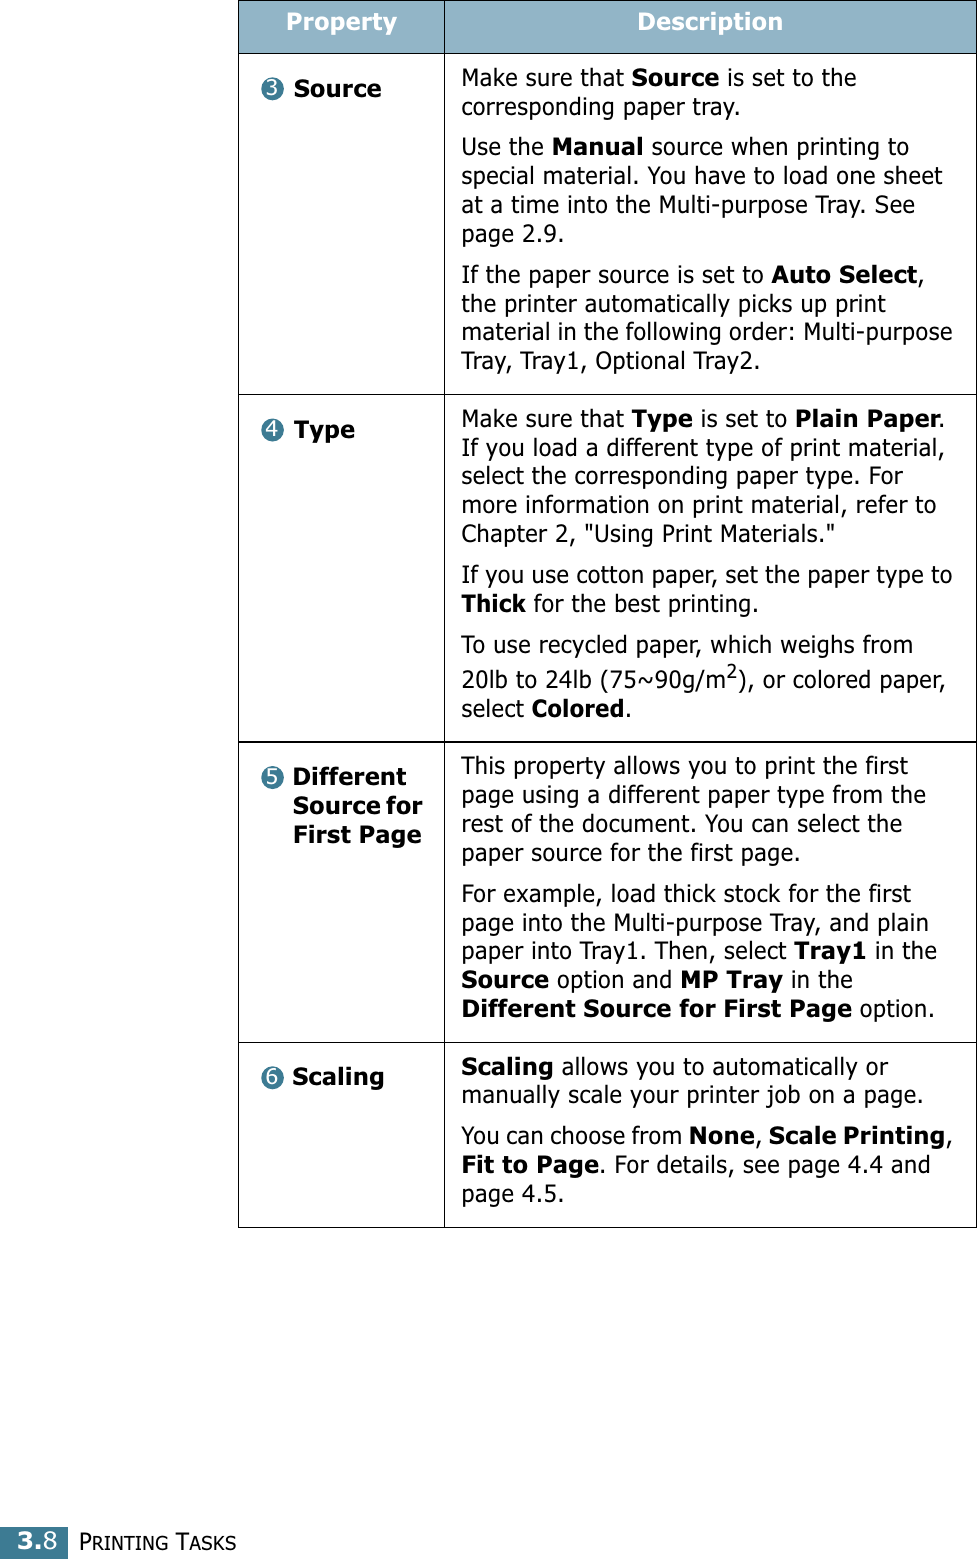
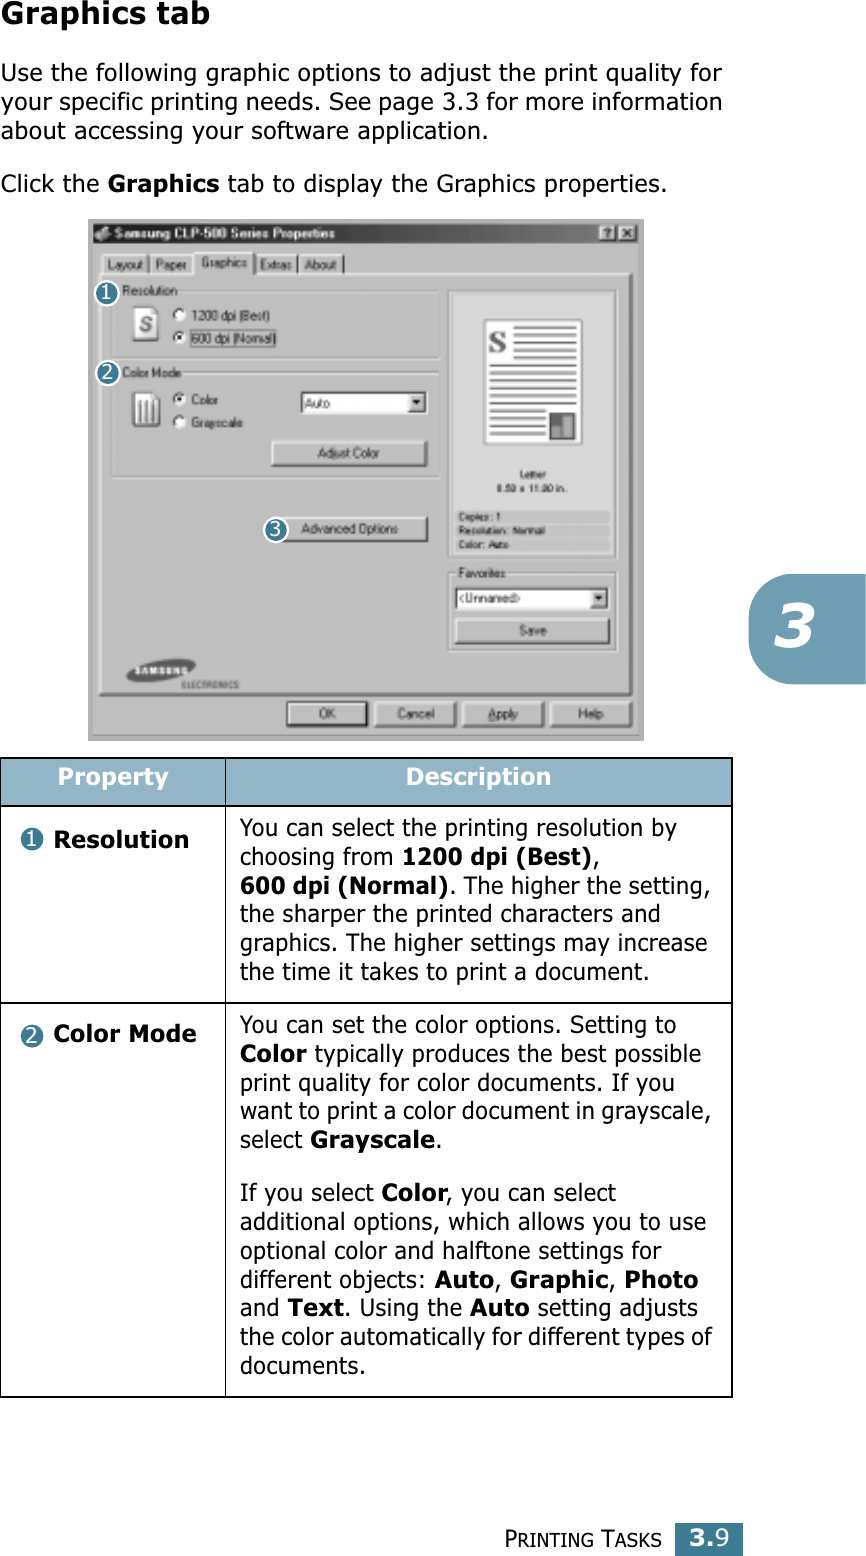
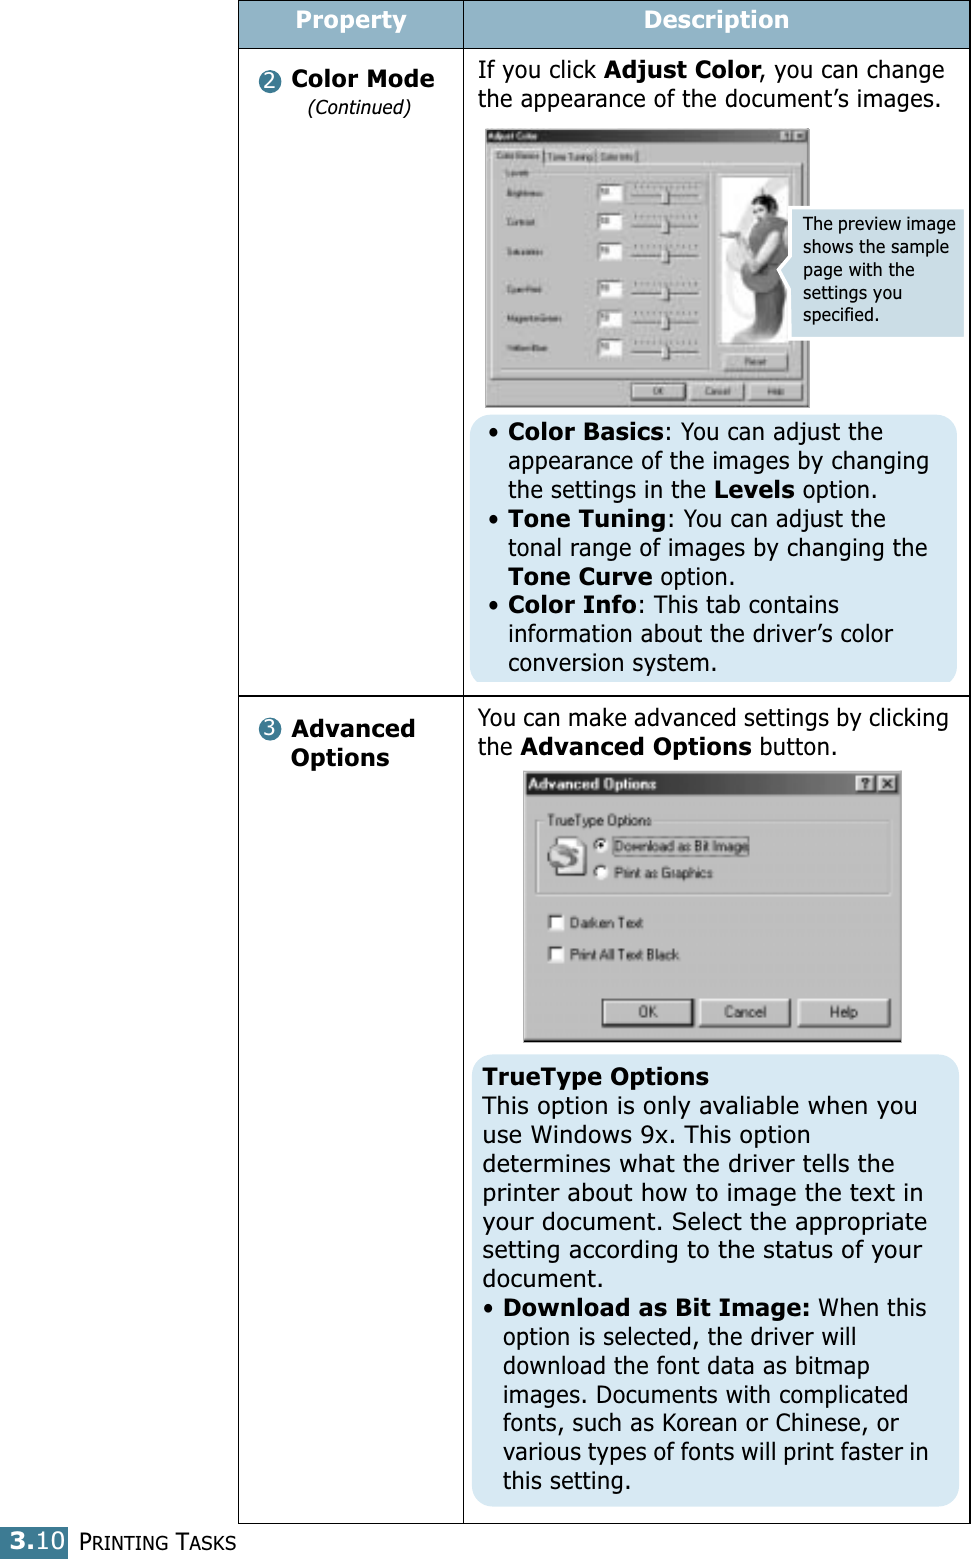
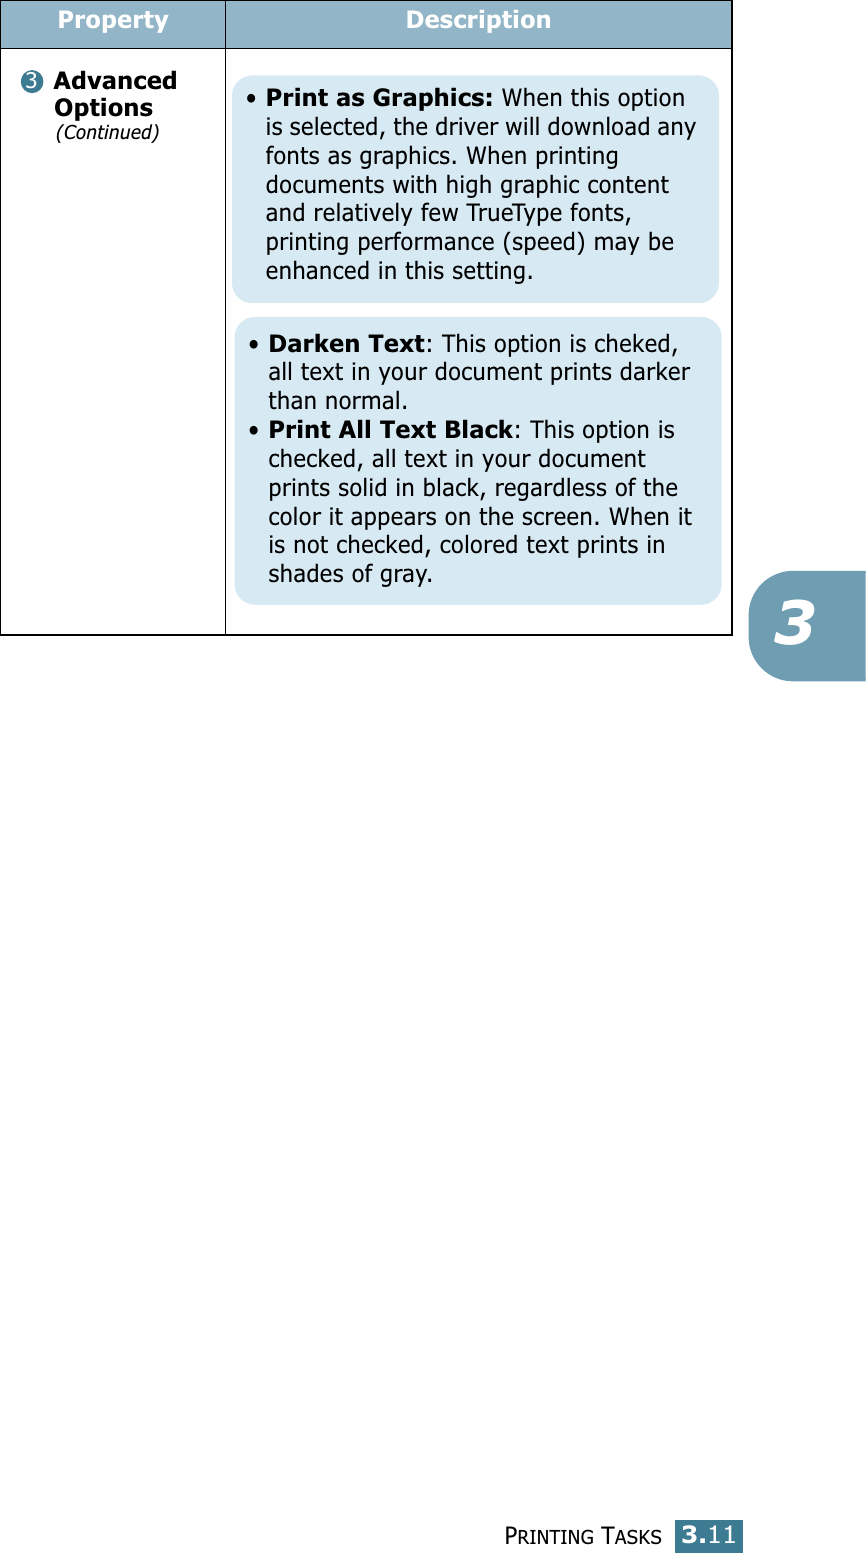
Samsung Electronics Co CLP500N Laser Beam Printer User Manual 1
Samsung Electronics Co Ltd Laser Beam Printer Users Manual 1
UserManual.wiki
>
Samsung Electronics Co
>
CLP500N User Manual
>
Users Manual 1
Contents
1.
Users Manual 1
2.
Users Manual 2
Users Manual 1
Navigation menu
Upload a User Manual
Namespaces
Wiki Guide
HTML
PDF
Info
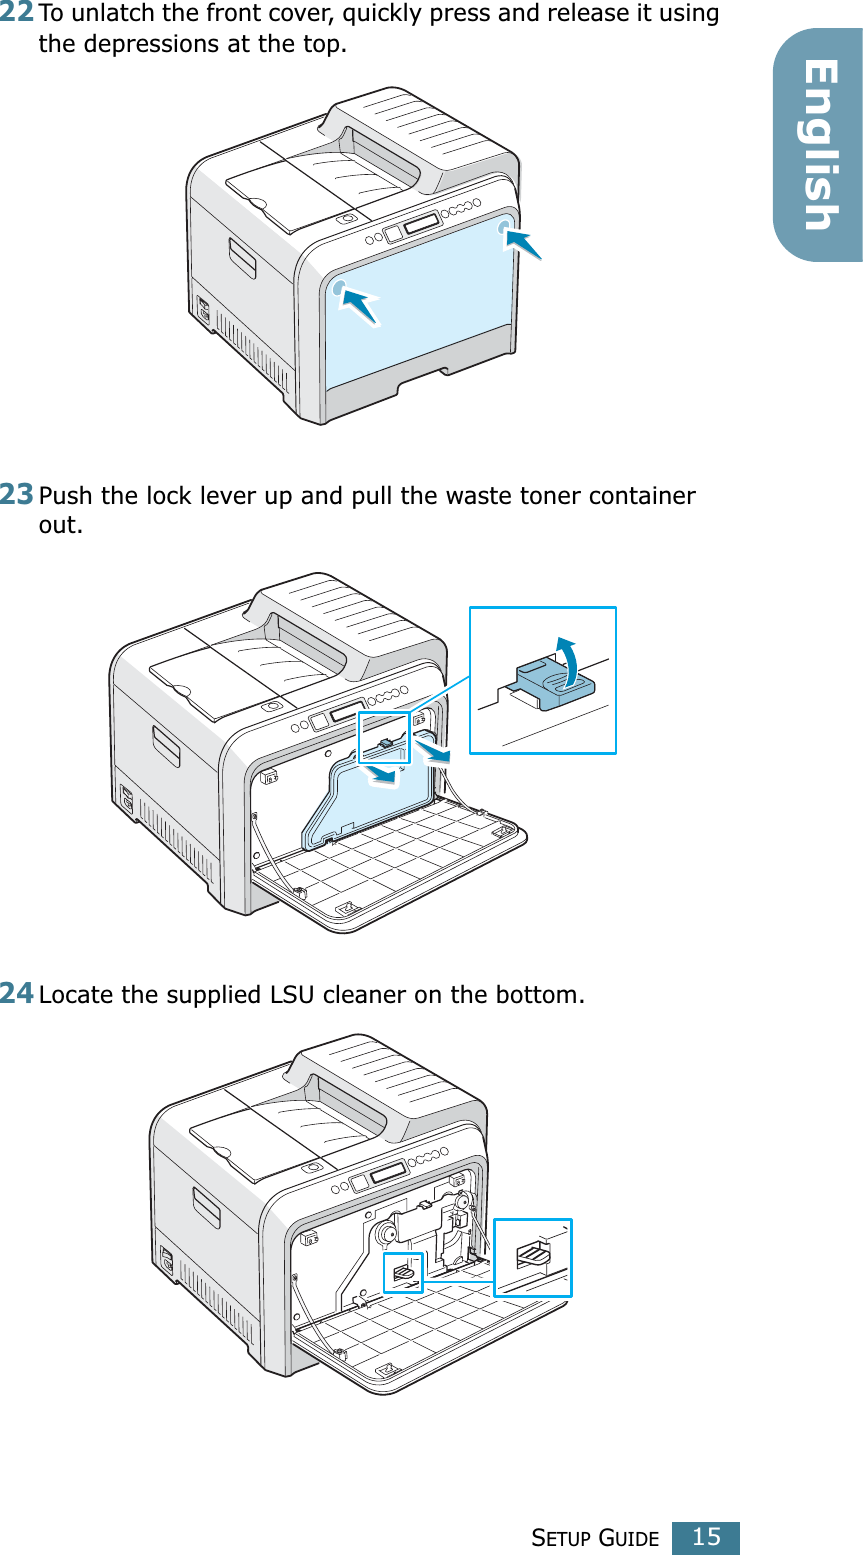
Views
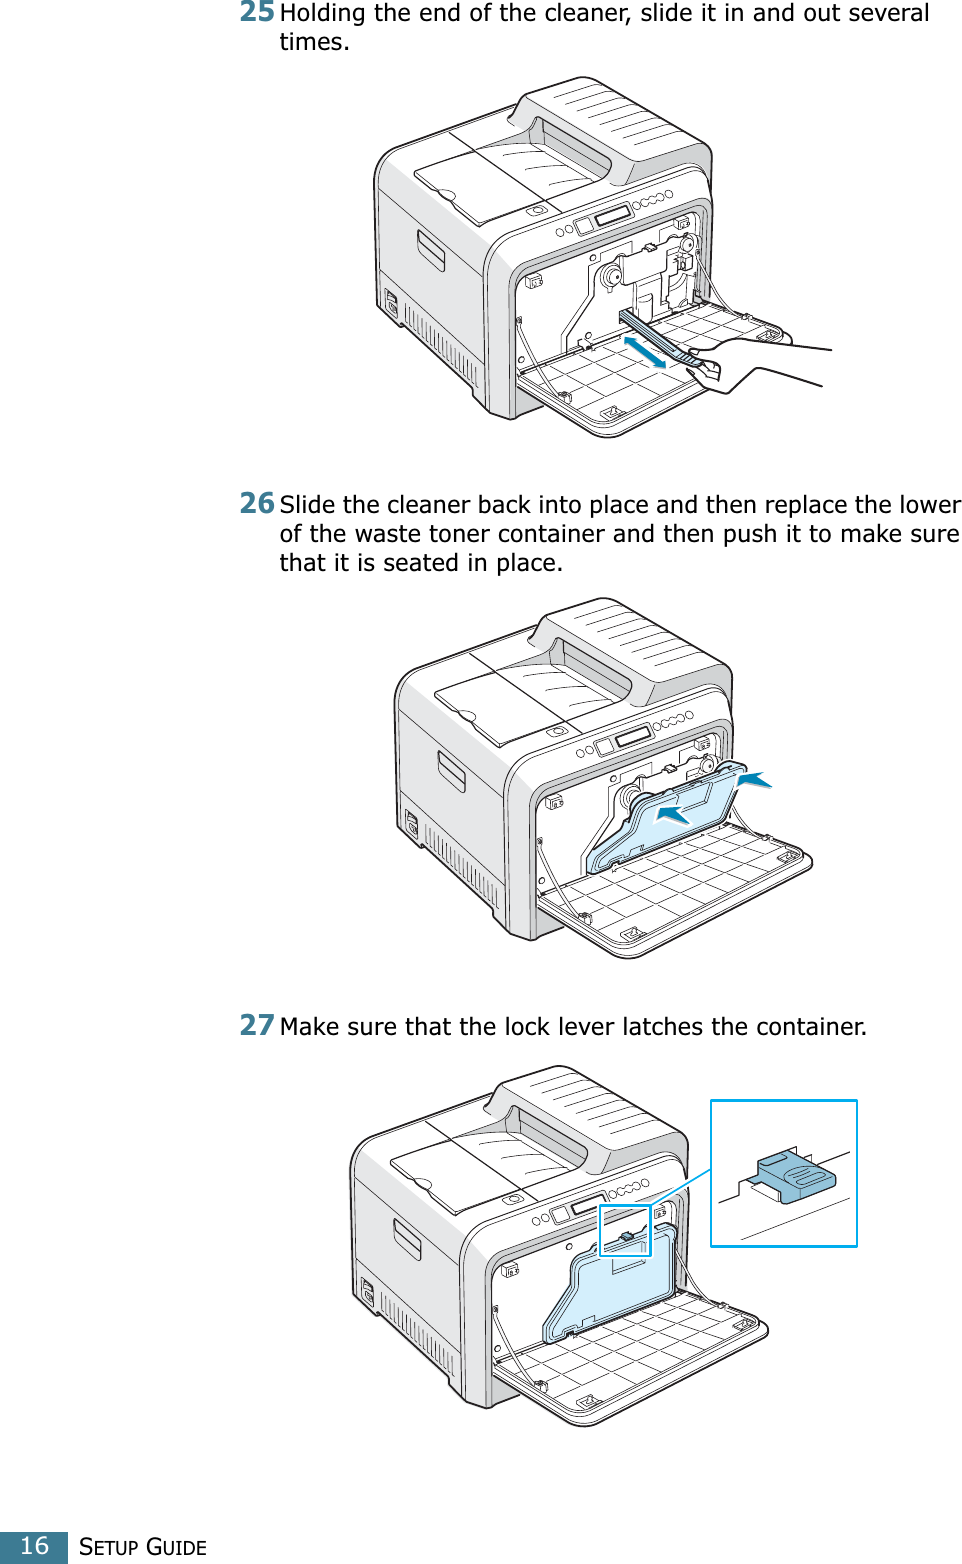
User Manual
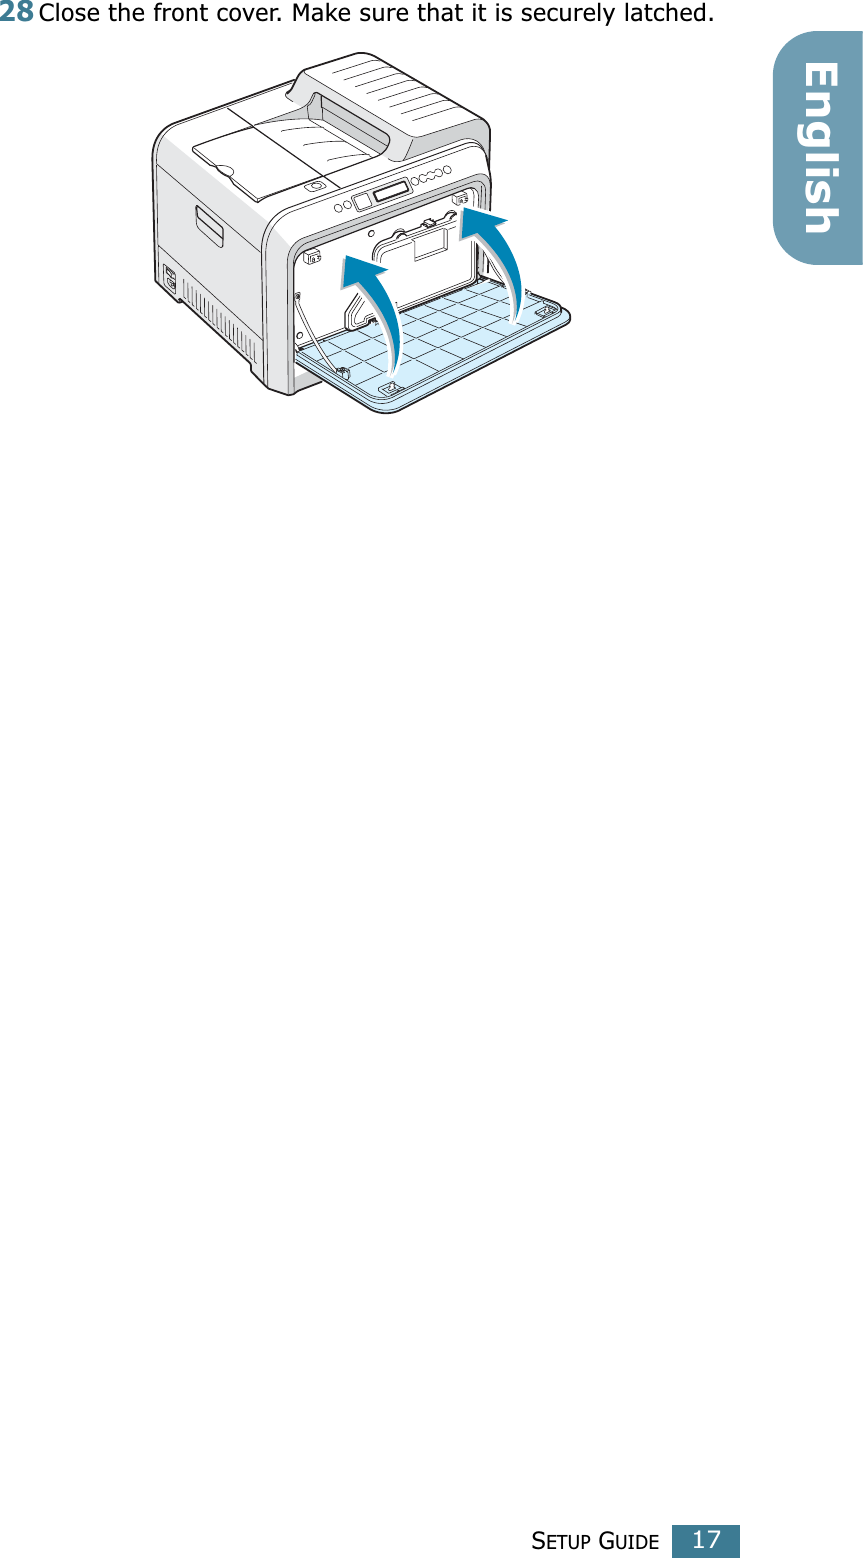
Discussion / Help
Navigation
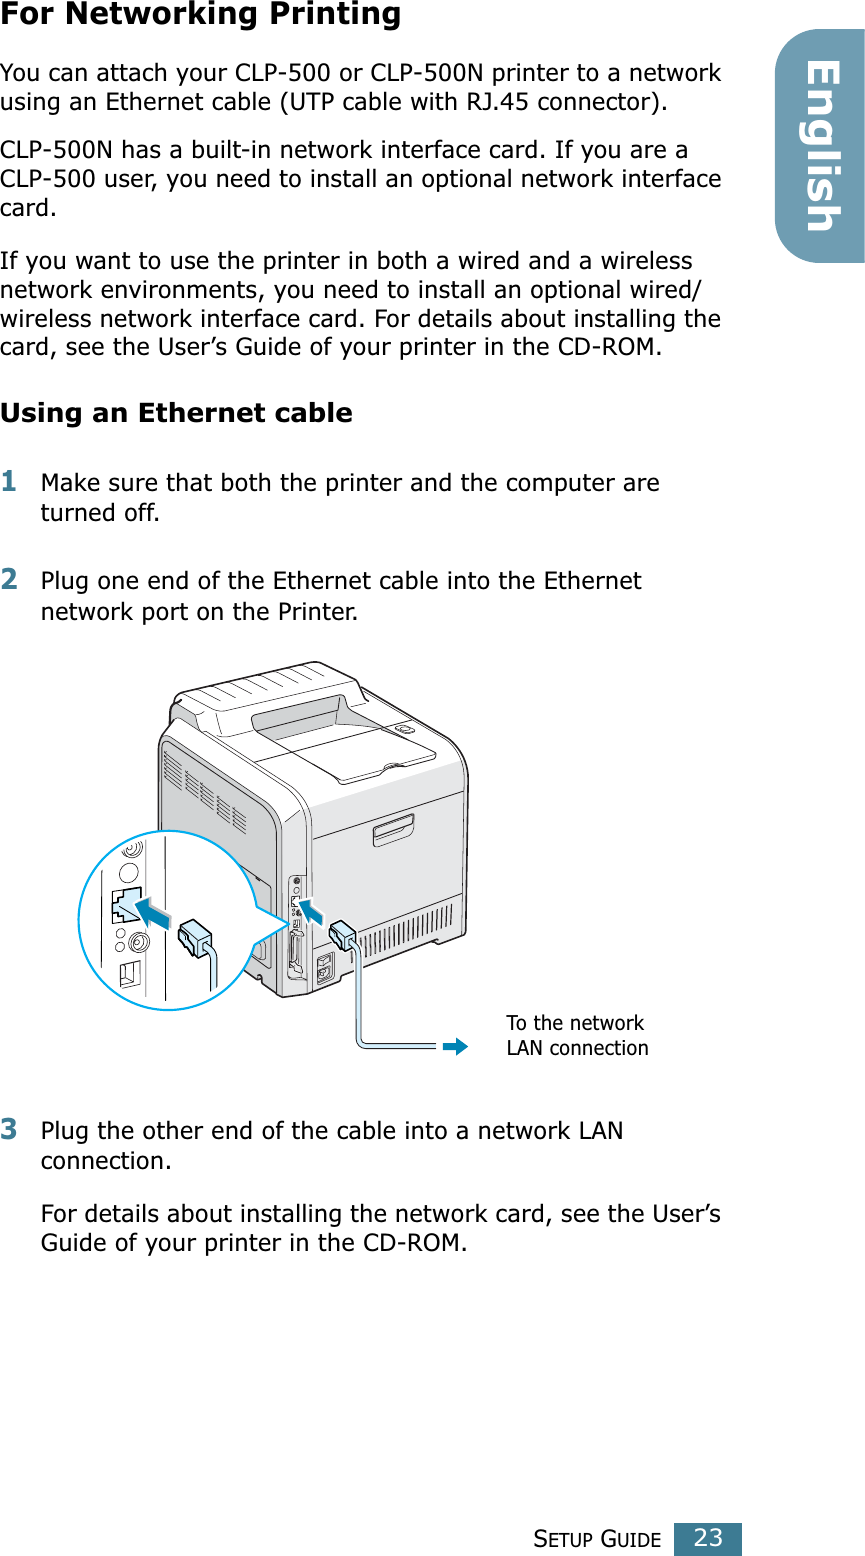
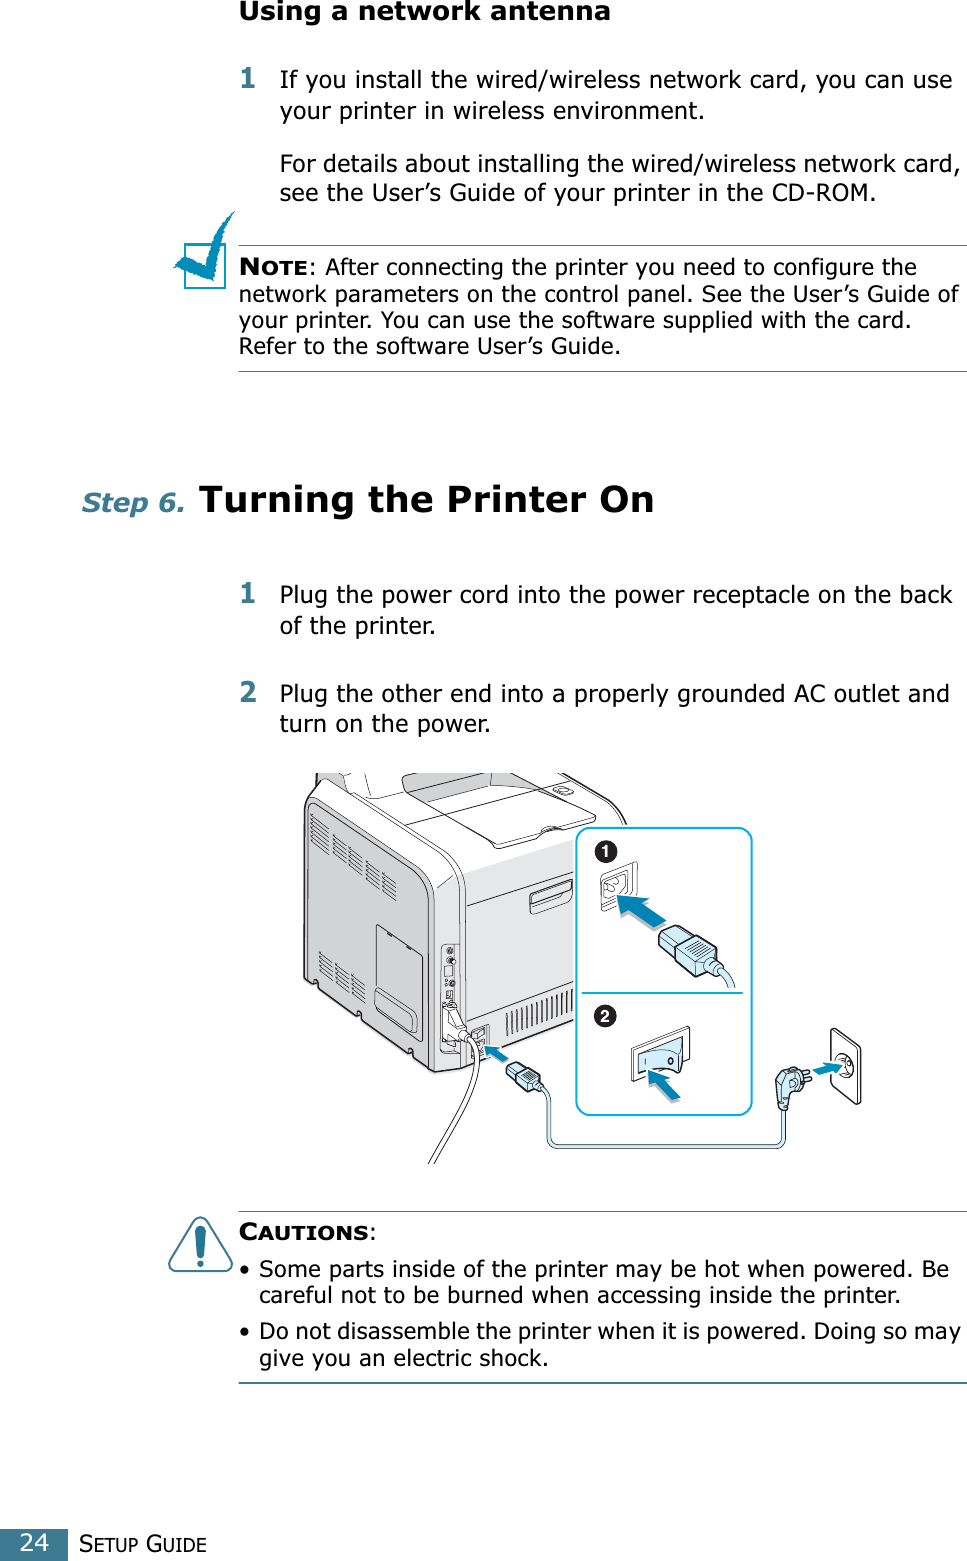


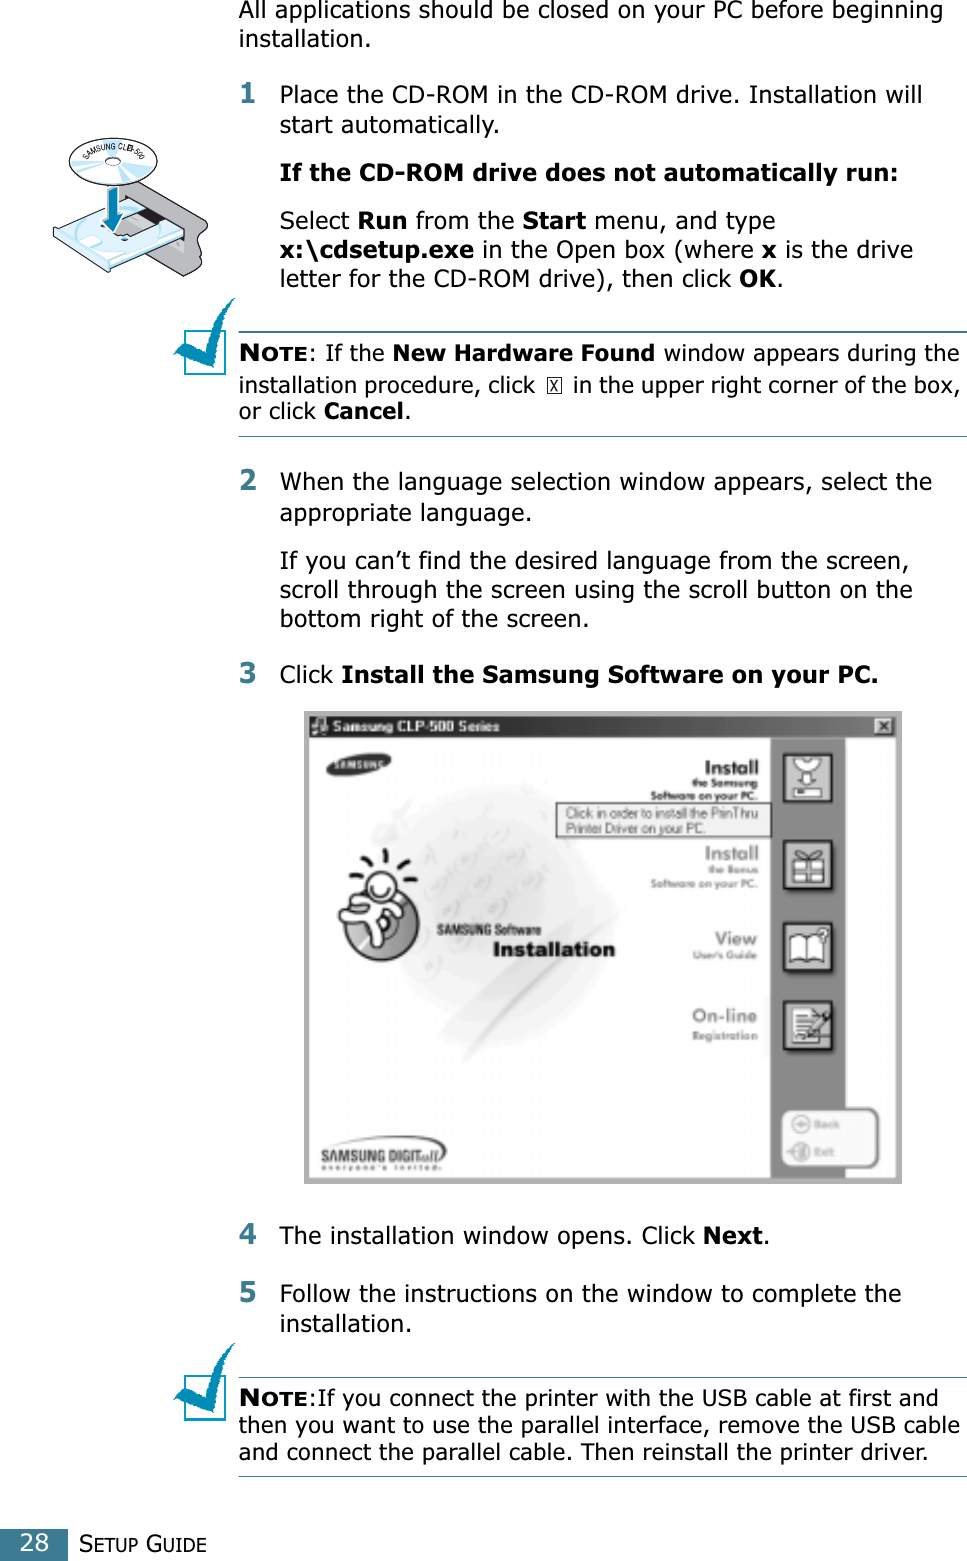
![SETUP GUIDE31EnglishIn Linux1When the Administrator Login window appears, type in “root” in the login field and enter the system password.2Insert the printer software CD-ROM.3Click the icon at the bottom of the screen. When the terminal screen appears, type in:[root@local /root]# cd /mnt/cdrom(the CD-ROM directory)[root@local cdrom]# gv manual/EnGuide.pdfNOTE: If your ghostscript version is old, you may not be able to see the pdf file. Then, install Acrobat Reader on your system or try to read the User’s Guide on a Windows system.1. Click the icon at the bottom of the screen. When the terminal screen appears, type in: [root@local /root]# cd /mnt/cdrom(the CD-ROM directory)[root@local cdrom]# manual/acrobat4/INSTALL2. After reading the license agreement, type accept .3. When you are asked of the installation directory, just type the enter key. 4. You need to make a symbolic link to execute Acrobat Reader without full path: [root@local cdrom] # ln -s/ usr/local/acrobat4/bin/acroread /usr/bin/acroread5. Now, you can read the pdf files with Acrobat Reader.[root@local cdrom]# acroread /mnt/cdrom/manual/EnGuide.pdf](https://usermanual.wiki/Samsung-Electronics-Co/CLP500N.Users-Manual-1/User-Guide-339291-Page-32.png)