Samsung Electronics Co NP-X11 Notebook PC User Manual Hainan English
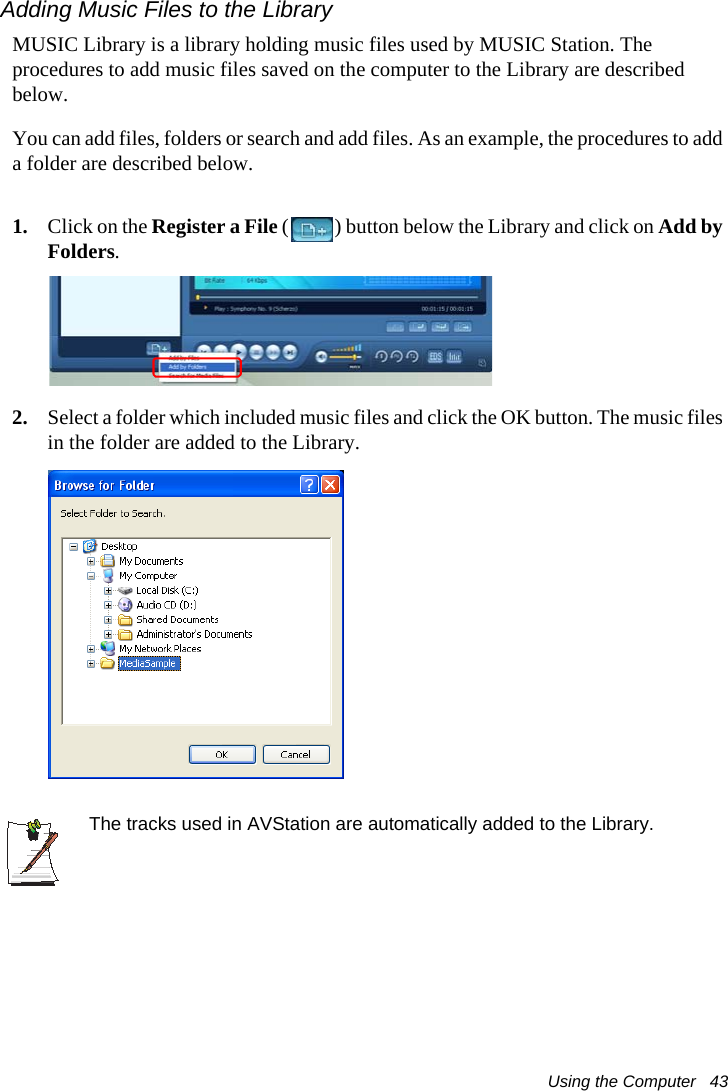
Samsung Electronics Co Ltd Notebook PC Hainan English
UserManual.wiki
>
Samsung Electronics Co
>
NP-X11 User Manual
>
Users Manual 1
Contents
1.
Users Manual 1
2.
Users Manual 2
3.
Users Manual 3
Users Manual 1
Navigation menu
Upload a User Manual
Namespaces
Wiki Guide
HTML
PDF
Info
Views
User Manual
Discussion / Help
Navigation

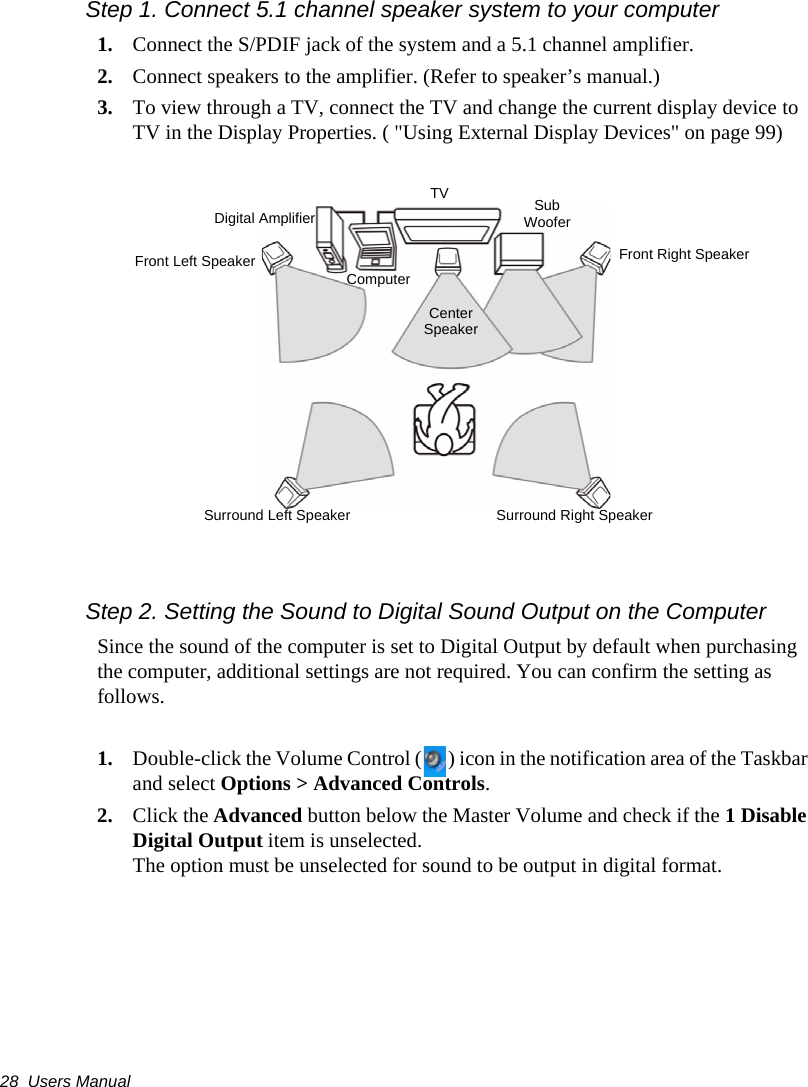
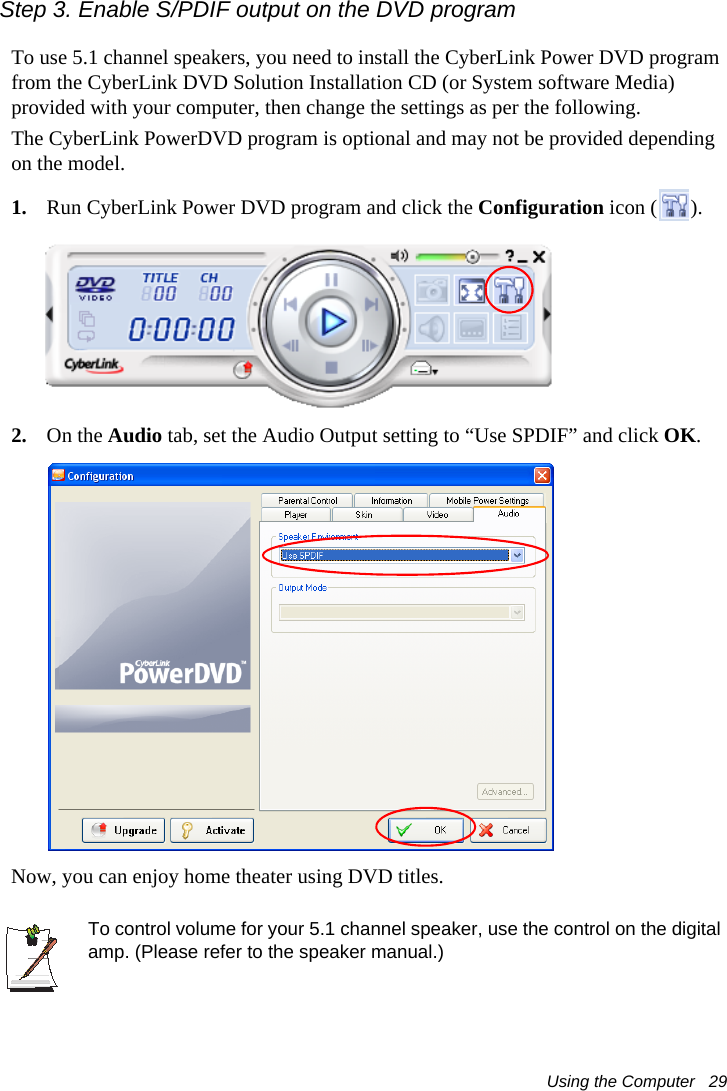
![xvi Users ManualWireless devices that may be in your system are only qualified for use in the European Union or associated areas if a CE mark with a Notified Body Registration Number and the Alert Symbol is on the system label.The power output of the wireless device or devices that may be embedded in you notebook is well below the RF exposure limits as set by the European Commission through the R&TTE directive.See 802.11b and 802.11g restrictions for specific countries or regions within countries under the heading “European Economic Area Restrictions” below.Translated Statements of ComplianceThis product follows the provisions of the European Directive 1999/5/EC.European Economic Area RestrictionsLocal Restriction of 802.11b/802.11g Radio Usage[Note to integrator: The following statements on local restrictions must be published in all end-user documentation provided with the system or product incorporating the Intel PRO/Wireless 2200BG Network Connection product.]Due to the fact that the frequencies used by 802.11b/802.11g wireless LAN devices may not yet be harmonized in all countries, 802.11b/802.11g products are designed for use only in specific countries or regions, and are not allowed to be operated in countries or regions other than those of designated use.As a user of these products, you are responsible for ensuring that the products are used only in the countries or regions for which they were intended and for verifying that they are configured with the correct selection of frequency and channel for the country or region of use. Any deviation from permissible settings and restrictions in the country or region of use could be an infringement of local law and may be punished as such.The European variant is intended for use throughout the European Economic Area. However, authorization for use is further restricted in particular countries or regions within countries, as follows:GeneralEuropean standards dictate maximum radiated transmit power of 100 mW effective isotropic radiated power (EIRP) and the frequency range 2400 – 2483.5 MHz.Belgium](https://usermanual.wiki/Samsung-Electronics-Co/NP-X11.Users-Manual-1/User-Guide-745855-Page-16.png)


![Getting Started 73. Click Turn Off. If the computer has not turned off properly due to a system error, press <Ctrl>+<Alt>+<Delete>. When [Windows Task Manager] dialog box appears, click Shut Down > Turn Off to turn off the computer. Your unsaved work may be lost/damaged.If <Ctrl>+<Alt>+<Delete> keys do not operate either, press the power button for more than 4 seconds to turn off the computer. Your unsaved work may be lost/damaged. The next time you turn on your computer, a hard disk check will be performed, before Windows starts.](https://usermanual.wiki/Samsung-Electronics-Co/NP-X11.Users-Manual-1/User-Guide-745855-Page-26.png)


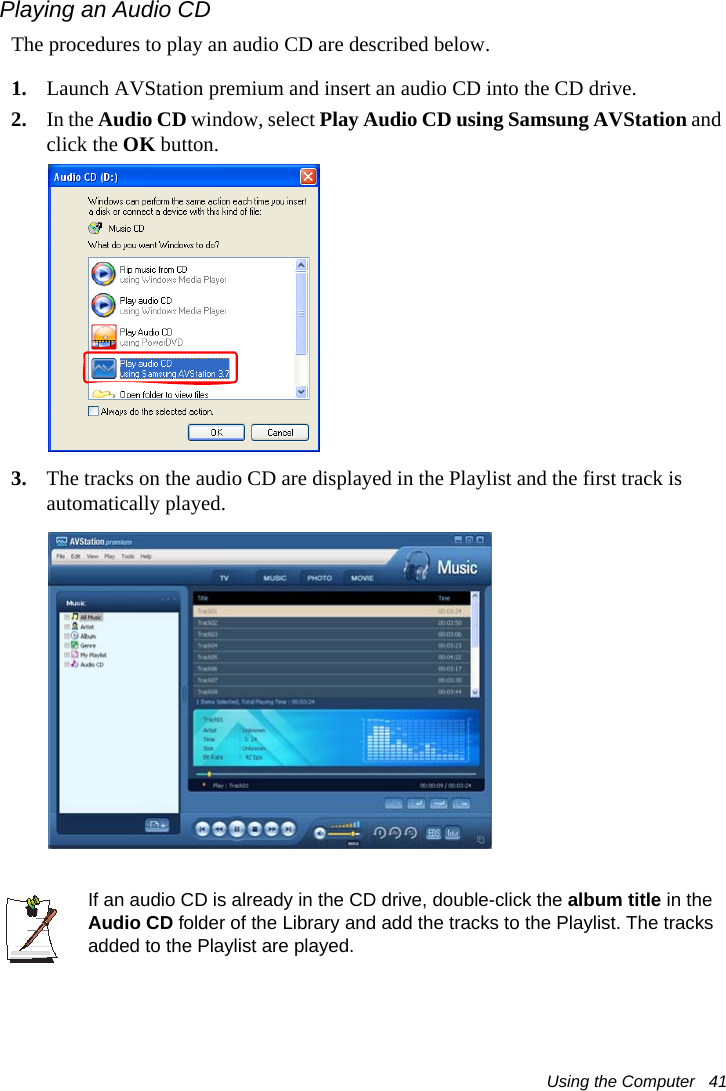
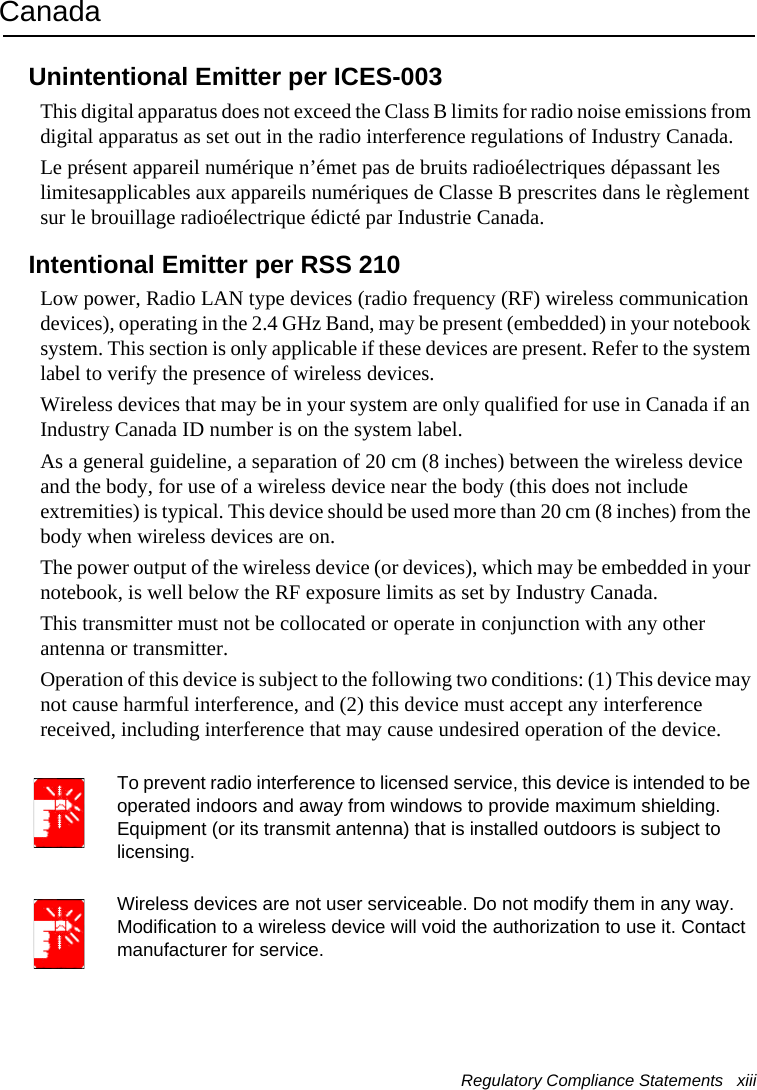
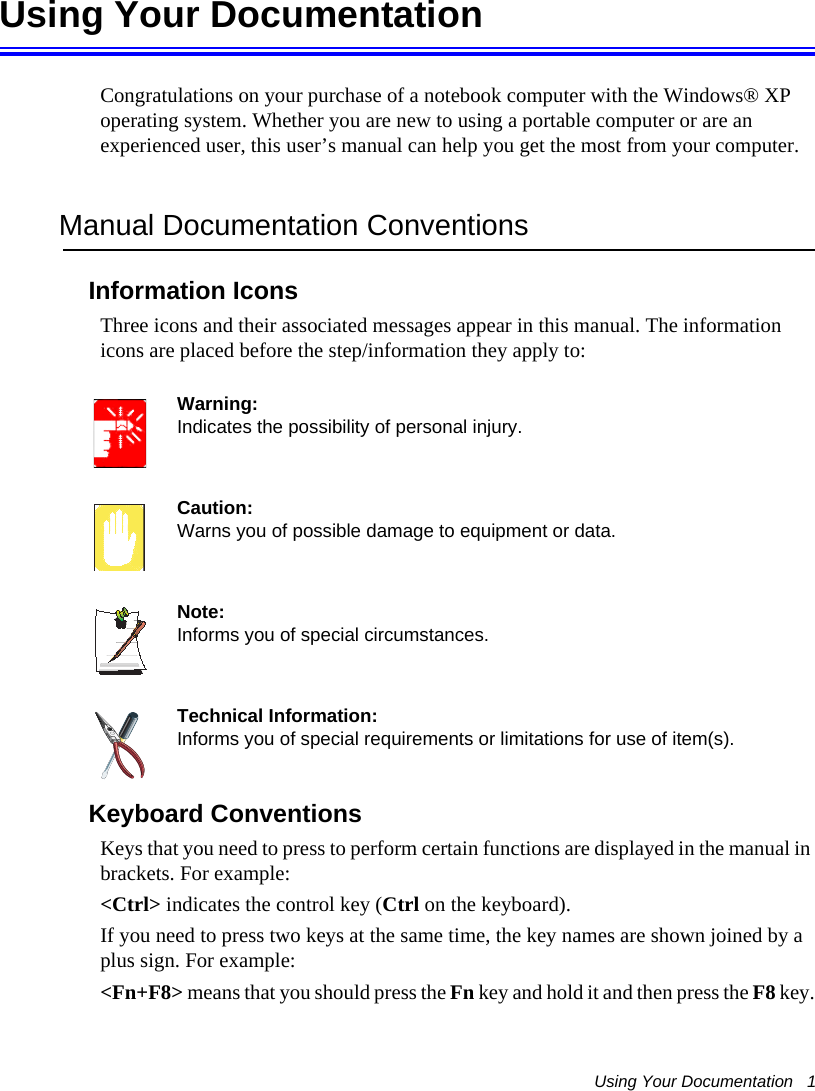
![24 Users ManualTo use the Windows Media PlayerWindow Media Player enables you to play and manage audio and video files.To launch the Windows Media Player, click Start > All Programs > Accessories > Entertainment > Windows Media Player.Running the program the first time displays the set up screen. Define the settings according to the instructions displayed on the screen.When you complete the settings, the following screen appears.To view detailed information on how to use Windows Media Player Run Windows Media Player and right-click over the Function Taskbar and select Help > Windows Media Player Help.To play a video CDIf a video CD does not run automatically, follow these steps.1. Insert a video CD into the CD drive.2. When the CD drive window appears, double-click the MPEGAV folder.3. Double-click the .dat file.4. When the [Caution] dialog appears, click Open With.5. Select “Select the program from a list” and click OK.6. Select the Windows Media Player, and click OK. The video starts playing.FeaturesPlayback Control AreaPlaylist](https://usermanual.wiki/Samsung-Electronics-Co/NP-X11.Users-Manual-1/User-Guide-745855-Page-43.png)
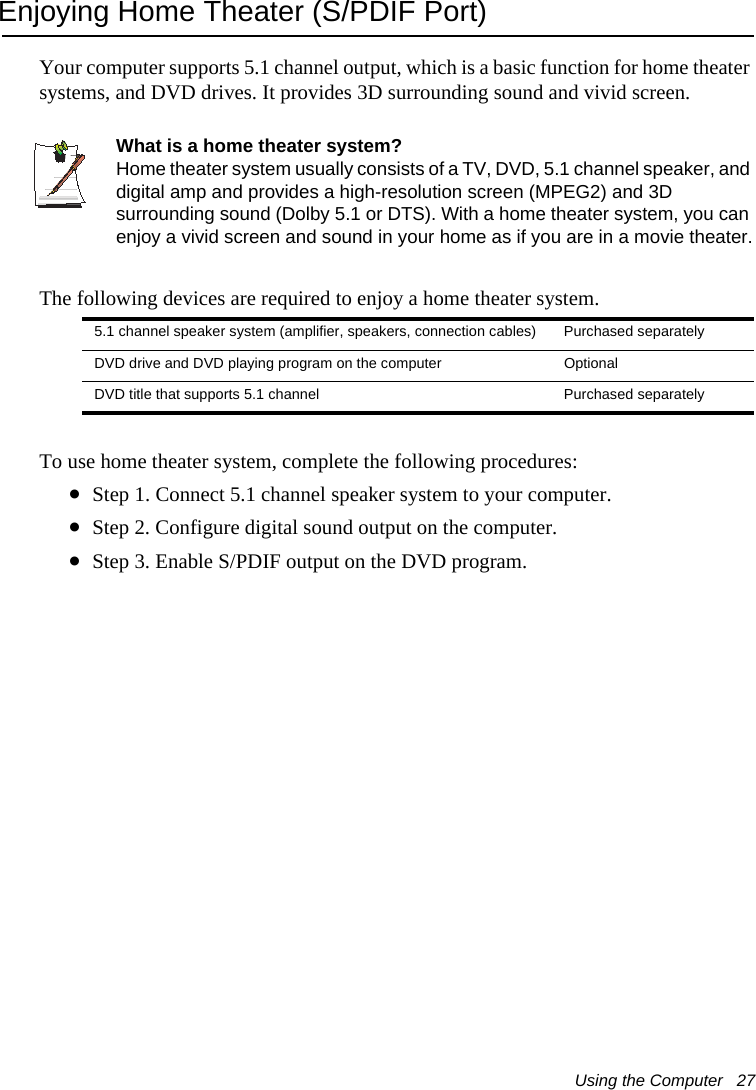
![Using the Computer 25Above procedure applies only to the video CDs that has a .dat file as the execution file. Playing procedure may be different according to video CDs.To write data on a CD (Optional)If your computer has CD-RW functionality, you can copy data to a blank CD or create an audio CD.You cannot write to a CD that already has data in it.1. Insert a blank CD into the CD drive.2. On the [CD Drive] dialog, select Open Writable CD Folder and click OK. The CD drive window appears.3. Click Start > My Computer.4. In My Computer window, select files and folders to copy, then drag and drop them onto the CD drive window. My Computer window5. Click Write these files to CD.CD drive window4. Drag and drop folders or files to copy.](https://usermanual.wiki/Samsung-Electronics-Co/NP-X11.Users-Manual-1/User-Guide-745855-Page-44.png)
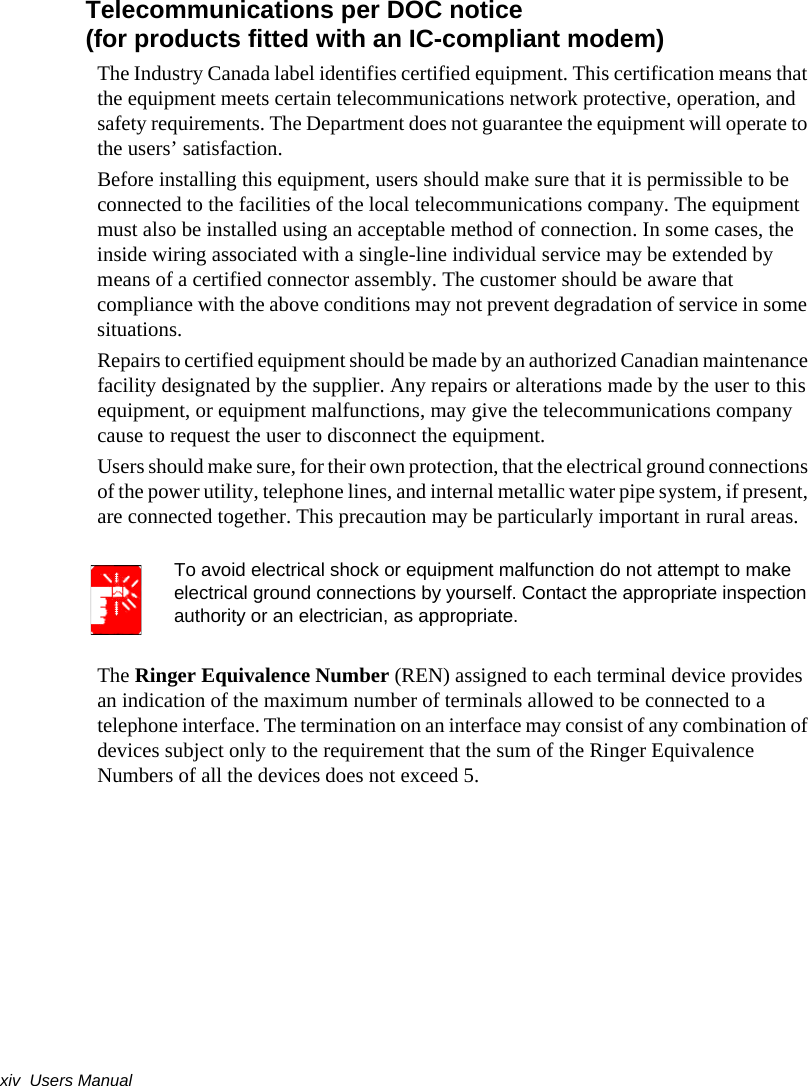
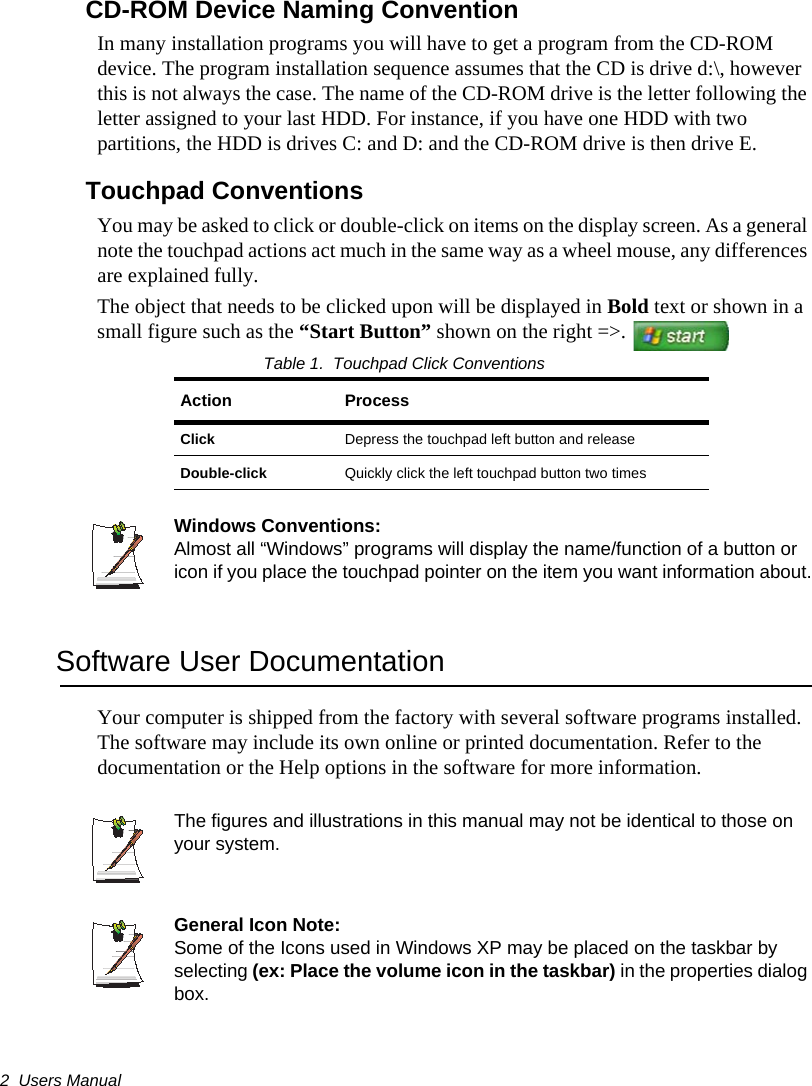
![34 Users ManualTo remove a PCMCIA card1. Double-click Safely Remove Hardware icon ( ) on the taskbar.2. On the [Safely Remove Hardware] dialog box, select the appropriate PCMCIA card and click Stop.3. When [Stop a Hardware Device] dialog box appears, click OK.4. Click Close to close the [Safely Remove Hardware] dialog box.5. Push eject button of the PC card slot once, and the button pops out.6. Push the button again to eject the PCMCIA card.](https://usermanual.wiki/Samsung-Electronics-Co/NP-X11.Users-Manual-1/User-Guide-745855-Page-53.png)