Samsung Electronics Co SCHA220 Dual-Band CDMA Phone User Manual
Samsung Electronics Co Ltd Dual-Band CDMA Phone Users Manual
UserManual.wiki
>
Samsung Electronics Co
>
SCHA220 User Manual
Users Manual
Navigation menu
Upload a User Manual
Namespaces
Wiki Guide
HTML
PDF
Info
Views
User Manual
Discussion / Help
Navigation

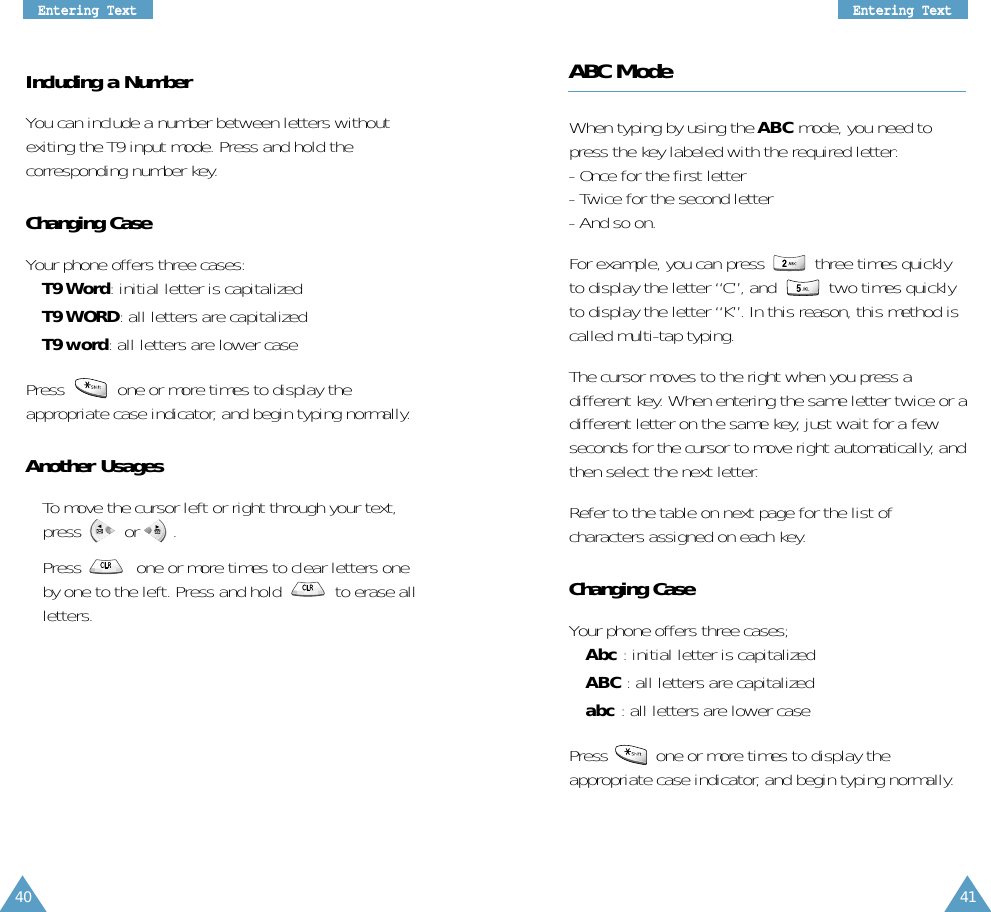
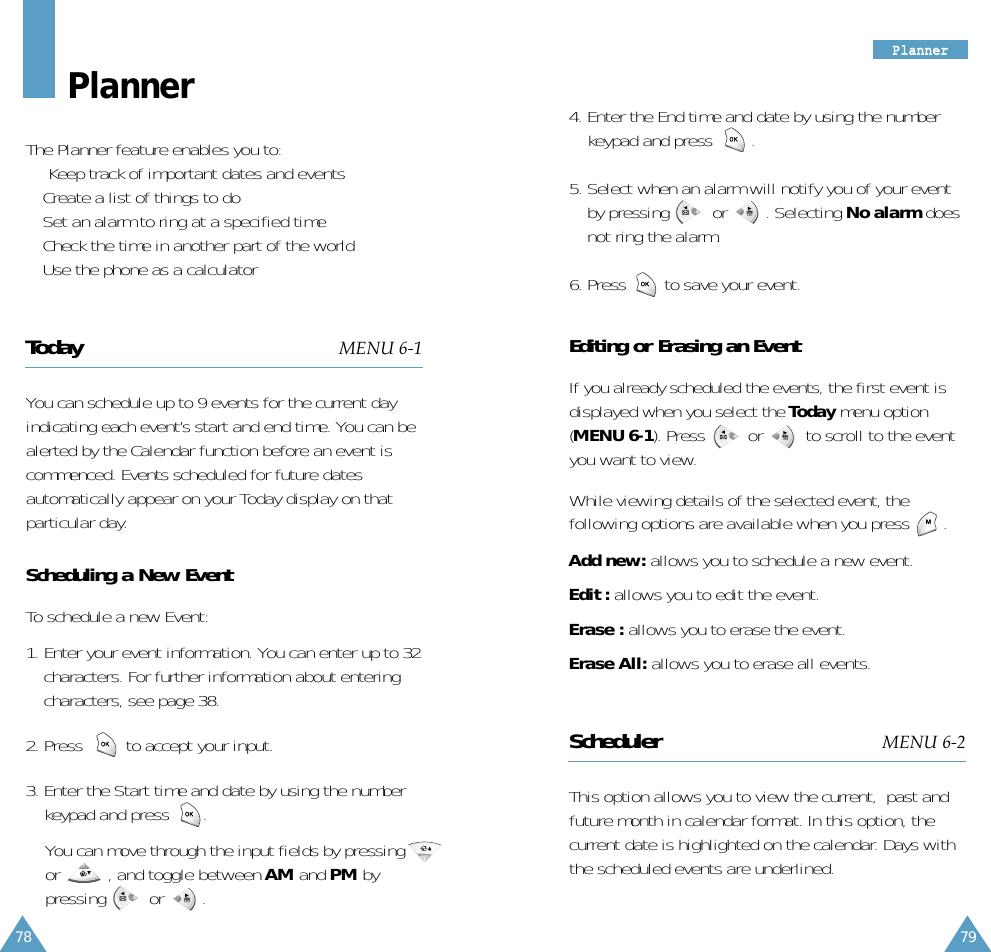
![43EEnntteerriinngg TTeexxtt42EEnntteerriinngg TTeexxttSymbol ModeSymbol mode enables you to enter symbols.Press or to display more symbol sets.Press the number keys corresponding to the desiredsymbols. The phone automatically switches back tothe text input mode used just prior to selecting theSymbol mode.123 Mode123 mode enables you to enter numbers. Press thenumber keys corresponding to the desired digits. Youneed to manually switch to text input mode of yourchoice.Another Usages• Press to insert a space.• To move the cursor left or right through your text,press or .• Press one or more times to clear letters oneby one to the left. Press and hold to erase allletters.AB C2DE F 3GH I 4JK L5MN O 6PQ RS7TU V8WX Y Z 90(Caps Lock mode)List of Characters Available1.@ , : ? - ; ‘ / ( ) ! # % &*< > _ + = “ \ { } $ [ ] Key Characters in the Order Displayed](https://usermanual.wiki/Samsung-Electronics-Co/SCHA220/User-Guide-259121-Page-23.png)
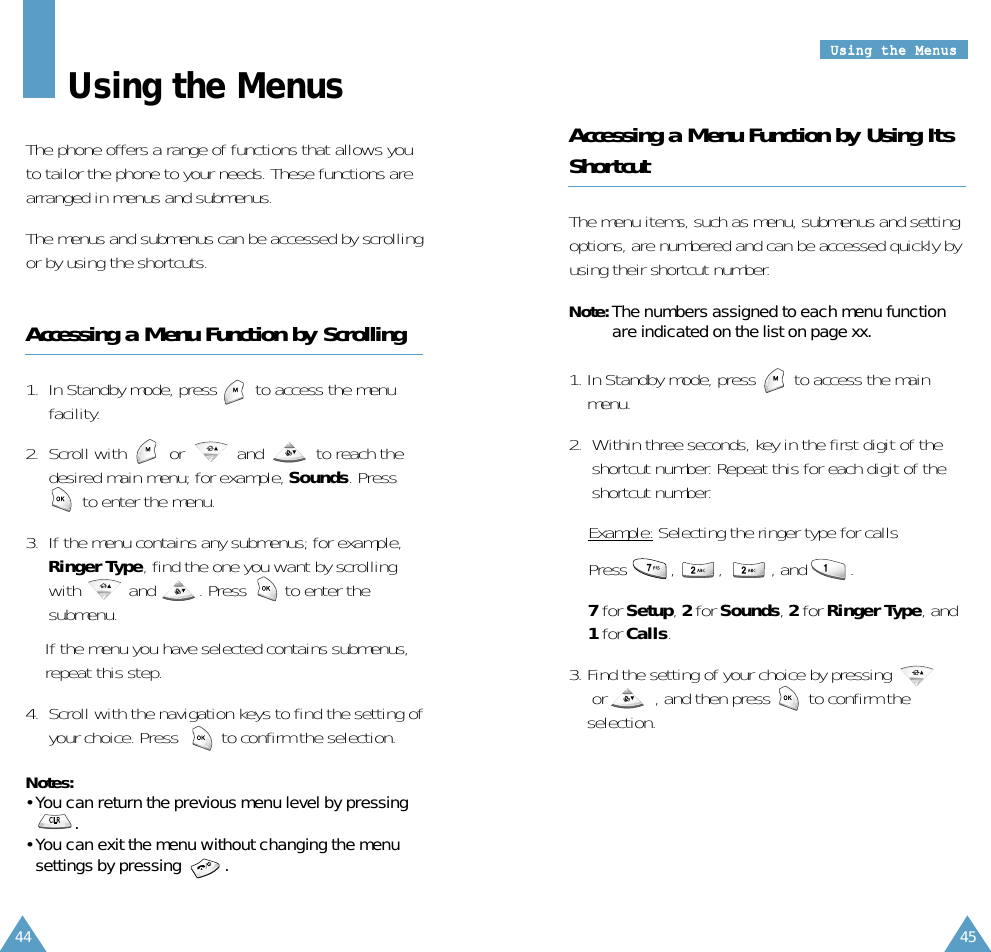


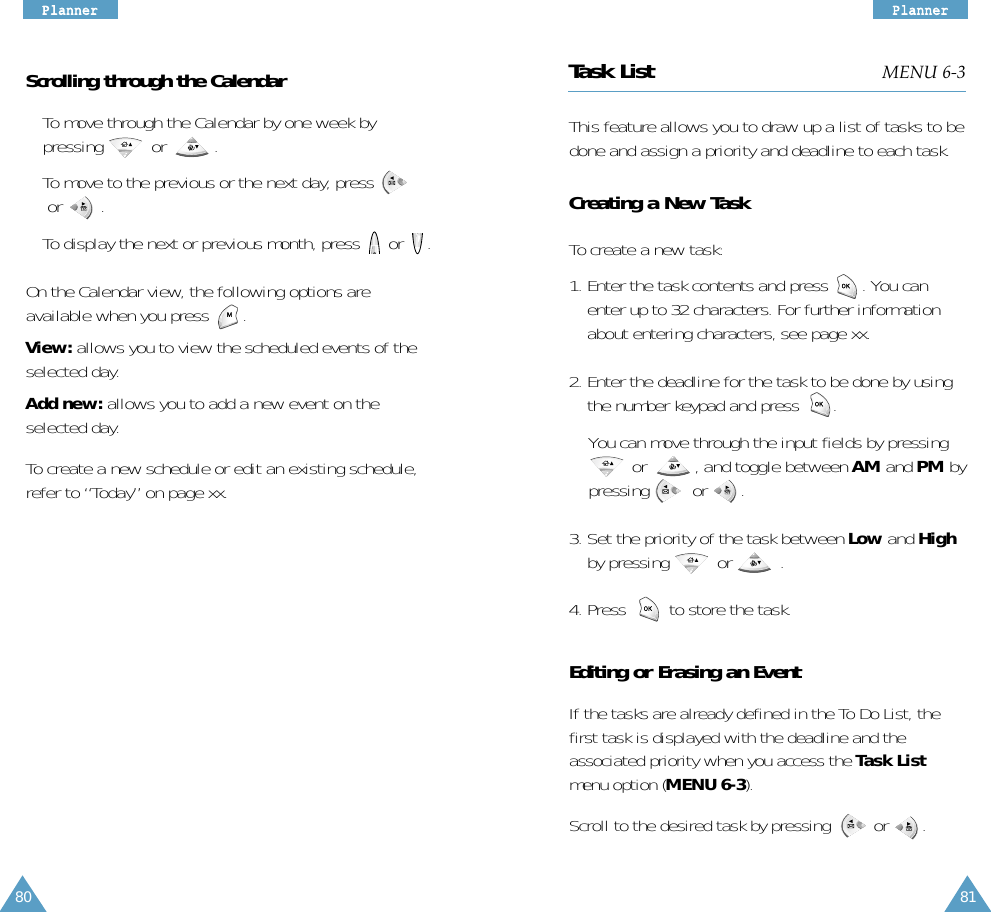
![73VVooiiccee72VVooiicceeReviewWhen the list of your stored voice dial entries displays,scroll to the desired entry by using andand press . The recorded name plays audibly. On the Voice Tag List, press to display thefollowing options.Info: shows the phonebook information of the selectedentry.Erase: erases the selected entry.Talk: places a call to the number of the selected entry.Play All: plays all the recorded voice dial tags. Erase AllThis option erases all entries in the Voice Dial list.When a confirming message appears, select Yes toconfirm the selection. Otherwise, select No.Set ActiveVoice Dialing is always active once you haveprogrammed the phone to accept voice dialing entriesand the associated phone number. Before using the Voice Dialing feature, you need todetermine how you initiate the voice dialing via thismenu.The following options are available.[*] Only: enables Voice Dialing only by pressing andholding .[*] /Folder: enables Voice Dialing by pressing andholding or by opening the folder.[*] /EarMic: enables Voice Dialing by pressing andholding or by pressing and holding the button onyour ear-microphone.Voice Memo MENU 5-2Note: You can use this feature only in digital mode. Using this menu option, you can record 30 voicememos of 4 minutes in length individually. You can quickly enter this menu by pressing inStandby mode.Record1. Accessing this menu option immediately beginsrecording. A timer displays to show the elapsedtime. 2. Speak into the phone to record the voice memo. While recording, pressing pauses and toresume.If maximum recording time expires before you end,recording automatically stops, sounding an alert.You can save only the memo already recorded untilthen.](https://usermanual.wiki/Samsung-Electronics-Co/SCHA220/User-Guide-259121-Page-38.png)